
I tried to copy a perfectly photo-lit Valentine mani once, and by the subway stop it had peeled at the tips. After that I stopped trying to recreate a magazine photo and focused on small, repeatable moves that survive a real week, not just a selfie. These nine ideas lean on short steps, thin coats, and little tricks a tech who works at a salon downtown actually uses when a client needs a mani that lasts.
These looks are mostly beginner friendly, budget conscious, and doable at home in 30 to 50 minutes. I included a couple of techniques that read salon-level, plus press-on options if you want the instant result. Expect mostly short to medium lengths, a mix of natural and gel-compatible finishes, and products you can reuse across multiple ideas.
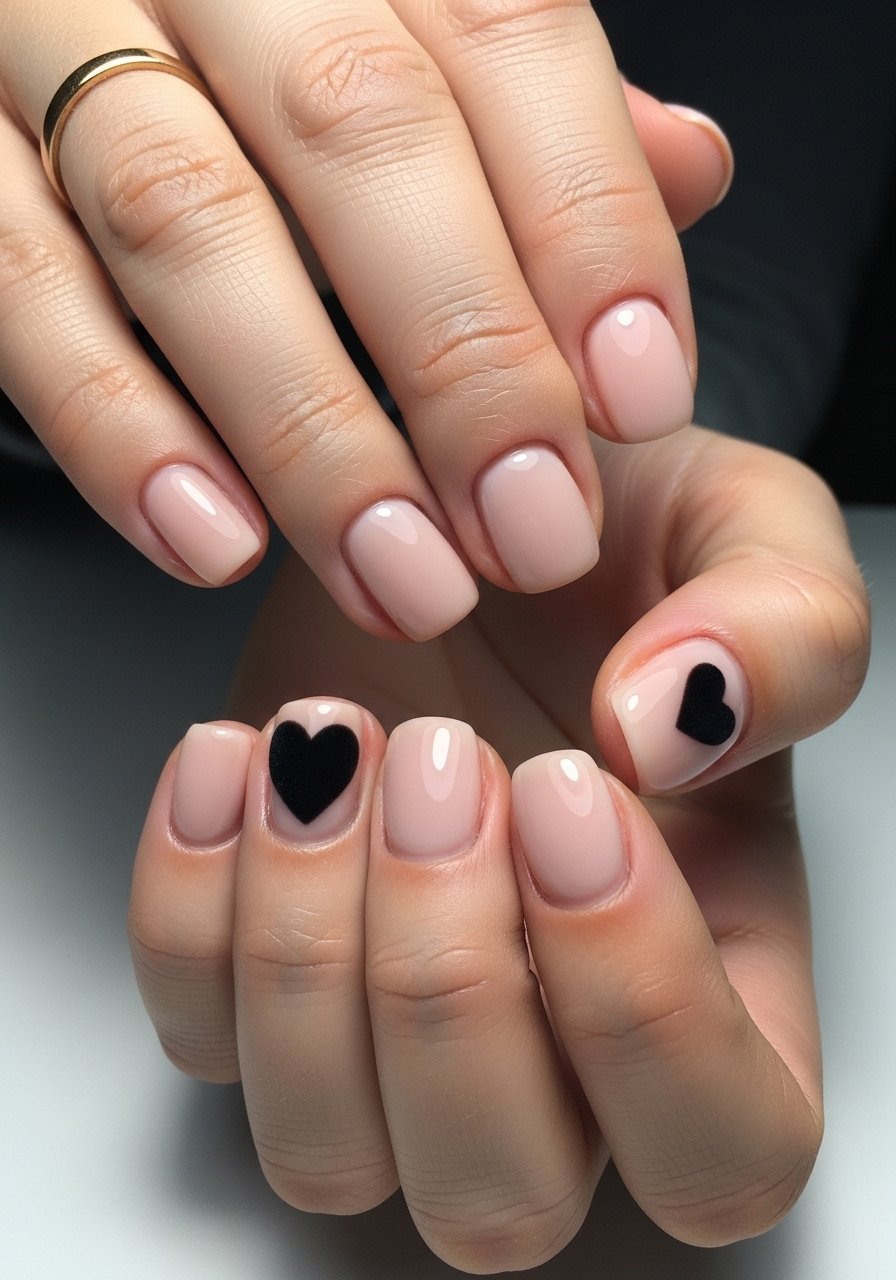
1. Tiny Negative Space Hearts
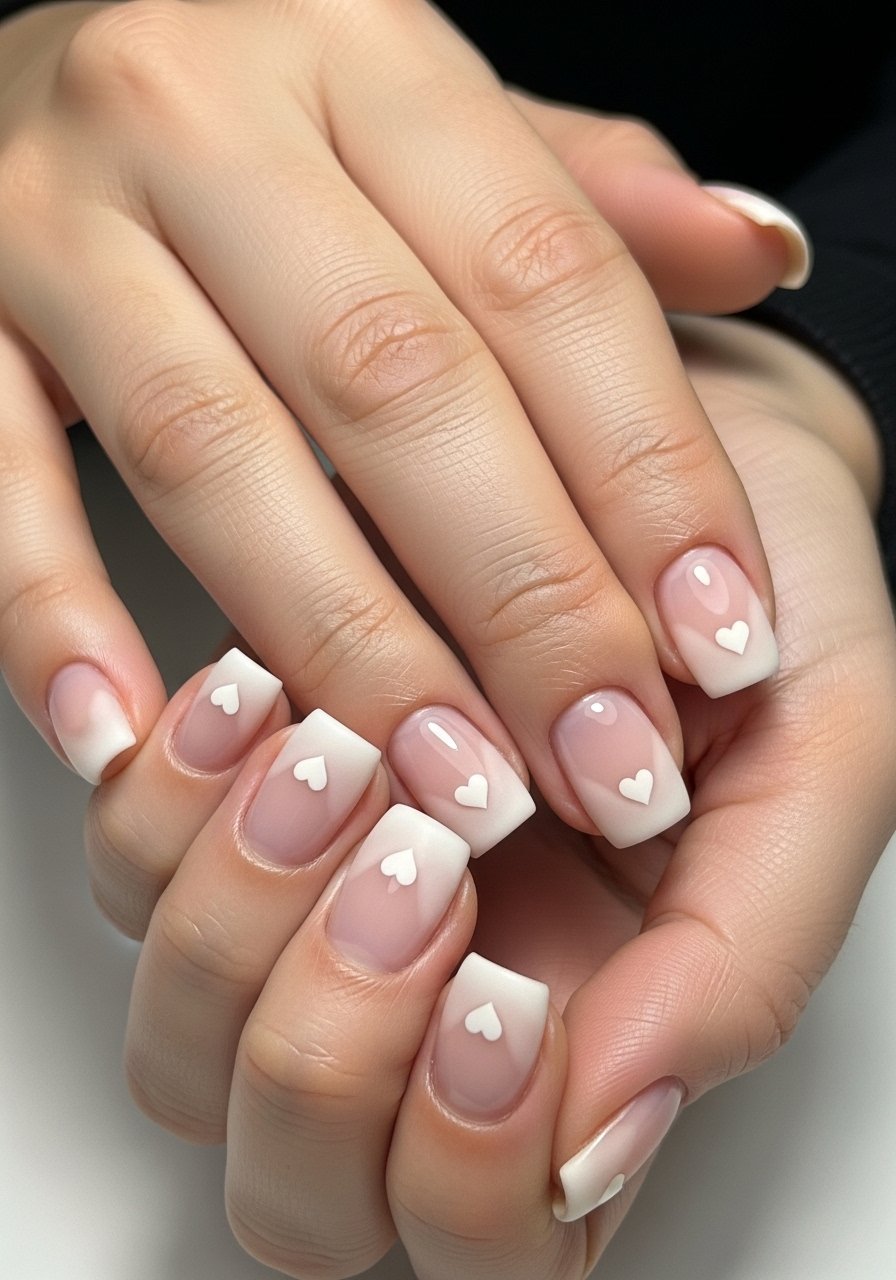
Style/Vibe: Minimal romantic
Best For: Short nails, everyday Valentine look
Skill: Beginner
Tiny hearts work because they let the nail breathe, visually lengthening a short nail rather than crowding the tip. Paint two thin coats of a sheer nude, then use a 0.8mm dotting tool to place two dots, dragging them together for a heart. The tech downtown told me to stick to one tiny heart per nail for balance. Use a quick-dry top coat cured for 60 seconds on each hand if using gel or allowed to air-dry five minutes for regular polish. Short session, low product, minimal clean up. Pair this with a clear nail strengthener if your nails chip easily.
Mistake to Avoid: Pressing too hard with the dotter so the heart blobs into a messy stain.
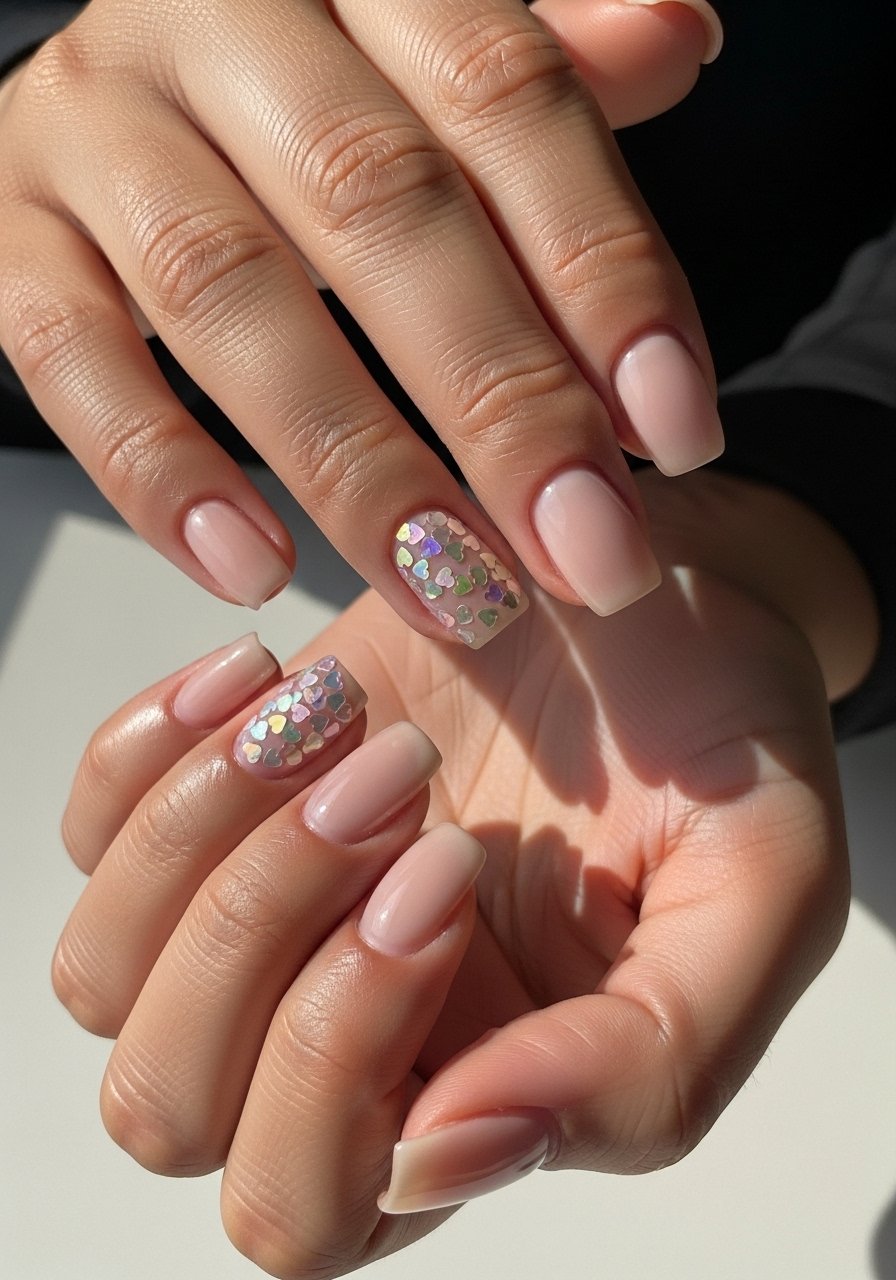
2. Ombre Glitter Heart Accent
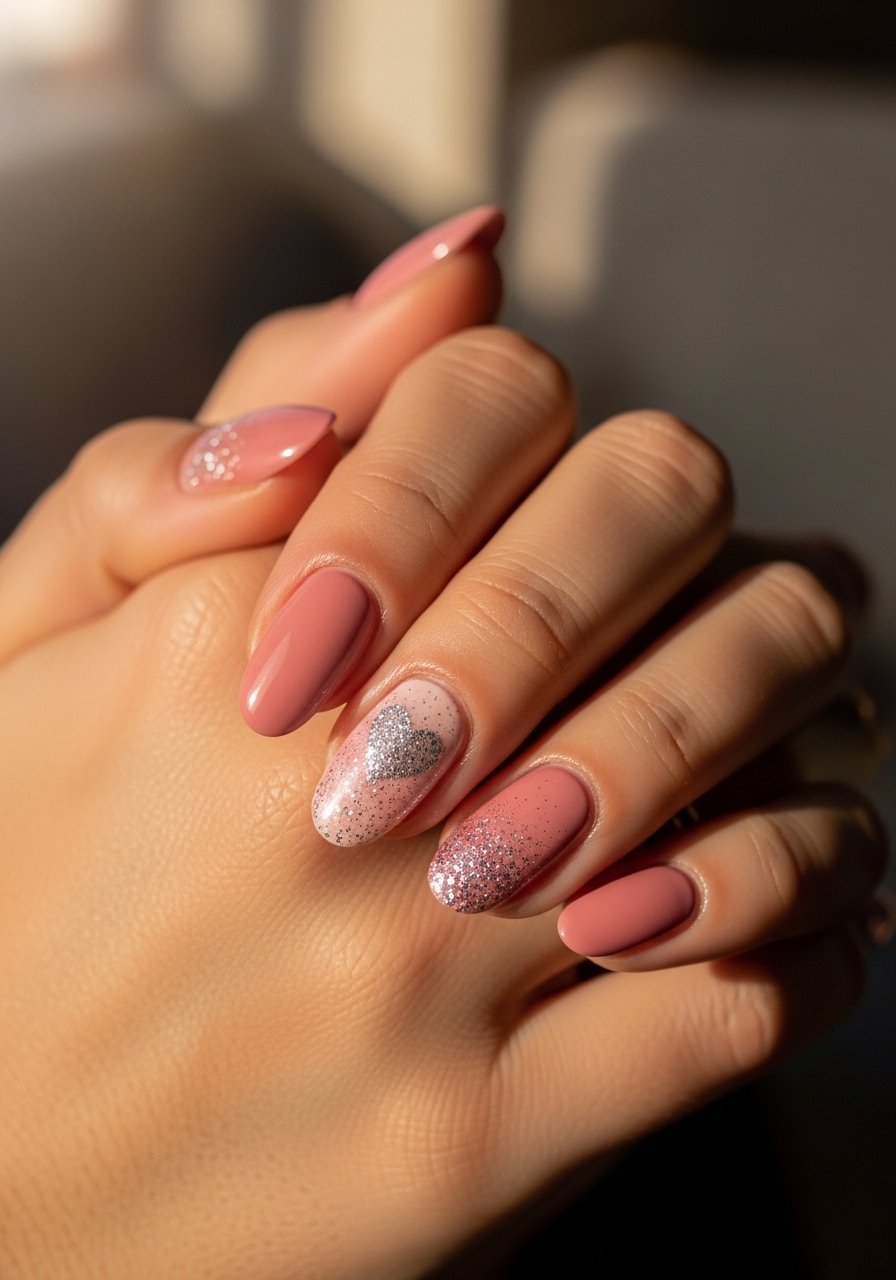
Style/Vibe: Sparkle with restraint
Best For: Medium nails, date night
Skill: Intermediate
This uses a faded glitter heart over a soft base to catch light without feeling over the top. Start with two thin coats of a warm pink base. For the heart, pack a small brush with fine loose glitter and tap it into a heart stencil, then press gently. If using gel, cure 30 seconds between thin layers to avoid heat spikes. The trick I learned is a 70:30 mix of fine glitter to clear gel so the heart has density without thick edges. Finish with a thin flood of top coat to seal. It reads luxe but takes under 20 minutes for the accent nails.
Mistake to Avoid: Applying glitter in one thick dollop, which leaves a raised edge that chips.
3. Minimal Line Heart French
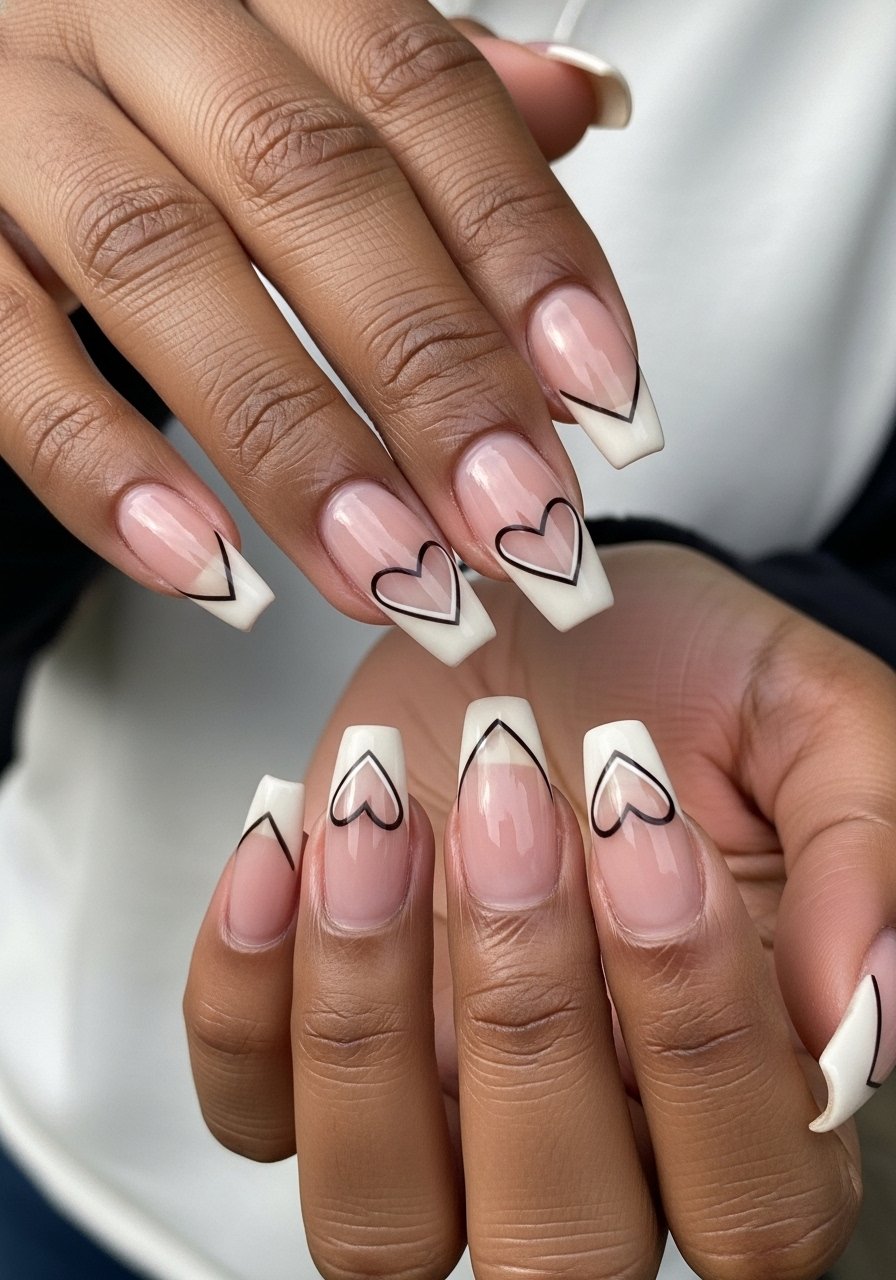
Style/Vibe: Modern French with heart detail
Best For: Long nails, confident minimalist
Skill: Intermediate
Instead of a full heart, draw a single-line heart where the smile line would be on a French tip. Paint the white or colored tip first, two thin coats. Use a striping brush with a 0.5mm gel liner to sketch the heart outline lightly, curing 15 seconds between strokes if needed. The result is graphic and wearable. I prefer a 2:1 ratio of tip pigment to base sheer so the tip reads clean in photos. Works well in natural or gel mani systems and pairs with a glossy top coat.
Mistake to Avoid: Trying to draw the heart in one motion; break it into two mirrored strokes for steadier lines.
4. Candy-Striped Heart Tips
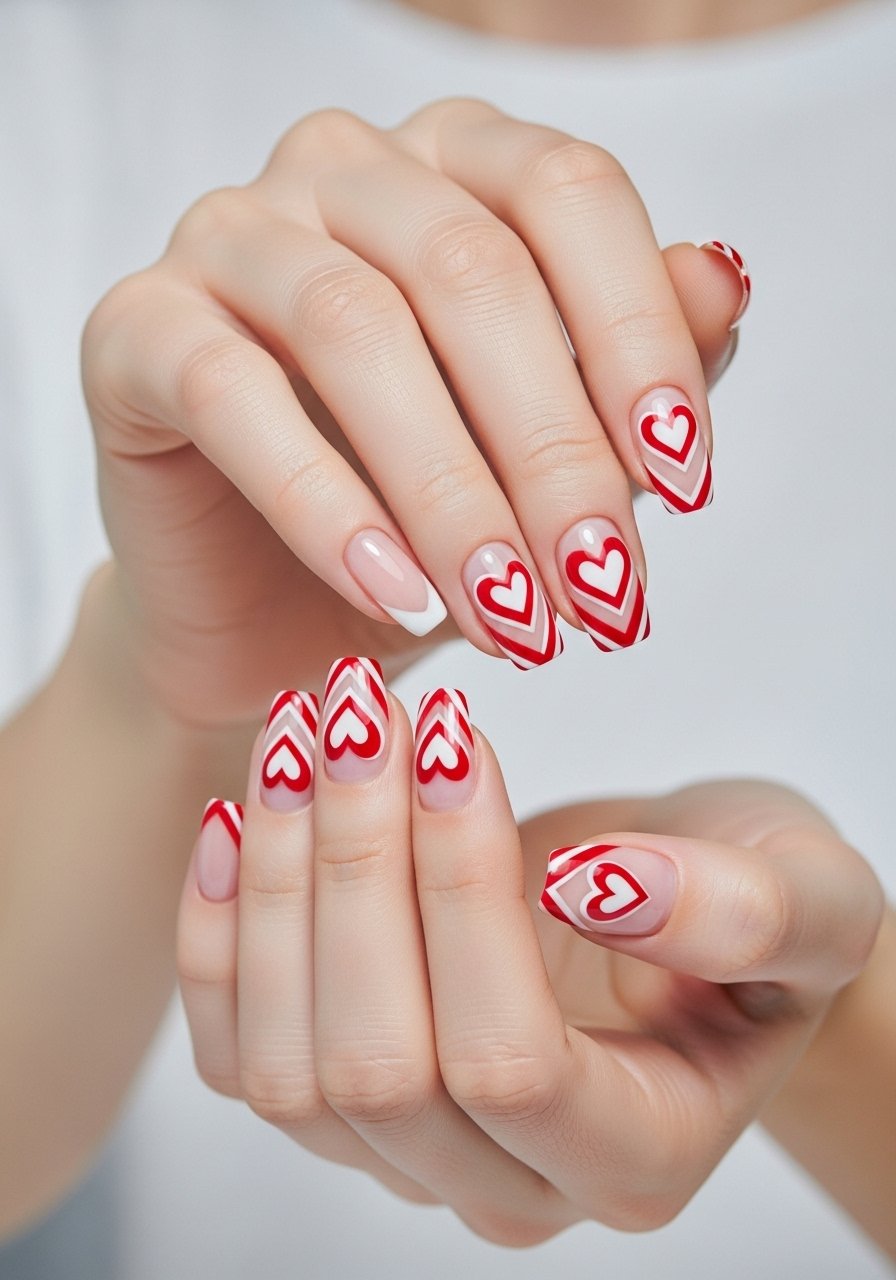
Style/Vibe: Playful tip detail
Best For: Medium nails, weekend looks
Skill: Beginner
This is a tongue-in-cheek take that uses striping tape to create thin candy stripes inside a tiny tip-heart. Paint a pale pink base, let it dry, then place a heart-shaped stencil at the tip and adhere narrow striping tape horizontally inside the heart. Paint alternating stripes with red and white. Peel tape after about 40 seconds so lines remain crisp. Total time under 30 minutes. Great cheap option because you only need a striping tape set and two polishes.
Mistake to Avoid: Removing tape too late, which drags wet polish and blurs the stripes.
5. Matte Velvet Heart Statement
Style/Vibe: Soft contrast, tactile finish
Best For: Short nails, tactile statement
Skill: Beginner
Matte nails with one velvet heart feel cozy and modern. Paint two thin coats of a satin finish polish, cure or air-dry. On the accent, apply a tiny patch of matte top coat then press micro velvet flocking or a suede finish powder into the shape while tacky. The result is a subtle contrast in both sheen and texture. I use a 45-second press time for even adhesion. This is a great low-effort look that survives light wear if sealed carefully around the edges with a gentle top coat touch.
Mistake to Avoid: Over-sealing the velvet patch so it loses its soft texture.
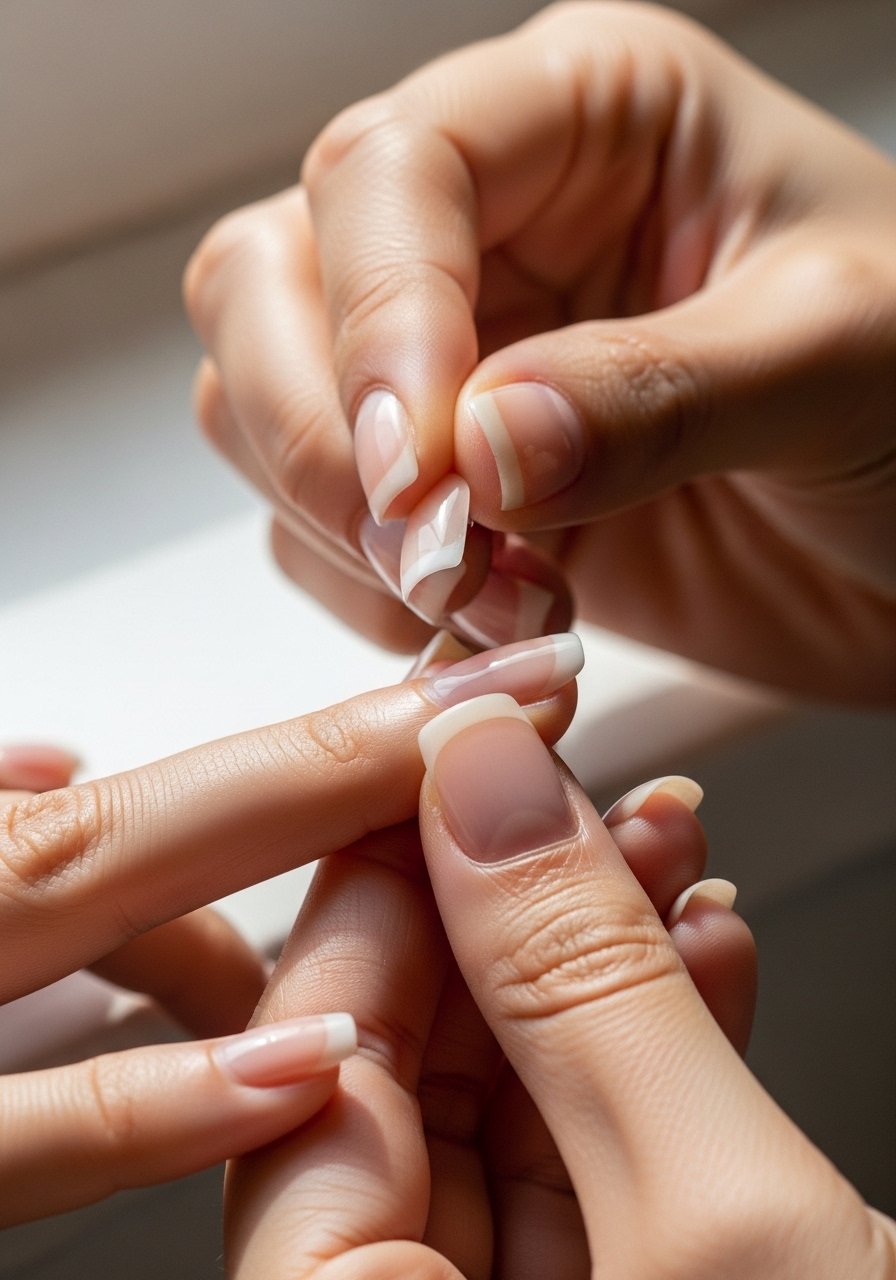
6. Press-On Custom Hearts
Style/Vibe: Quick, customizable press-ons
Best For: Instant results, beginners, last-minute plans
Skill: Beginner
Press-ons let you mix heart shapes and lengths without the drying drama. Try a set with clear tips so you can paint or add decals before applying. For longer wear, buff lightly, use a full-coverage adhesive tab or five-girl glue dots, and file the seat to fit the cuticle for less popping. I recommend prepping the natural nail with a pH wipe for better adhesion. A salon-style press-on kit plus a small dotting tool will let you create tiny hearts on a weekend in under 20 minutes.
Mistake to Avoid: Skipping nail prep, which causes press-ons to lift within a day.
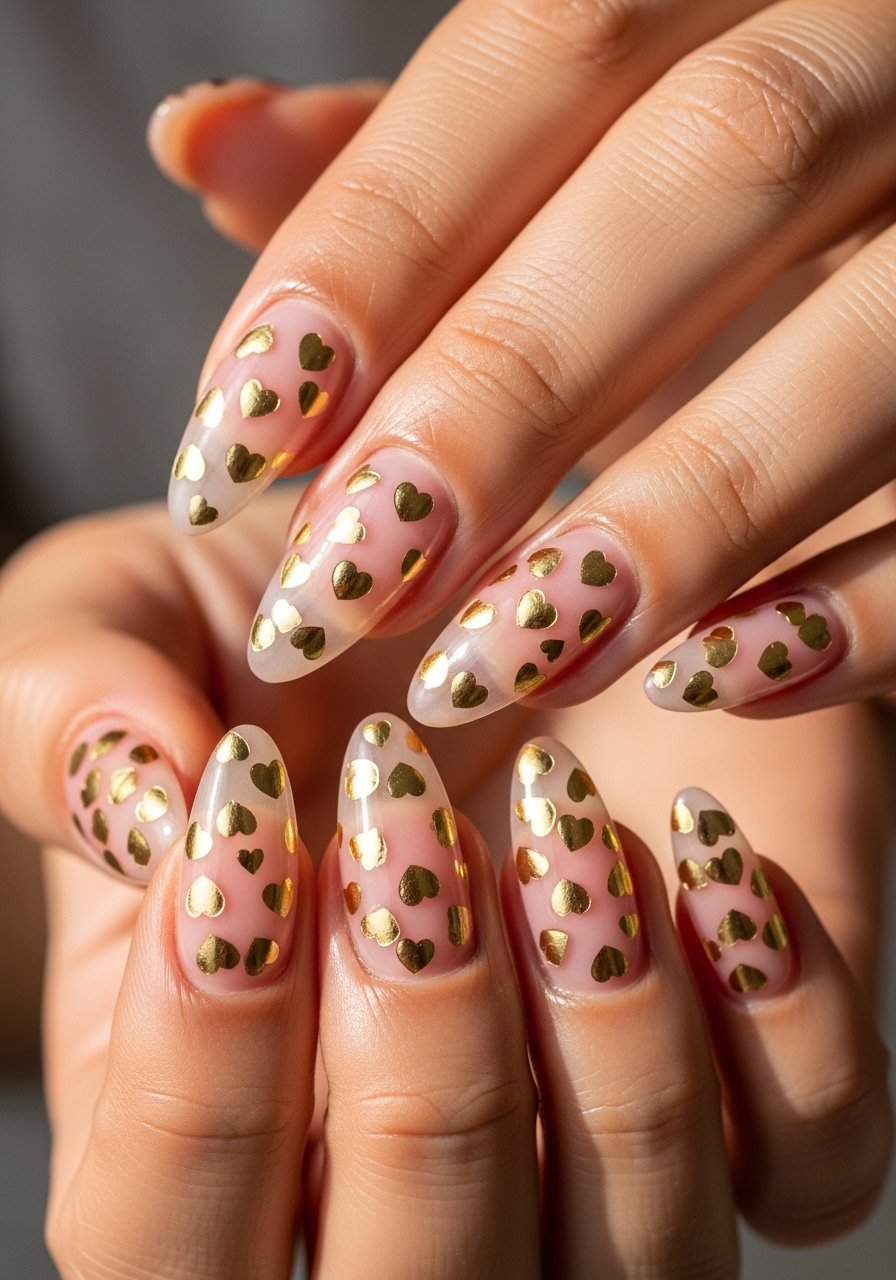
7. Foil Heart Flakes
Style/Vibe: Broken-foil shimmer
Best For: Medium nails, glam-low-effort looks
Skill: Intermediate
Tiny flaked foil hearts read like jewelry on a nail. Start with a sheer base, then place irregular pieces of heart foil on tacky gel or a thin layer of clear polish. Use tweezers or a silicone stick for placement. Seal each nail with a thin top coat, curing 60 seconds in a lamp if using gel. The placement rule I follow is odd numbers per nail for balance, and keep foil pieces under 2mm so they don't snag. This approach gives a luxe feel without heavy gems.
Mistake to Avoid: Using oversized foil pieces that lift or catch on fabrics.
If you want to try any of these, grab a few key tools before continuing to the last looks.
Valentine Mani Essentials
Tools & Prep:
- Nail file set (~$6-12). Good files save the shape and reduce micro-tears.
- Cuticle pusher and trimmer (~$8-15). A clean cuticle line makes small hearts pop.
Color & Finish:
- Sheer nude polish (~$8-14). Wearable base for most looks.
- Cream red polish (~$8-14). The heart color standard.
Decor & Tools:
- Striping tape set (~$5-9). For crisp lines and candy stripes.
- Dotting tool set (~$6-10). Tiny hearts depend on steady dots.
- Gold nail foil (~$5-12). Use sparingly for foil heart accents.
8. Micro-Heart Confetti
Style/Vibe: Tiny confetti scatter
Best For: Short nails, playful weekend look
Skill: Beginner
Micro-heart confetti gives the effect of a spotty pattern without precise painting. After a base coat, place confetti with a toothpick on tacky polish or clear gel. Keep pieces to the side of the nail instead of centered to avoid a crowded look. Seal with two thin coats of top coat to smooth the surface. I like a quick-dry formula that levels in 90 seconds and prevents the confetti from shifting. This look reads fun and casual, perfect for someone who wants Valentine color but not an obvious heart motif.
Mistake to Avoid: Overloading the nail with confetti, which flattens the design.
9. Sculpted 3D Heart Embellishments
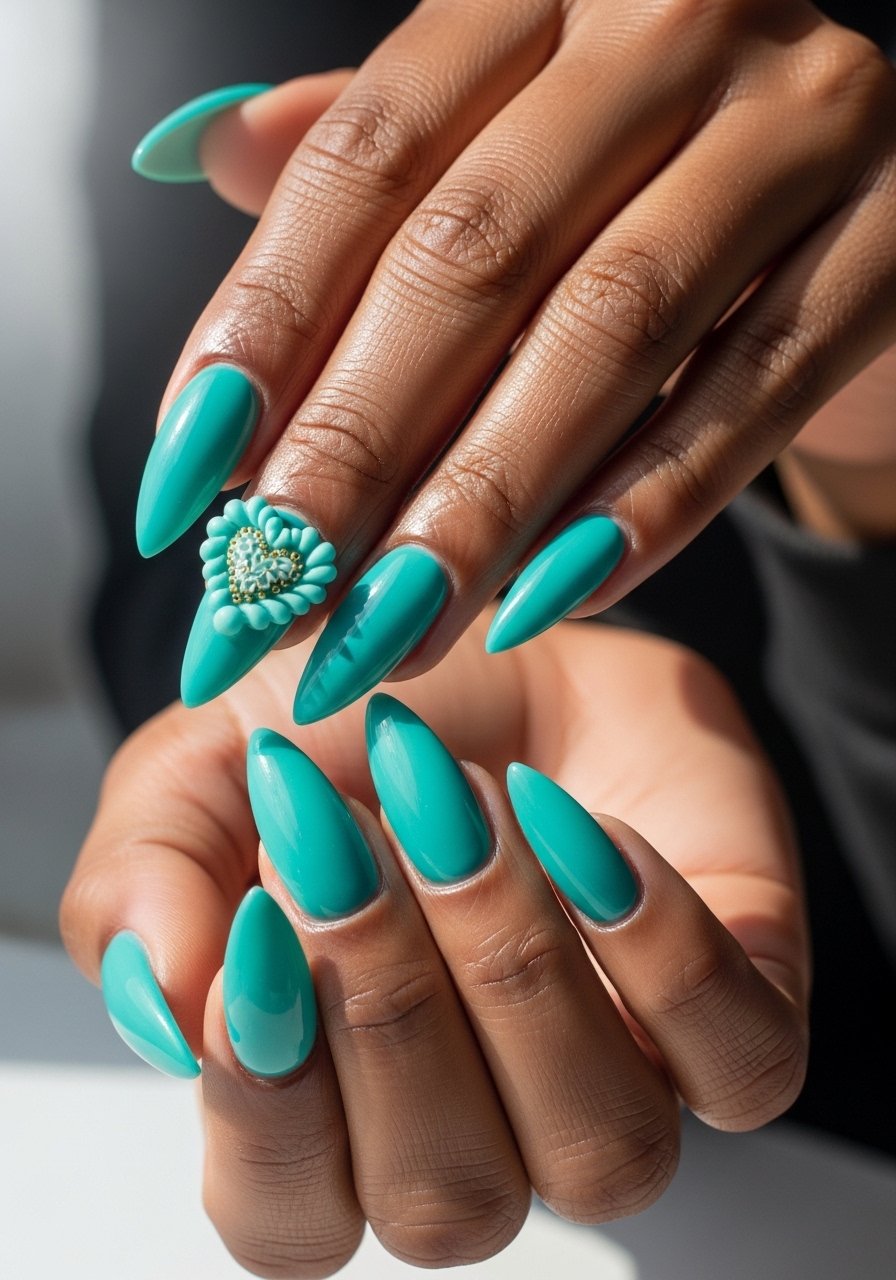
Style/Vibe: Textured sculpted accent
Best For: Long nails, special occasions, advanced looks
Skill: Advanced
Sculpted hearts use acrylic or builder gel to create tiny raised shapes for drama. Use a small bead of acrylic or a pea-sized amount of builder gel, then sculpt with a fine brush into a heart. Cure in short bursts to avoid overheating. The depth detail I was taught is to keep the heart under 1.5mm so it does not snag. Finish with a glossy top coat around the base only, leaving the heart slightly matte for contrast. This is salon-level and best for someone comfortable with product manipulation or willing to book a tech.
Mistake to Avoid: Making the heart too high, which causes catching and early wear.
Mani Habits That Keep Hearts Intact
Thin coats beat one thick coat every time. Three thin layers of quick-dry top coat look smoother and last longer than one gloopy layer.
Keep a tiny lnail brush for cleanup near your mani station, it saves five minutes and stops polish from pooling at the cuticle. Grab a fine clean-up brush that rinses clean.
If you are using press-ons, prep with a pH wipe, not acetone. A pack of pH prep pads costs under $10 and noticeably improves adhesion.
Everyone thinks thicker glitter equals more sparkle. Instead, layer a thin glitter coat over a matching base. Try fine loose glitter and press it gently for a salon finish.
