
I kept picking tiny tattoos with too much detail, then wondering why the lines blurred into a smudge after a year. After a few touch-ups and a talk with a single-line artist, I learned that tiny and detailed do not always belong in the same sentence. These are the small marks that hold up, fade honestly, and still feel like you weeks later, across five shops I have visited and my own missteps.
These ideas are pared-back on purpose, aimed at people who want a discreet mark rather than a statement sleeve. Expect low budget per session, short sittings, and healing that fits into a busy life. Most designs here work for both visible placements and easy cover-ups if you need a conservative option. I include simple aftercare gear and one or two products for anyone booking their first micro session.
1. Tiny Single-Line Symbol
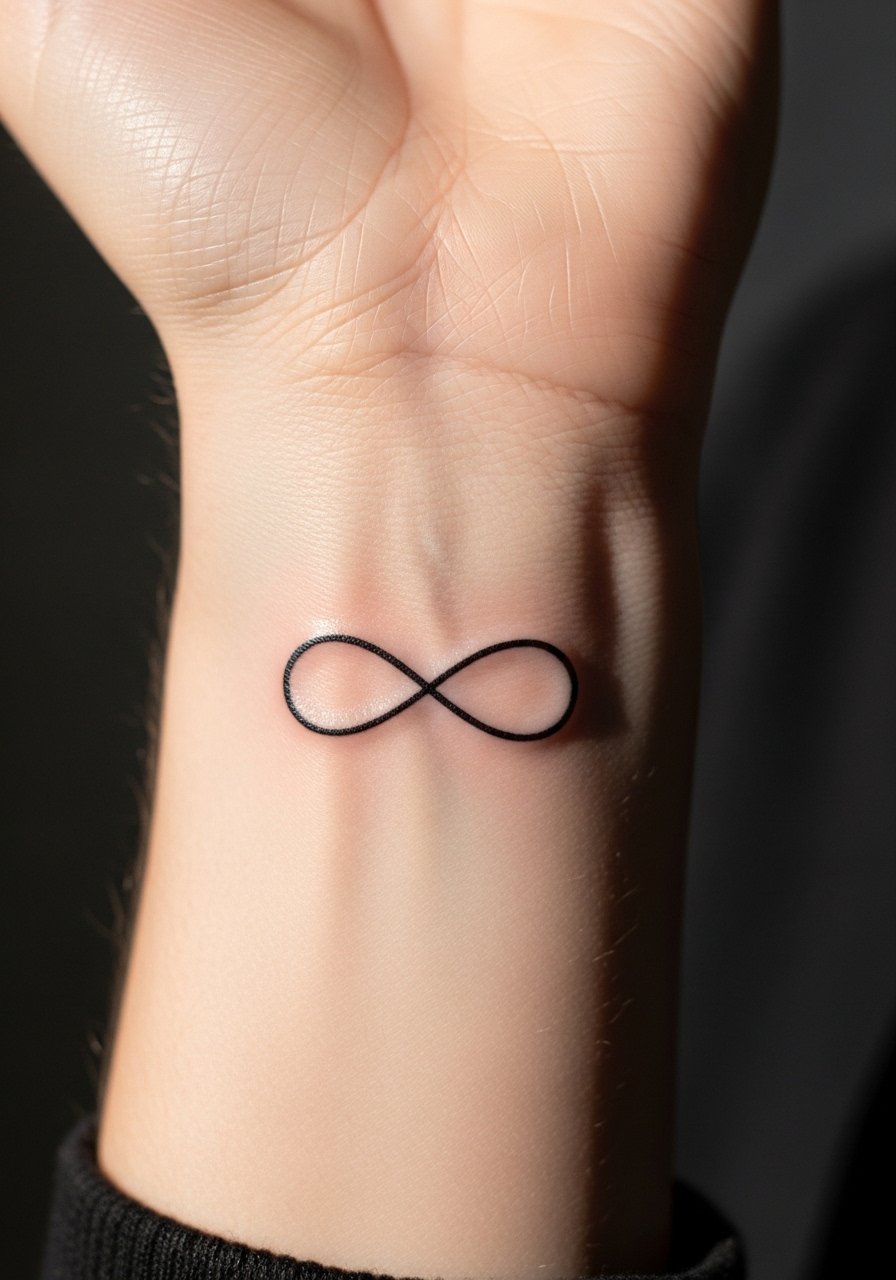
Style/Technique: Fine line single-stroke
Pain Level: 2/10
Session Time: 15 to 30 minutes
Best For: Inner wrist, collarbone, visible but small
A single uninterrupted line reads clean at micro scale because there are no tiny tight details to blur. Visually it reads modern and minimal, and it works if you want something readable at arm's length. Ask your artist for a 3RL or 5RL needle and request 0.5mm line width where possible. Pair this with a thin script or small glyph for contrast. If you want a product on hand, a sensitive-skin tattoo aftercare balm helps reduce scab thickness during the first week.
Mistake to Avoid: Asking for micro detail inside a single-line design, which causes the piece to blur as it ages.
2. Mini Constellation Cluster
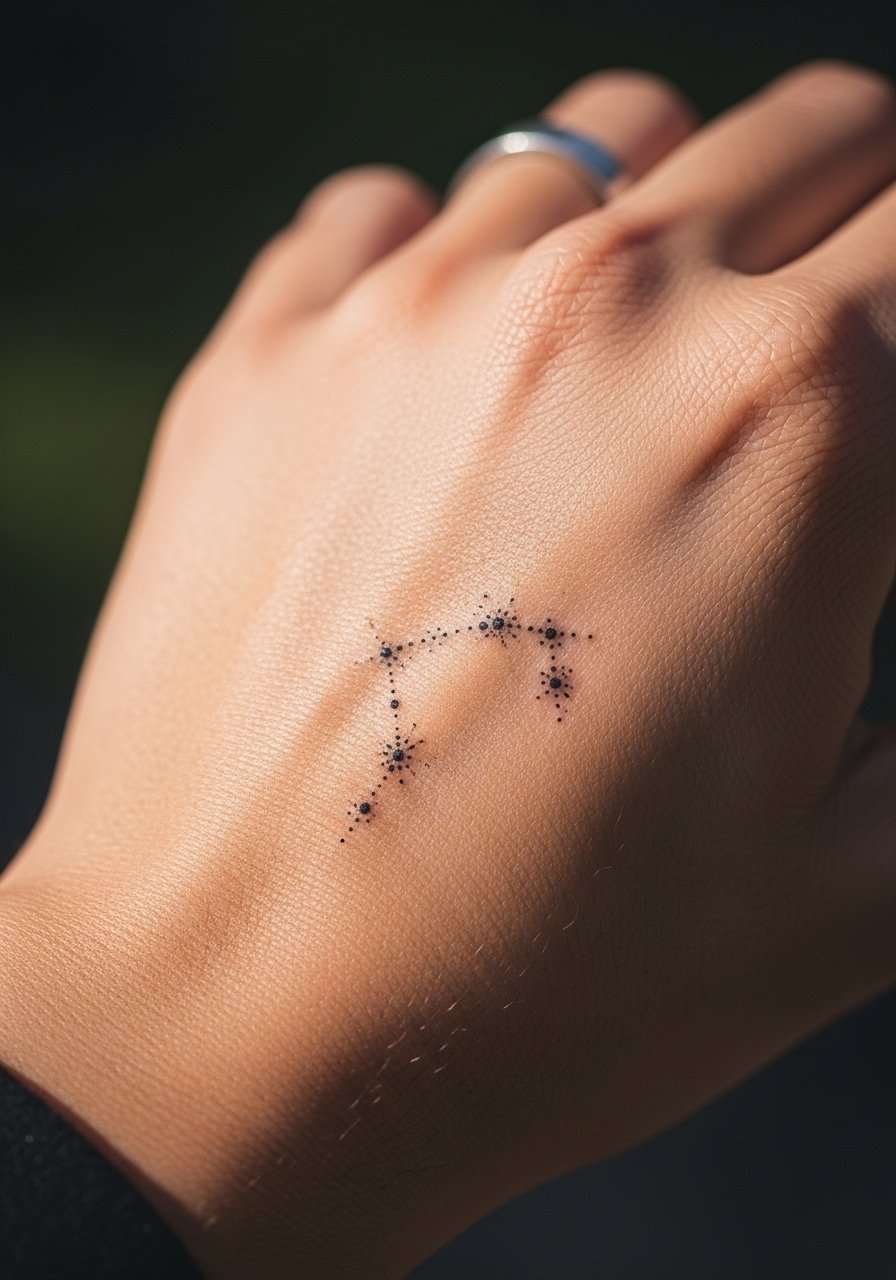
Style/Technique: Dotwork and tiny line
Pain Level: 3/10
Session Time: 20 to 40 minutes
Best For: Back of hand, forearm, work-visible
A handful of dots connected by faint lines reads like a constellation without needing tiny stars drawn in. It creates a scattered, airy feeling and masks small shifts in ink over time. Ask for dots spaced at least 3 to 4 millimeters apart to keep them distinct. This suits someone who likes a small visible piece that still looks delicate. For photos, the contrast holds up better with small solid dots than with micro shading.
Mistake to Avoid: Crowding dots too close together, which makes the cluster merge after healing.
3. Micro Lettering Name
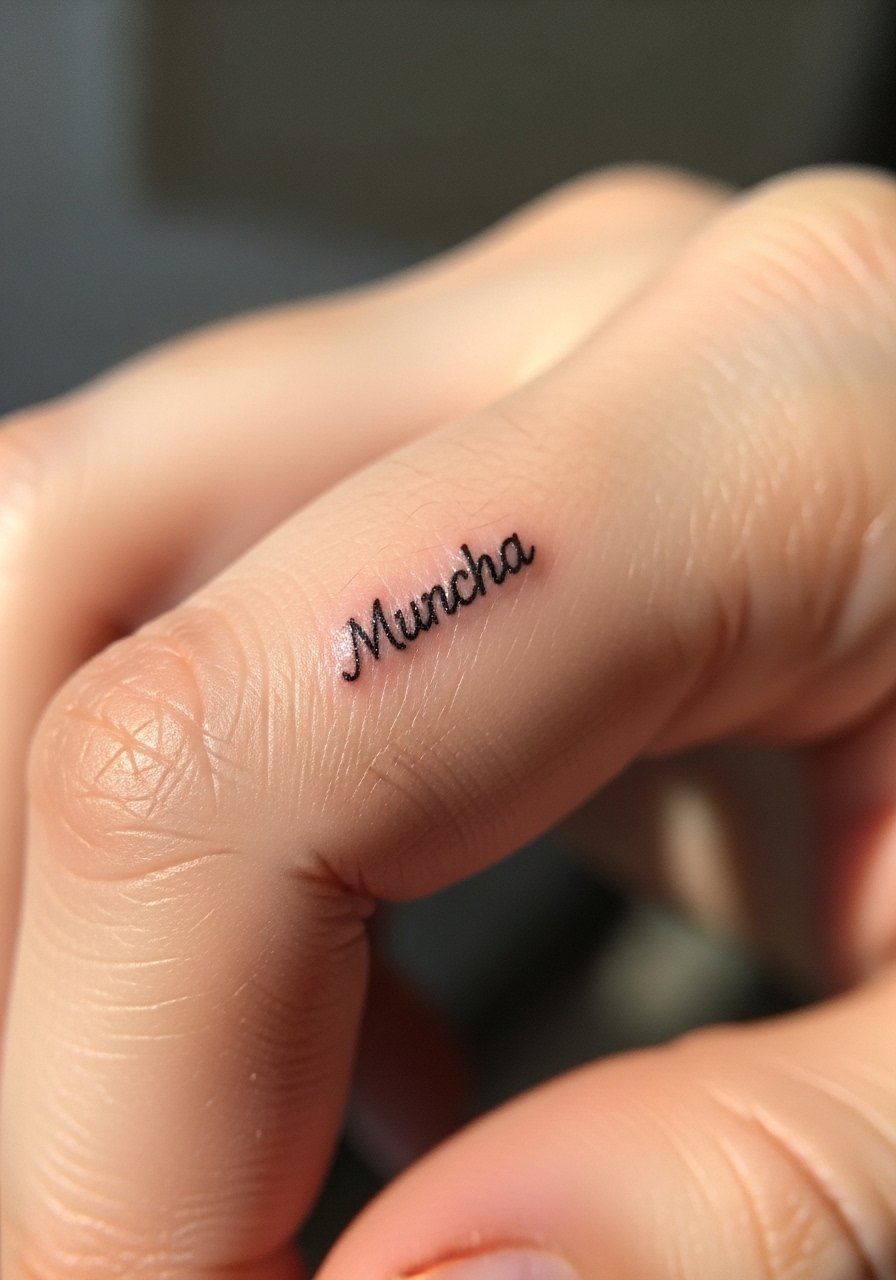
Style/Technique: Micro script lettering
Pain Level: 4/10
Session Time: 20 to 45 minutes
Best For: Side of finger, behind ear, coverable
Micro lettering reads best in a simple type like a narrow script, not ornamental cursive. Keep the letter height at least 2.5 to 3 millimeters to preserve legibility. For longevity pick placements with less friction, such as behind the ear or inner forearm, instead of the finger where lines tend to fade faster. Bring a reference font to your consultation so the artist can translate it to the needle size that will hold up.
Mistake to Avoid: Choosing tiny ornate fonts for fingers, which become unreadable within months.
4. Minimal Geometric Dot Ring

Style/Technique: Minimal geometric dot work
Pain Level: 3/10
Session Time: 10 to 25 minutes
Best For: Fingers, toes, ring visibility
A dot ring feels deliberate without being flashy. It gives the same punctuation as a ring while staying subtle, and it ages more gracefully because dots are solid. If you want color, stick to one tiny dot of muted pigment rather than multiple colors. For tiny bands, plan for touch-ups in one year, especially on fingers. I pair this look with a simple clear-drying barrier film for the first 48 hours to reduce rubbing.
Mistake to Avoid: Expecting a crisp multi-dot band on fingers without planning future touch-ups.
5. Single Tiny Floral Outline
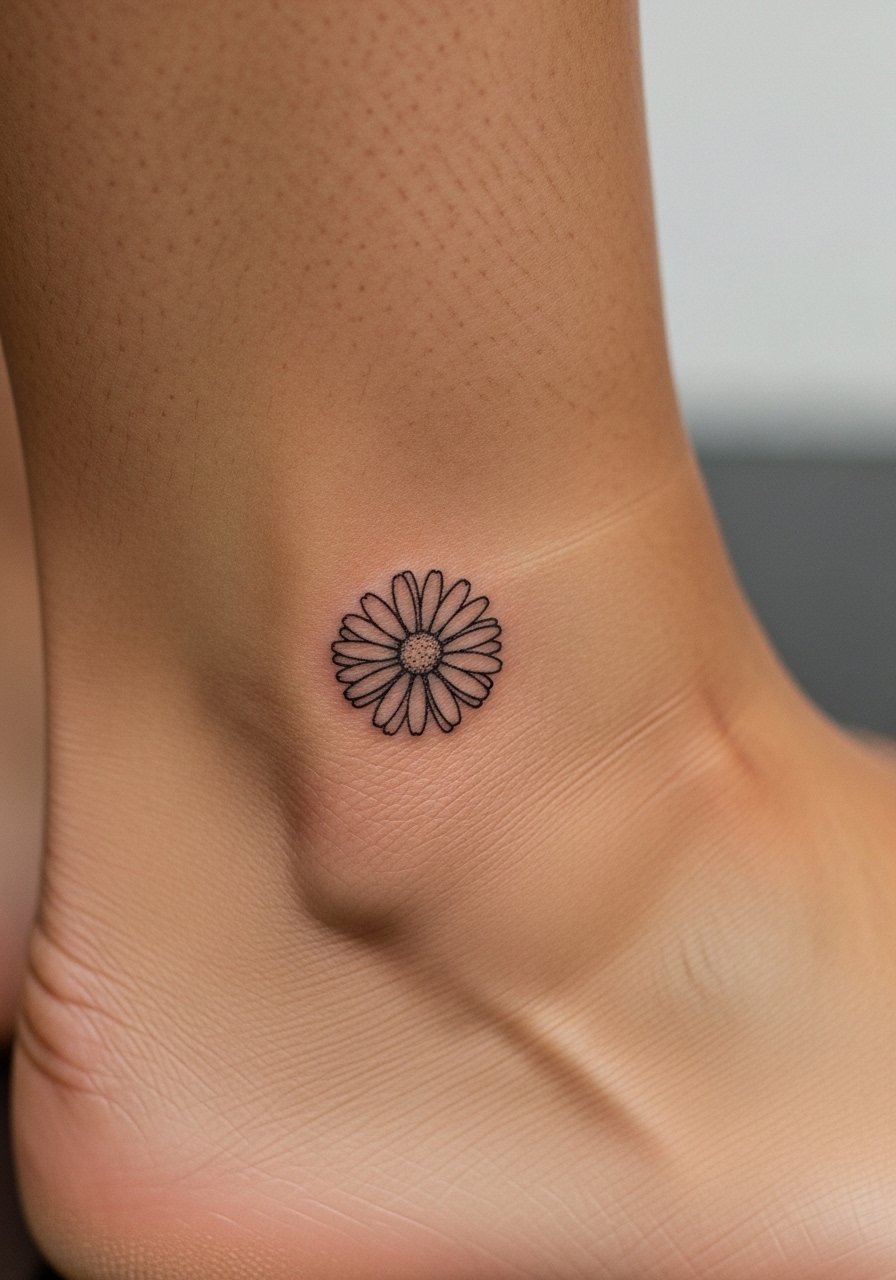
Style/Technique: Minimal outline floral
Pain Level: 2/10
Session Time: 15 to 30 minutes
Best For: Ankle, behind the ear, calf
A very small floral outline reads clean because it uses negative space instead of dense shading. It creates a quiet, organic feel and fits someone who likes nature motifs without large botanical pieces. For better longevity, keep petal lines under 1 millimeter and avoid filling. If you want a product reference for sleeping while healing, try a silk pillowcase to reduce friction and folding over the new ink.
Mistake to Avoid: Asking for filled petals at micro scale, which become blotchy as the ink settles.
6. Micro Arrow Accent

Style/Technique: Tiny line arrow
Pain Level: 3/10
Session Time: 10 to 20 minutes
Best For: Rib, ankle, clavicle
An arrow is graphic and directional while staying minimal. It works well as a standalone tiny piece or as a companion to another micro tattoo. Keep the shaft thin and the head simple, and ask your artist to space the ends by at least 1.5 millimeters to avoid patching. For placement that moves with the body, like the rib, expect a slightly longer healing time and plan for a simple aftercare wash like fragrance-free soap and gentle patting.
Mistake to Avoid: Requesting ornate fletching or arrowheads that are too small to hold.
7. Tiny Coordinated Pair
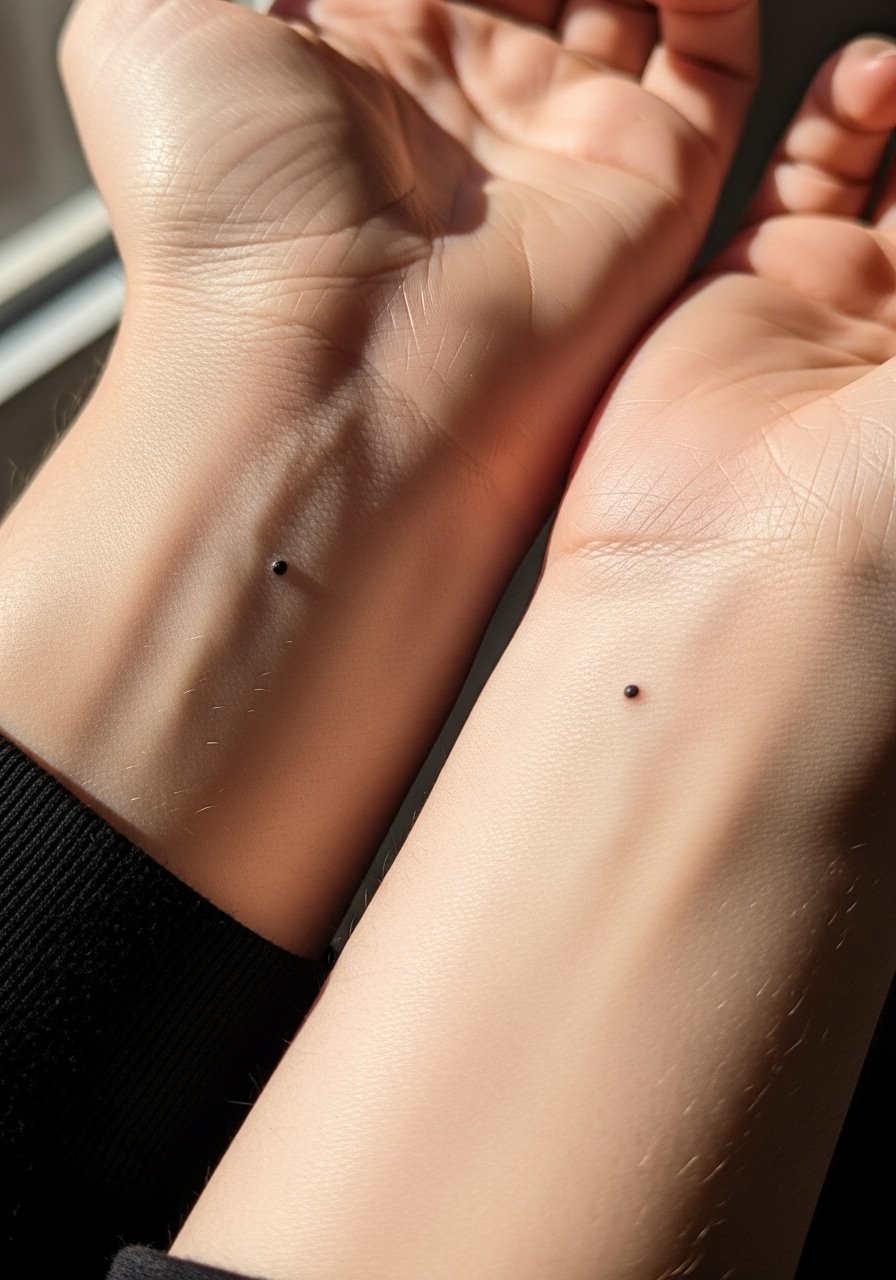
Style/Technique: Paired micro marks
Pain Level: 1/10
Session Time: 10 to 20 minutes
Best For: Wrists, ankles, mirrored placement
Two matching micro marks create a balanced, intentional look without a large time or cost commitment. They read as a set and give a sense of continuity when you move. Pair with different placements across wrists or ankles for a subtle asymmetry. If you plan for visible work environments, place them where you can cover them easily. A small tube of fragrance-free gentle soap is handy during the first week.
Mistake to Avoid: Picking non-mirrored placements that make the pair look accidental.
If any of these have you ready to actually try something, here are the essentials I rely on when booking and healing tiny tattoos.
Tiny Tattoo Starter Picks
Aftercare Essentials:
- sensitive-skin tattoo aftercare balm (~$10-20), I use this for the first two weeks.
- fragrance-free gentle soap (~$6-12), for daily washing.
Protection & Clothing:
- non-stick breathable bandages (~$8-15), useful for friction areas.
- silk pillowcase (~$15-30), reduces rubbing while you sleep.
Prep & Tools:
- tattoo stencil transfer paper (~$8-20), handy if you are testing size at home.
- disposable razors sensitive skin (~$5-10), for clean prep.
Sun & Longevity:
- mineral sunscreen stick face and body (~$10-20), for protecting healed ink.
- compact mirror (~$5-12), to check placement on the go.
8. Tiny Negative Space Accent
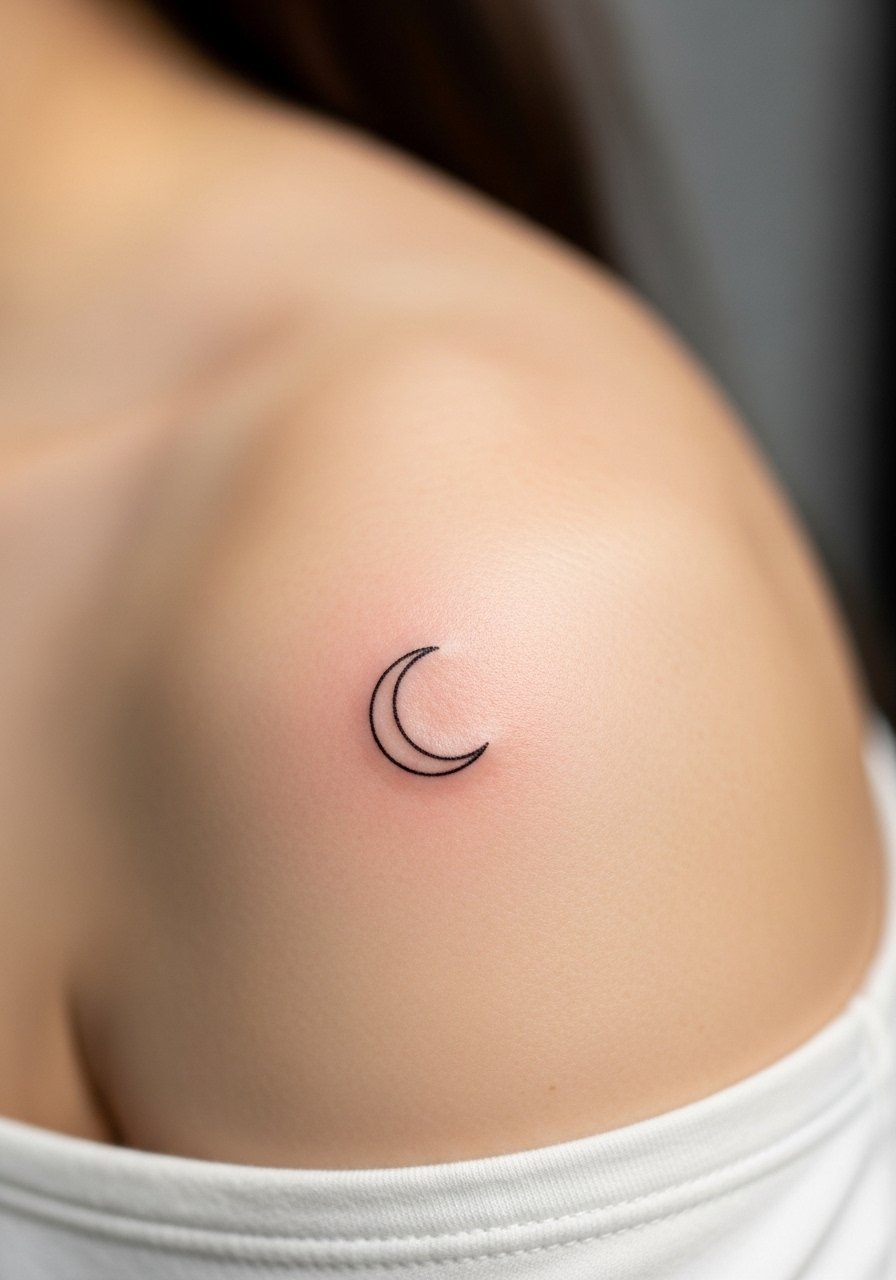
Style/Technique: Negative space micro
Pain Level: 2/10
Session Time: 15 to 25 minutes
Best For: Shoulder, calf, upper arm
Using the skin as part of the design keeps the piece airy. A tiny crescent carved out of a thin shaded dot or minimal block gives a crisp look that withstands minor spread. Ask the artist to leave at least 1.5 to 2 millimeters of untouched skin inside negative spaces to avoid the edges bleeding in. This is a good choice for someone who likes subtle geometry without dense ink.
Mistake to Avoid: Making negative spaces too small to be maintained during healing.
9. Micro Color Pinpoint
Style/Technique: Single-color pinpoint
Pain Level: 2/10
Session Time: 10 to 20 minutes
Best For: Clavicle, wrist, behind ear
A single tiny colored dot can pack personality without committing to a larger color piece. Stick to muted pigments like soft red or muted blue that age more predictably than neon tones. Color at micro scale can fade faster, so plan budget for a touch-up around year one. For sleeping and clothing, a light breathable cover for the first day keeps fabric from sticking to fresh color.
Mistake to Avoid: Choosing multiple micro colors close together, which blur and muddy with time.
10. Mini Map Coordinate
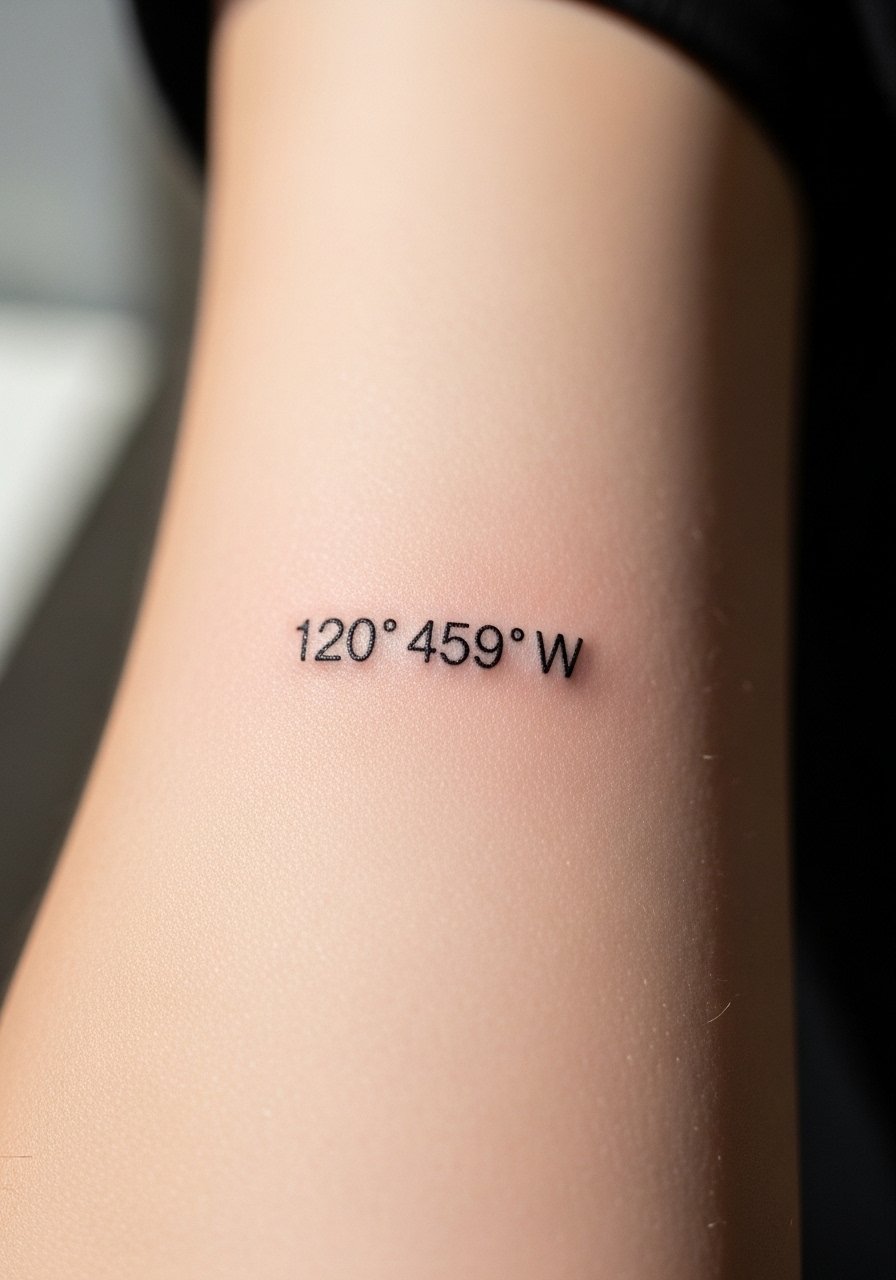
Style/Technique: Micro numeric lettering
Pain Level: 3/10
Session Time: 20 to 35 minutes
Best For: Inner forearm, rib, calf
Coordinates read clean because they are linear and use uniform spacing. Keep digits at least 2.5 millimeters tall and ask for even kerning so each number holds. This is the kind of piece you can show at arm's length and still read. It feels personal without being literal. Bring your exact font sample and ask the artist to tattoo a stencil on paper or your skin to test size.
Mistake to Avoid: Shrinking digits too small, which makes the coordinates illegible.
11. Tiny Abstract Mark

Style/Technique: Small abstract line
Pain Level: 2/10
Session Time: 10 to 20 minutes
Best For: Behind ear, nape, ankle
Abstract marks let you keep meaning private while giving a unique visual signature. They age well because the eye reads the shape rather than the detail. Before inking, try drawing the squiggle on your skin and wear it for a day to test how it looks in motion. For placement with movement, expect a little extra fading and plan lightweight touch-ups if you want it to stay crisp.
Mistake to Avoid: Choosing a shape that looks good flat but distorts badly when the skin moves.
12. Micro Tattoo Over Scar
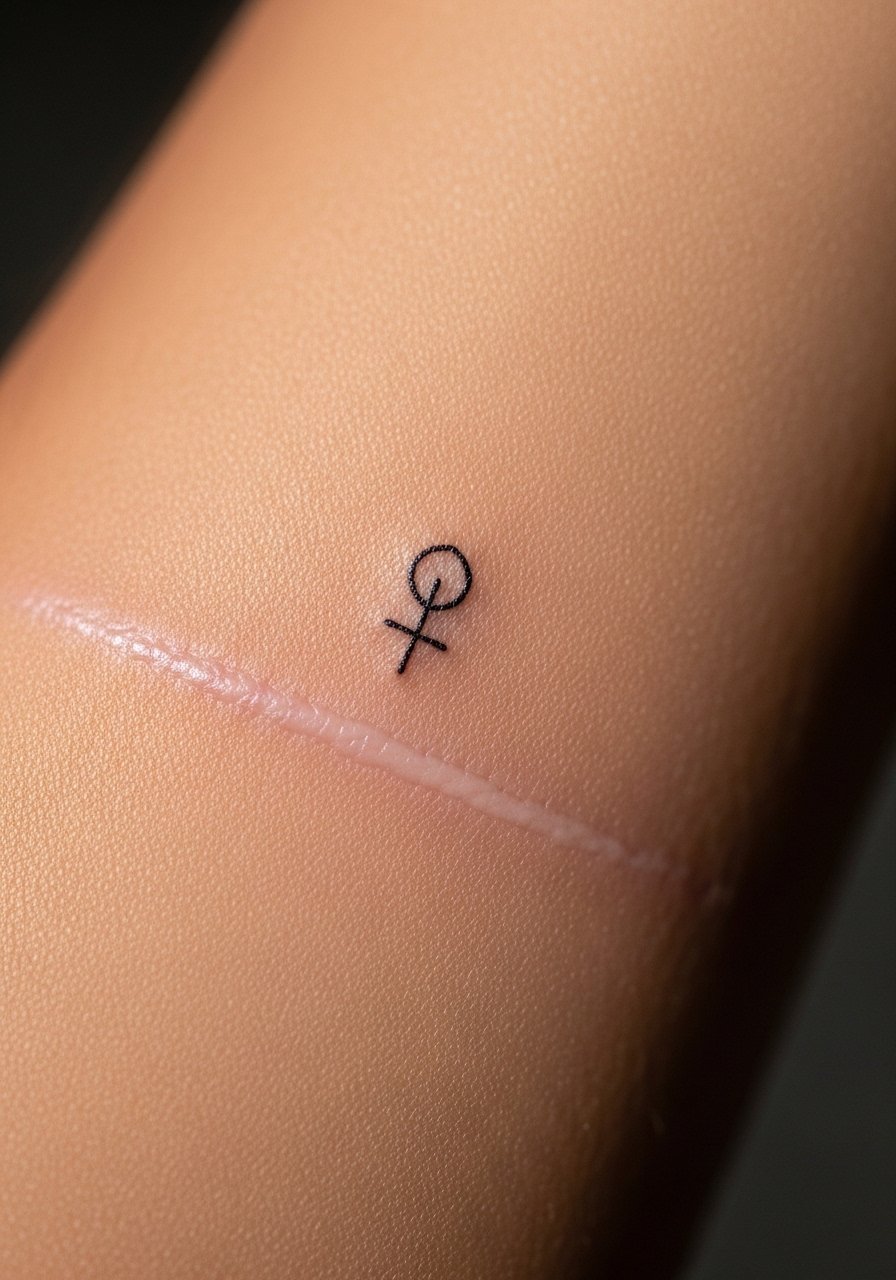
Style/Technique: Scar-cover microwork
Pain Level: 3/10
Session Time: 30 to 60 minutes depending on scar
Best For: Small scars, textured areas
Working over a scar requires a conversation with your artist about texture and vascularity. Tiny, solid shapes or fine lines that cross the scar can help the area read as intentional rather than damaged. Expect slightly different ink uptake and plan a test dot. Cultural-sensitivity does not apply here but medical clearance might be needed if the scar is recent. A patch test and realistic expectations avoid disappointment.
Mistake to Avoid: Expecting scar tissue to take ink exactly like surrounding skin without a test session.
13. Mini Toe Accent
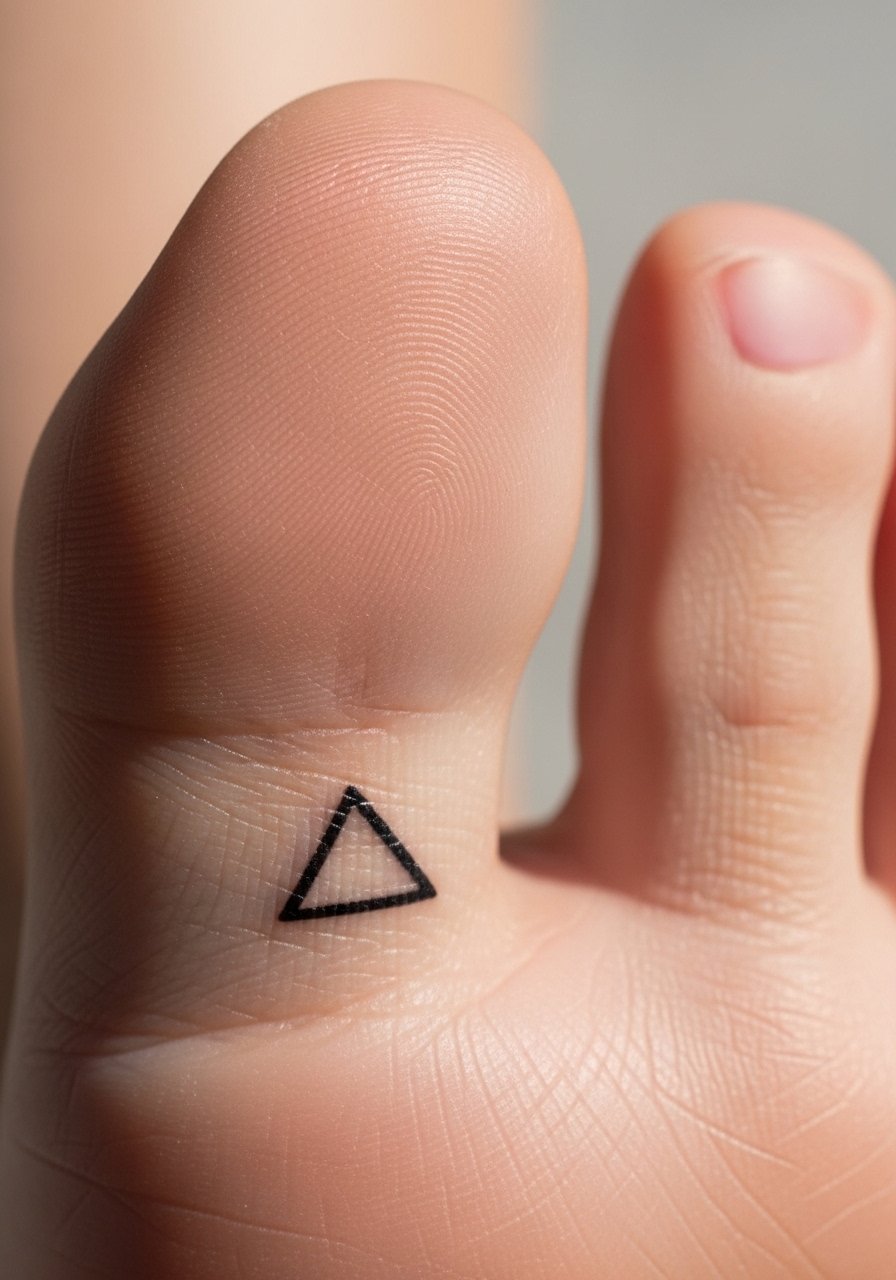
Style/Technique: Mini toe placement
Pain Level: 3/10
Session Time: 10 to 20 minutes
Best For: Toes, sides of feet, easy to hide
Toe tattoos are tiny and discreet but they come with high friction and fading risk. Simple geometric shapes or single-line accents work best here. Plan for touch-ups and pick a darker pigment that absorbs more consistently. During the first two weeks wear open shoes when possible and protect the area from constant rubbing against socks. A quick dry bandage for the first 24 hours reduces scuffing.
Mistake to Avoid: Expecting perfect longevity on toe placements without scheduling a touch-up.
Mini Tattoo Aftercare Habits
Keep it dry when possible. Fresh tattoos fare better with short gentle washes and air drying than with prolonged soaking. I keep a fragrance-free gentle soap by the sink and use a dab.
Sleep on clean bedding. Swap to a silk pillowcase for the first week to reduce friction and avoid scab tears.
Test placement with a pen. Draw your tiny design on the skin and wear it for a day. If it wrinkles or sits oddly when you move, the real tattoo will too. A small compact mirror helps check angles.
Don’t over-apply product. A pea-sized amount of balm goes a long way. Over-greasing can cause scabs to stay wet and increase scabbing. Keep a tube of sensitive-skin tattoo aftercare balm within reach and use sparingly.
