
I learned the hard way that the tiny roll of plastic my artist taped over my fresh tattoo was not optional. I peeled it at hour two, thinking it would breathe. The next morning it was a scabbed mess and the ink looked patchy. After three more tattoos and across five shops I have visited, I learned the real rhythm of washing, moisturizing, and keeping that new skin steady.
These tips are for people who just left the chair, have a modest budget, and want to avoid awkward touch-ups. Most ideas are low-effort and under $25, a few are specialty items around $35 to $50. They fit studio tattoos, small color pieces, and larger blackwork that needs predictable healing. If you are immunocompromised or on blood thinners, run these past your artist or doctor first.
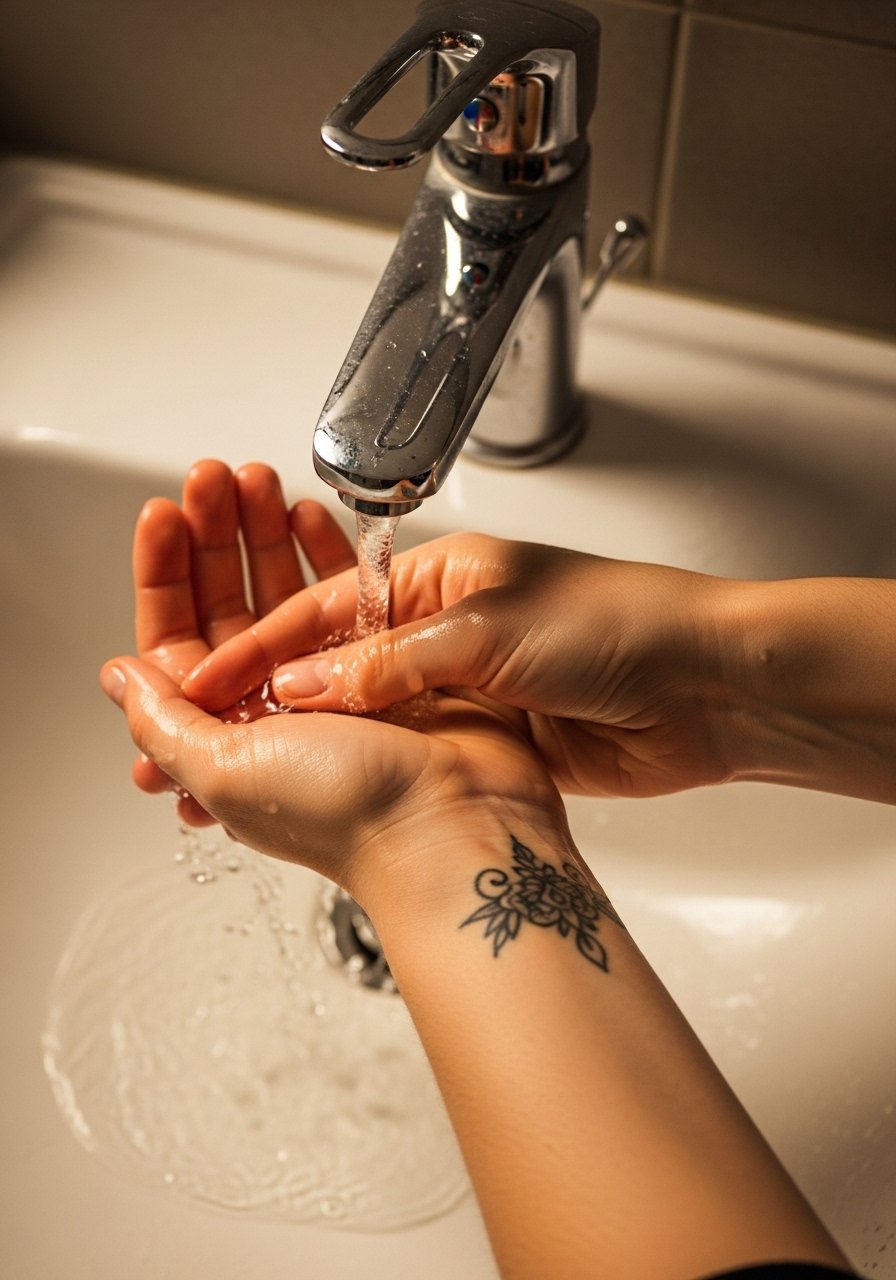
1. First Wash, 20 to 30 Seconds Only
Style/Technique: Initial Cleanse
Pain Level: 3/10
Session Time: 0 to 10 minutes
Best For: All placements, fresh sessions
The first clean matters more than how much lotion you use later. Use lukewarm water and a mild unscented soap, rinse gently for about 20 to 30 seconds, and pat dry with a clean paper towel. Too hot water swells the skin and pulls ink. I used to scrub the area thinking more is better, and I carried away tiny ink flakes. I now recommend a mild liquid soap like unscented liquid soap for sensitive skin applied with fingertips only, never a washcloth.
Mistake to Avoid: Scrubbing the tattoo during the first wash, which can lift ink and irritate new skin.
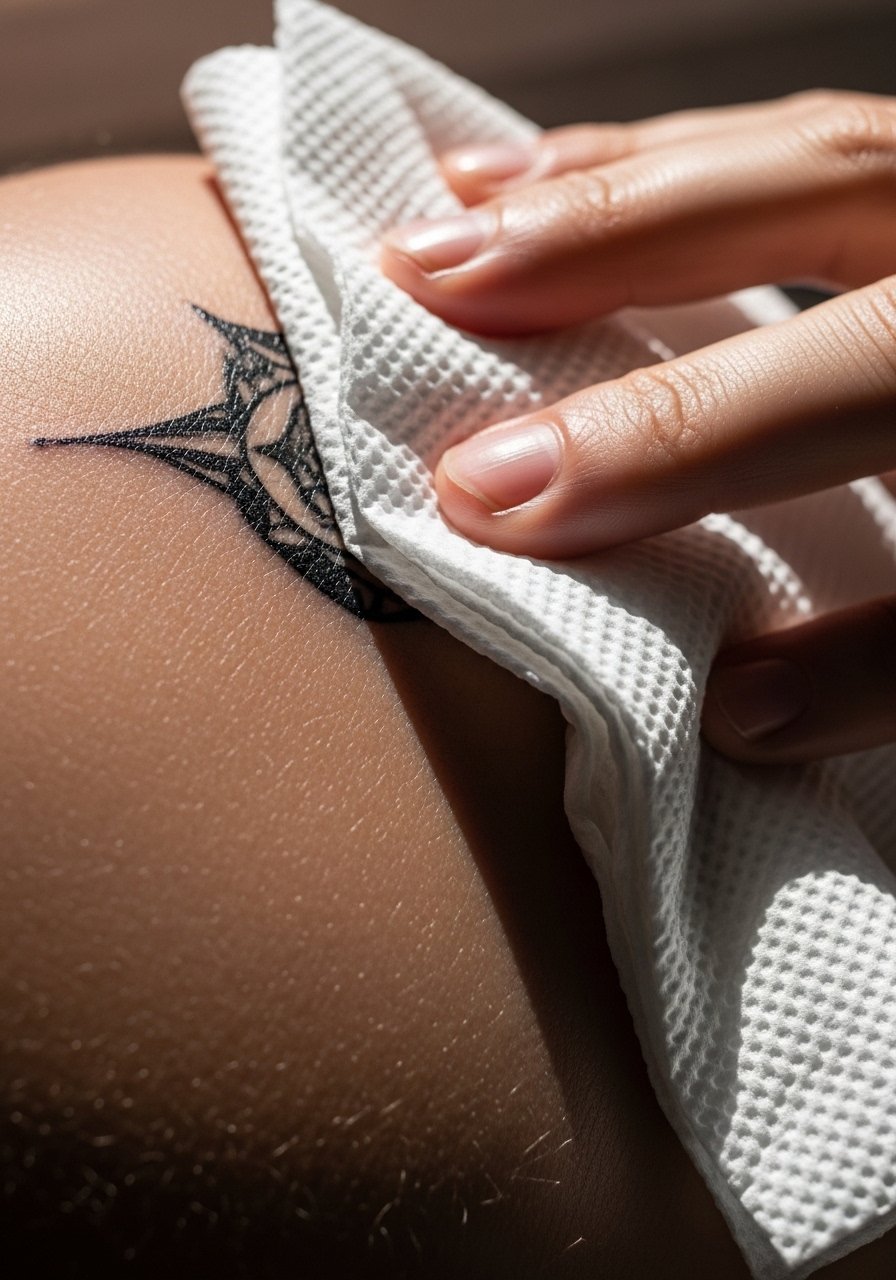
2. Pat Dry, Don’t Rub
Style/Technique: Gentle Drying
Pain Level: 1/10
Session Time: 0 to 2 minutes
Best For: All placements
Patting is a small change that keeps the scab layer even. After rinsing, fold a clean paper towel and press gently until dampness is gone. Rubbing with a towel can peel tiny scabs and leave a shiny, uneven finish. For sleeping nights, I switch to single-use sterile gauze under a loose T-shirt so I am not tempted to rub in my sleep. A pack of single-use paper towels, like absorbent paper towel rolls, 6-pack, is cheap and handy.
Mistake to Avoid: Rubbing the tattoo dry, which disrupts healing scabs and can create white spots.
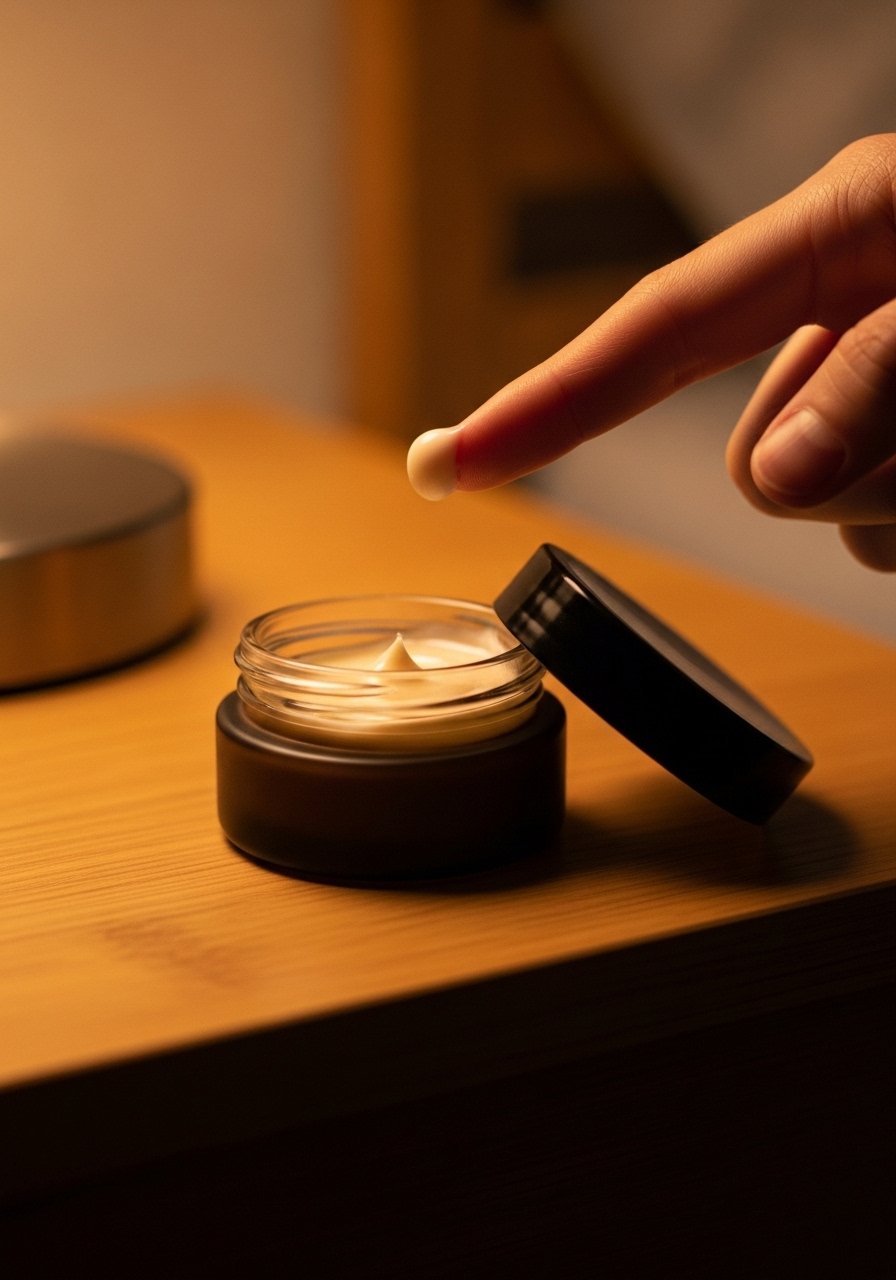
3. Thin Layers of Ointment, Not a Slather
Style/Technique: Ointment Application
Pain Level: 1/10
Session Time: 1 to 5 minutes
Best For: Color and blackwork, fresh sessions
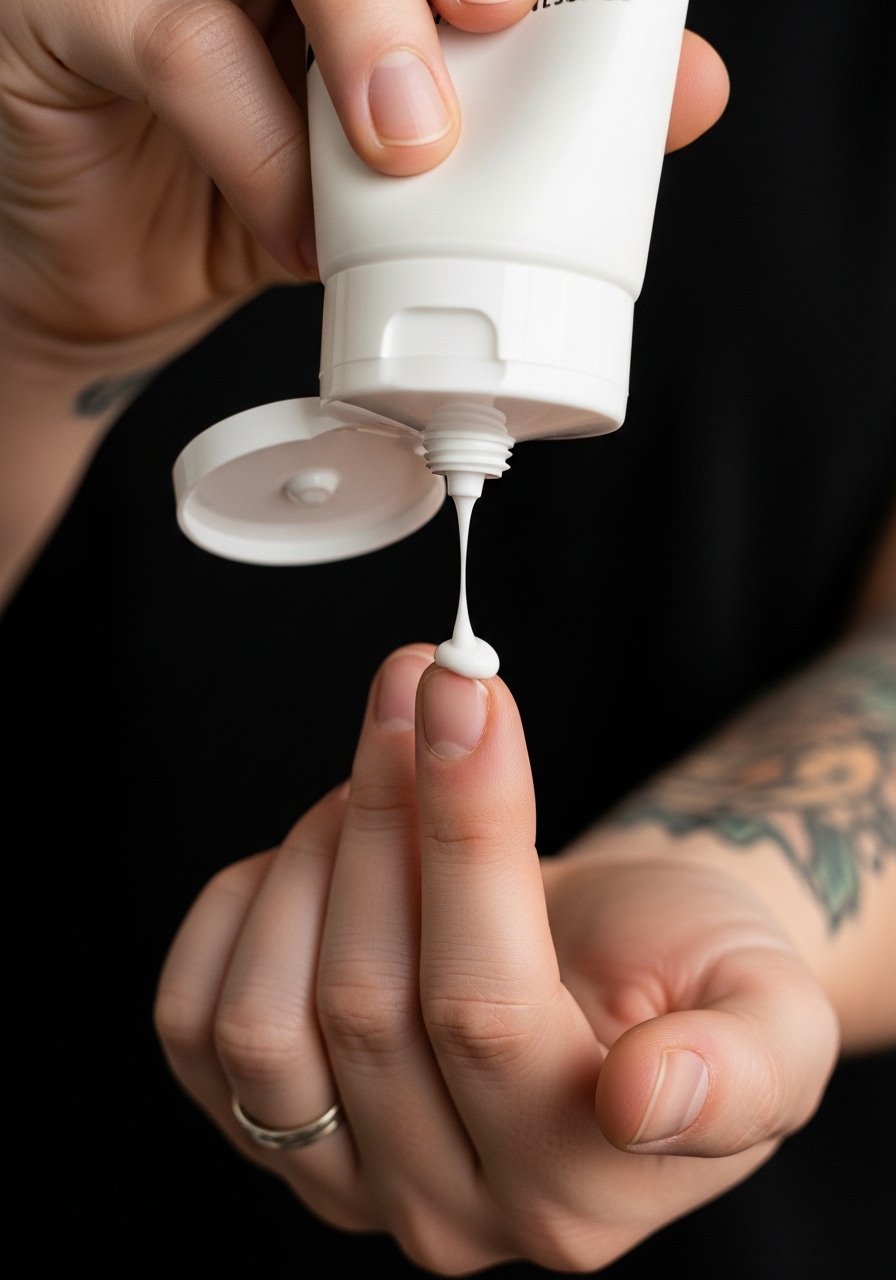
A pea-sized amount spread evenly is all you need for a palm-sized tattoo. I once put what felt like a generous layer and woke to a greasy mess and clogged pores. Thin layers let the skin breathe and stop the area from becoming waterlogged. Try a tattoo-safe ointment like petroleum-free tattoo ointment for the first two to three days, then switch to a lotion.
Mistake to Avoid: Using thick, heavy smears that trap moisture and invite irritation.
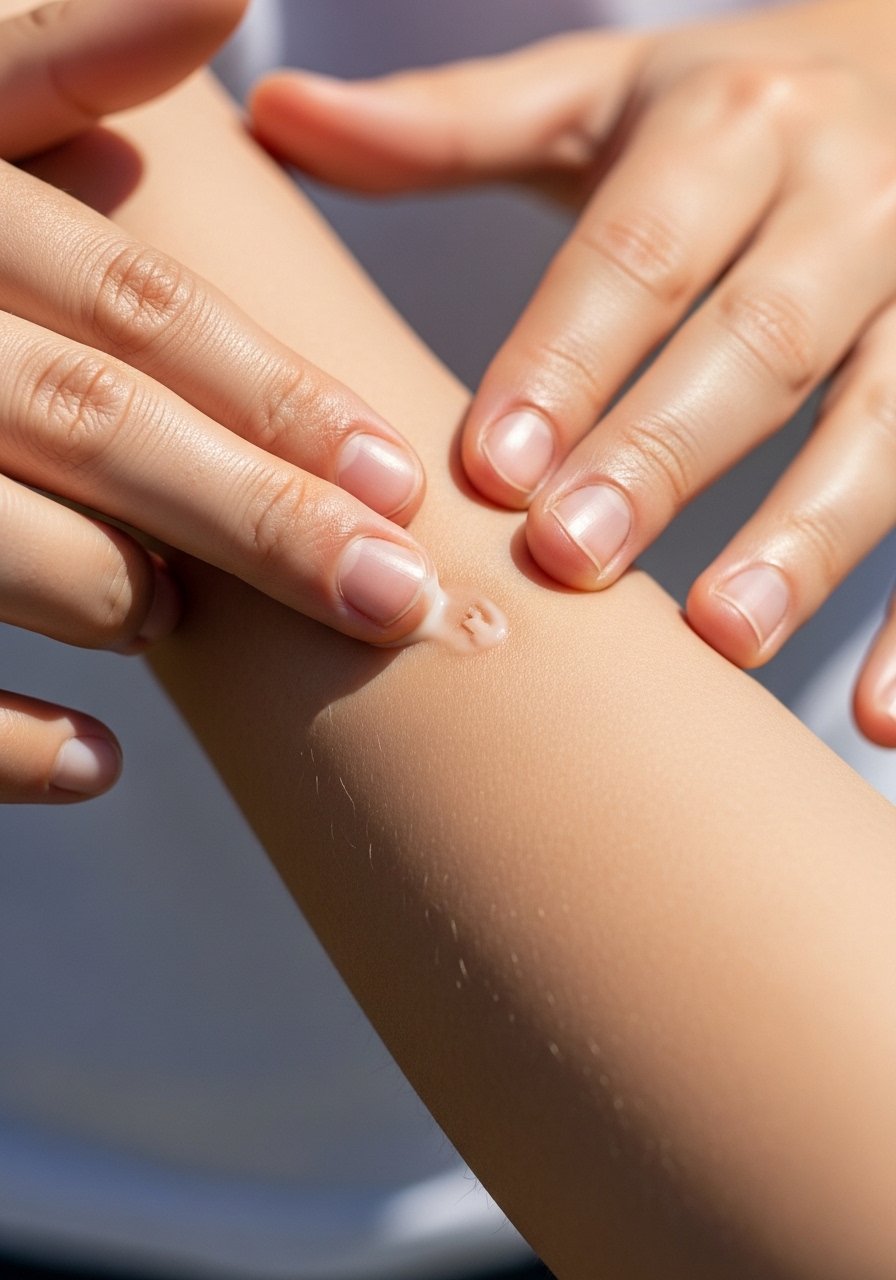
4. Switch to Fragrance-Free Lotion After 48 Hours
Style/Technique: Moisturizing Transition
Pain Level: 1/10
Session Time: 1 to 3 minutes
Best For: All skin types
After the initial ointment phase, move to a fragrance-free, water-based lotion to keep the skin supple. I like to put a dime-sized amount and rub until just gone. Fragrances and essential oils cause stinging and prolonged redness. A reliable pick is fragrance-free moisturizing lotion. If you have oily skin, apply less often. If dry, up frequency but keep amounts small.
Mistake to Avoid: Switching directly to scented lotions that irritate healing skin.
5. Keep the Bandage On as Instructed
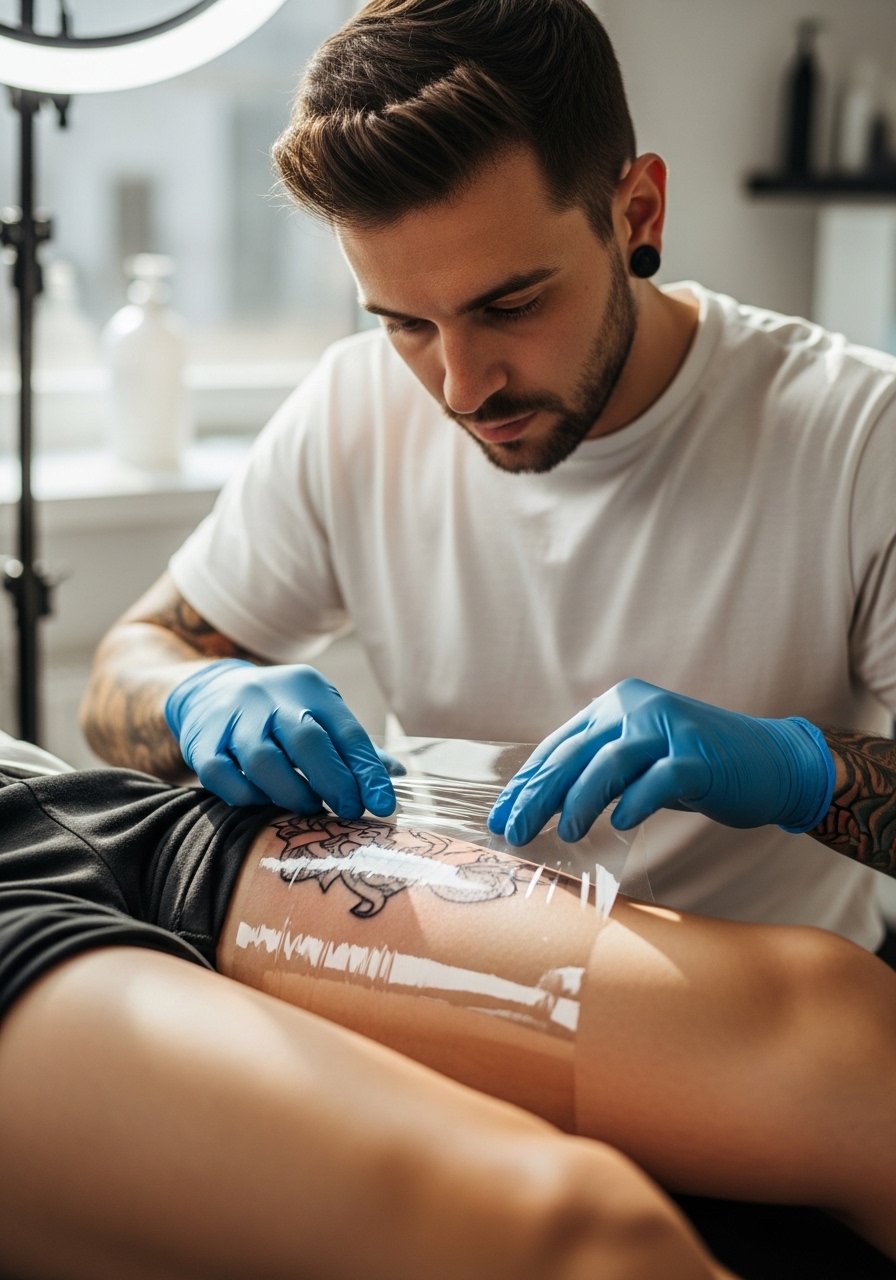
Style/Technique: Protective Film
Pain Level: 2/10
Session Time: 5 to 60 minutes
Best For: High-friction placements, first 24 hours
Your artist’s wrap is there for a reason. I peeled mine early once and ended up with lint embedded in the tacky layer. Most shops recommend leaving it on anywhere from two to 24 hours depending on the wrap used. If your artist used a breathable sterile film, follow their timing. If you need to shower with it, tilt away from water and avoid direct spray.
Mistake to Avoid: Removing the initial film too soon and exposing the tattoo to bacteria and friction.
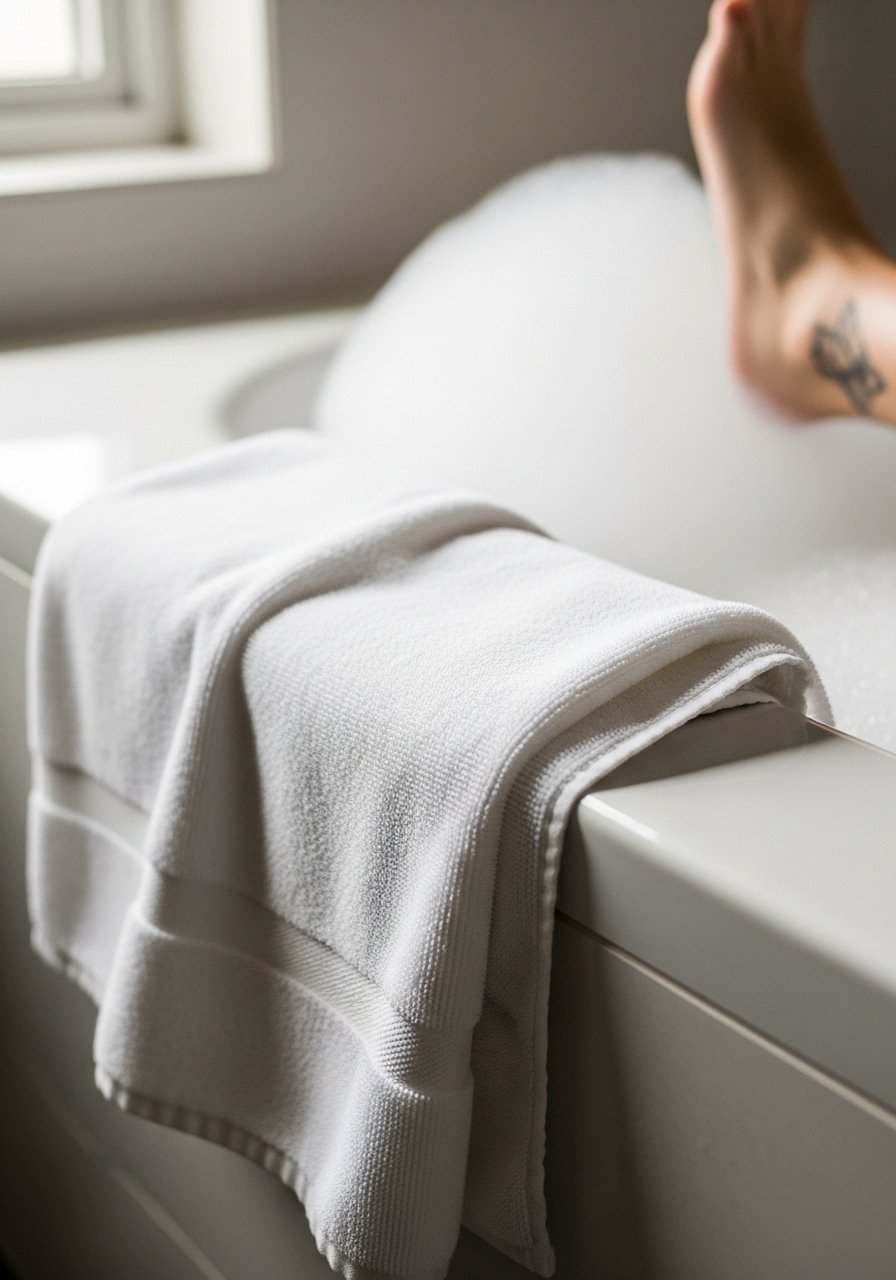
6. No Soaking for Two Weeks
Style/Technique: Avoid Soaking
Pain Level: 1/10
Session Time: N/A
Best For: Tattoos on legs, feet, and arms
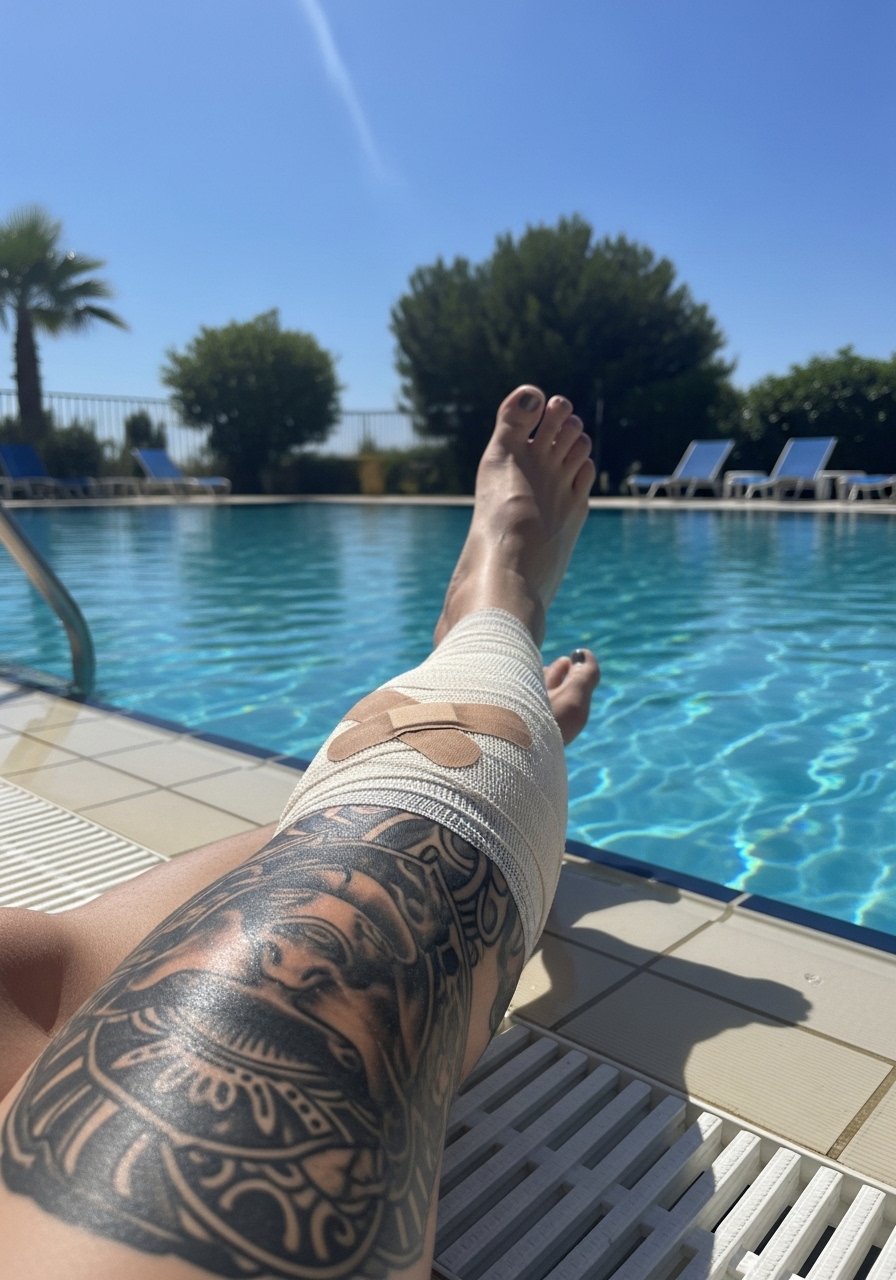
Tubs, pools, and hot tubs are a no for at least two weeks. Prolonged soaking loosens scabs and leaches dye. I learned this after a sun-and-swim weekend turned a vibrant calf into a blurry patch. If it cannot be avoided, cover with a waterproof bandage for short exposures only, then re-clean and re-moisturize immediately.
Mistake to Avoid: Testing if the tattoo is “ready” for a swim by dunking it briefly.
7. Short Showers Over Long Baths

Style/Technique: Quick Shower Care
Pain Level: 1/10
Session Time: 5 to 10 minutes
Best For: Work-visible placements
A quick shower is safer than a long bath because running water reduces soak time. I keep showers to under 10 minutes and avoid aim-direct spray. Use your hand to rinse gently rather than blasting the area. After showering, pat dry and apply a light lotion. For under-clothes spots, dress with breathability in mind.
Mistake to Avoid: Letting the tattoo sit under a hot stream for a long time, which softens scabs.
8. Sun Avoidance for the First Months
Style/Technique: UV Protection
Pain Level: 0/10
Session Time: Ongoing while healing
Best For: Color tattoos, face-down placements
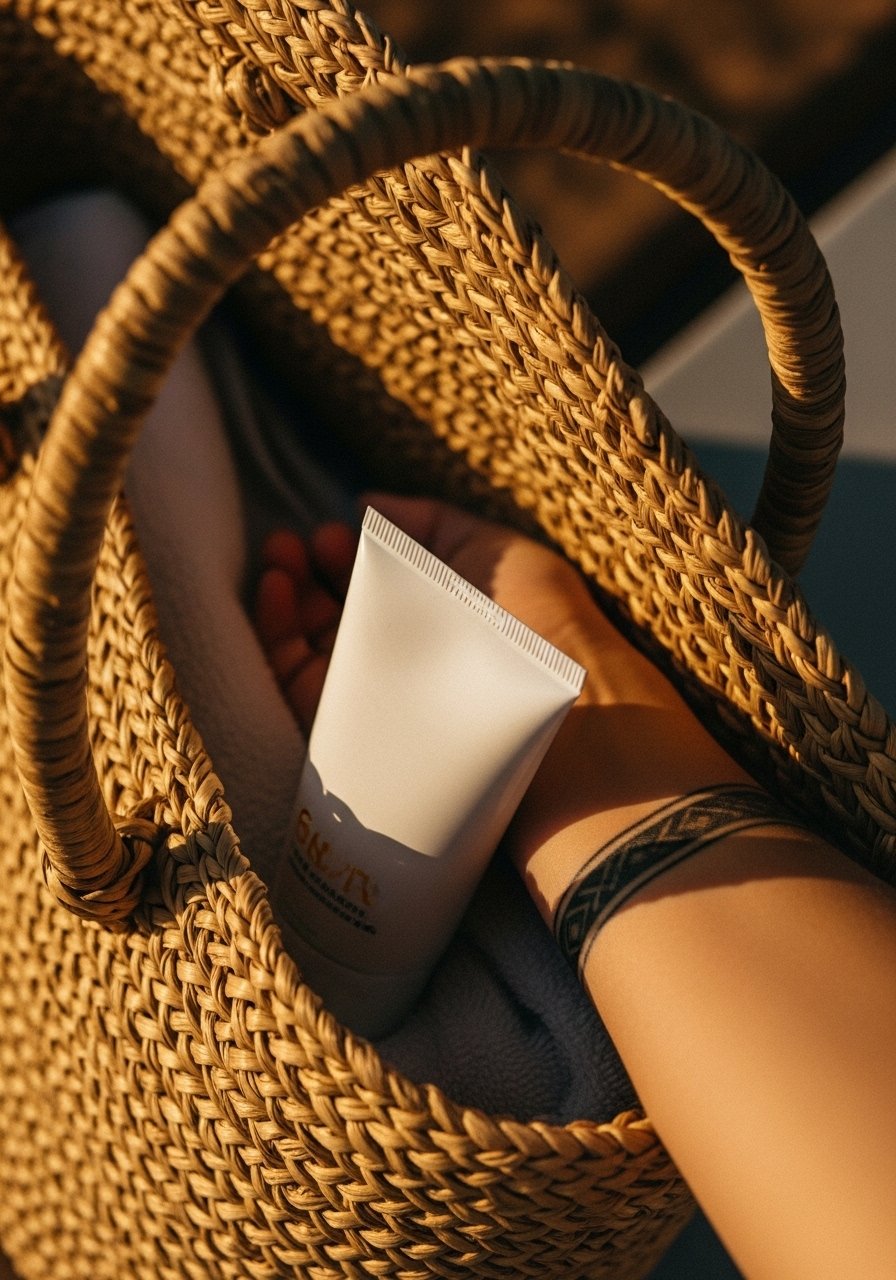
UV rays fade ink fast when the skin is still settling. Keep new tattoos out of direct sun and wear loose long sleeves if possible. Once the skin is healed, use a tattoo-specific sunscreen with at least SPF 30. I pack a small tube of broad-spectrum tattoo sunscreen for trips.
Mistake to Avoid: Hitting the beach with a fresh tattoo because “it is covered by clothing.”
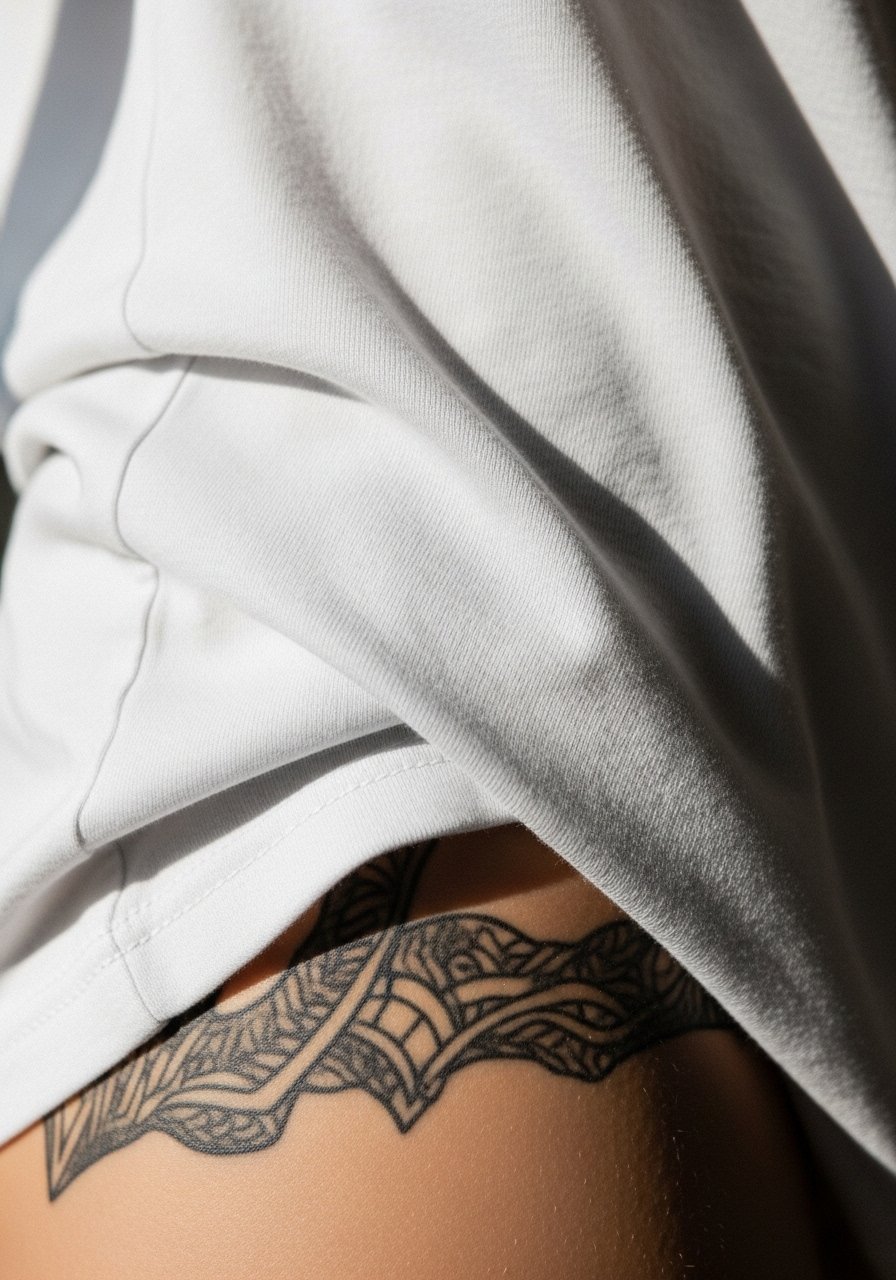
9. Loose, Breathable Clothing Only
Style/Technique: Clothing Choices
Pain Level: 1/10
Session Time: First 2 weeks
Best For: Hip, thigh, torso placements
Tight fabrics rub and trap heat. I ruined a thigh piece by wearing leggings the day after a session. Opt for cotton or other breathable fabrics and avoid seams that sit directly on your ink. If sleeping, put on a clean, loose tee to prevent sticking. For matching the vibe, lightweight boxer shorts or loose joggers work well for lower-body tattoos.
Mistake to Avoid: Wearing tight or synthetic fabrics that rub and snag scabs.
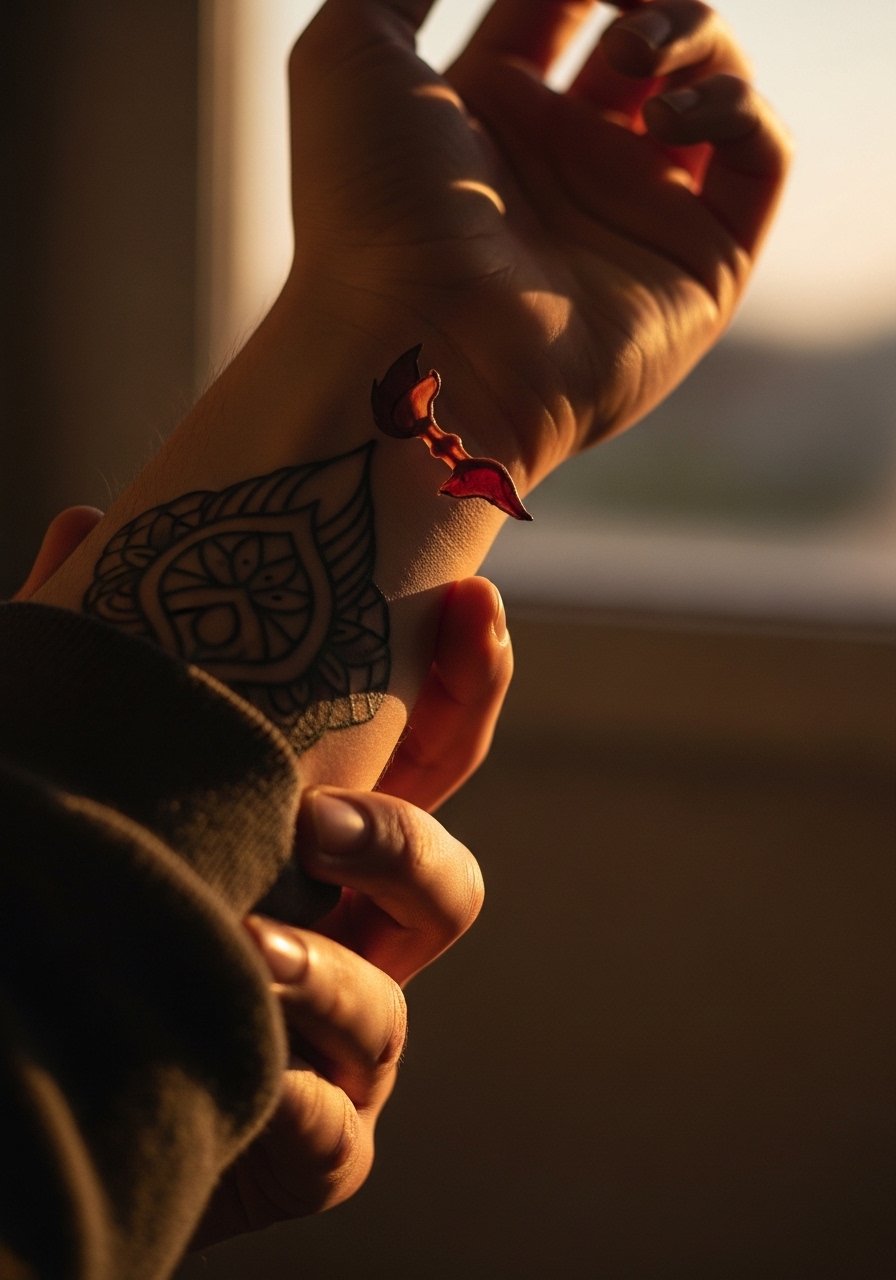
10. Do Not Pick or Peel Scabs
Style/Technique: Scab Care
Pain Level: 2/10
Session Time: Until scabs fall naturally
Best For: All tattoos
Let scabs fall on their own. Picking creates ink loss and uneven texture. My impatience once created a bright white spot where pigment lifted. When itchy, press lightly with a moisturized fingertip instead of scratching. If a scab cracks open, treat like a fresh wound: clean, thin ointment, and protect.
Mistake to Avoid: Peeling scabs because they look unsightly, which rips out pigment.
11. Manage Itch With Moisture, Not Scratching
Style/Technique: Itch Management
Pain Level: 2/10
Session Time: As needed
Best For: All skin types
Itch is the enemy of neat healing. A dab of lotion calms the urge without tearing the skin. I keep a travel tube of lotion in my bag and apply a thin coat when it flares. Cold compresses work too for swelling-related itch. Avoid over-moisturizing because that can make the skin gummy and attract bacteria.
Mistake to Avoid: Scratching an itchy tattoo which can cause scab removal and infection.
12. Protect While You Sleep
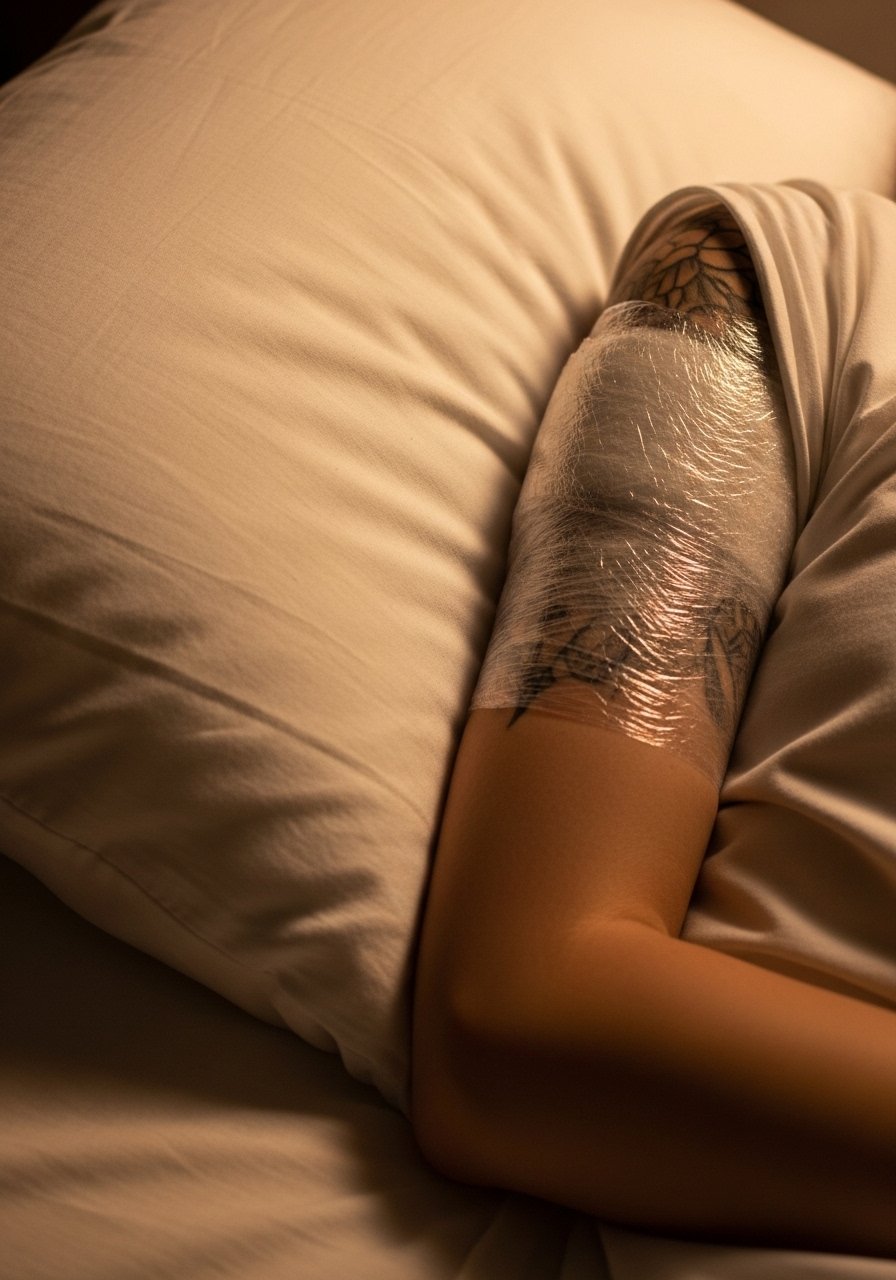
Style/Technique: Night Care
Pain Level: 1/10
Session Time: First week most critical
Best For: Back, shoulder, chest placements
Sleep position matters. If you sleep on your side and your shoulder is fresh, you might grind the area all night. I started stuffing a spare pillow to keep pressure off the tattoo. Use clean pillowcases and change them often during the first week to reduce bacteria transfer. For chest pieces, sleep slightly propped up until tenderness eases.
Mistake to Avoid: Sleeping directly on a fresh tattoo and waking to a stuck or smeared sheet.
13. Skip Heavy Exercise the First 48 to 72 Hours
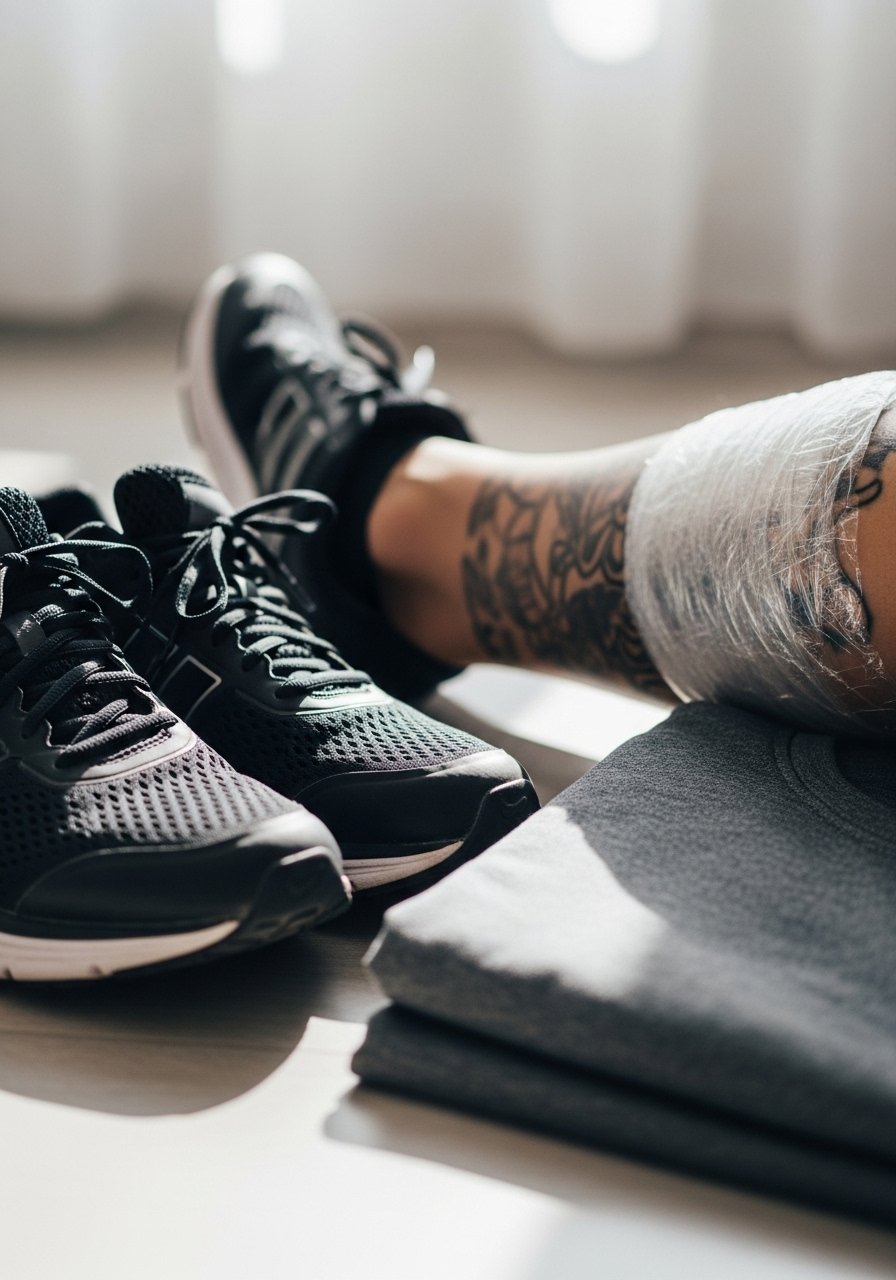
Style/Technique: Activity Pause
Pain Level: 2/10
Session Time: 48 to 72 hours initially
Best For: High-movement placements
Sweat carries bacteria and stretches skin. I once trained hard the day after a shoulder session and returned with extra redness and delayed healing. Light movement is fine, but skip heavy lifting, contact sports, and anything that makes you sweat profusely for at least two to three days. If the tattoo is on a joint, allow more time.
Mistake to Avoid: Returning to intense workouts immediately and exposing the tattoo to sweat and friction.
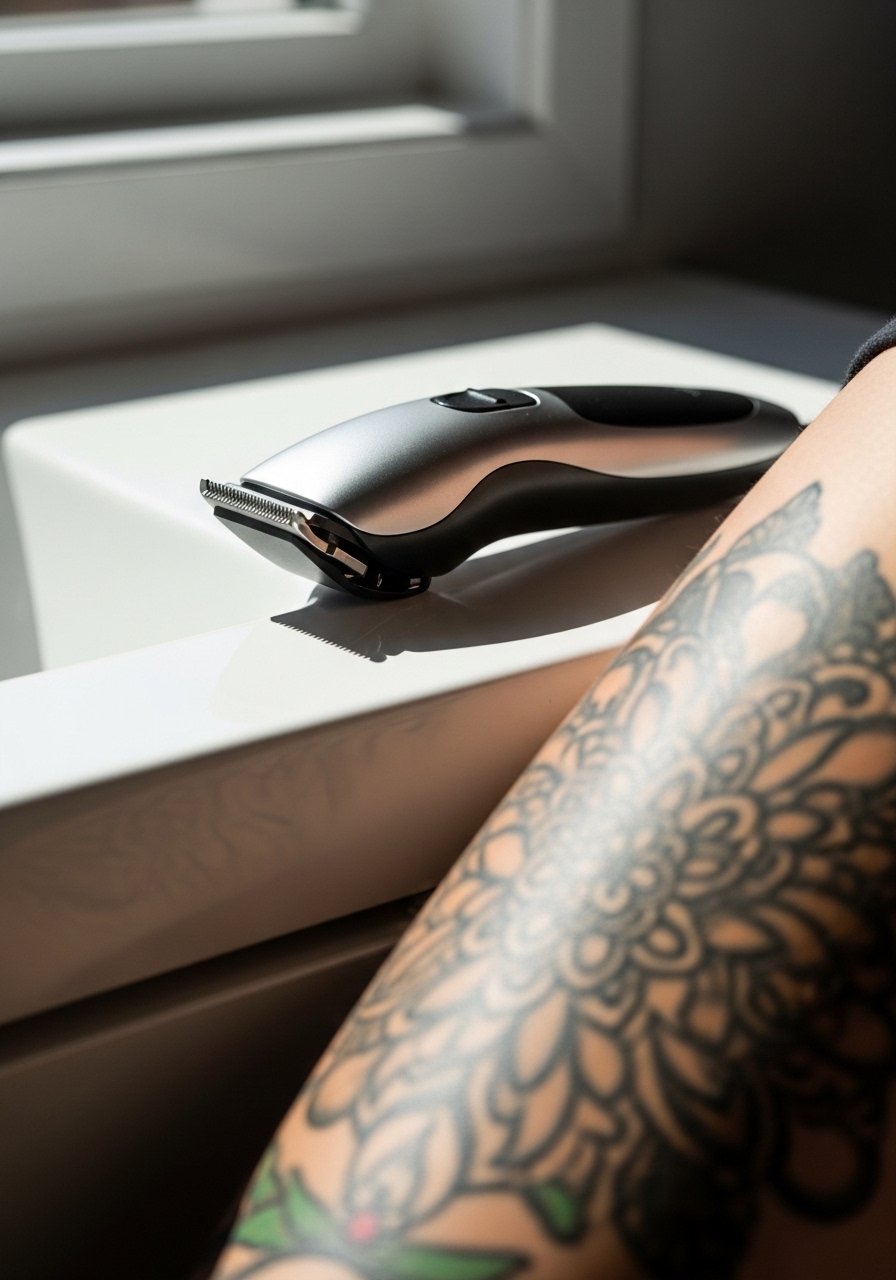
14. Be Careful Shaving Around the Area
Style/Technique: Shaving and Hair Care
Pain Level: 1/10
Session Time: Wait until healed or proceed gently
Best For: Leg and arm placements
If you need to shave around a fresh tattoo, use an electric trimmer rather than a razor. I nicked my calf with a razor while impatient and introduced a tiny cut. That added infection risk and a bumpy scar. For hairy areas, trim hair a day before getting tattooed. If you must shave during healing, be extremely gentle and re-clean the area immediately.
Mistake to Avoid: Using a razor close to healing skin and causing cuts or irritation.
15. Use Tattoo-Safe Sunscreen Long Term
Style/Technique: Long-Term UV Care
Pain Level: 0/10
Session Time: Ongoing after healing
Best For: Sun-exposed placements
After healing, protect your art with a broad-spectrum sunscreen. I found that color keeps truer when I apply SPF regularly. Seek formulas that are non-greasy and labeled for sensitive or tattooed skin. Carry a travel stick of broad-spectrum mineral sunscreen stick for quick application.
Mistake to Avoid: Skipping sunscreen on healed tattoos, which speeds fading and dullness.
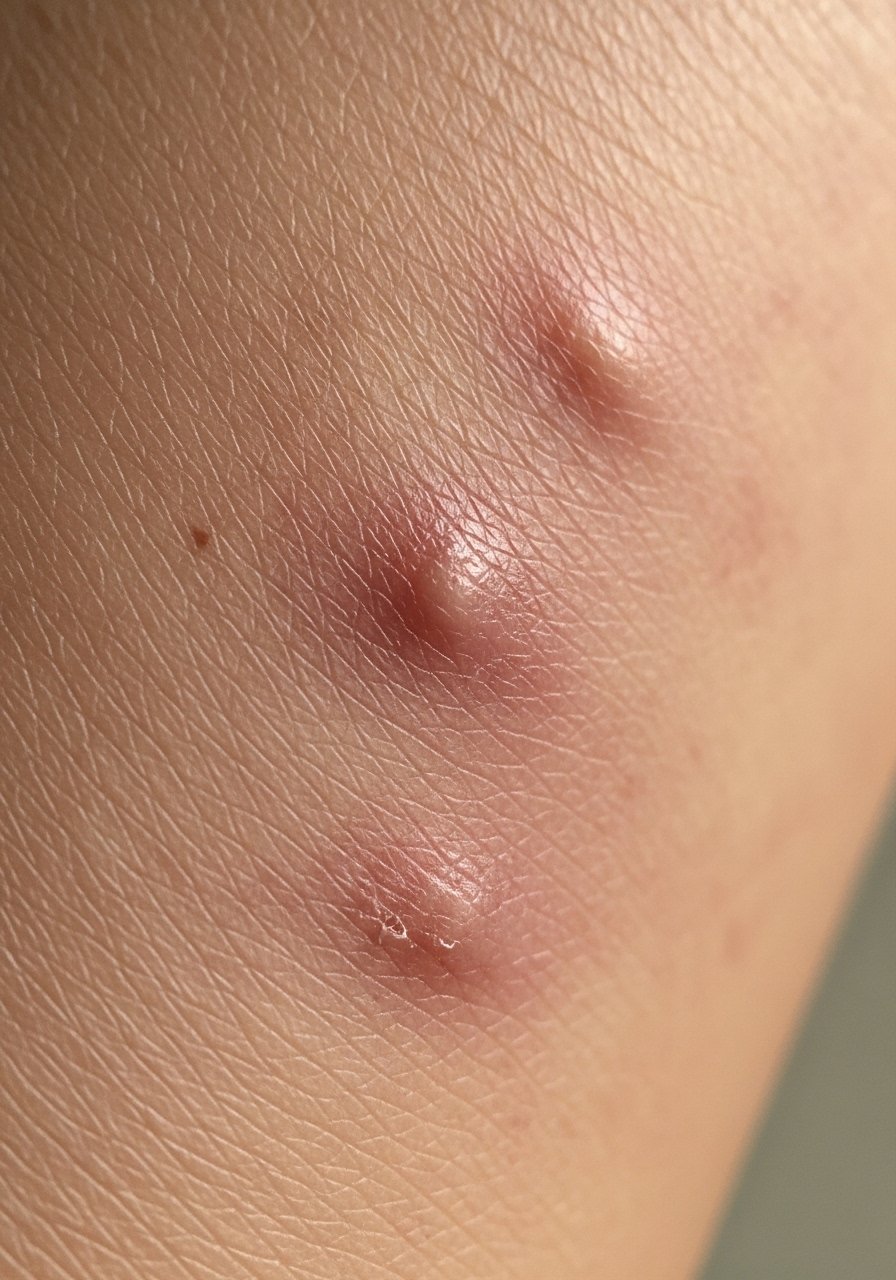
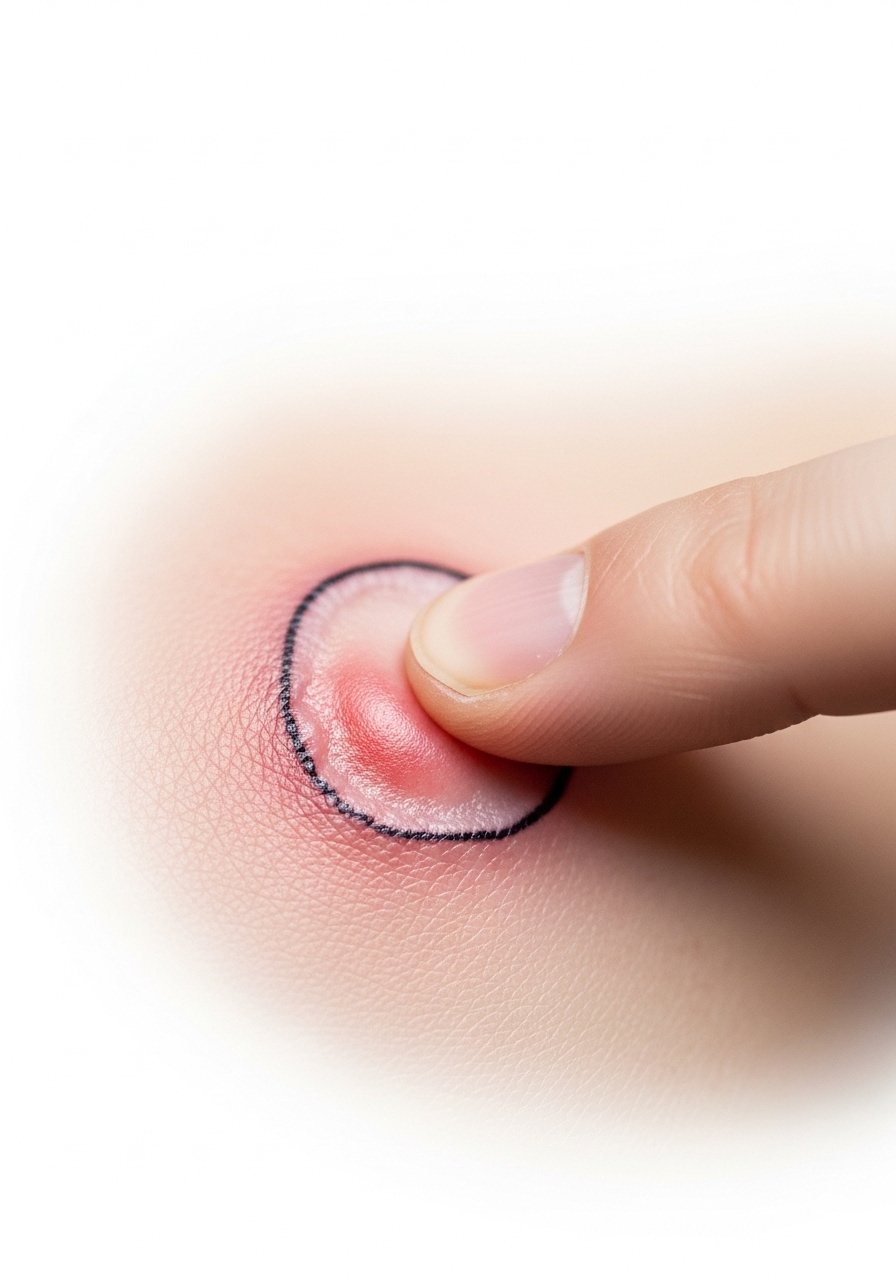
16. Know Signs of Infection, Not Panic
Style/Technique: Infection Awareness
Pain Level: Variable
Session Time: Ongoing first two weeks
Best For: All placements
Redness and light swelling are normal for a few days. High fever, spreading redness, heavy yellow drainage, or worsening pain are not. If those appear, call your artist or a medical professional. I have a friend who delayed care and needed antibiotics. The rule I use is that if something gets significantly worse after 48 hours instead of better, seek help.
Mistake to Avoid: Waiting too long to consult when symptoms grow beyond normal healing signs.
17. Keep Tattoos Moisturized for Weeks
Style/Technique: Extended Moisture
Pain Level: 0/10
Session Time: 2 to 6 weeks post-session
Best For: Dry skin types, color work
Healing continues after scabs fall. Continue light moisturizing for three to six weeks to help skin reforge its barrier. I still apply lotion for months after color pieces to keep saturation stable. A good pick is light everyday moisturizing lotion with no fragrance. If your skin flakes, keep the lotion regular but thin.
Mistake to Avoid: Stopping moisturizer the moment the scabs drop and leaving the skin dry.
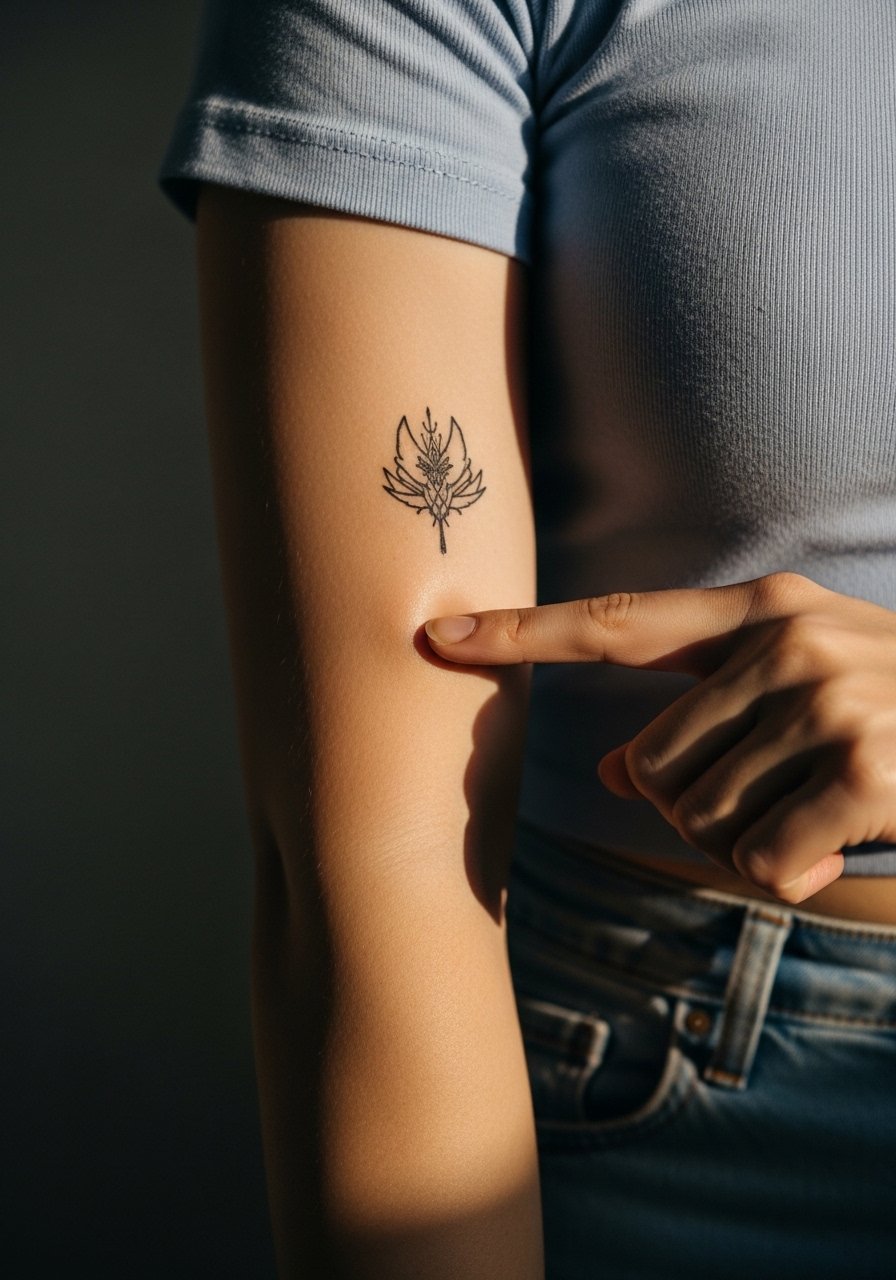
18. Touch-Ups Are Normal, Not Failure
Style/Technique: Touch-Up Planning
Pain Level: 2/10
Session Time: 1 hour typical
Best For: Color pieces, large blackwork
Ink settles differently across skin types and placements. I expected perfect first-time coverage and scheduled a touch-up for thin areas. Most artists expect to see you back for minor fixes. If you notice faint lines or patchy color after 8 to 12 weeks, book a touch-up. Don’t try to rework it yourself or let an inexperienced friend do it.
Mistake to Avoid: Treating a touch-up as a mistake rather than a normal part of the process.
19. Travel Packing: Clean Supplies and Spare Wraps

Style/Technique: On-the-Go Care
Pain Level: 1/10
Session Time: Travel-length care
Best For: Weekend trips, festival-goers
Travelling with a fresh tattoo means packing more than you think. I once took a weeklong trip and ran out of lotion, which caused the area to dry and scab unevenly. Bring a travel ointment, a small lotion, spare sterile films, and a bit of paper towel. A compact kit like travel first-aid case with small bottles fits neatly in a daypack.
Mistake to Avoid: Assuming normal packing covers tattoo needs and running out mid-trip.
20. Be Extra Careful Over Scar Tissue
Style/Technique: Scarred Skin Tattooing
Pain Level: 4/10
Session Time: Longer session possible
Best For: Scalp, chest, areas with older scars
Ink behaves unpredictably over scarred skin. If you have old scars, talk with your artist about how it will take. I had one healed scar that pulled pigment lighter and required a different shading approach. Aftercare includes gentle cleansing and longer moisturizing to keep scar tissue supple. Avoid aggressive exfoliation around those areas for months.
Mistake to Avoid: Treating scarred skin like normal skin during aftercare and expecting identical results.
21. Avoid Pools and Salt Water Longer Than Fresh Water
Style/Technique: Water Exposure Risks
Pain Level: 1/10
Session Time: Two weeks minimum, longer for open water
Best For: Lower leg and foot tattoos
Saltwater and chlorinated pools can irritate healing skin and dull ink. I once dodged a pool weekend but went in the ocean after a week and the salt worsened peeling. If you must enter oceans or pools, wait until fully healed and protect with water-resistant coverings during brief exposures. Even then, rinse, clean, and moisturize afterward.
Mistake to Avoid: Assuming a quick dip in ocean or pool is low risk for a fresh tattoo.
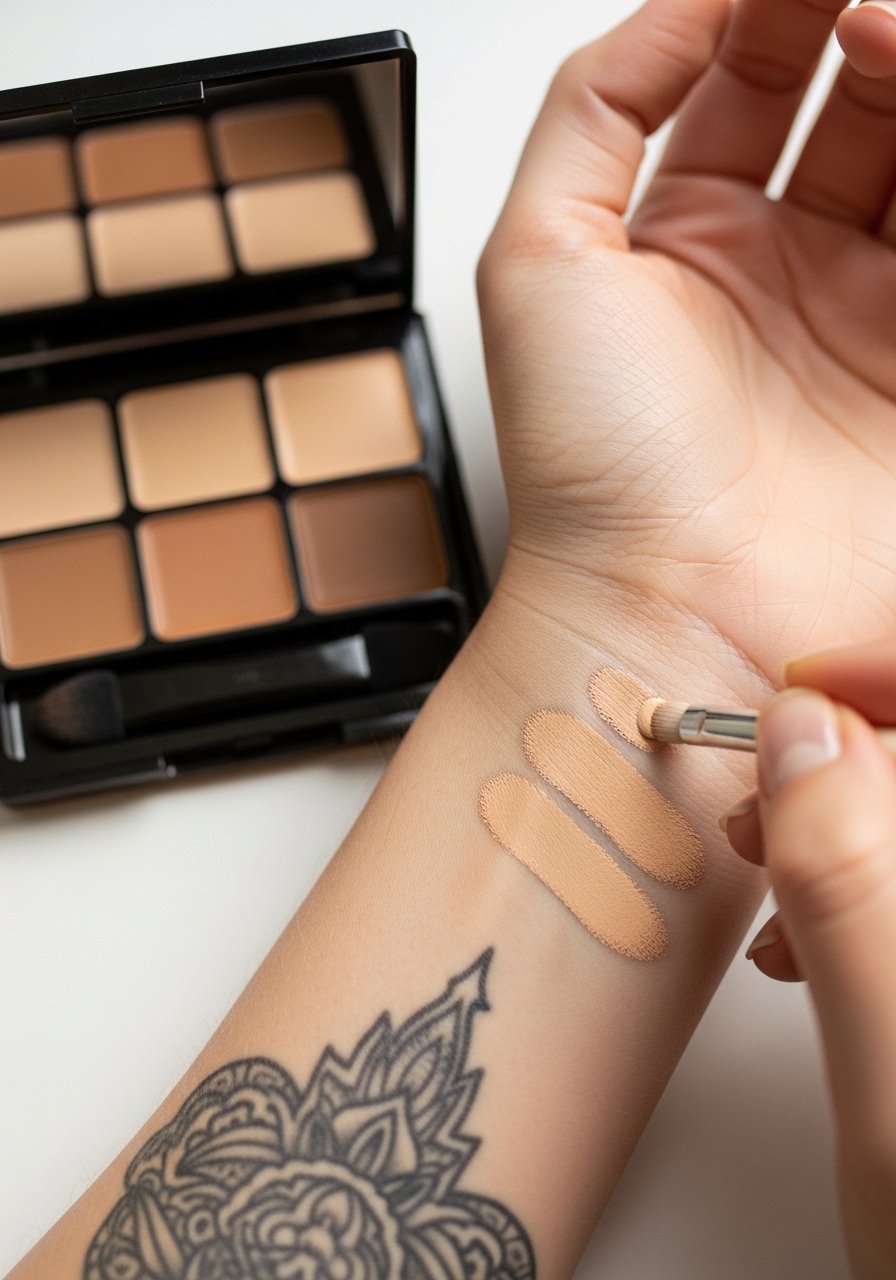
22. Cover-Up Makeup: Wait Until Scabs Are Gone
Style/Technique: Makeup Over Healed Skin Only
Pain Level: 0/10
Session Time: After full surface healing
Best For: Work-visible tattoos needing concealment
If you need to hide a tattoo for work, do not apply makeup until the skin has no scabs and the surface is smooth. I once caked on concealer over a flaky surface and that trapped bacteria. Once healed, use silicone-based concealers and set with a light powder. For short-term coverage, try water-resistant concealer stick designed for body use.
Mistake to Avoid: Covering scabbed skin with makeup, which can cause infection and color pull.
23. Schedule Your Touch-Up Timing Right
Style/Technique: Scheduling Follow-Up
Pain Level: 1/10
Session Time: 30 minutes to 2 hours
Best For: All clients needing finish work
Touch-ups are most effective after the skin has fully remodeled, usually between eight and twelve weeks. I used to book sooner because I wanted quick fixes, and it resulted in unnecessary retouching. Waiting allows scabs to fall, pigment to settle, and inflammation to fully resolve. Book with your original artist if possible because they know how the ink settled.
Mistake to Avoid: Booking a touch-up too early before the skin has fully healed and pigment has settled.
Your Aftercare Kit
- Honestly the basics matter most. Unscented liquid soap, 8 oz bottle (~$8-12). Gentle daily wash for the first two weeks.
- A little goes a long way. Fragrance-free moisturizing lotion, travel tube (~$6-10). Use after ointment phase.
- For the first 48 hours. Petroleum-free tattoo ointment jar (~$10-18). Apply thinly and sparingly.
- Clean drying. Absorbent paper towel rolls, 6-pack (~$8-15). Use single sheets to pat dry.
- Spare protection. Sterile film wraps, small sheet pack (~$6-12). For high-friction areas or travel.
- Night care. 100% cotton T-shirt, loose fit (~$12-25). Keeps pressure off the area.
- Quick sun defense. Broad-spectrum mineral sunscreen stick (~$8-15). For healed tattoos on sunny days.
- Travel kit. Small travel first-aid case with bottles (~$10-18). Holds your lotions and ointments.
- On-the-go lotion. Pocket-size lotion pump, 2-pack (~$7-12). Keeps moisture handy.
- For itch. Cold gel pack, reusable (~$6-14). Useful for swelling-related itch.
- For hair. Electric trimmer for sensitive areas (~$20-35). Trim before sessions to avoid cuts.
- Post-session clean. Antibacterial hand wipes, travel pack (~$5-9). For quick cleaning when running errands.
Aftercare Tips From Real Healing
Thin layers are better than heavy slathers. Apply ointment or lotion in small amounts so the skin can breathe and scabs form evenly. I switched to pea-sized applications and saw fewer clogged pores. Try petroleum-free ointment.
Pack a tiny kit for travel. A small case with a travel lotion, spare wrap, and paper towels saved a weekend trip for me after a new ankle piece. Compact travel kit works well.
If it itches, press don’t scratch. A cool compress and a dab of lotion calmed me more reliably than scratching ever did. A reusable cold gel pack is a cheap, useful tool.
Keep a log photo for touch-up reference. Take straight-on shots under similar light each week so you and your artist can track changes. A simple phone tripod with ring light helps capture consistent images.
If your tattoo is on scar tissue or a joint, expect different timelines. Scarred skin and areas that stretch may need extra moisturizing and patience. I learned to ask my artist about placement-specific aftercare when booking sessions. A skin-safe silicone scar sheet can help long-term texture after full healing.
