
I peeled whole corners off my manicure twice a week until I stopped treating polish like paint and started treating it like skin. The moment I learned to thin coats, let each layer tack slightly, and seal the tip properly, my Summer manis finally lasted past a weekend. I still mess up sometimes, but those small mechanics changed everything for heat, sand, and sticky sunscreen days.
These nine ideas are for people who want wearable summer nails that survive pool days and air conditioning, not just photos. Most are beginner-friendly, a few ask for a steady hand or a basic stamping kit, and all stay under a salon session in price when you shop the right tools. If you are short on time, focus on the one-ingredient finishes; if you like experimenting, keep a basic stamping plate and a matte top coat handy.
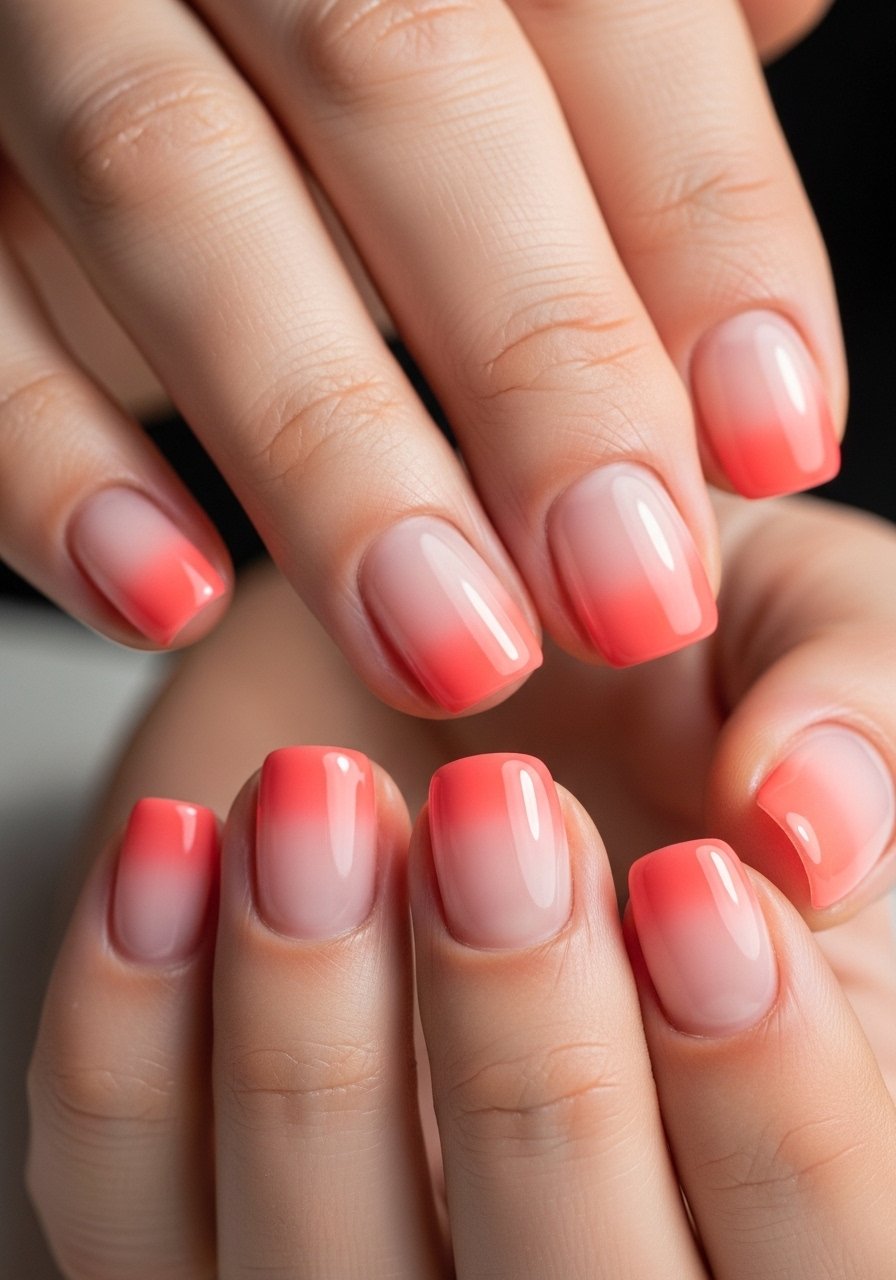
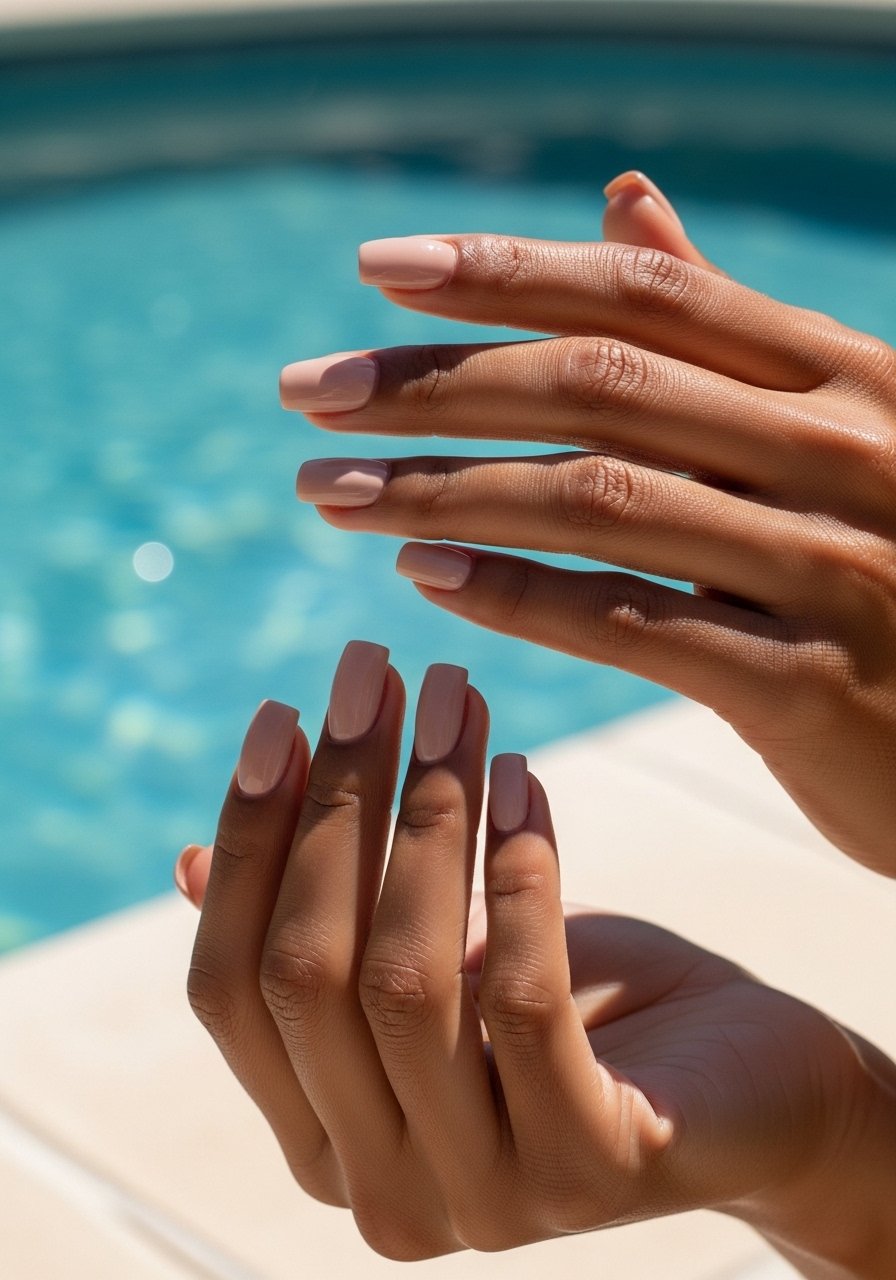
1. Coral Cream With Sheer Tips
Style/Vibe: Beachy coral cream
Best For: Short nails / everyday summer
Skill: Beginner
What makes this work is the contrast between a saturated coral on the nail bed and a soft sheer at the tip, which keeps color bright without reading loud. Apply two thin coats of sheer pink cream polish across the nail, then a single feathered swipe of coral cream polish starting at the midpoint and blending with a clean brush. Let each coat dry 60 seconds before the next. This creates a lived-in gradient that hides regrowth and chips, so you do not have to rebook midweek.
Mistake to Avoid: Painting thick coral layers that pool at the cuticle, which flakes first.
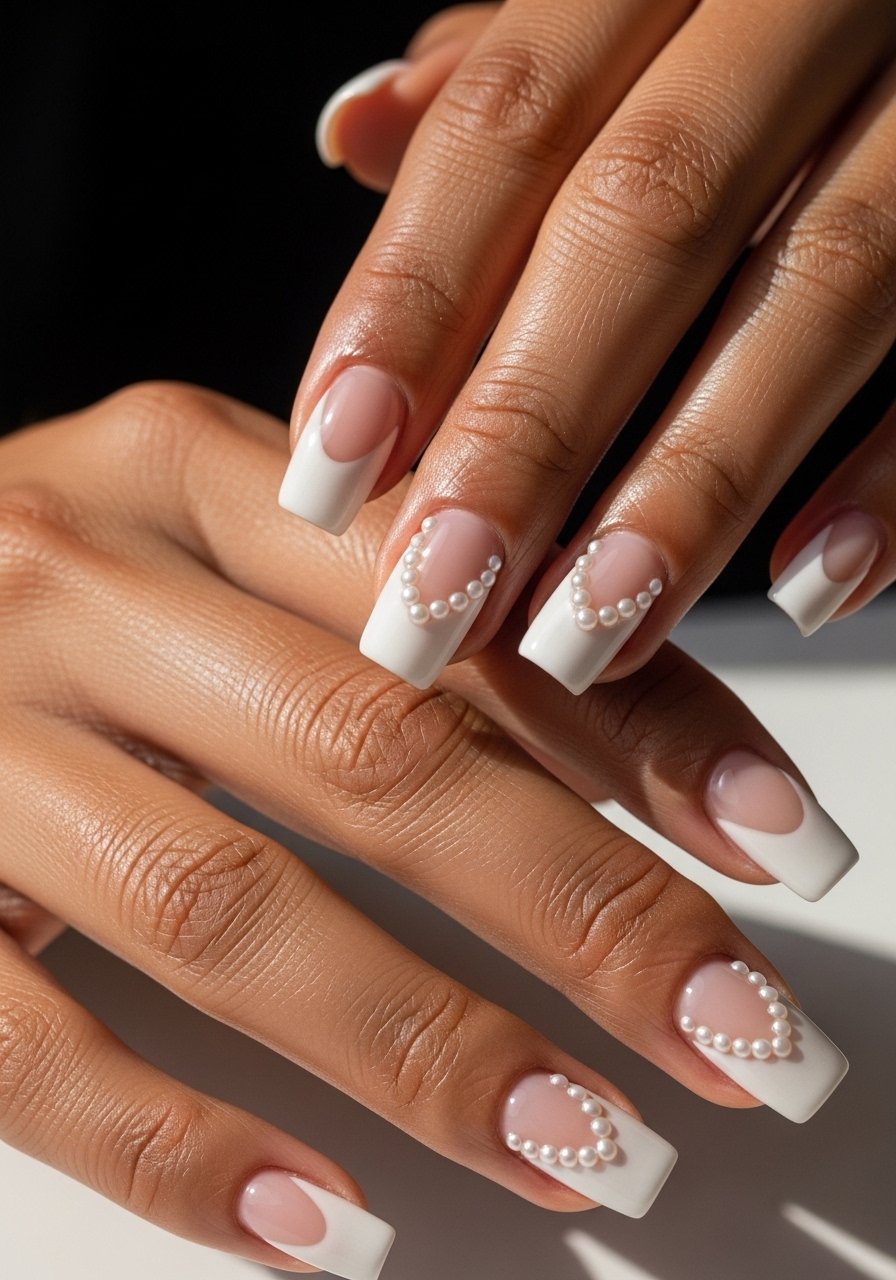
2. Tiny Pearls On Negative Space
Style/Vibe: Subtle luxe summer
Best For: Medium nails / events and dinners
Skill: Intermediate
Micro-pearls sit on a minimal negative-space base so the effect reads refined instead of overdone. Paint a thin clear base, cure if you use gel, then place pearls with a dab of clear nail adhesive. I learned this from a tech who works at a salon downtown and the rule she swore by was spacing pearls 2 to 3 millimeters apart to avoid clumping under sunlight. Finish with a fast-dry top coat applied in two thin passes to lock beads without dimming the shine.
Mistake to Avoid: Gluing pearls directly into thick top coat, which lifts them in 24 to 48 hours.
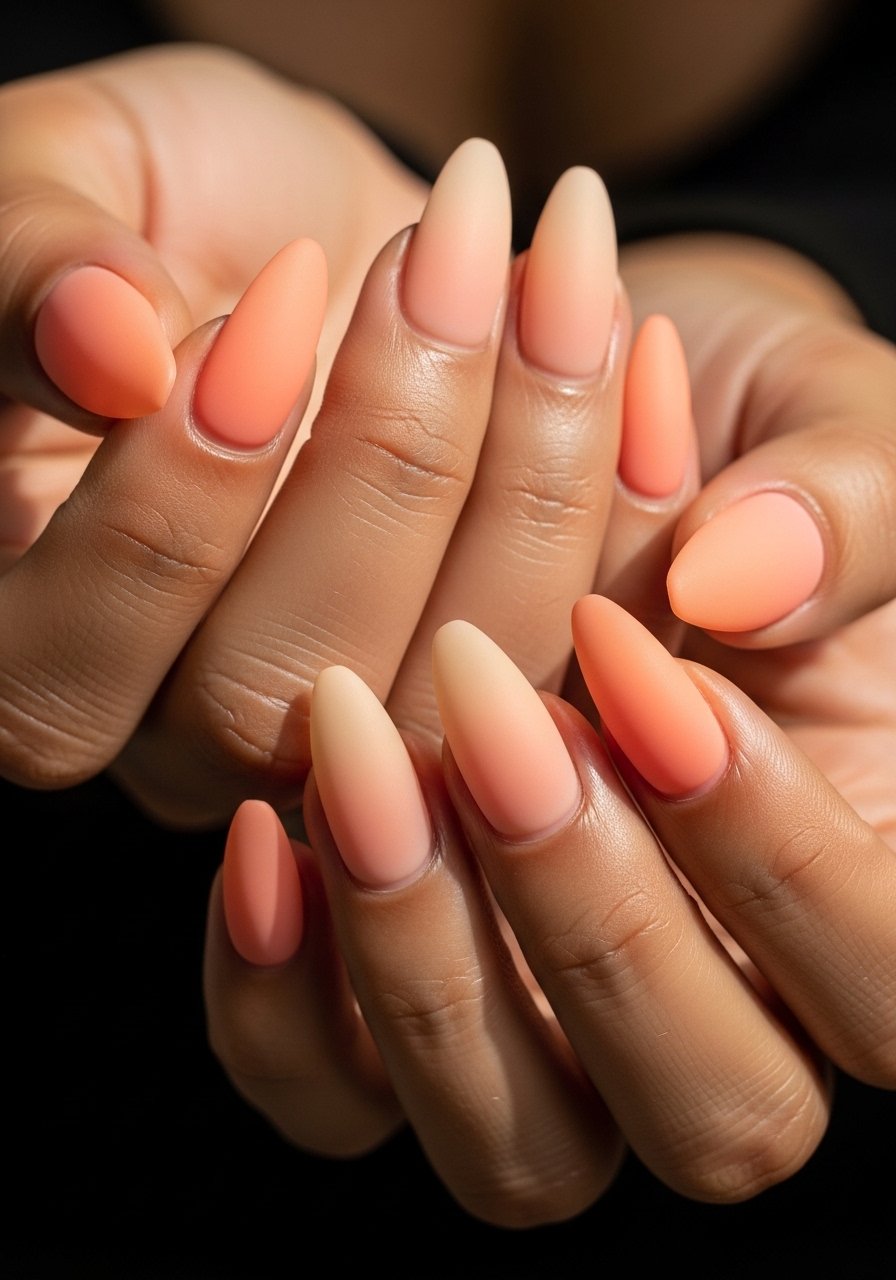
3. Matte Sunset Ombre
Style/Vibe: Soft matte sunset
Best For: Long nails / warm-weather outings
Skill: Intermediate
Matte ombre reads modern in photos and less fussy in person. Use a makeup sponge to layer three thin stripes of color, dab once, then repeat until full coverage. Two quick layers work, then cure or dry, and finish with a micro-matte top coat for that chalk-soft finish. A small detail most articles skip is buffing the nail free edge lightly before color, it helps the ombre blend without streaks. This look favors medium to long lengths and hides minor surface dents you get from summer gardening or beach gear.
Mistake to Avoid: Rubbing the matte finish before it sets, which creates patchy sheen.
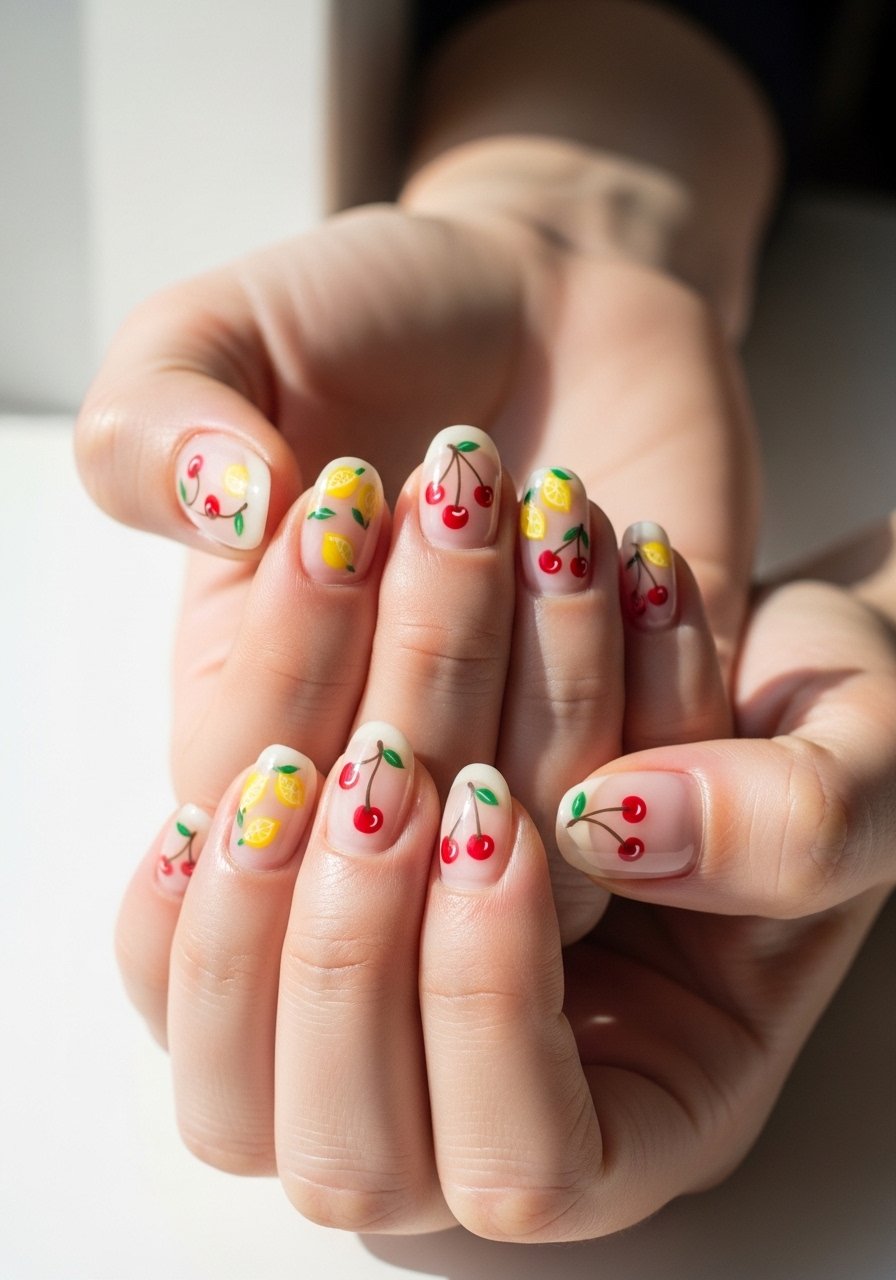
4. Tiny Fruit Accent Tips
Style/Vibe: Playful mini accents
Best For: Short nails / casual weekends
Skill: Beginner
Small fruit tips feel seasonal without screaming novelty. Paint a sheer base, then use a dotting tool to add 2 to 3 tiny fruit motifs per hand with quick-dry cream colors. I like a tiny dot of nail art brush set for accurate stems and seeds. Keep motifs under 3 millimeters so they look crisp not crowded. This is fast on short nails and the little pops still read in photos even when you are holding a cold drink.
Mistake to Avoid: Overworking fruit shapes until the lines are thick and muddy.
5. Gloss Over Nude With Micro-Glitter Edge

Style/Vibe: Quiet sparkle
Best For: Medium nails / daytime to evening
Skill: Beginner
A slash of micro-glitter at the free edge gives wearable shine without full glitter mess. Paint two thin coats of a neutral nude, then using a fine brush, pull a hairline of micro-glitter polish across just the tip. Seal with a glossy top coat applied in three short passes to prevent dragging. The exact trick that lifts this above common tutorials is wiping your brush once on a paper towel before the glitter pass, it keeps the line uniform.
Mistake to Avoid: Flooding the tip with glitter, which creates heavy edges that catch and chip.
6. Sun-Fade Foil Accents

Style/Vibe: Reflective sun-fade
Best For: Medium nails / photos and parties
Skill: Intermediate
Foil is often too all-or-nothing. Instead place tiny flakes near the cuticle then drag them outward with a soft brush. Lock them with a thin layer of peel-off foil glue so they sit flush and do not peel at edges. Use 30 seconds of LED cure on each thin layer if using a gel base. Competitors miss that a feathered foil placement makes nails catch light like a sunbeam rather than look like a sticker. This scales well for medium lengths and keeps the effect light for daytime.
Mistake to Avoid: Smothering foil under a thick top coat, which dulls the reflective effect.
7. Water-Resistant Sport Mani
Style/Vibe: Durable glossy sport mani
Best For: Short nails / active days and pool use
Skill: Beginner
If you swim, wash dishes, or play with kids, build a water-resistant mani with three thin coats, each allowed 45 to 60 seconds to set. Seal the free edge with each top coat swipe. My go-to is a quick-cure gel top coat cured 30 seconds per thin coat under an LED lamp. A small routine change prevents the big annoyance of lifted edges after one swim. This idea answers the complaint of polish peeling in humid heat that I heard constantly at the salon.
Mistake to Avoid: Skipping the free edge seal, which is where water gets in and lifts polish.
If any of these products look useful, I put together the handful I reach for most often.
Summer Mani Essentials To Stock
Base & Top:
- clear base coat (~$8-12). A thin base that levels minor ridges before color.
- quick-dry top coat (~$9-15). Two thin passes, not one thick blob.
Tools:
- nail art brush set (~$6-14). For fruit tips, thin lines, and foil placement.
- dotting tool set (~$5-10). Makes consistent micro-dots for accents.
Finishers & Aftercare:
- cuticle oil roller (~$6-12). Use nightly to keep edges neat.
- nail adhesive glue (~$4-8) for pearls and small foil.
8. Tiny Chrome Lines Over Matte

Style/Vibe: Edgy matte chrome
Best For: Medium nails / nights out
Skill: Intermediate
Matte with a hairline of chrome reads intentional and modern. Apply a matte base, use a micro-striping brush to lay a single chrome line, then protect the chrome by sealing it with a gloss just along the stripe. Try a chrome pigment with a small pot of chrome powder applied with a silicone applicator. The tiny detail others miss is applying the chrome in one steady pull rather than many small strokes, which keeps the line clean and continuous. Pair this with a matte base to let the chrome truly sing.
Mistake to Avoid: Brushing chrome back and forth, which breaks the metallic into streaks.
9. SPF-Friendly Clear Seal

Style/Vibe: Practical glossy protect
Best For: Short nails / travel and pool days
Skill: Beginner
Sunscreen, chlorine, and sweat change how polish behaves. A clear seal that is SPF-friendly means you can slather sunscreen without worrying about yellowing or lifting. Use a non-reactive glossy top coat and reapply a thin layer every 3 to 4 days if you are often in the sun. I tested a routine where I wipe oils off the nail with isopropyl, then apply two thin coats of non-yellowing top coat and it extended manicures through a week at the beach. The small habit of wiping sunscreen residue before bed made all the difference.
Mistake to Avoid: Applying sunscreen directly over nails without wiping excess first, which accelerates discoloration and lifting.
Summer Mani Habits That Actually Work
Thin coats beat one thick coat every time. Three thin layers of quick-dry top coat look smoother and last longer than one gloopy layer.
Paint your free edge with each polish layer. A single sweep down the tip prevents water from creeping in and is the easiest trick to stop peels. Grab a fine buffer file to roughen the very edge before base coat.
If your hands will be in sun or chlorine, wipe the nail plate with a lint-free pad and 70 percent isopropyl before base. A tiny prep step removes oils that make polish fail. Try a pack of lint-free nail wipes for travel.
Everyone peels at least once, but giving new polish 24 to 48 minutes of undisturbed dry time before doing any heavy work saves hours. Use a fast-dry spray if you need to rush, it cuts that window without dulling finish.
