
I kept packing a powder compact for summer, then taking a photo and seeing an ashy mask in bright sun. It took one humid afternoon and a runny mascara disaster to relearn that summer makeup needs different textures, lighter layers, and a setting plan that survives heat and sweat. After a few tries I switched products and timing instead of technique, and the results stayed put.
These looks lean quick and wearable, most require under 15 minutes once you practice. Budget range runs from drugstore finds around $8 to a few splurges near $50, and I call out skin-type notes where it matters. If you have oily skin, expect the little swaps I mention to matter more than brand names. After six weeks of testing this routine, the combinations that held up best were cream-plus-mist pairings.
1. Sheer Tinted Sunscreen Base
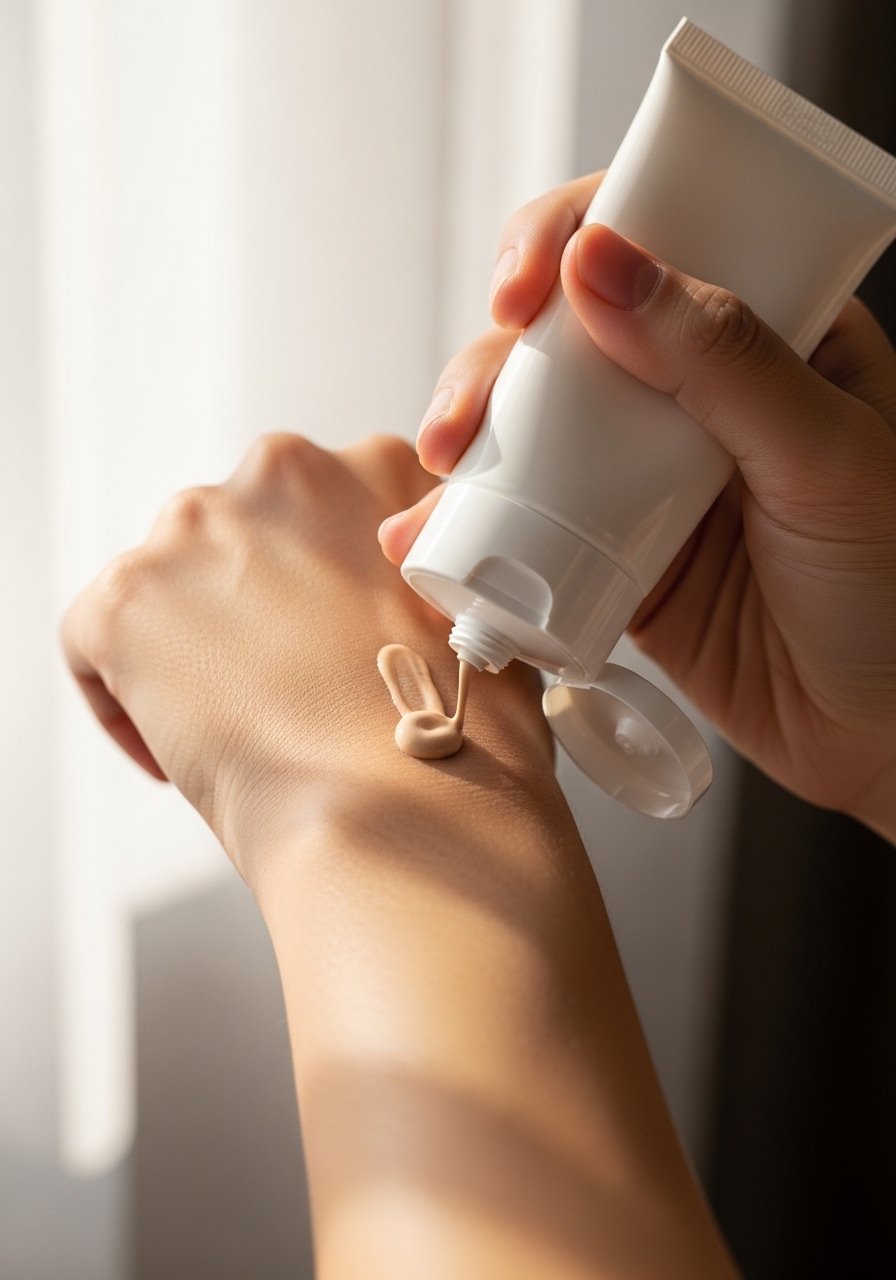
A tinted mineral sunscreen doubles as a light base on humid days. Use one pump across your cheeks and forehead, then press with two fingers rather than buffing. It blurs redness without feeling heavy, and it plays nicely under cream color. For oily skin, blot the T-zone after 10 minutes with a single-ply blotting sheet. Try a lightweight tinted mineral sunscreen for a nonchalky finish.
Mistake to Avoid: Rubbing in too much product, which builds a cakey barrier that slides when you sweat.
2. Serum Primer With Drop Ratio
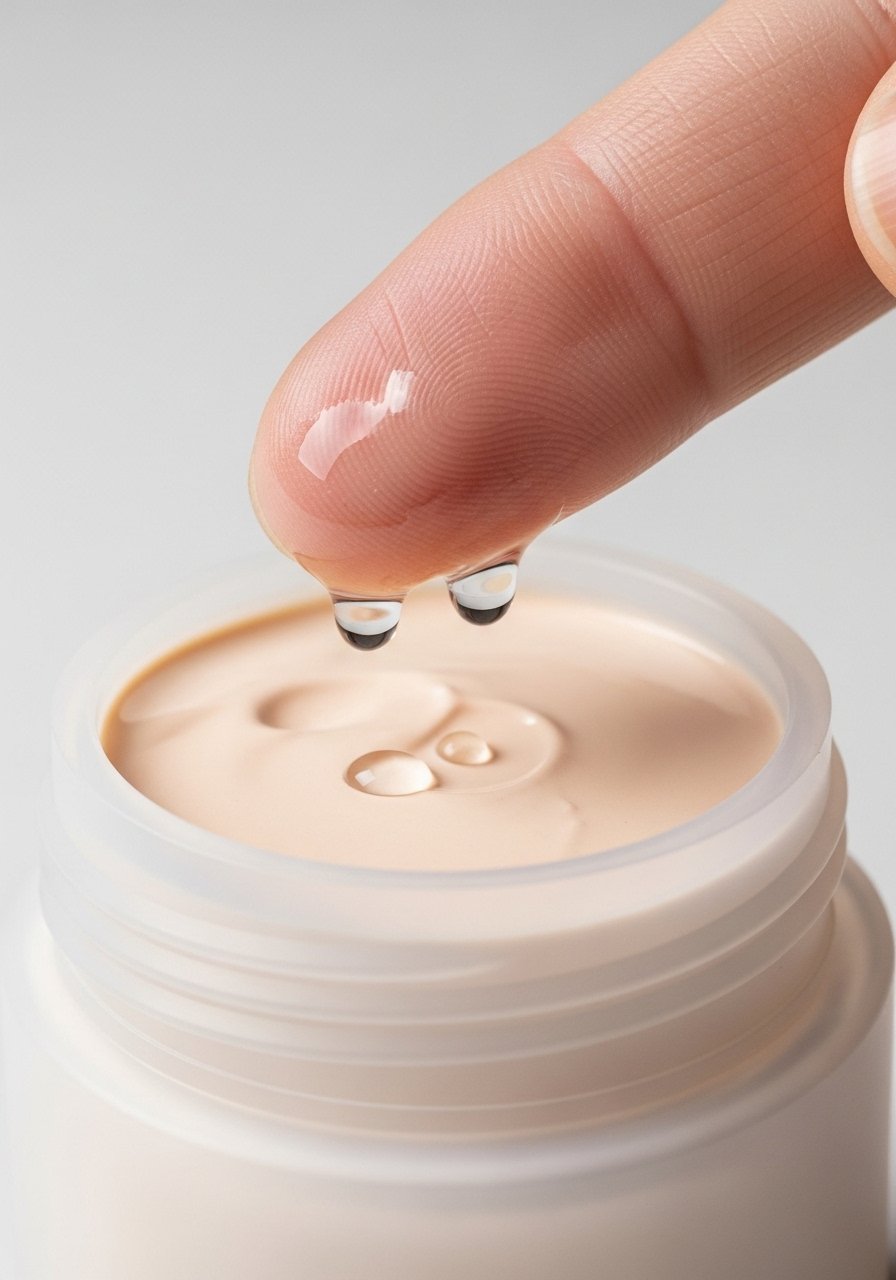
I mix one pump of silicone primer with two drops of a hydrating serum when my skin is dry. The ratio thins the primer and keeps pores from catching product in heat. It gives a slip that reduces foundation grab and keeps the finish natural. Good for combo and dry skin. Pair with a silicone smoothing primer for longer wear.
Mistake to Avoid: Using straight primer on dry skin, which emphasizes flakes and makes cream products patch.
3. Lightweight Stick Foundation, Applied With Fingers
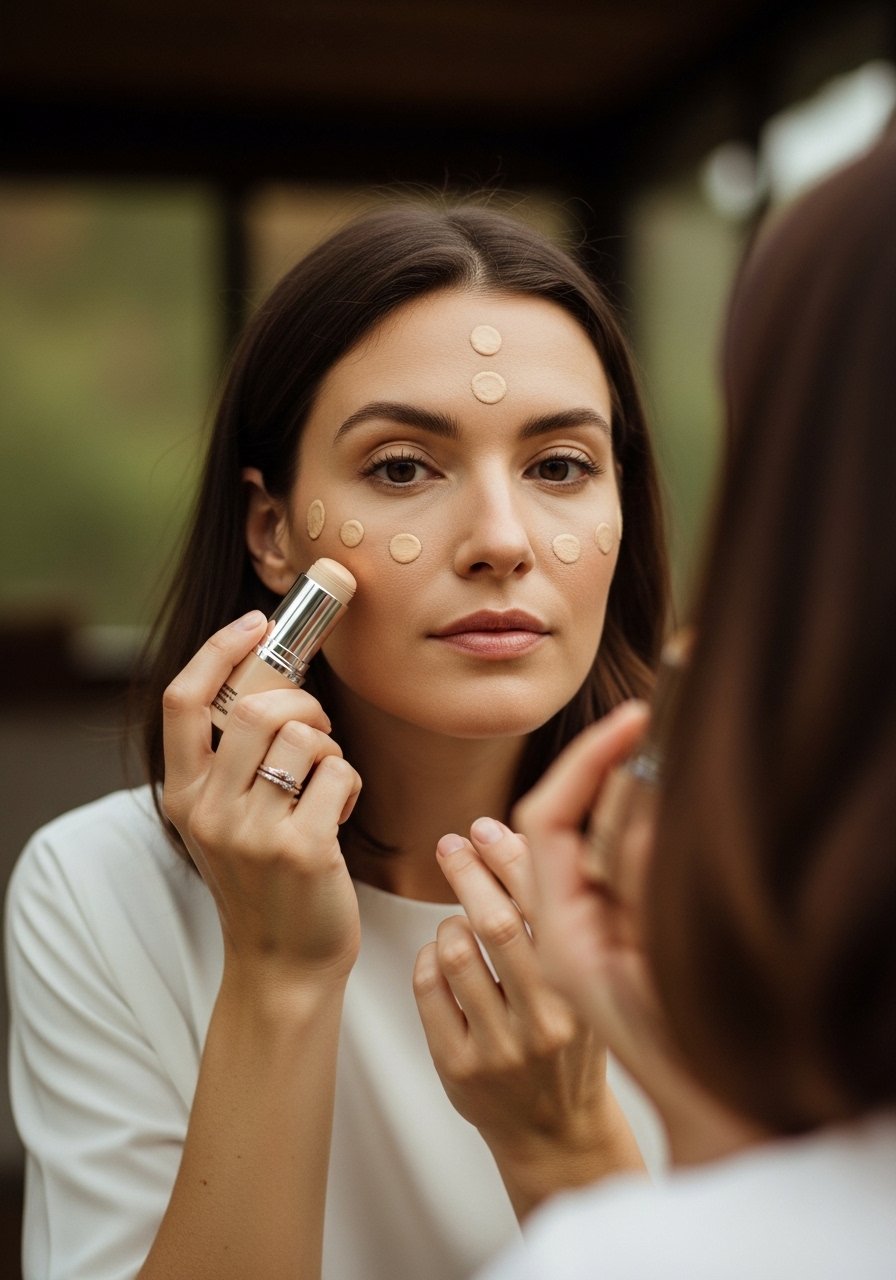
A cream stick gives coverage without caking when you apply with warm fingertips. Warm the stick on the back of your hand, then tap three soft dots on each cheek and blend out with fingers. It is faster than a sponge and minimizes product use. Works for normal to dry skin, but if you are oily, set only the T-zone. I like a satin stick foundation that layers well.
Mistake to Avoid: Overblending, which thins coverage and forces you to add more product.
4. Cream Blush Blotted, Not Swiped
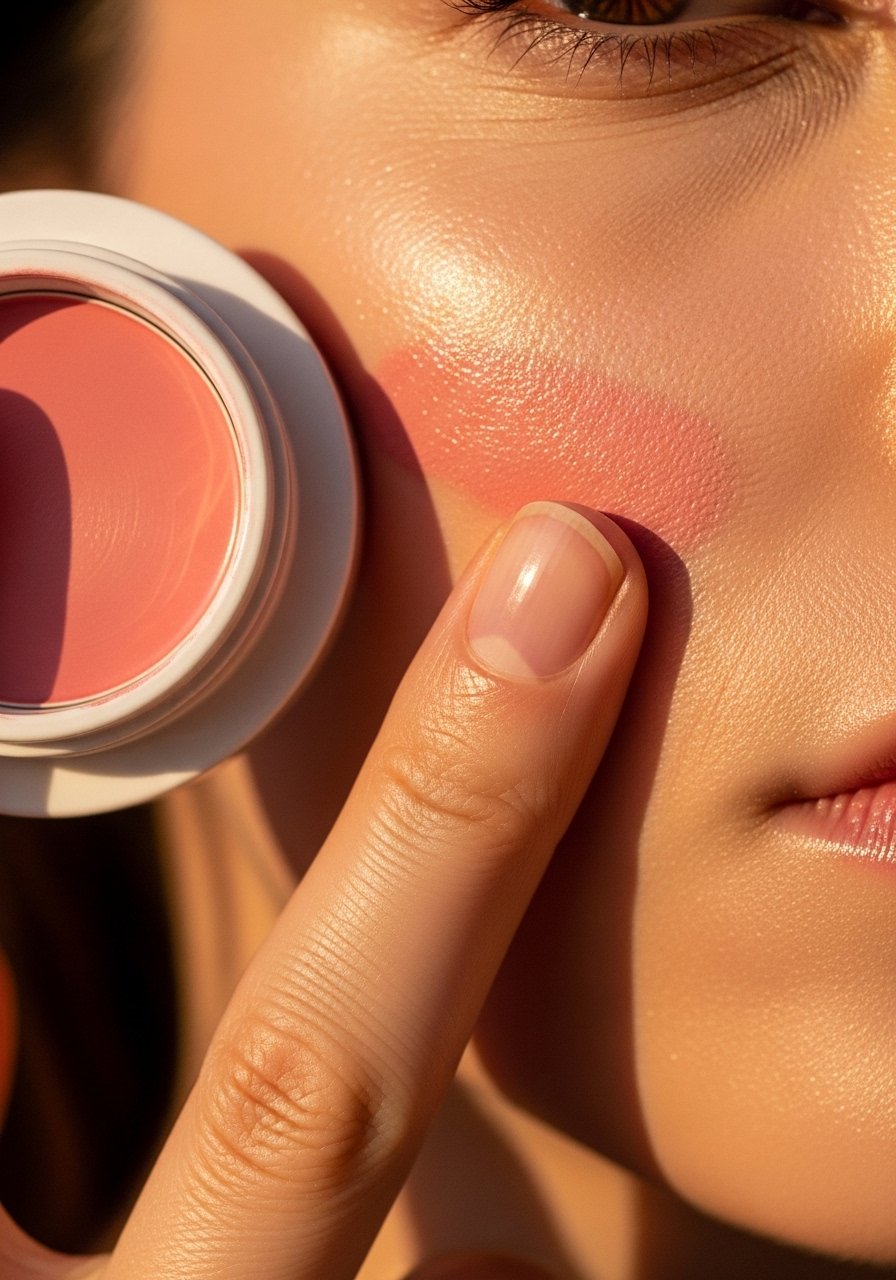
Blotting cream blush with a tissue after application tames shine and locks pigment. Apply two small dabs, blend upward toward the temple with fingers, then press a tissue once. The result is a natural flush that resists melting. Choose warm peach for warm undertones and rose for cool undertones. I like a longwear cream blush stick.
Mistake to Avoid: Swiping large amounts, which ends up streaky when humidity hits.
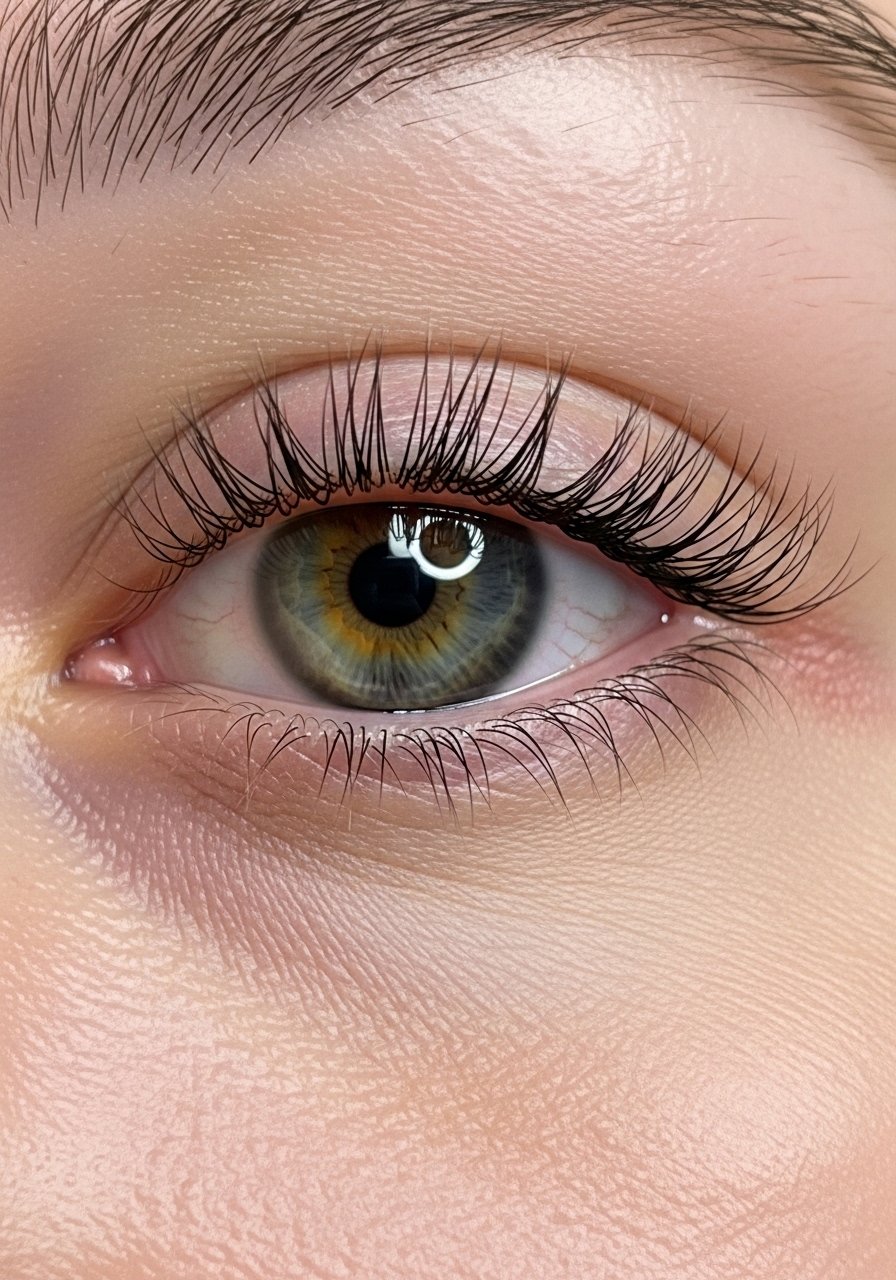
5. Waterproof Tightline, Soft Shadow Above
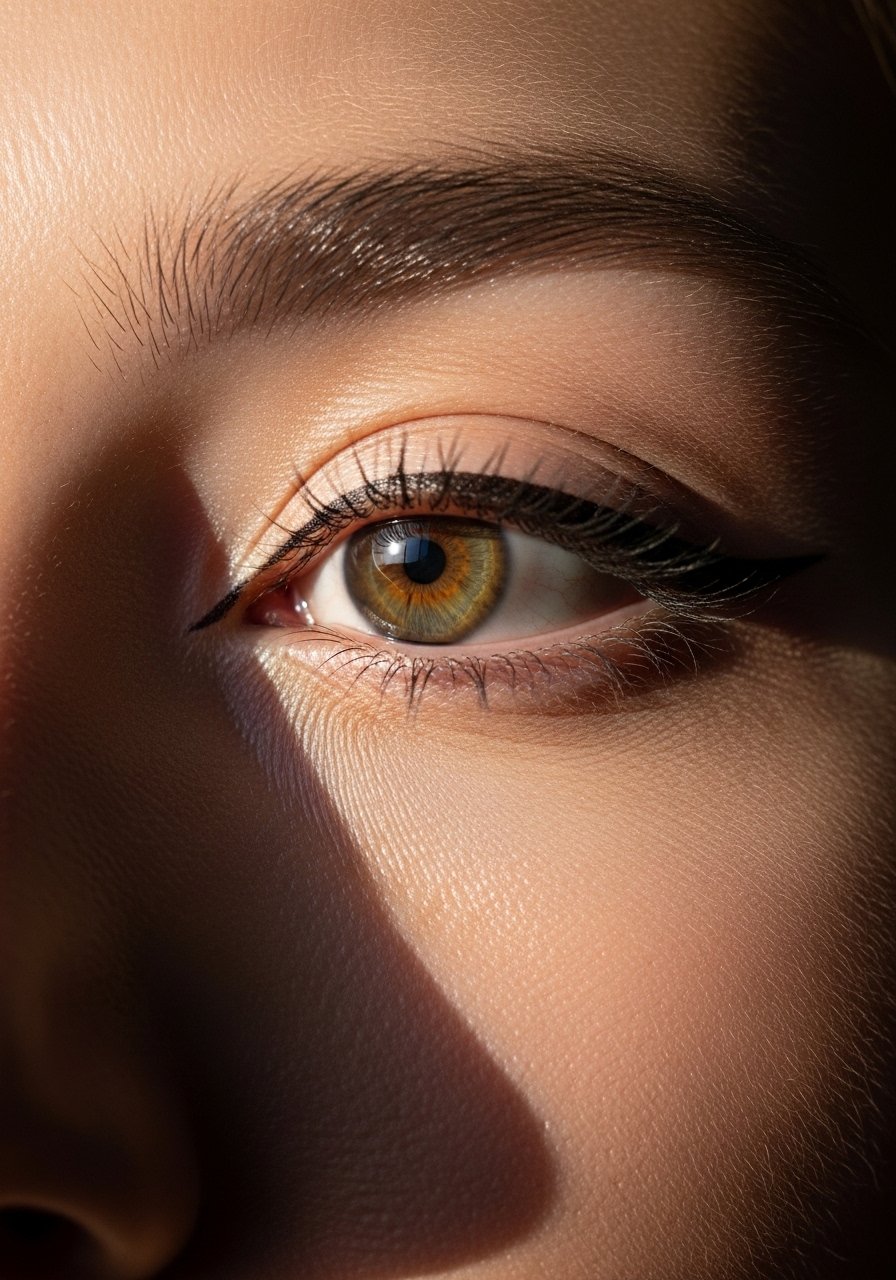
Tightlining with a waterproof pencil keeps lashes looking full without heavy liner that runs. Draw tiny dots along the upper waterline, then blend a soft matte shadow above to create depth. This is a good trade for those who hate raccoon eyes by noon. For hooded lids, keep the shadow light and matte. Try a waterproof black kohl pencil.
Mistake to Avoid: Lining the lower waterline in cream formulas, which creates smudging under heat.
6. Tint-and-Gloss Lips for All-Day Wear

Layer a longwear lip tint, let it set for 30 seconds, then finish with a dab of clear gloss in the center. The tint gives base color, the gloss reads fresh and prevents the look from dehydrating. For oily skin, blot the gloss once so it is not slippery. Try a stain-plus-gloss duo.
Mistake to Avoid: Applying gloss first, which prevents the stain from settling into the lip and causes sliding.
7. Brow Gel Over Light Pencil
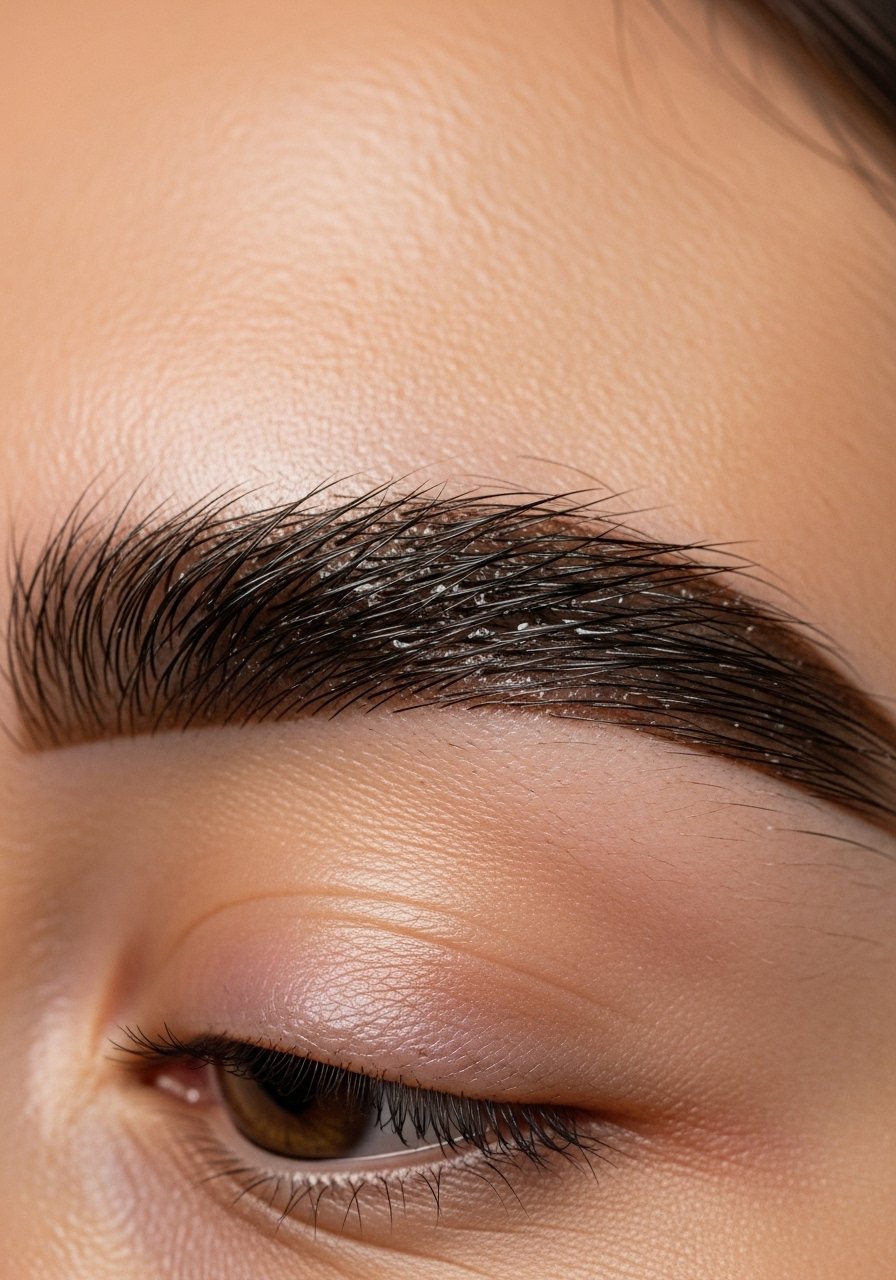
Fill sparse spots with a micro pencil using short strokes, then set brows by brushing upward with a tinted brow gel. The pencil creates shape, the gel locks hairs and adds color without heaviness. For coarse hair, use a clear gel first to position, then tint. I often reach for a micro-tip brow pencil and a tinted brow gel.
Mistake to Avoid: Overfilling the brow tail, which falsifies the shape and draws attention to product.
8. Creme Eyeshadow Layered With Powder
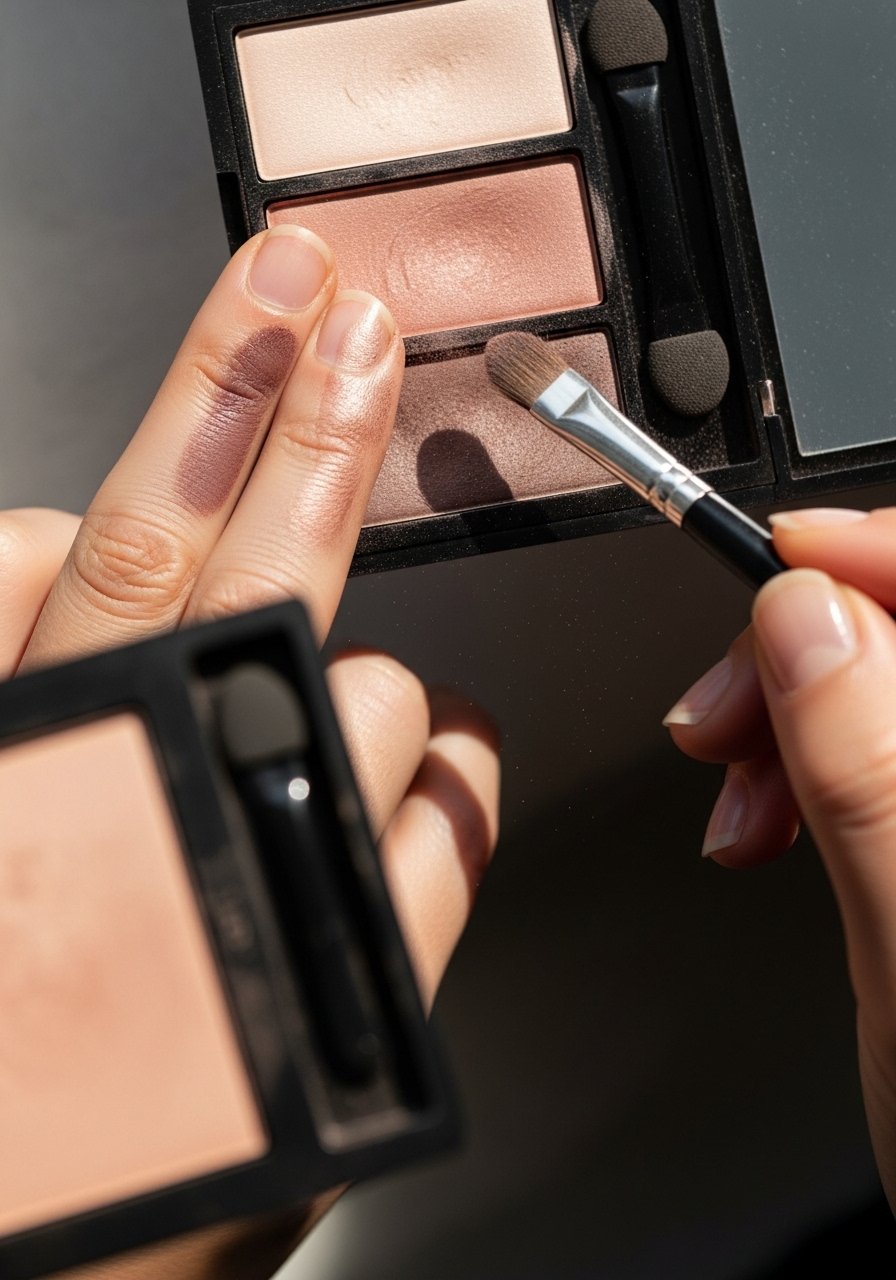
Apply a thin layer of cream shadow as a base, then set the center with a matching powder shade to increase longevity. The cream gives pigment payoff, the powder prevents creasing by reducing surface oil. Use matte in the crease for hooded lids. A little pinch of setting powder between layers helps oily lids. Try a neutral cream shadow.
Mistake to Avoid: Using a heavy cream without setting, which leads to creases by midday.
9. Sheer Bronzer on High Points
Tap a small amount of sheer, buildable bronzer on the forehead hairline, cheek hollows, and jaw soft zones. Apply with a dense brush using a light hand, and stop short of the apples to avoid an overdone look. For fair skin use a cooler taupe bronze, for warm undertones choose golden bronze. I use a buildable cream bronzer.
Mistake to Avoid: Loading the brush and dragging it across the face, which reads patchy and obvious.
10. No-Mascara Lash Tint Effect
If mascara smudges on you, use a dark brown waterproof tint or a lash balm that adds definition. Curl lashes before applying, then comb through with a clean spoolie. Brown reads softer in bright sun and is forgiving with smudging. This is great for sensitive eyes or people who sweat at the outer corners. Test a waterproof brown mascara for minimal transfer.
Mistake to Avoid: Pumping the mascara wand inside the tube, which introduces air and causes clumps.
11. Powder Only Where Needed
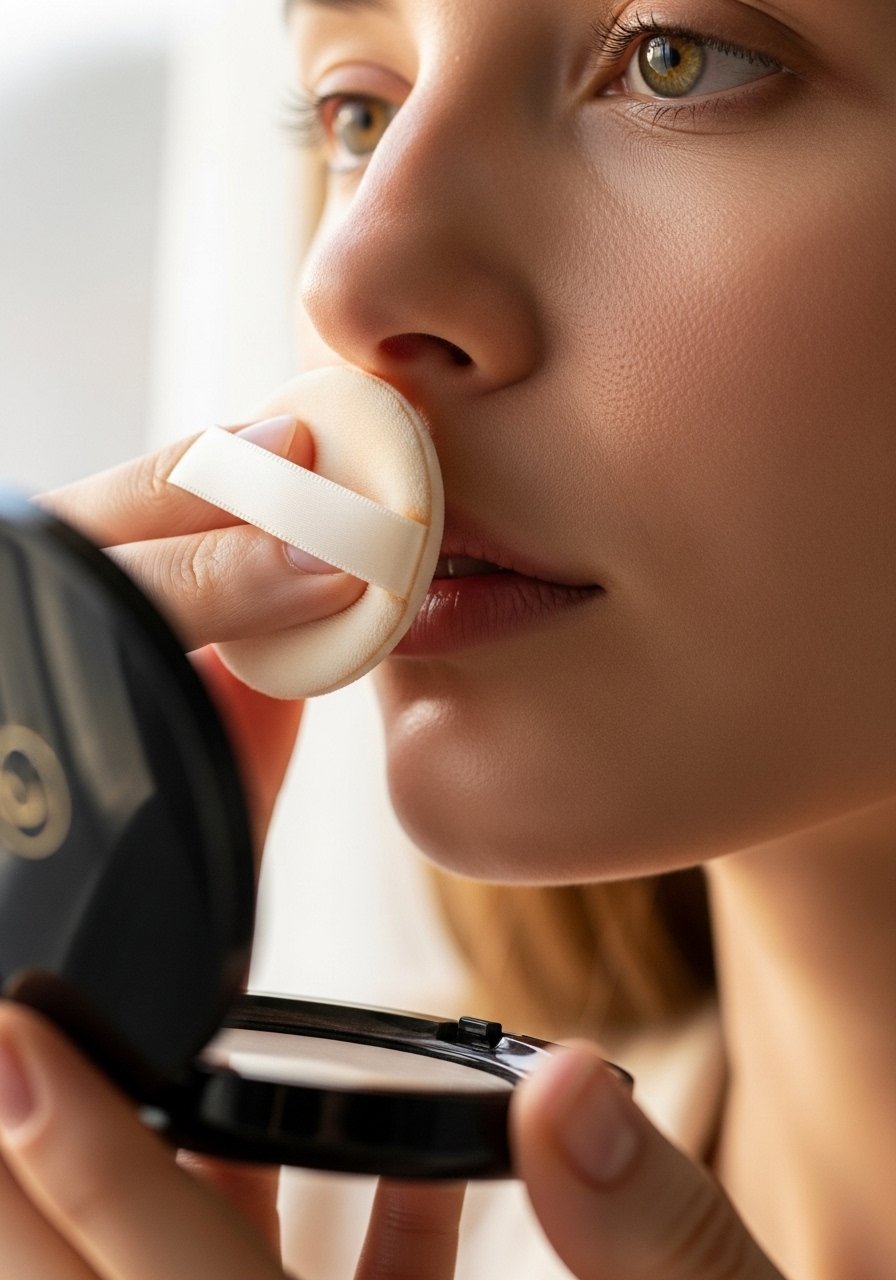
Use a light dab of translucent powder only on the forehead and chin if you are oily. Press with a sponge then brush away excess with a fluffy brush. This keeps the rest of the face dewy while controlling shine. If you have dry skin, skip powder and set with a mist. I recommend a finely milled translucent powder.
Mistake to Avoid: Powdering the whole face, which flattens cream blush and reduces skin dimension.
12. Spot-Set With Small Brush
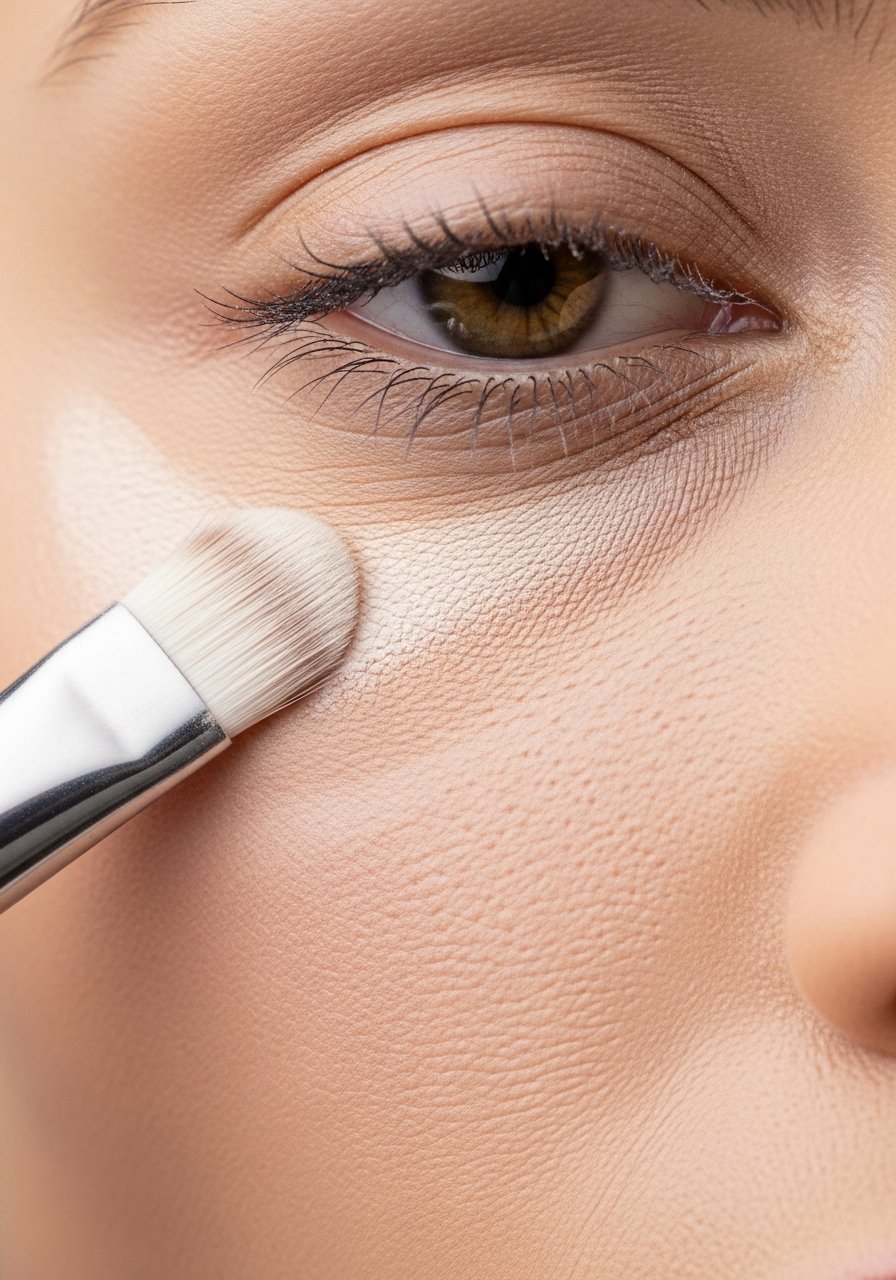
Instead of blanket setting, use a small fluffy brush to spot-set under-eye creases and the smile lines. A little goes a long way, and it avoids the dry look across the cheeks. This method saves product and prevents flashback in photos. For combo skin this is the best compromise. Try a small precision setting brush.
Mistake to Avoid: Dumping powder from the pan to the face, which creates uneven patches.
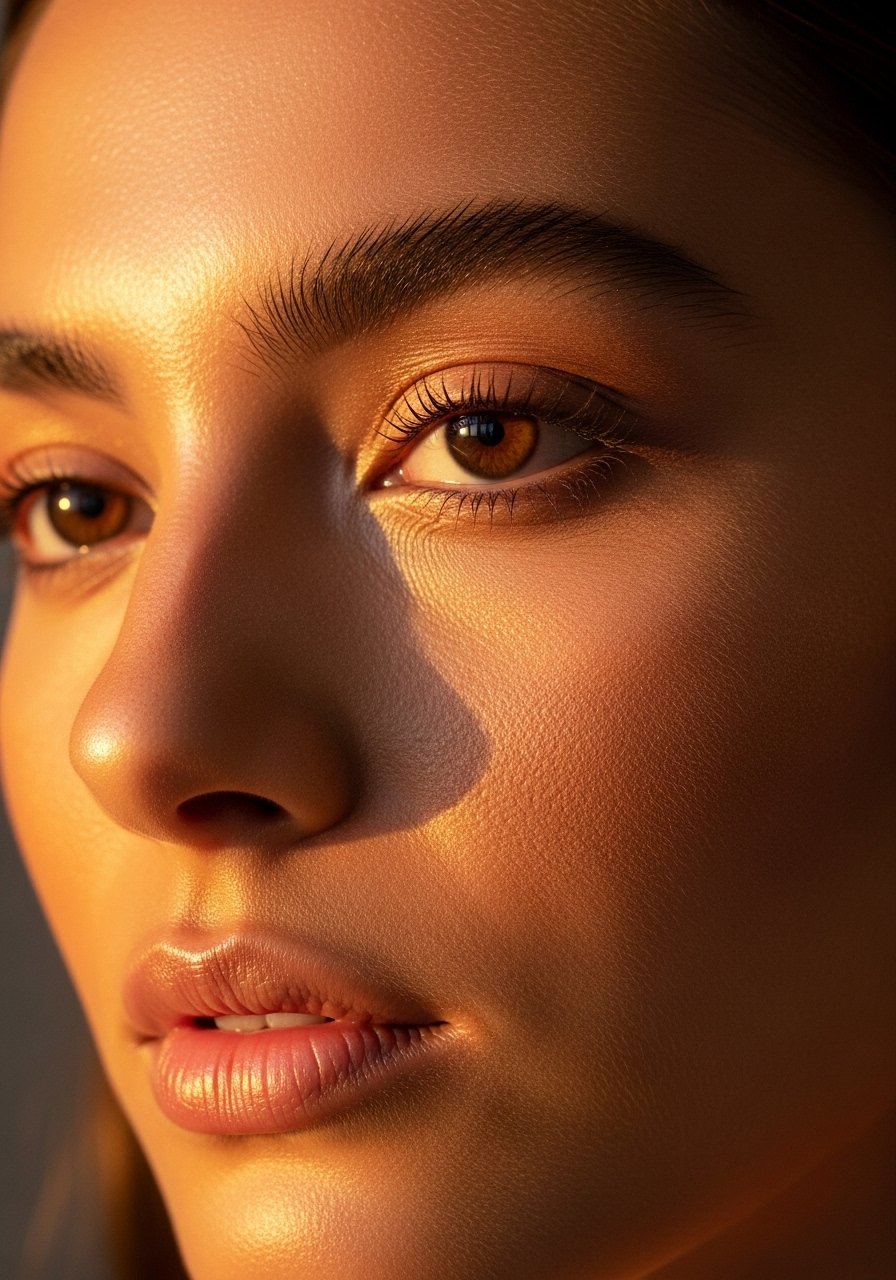
13. Dewy Highlight Layered Over Matte
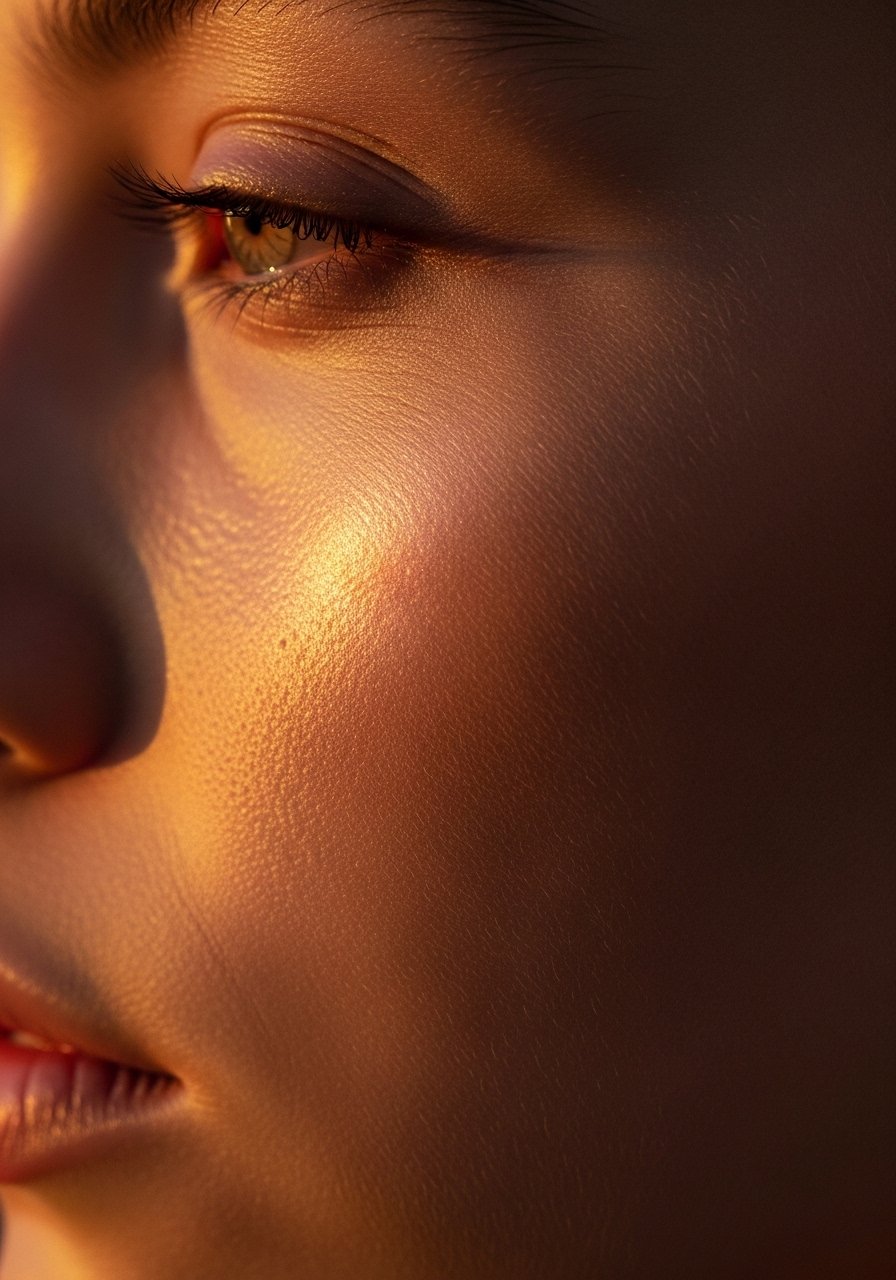
Apply a matte base, then add a tiny dot of liquid highlighter on the highest point of the cheek and blend with fingers. The matte base prevents the highlighter from sliding, and the touch of dew keeps the skin photo-friendly. For oily skin, use a skin tint with a natural finish and a powder highlighter instead. I use a liquid highlighter drop.
Mistake to Avoid: Dabbing heavy powder highlight on top of oily skin without a barrier, which slides and cakes.
14. Gel Eyeliner Smudged Into Lash Base
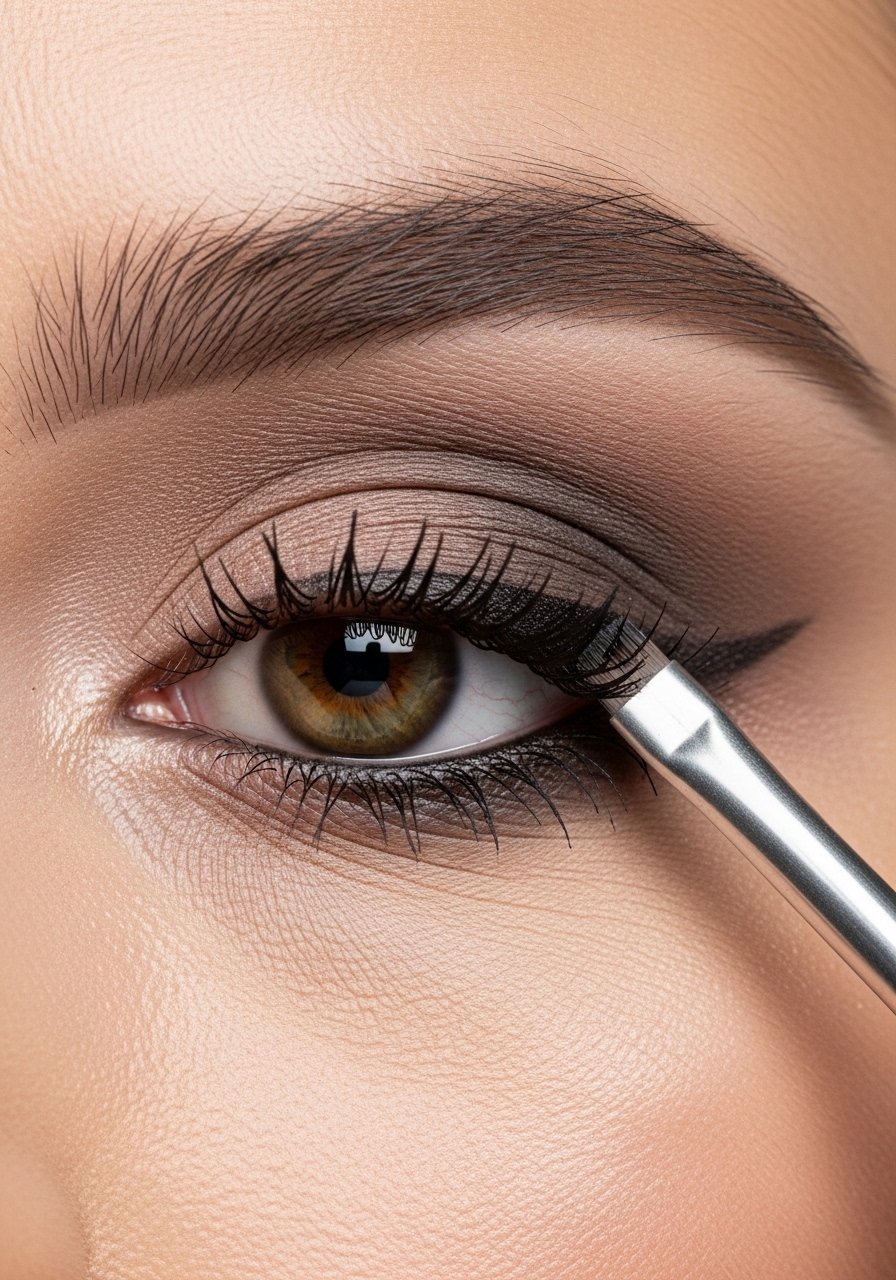
Apply thin gel liner at the base of the lashes and immediately smudge with a short flat brush to create density without a harsh line. It reads like natural thickness and resists running when set with a matching powder. Great for hooded eyes and mature lids. Use a longwear gel liner.
Mistake to Avoid: Drawing a thick hard line, which melts into a heavy block on humid days.
15. Matte Lip Topper for Sticky Avoidance
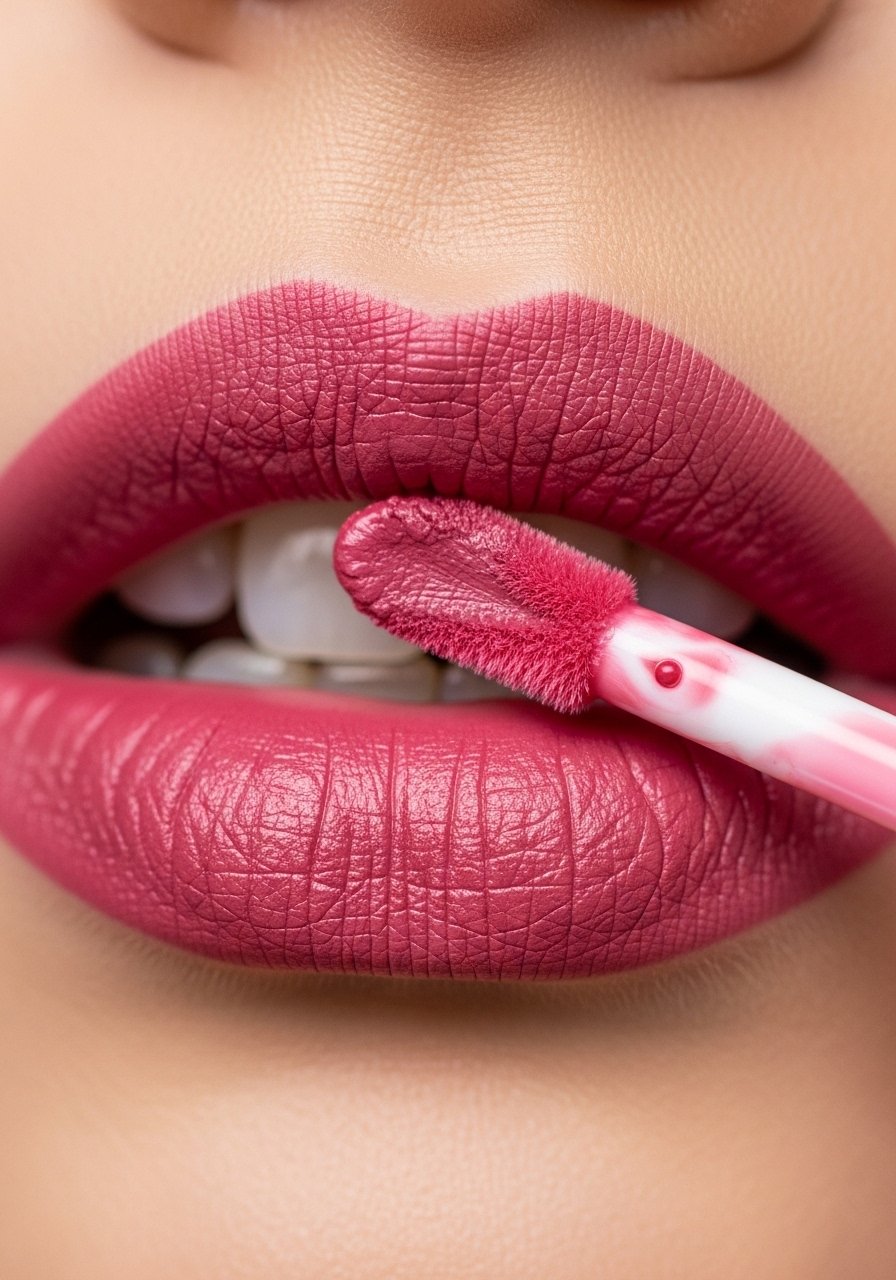
Swap heavy gloss for a satin or matte topper over stain so the feel is nonsticky but still fresh. Apply only in the center and press lips together. It offers the shine read without hair-grabbing gloss. If your lips are dry, exfoliate first and use a balm layer under the stain. Try a satin lip topper.
Mistake to Avoid: Layering balm on top of stain, which prevents the color from setting and causes smearing.
16. Cooling Setting Mist Technique
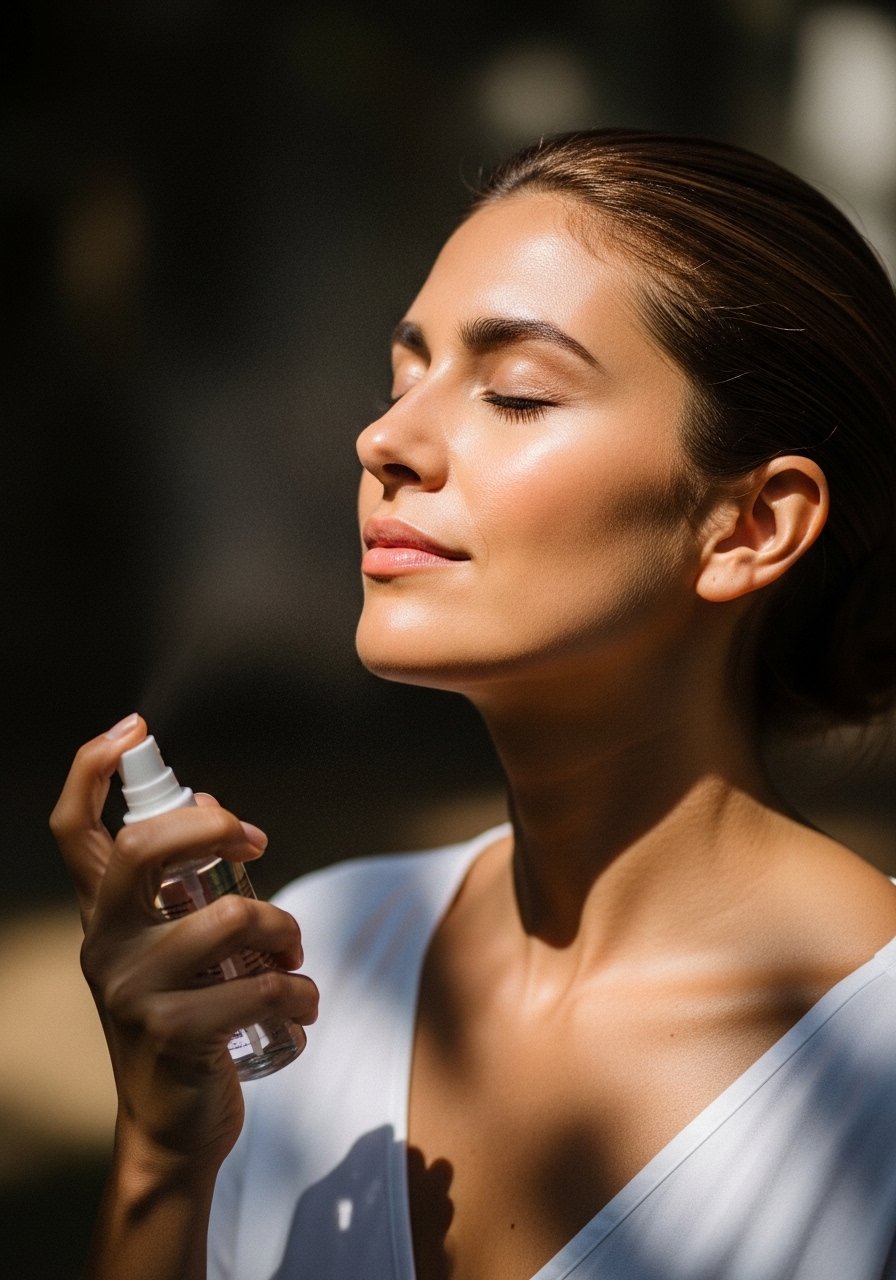
Mist from eight inches away in three even sprays, focusing on the center of the face, then let air-dry. The cooling sensation helps set cream products and reduces midday shine. For very dewy skin use a mattifying mist only on the T-zone. I use a hydrating setting spray and pump three short bursts.
Mistake to Avoid: Over-spraying until the skin feels wet, which dissolves cream makeup.
17. Cream-to-Powder High-Coverage Conceal

Dot concealer in a triangle under the eye and tap with a sponge to blend, then set only the outer corner with a pinhead amount of powder. This avoids caking while keeping brightness where it matters. For mature skin choose a hydrating concealer formula with medium coverage. I paired a creamy concealer with a tiny setting brush.
Mistake to Avoid: Applying concealer everywhere the eye looks dark, which leads to a mask effect.
18. Single Eye Accent Color
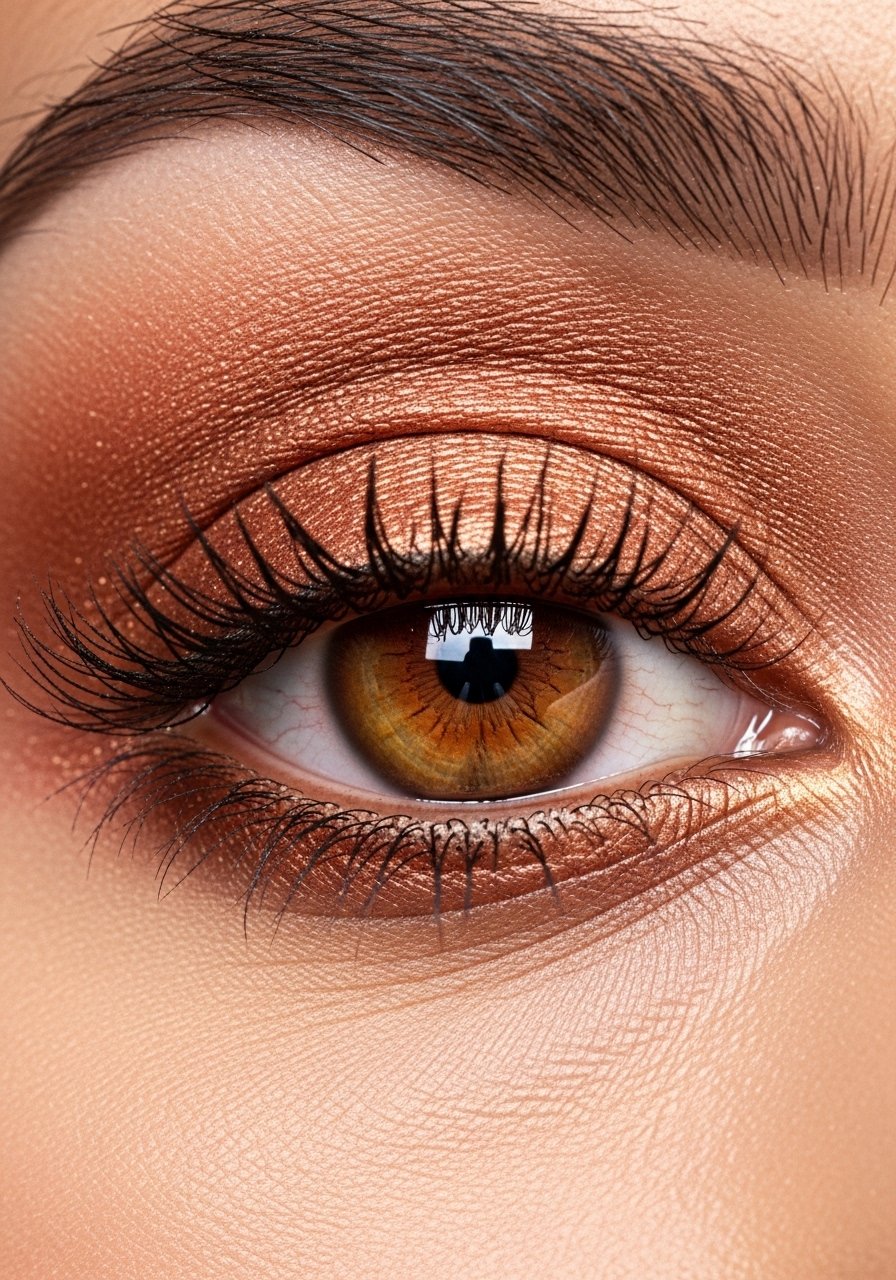
Instead of a full smoky eye, pick one accent color on the lid and keep the rest neutral. Use a damp brush for shimmer to increase payoff and reduce fallout. This gives a pop without heaviness and is quick to remove if you sweat. Works well for all eye shapes. Try a warm shimmer shadow pan.
Mistake to Avoid: Piling shimmer into the crease, which looks dated and creases quickly.
19. Blot-and-Refresh Kit for Bag
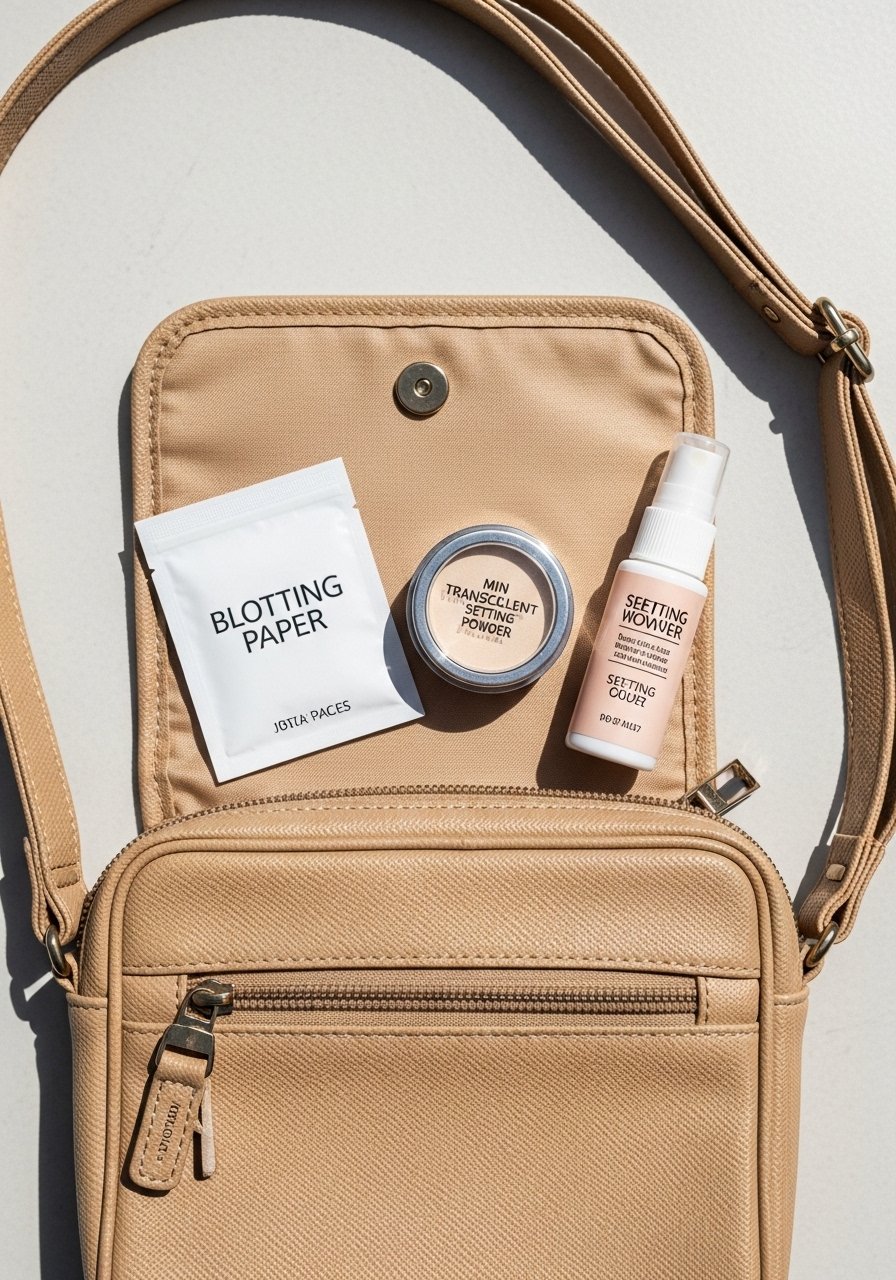
Keep a mini blotting paper pack and a travel-size mist in your bag. Blot the T-zone first, then a single mist burst to refresh the face. This routine prevents you from over-powdering and keeps color layers intact. For kids of quick touch-ups, pre-cut blotting sheets are ideal. I carry a compact blotting paper pack.
Mistake to Avoid: Rubbing the face when shiny, which smears foundation and moves pigment.
20. Monochrome Cheek and Lip
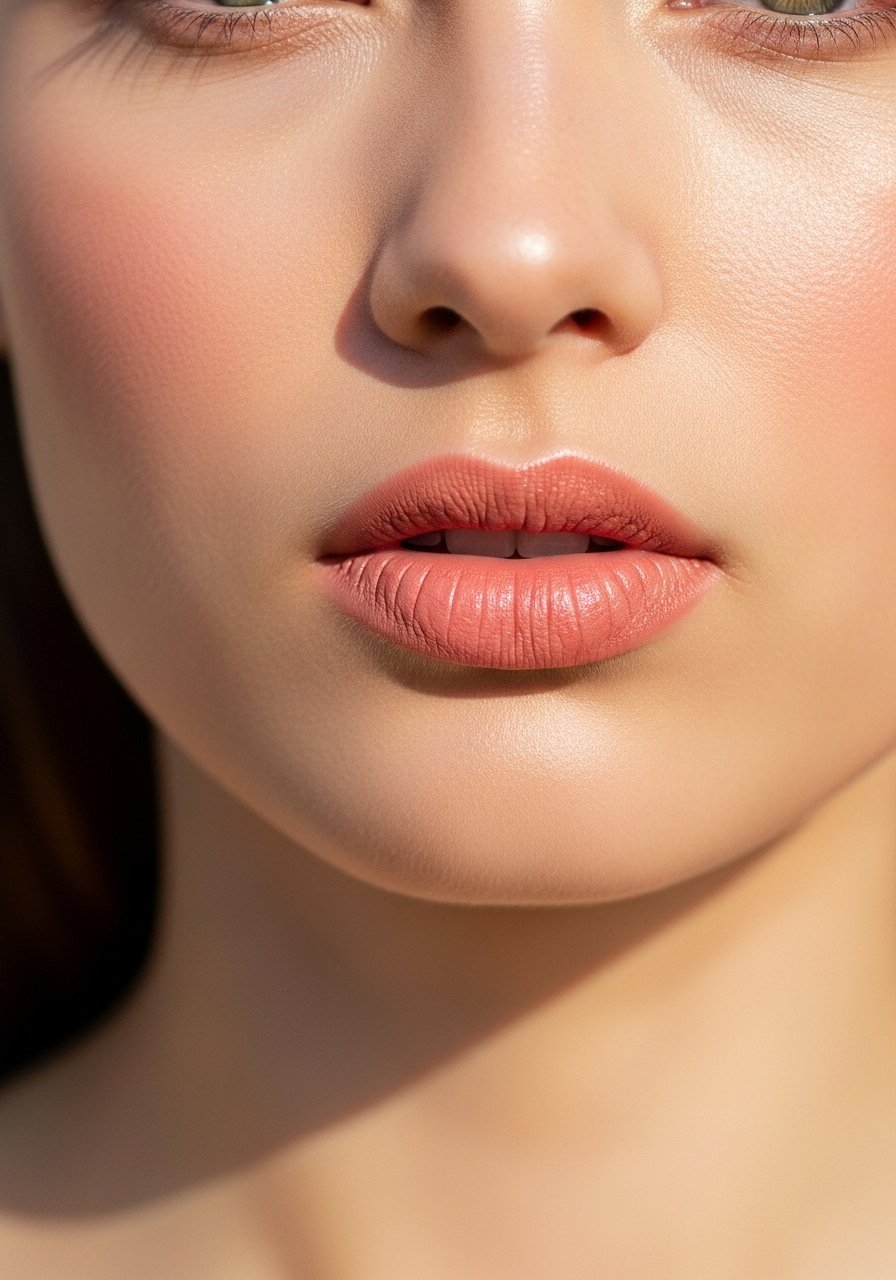
Use the same cream shade on lips and cheeks for a synced look that reads intentional and simple. Tap a small dot on each area and blend with the same finger. This reduces decision fatigue and travels well. Choose colors based on undertone: warm apricot for warm skin, muted pink for cool skin. I use a versatile cream tint.
Mistake to Avoid: Using a different finish on the lip and cheek, which makes the color feel mismatched.
21. Cold-Start Brow Sculpting
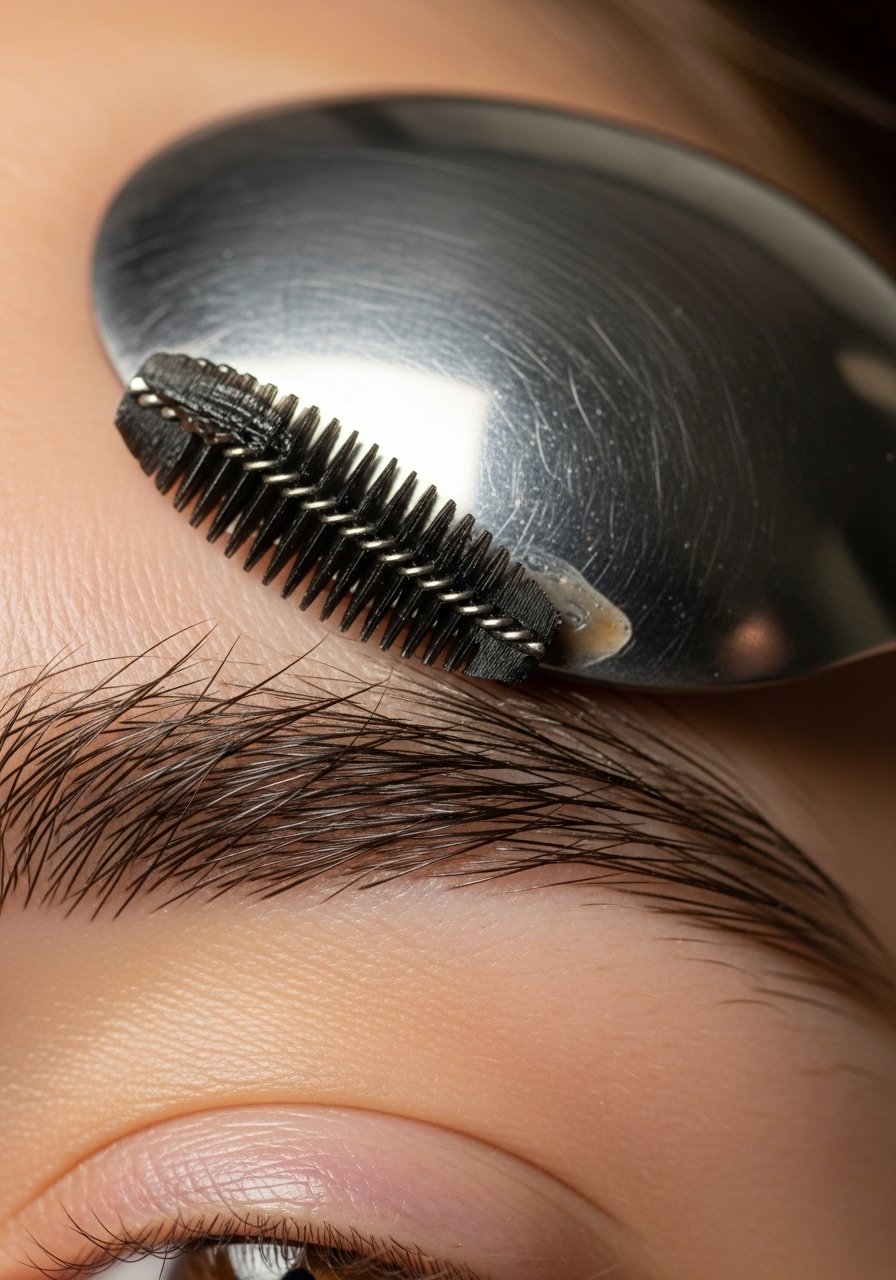
Run a cold metal spoon across your brow before styling to flatten stubborn cowlicks, then set with a wax-based pomade. The cold helps hair lie flat for longer in humid heat. This trick helps fine hair hold shape without heavy product. I like a light-hold brow wax.
Mistake to Avoid: Heating the brow wax before application, which makes the wax too soft to hold the hair.
22. Minimalist Contour With Two Brushes
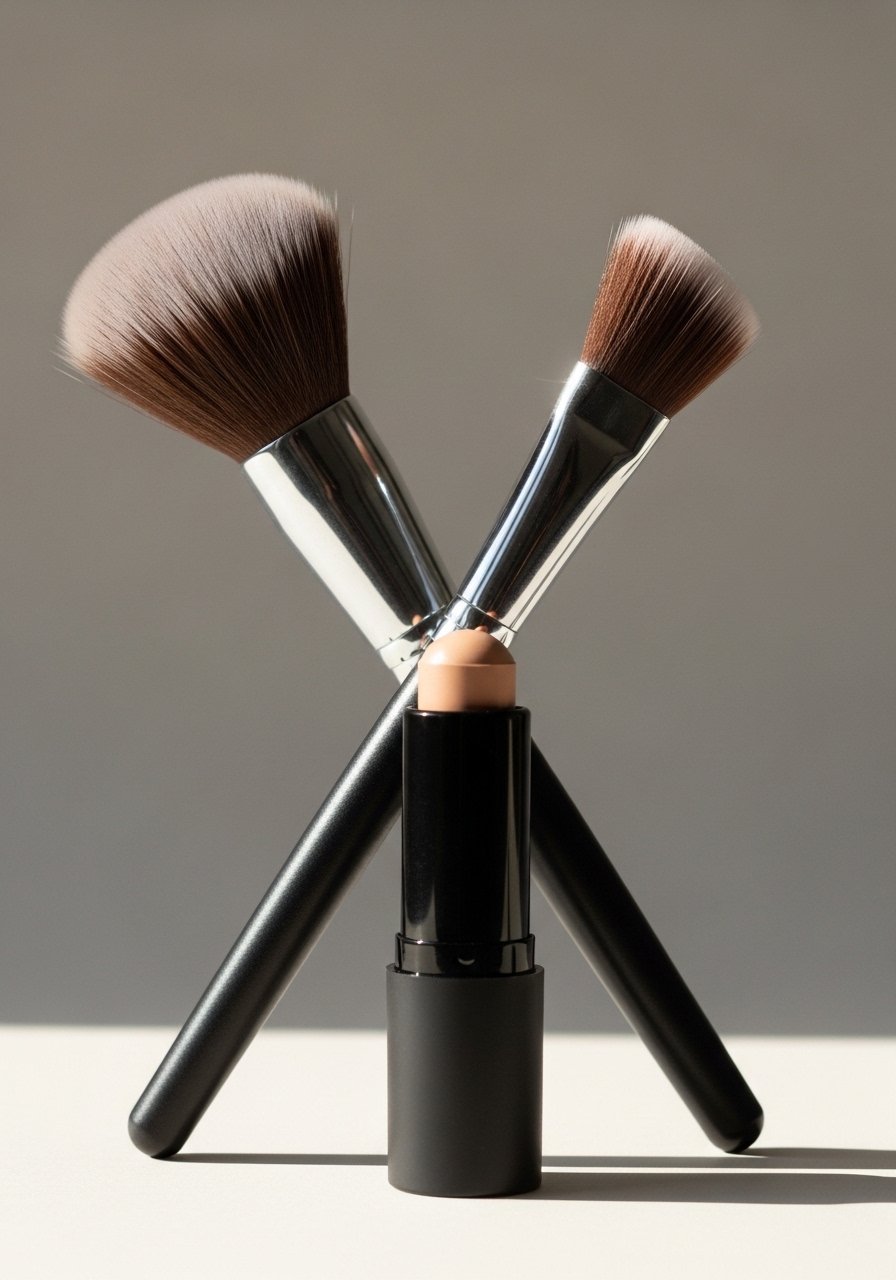
Use a small dense brush for placement in the hollows and a fluffy brush to diffuse. Two tiny taps with the dense brush, then blend outward with the fluffy one. The split technique keeps contour natural and prevents heavy lines. For heavier bone structure use cooler contour shades. I use a cream contour stick.
Mistake to Avoid: Trying to sculpt with one big brush, which makes blending difficult and patchy.
23. SPF-First Lip Care

Apply an SPF lip balm before color to protect and to give the tint something to anchor to. Let it absorb for 60 seconds, then blot and apply stain. The step prevents color from sinking into dry lines. For outdoor days pick SPF 30 lip balms. Try a lip balm with SPF.
Mistake to Avoid: Applying balm right before tint, which creates a slippery base and poor adhesion.
24. Cream Bronze Body Glow
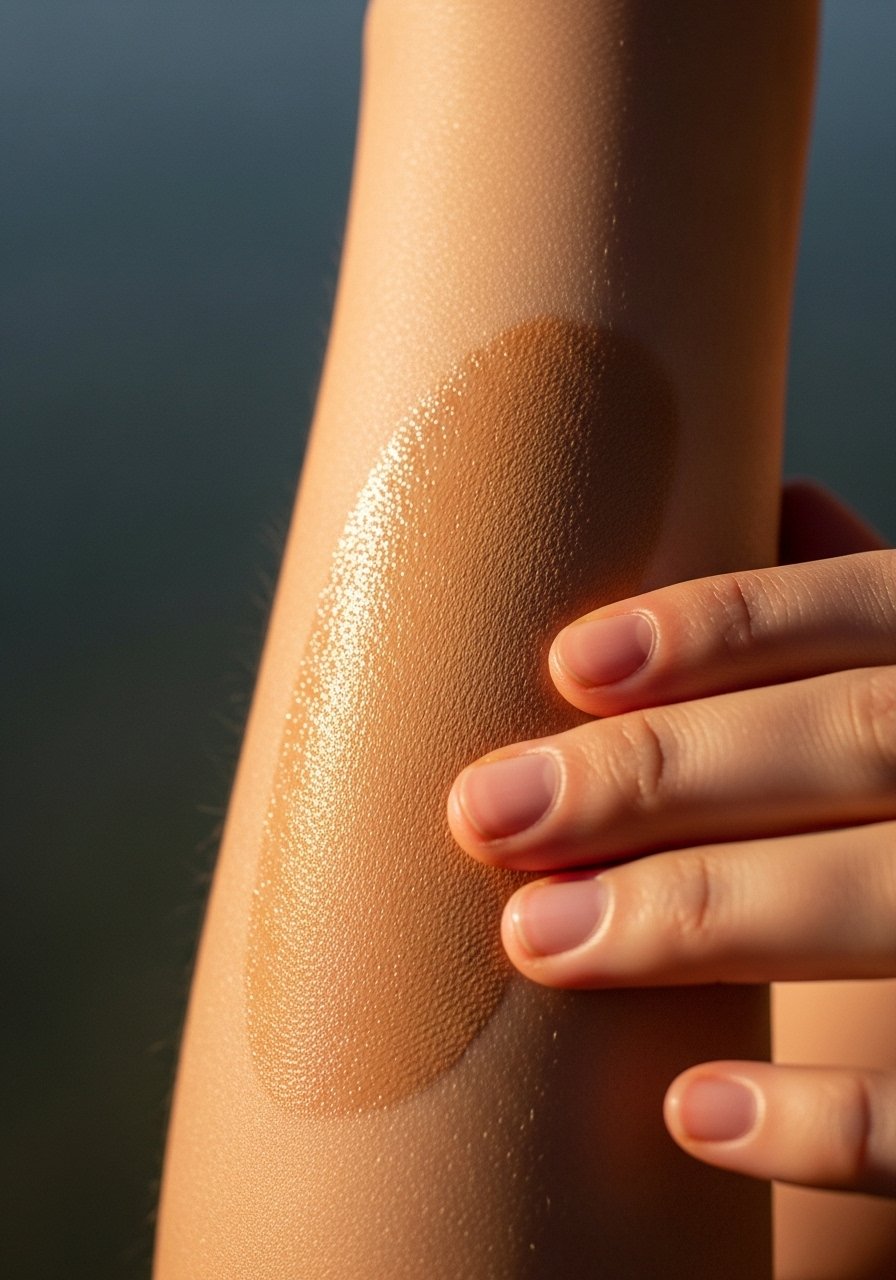
Extend the face glow down the neck and collarbone using a cream bronze applied with a damp sponge. Blend quickly in downward strokes and wash hands immediately. It ties the face into the outfit and avoids a stark jawline. For fair skin use a sheer wash and build slowly. I like a light-reflecting body cream bronzer.
Mistake to Avoid: Using a full-face bronzer on the neck only, which creates a visible line.
25. Quick Brow Tint at Home

A quick at-home tint can lift the whole face for several weeks. Follow kit timing exactly, and do a strand test. Tint fills gaps so you can skip heavy brow products on hot days. Not recommended if you have a known sensitivity; patch test 48 hours ahead. Try a beginner brow tint kit.
Mistake to Avoid: Leaving the tint on longer than recommended, which darkens the result beyond what you expect.
26. One-Ingredient Deodorant for Makeup Emergencies
Carry a small cream deodorant or stick to reduce sweat patches under straplines and behind the ears. Applying a whisper of product where your hair or makeup rubs reduces transfer and keeps color intact longer. This is a trick I adopted after a wedding where everything ran. Use a fragrance-free option if you are scent-sensitive. I pack a travel-size cream deodorant.
Mistake to Avoid: Applying deodorant directly on makeup, which smudges pigments and ruins the finish.
Your Makeup Kit
Base / SPF
- Honestly the best $18 I have spent. Tinted mineral sunscreen (~$18-25). Use as a base when you want light coverage.
- Satin stick foundation ($$). One stick covers light to medium needs and layers well.
Color
- Longwear cream blush stick (~$12-20). Build with fingers.
- Versatile cream tint for lip and cheek ($). Travel-friendly.
Eyes / Brows
- Waterproof kohl pencil (~$8-16) for tightline definition.
- Tinted brow gel (~$10-20) for hold and color.
Tools / Finishers
- Small precision setting brush (~$6-12).
- Hydrating setting spray (~$10-18).
- Compact blotting paper pack ($).
- Finely milled translucent powder ($$).
- Lip balm with SPF (~$5-12).
- Travel-size cream deodorant ($).
Makeup Tips That Actually Help
Thin layers win. Apply makeup in thin layers and let each sit for 20 to 30 seconds. A small beauty sponge helps press products into the skin instead of piling them on.
Grab a microfiber cloth headband for mornings. It keeps hair off the face and prevents foundation from catching on baby hairs, which saves time.
If you sweat, blot first, then mist. A hydrating setting spray works better after blotting because it restores dew without reactivating product.
Do a quick patch test for tints. At-home brow tints are great, but leaving them on an extra minute darkens the tone and is hard to correct.
Keep a one-minute touch-up kit. Blotting papers, a slim pencil, and a travel powder compact will fix 80 percent of emergencies on the go.
Most people spend somewhere between $500 and $800 when they finally commit to refreshing a room. Apply that mindset here: invest in three key items you use daily rather than ten you do not.
Try a brown mascara if black transfers on you. A waterproof brown mascara looks natural in sunlight and is less obvious if it migrates.
