
I kept choosing the smallest kanji and expecting it to read clearly in photos, then wondering why it blurred into a smudge once it healed. After a few touch-ups and one stern conversation with an artist, I learned that line weight, placement on the curved wrist, and a proper stencil matter more than shrinking the design down.
These ideas are for anyone who likes discreet ink, wants something work-visible but easy to cover, or needs tiny designs that actually stay crisp. Most are beginner friendly and budget conscious, with one-session options and a few that may need a short touch-up. I pulled these ideas from sketches across five shops I have visited, so you get what reads well on actual wrists, not just Instagram mockups.
1. Single Kanji Character, Clean Line

A single kanji works because it reads like a small emblem, not a word blob. Ask your artist for a 6 to 12 millimeter height and a consistent 0.5 millimeter line weight so the character keeps its counters as it settles. This feels purposeful and quiet, good for someone who wants symbolic meaning without loud visuals. Budget is low, session under an hour, and bring a printed reference your artist can adapt. For home aftercare I travel with sterile tattoo ointment to keep the area moisturized in the first week.
Mistake to Avoid: Choosing a kanji from a low-res image without confirming strokes and meaning.
Style/Technique: Minimal Kanji
Pain Level: 3/10
Session Time: 20 to 45 minutes
Best For: Inner wrist, coverable at work
2. Tiny Red Seal Style Mark

A small red hanko inspired stamp uses solid color rather than micro-lines, so it reads clearly even at 8 to 10 millimeters. The visual works like a signature, neat and modern. It ages well because solid pigment holds better on wrists than the faintest lines. Ask for a single pass of saturated red ink and plan a touch-up if your skin is very dry. Pack a small tin of fragrance-free healing balm to keep the color vivid during healing.
Mistake to Avoid: Picking a red that is too thin, which will fade to a pink patch.
Style/Technique: Solid Color Seal
Pain Level: 2/10
Session Time: 15 to 30 minutes
Best For: Outer wrist, visible signature-style mark
3. Mini Wave Line That Wraps

A single continuous wave that hugs the wrist uses the curve to your advantage. Specify a 2 to 3 centimeter length and a single line no thinner than 0.5 millimeter so it does not blur into dotted fragments. The result feels like movement and suits someone who wants discreet motion rather than a figurative image. This one is quick and low cost, and it pairs nicely with a ring or bracelet.
Mistake to Avoid: Placing the line across a tendon where movement will distort the design.
Style/Technique: Single Line Wrap
Pain Level: 3/10
Session Time: 15 to 30 minutes
Best For: Outer wrist, people who wear bracelets
4. Tiny Origami Crane Silhouette
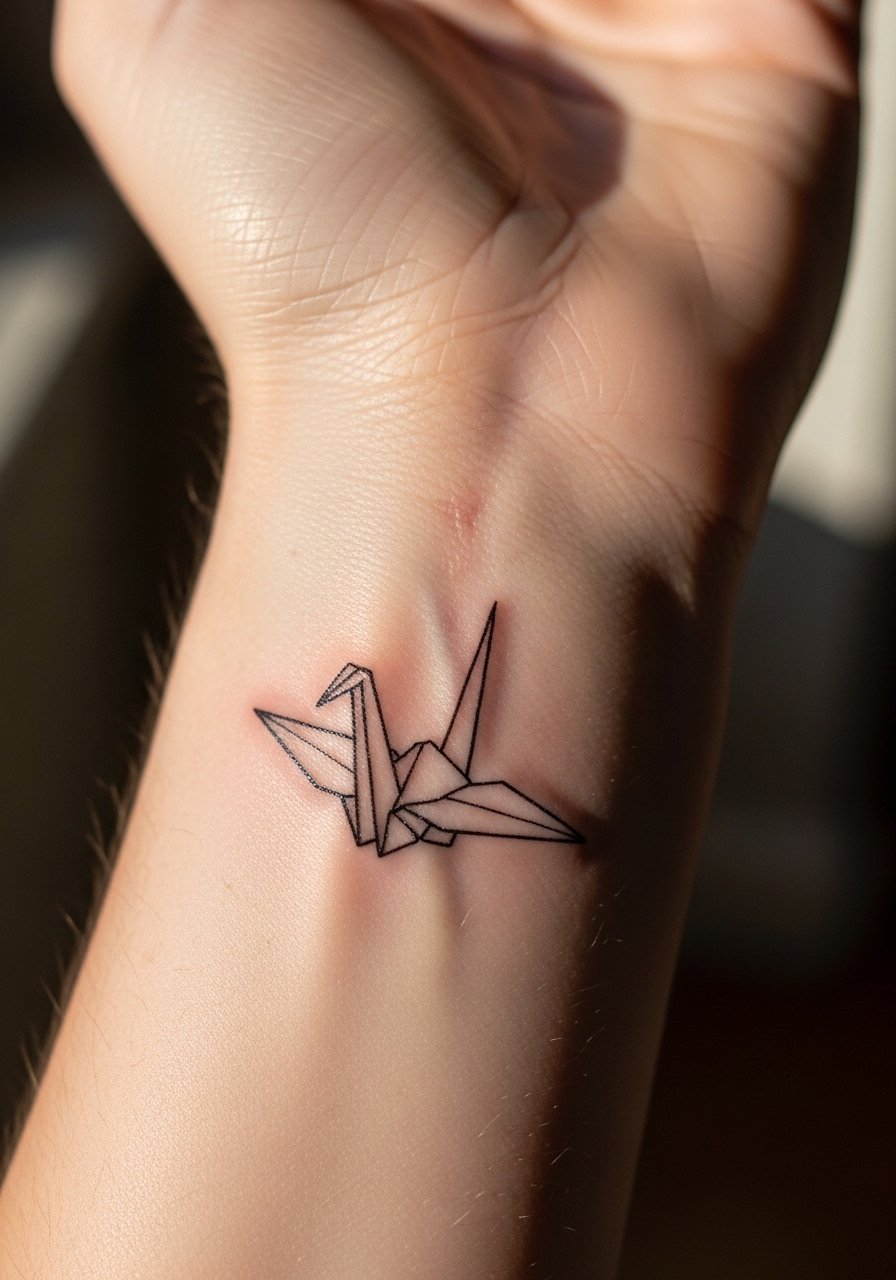
An origami crane in silhouette form reads better small than a highly detailed bird. Keep the height around 1 centimeter and ask for 0.8 to 1 millimeter fill lines so the negative space keeps the fold shapes visible as it heals. It creates a calm, thoughtful vibe and fits someone who wants a tiny narrative symbol. For stencil transfer, bring a clean printed image on plain paper so your artist can fine tune proportions. Use a gentle unscented cleanser during the first wash.
Mistake to Avoid: Asking for tiny interior details that will flood during healing.
Style/Technique: Mini Silhouette
Pain Level: 3/10
Session Time: 20 to 40 minutes
Best For: Inner wrist, narrative symbol seekers
5. Micro Sakura Branch, Horizontal
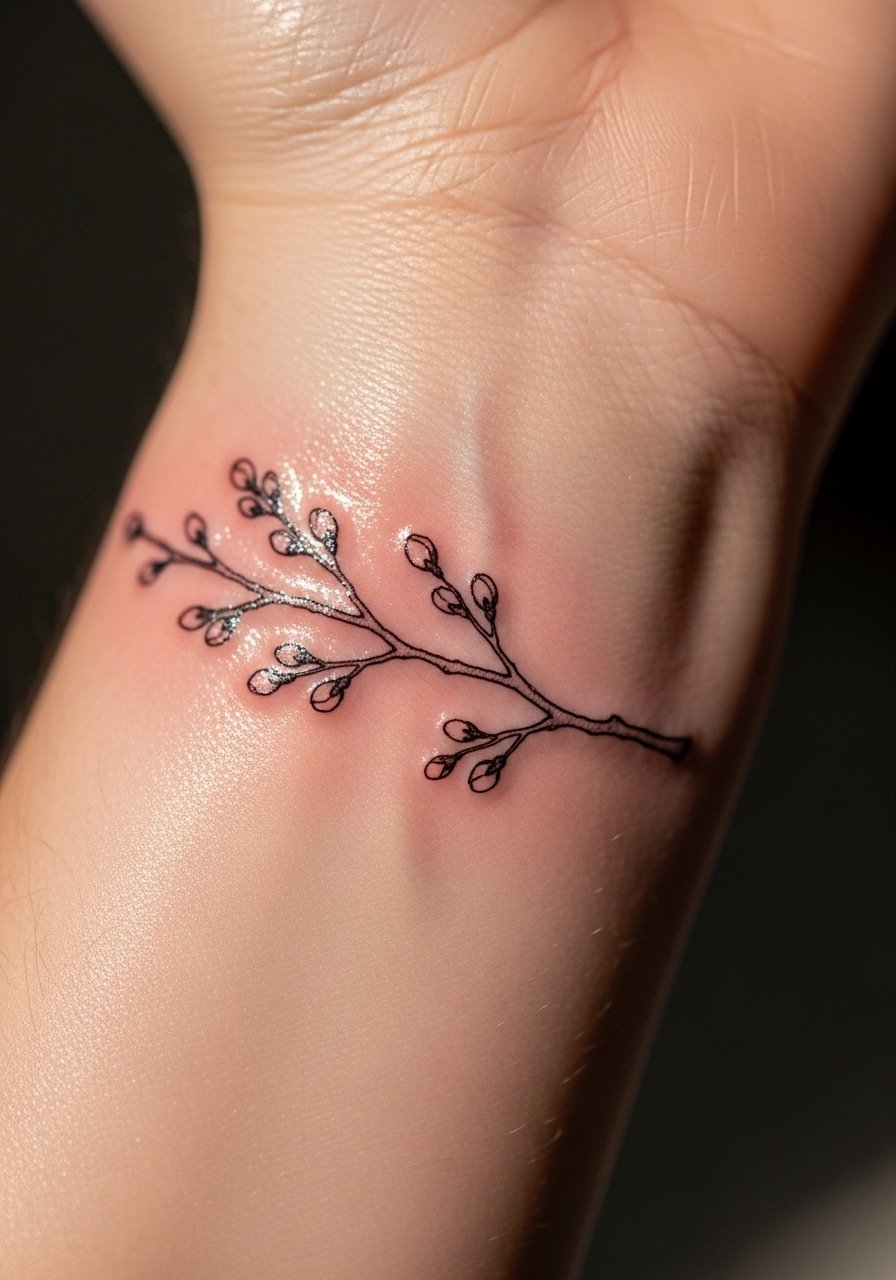
A slim horizontal cherry blossom branch fits the wrist anatomy and stays readable when scaled to 2 to 4 centimeters long. Request sparse blooms and negative space between branches, using a 3RL needle for tiny dots rather than a 1RL for hairlines. The result is delicate and seasonal without being fussy, and it looks good with both casual and formal wardrobes. Keep the session short and plan for one touch-up if you have oily skin. I keep sterile stencil paper in my phone case for reference.
Mistake to Avoid: Crowding too many blooms into a very small band.
Style/Technique: Micro Botanical
Pain Level: 4/10
Session Time: 30 to 50 minutes
Best For: Outer wrist, floral motif fans
6. Narrow Script Phrase Along the Side

A short phrase in narrow script works when it follows the wrist line. Limit to three words and request 1 to 1.5 millimeter letter height so letters do not merge. The feeling is personal and quiet, suited to someone who wants a readable message without shouting. This requires precise lettering work, so choose an artist known for script. Bring a printed font sample and expect to pay slightly more for precision. Aftercare with breathable bandage strips helps prevent scabbing that blurs letters.
Mistake to Avoid: Picking a script with heavy flourishes that will lose shape when skin stretches.
Style/Technique: Fine Script
Pain Level: 4/10
Session Time: 30 to 60 minutes
Best For: Side wrist, text lovers
7. Tiny Koi Dotwork Accent
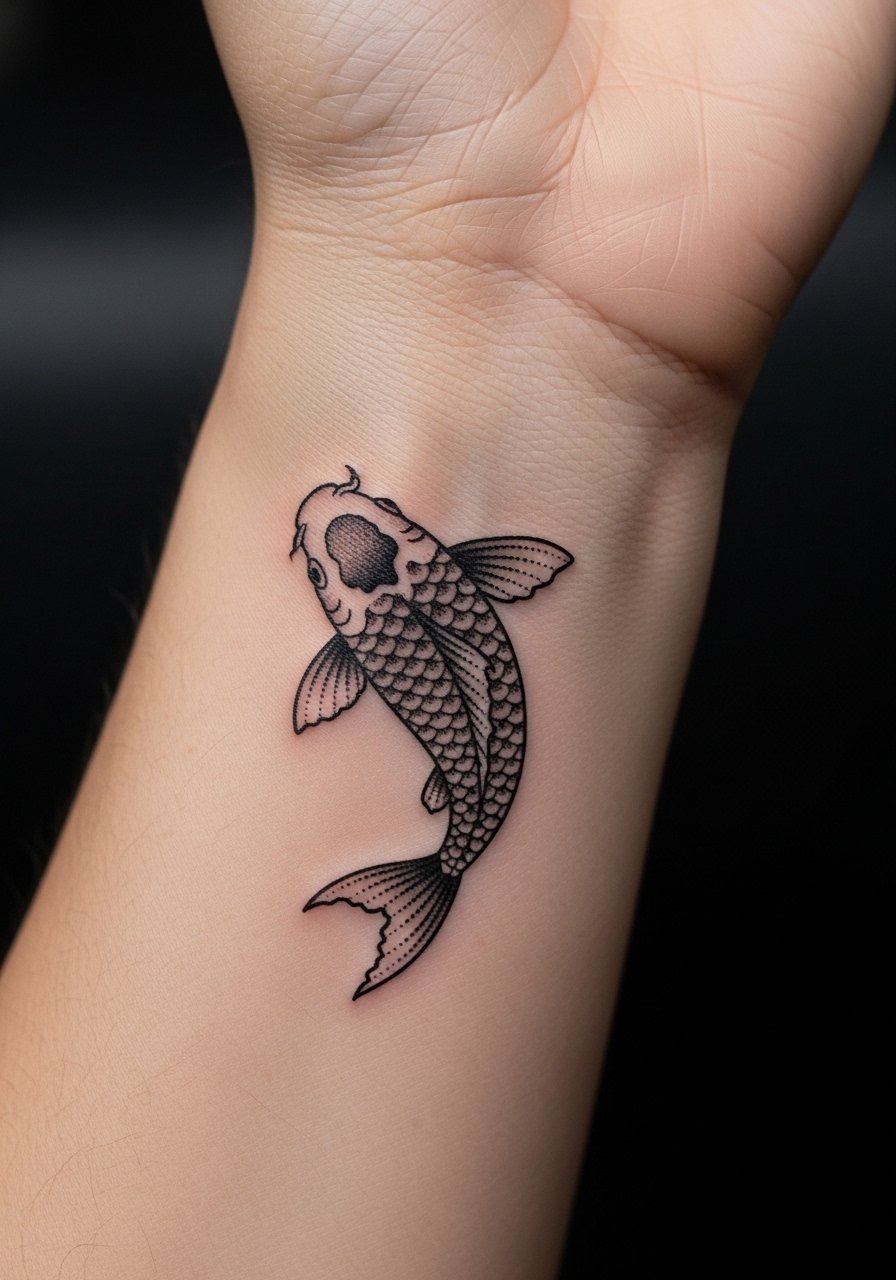
A very small koi rendered in dotwork gives a textured look without relying on thin outlines. Keep the piece under 2.5 centimeters and ask for dot spacing that is not too dense, roughly a 1 to 2 millimeter gap between larger dots, so it does not merge during healing. It feels artisanal and pairs well with small color accents, if you want them. Budget a slightly longer session because dotwork takes time. For home care I use a breathable non-stick pad and unscented healing balm after the first wash.
Mistake to Avoid: Requesting dotwork that is too tightly packed for a piece this small.
Style/Technique: Dotwork Miniature
Pain Level: 5/10
Session Time: 45 to 75 minutes
Best For: Outer wrist, texture-focused designs
If you are ready to shop the small essentials that make a wrist tattoo behave while it heals, these are the items I reach for.
Wrist Tattoo Essentials Worth Buying
Aftercare Basics:
- sterile tattoo ointment (~$8-14), for the first three days after the wash
- unscented gentle cleanser (~$6-12), gentle for daily cleaning
- breathable bandage strips (~$7-12), to protect at night
Prep & Stencil:
- sterile tattoo stencil paper (~$10-18), bring a clean reference to your artist
- single-use disposable razor (~$4-8), for a safe shave around the site
Comfort & Finish:
- unscented healing balm (~$6-14), for ongoing moisture
- compression wrist sleeve (~$12-20), if you need to hide the area temporarily
Studio Extras:
- nitrile tattoo gloves (~$10-20), handy if your artist needs a quick fresh pair
- tattoo-safe numbing cream (~$15-30), optional for low-pain sessions
8. Small Zen Enso Circle Partial

A half enso circle reads like a quiet badge of presence when kept to 1.5 to 2 centimeters. Ask your artist for controlled brush-style strokes rather than a shaky thin line, and request a gradual taper instead of a single uniform width. It gives a meditative feeling and is simple enough for a quick session. This is good for someone interested in the spirit of the motif while keeping the size small. Apply a thin smear of sterile tattoo ointment after the initial peel.
Mistake to Avoid: Insisting on a perfectly symmetrical circle that loses the enso feeling and becomes mechanical.
Style/Technique: Brush Stroke Minimalism
Pain Level: 3/10
Session Time: 20 to 40 minutes
Best For: Inner wrist, meditative symbolism
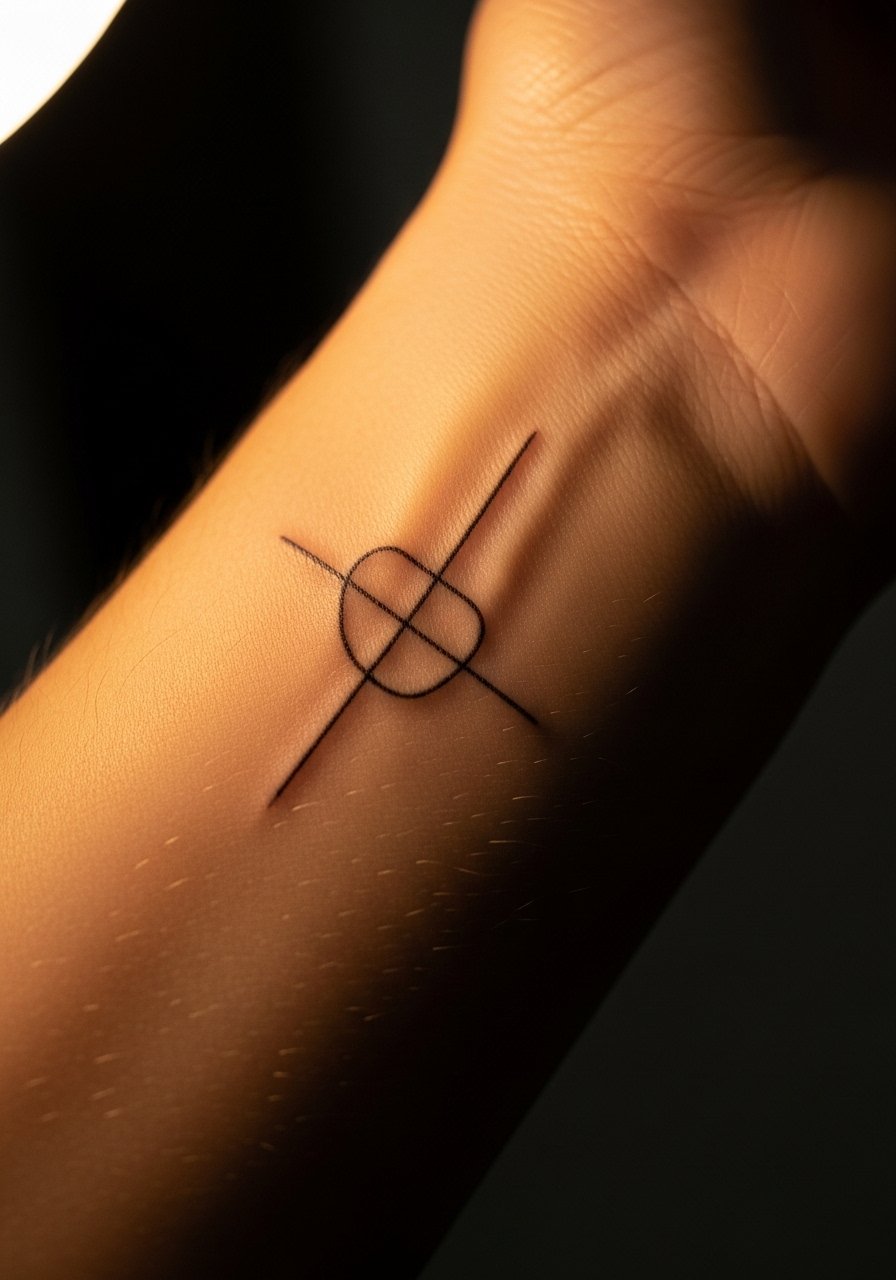
9. Tiny Wave and Sun Combo
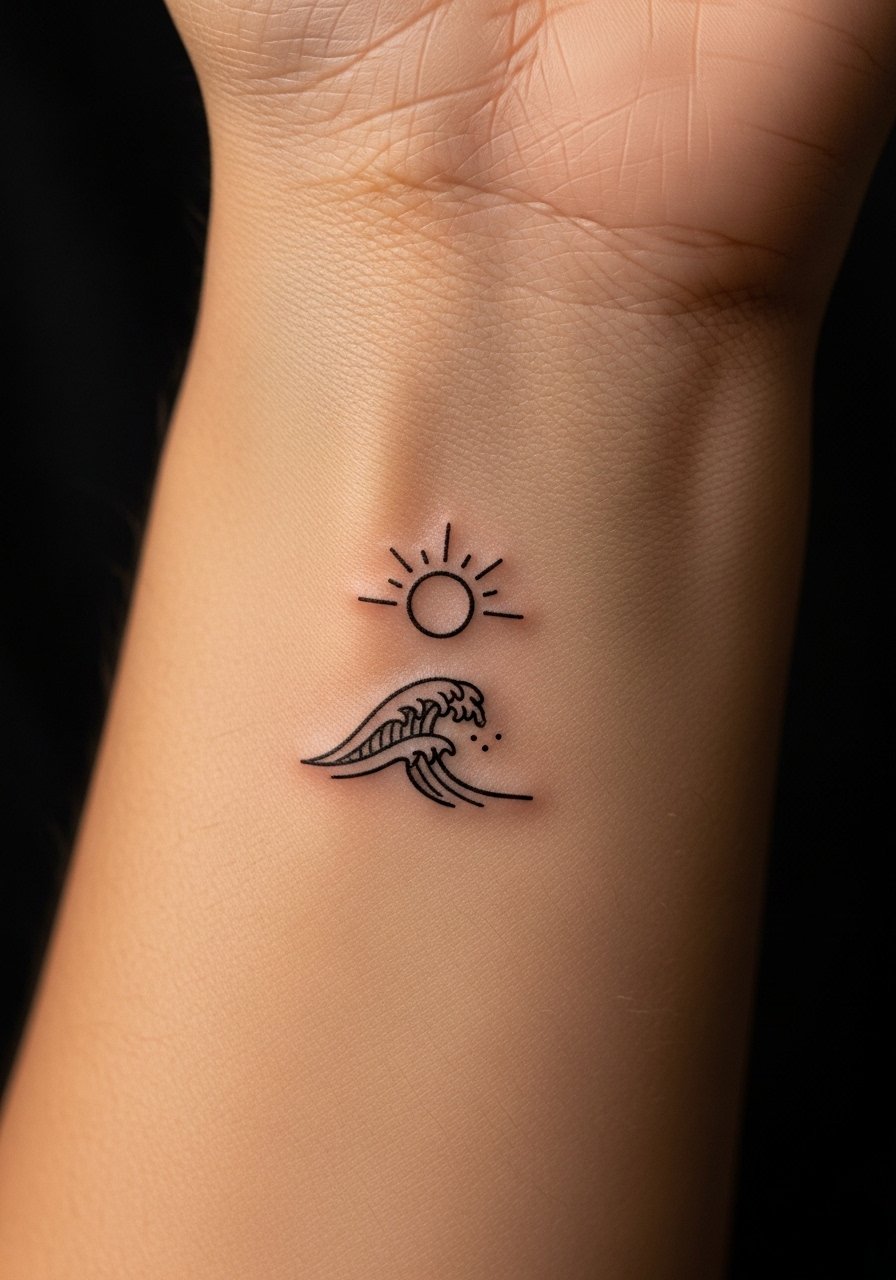
A compact wave with a minimal sun is a balanced pair. Keep each element under 1 centimeter and allow 2 to 3 millimeters of space between them so both elements read clearly. The result is light and wearable year-round, and it suits someone who wants a small scene rather than a single icon. If you plan color accents, limit them to one small dot of pigment in the sun. For post-session care use unscented healing balm.
Mistake to Avoid: Crowding the sun too close to the wave so the shapes merge while healing.
Style/Technique: Mini Scene
Pain Level: 3/10
Session Time: 20 to 45 minutes
Best For: Outer wrist, small scenic tattoos
10. Tiny Geometric Knot
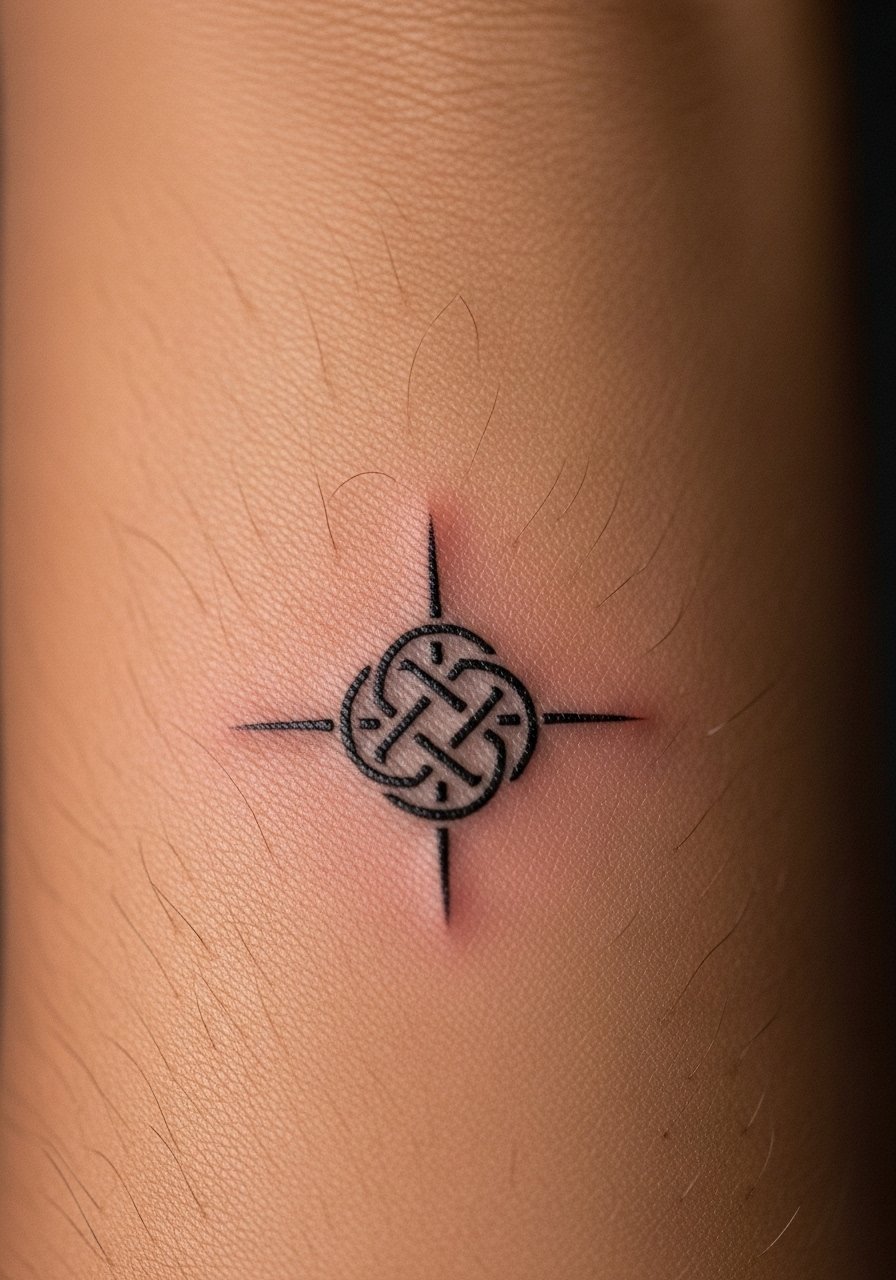
A knot made from simple geometric lines reads as pattern rather than image. Keep the overall size 1 to 2 centimeters and ask for a minimum line weight of 0.5 millimeter to prevent lines from filling in. The look is modern and architectural, fitting someone who prefers abstract forms. It is a slightly more technical piece, so budget an experienced artist. For travel healing I pack breathable bandage strips.
Mistake to Avoid: Choosing super-thin intersecting lines that will blur and lose the knot structure.
Style/Technique: Geometric Minimal
Pain Level: 4/10
Session Time: 30 to 60 minutes
Best For: Inner wrist, abstract design fans
11. Micro Mountain Silhouette

A tiny mountain line reads like a horizon and works well when its base is parallel to the wrist. Keep the piece under 2 centimeters and ask for slight variance in peak height so it reads natural. It feels grounded and outdoorsy, great for someone who wants a small reminder of place. The piece is low cost and quick to tattoo. I bring a sterile stencil paper printout of the silhouette to the shop.
Mistake to Avoid: Asking for filled shading in such a small area, which will appear patchy later.
Style/Technique: Minimal Landscape
Pain Level: 3/10
Session Time: 15 to 30 minutes
Best For: Side wrist, outdoorsy minimalists
12. Tiny Fish Hook Outline

A tiny fish hook outline is symbolic and sharp if kept to 1 centimeter with a clean hook curve. Request a slightly thicker tip line so the curve keeps definition as it heals. It has a quiet edge, suitable for someone who likes small emblems that hint at hobbies or heritage. This one is quick and inexpensive. Use a gentle cleanser to avoid residue buildup in the curve during healing.
Mistake to Avoid: Letting scabs build at the curve, which makes the tip look blocky.
Style/Technique: Tiny Outline
Pain Level: 2/10
Session Time: 10 to 25 minutes
Best For: Inner wrist, hobby or symbol tattoos
13. Minimalursive Stroke, One Continuous Line
A continuous single-stroke motif reads as a signature when done with confident, even pressure. Keep overall length under 3 centimeters and ask for a consistent 0.6 to 1 millimeter line so it does not thin out too much. The result feels handwritten and personal, and it suits someone wanting an abstract, elegant mark. This requires an experienced hand, so book a pro who specializes in single-line work. Aftercare with sterile tattoo ointment helps the line stay smooth.
Mistake to Avoid: Picking a shaky reference that encourages uneven pressure and broken-looking lines.
Style/Technique: Continuous Line
Pain Level: 3/10
Session Time: 20 to 50 minutes
Best For: Outer wrist, signature-style marks
14. Tiny Paw Print in Micro Detail

A micro paw print works when the pads are simplified into three small dots and a larger pad, about 6 to 9 millimeters across. Ask for dot spacing and slightly rounded edges, not precise miniatures of a full print. It reads sentimental without being childish, perfect for a pet memorial. Keep it low cost and quick. Use unscented healing balm for the drying phase.
Mistake to Avoid: Expecting tiny claws or fur texture that will blur.
Style/Technique: Tiny Symbol
Pain Level: 2/10
Session Time: 10 to 25 minutes
Best For: Inner wrist, pet memorials
15. Micro Family Crest Dot Accent

A simplified family crest or emblem can be reduced to a few meaningful elements and a dotwork accent. Keep it to 2 centimeters or less and prioritize negative space so each motif reads. This feels intentional and private, ideal for someone who wants heritage hinted at instead of displayed. Expect a slightly longer consultation to simplify the crest for scale. For touch-ups I recommend holding on to a clear reference image and bringing it to the studio.
Mistake to Avoid: Bringing a full crest to shrink without simplifying elements, which creates a muddy result.
Style/Technique: Emblem Reduction
Pain Level: 4/10
Session Time: 30 to 60 minutes
Best For: Outer wrist, heritage-inspired tattoos
Wrist Care Habits That Actually Help
Thin layers, not one thick smear. Three thin applications of sterile tattoo ointment keep the tattoo moist without suffocating it.
Pack breathable bandage strips in your bag. If you have to protect the wrist for work or travel, a single strip prevents catching and rubbing.
When choosing an artist for fine lines, ask what needle configuration they use. Artists who mention 3RL or fine round liners will get crisper tiny letters than someone using a shader setup.
If you sleep on your side, wear a clean wrist sleeve for the first three nights to avoid bed fabric sticking to scabs. I use a light compression wrist sleeve that is breathable.
Always bring a printed reference on plain paper to the consult. Photos on phones often show amplified contrast or filters, which leads to designs that look different in real life.
