
I kept leaving the salon with what I asked for on the mood board and something flatter on my head. After a fourth try I noticed it was my timing and the placement, not the shade. Once I started thinking in slices, not slabs, and using a gloss instead of another lift, my reds finally had dimension in photos and in life.
These nine ideas are practical color looks for people who want red hair color with highlights without blowing the budget or needing pro-only tools. They work across four hair textures I have colored, include heat-free alternatives when possible, and range from low maintenance to salon-level techniques. Expect timing notes and one-ingredient swaps, so you can pick what fits your skill level and how often you want to touch up.
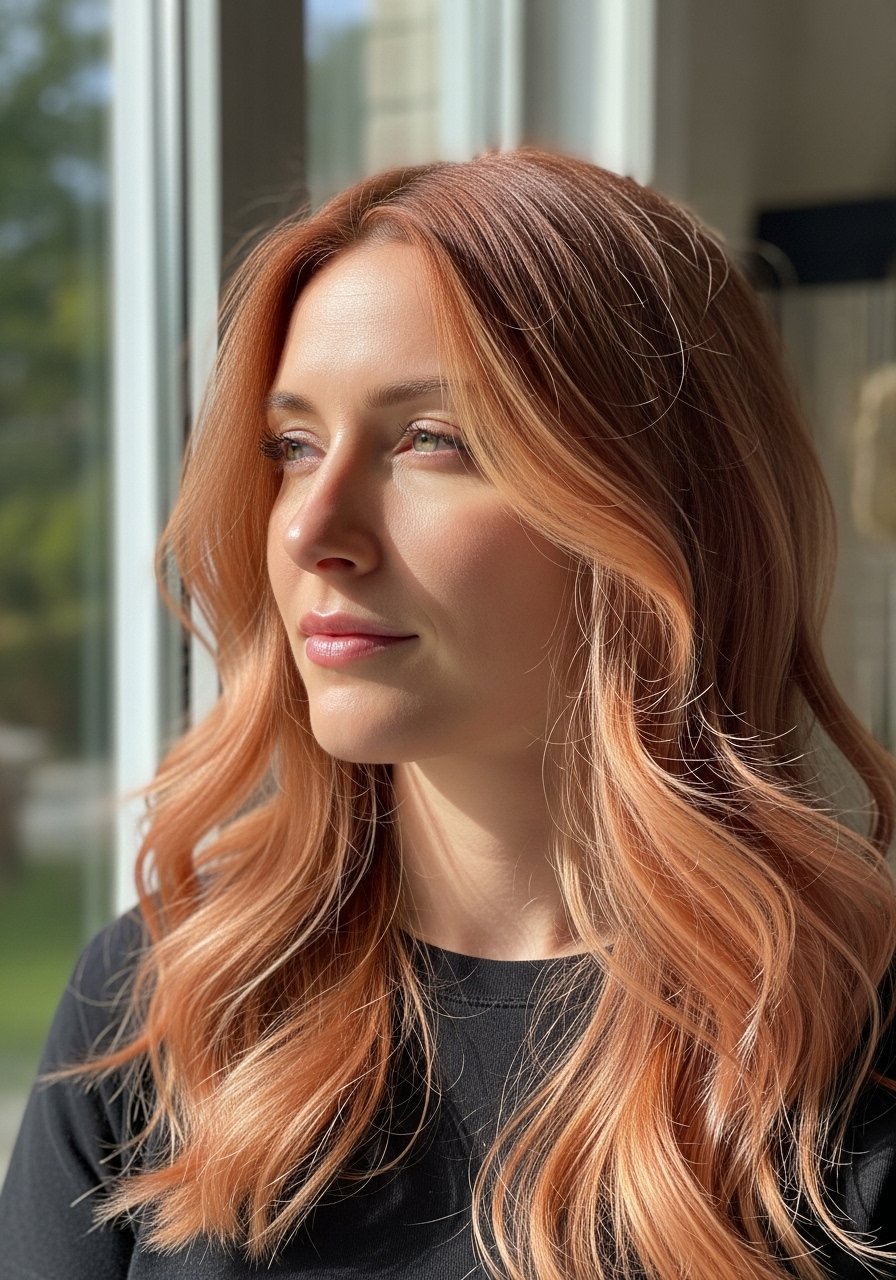
1. Honey Copper Balayage for Soft Dimension

This is the closest thing to a “natural red” that photographs warm instead of flat. What makes it work is the 70:30 warm-to-neutral highlight placement, which keeps the mid-lengths sunny while leaving depth at the roots. It creates an easy lived-in warmth, ideal for medium to thick hair, and takes about two hours in a salon or a full afternoon at home with a trusted friend. Use a gloss like clear glossing glaze after processing to smooth tone. For maintenance, a color-safe sulfate-free color-safe shampoo helps the highlights keep their glow.
Mistake to Avoid: Pulling foil all the way to the scalp, which makes the highlight edge too harsh.
2. Deep Burgundy with Caramel Face-Framing

Starting with a richer base and warming the front pieces makes red feel luxe and wearable. The trick is placing thinner slices, about 1/8 inch, around the hairline only, so the face reads brighter without the whole head going lighter. It reads moody and polished, good for straight or slightly wavy hair, and the upkeep is one targeted refresh every 8 to 12 weeks. I rely on a low-lift demi-permanent red and finish with a nourishing color mask to prevent early fading. If your hair is porous, use the mask on mid-lengths only for two minutes.
Mistake to Avoid: Highlighting large front panels, which can flatten the face instead of brightening it.
3. Strawberry Blonde Babylights for Brightness
Babylights are tiny, baby-fine highlights that mimic the way sun hits hair naturally. For red shades, I mix warm blonde with a touch of gold and use a 1:2 developer ratio for just enough lift without brass. The result feels fresh and airy, ideal for fine hair that needs dimension without bulk. It is a higher-skill technique but worth it for anyone who hates harsh contrasts. At home, try an at-home gloss kit like shine-boost glaze between appointments to keep the highlights soft.
Mistake to Avoid: Using wide foils for babylights, which creates obvious bars instead of delicate strands.
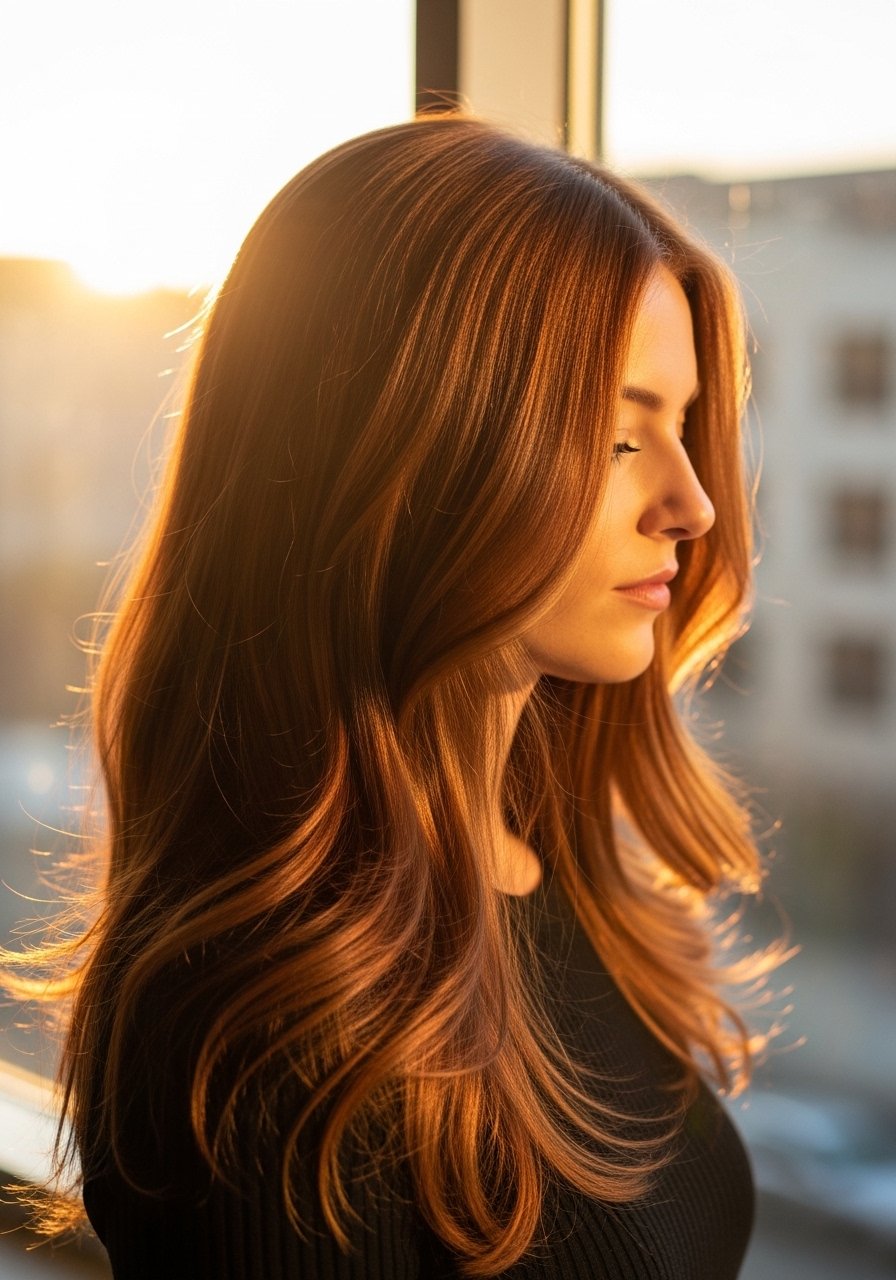
4. Copper Root Melt for Low-Maintenance Warmth

Root melts are the secret for people who want warmth without weekly touch-ups. The look works because the stylist blends a darker base into lighter copper using very soft feathering strokes at the root. It creates a lived-in warmth that suits curly, wavy, and straight textures and only needs a glaze every 6 to 10 weeks. Try a glaze with 1 part neutral to 1 part warm tone for subtle correction. For at-home blending between salon visits, use a color-depositing conditioner so the roots don't look like a line in photos.
Mistake to Avoid: Lightening right at the natural root line, which makes regrowth glaring.
5. Rose Gold Glaze Over Auburn Base
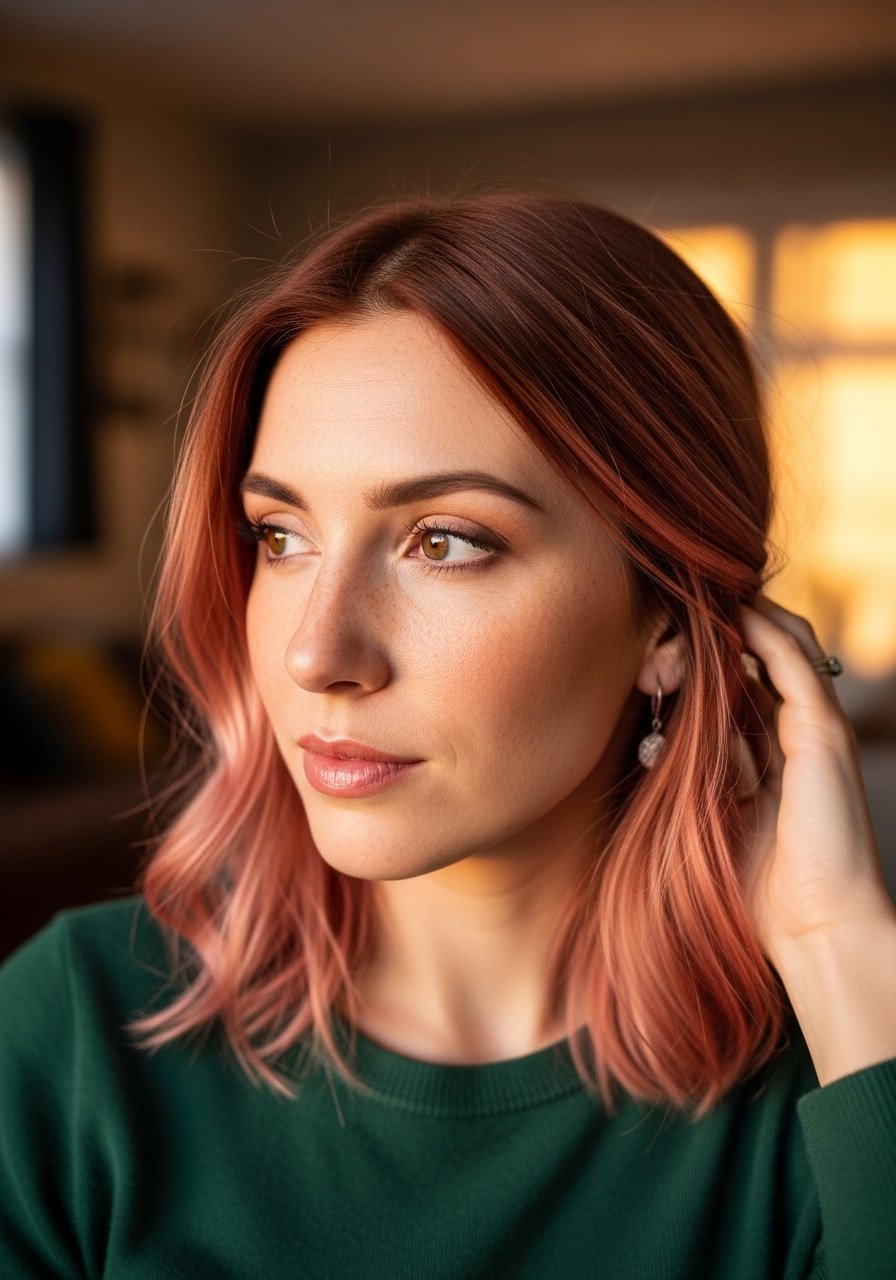
A single gloss can change perception of the entire color. Rose gold works especially over auburn because the warm base gives the metallic a wearable depth. Apply a demi-permanent rose glaze for 10 to 20 minutes depending on the level, and rinse cool. This creates a slightly muted shine, perfect for office-friendly red that still photographs with a hint of pink. Budget-wise this is an easy salon add-on or a weekend DIY if you stick to a gloss kit. Finish with a lightweight thermal protectant spray before styling.
Mistake to Avoid: Leaving the glaze on too long, which pulls the base too warm and hides the rose tones.
6. Ginger Blonde Chunky Highlights for Texture

Chunky highlights create intentional texture and read youthful on wavy or thick hair. Use sectioning that alternates thick and thin slices, roughly a 2:1 thick-to-thin ratio, to avoid a blocky result. This style is fast to maintain because the heavier slices age into the base color instead of a stark root line. For a heat-free option, try sun-infusion methods with a hot cap for 20 minutes during a gloss application. I keep a wide-tooth comb and color-safe dry shampoo in rotation to extend time between washes.
Mistake to Avoid: Pulling all slices the same width, which makes the highlights look deliberate rather than textured.
7. Cinnamon Red Lowlights to Add Depth
Adding lowlights is the opposite of what most people think for red. Thin, cool-toned lowlights placed in the mid-lengths and ends create a sense of depth that keeps highlights from looking flat in photos. This is especially helpful on fine or single-dimensional red hair, where too many lights can read brassy. The feeling is warm and grounded, a little more mature but still lively. Use a demi-perm shade one to two levels darker than the base and follow with a gloss. Pair this with a microfiber hair wrap for gentle drying to preserve tone.
Mistake to Avoid: Darkening the root only, which can make the hair look dirty instead of dimensional.
If any of these looks have you ready to try something specific, here are the core products I reach for.
Essentials for Red Highlights At Home
Color Prep & Care:
- color-safe shampoo (~$10-22). Keeps reds from washing out in the first two weeks.
- color-nourishing-mask (~$12-25). Use on mid-lengths for porous hair.
Tools & Styling:
- thermal-protectant-spray (~$8-18). Protects tone when you heat style.
- wide-tooth-comb (~$5-10). Best for wet detangling without breaking bright strands.
Glosses & Touch-Ups:
- clear-glossing-glaze (~$12-20). The easiest salon-like finish at home.
- shine-boost-glaze (~$10-18). Great for quick toning between appointments.
- color-depositing-conditioner (~$9-16). Stretch time between salon visits.
Keeping That Red Color Alive
Use cool rinses for the last 30 seconds of washing. Cold water helps seal the cuticle and reduces immediate fade. A salon cotton tee works better than a towel for gentle blotting.
Grab a color-safe dry shampoo. Stretching washes is the single easiest way to keep reds vivid, and a quick spray saves a full wash.
Curly and coily textures benefit from leave-in conditioners that are light, not heavy. Try a lightweight leave-in spray to keep definition without washing out the color.
Thin coats of gloss beat one long processing time. Apply a gloss in short 10-minute bursts and check the tone. A little at a time prevents over-warming and keeps highlights balanced.
Most people heat-style the same way every day. Switch your flat iron temperature down by 20 degrees and use thermal-protectant-spray to protect both tone and texture.
