
I kept trying to copy the exact negative space from a salon photo, then walking out with paint over half the nail and a frustrated thumb. The moment it clicked was when a tech who works at a salon downtown showed me how much 1 to 2 millimeters of bare nail changes the whole balance. After that, the shapes finally looked intentional, not like I missed a spot.
If you like clean, modern nails that read tidy in a work meeting and relaxed on the weekend, these ideas fit. Most of the looks take 10 to 30 minutes at home, and range from $5 tools to $40 polish splurges. Works for short and medium lengths, and I note when a look needs longer tips or gel curing.
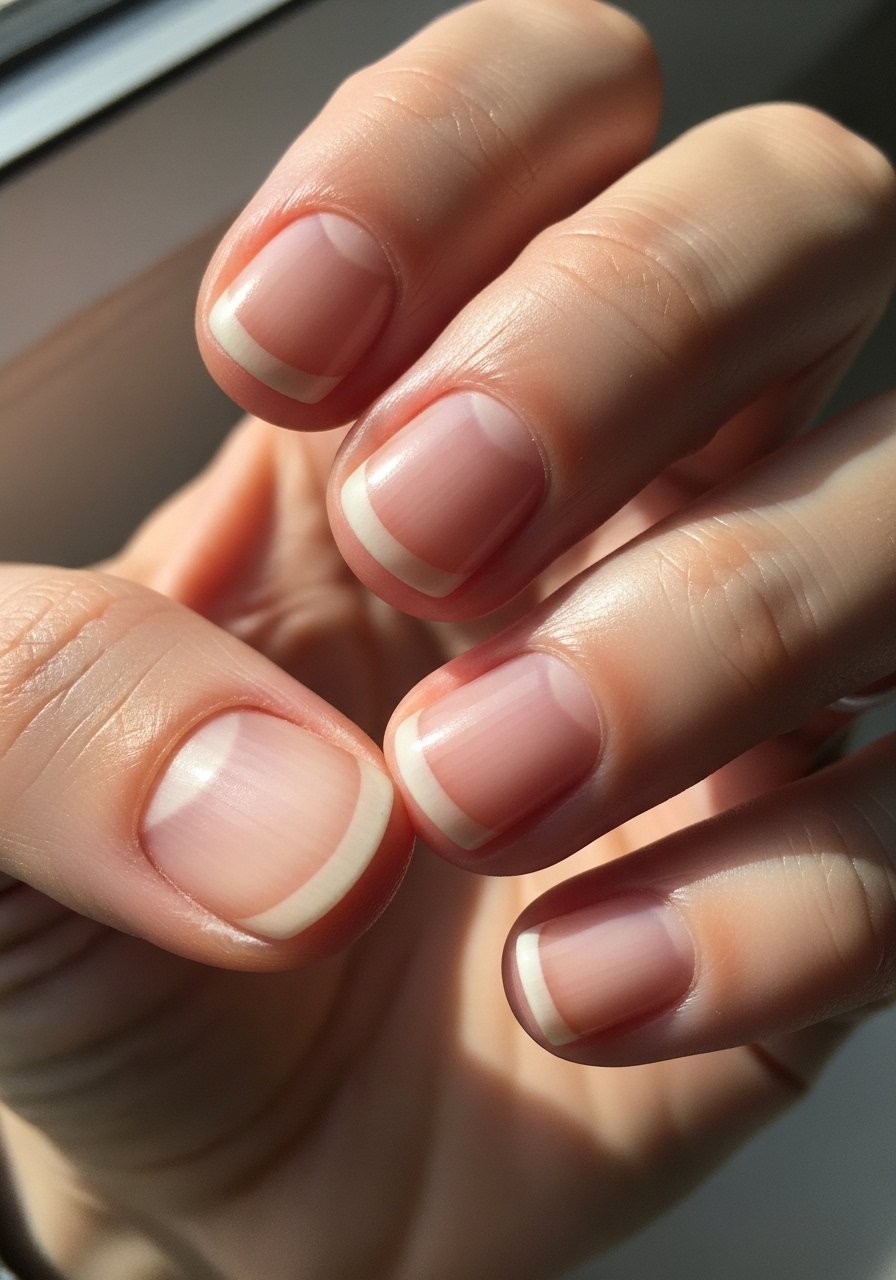
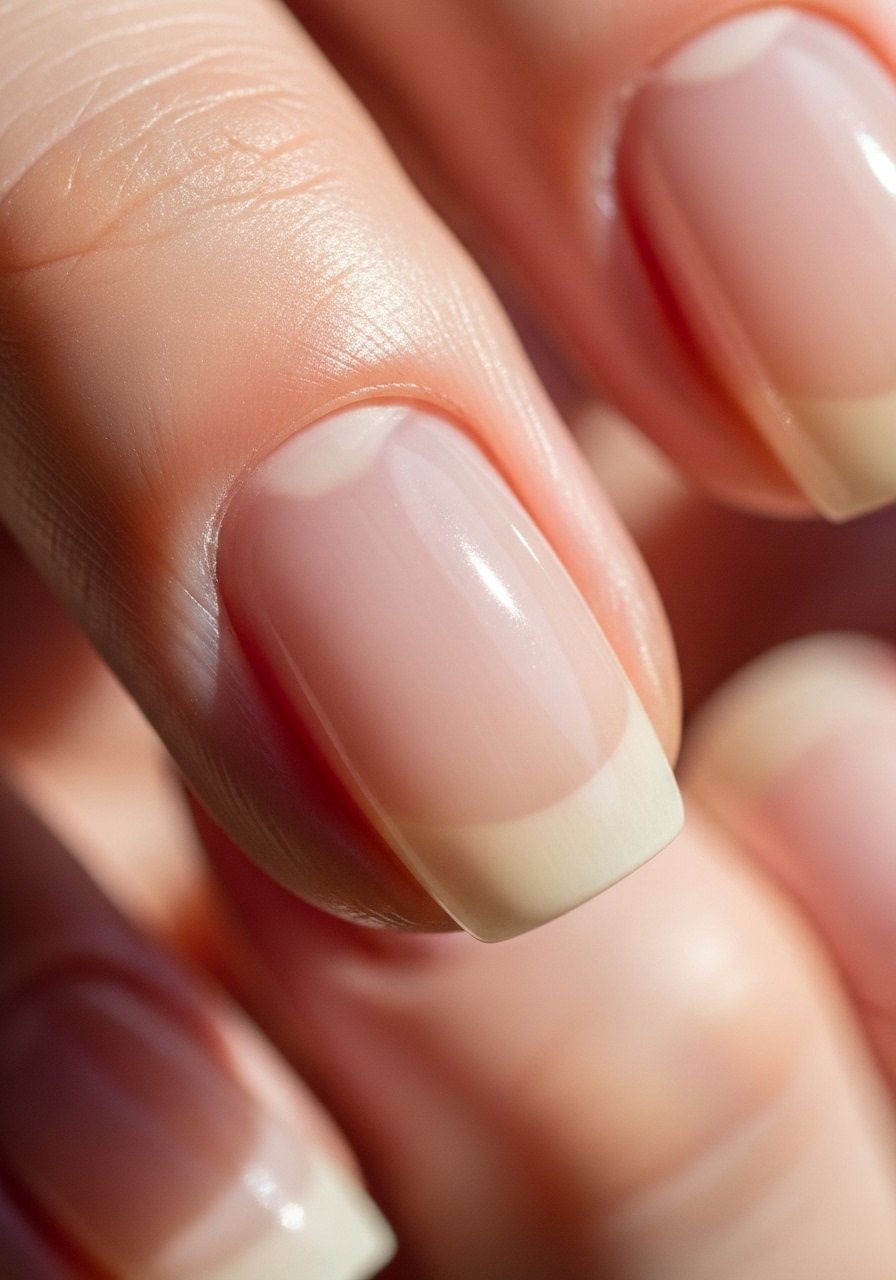
1. Bare Crescent At The Cuticle
Style/Vibe: Minimal modern
Best For: Short to medium nails, everyday wear
Skill: Beginner
A clean moon of untouched nail at the base makes your mani look intentional, not lazy. Keep the painted arc 1.5 millimeters wide and use thin 8- to 10-second coats so the color reads translucent. This suits anyone who clicks keys all day and wants low maintenance. Try pairing with a sheer nude gel like semi-sheer nude gel polish for a longer-lasting finish.
Mistake to Avoid: Painting right up to the cuticle which makes the crescent look accidental.
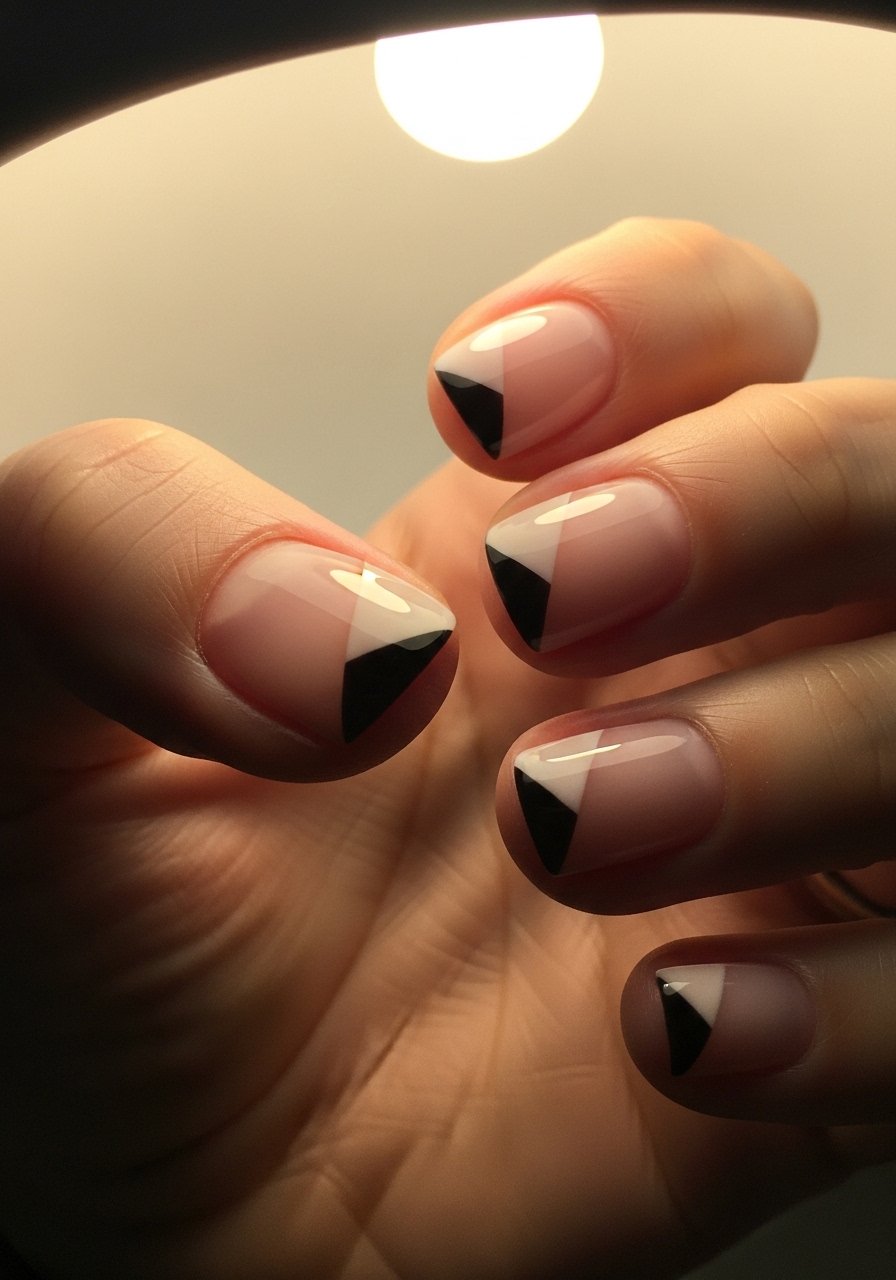
2. Diagonal Negative Space Slash

Style/Vibe: Graphic and sharp
Best For: Medium length, photo-ready looks
Skill: Intermediate
A diagonal bare slash from sidewall to middle nail visually lengthens short nails. Measure roughly one-third of the nail width for the bare triangle so it reads crisp on camera. Use striping tape to mask the diagonal and a fast-dry polish like quick-dry polish in deep red for clean edges. This is great when you want a bold result without full coverage.
Mistake to Avoid: Leaving polish under the tape which creates a ragged edge.
3. Half-Moon With Thin Frame
Style/Vibe: Retro with a modern twist
Best For: Short nails, vintage outfits
Skill: Intermediate
Paint a thin painted ring around a bare half-moon so the negative space sits in the middle, not the base. The trick is a 0.8 millimeter frame so the ring reads delicate. A fine nail art brush helps. Use a long-wear top coat like high-shine top coat to seal the edges. This fits people who want nods to retro without full commitment.
Mistake to Avoid: Making the ring too thick which reads like a full painted moon.
4. Corner Negative Space Accent
Style/Vibe: Playful and subtle
Best For: Short nails, casual settings
Skill: Beginner
A small bare triangle at one corner brightens a short nail and distracts from stubby tips. Keep the triangle about 2 to 3 millimeters on each side. Use a small square sponge to dab polish away for a soft edge. Try this with a neutral cream like creamy beige nail polish to keep it wearable.
Mistake to Avoid: Placing the triangle centered which shortens the nail visually.
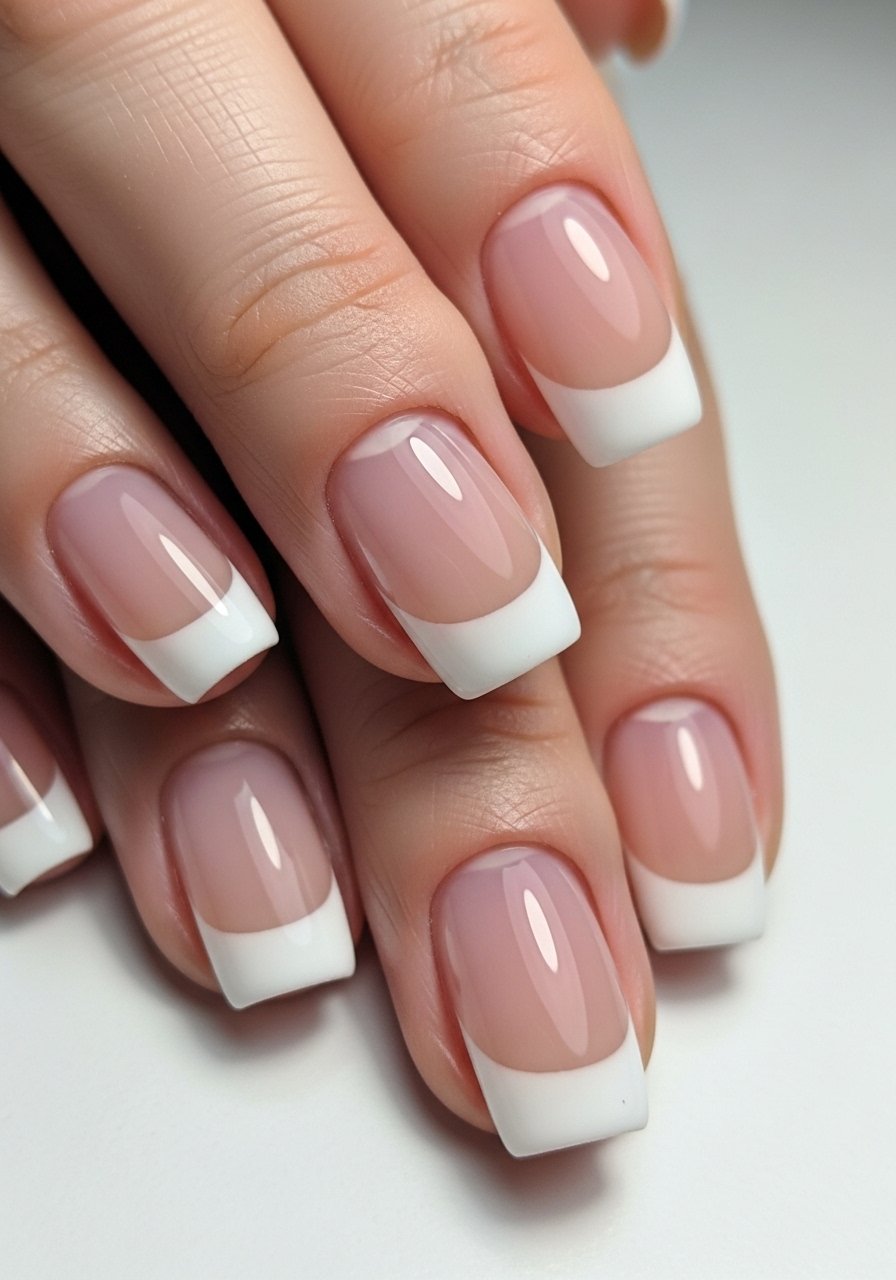
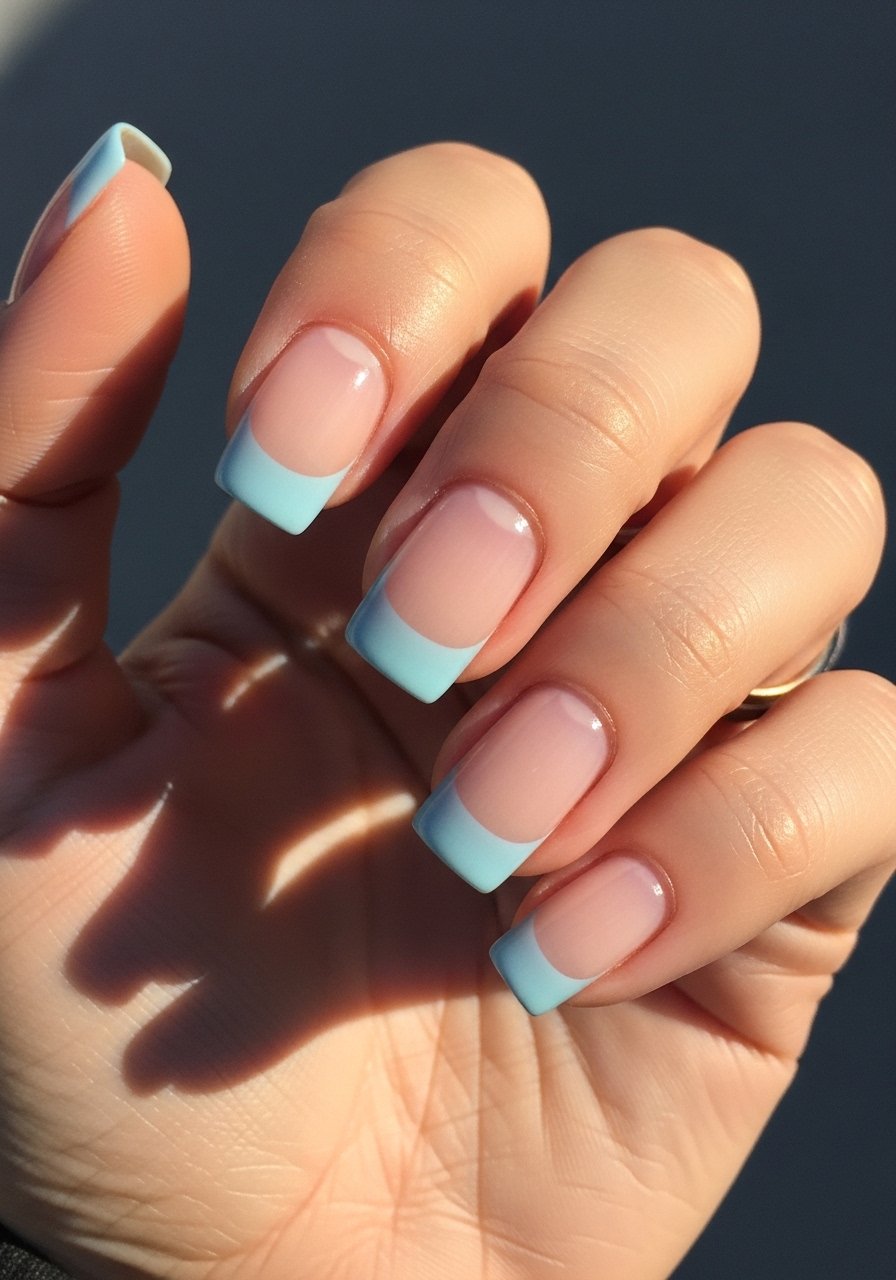
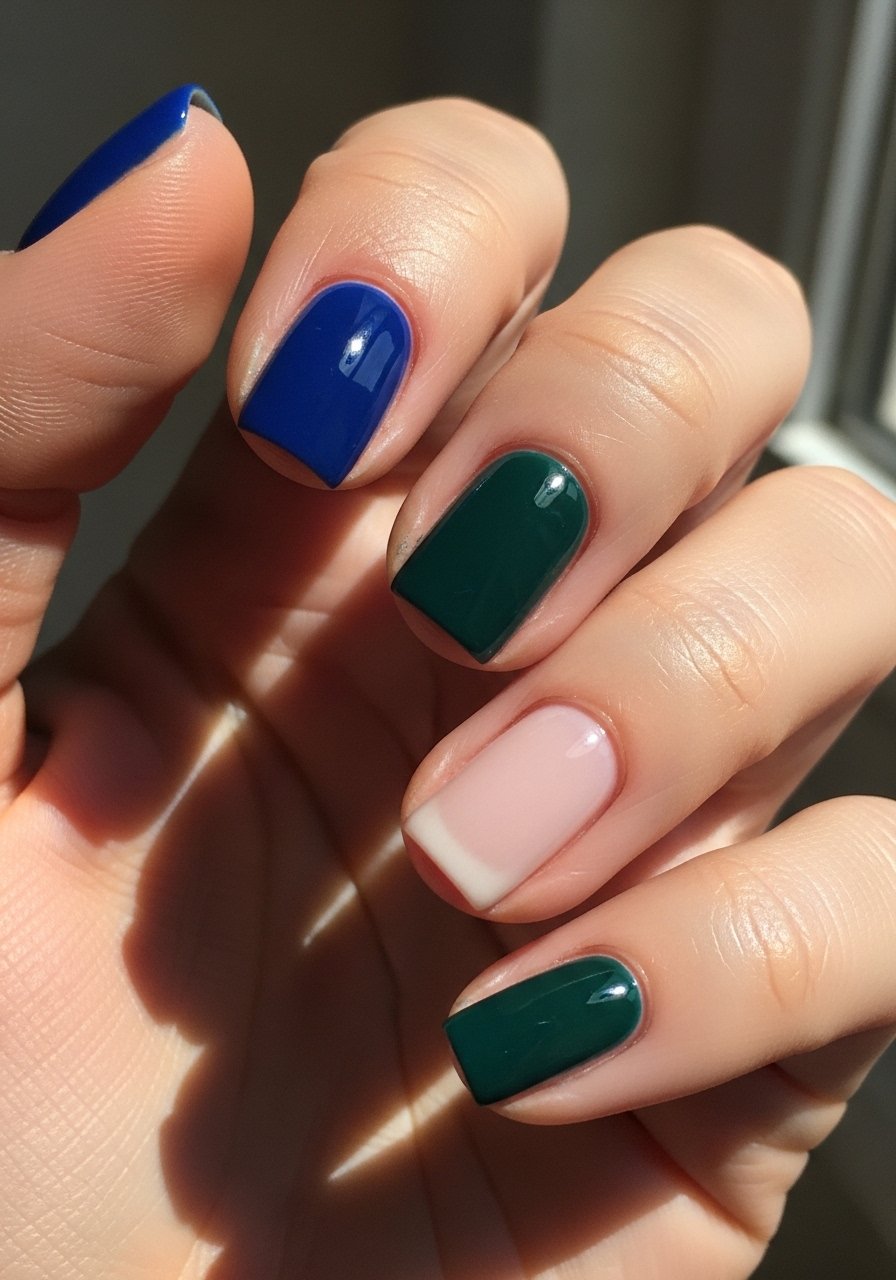
5. Negative Space French With Gap
Style/Vibe: Classic but airy
Best For: Medium to long nails, office to evening
Skill: Beginner
Leave a 2 millimeter gap between the free edge and the painted tip for a modern French. The gap keeps the look fresh and reduces noticeable chips. Build tips in two thin coats and finish with a matte or glossy top coat depending on vibe. I like pairing it with a neutral like pastel white polish.
Mistake to Avoid: Painting the first coat thick which hides the gap and causes bubbling.
6. Geometric Negative Space Lines
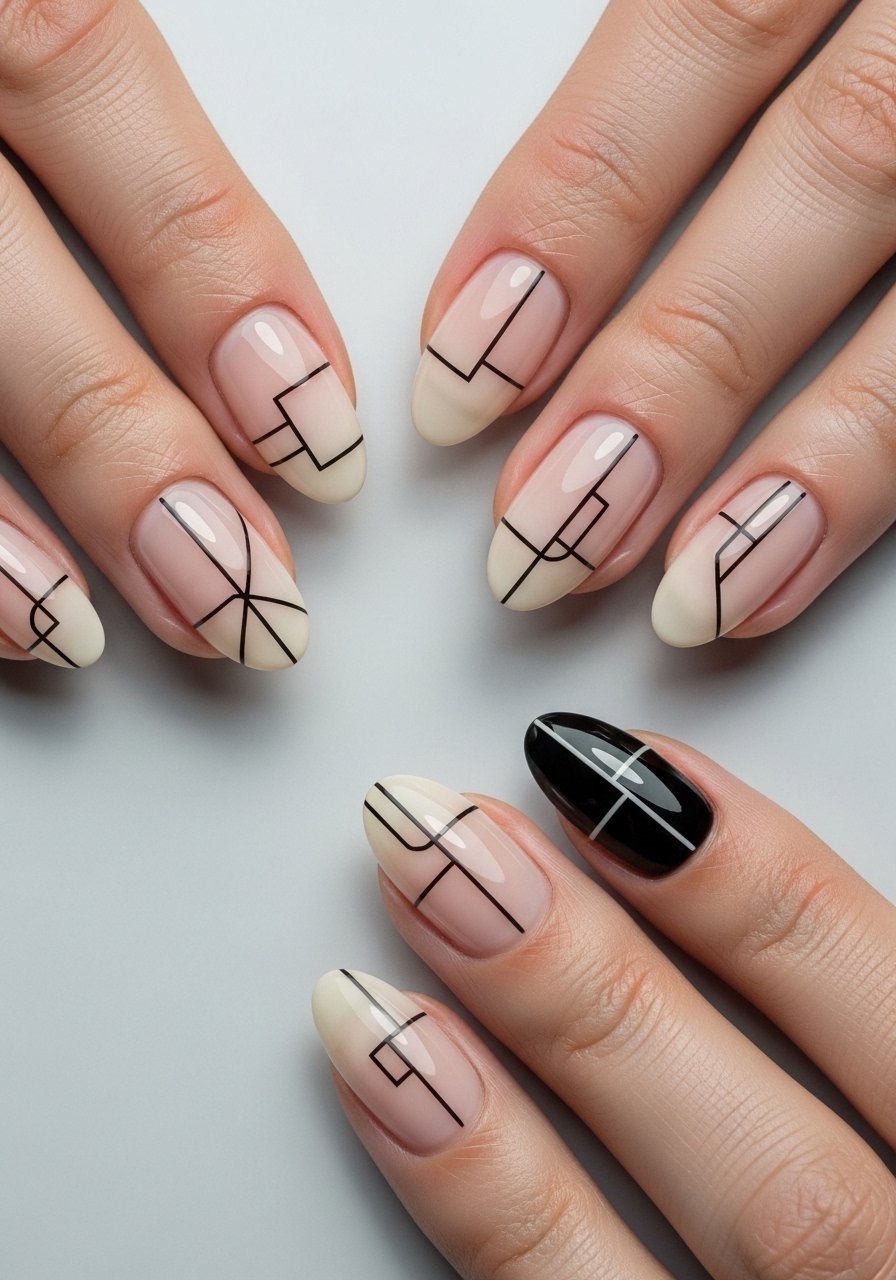
Style/Vibe: Modern geometric
Best For: Medium nails, creative looks
Skill: Advanced
Thin bare lines, spaced 1 to 2 mm apart, create motion without overwhelming the nail. Use a 0.5 mm striping brush and work in short strokes. This reads neat on natural nails and over poly-gel. A curing lamp helps when using builder gels. For clean tools, I use precision striping brush set.
Mistake to Avoid: Using a thick brush that makes lines clumsy.
7. Minimal Dot Negative Space
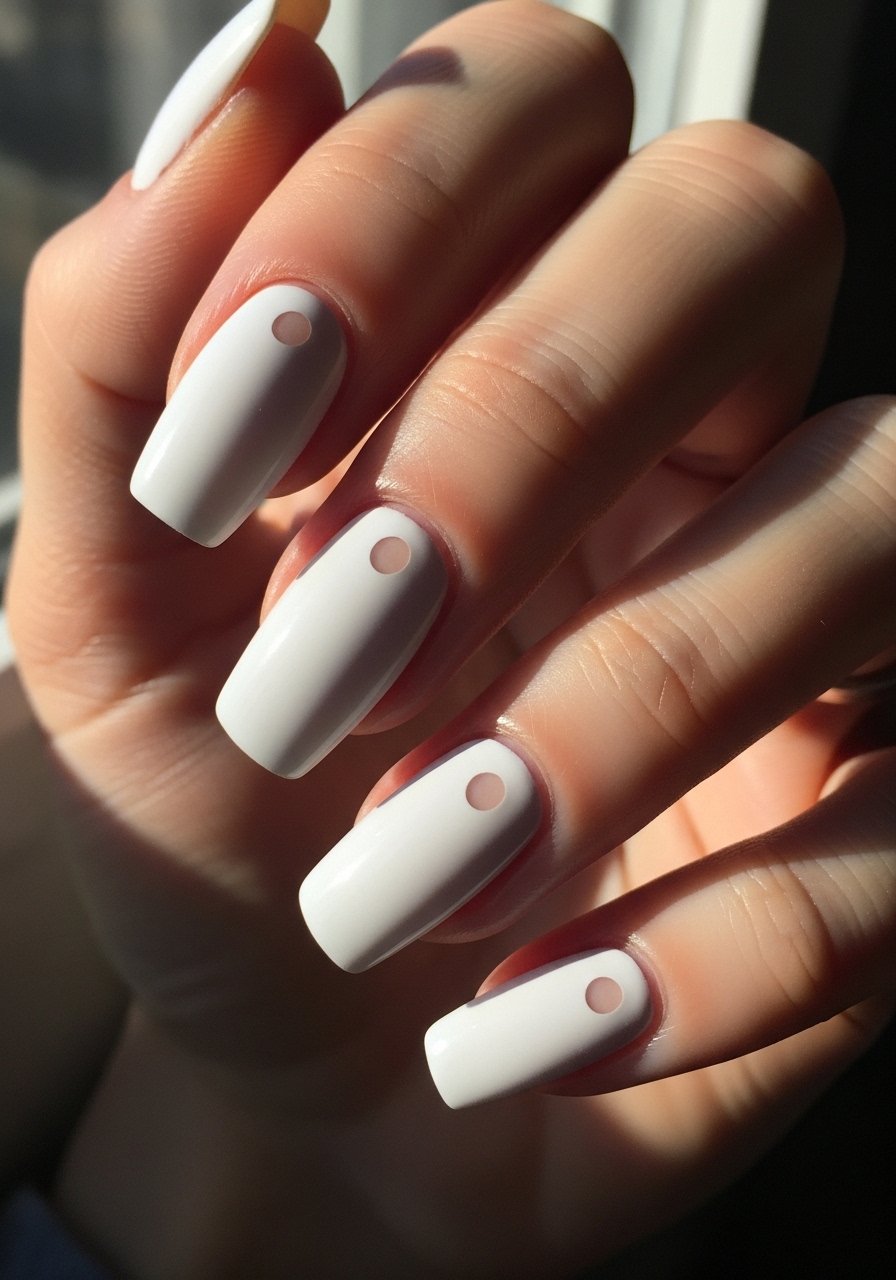
Style/Vibe: Quiet and intentional
Best For: Short nails, minimalist wardrobes
Skill: Beginner
Place a single 1.5 mm bare dot in the center or just off-center to create a focal point. Use a dotting tool to keep it circular. This feels delicate and holds up on short nails. Pair with a sheer wash like sheer blush polish. It is an easy salon-look at-home.
Mistake to Avoid: Making the dot too large which loses the negative space effect.
8. Window Pane Negative Space

Style/Vibe: Architectural and modern
Best For: Long nails, editorial looks
Skill: Advanced
Cut windows into the middle third of long square nails for an architectural effect. Keep the frame about 1.2 mm wide. Use nail guides or thin vinyls to mask evenly. Try a contrasting opaque like deep navy polish for a bold border. This pairs well with minimal jewelry.
Mistake to Avoid: Making the window too wide which weakens the frame.
9. Negative Space Ombre Fade
Style/Vibe: Soft and airy
Best For: Medium nails, weddings and events
Skill: Intermediate
Blend color so it fades into bare nail over the last 3 to 4 millimeters. Use a makeup sponge, dabbing light layers in 12-second passes until you get a gentle gradient. A top coat blended while tacky helps smooth transitions. I like pearl shimmer polish for subtle shimmer.
Mistake to Avoid: Pressing too hard with the sponge which creates harsh lines.
10. Negative Space Floral Outline
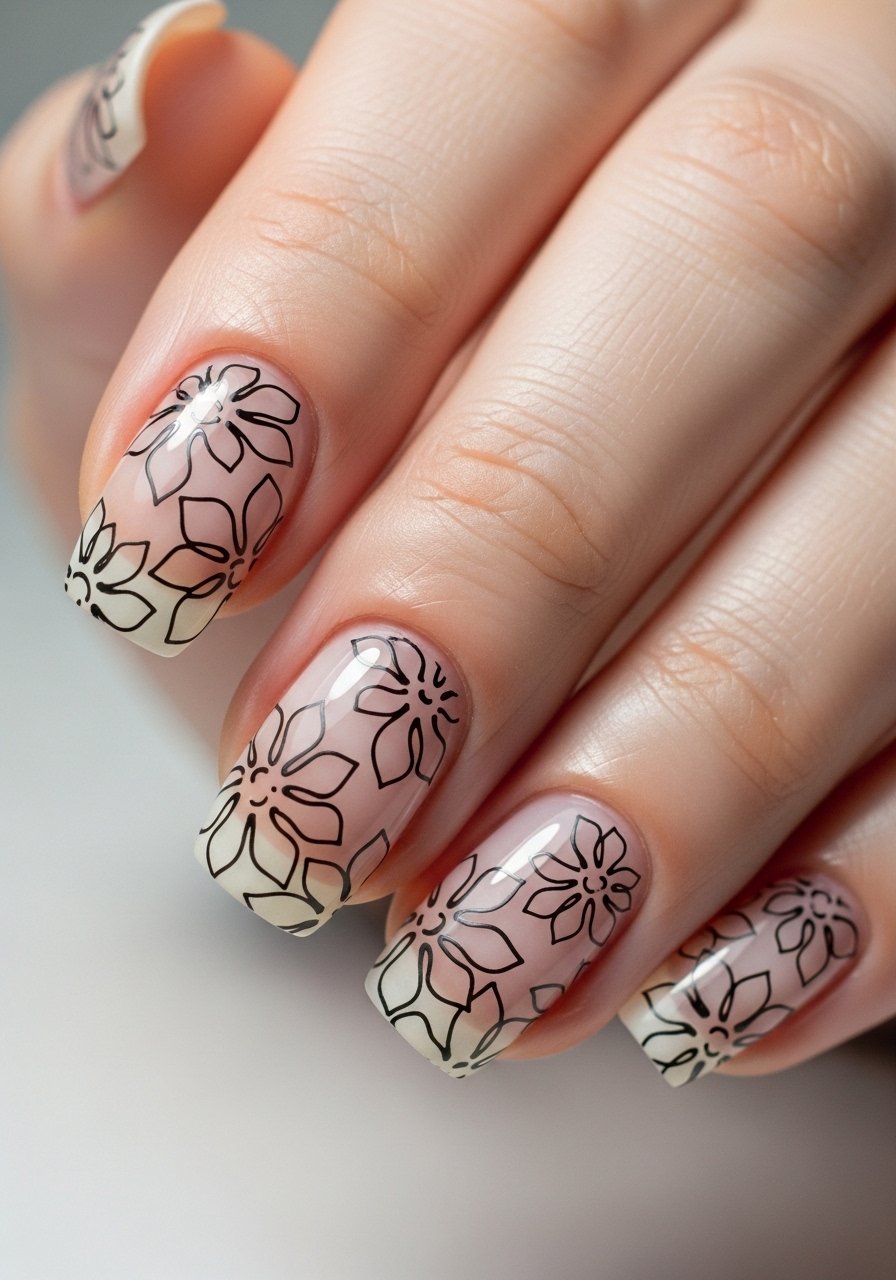
Style/Vibe: Feminine outline
Best For: Medium nails, daytime events
Skill: Advanced
Paint only the outline of a flower so the petals remain bare, creating a delicate negative-space motif. Keep line thickness around 0.6 mm. A thin liner brush and steady hand are essential. This works on natural or gel nails. Seal with a flexible top coat like long-wear flexible top coat so outlines do not crack.
Mistake to Avoid: Filling in petals accidentally which removes the negative space effect.
11. Cutout Heart At The Tip
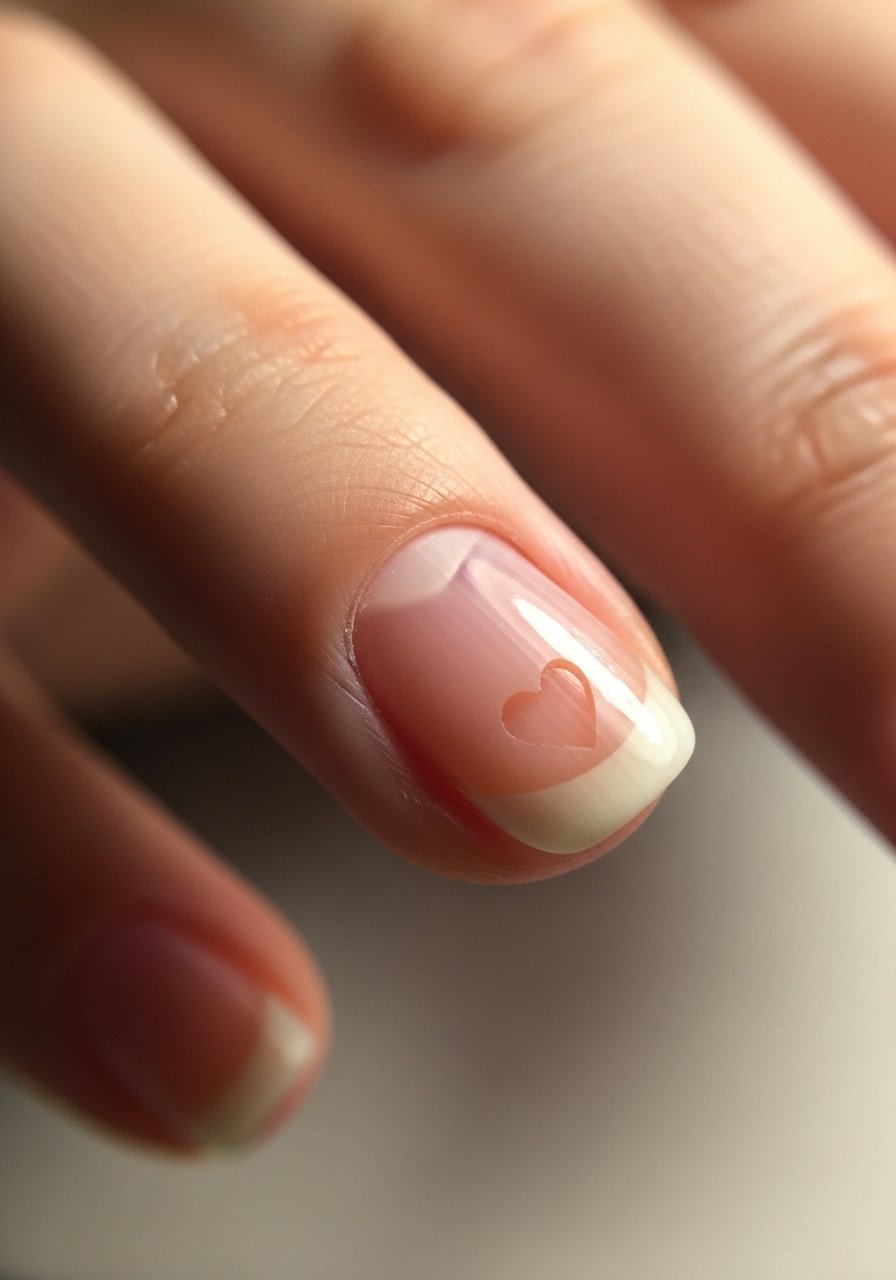
Style/Vibe: Playful and sweet
Best For: Short nails, casual dates
Skill: Beginner
Use a tiny heart punch sticker as a guide and paint around it, leaving the heart bare at the tip. Make the heart about 2 mm so it reads at arm's length. Press-on stickers make it repeatable. Try with a pop color like vivid coral polish.
Mistake to Avoid: Placing the heart too close to the edge so it chips immediately.
12. Negative Space Stripe Band

Style/Vibe: Sporty chic
Best For: Medium to long nails, active days
Skill: Beginner
A 2 to 3 millimeter horizontal bare band across the center looks sporty and intentional. Use tape to mask and paint two thin coats over the rest. This holds up well under wear because chips are less visible. I reach for durable fast-dry polish when doing bands.
Mistake to Avoid: Skipping base coat which makes the painted band peel.
13. Layered Negative Space With Metallic Edge
Style/Vibe: Luxe minimalism
Best For: Medium nails, evening wear
Skill: Advanced
Leave the center bare and rim the edge with a 0.7 mm metallic line for contrast. Metallics read thinner so keep lines measured. Use a metallic gel pen or chrome powder sealed with top coat. I like pairing with rose gold nail pen for subtle shimmer.
Mistake to Avoid: Overloading the metallic which hides the bare center.
14. Negative Space Chevron Tip
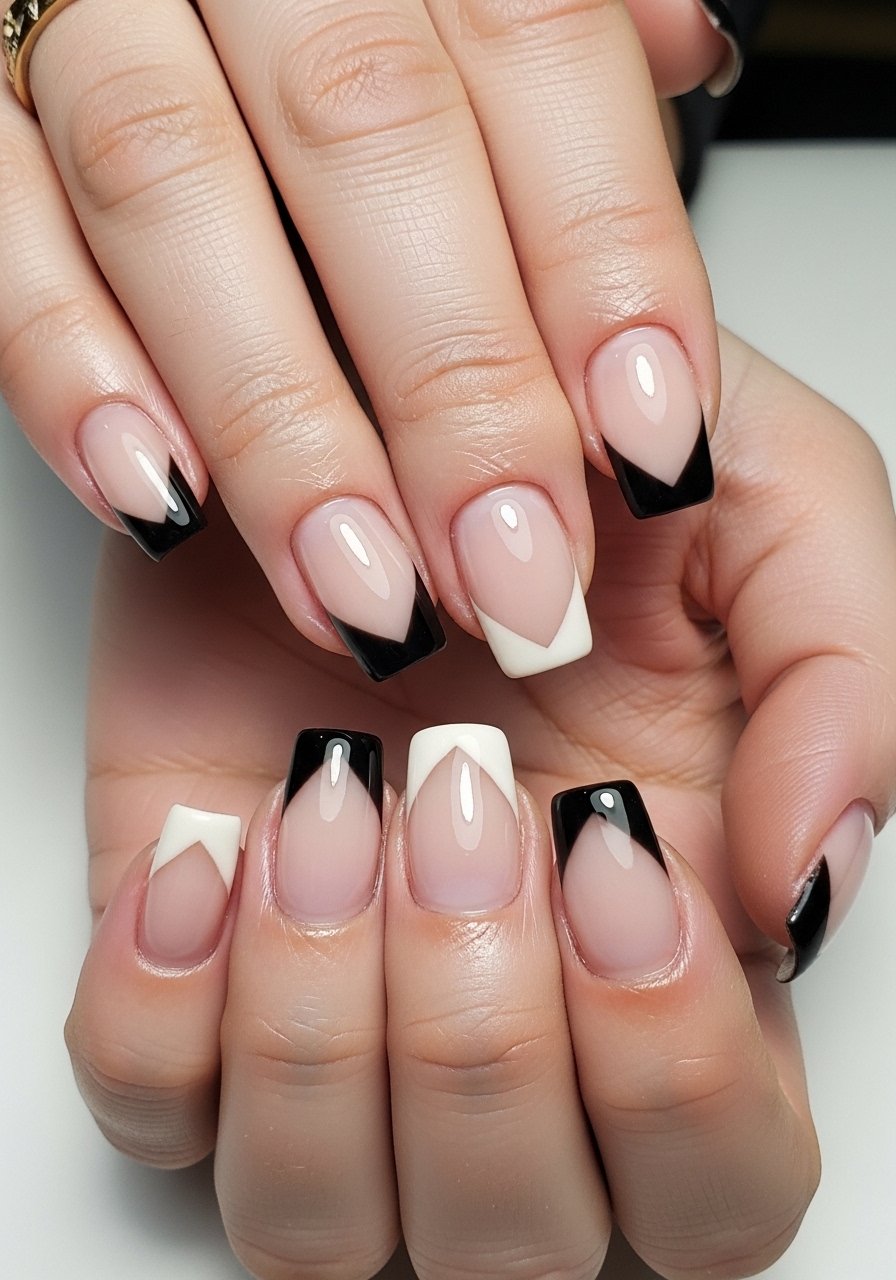
Style/Vibe: Edgy and directional
Best For: Medium to long nails, fashion-forward looks
Skill: Intermediate
Cut a V out of the tip leaving the chevron bare. Keep the V angle around 60 degrees for balance. Use guide stickers for symmetry. This elongates the finger visually. Try a high-pigment color like matte black polish to really make the chevron pop.
Mistake to Avoid: Making the V too steep which shortens the nail visually.
15. Bare Negative Space With Micro Glitter

Style/Vibe: Subtle sparkle
Best For: Short nails, celebrations
Skill: Intermediate
Leave a small bare rectangle and paint a micro-glitter line around it to catch light without full glitter coverage. Use fine glitter mixed into top coat and apply with a liner brush. Micro glitter reads delicate when kept to 0.5 to 1 mm. Try fine micro-glitter polish.
Mistake to Avoid: Using chunky glitter which looks heavy on small shapes.
16. Asymmetric Negative Space Pairing

Style/Vibe: Intentional mismatch
Best For: Medium nails, creative personalities
Skill: Beginner
Make mirrored negative space shapes on each hand but opposite sides so the set feels curated, not matchy-matchy. Keep shapes proportional at about one-third nail width. This is great for people who like a little edge but not chaos. A flat, creamy color like muted taupe polish grounds it.
Mistake to Avoid: Making shapes different sizes which looks accidental.
17. Bare Grid Over Sheer Base
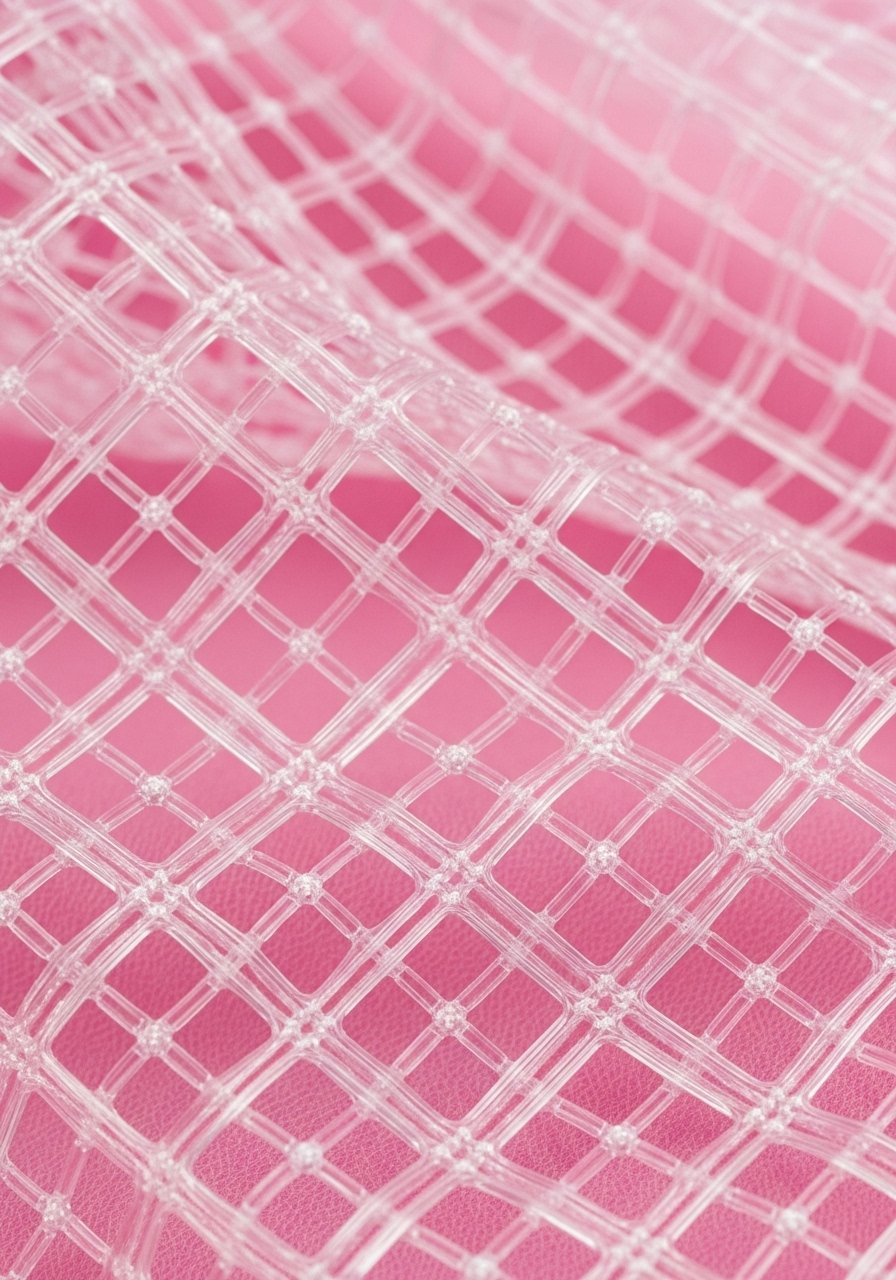
Style/Vibe: Modern and delicate
Best For: Long nails, editorial shots
Skill: Advanced
Paint a sheer base and map a 2 by 3 grid of bare rectangles. Keep rectangles roughly 2 x 4 millimeters for balance. Use a gel liner for crisp edges. This reads structured in photos. If you like this, pair with clear builder gel to protect the grid.
Mistake to Avoid: Spacing rectangles unevenly which ruins the grid look.
18. Negative Space Ombre Cuticle
Style/Vibe: Soft and modern
Best For: Short nails, understated looks
Skill: Intermediate
Fade color into the bare cuticle area over 2 to 3 millimeters for a breathable take on ombre. Use a small sponge and light dabs. This hides growing-out roots and saves salon time. A sheer jelly polish works best, such as jelly nude polish.
Mistake to Avoid: Building too many coats which removes the subtle fade.
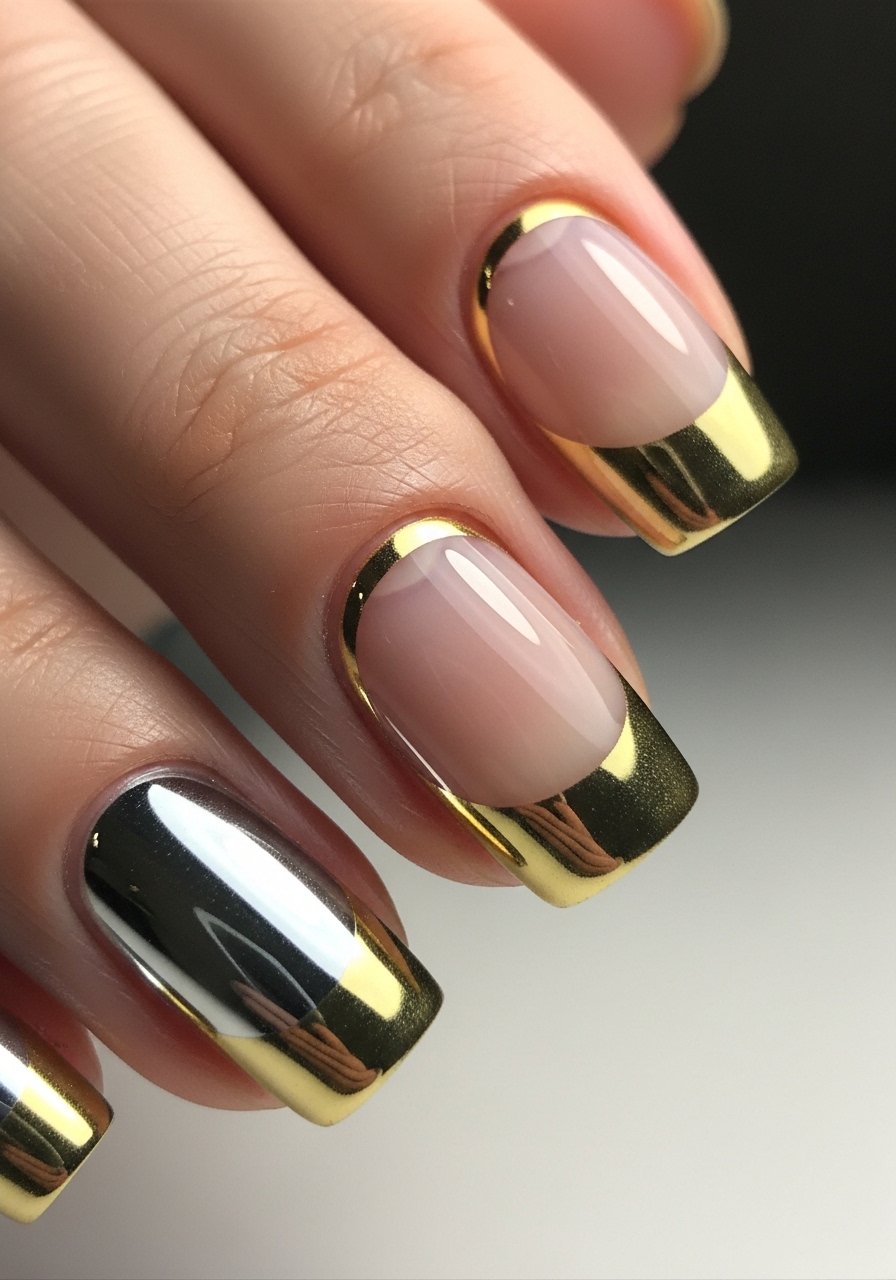
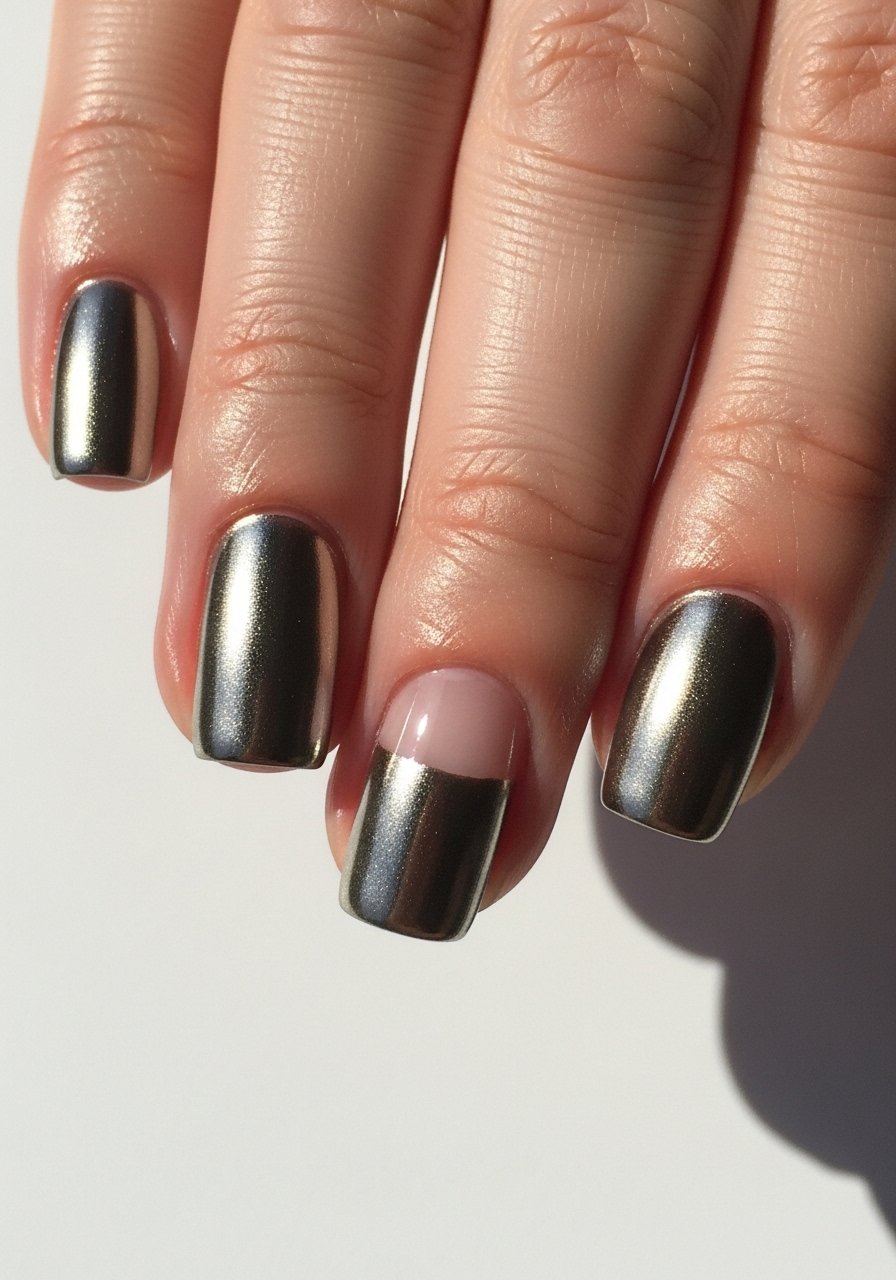
19. Negative Space French With Metallic Tip
Style/Vibe: Modern glam
Best For: Medium to long nails, nights out
Skill: Intermediate
Leave a 2 millimeter bare gap then paint a thin metallic tip. The gap brightens the smile line and reduces chip visibility. Use a foil or metallic polish and finish with a brush-on gel top coat for durability. I use silver chrome polish for a statement.
Mistake to Avoid: Painting the metallic too thick which creases on cure.
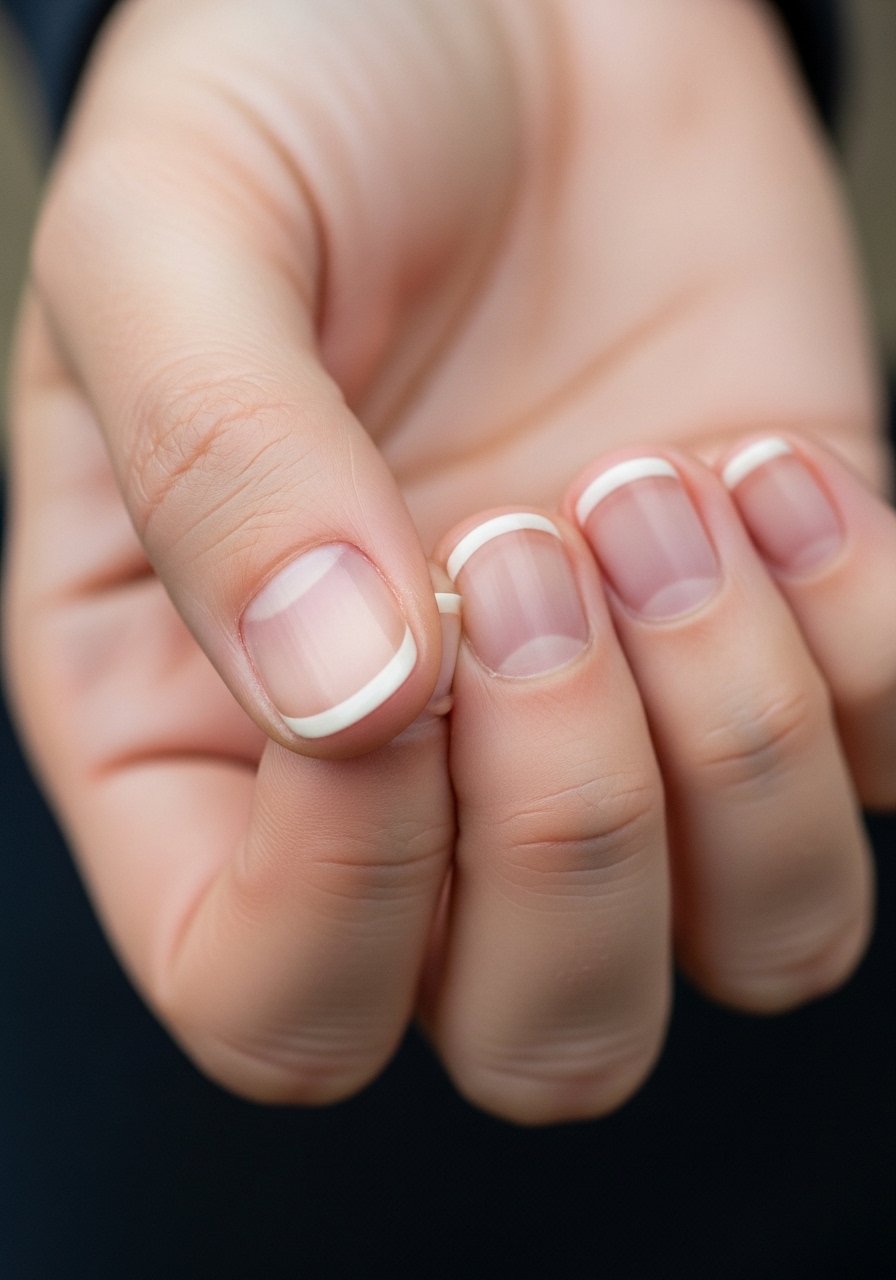
20. Negative Space Cuticle Line

Style/Vibe: Clean and precise
Best For: Short nails, professional settings
Skill: Beginner
Paint everything except a tiny 1 mm gap at the cuticle, creating a consistent negative line across the set. It reads very tidy and is forgiving of small chips. Use a thin base coat under color and a steady hand. Try classic mauve polish.
Mistake to Avoid: Painting over the cuticle which makes the line look accidental.
21. Stacked Mini Negative Shapes

Style/Vibe: Playful repetition
Best For: Short to medium nails, artsy looks
Skill: Intermediate
Stack three 1.2 millimeter bare dots vertically for an unexpected spine down the nail. Keep spacing even, about 1.5 millimeters apart. This is a good way to add interest without full coverage. Use a quick-dry top coat like fast-dry top coat.
Mistake to Avoid: Making dots uneven which distracts from the pattern.
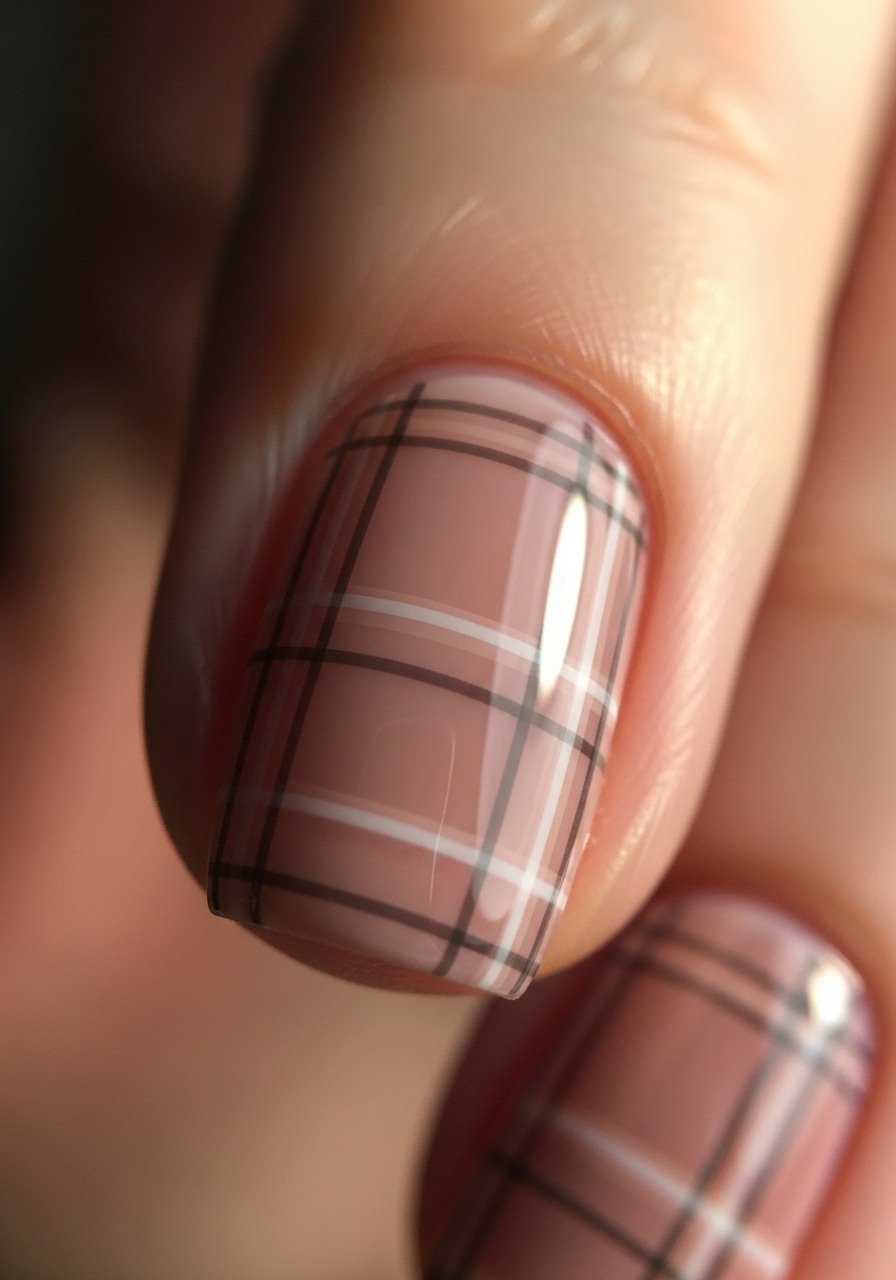
22. Negative Space Plaid Accent
Style/Vibe: Cozy and graphic
Best For: Medium nails, fall outfits
Skill: Advanced
Create a plaid by leaving thin bare vertical and horizontal lines over a muted base. Keep each bare line 0.6 to 1 mm. This pairs well with knit textures and looks intentional on medium lengths. A thin nail art brush and steady wrist are key. I use striping tape set to mark lines.
Mistake to Avoid: Using wide lines that make the plaid heavy.
23. Negative Space With Press-On Frame

Style/Vibe: Convenience-first
Best For: Short nails, one-night looks
Skill: Beginner
If you want instant negative space, press-ons with cutouts give a flawless result in minutes. Choose the right size and buff natural nails lightly before adhering. Press-ons also let you try advanced shapes without the skill. I like pre-cut negative space press-ons.
Mistake to Avoid: Choosing the wrong size which causes lifting and looks fake.
24. Bare Stripe With Metallic Dot

Style/Vibe: Minimal luxe
Best For: Medium nails, special events
Skill: Intermediate
Leave a single bare vertical stripe and add a 1 mm metallic dot at the base for a focal punctuation. Keep the stripe about 2 mm wide. The metallic dot catches light and reads editorial. Use a precision dot pen like metallic nail dot pen.
Mistake to Avoid: Placing the dot off-center which throws off balance.
25. Negative Space On Short Rounded Nails

Style/Vibe: Soft and wearable
Best For: Short rounded nails, everyday comfort
Skill: Beginner
For rounded tips, small half moons or tiny corner cutouts read better than long bars. Keep bare areas within the free edge curve, about 2 mm, so they follow the natural shape. This makes short nails look intentional and still professional. A resilient color like nude-brown polish is a good base.
Mistake to Avoid: Forcing angular shapes onto rounded nails which looks awkward.
26. Clear Tip Negative Space With Embedded Flower

Style/Vibe: Romantic and wearable art
Best For: Long nails, events and photos
Skill: Advanced
Encapsulate a tiny dried flower in a clear tip area leaving negative space around it. Use builder gel to set the flower and keep negative space at least 1.5 mm from the cuticle so it breathes. This needs curing and patience but reads like wearable art. I use builder gel kit with lamp.
Mistake to Avoid: Trapping air bubbles which make the piece look DIY.
27. Two-Tone Negative Space Half-and-Half
Style/Vibe: Bold minimalism
Best For: Medium nails, editorial styling
Skill: Intermediate
Paint one vertical half and leave the other half bare for a striking, low-effort statement. Keep the dividing line straight and aim for one color on the painted half so the negative half reads intentionally empty. This works well with contrasting neutrals, like charcoal gray polish.
Mistake to Avoid: Skipping the base coat which causes lifting along the split.
Your Nail Kit
- Honestly the one tool I reach for most, nail striping tape set (~$7) helps make crisp edges and measured gaps.
- For durability, peel-off base coat (~$8) keeps press-ons tidy and easy to remove.
- For liners and detail, precision nail art brush set (~$12-18) is a solid midrange pick.
- If you like gel, 48W LED lamp kit (~$35-55) cures clean lines.
- For tiny dots and shapes, dotting tool duo (~$6) is cheap and useful.
- To protect fine lines, flexible long-wear top coat (~$9-14) prevents cracking.
- For press-ons, pre-cut negative space press-ons set (~$12-20) saves time.
- For metallics, rose gold nail pen (~$10) gives precise shimmer.
- For protective builds, clear builder gel (~$20-30) is useful for encapsulation.
- For fast-dry days, quick-dry top coat (~$8) speeds things along.
- Keep cuticles soft with nourishing cuticle oil (~$7).
- For touch-ups, mini polish brush set (~$9) helps correct mistakes on the go.
- For sheers and jellies, jelly nude polish (~$10) is the base of many looks.
Nail Tips That Save a Mani
Thin coats beat one thick coat every time. Three thin layers of fast-dry polish look smoother and last longer than a single gloopy layer.
Use striping tape as a guide, not a crutch. Apply striping tape, press the edges down firmly, paint, then remove while tacky. That small timing trick keeps edges crisp.
Let nails rest between heavy designs. A day of plain oil and no polish helps rid staining and keeps the nail plate stronger. I keep cuticle oil pen in my bag.
If you have short nails, focus on micro negative space like tiny crescents and corner dots. Dotting tool duo lets you keep scale right so the design reads at arm’s length.
A tech who works at a salon downtown showed me to map symmetry with a light pencil mark before painting. Use an ultra-fine nail pencil and wipe marks off before the top coat.
When trying metallic rims, thin is the trick. Use a metallic nail pen and work in 0.5 to 0.8 mm strokes for a delicate line.
If you want an evening look fast, press-ons with built-in negative space are the hack. Trim, buff, apply with instant-adhesive glue strips and file to blend the base.
Most people spend somewhere between $500 and $800 when they finally commit to refreshing a room. Keep a small nail kit and rotate a few staples instead of buying every new polish.
Use a flexible top coat over fine line work. It prevents small cracks when your nails flex. I use flexible top coat and touch the edges twice for longevity.
