
Pinterest made navy almond nails look effortless, and my first at-home attempt lasted until the bus stop, then peeled off in a sad crescent. I kept redoing the shape and the shade until I learned a few small habits that made navy look crisp, not finger-painted.
These ideas are for people who like a moody, wearable mani and can spend 20 to 45 minutes per hand, whether you paint at home or ask a tech. Expect a mix of quick at-home tweaks and salon-level finishes, a range of budget picks, and one trick a tech who works at a salon downtown taught me that saves a re-do.
1. Classic Glossy Navy Almond
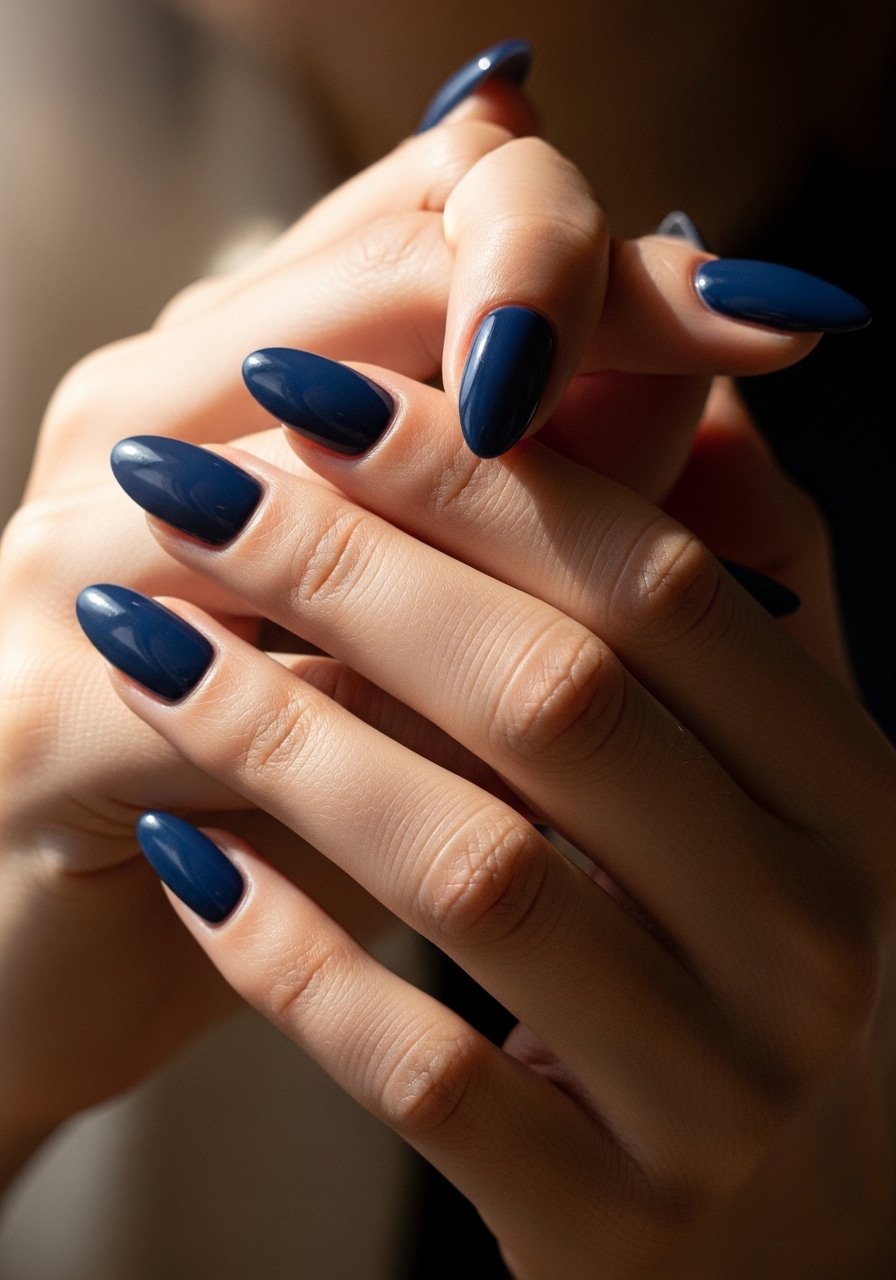
A deep cool navy looks clean and modern when the finish is glassy and the cuticles are tidy. What makes it work is contrast, the navy reads saturated against pale or medium skin, and the almond shape softens the silhouette. For home, two thin coats of navy nail polish will look much better than one thick coat, and finish with fast-dry top coat cured for 60 seconds under LED if you have one. Average time, beginner skill, budget friendly.
Style/Vibe: Classic Glossy
Best For: Medium nails, everyday wear
Skill: Beginner
Mistake to Avoid: Slapping on one thick coat instead of layering thin coats, which causes streaks and long dry times.
2. Navy With Matte Accent Nail
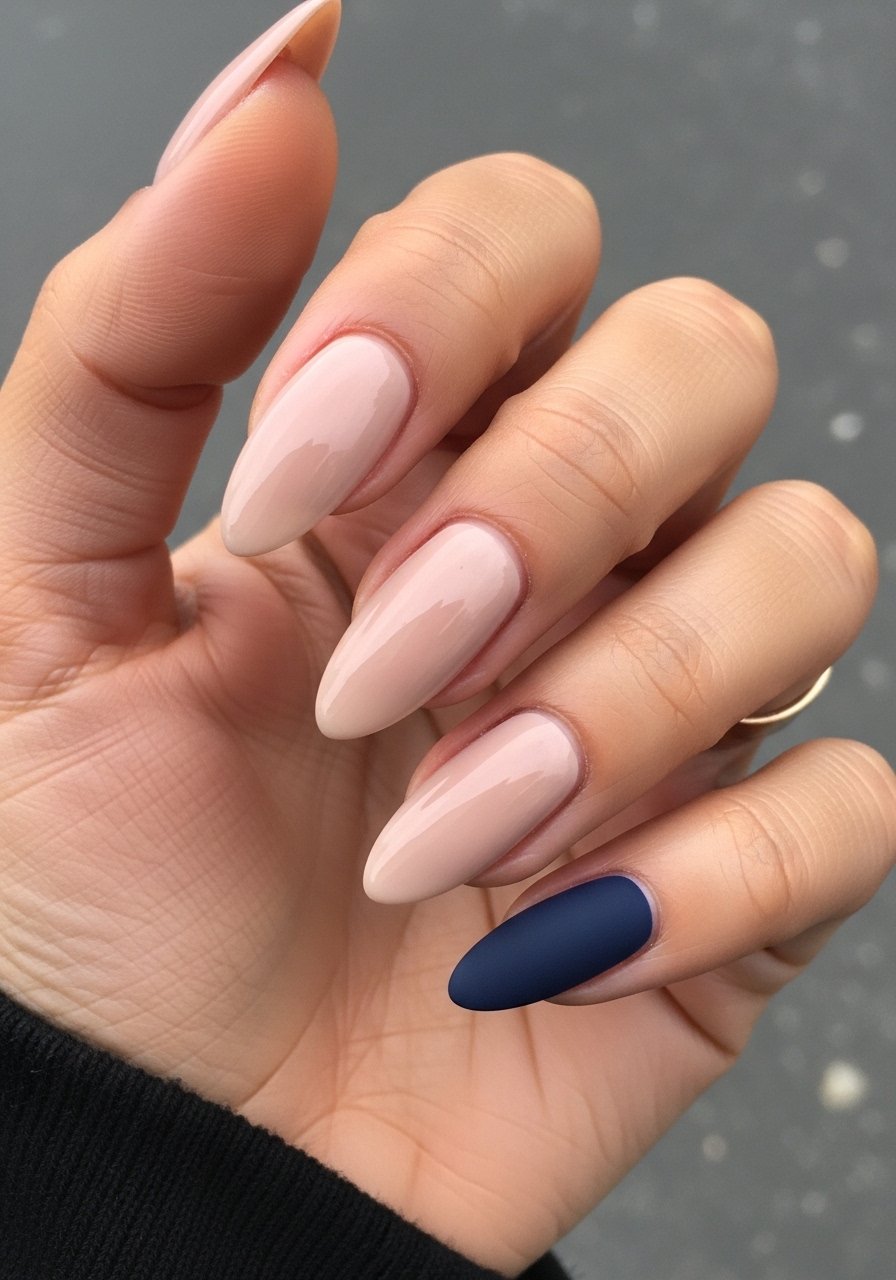
Matte navy next to glossy navy reads deliberate, like you planned the contrast. Use a matte top coat over the same navy polish so the color matches exactly. Apply two thin glossy coats on three fingers, then two thin glossy coats plus one matte top coat on the accent finger. I like matte top coat for the accent and navy nail polish that levels well. This is low skill, medium time, and great for someone who likes subtle variety.
Style/Vibe: Mixed Finish
Best For: Medium to long nails, casual chic
Skill: Beginner
Mistake to Avoid: Using different navy shades for matte and glossy without testing, which results in a visible mismatch.
3. Navy Ombre Almond Fade
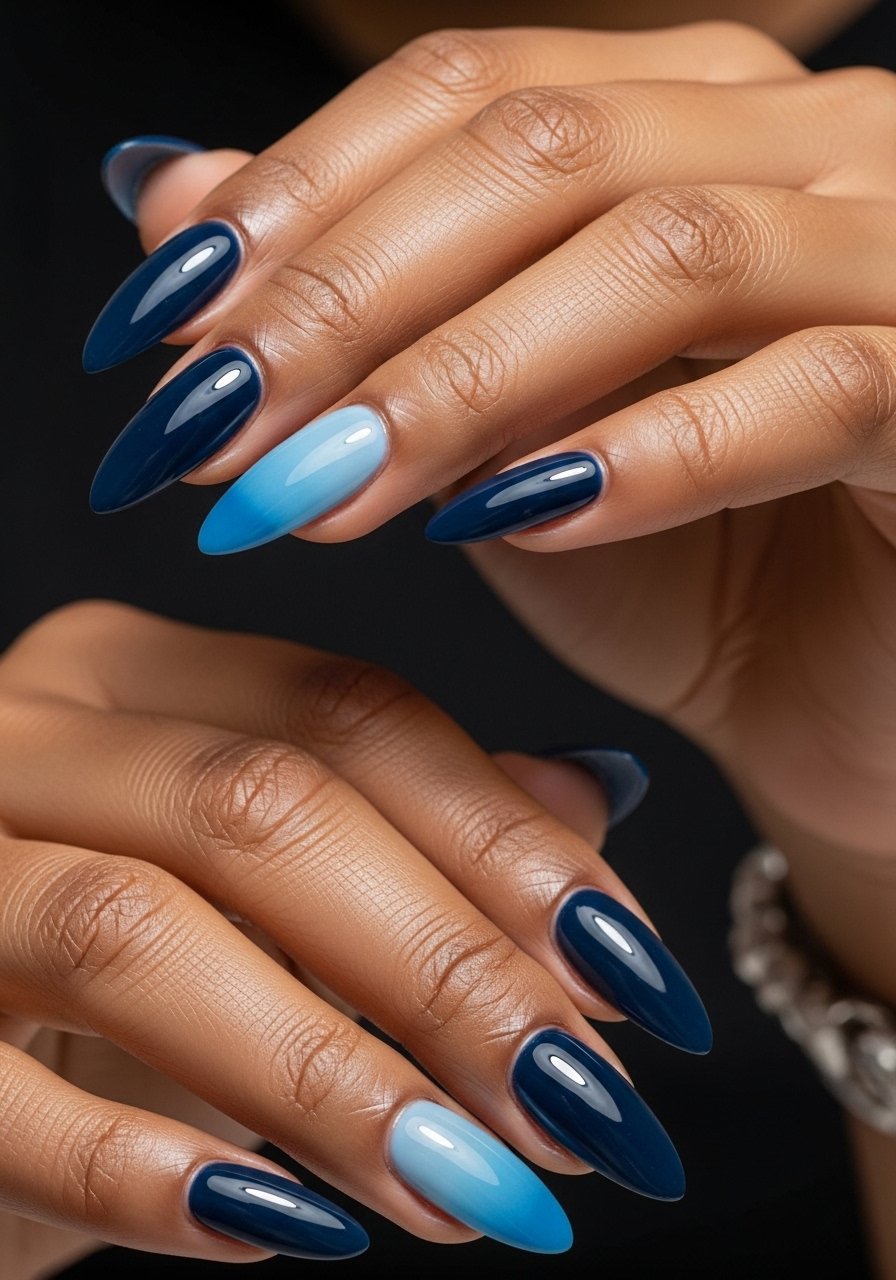
A soft navy-to-sky fade looks like a tiny gradient painting on each nail. It works visually because the eye follows the fade along the almond silhouette, creating elongation. Use a sponge to dab two thin base coats, then blend navy and lighter blue on a makeup sponge before pressing to the nail. Seal with gel top coat and cure for 60 seconds. This takes more time and a little practice but reads sophisticated in photos and real life.
Style/Vibe: Gradient Fade
Best For: Long nails, special occasions
Skill: Intermediate
Mistake to Avoid: Applying a thick blob from the sponge, which creates texture and uneven cure.
4. Negative Space Navy Tip
Negative space keeps navy from feeling heavy. Paint a crisp navy tip and leave the lower half of the nail bare or with a sheer nude. The trick is a clean edge, use thin coats and a small brush to tidy the line. For at-home, try nail vinyl guides and a steady hand with navy nail polish. Short to medium lengths work best; this one is quick and low cost.
Style/Vibe: Modern Minimal
Best For: Short to medium nails, work-friendly
Skill: Beginner
Mistake to Avoid: Pushing the vinyl too hard and peeling up the first coat when removing the guide.
5. Navy With Metallic Edge
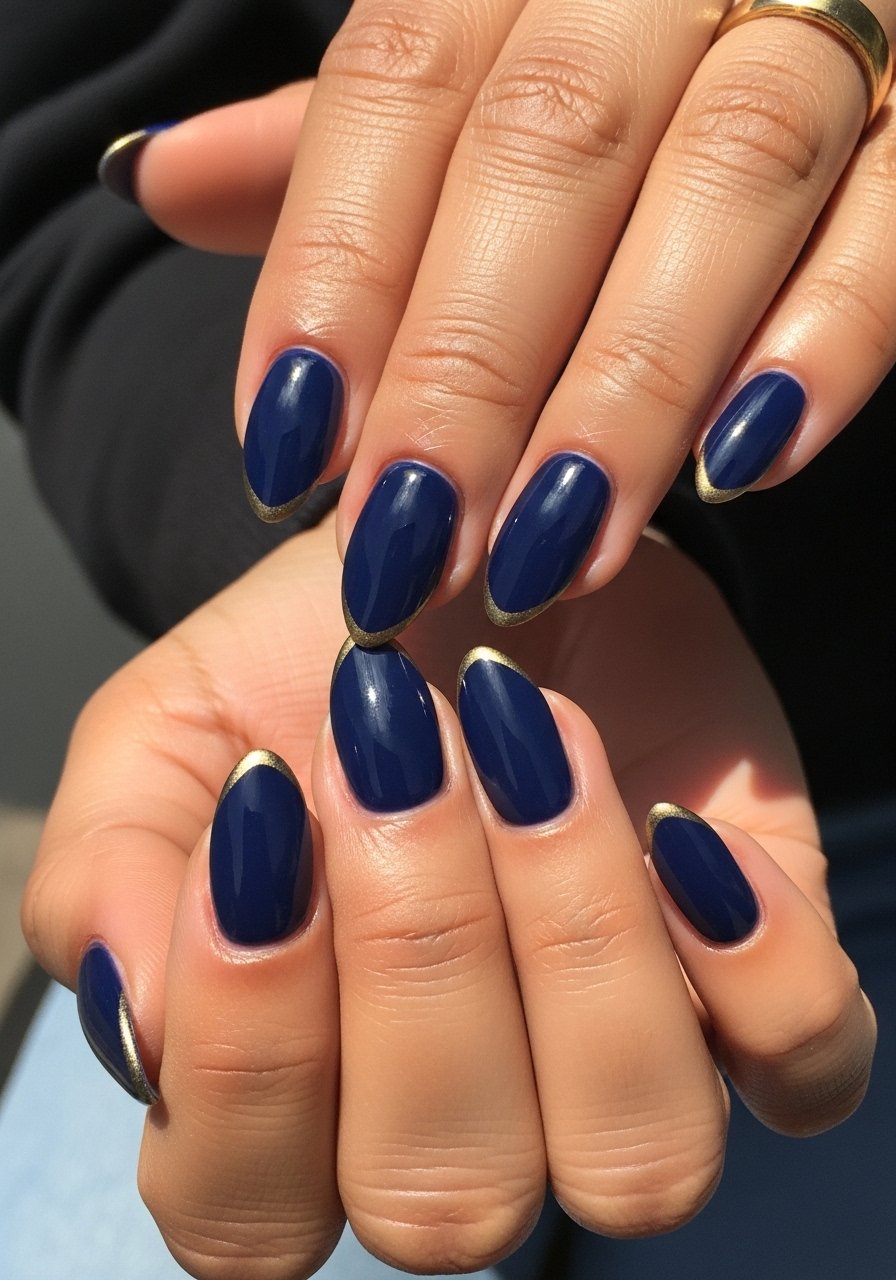
A thin metallic edge makes navy feel more intentional and luxe. Paint two thin navy coats, then use a nail art brush or a metallic striping polish to trace a thin line along the tip or smile line. I like pairing gold striping polish over navy nail polish. This is a small step that reads polished, medium skill, and looks great in a photo or IRL.
Style/Vibe: Accent Edge
Best For: Medium nails, date night
Skill: Intermediate
Mistake to Avoid: Trying to hide a shaky hand with thicker metallic paint, which looks clumsy instead of refined.
6. Navy Satin Ombre With Sheer Base
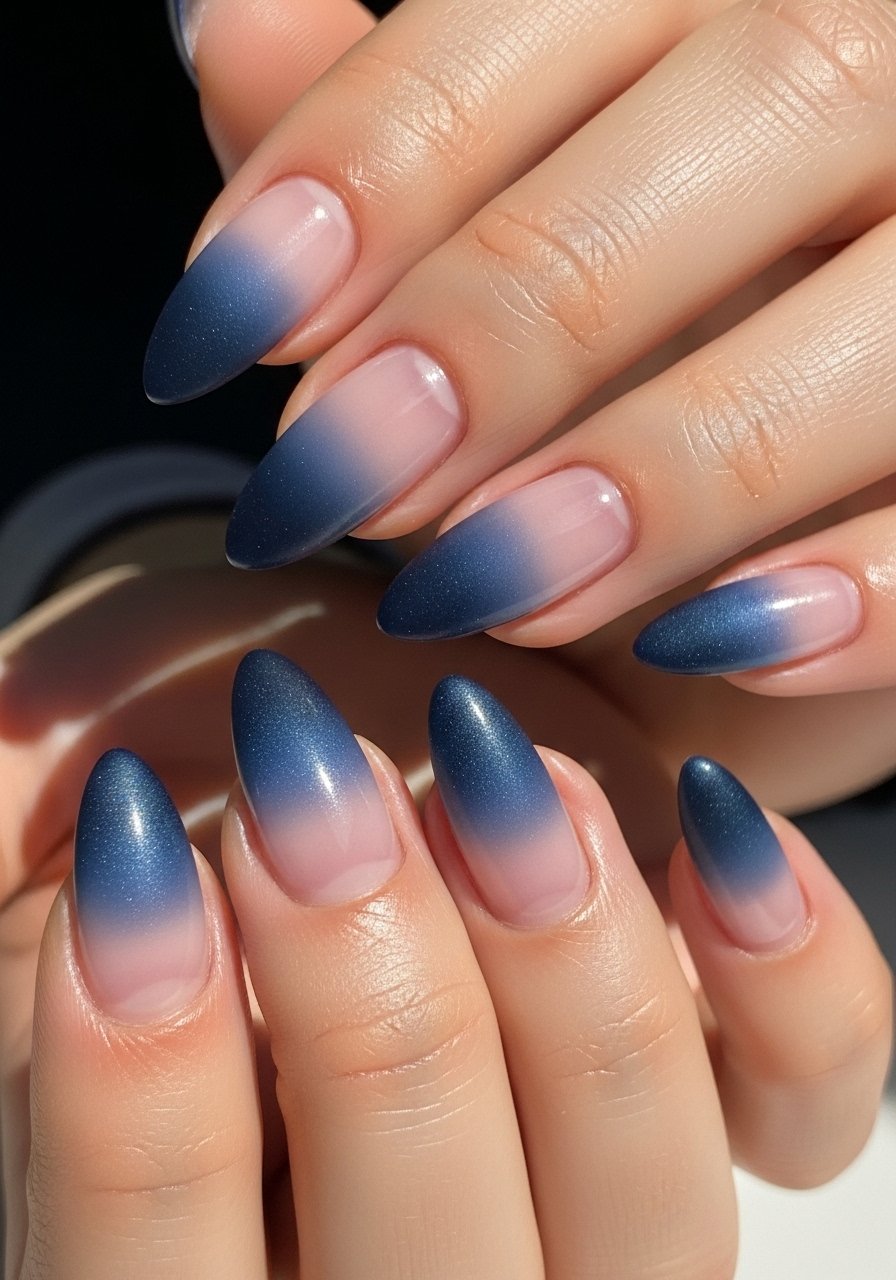
Start with a sheer pink base to warm navy hues on a variety of skin tones. The satin finish softens contrast and photographs like a warm polish. Apply one sheer base coat, then sponge a faint ombre of navy onto the tips, finish with a satin top coat. I use sheer pink base and satin top coat. This trick helps if navy feels too stark against your hands.
Style/Vibe: Soft Ombre
Best For: Medium nails, daytime events
Skill: Beginner
Mistake to Avoid: Skipping the sheer base, which can make navy look harsh and block tonal warmth.
7. Navy Marble Accent

Marble is a great salon-style detail that reads high-end without being loud. Use a drop of white and a drop of lighter blue on top of wet navy, swirl gently with a thin brush, then seal. Work in thin layers and finish with a glossy top coat. A little patience here is worth it; practice on a nail wheel first. Try nail art brush set and a steady navy nail polish.
Style/Vibe: Salon Marble
Best For: Long nails, statement manicures
Skill: Intermediate
Mistake to Avoid: Overworking the polish while wet, which muddies the marble instead of making veins.
If any of these looks have you ready to shop, these are the exact products I reach for when I actually want the mani to last.
Navy Almond Mani Kit
Bases & Finishes:
- Base coat (~$8-15). A thin, bonding base makes navy sit smoother.
- Fast dry top coat (~$8-14). For at-home speed.
- Satin top coat (~$9-16). For mixed finishes.
Polishes & Color Tools:
- Navy nail polish (~$6-18). Pick one with good leveling.
- Gold striping polish (~$5-12). For thin edges.
- Sheer pink base (~$6-12).
Nail Art & Prep:
- Nail vinyl guides (~$4-9). For crisp lines.
- Nail art brush set (~$7-15). For detail work.
- Cuticle oil (~$6-12). Keeps edges tidy and polish lasting.
8. Navy Half-Moon Almond
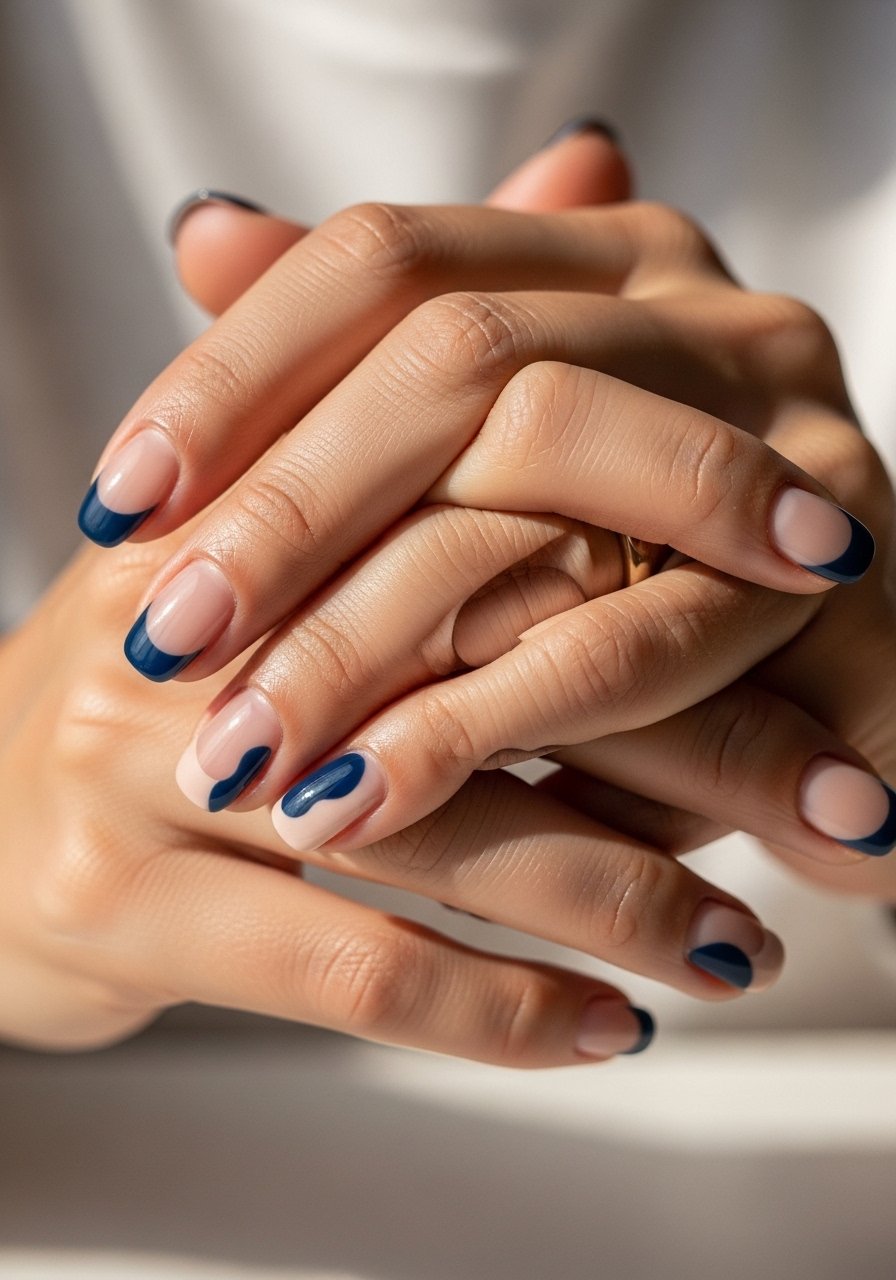
A half-moon foxes the eye and keeps the navy concentrated near the cuticle, which is flattering on shorter nails. Paint a half-moon using a small brush or a circular sticker, then fill the rest of the nail with a nude. Two thin coats of navy, 30 seconds drying between layers, then a final top coat stops chips. I use nude polish and navy nail polish. This is low time, beginner friendly.
Style/Vibe: Retro Half-Moon
Best For: Short nails, office friendly
Skill: Beginner
Mistake to Avoid: Painting the half-moon too thick, which lifts during the second coat and looks lumpy.
9. Speckled Navy Almond With Micro Glitter

Micro glitter over navy reads deliberate and hides tiny chips. Apply navy, then lightly dab a clear polish with suspended micro glitter only on the lower third or center. Finish with glossy top coat. The trick is using a glitter polish with small particles, not chunky flecks. Try micro glitter top coat over navy nail polish. This one is forgiving for days when nails pick up wear.
Style/Vibe: Low-Key Sparkle
Best For: Medium nails, party-to-office
Skill: Beginner
Mistake to Avoid: Using chunky glitters that catch on fabric and flake out.
10. Navy Negative Space Swirl
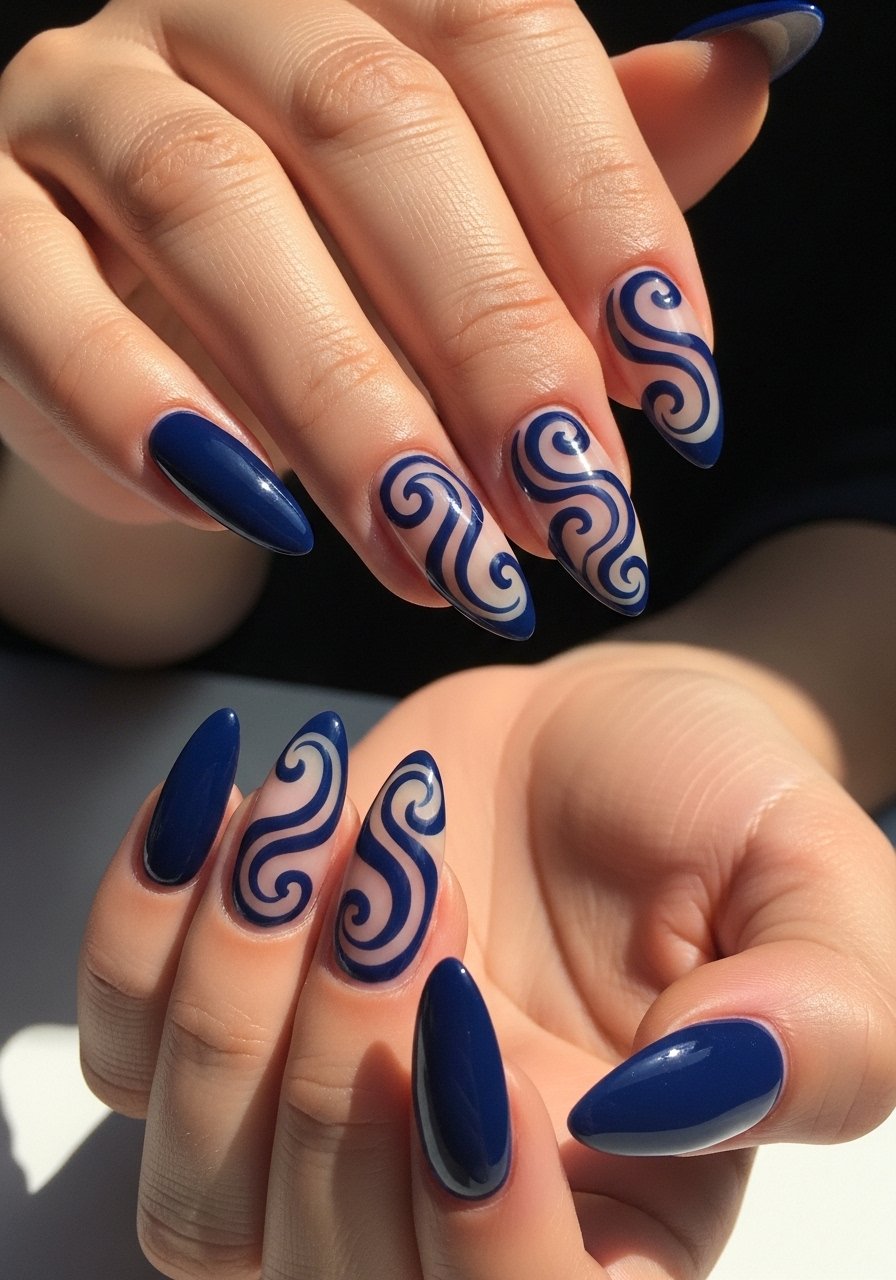
Swirls create motion along the nail and look custom. Paint a thin navy curve that leaves negative space curve across the nail, repeat across fingers for cohesion. Use a thin art brush and let each stroke dry 20 to 30 seconds before adding more detail. Pair with navy nail polish and nail art brush set. This is a gap many competitors skip, but it photographs extremely well.
Style/Vibe: Graphic Swirl
Best For: Long nails, creative looks
Skill: Intermediate
Mistake to Avoid: Trying to speed through the curve without letting layers tack, which smears everything.
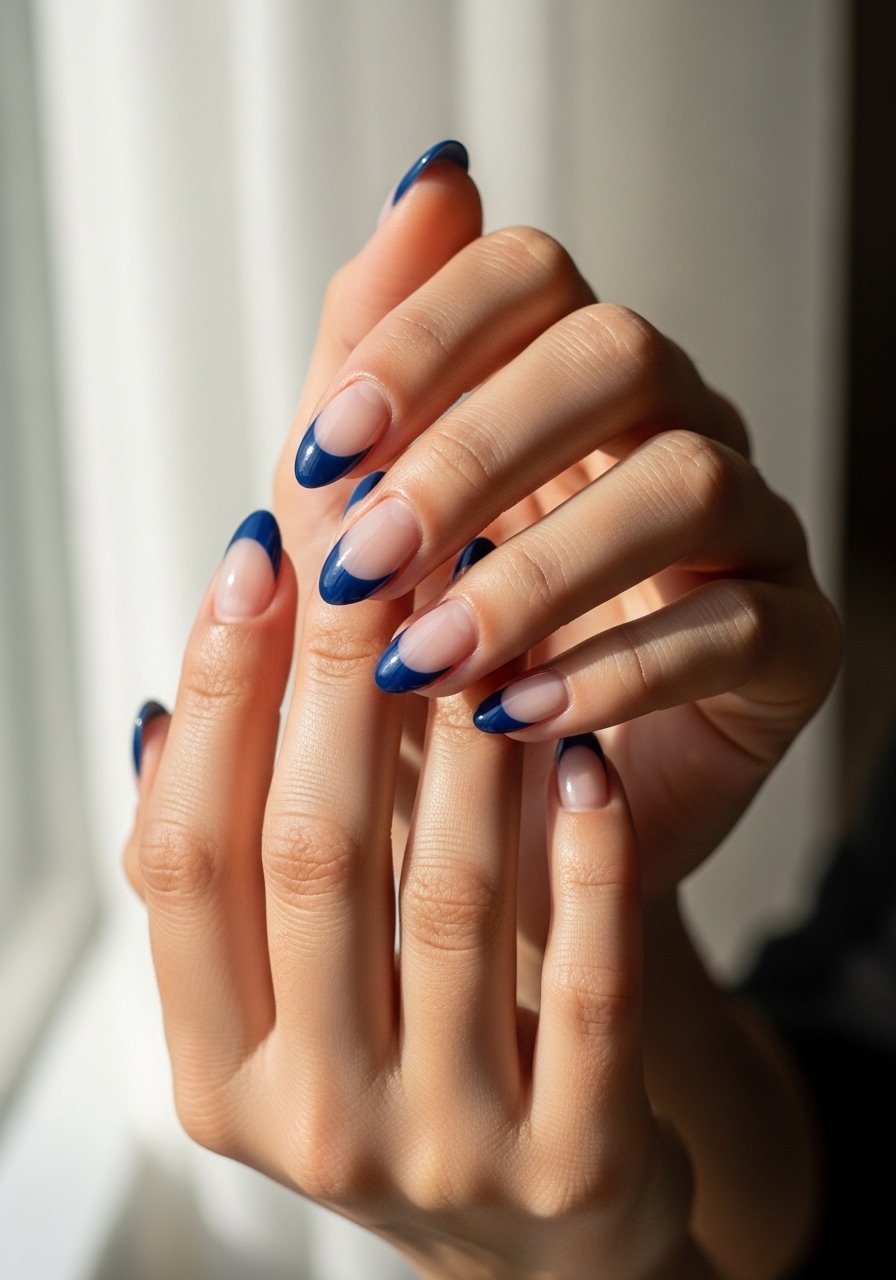
11. Navy French Almond With Soft Smile Line
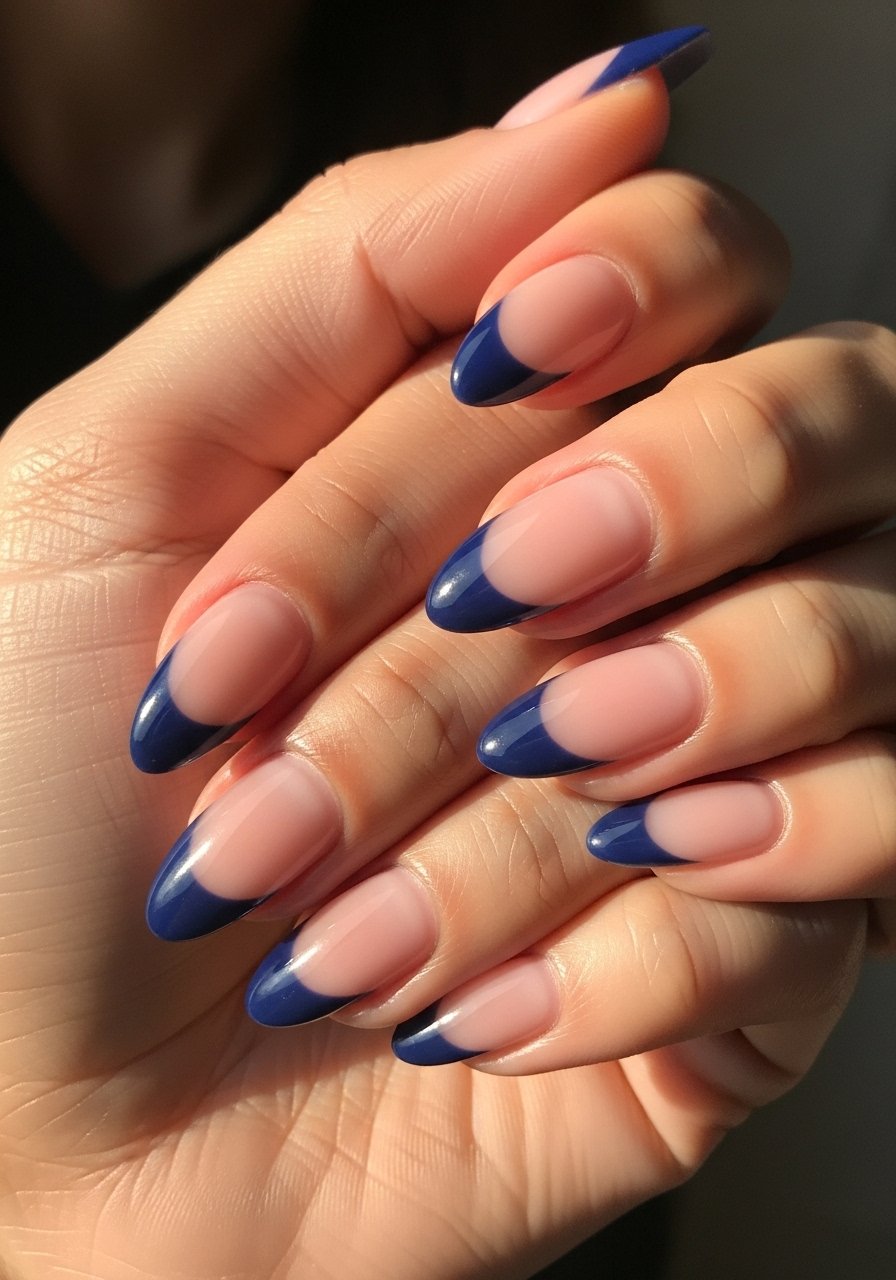
A navy French tip modernizes the staple. Keep the smile line soft and slightly rounded to complement the almond shape. Use two thin coats for the tip, then a glossy top coat with 60-second cure under LED. For at-home, use a thin brush and a steady wrist, or use french tip guides paired with navy nail polish. This is low to medium skill and suits most nail lengths.
Style/Vibe: Modern French
Best For: Medium nails, polished events
Skill: Beginner
Mistake to Avoid: Making the tip too thick, which shortens the nail visually and chips sooner.
12. Navy Jelly Almond
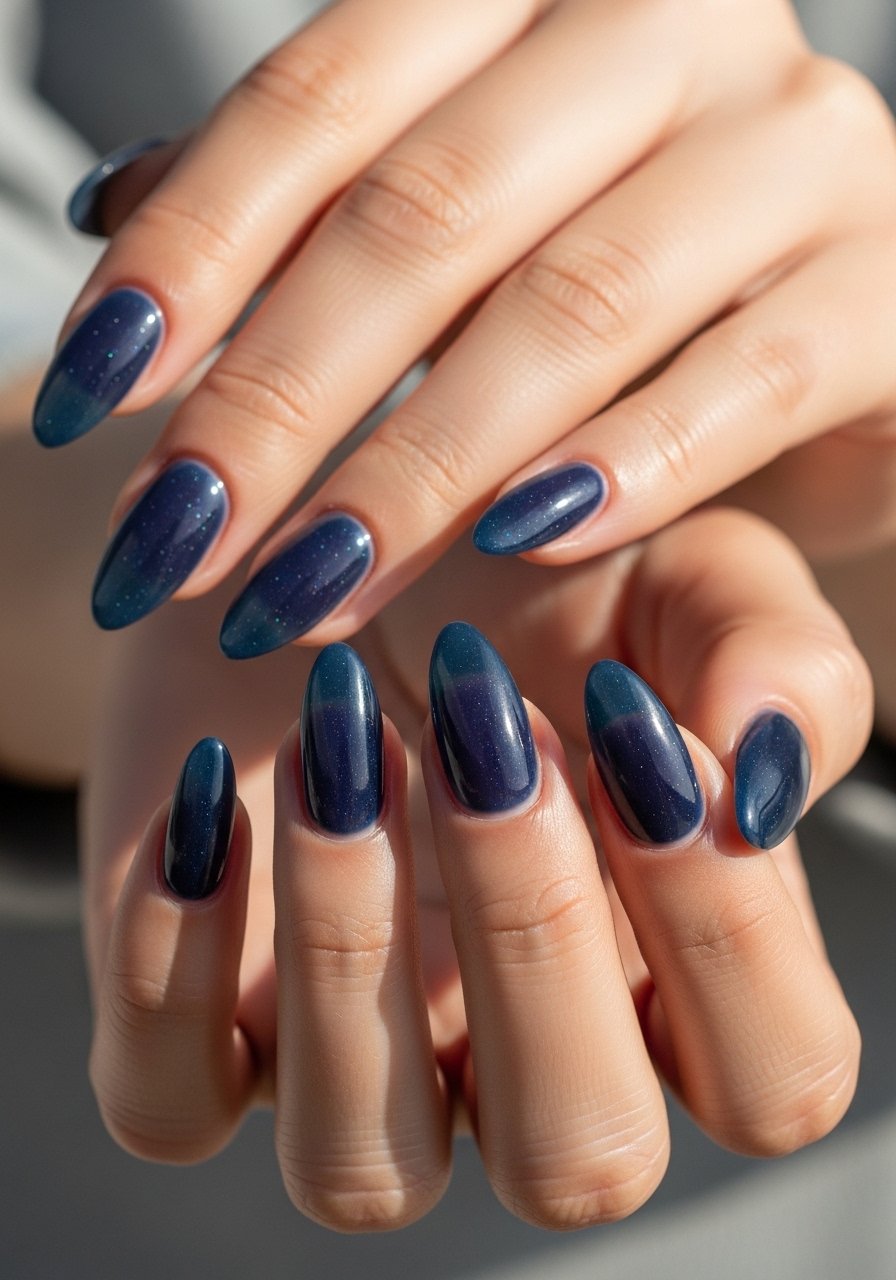
Jelly nails have depth without full opacity and work especially well on longer almonds. Build the depth with three thin, almost translucent coats, letting each dry 30 to 40 seconds. A jelly formula refracts light differently so photos show inner shine. Use sheer navy jelly polish and seal with gloss top coat. It takes a little patience but gives a lived-in yet intentional look.
Style/Vibe: Translucent Depth
Best For: Long nails, trend-forward looks
Skill: Intermediate
Mistake to Avoid: Applying opaque coats, which kills the jelly translucence and looks flat.
13. Navy Almond With Minimalist Dot Art
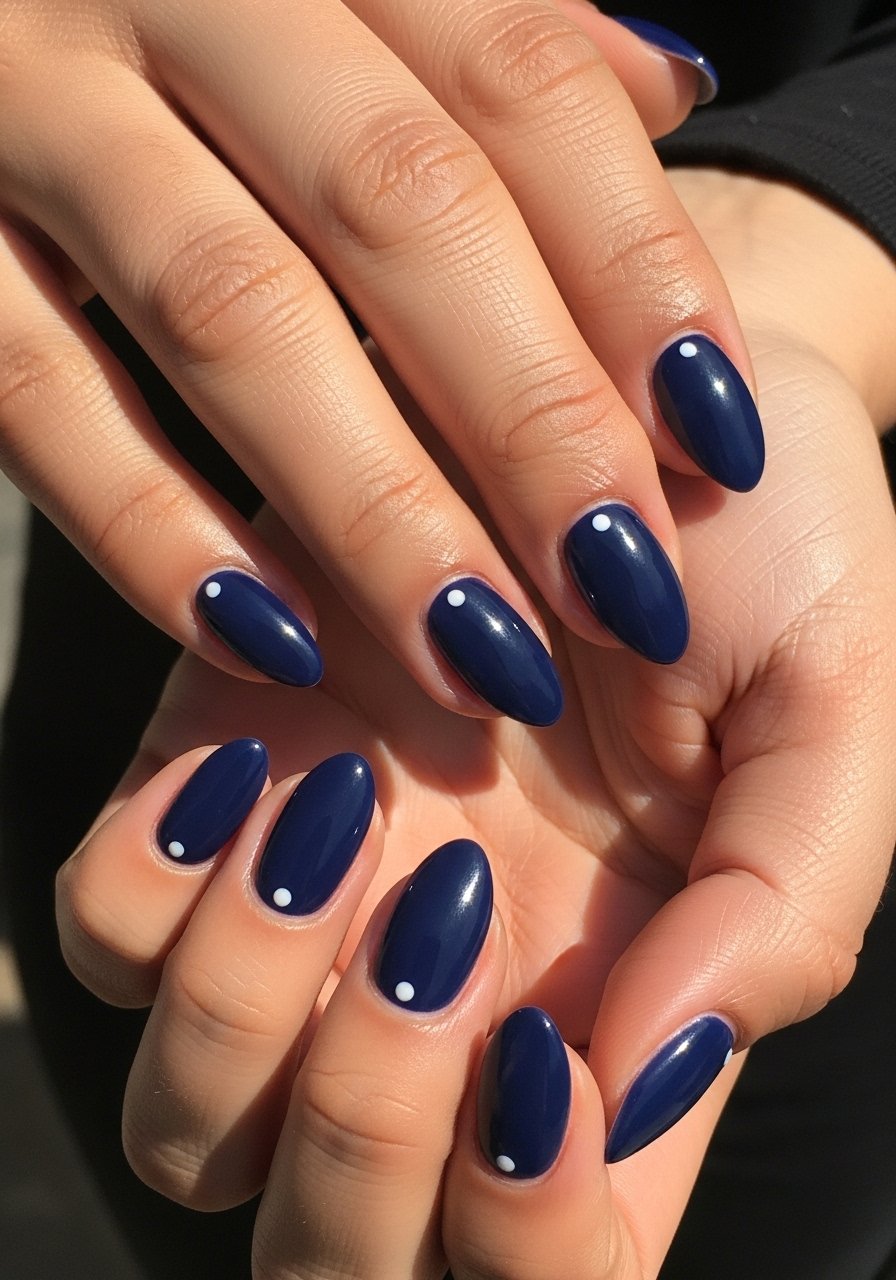
A single dot near the cuticle turns navy into a minimalist statement. Pick a contrasting color like pale cream or soft metallic. Paint two thin navy coats, then use a dotting tool or the end of a bobby pin dipped in cream polish to place a precise dot. Finish with a glossy top coat. This is very quick, beginner friendly, and makes navy feel modern and intentional.
Style/Vibe: Minimal Dot Detail
Best For: Short nails, quick refresh
Skill: Beginner
Mistake to Avoid: Making the dot too large or off-center, which reads sloppy instead of chic.
Navy Mani Habits I Keep
Bold start: Thin coats beat one thick coat every time. Three thin layers of fast dry top coat look smoother and last longer than one slow blob.
Grab cuticle oil and use it nightly. A quick rub around the edges stops polish from lifting and keeps the navy edge crisp.
When prepping, lightly buff with a 180 grit file and remove dust with alcohol. A clean surface plus a thin layer of base coat prevents staining and helps navy sit even.
Most people getting their nails done these days are asking for gel, not acrylic. If you want durability without daily touch-ups, consider a soak-off gel mani using a builder gel base and an LED lamp like led nail lamp.
If you chip at the edges, carry nail polish remover pen for quick cleanups that keep a navy mani looking intentional.
