
I kept blaming polish quality for every chip. After three weekends of broken tips I watched a tech who works at a salon downtown take two minutes to oil and tape one side and my nail stopped splitting for a week. It was humbling, and it changed how I prep, protect, and pick products so I could stop redoing a mani every other day.
These tips are for anyone who wants nails that last from Monday meetings through weekend gardening, without fancy salon time. Budget leans under $30 for most fixes, with a few $30 to $60 tools worth keeping. Most steps are beginner-friendly and fit into a five-minute nightly routine.
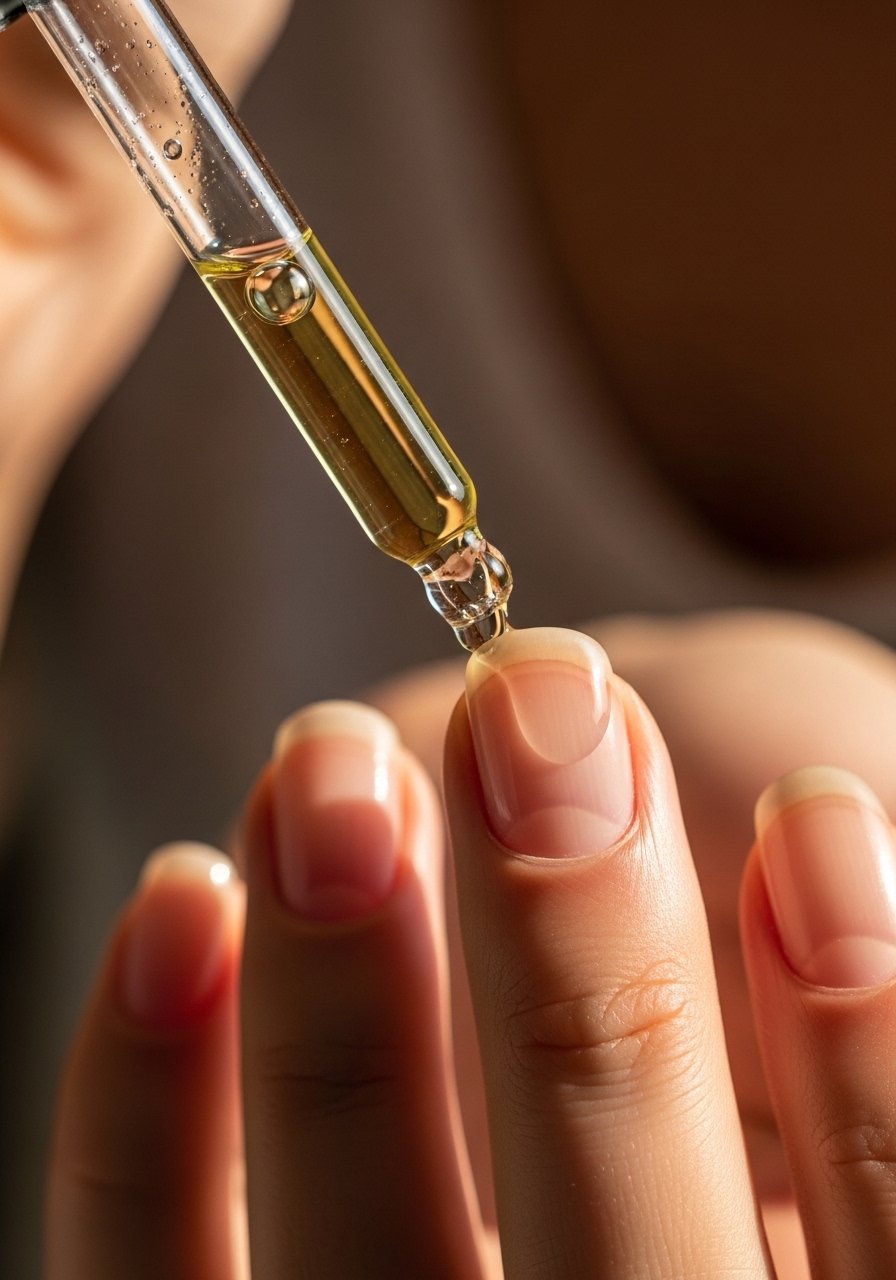
1. Hydrate Cuticles Nightly
Style/Vibe: Natural-care, glossy finish
Best For: Short to medium nails / everyday wear
Skill: Beginner
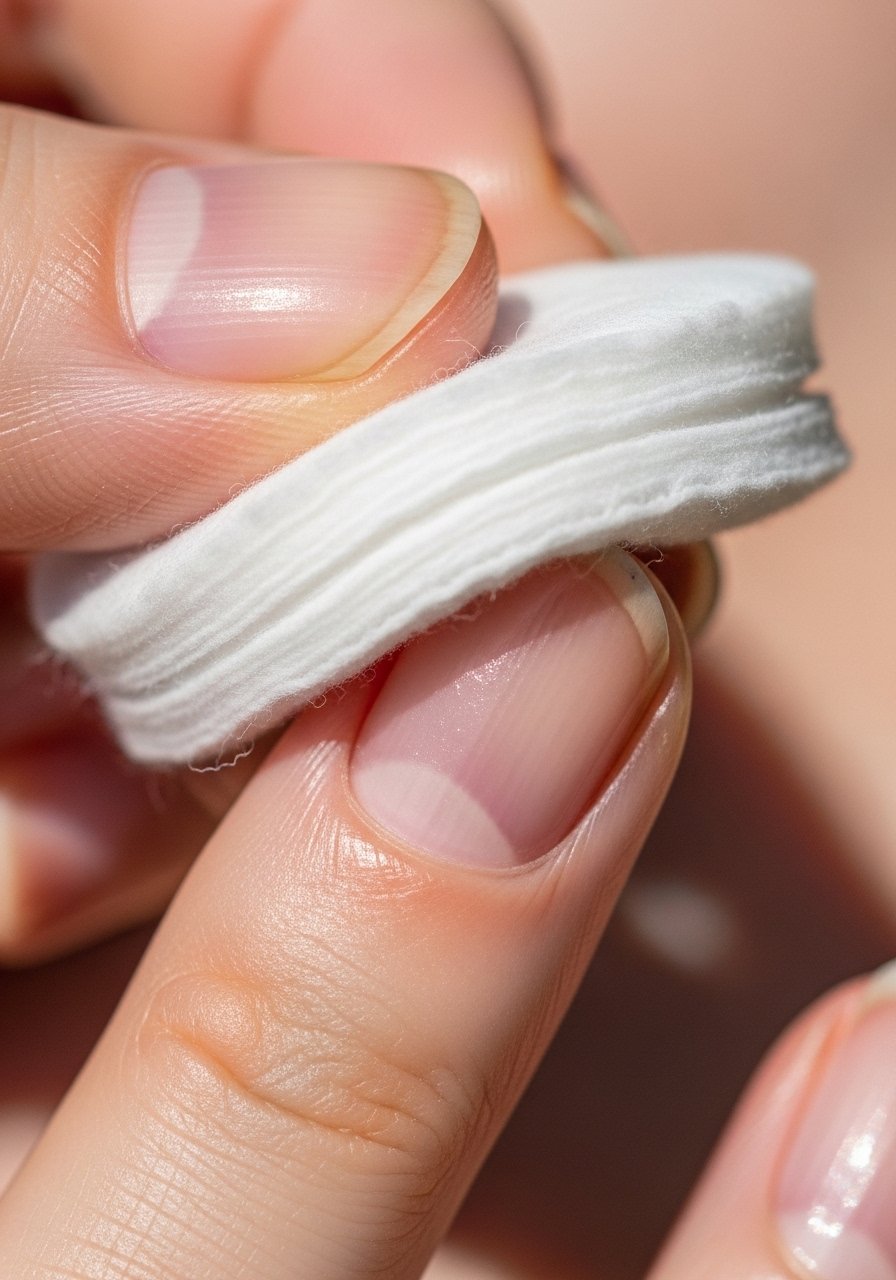
A single drop of cuticle oil massaged into each nail at night does more than soften skin. It feeds the nail matrix and reduces vertical splitting at the free edge. I use a nourishing cuticle oil roller because it gives the right dosage, one light pass per nail, and it is easy to stash by the bed. This creates a soft, hydrated look by morning and helps base coats adhere better during the day.
Mistake to Avoid: Rubbing oil in and wiping it off immediately. Leave one drop per nail overnight and wear cotton gloves if you sleep with your hands moving.
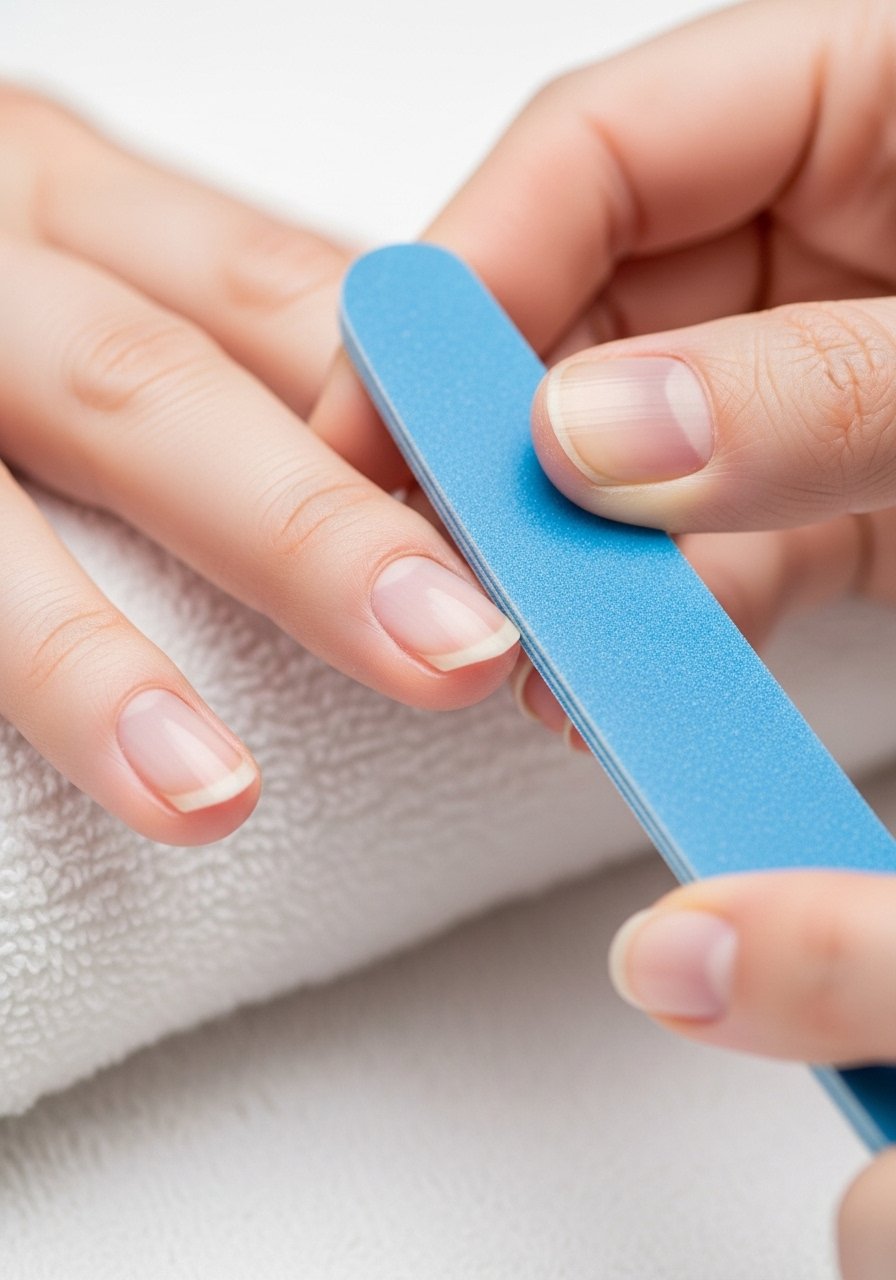
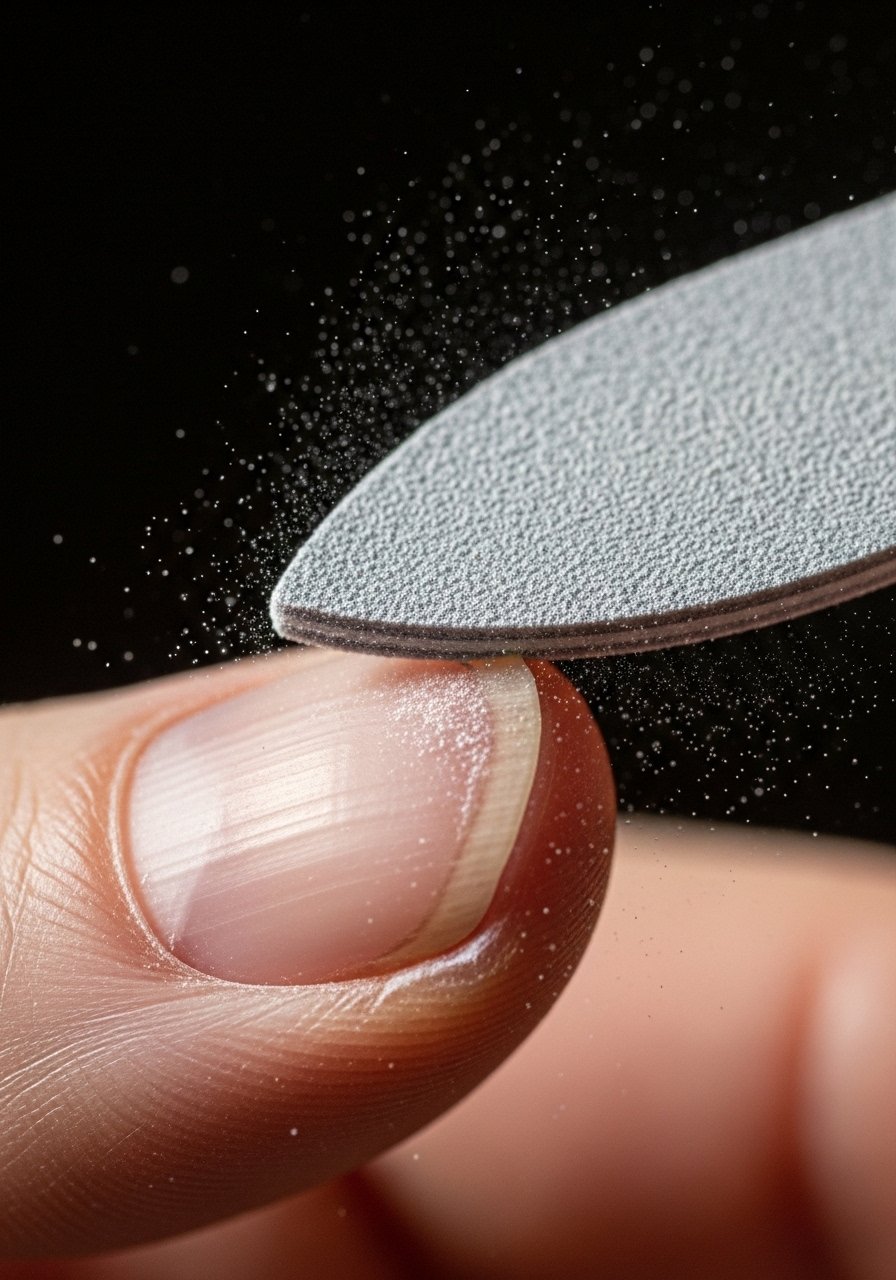
2. Use a Glass Nail File
Style/Vibe: Clean, precise edges
Best For: Medium to long nails / neat finish
Skill: Beginner
A fine-grit glass file seals the keratin edge so it resists snags. I switched after breaking three nails in a week, and the difference was immediate. Glass files smooth rather than tear the edge. File in one direction with light pressure and stop when the shape is where you want it. A small glass file lasts months and cleans easily, so it is both tidy and cost effective.
Mistake to Avoid: Sawing back and forth. File gently one way until the edge is even.
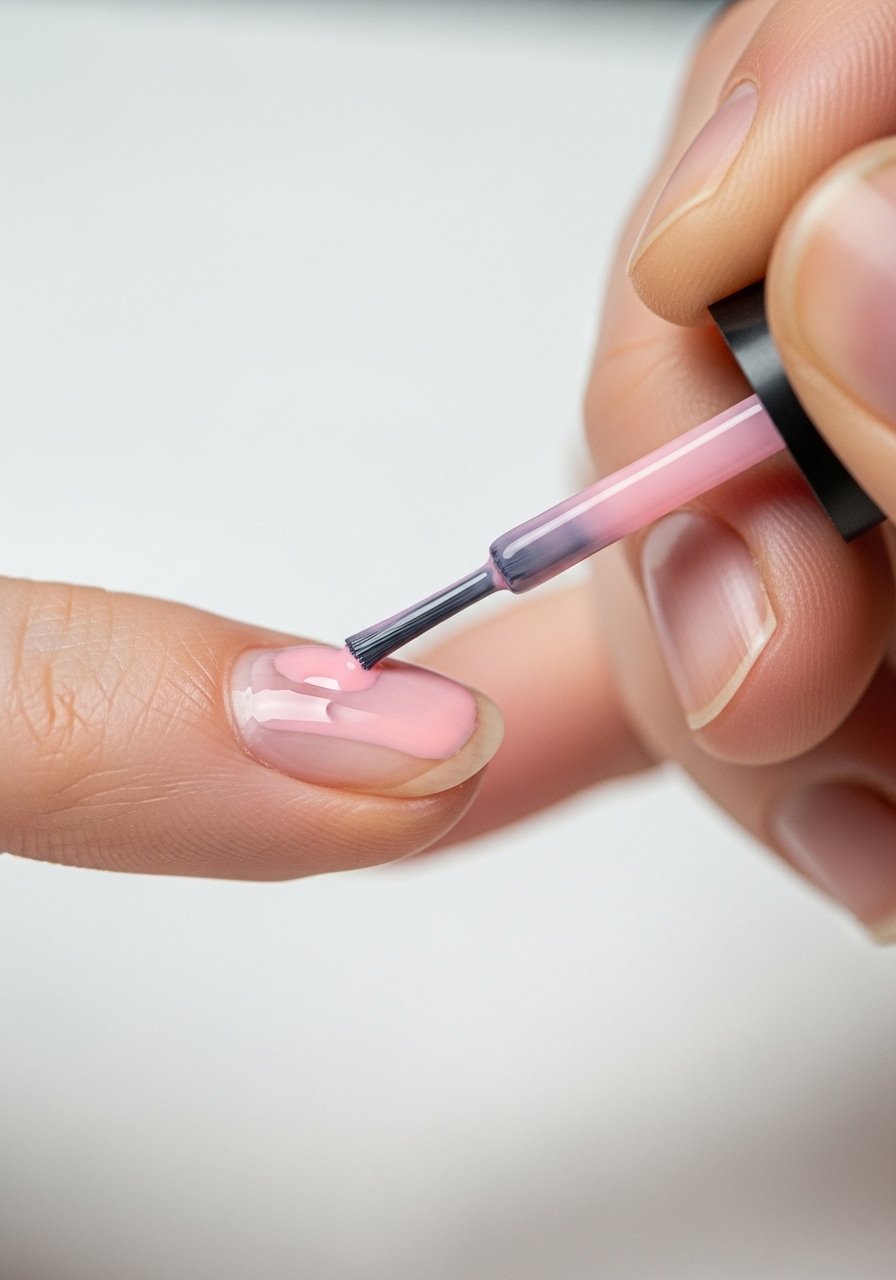
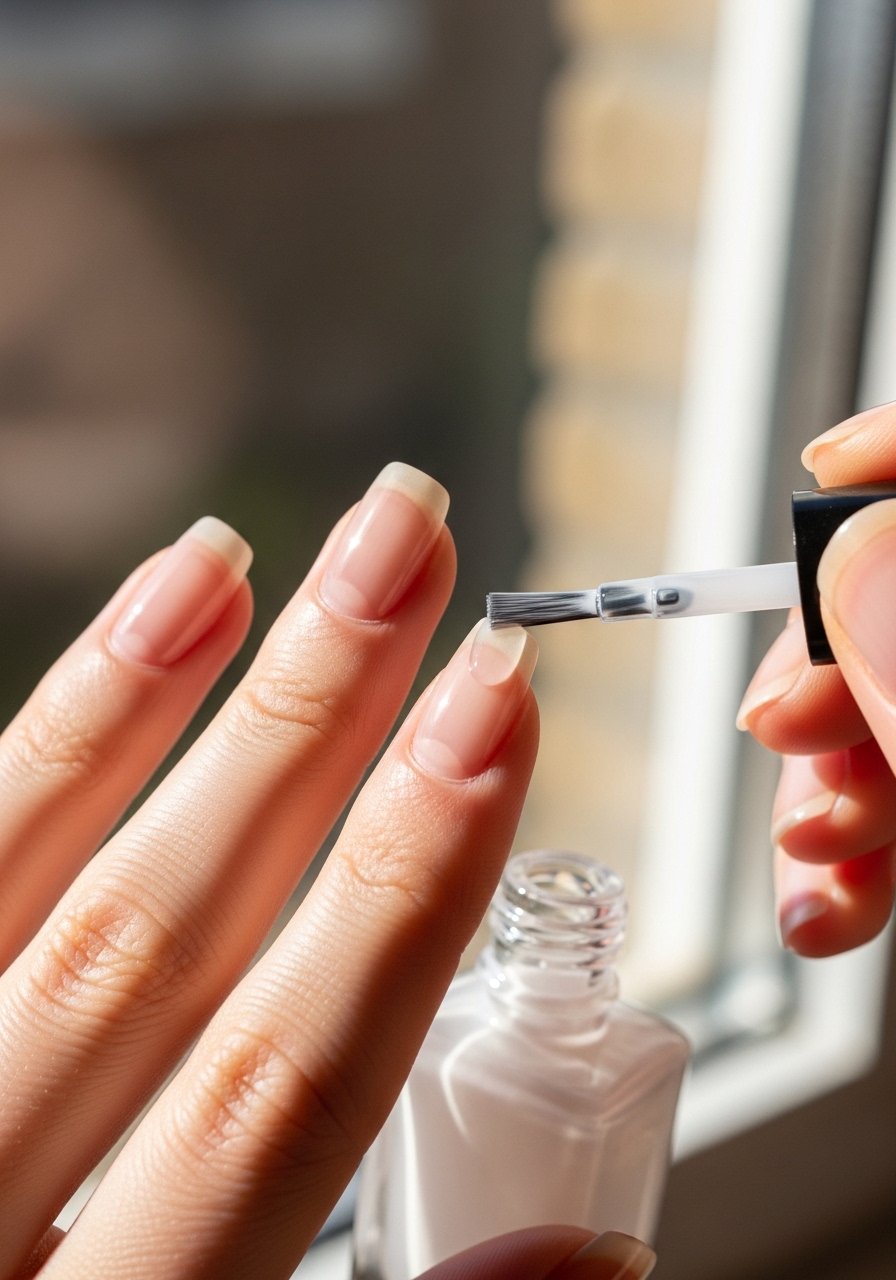
3. Switch To Thin Coats
Style/Vibe: Even coverage, glossy finish
Best For: All lengths / quick-dry routine
Skill: Beginner
Two thin coats beat one thick coat for strength and dry time. I do three light strokes: center, left, right. Let each thin layer flash for 30 to 60 seconds before the next. Thin layers cure more thoroughly and resist lifting. This technique also makes touchups less obvious and stretches a bottle of polish further.
Mistake to Avoid: Dousing the brush and slapping it on. Wipe on the rim and use three light strokes.
4. Strengthening Base Coat With Protein

Style/Vibe: Protective, subtle finish
Best For: Brittle nails / weekly layers
Skill: Beginner
A base coat with protein or calcium can add a flexible support layer under color. I swap to a protein-rich base when nails feel thin from cold weather. Apply one coat, let it set for a minute, then proceed with thin color layers. This is a small extra step that reduces vertical splits and gives nails a slightly firmer feel without stiffness.
Mistake to Avoid: Skipping base coat when you plan to wear color for more than two days.
5. Add a Ridge-Filling Layer
Style/Vibe: Smooth, polished look
Best For: Short to medium nails / photo-ready finish
Skill: Beginner
Ridges cause polish to catch and peel. A thin ridge-filling layer evens the plane and reduces chipping at stress points. I use it under color for a salon-smooth finish, especially when I am doing pale or sheer shades. The filler sands down slightly if needed, then takes base coat and polish like a smooth tabletop.
Mistake to Avoid: Applying a thick, gummy filler layer. Use thin passes and let it fully dry.
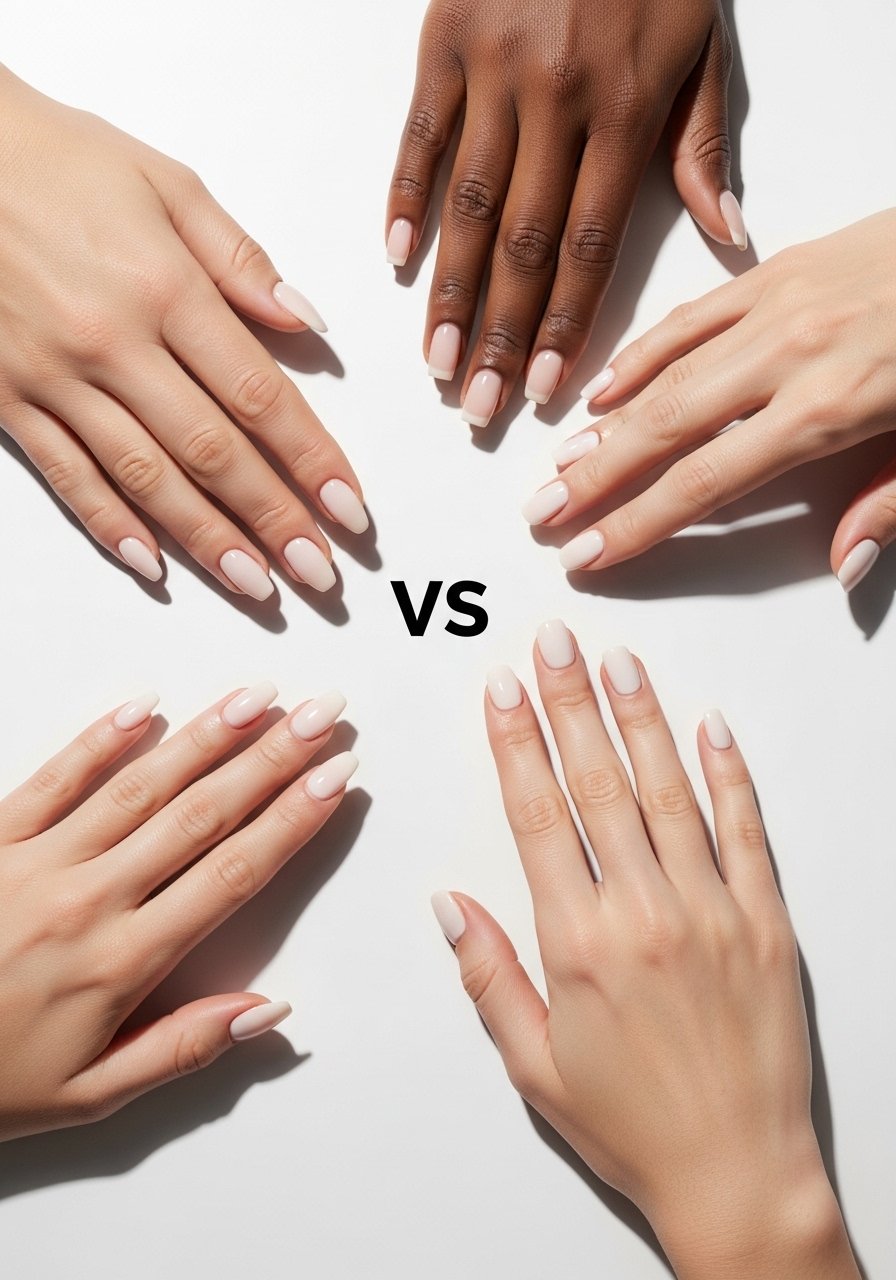
6. Skip Shapes That Catch
Style/Vibe: Practical shapes for wear
Best For: Active hands / gardening or typing
Skill: Beginner
Shape matters more than you think. Long, sharp shapes snag on sweaters and door handles. Rounded or soft square shapes deflect stress and are less likely to chip. I keep my length one to two millimeters past the fingertip and favor soft edges for durability. This is a small design swap that saves a lot of repair time.
Mistake to Avoid: Chasing a trendy stiletto when your daily life involves a lot of hand work.
7. Avoid Metal On Wet Nails
Style/Vibe: Dry, resilient finish
Best For: Thin or soft nails / everyday routine
Skill: Beginner
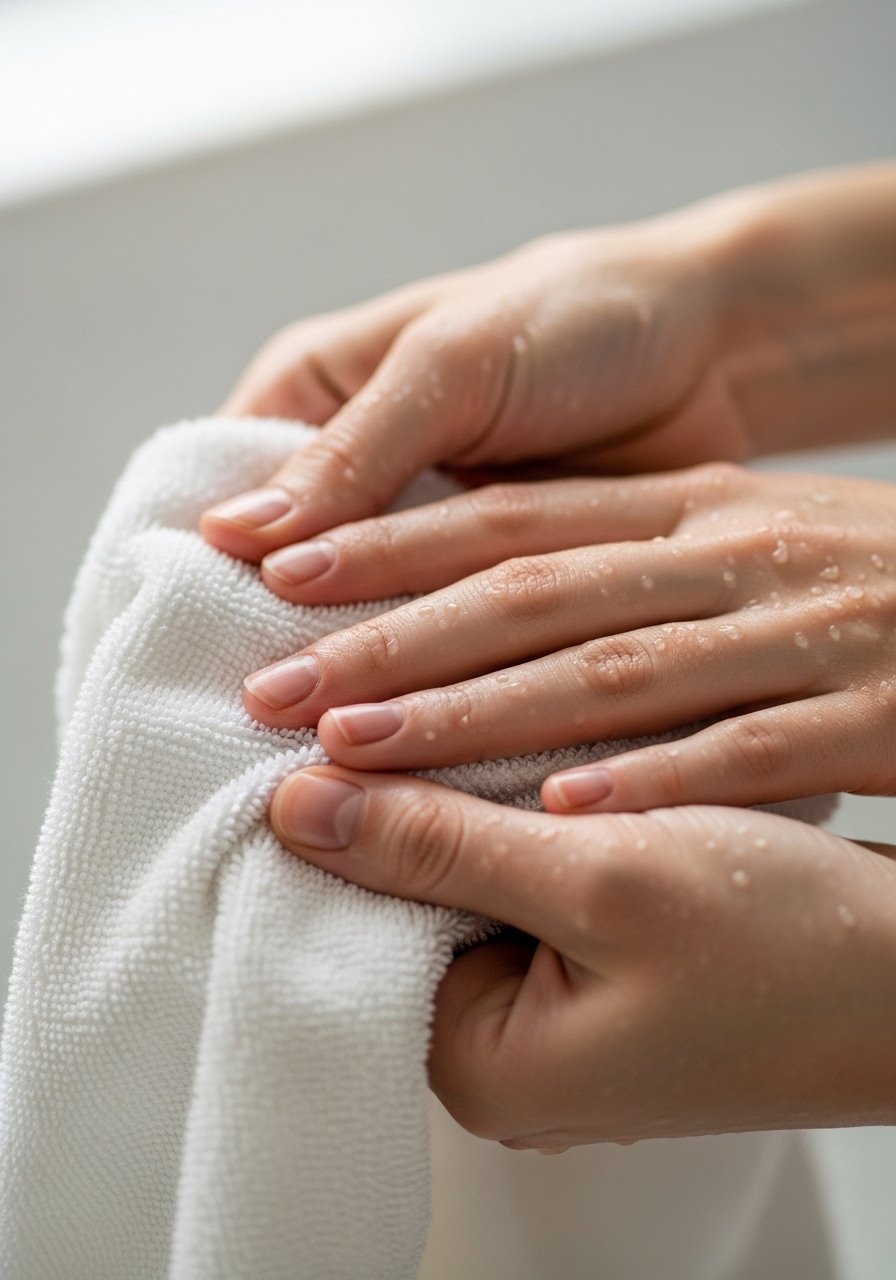
Handling metal zippers or jewelry right after a soak weakens nail edges. I learned the hard way when nails that looked fine after a soak split within hours. After washing or soaking, pat nails dry and let them air for a minute before heavy handling. That short wait stops the soft keratin from bending and splitting at the tip.
Mistake to Avoid: Rubbing nails dry aggressively. Pat and let them firm up naturally.
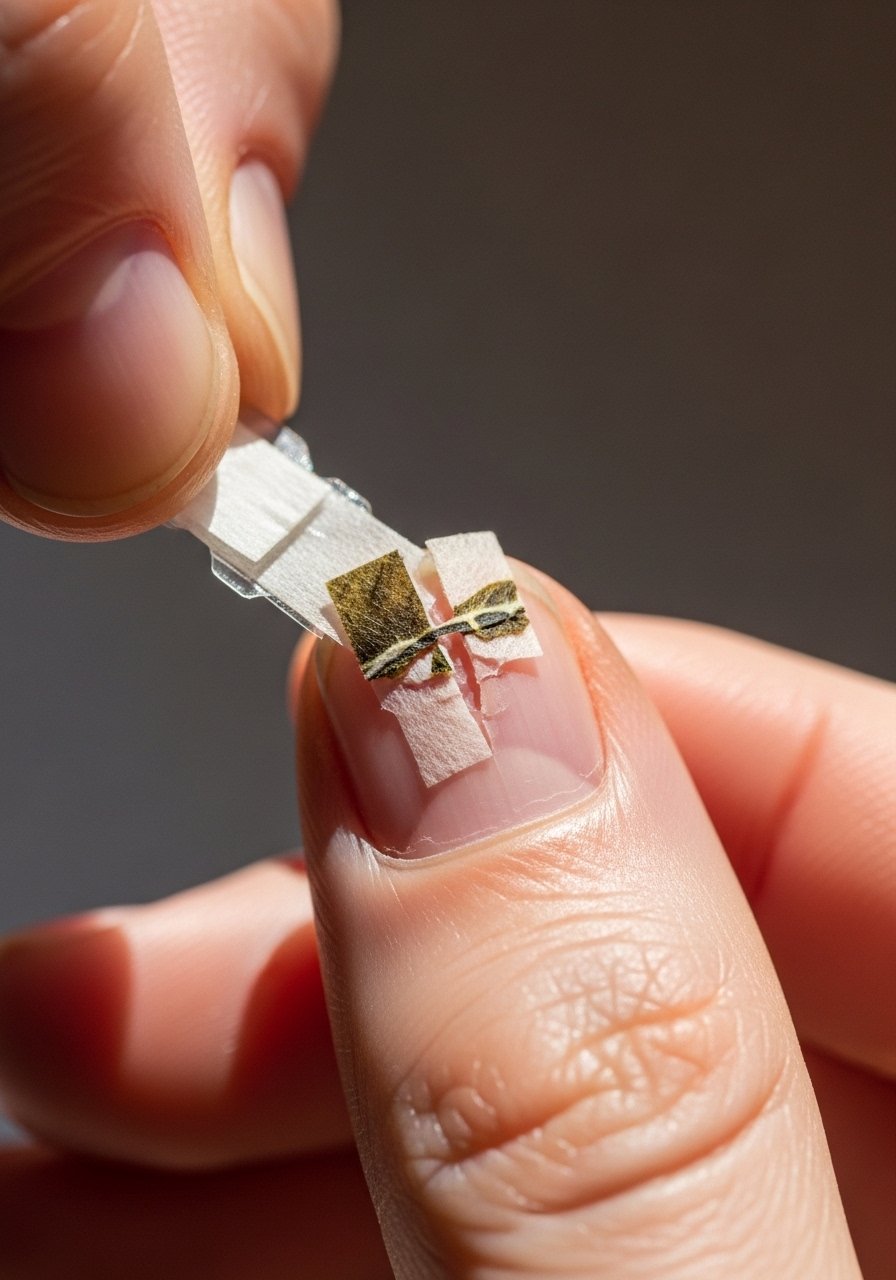
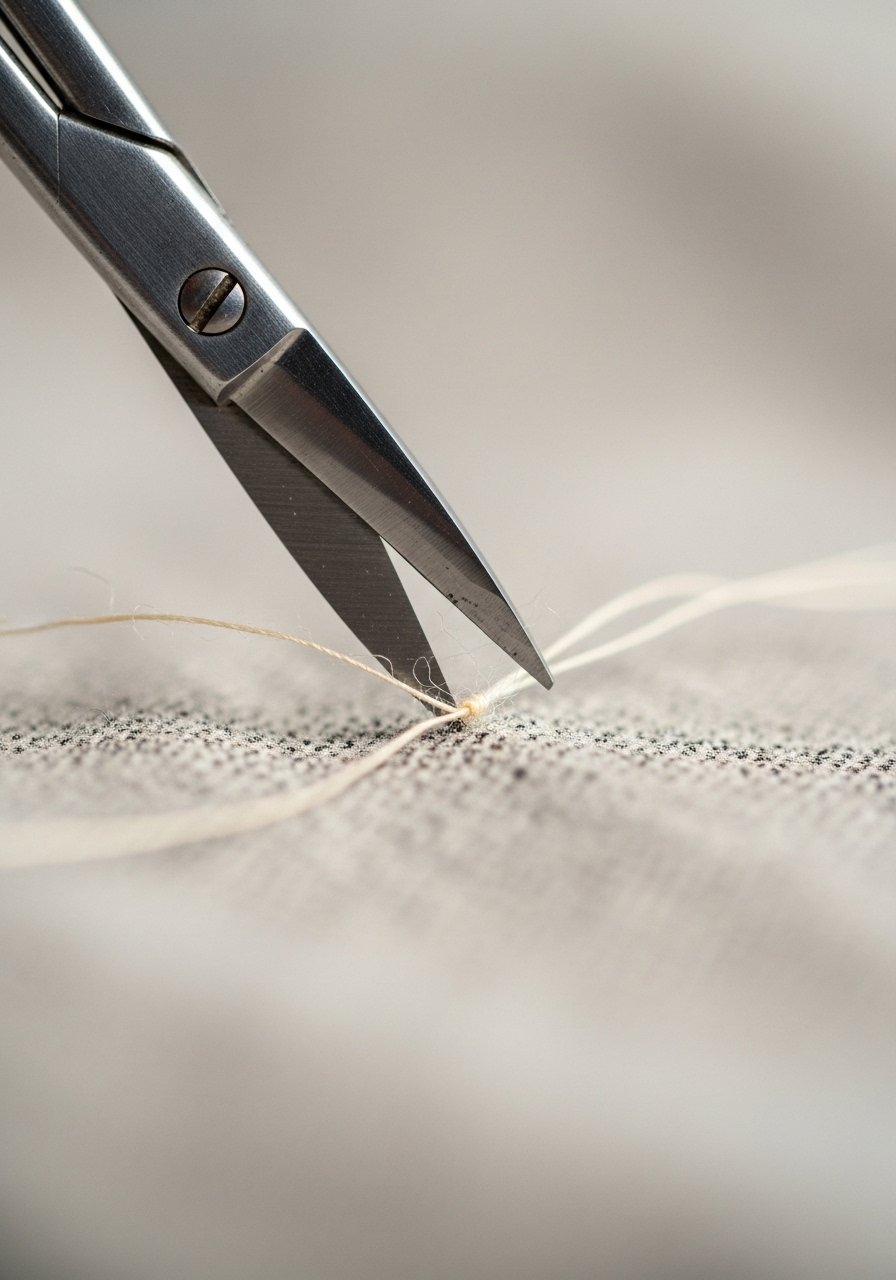
8. Wrap Tips For Strength
Style/Vibe: DIY repair, low-cost
Best For: Emergency fixes / short nails
Skill: Beginner-intermediate
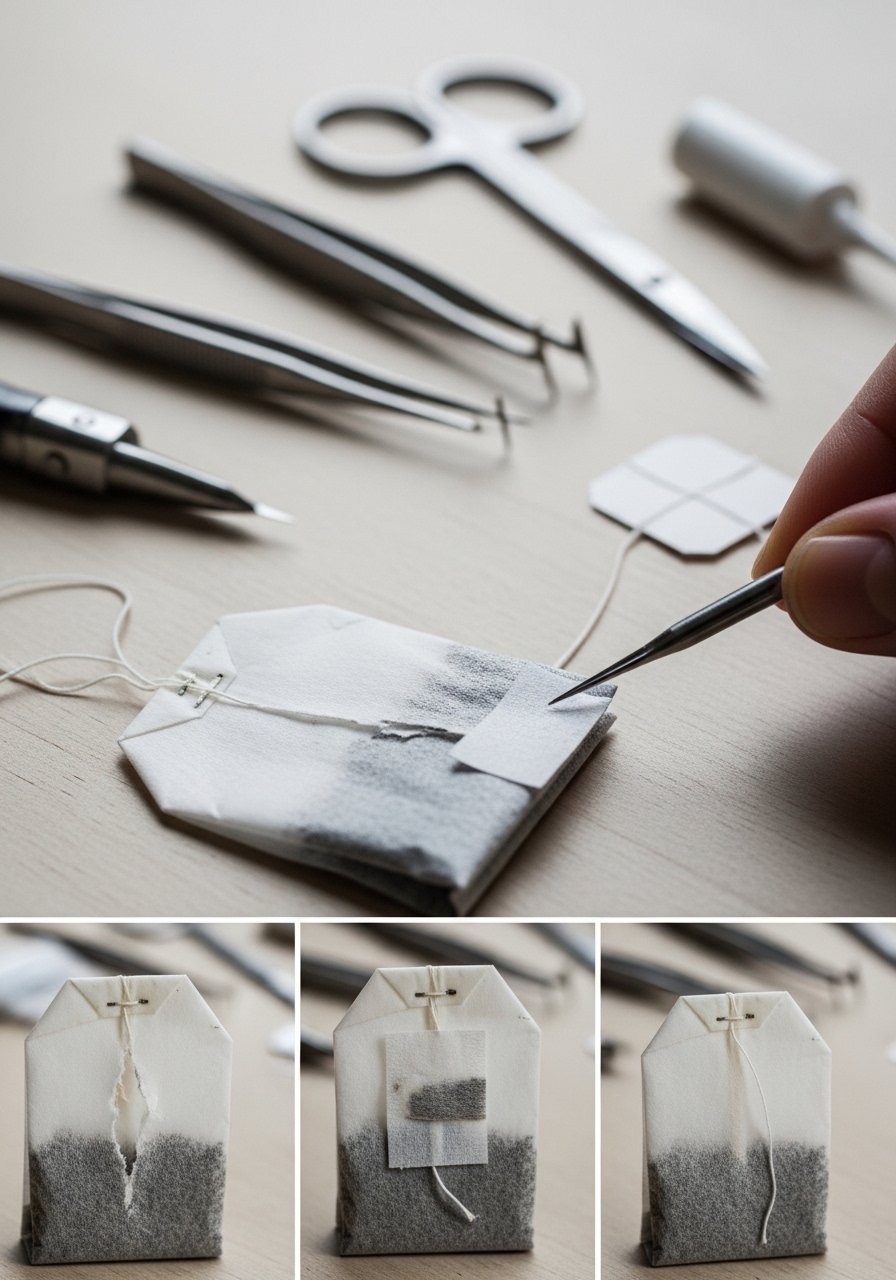
A tea-bag or silk-wrap repair can hold a split overnight until you can do a full fix. Tear a tiny piece, add thin glue, smooth, and file gently once set. It is subtle under polish and saves the nail from catching on fabric. I keep a repair kit with tiny squares and a clear adhesive for weekend emergencies.
Mistake to Avoid: Over-thick glue layers. Use a small amount and smooth quickly.
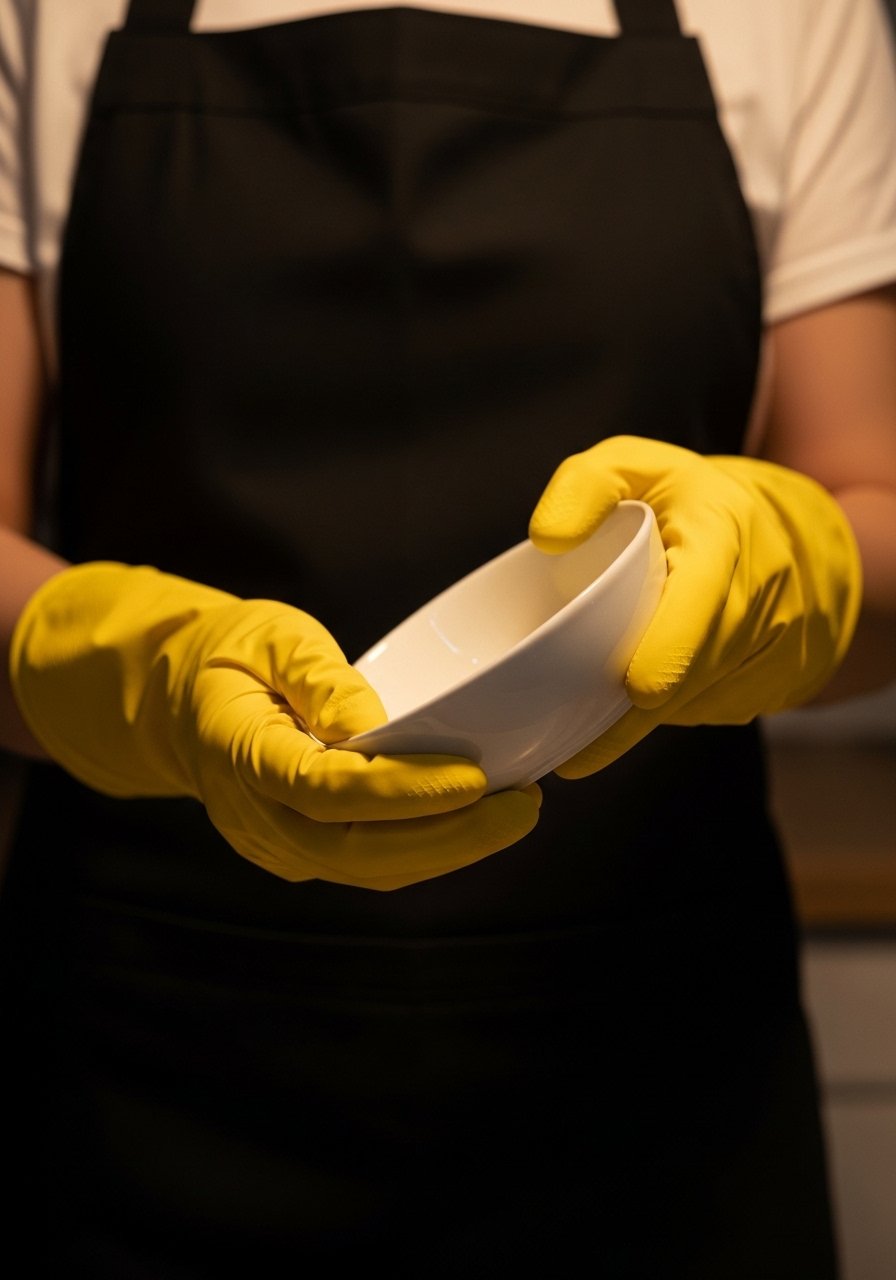
9. Wear Protective Gloves for Chores
Style/Vibe: Utilitarian, protective
Best For: Short to medium nails / home chores
Skill: Beginner
Water and detergents weaken the nail plate over time. I wear thin nitrile gloves for dishwashing and thicker ones for garden work. Gloves keep polish intact and stop nails from becoming papery. If you hate that silicone squeak, put a cotton glove inside a thick pair for comfort.
Mistake to Avoid: Using one glove for multiple tasks without rinsing it. Change them when they get soiled.
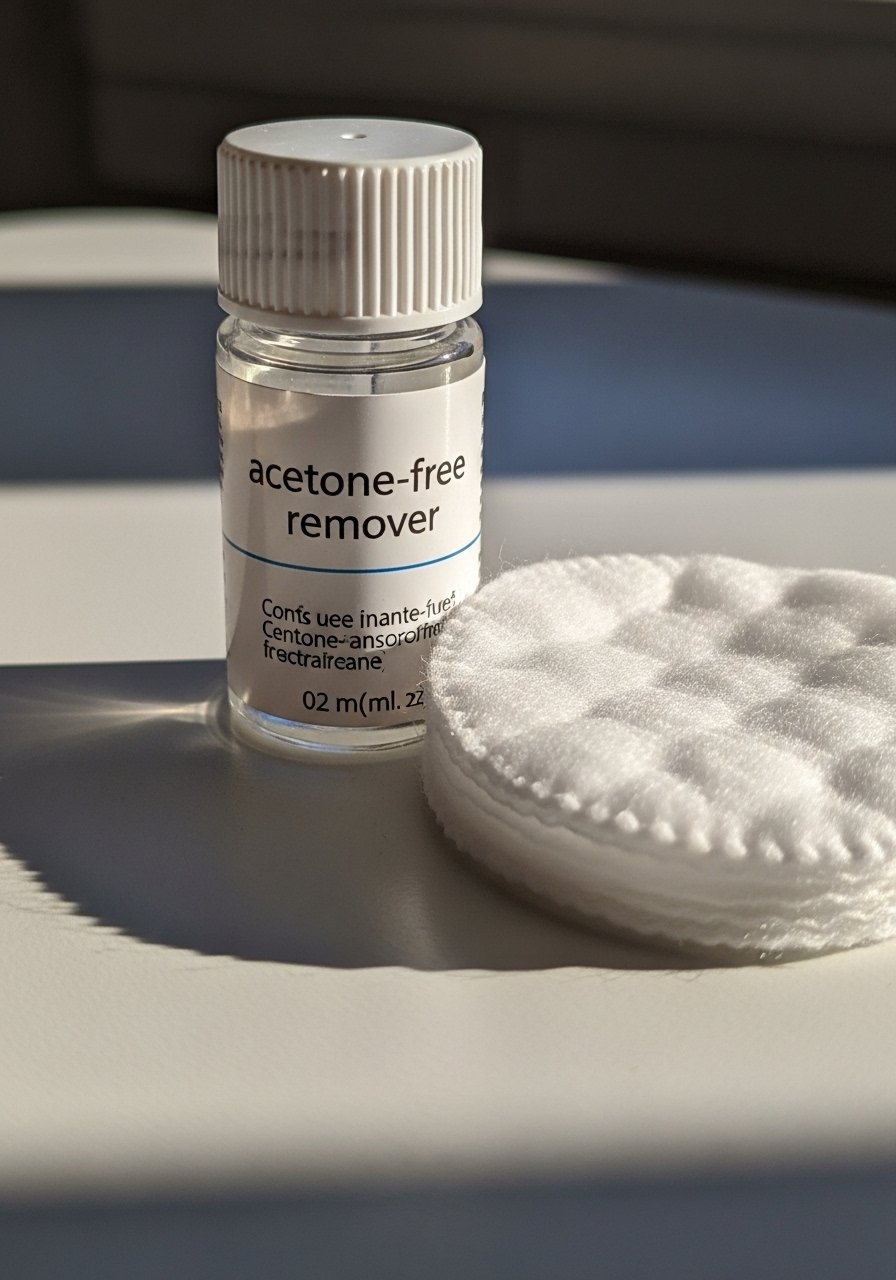
10. Limit Acetone Use
Style/Vibe: Gentle care, matte finish
Best For: Natural nails / frequent polish wearers
Skill: Beginner
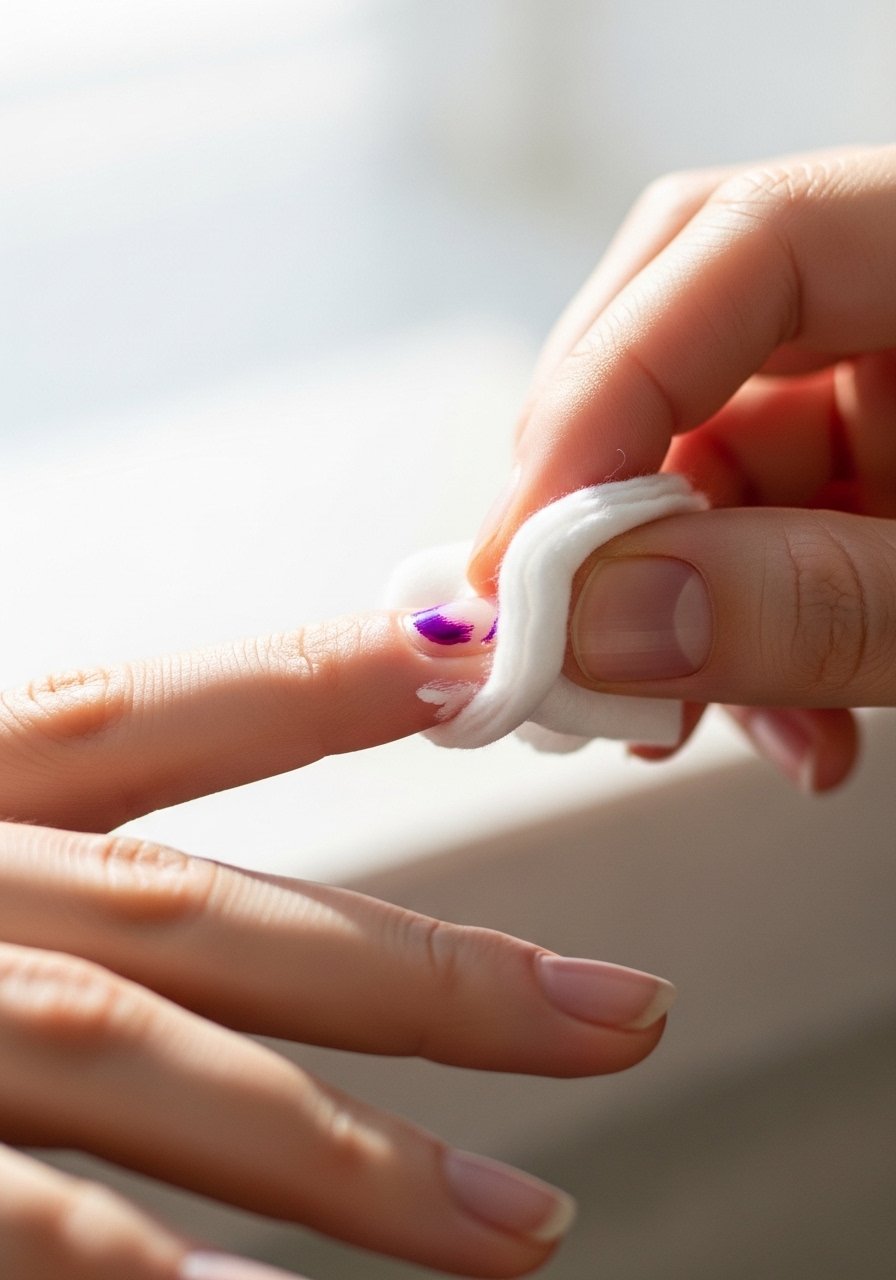
Acetone strips oils from the nail and dries it out, increasing the chance of splitting. Use acetone-free removers for regular polish and reserve acetone for stubborn gel. After removal, apply oil immediately to restore moisture. Your nails will feel and look healthier within a week.
Mistake to Avoid: Soaking nails in remover for long periods. Dab and replace cotton pads as needed.
11. Use a Gentle Polish Remover
Style/Vibe: Soft-care approach
Best For: Sensitive nails / frequent mani changes
Skill: Beginner
A remover with added glycerin or oil reduces drying. I switched when my tips started flaking after color changes. It takes slightly longer but keeps the nail plate intact. After removal, buff lightly and follow with a base coat and oil for best results.
Mistake to Avoid: Scrubbing aggressively to remove color. Let the remover sit briefly on stubborn spots.
12. File In One Direction
Style/Vibe: Smooth edge, durable shape
Best For: All lengths / long-term maintenance
Skill: Beginner
Filing back and forth tears at the keratin, creating micro-fractures. File gently in one direction with light pressure and frequent checks for evenness. That small technique change reduces chipping and keeps polish from catching on rough edges.
Mistake to Avoid: Pressing too hard when shaping. Let the file do the work.
13. Shorter Shapes For Active Hands

Style/Vibe: Functional, low-maintenance
Best For: Typists, caregivers, athletes
Skill: Beginner
If you type a lot or handle small objects, long nails are a liability. Shorter nails break less and feel more stable. I shorten by 2 to 3 millimeters during intense weeks. It is a small aesthetic sacrifice that prevents frequent chips and keeps polish looking fresher longer.
Mistake to Avoid: Trying to maintain salon length when your job requires fingertip precision.
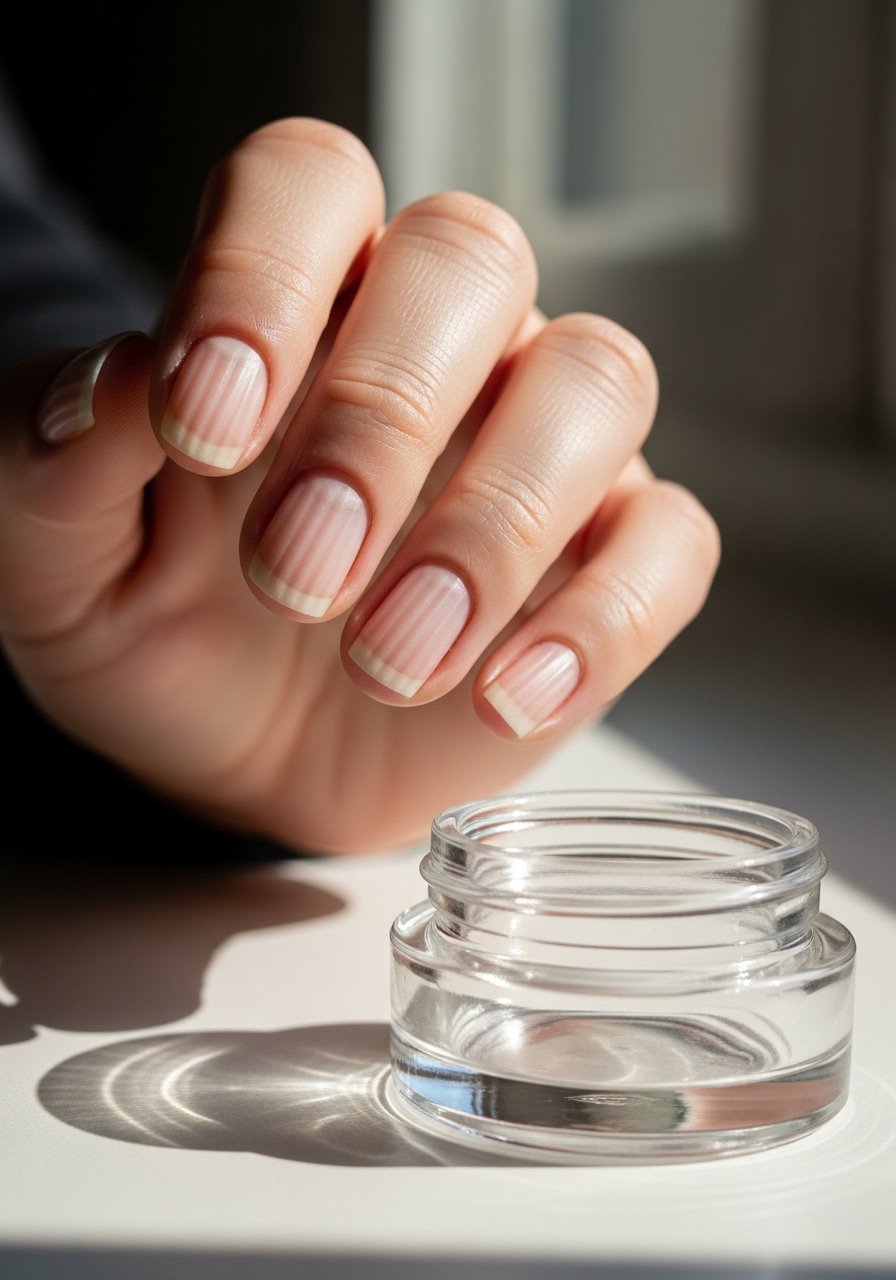
14. Routine Oil Massage

Style/Vibe: Bedtime ritual, nourished look
Best For: Brittle nails / winter months
Skill: Beginner
Massaging oil into the nail and surrounding skin increases circulation and hydration. I use a mixture: two drops of jojoba with one drop of vitamin E per nail. That ratio sinks in without feeling greasy and helps the nail grow stronger over weeks. Do this two to three times a week for visible improvement.
Mistake to Avoid: Applying oil only to the cuticle. Massage the entire nail and the skin around it.
15. Apply Top Coat Every Other Day
Style/Vibe: Durable shine, refreshed finish
Best For: Polished nails / longer wear
Skill: Beginner
A fresh thin top coat every other day renews shine and seals micro-edges that start to lift. I keep a compact quick-dry top coat in my bag and swipe it over the free edge and surface. It stops chips from progressing into splits and extends mani life without a redo.
Mistake to Avoid: Adding a thick top coat layer. Use thin, even passes and let it dry.
16. Proper Prep Prevents Peeling
Style/Vibe: Clean canvas for polish
Best For: All polish types / base adhesion
Skill: Beginner
Polish peels when the nail surface has oils or lotion. Wipe nails with an alcohol pad or nail cleanser before base coat. I also push back cuticles gently and remove any loose skin. This five-minute prep saves multiple mani re-dos and produces a flatter surface for polish to bond to.
Mistake to Avoid: Skipping the wipe step after moisturizing your hands.
17. Nail-Strengthening Supplements Carefully
Style/Vibe: Internal support, gradual results
Best For: Brittle, slow-growing nails
Skill: Beginner
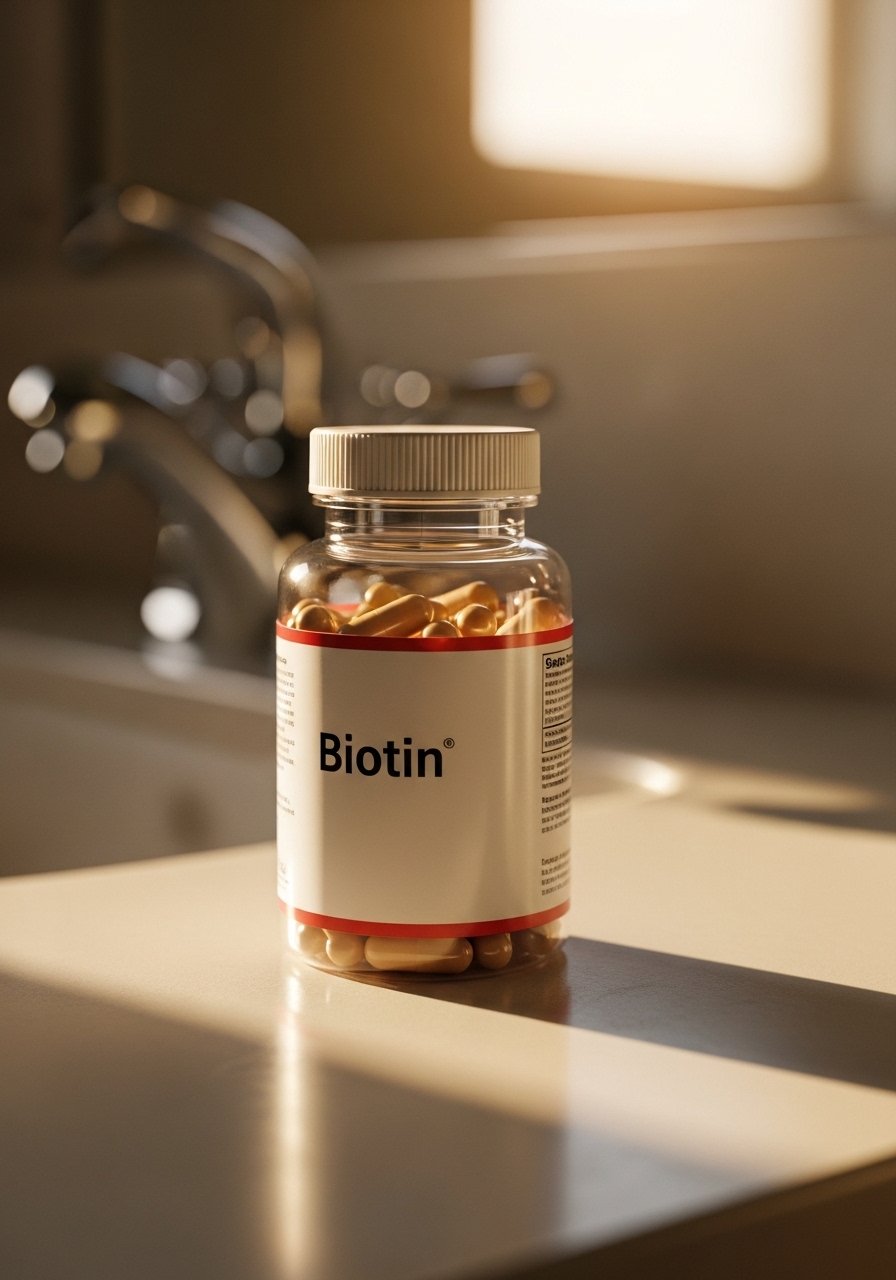
Supplements like biotin can help some people with brittle nails over several months. I tried a low-dose biotin for three months and noticed a slightly thicker edge. Talk with your healthcare provider first if you have health conditions. Supplements are a slow, additive approach, not a quick fix.
Mistake to Avoid: Expecting immediate results. Allow at least eight to twelve weeks to see changes.
18. Quick Fixes: Tea Bag Repair
Style/Vibe: Emergency DIY fix
Best For: Short to medium nails / on-the-go repair
Skill: Beginner
Tea-bag repairs are cheap and discreet. Trim a tiny paper piece, add clear glue, sandwich it over the split, and buff after it sets. It buys you time until a proper fix. Keep a small kit with glue and tiny paper in your purse for travel emergencies.
Mistake to Avoid: Leaving the paper edge rough. File gently and seal with a thin top coat.
19. Keep Nails Dry After Soaks
Style/Vibe: Strong, less flaky nails
Best For: Nails that split post-soak / mani maintenance
Skill: Beginner
Nails swell when wet and then contract when dry, which causes stress at the tip. After any soak, pat nails dry and apply oil immediately. That practice keeps the nail from developing micro-tears. I do this after handwashing and showers when my nails feel soft.
Mistake to Avoid: Grabbing metal or rough objects immediately after drying. Wait a minute.
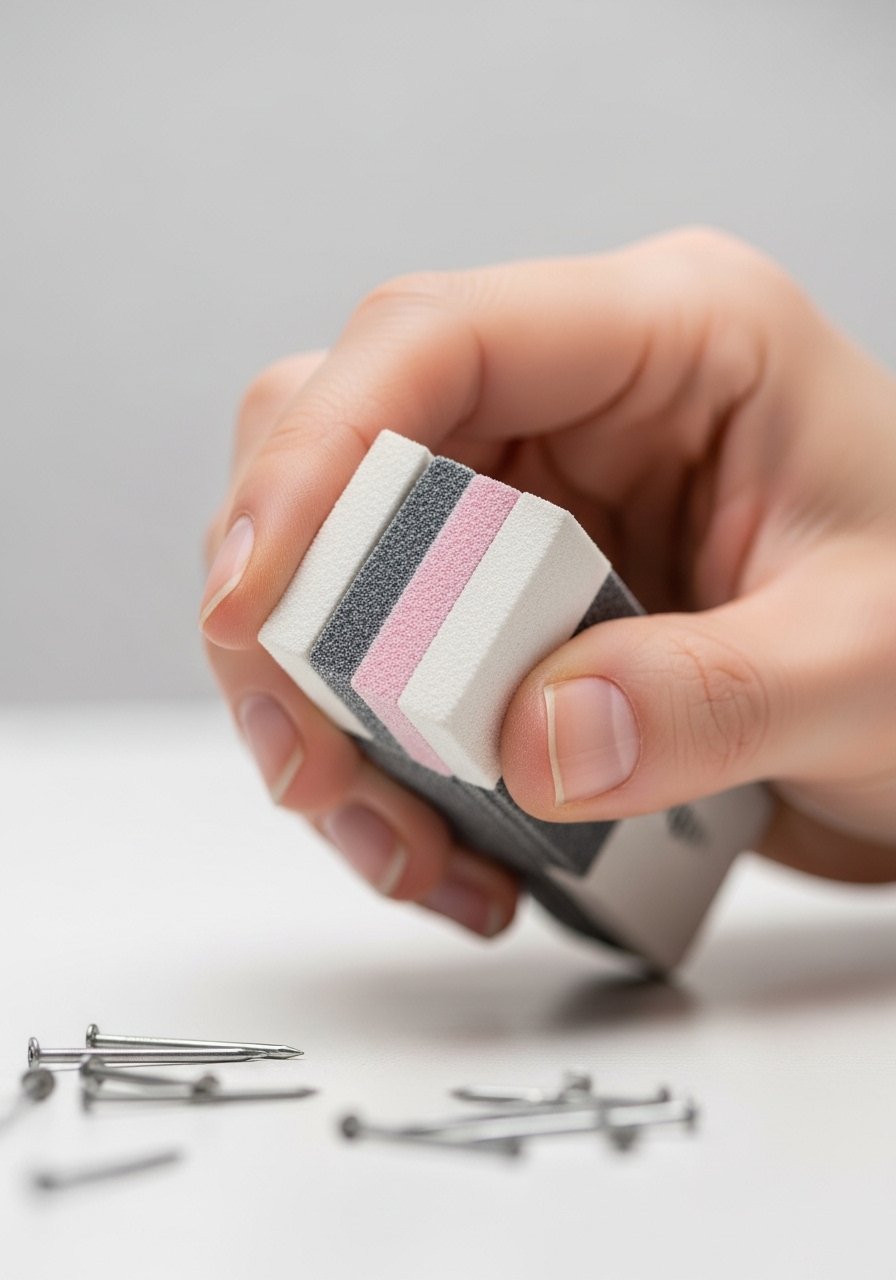
20. Use Buffer Sparingly
Style/Vibe: Soft matte or glossy finish
Best For: Short-term polish base / occasional smoothing
Skill: Beginner
Over-buffing thins the nail plate. Use a gentle buffer only to smooth ridges, one pass per nail, then stop. Buffing can give a pretty sheen but keep it infrequent. If you buff for a matte base, follow with oil and a strengthening base coat.
Mistake to Avoid: Buffing daily. Limit to once every two weeks at most.
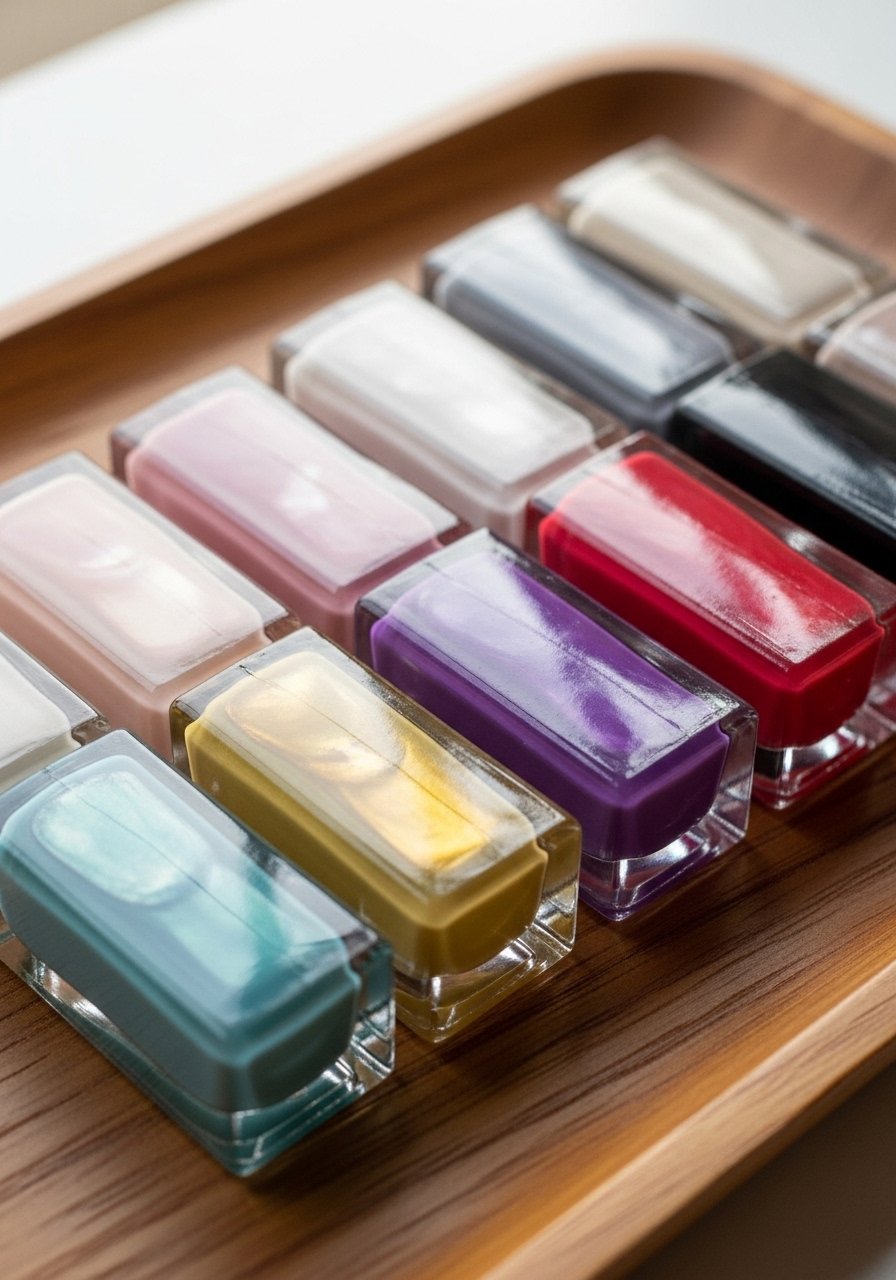
21. Rotate Polish Colors
Style/Vibe: Less staining, better nail health
Best For: Frequent polish wearers / varied looks
Skill: Beginner
Wearing deeply pigmented polishes every week stains and weakens the surface. Alternate pale shades with darker ones and use a good base coat when wearing intense colors. That rotation reduces staining and gives nails a break from heavy pigments.
Mistake to Avoid: Skipping base coat under dark reds and blues.
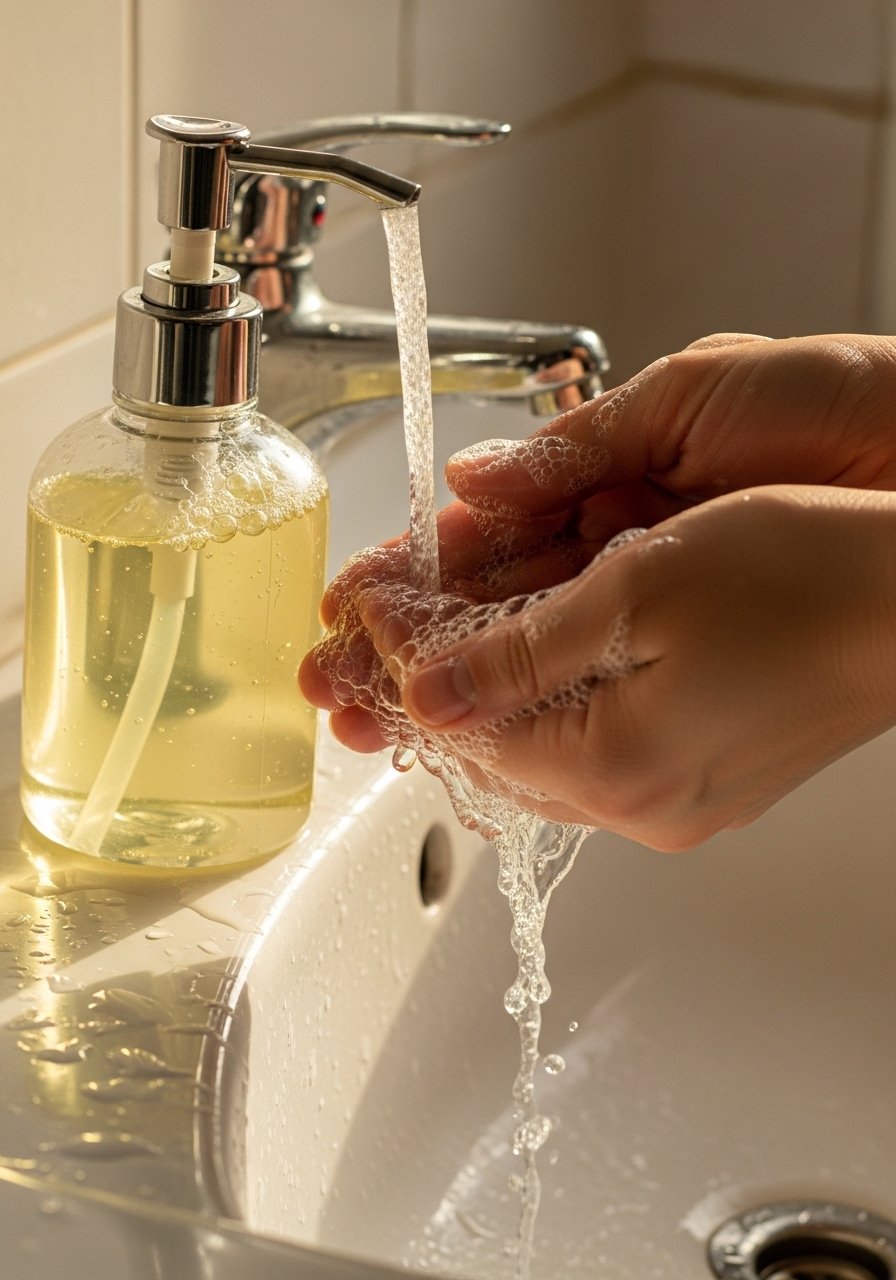
22. Nail-Friendly Hand Soap
Style/Vibe: Gentle care, balanced moisture
Best For: Sensitive skin / frequent washing
Skill: Beginner
Harsh soaps dry the nail plate. Switching to a moisturizing, pH-balanced hand soap keeps nails flexible. I keep a mild soap at the kitchen sink and a gentler one by the bathroom. It is a simple swap that stops brittleness from the source.
Mistake to Avoid: Using dish soap for hand washing. It is too drying for nails.
23. Use Base Coat With Protein For Acrylic Transitions
Style/Vibe: Hybrid care, reinforced base
Best For: Transitioning from acrylic to natural / fragile nails
Skill: Intermediate
When removing acrylics, the natural nail can feel paper-thin. A protein-rich base coat helps the nail rebuild while you grow out. Apply one coat and repeat weekly. Pair with cuticle oil and short shapes to protect the new growth.
Mistake to Avoid: Going straight back to long acrylics without a recovery period.
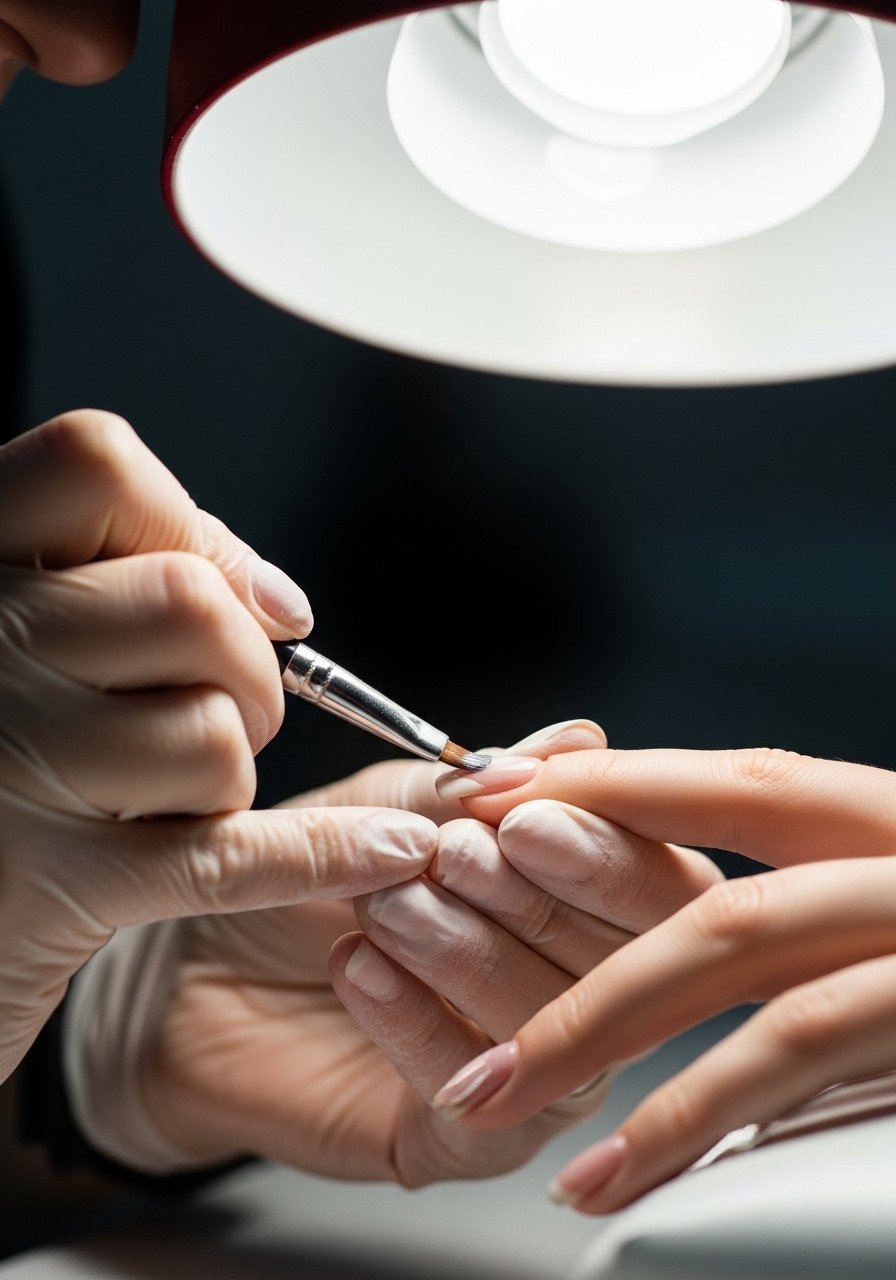
24. Let Nails Rest Between Gel Systems

Style/Vibe: Recovery-focused, gradual strength return
Best For: Gel wearers / frequent salon clients
Skill: Beginner
Continuous gel cycles can desiccate the nail. Schedule at least a two-week break after three consecutive gel sets. During rest, use strengthening base coats and oils to encourage healthy growth. A tech who works at a salon downtown once recommended a single natural-week between cycles and it helped my nails stop peeling.
Mistake to Avoid: Assuming gels alone are harmless to nail health. Give nails breathing time.
25. Trim Snags Immediately
Style/Vibe: Preventative, tidy
Best For: All nail lengths / fast repairs
Skill: Beginner
A tiny snag left alone becomes a full split. Keep nail scissors or clippers and trim a millimeter past a snag, then file smooth. Acting fast prevents the tear from traveling down the nail. I learned this the hard way and now a pair of tiny clippers lives in every bag.
Mistake to Avoid: Picking at the snag. Cut it cleanly and file.
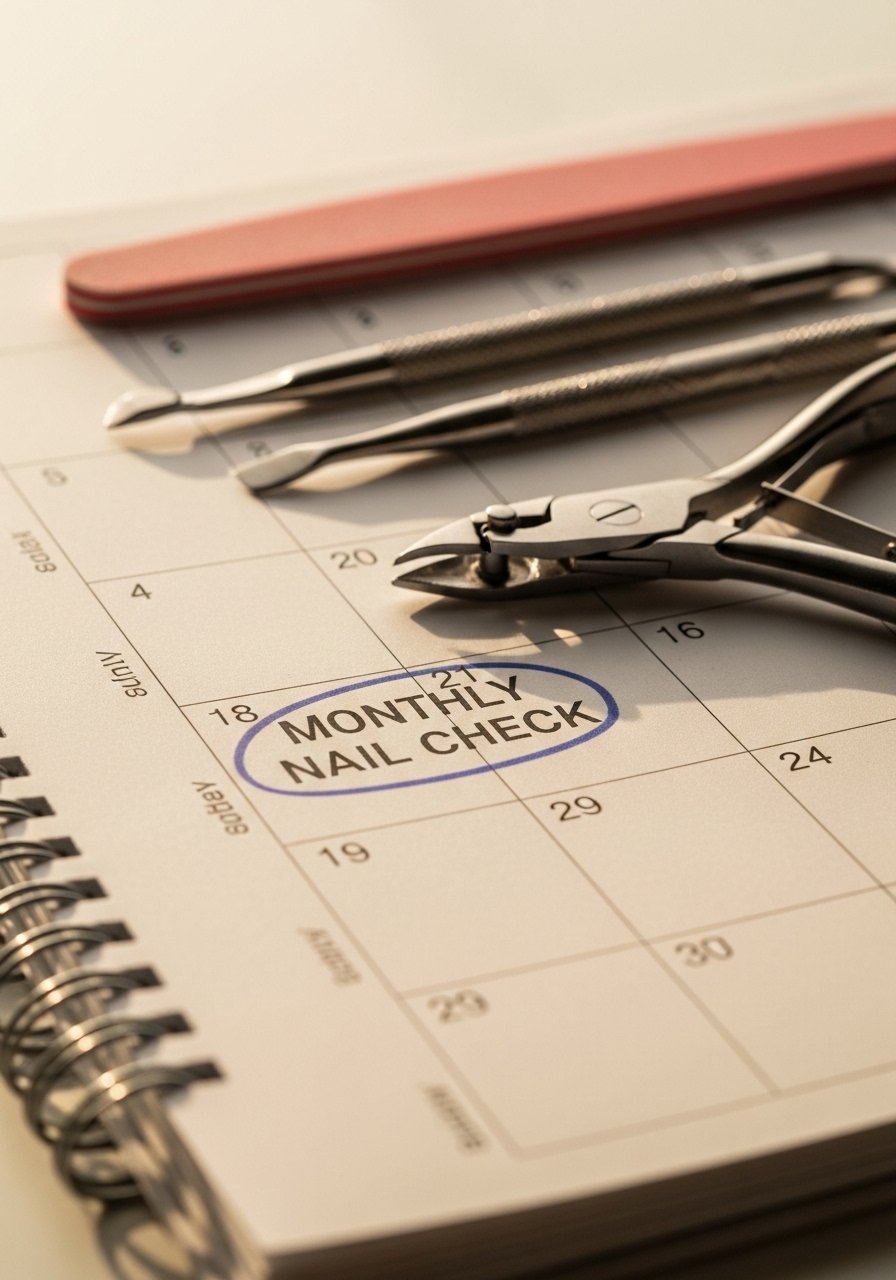
26. Schedule Monthly Maintenance
Style/Vibe: Consistent upkeep, balanced routine
Best For: Everyone who wants long-term results
Skill: Beginner
A short monthly check keeps problems from compounding. File, hydrate, and reassess shape and length. I set a recurring calendar reminder to do a repair or trim and add a fresh top coat. Consistent small actions beat sporadic overhauls and keep nails stronger throughout the year.
Mistake to Avoid: Waiting until several nails fail before doing any maintenance.
Your Nail Kit
- Honestly the best under-$15 everyday item, a nourishing cuticle oil roller (~$8-15). Easy bedside use.
- For shaping, a fine-grit glass nail file (~$6-12) lasts and smooths edges.
- For thin coats and quick shine, a fast-dry top coat (~$8-16). Keeps chips from growing.
- For gentle removal, acetone-free nail polish remover pads (~$10-18). Less drying.
- For on-the-go fixes, mini nail repair kit with tea-bag patches (~$7-14). Fits in a clutch.
- For overnight treatment, moisturing cotton gloves pair (~$6-12). Wear with oil for deeper hydration.
- For salon-style prep, nail cleanser pads (~$9-15). Use before base coat.
- For gentle buffing, soft buffer block (~$5-9). One pass only.
- For nail health support, biotin supplement bottle (~$8-20). Consult your provider first.
- For at-home filing, compact nail clippers set (~$6-12). Keep one for travel.
- For stubborn polish, pure acetone remover jar (~$10-18), kept for gels only.
- For finishing edge protection, flexible strengthening base coat (~$12-20). Use between gel cycles.
Nail Tips That Save a Mani
Thin coats beat one thick coat every time. Three thin layers of a quick-dry top coat look smoother and last longer than one gloopy layer.
Grab a glass nail file and keep it in your bag. It fixes snags without tearing and works better than cheap emery boards.
Keep acetone-free remover pads on the vanity. They remove polish with less drying and make reapplication kinder to the nail.
Swap cotton gloves for a thin pair while sleeping when you oil overnight. Moisturizing cotton gloves lock in treatment and prevent bedding snags.
File in one direction using a fine-grit file. It seals the edge and stops micro-tears from forming.
For quick splits, keep a mini nail repair kit in your purse. A tea-bag patch and a thin top coat will hold the nail for days.
Apply oil immediately after polish removal. Use a nourishing cuticle oil roller to restore moisture and improve base coat adhesion.
If you wear gels, plan a two-week rest between cycles and use a strengthening base coat during recovery weeks.
