
I kept soaking my nails in bleach and waiting for white tips to appear. They never did, and my nails got thin and rough. A salon tech who works at a salon downtown showed me a few gentle steps that actually lift stains without shredding the nail plate. After six weeks of testing the routine at home, the difference was obvious, and I stopped over-bleaching everything in a panic.
These tips are written for beginners who want cleaner, brighter nail beds without a salon visit. Most steps cost under $25, and a couple of specialty items run closer to $40. The vibe is careful and practical. Works for short, medium, and long natural nails, and for people who sometimes wear gels or acrylics.
1. Gentle Lemon Soak for Surface Stains

Style/Vibe: Natural brightening
Best For: Short to medium nails, routine touch-ups
Skill: Beginner
A 10-minute soak in warm water with one tablespoon of fresh lemon juice and a teaspoon of baking soda lifts yellowing on the nail surface. The acid brightens, the soda buffers the pH, and the warm water helps penetration. Use this once a week, not daily, because citric acid dries the nail. I pair it with a strengthening cuticle oil after drying to restore moisture.
Mistake to Avoid: Leaving lemon juice on nails longer than 15 minutes, which causes dryness and peeling.
2. Baking Soda Paste for Tough Stains
Style/Vibe: Abrasive but controlled
Best For: Medium to long nails with tea or coffee stains
Skill: Beginner
Mix two parts baking soda with one part hydrogen peroxide to make a paste. Apply with a soft toothbrush, rub gently for 30 seconds, rinse, and repeat once. The peroxide oxidizes the stain molecules while the soda adds mild abrasion. You will see quick payoff on coffee stains. I use this method when a polish has left a deep tint, but I follow with a protein-rich nail cream to avoid brittleness.
Mistake to Avoid: Scrubbing hard enough to thin the nail plate instead of polishing the surface.
3. Oxygen-Based Whitener for Quick Fixes
Style/Vibe: Fast and tidy
Best For: Short nails before a mani
Skill: Beginner
An oxygen-based nail whitener pen brightens the lunula and free edge in minutes. Apply a thin coat, wait the listed time, then buff lightly. These products use sodium percarbonate to lift pigments without concentrated bleach. I keep one in my drawer for touch-ups before a date night. Try an oxygen whitener pen and test on one nail first to check sensitivity.
Mistake to Avoid: Painting on multiple layers without buffing, which traps product and chips faster.
4. White Filing for the Illusion of Brightness

Style/Vibe: Clean edge detail
Best For: Short to medium nails, everyday wear
Skill: Beginner
Filing the free edge into a soft square and finishing with a white glass file makes the tips look brighter immediately. It removes stained, thinned edges and reflects more light. I use a 180-grit file for shape and a 240-grit glass file for the final sweep. Pair with a glass nail file set to keep edges clean between soaks.
Mistake to Avoid: Filing back and forth aggressively, which creates micro-tears and splits.
5. Two-Part Buffer Routine for Smooth, White Tips
Style/Vibe: Polished finish
Best For: Short to medium nails, prepping for polish
Skill: Beginner
Use a 400-grit buffer to smooth ridges, then a 600 to 800-grit polishing block to bring out the tip sheen. The smoother surface scatters light and makes the nail look whiter. Keep buffing to a minimum, about 20 strokes per nail. I alternate this with the lemon soak once every two weeks. Finish with a glossy top coat when painting.
Mistake to Avoid: Over-buffing to a glassy shine, which thins the nail plate over time.
6. Hydrogen Peroxide Dip for Deep Discoloration
Style/Vibe: Clinical but gentle
Best For: Medium to long nails with embedded stains
Skill: Beginner
A 3 percent hydrogen peroxide dip for three to five minutes can lift deeper pigments. Mix one part peroxide with two parts water to dilute further for sensitive nails. Rinse thoroughly, then apply a keratin nail balm. A salon tech showed me this when coffee stains ignored lemon soaks. Use weekly only until you reach the brightness you want.
Mistake to Avoid: Using undiluted peroxide or leaving it on beyond five minutes, which dries the nail.
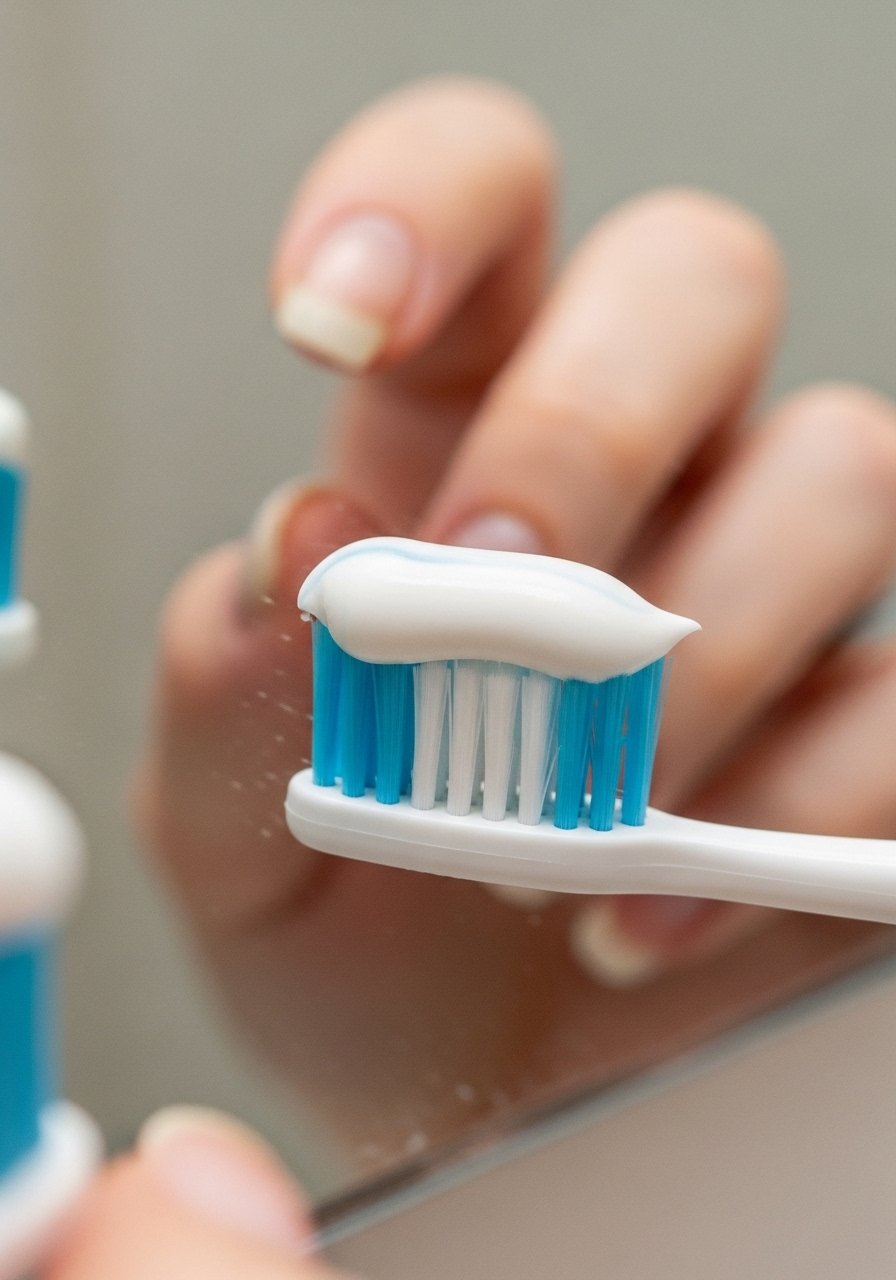
7. Toothpaste Spot Treatment for Subtle Stains
Style/Vibe: Low-cost and accessible
Best For: Short nails and quick weekend fixes
Skill: Beginner
A non-gel whitening toothpaste with baking soda acts as a gentle abrasive. Apply a pea-sized amount to a soft toothbrush and rub the nail surface for 20 seconds, then rinse. It will not bleach deeply but is good for quick brightening before a polish. I keep a whitening toothpaste tube in my bathroom for emergency touch-ups.
Mistake to Avoid: Using gritty whitening pastes designed for enamel, which can be too harsh on nails.
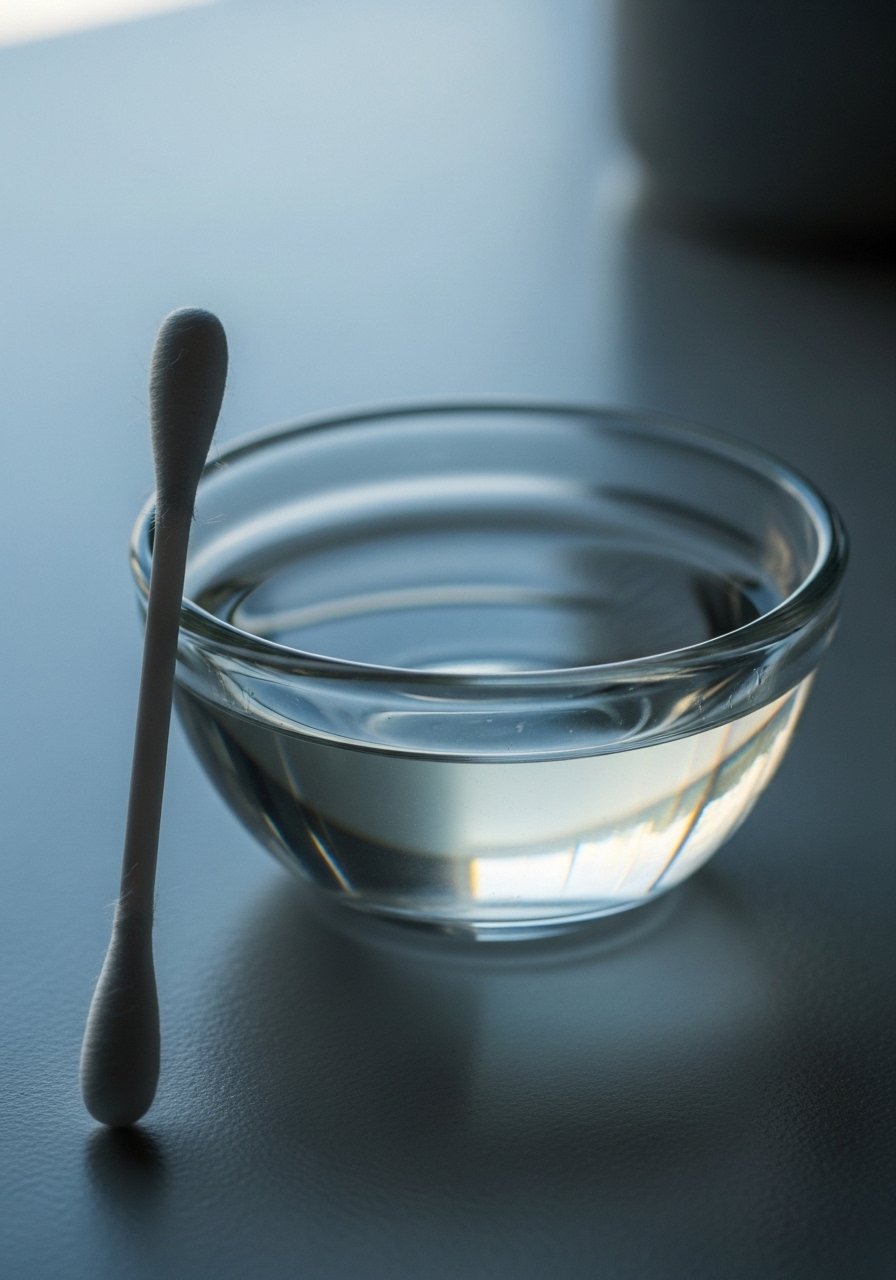
8. Buffered Bleach for Stain Removal Without Weakening

Style/Vibe: Controlled chemistry
Best For: Medium nails, stain recovery routines
Skill: Beginner
Mix one teaspoon of mild household bleach with a tablespoon of baking soda and five teaspoons of water to buffer the solution. Apply with a cotton swab to stained areas for 30 seconds, rinse, and moisturize. The soda raises pH slightly so the bleach is less aggressive on keratin. After trying harsher methods first, this buffered approach saved my nails from chronic thinning. Keep a small nasal syringe to measure precisely.
Mistake to Avoid: Using concentrated bleach straight from the bottle on the nail surface.
9. Proper Cuticle Care to Hide Discoloration
Style/Vibe: Nourished, finished look
Best For: All nail lengths, polish-ready hands
Skill: Beginner
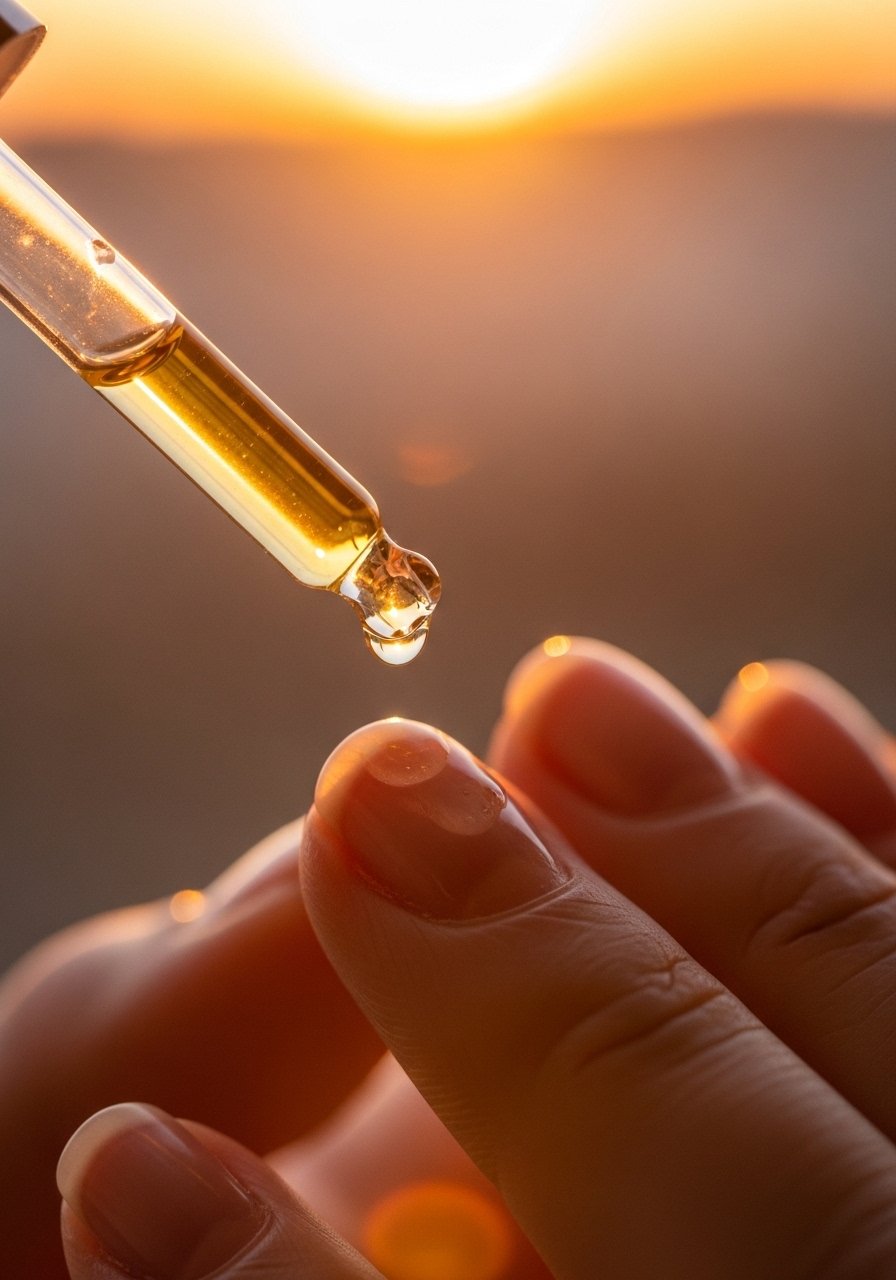
Neglected cuticles draw attention to the nail base and make any discoloration more obvious. Daily oiling with vitamin E or jojoba oil softens the eponychium and improves overall nail appearance. Massage into the cuticle and let absorb for five minutes. I noticed a cleaner lunula line after three weeks. Use a cuticle oil pen for on-the-go upkeep.
Mistake to Avoid: Pushing cuticles back when dry, which causes micro-tears and infection risk.
10. Nail Whitening Strips for Even Results
Style/Vibe: Even coverage, low fuss
Best For: Short nails, pre-event brightening
Skill: Beginner
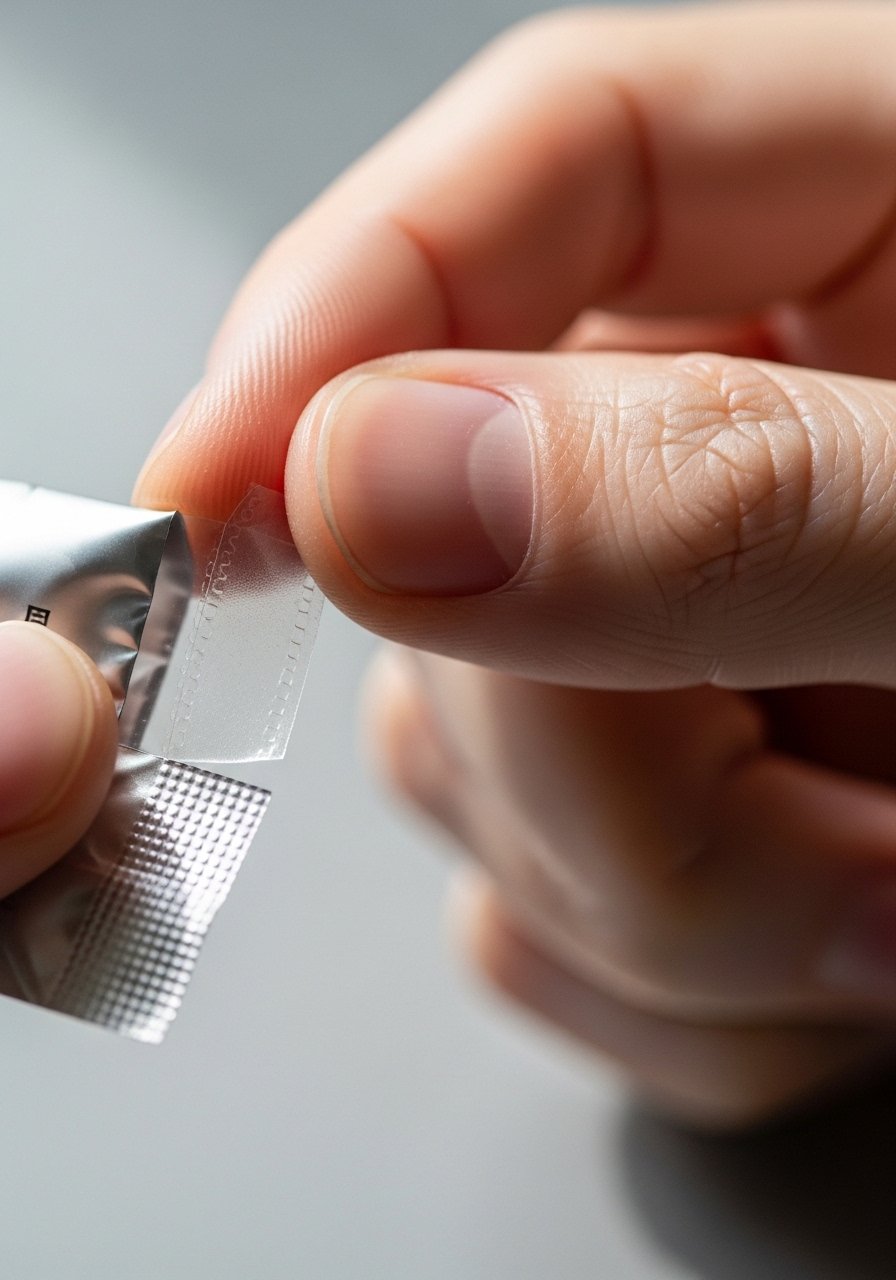
Whitening strips made for nails use a mild peroxide gel in a thin adhesive film. Apply for the recommended 10 to 15 minutes, then remove and rinse. They give an even lift across the free edge and lunula without manual scrubbing. I keep a pack for the mornings I forgot to soak the night before. Try nail whitening strips and check ingredient lists if you have sensitive skin.
Mistake to Avoid: Sleeping with strips in place, which increases irritation risk.
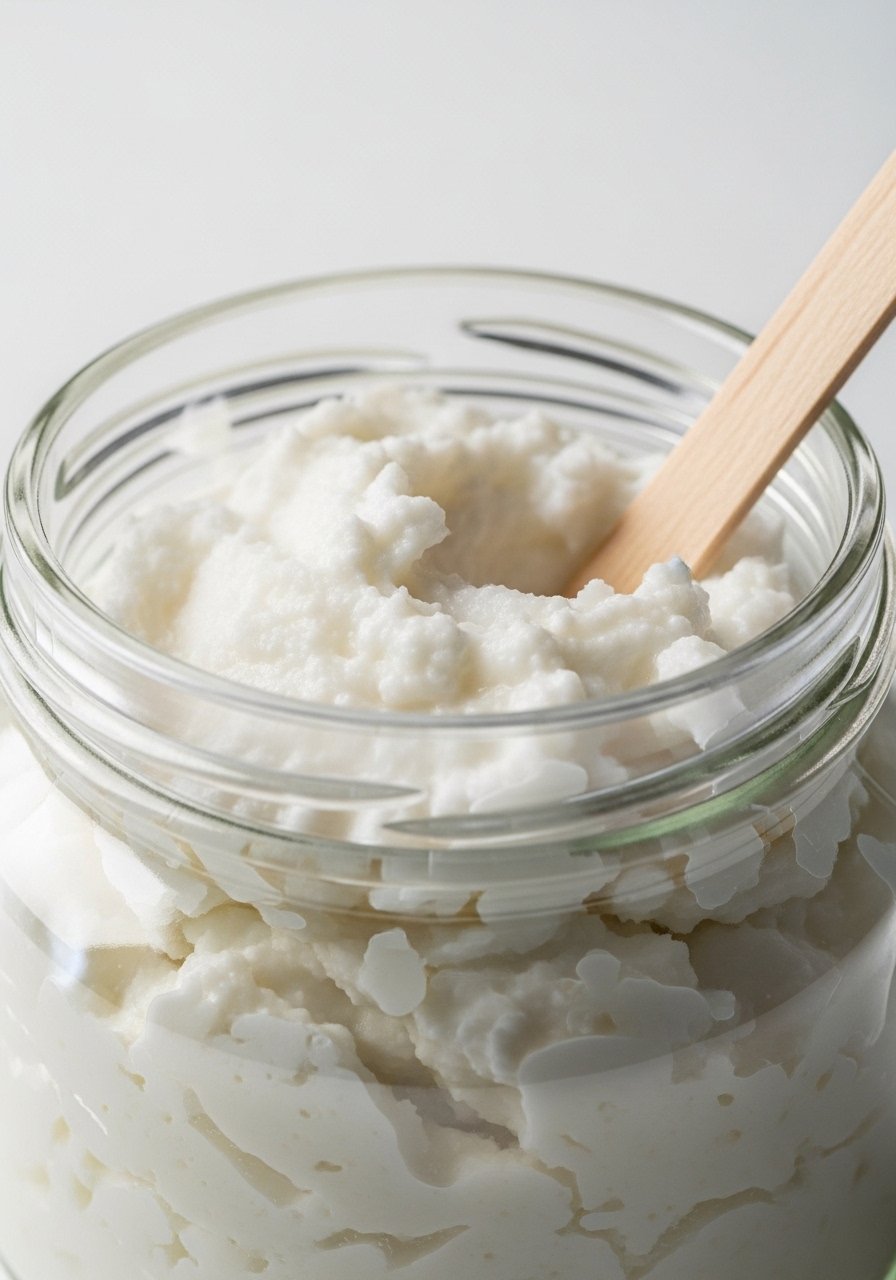
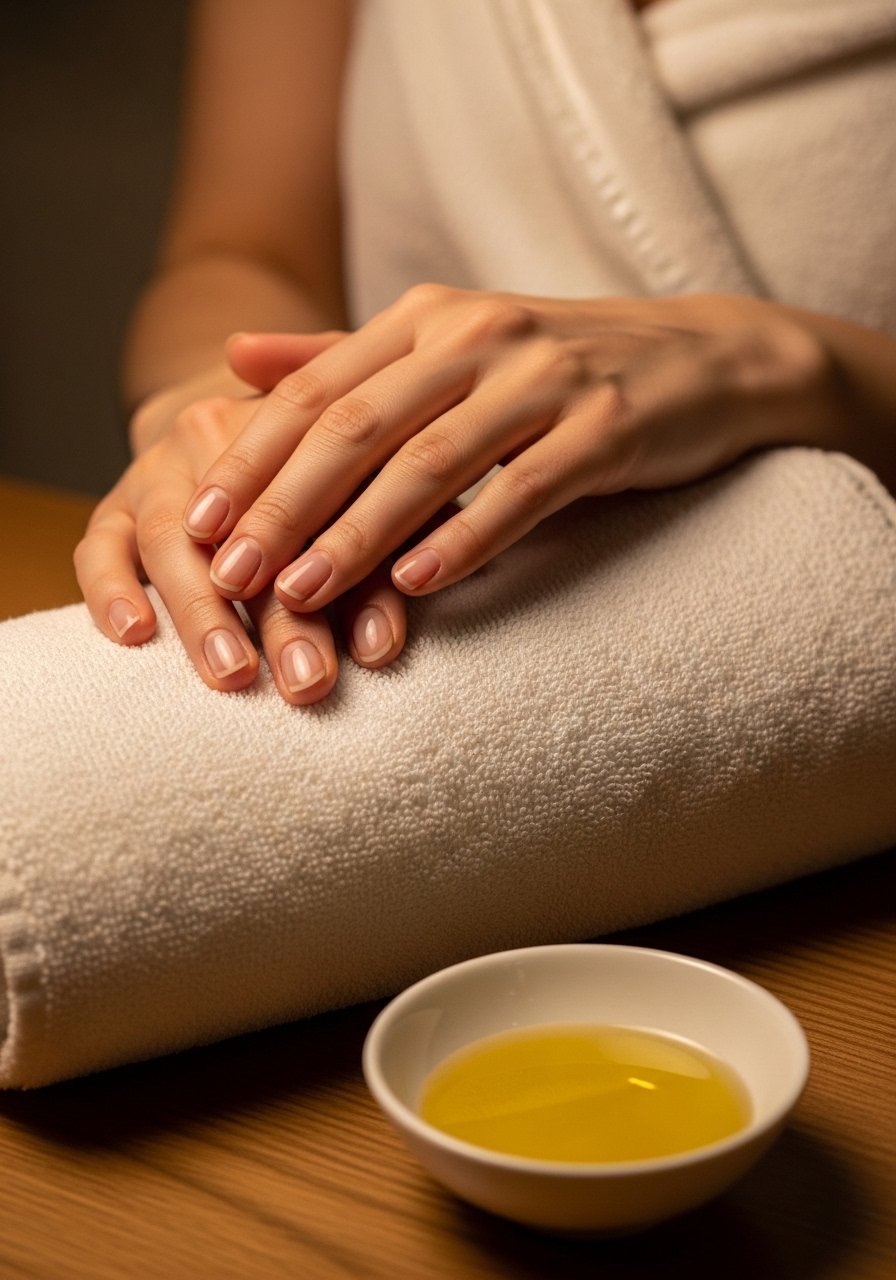
11. Oil Soak and Warm Towel Finish
Style/Vibe: Restorative care after bleaching
Best For: Dry or brittle nails post-treatment
Skill: Beginner
After any bleaching step, soak nails in warm olive oil or coconut oil for 10 minutes, then wrap in a warm towel for another five minutes. The heat helps oils penetrate the nail plate and surrounding skin. I noticed reduced flaking after three treatments. Keep a food-grade coconut oil jar in your kit for quick recovery sessions.
Mistake to Avoid: Skipping the oil step because it feels extra. It prevents peeling and brittleness.
12. Preventative Base Coat to Stop Future Stains
Style/Vibe: Protective foundation
Best For: Anyone who paints nails often
Skill: Beginner
A pigmented or clear barrier base coat protects the nail from staining pigments in polish. Use a product with a strengthening formula and allow full dry time before color. I switched to a protein-enriched base and my yellowing reduced even when I used dark shades weekly. A protein base coat is worth the small extra step.
Mistake to Avoid: Painting color directly on bare nails, which traps pigments against the plate.
13. Spot-Bleach Small Chips Carefully
Style/Vibe: Targeted correction
Best For: Small localized discoloration
Skill: Beginner
For chips with concentrated stains, apply a cotton swab dipped in diluted peroxide to the area for 20 seconds. Rinse and moisturize. This prevents you from treating the entire nail unnecessarily. I use a fine brush for precision and follow with a mini nail repair kit for reinforcement.
Mistake to Avoid: Flooding the whole nail when only the corner needs attention.
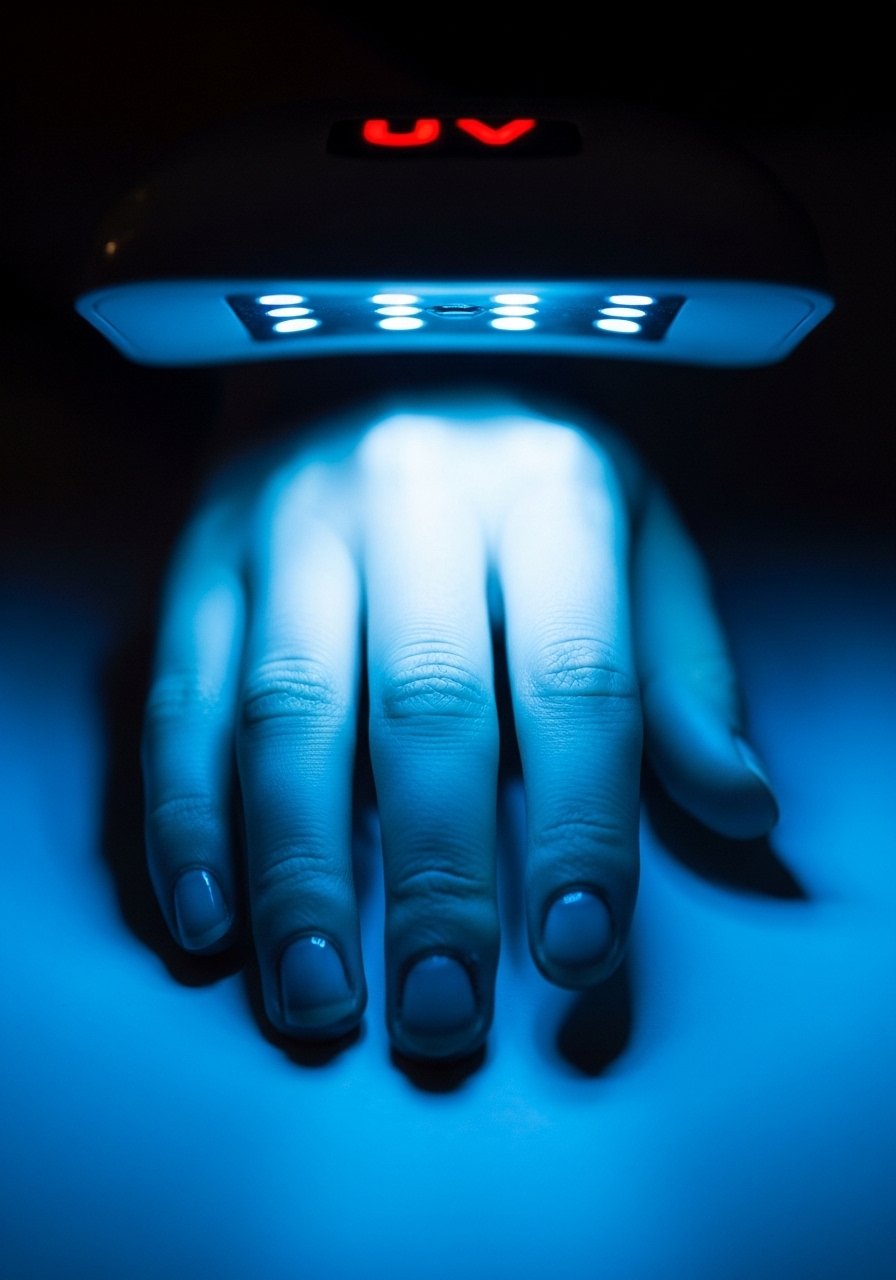
14. UV Lamp Myths and Whitening
Style/Vibe: Clarifying tool use
Best For: Gel wearers transitioning to natural care
Skill: Beginner
Some home guides suggest UV light helps bleach nails. It does not whiten pigments. However, after applying peroxide-based products, a warm lamp can speed drying so you can apply oil sooner. If you use a lamp, limit exposure and use sunscreen on skin. I mention this because I learned it from a tech after trying to speed up an overlong soak. A compact LED lamp works for quick curing.
Mistake to Avoid: Believing UV light will remove stains on its own and overusing it.
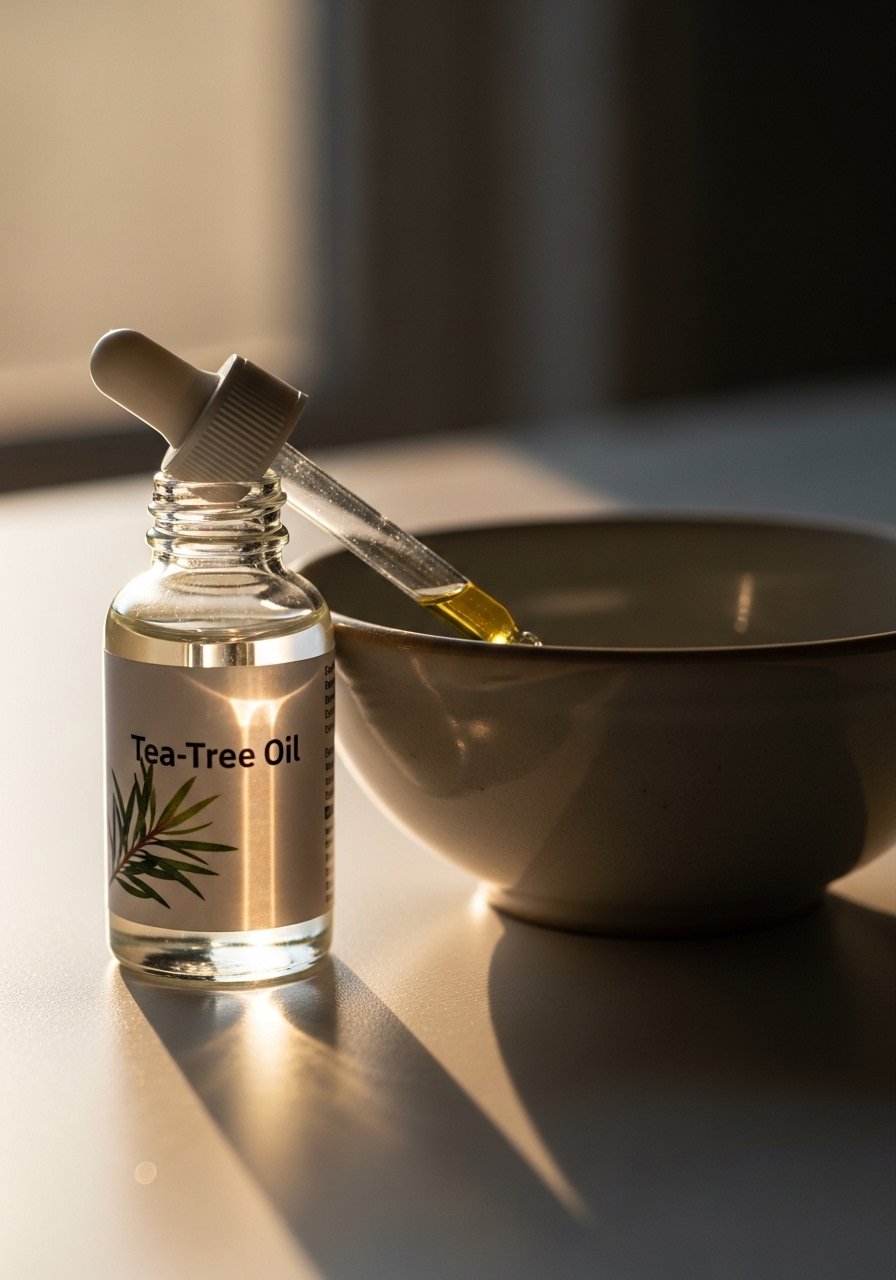
15. Tea-Tree Soak for Yellowing from Fungal Issues
Style/Vibe: Medicinal and cautious
Best For: Persistent yellowing that may be fungal, consult a pro if unsure
Skill: Beginner
If yellowing accompanies thickening or pain, consider a diluted tea-tree oil soak. Mix two drops of tea-tree with one tablespoon of carrier oil and a cup of warm water. Soak for five minutes twice a week and monitor. I used this after noticing texture changes that simple bleaching did not fix. Always consult a pro for persistent problems. Keep a tea-tree essential oil bottle for careful spot use.
Mistake to Avoid: Assuming every yellow nail is a cosmetic stain and ignoring texture changes.
16. Whitening Under the Free Edge With White Polish

Style/Vibe: Cosmetic quick fix
Best For: Short to medium nails for an instant bright look
Skill: Beginner
A thin swipe of opaque white polish along the free edge creates the illusion of a bright tip. It is cosmetic, but effective when stains refuse to leave. Use steady strokes and a small brush for a natural arc. For a longer-lasting finish, seal with a glossy top coat.
Mistake to Avoid: Painting thick white strips that look blocky instead of following the natural smile line.
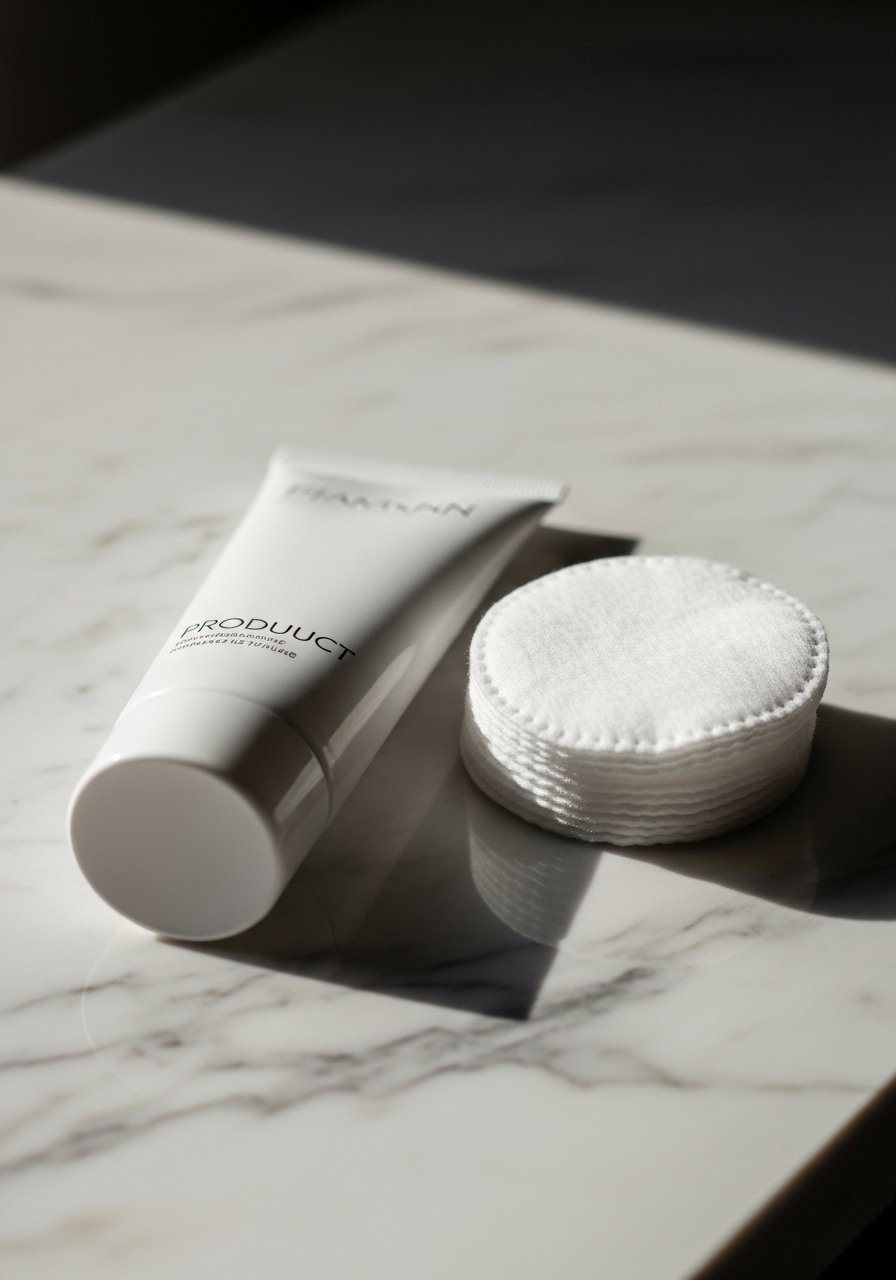
17. Overnight Whitening With Cotton and Tape
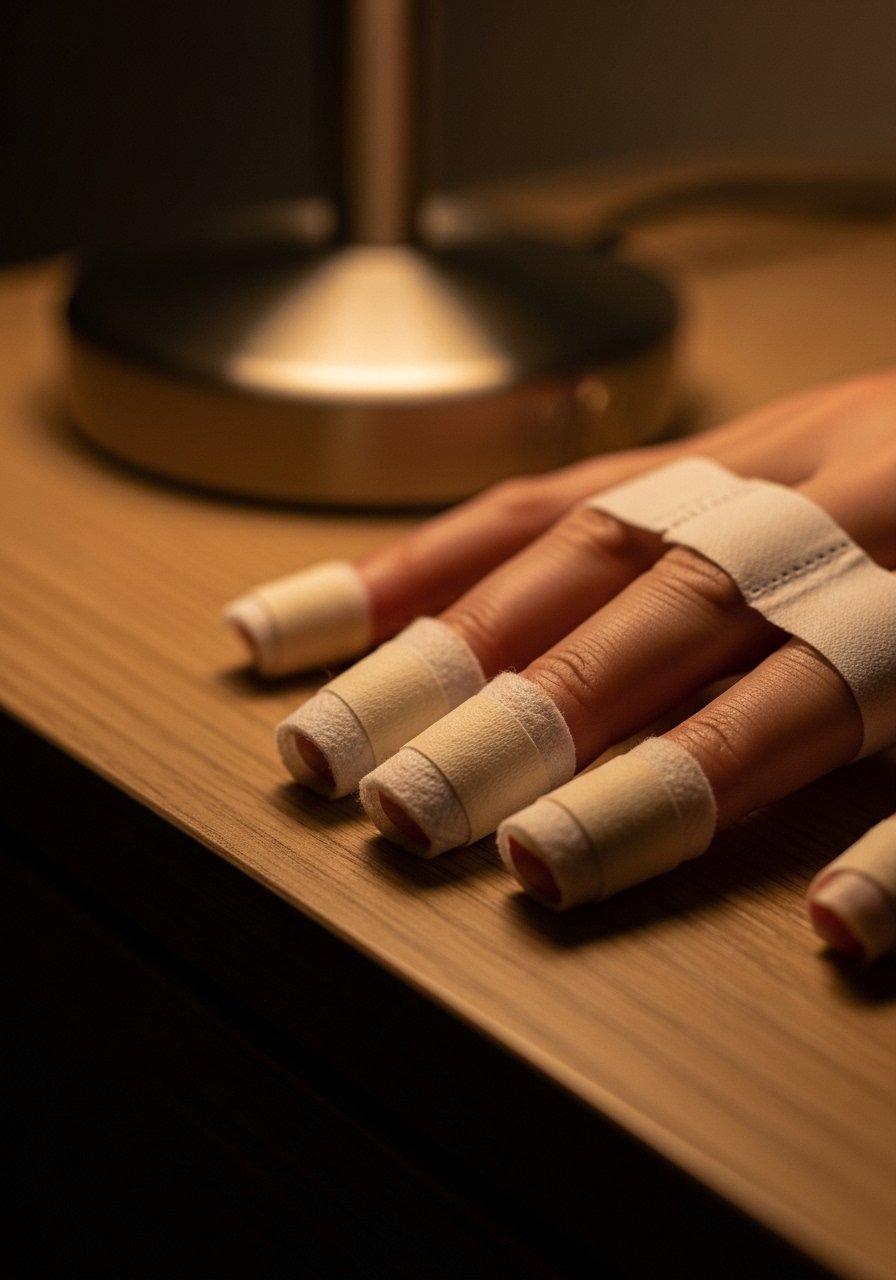
Style/Vibe: Low-effort overnight treatment
Best For: Medium stains needing extended contact time
Skill: Beginner
Soak cotton pads in a diluted peroxide solution and tape them over the nails overnight. The extended contact helps lift set-in pigments. Use breathable medical tape and unwrap in the morning, rinsing well. I tested this when stains lingered after regular soaks and saw steady improvement over two weeks. Use medical tape strips that are skin-friendly.
Mistake to Avoid: Using adhesive tape that irritates the skin or leaves residue.
18. Nutritional Approach to Limit Yellowing
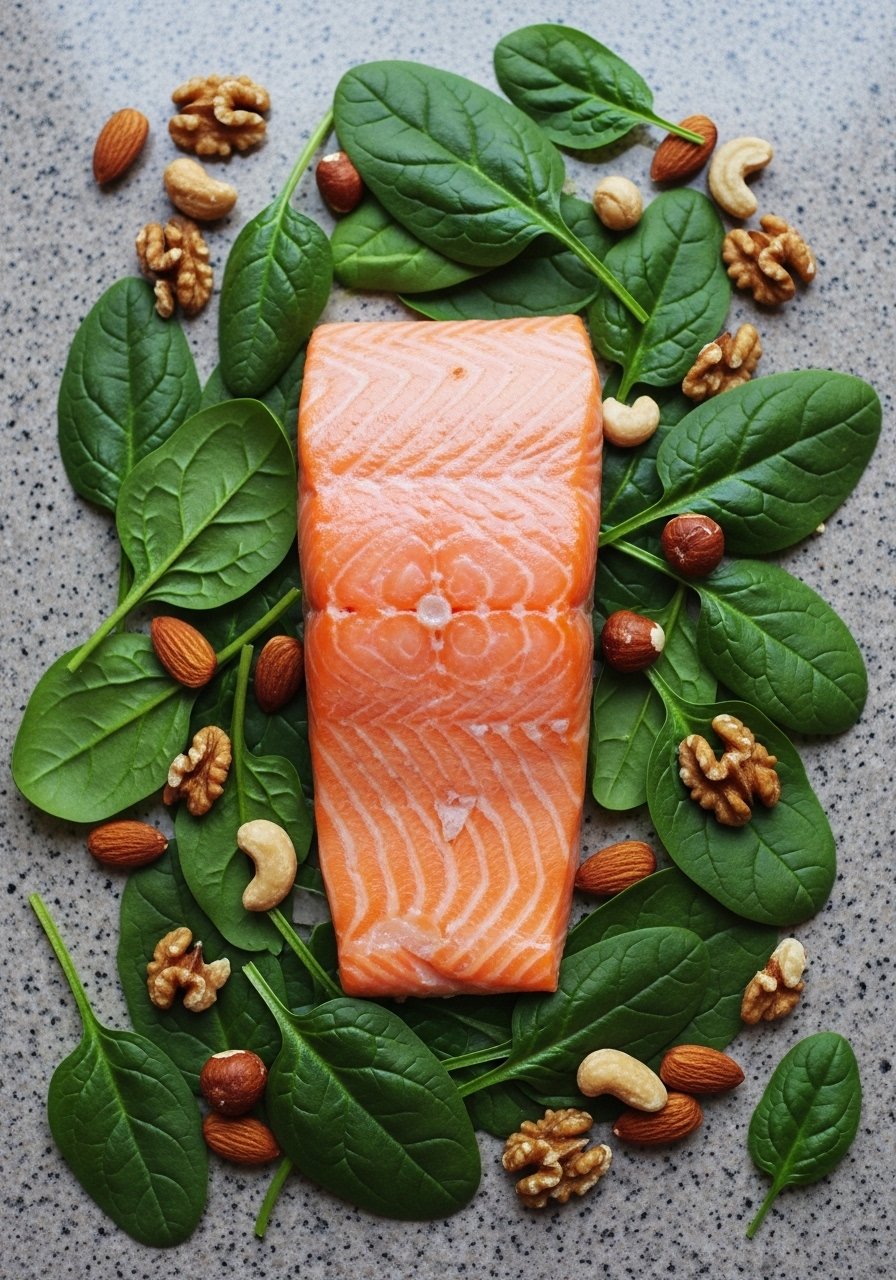
Style/Vibe: Inside-out care
Best For: Nails that split or discolor due to deficiency
Skill: Beginner
Nails reflect nutrition. Iron and biotin deficiencies can cause discoloration or brittle nails. Adding a balanced protein and iron-rich snack twice a week improved my nail strength in a month. I do not mean high-dose supplements without testing. Try incorporating whole foods, and consider a biotin supplement only after consulting a clinician if you suspect deficiency.
Mistake to Avoid: Popping supplements without checking for a real need, which can mask other issues.
19. Gentle Polish Removers to Avoid Re-Staining
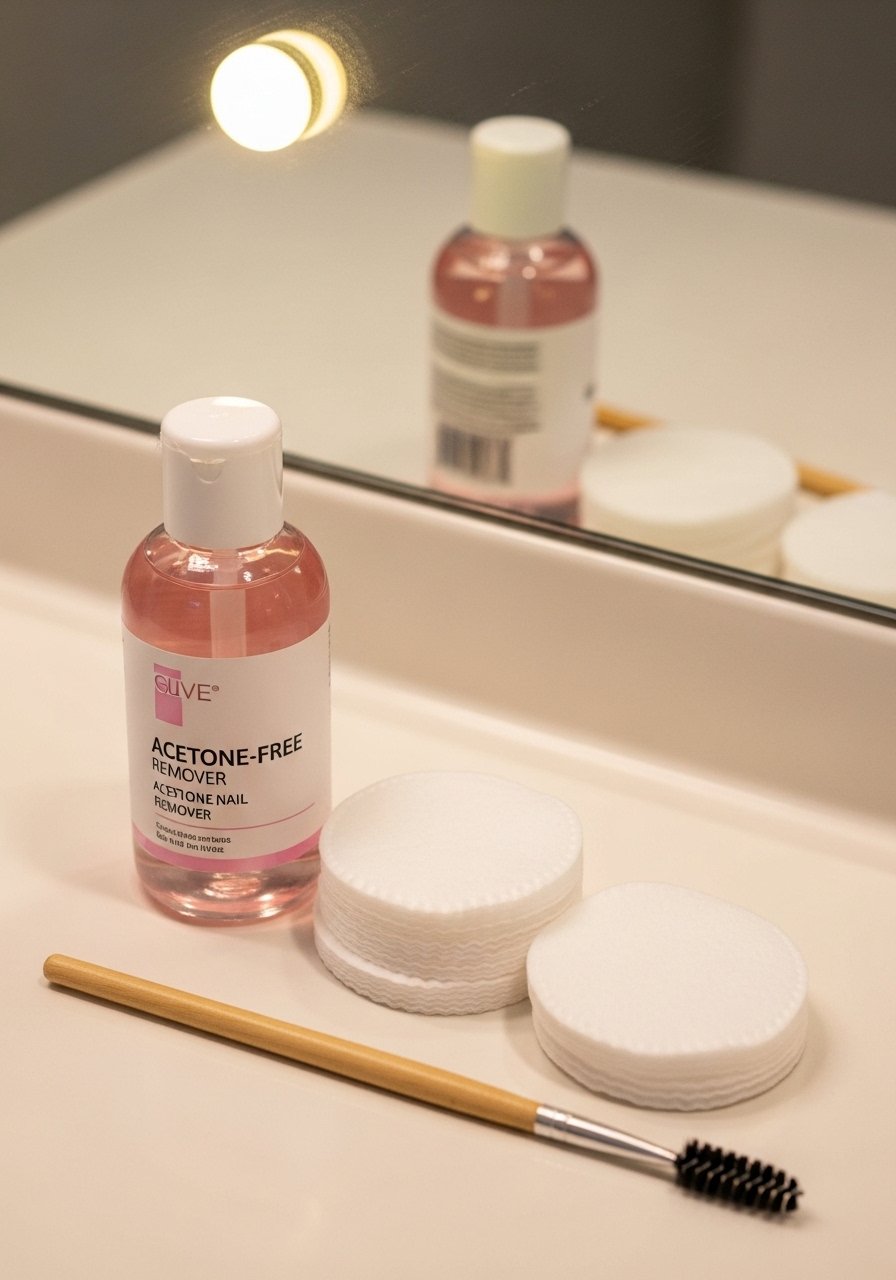
Style/Vibe: Safe maintenance
Best For: Frequent polish users who want to avoid yellowing
Skill: Beginner
Strong acetone removers dry nails and make them more porous, which invites staining. Use acetone-free removers with added oils for routine changes. I swapped and saw less immediate surface uptake of pigments from dark polishes. Keep an acetone-free remover on hand for weekly changes.
Mistake to Avoid: Using acetone for every polish change regardless of nail condition.
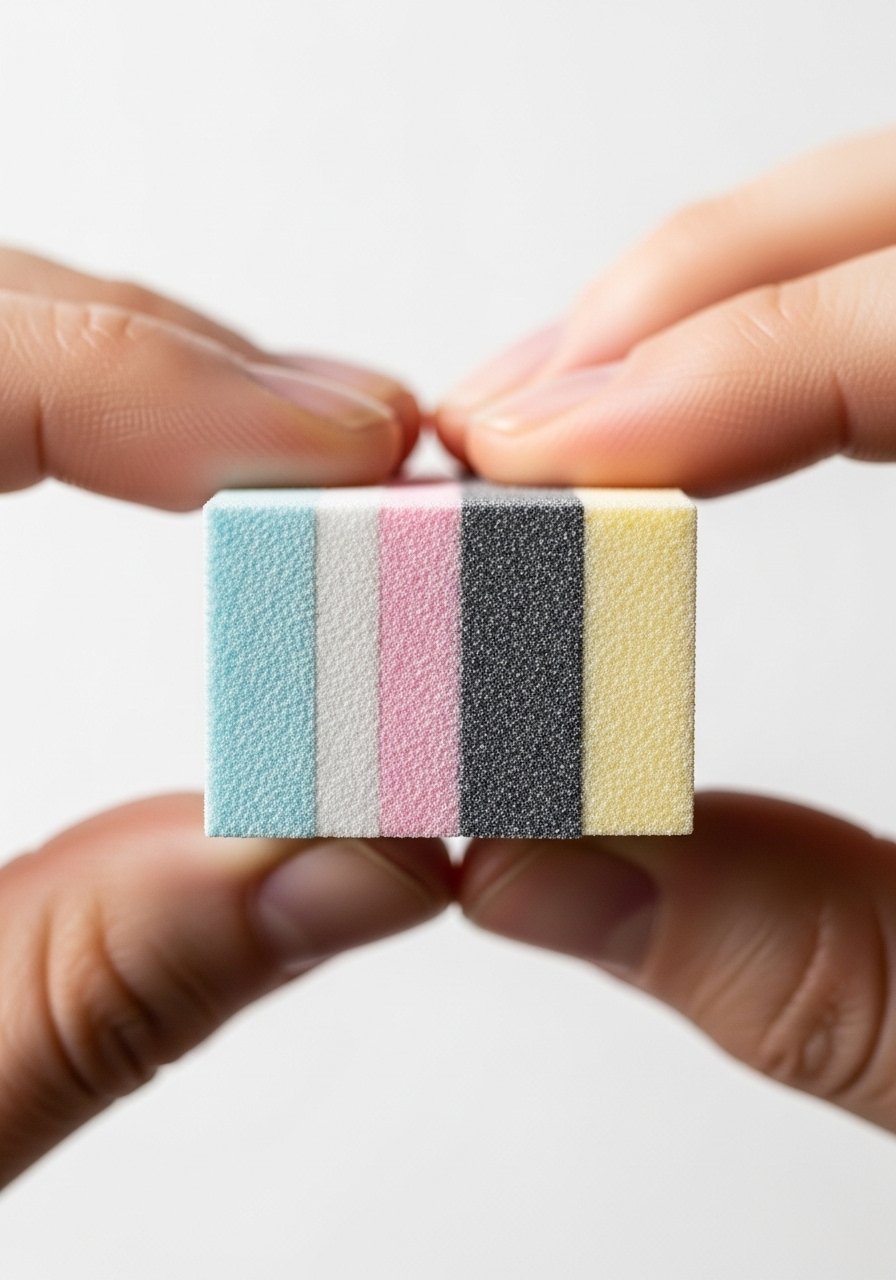
20. Nail Buffers With Color-Coded Grits
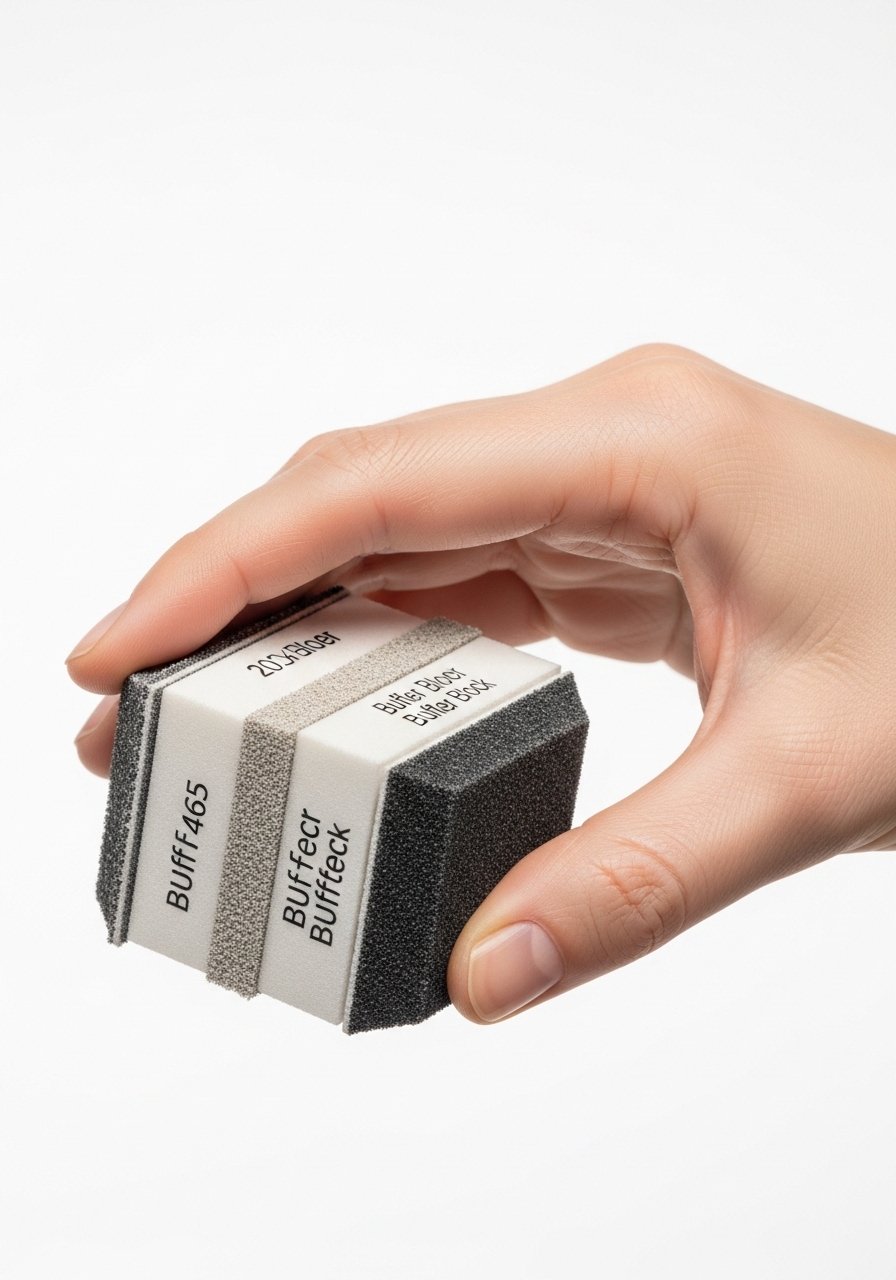
Style/Vibe: Methodical smoothing
Best For: Those who want control over finish and brightness
Skill: Beginner
A four-side buffer with labeled grits gives predictable results. Use the coarser side only on very ridged nails, then progress to the finer sides. This staged approach keeps you from over-buffing. I pair this with idea 5 for the strongest finish. A multi-grit buffer block lasts months if cleaned.
Mistake to Avoid: Starting on the highest shine side and erasing the nail rather than smoothing it.
21. Gel Removal Best Practices to Prevent Staining
Style/Vibe: Careful transition from gels to natural care
Best For: Gel wearers switching to natural recovery
Skill: Beginner
If you remove gels at home, soak them in acetone only until the gel lifts, then gently push off. Do not peel or force layers because that thins the nail and makes stains show more. After removal, use idea 11 oil soaks nightly for a week. Keep a gel removal kit ready to avoid temptation to pick.
Mistake to Avoid: Ripping off cured gel layers, which removes surface keratin and causes lasting thin spots.
22. Using Whitening Powders in Buffing Step
Style/Vibe: Pro-adjacent finishing trick
Best For: Special occasions and photos
Skill: Intermediate
Lightly dusting a whitening powder into freshly buffed tips and then sealing with top coat creates a white-apparent smile line. Use a soft brush and very small amounts. This is a subtle cosmetic trick I learned from a tech who works at a salon downtown. Try a nail whitening powder and test on one nail first.
Mistake to Avoid: Using too much powder, which creates a chalky finish under top coat.
23. When to See a Pro for Persistent Discoloration

Style/Vibe: Responsible care decision
Best For: Unexplained texture changes or persistent stains
Skill: Beginner
If yellowing comes with thickening, lifting, pain, or does not respond to home routines after a month, schedule a pro check. A tech or clinician can rule out fungal infection or other conditions. I waited too long once and extended my recovery by weeks. Bring photos of your nails and a list of products you used. No product link here, consult a pro.
Mistake to Avoid: Treating a possible infection as a cosmetic issue and delaying proper care.
24. Light-Reflecting Top Coats for Instant Brightness

Style/Vibe: Optical quick repair
Best For: Finishing touches before events
Skill: Beginner
Top coats that have a soft-reflecting finish make the entire nail appear whiter by scattering light. Use thin, even coats and let them fully cure. They also protect your cosmetic whitening steps. I keep a pearlescent top coat for nights out to hide less-than-perfect tips.
Mistake to Avoid: Applying thick layers that do not dry and smudge easily.
25. Maintenance Schedule for Long-Term Brightness

Style/Vibe: Sustainable routine planning
Best For: Anyone seeking steady results over months
Skill: Beginner
Set a simple rotation: weekly gentle soak, biweekly buffered bleach or paste treatment, nightly oiling after treatments, and a monthly professional check if you often wear gels. Sticking to a schedule prevented me from resorting to harsh methods. I mark treatments on my phone calendar and keep a small nail care organizer so I do not skip steps.
Mistake to Avoid: Doing an aggressive treatment, seeing results, and then stopping all upkeep.
Your Nail Kit
Base / Protect
- Honestly the smallest routine saver. Protein base coat for daily wear (~$10-15). Helps block pigment from dark polishes.
- Cuticle oil pen (~$6-12). Carry it in your bag for nightly use.
- Multi-grit buffer block (~$5-10). One for home, one for travel.
Cleanse / Lift
- Oxygen nail whitener pen (~$8-18). Fast touch-ups.
- 3% hydrogen peroxide bottle (~$3-6). Dilute as needed.
- Baking soda box (~$2-4). For pastes and buffers.
Repair / Restore
- Keratin nail balm (~$12-20). For brittle recovery.
- Coconut oil jar, food grade (~$8-15). Multiuse for oil soaks.
- Acetone-free polish remover (~$6-12).
Tools / Extras
- Glass nail file set (~$8-18) for gentle shaping.
- Mini LED lamp (~$15-35) for quick top coat curing.
- Medical tape rolls (~$4-8) for overnight wraps.
Nail Tips That Save a Mani
Thin coats beat one thick coat every time. Three thin layers of a quick-dry top coat look smoother and chip less than a single gloopy layer.
Keep a small buffer and polish remover in a travel kit. A glass file and acetone-free remover set lets you fix a chip quickly without redoing a full mani.
Notice how stains migrate to lifted gel edges. If your gel is peeling, stop and remove it properly. A gel removal kit prevents you from ripping and causing lasting thin spots.
Apply cuticle oil nightly for five minutes of massage. A jojoba-based cuticle oil softens skin and makes the nail look cleaner by morning.
If you must use household bleach, always dilute it and follow with an oil soak. Disposable cotton swabs and small measuring spoons keep dosing accurate and avoid over-bleaching.
Test one nail when trying a new whitening product. Keep a small mirror and a nail magnifier to compare before and after, so you only treat what needs treatment.
