
I kept smudging my mascara every morning, thinking the problem was the brush. After a week of trying different wands I realized I was starting with too much product at the roots. Once I made one small change everything moved later in the day instead of turning into raccoon eyes. These are the shortcuts I actually use when I have ten minutes and a meeting at nine.
These looks are meant for busy mornings, most doable in five to ten minutes, and they lean clean, natural finishes. Expect budget-friendly drugstore finds and a few midrange buys under $40. If you have oily, dry, or sensitive skin I note adjustments, and after six weeks of testing this routine I narrowed the steps that consistently hold up through lunch. Most people spend somewhere between $500 and $800 when they finally commit to refreshing a room.
1. Five-Minute Tinted Moisturizer Routine
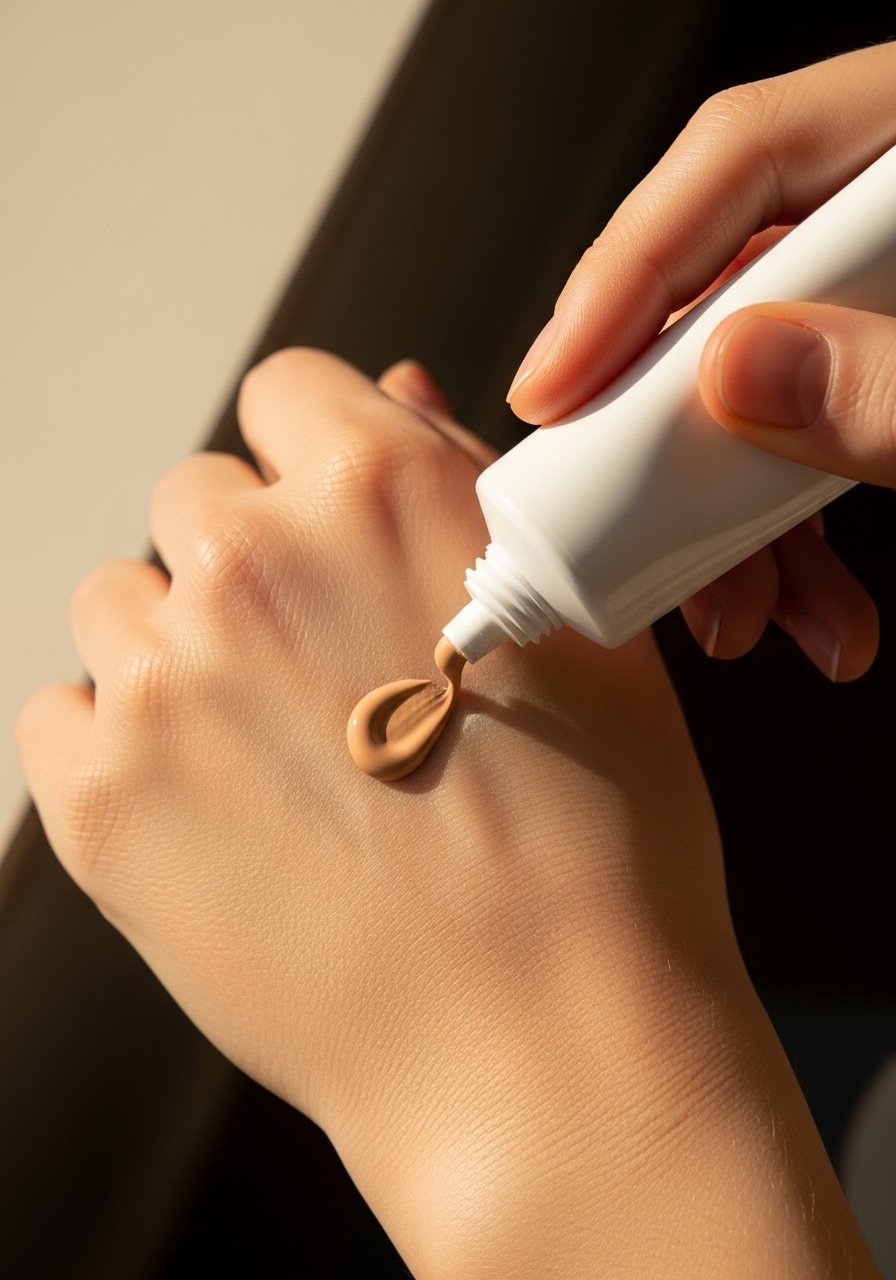
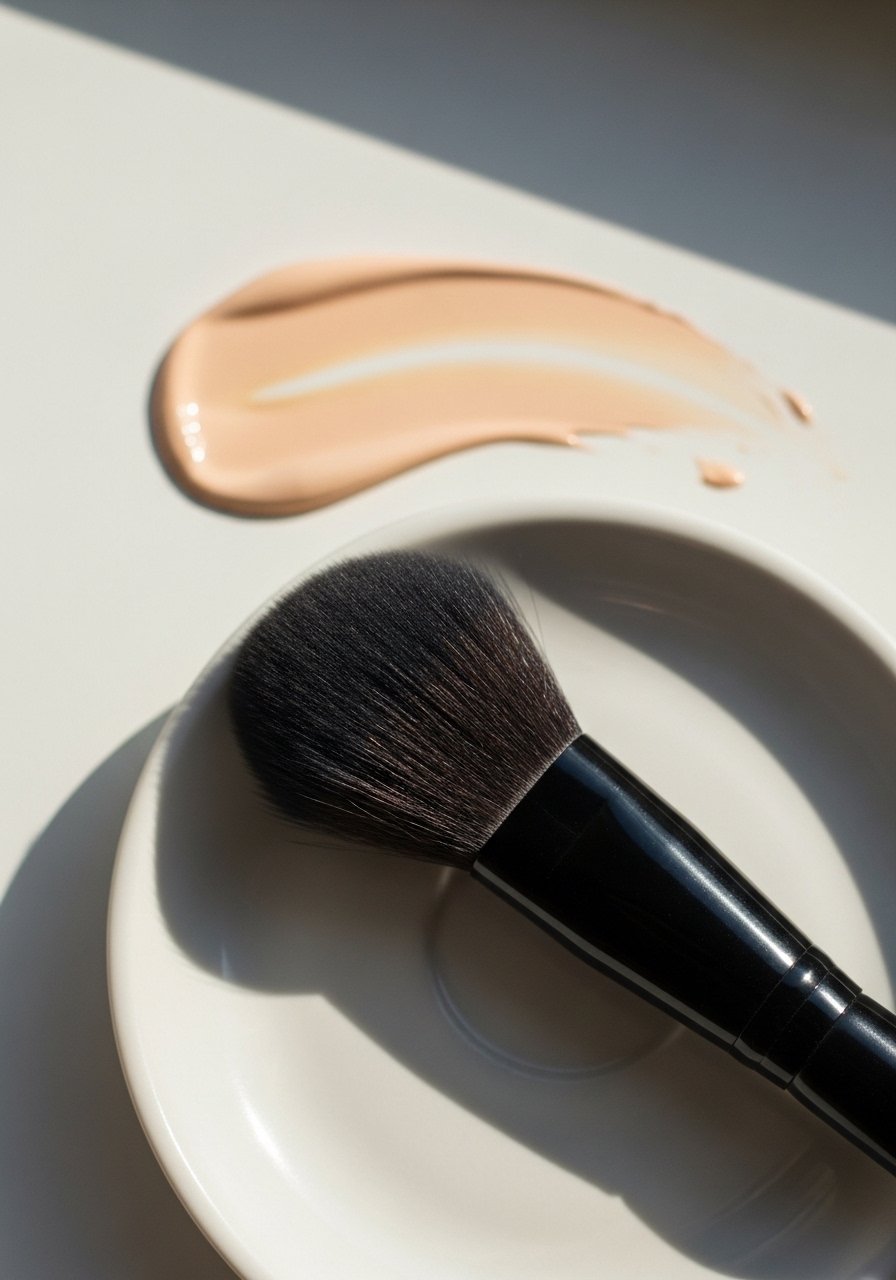
A pea-sized amount of tinted moisturizer blended with two fingers gives sheer, even coverage that still reads like skin. Warm undertones benefit from a tint with a touch of peach, cool undertones from a neutral-beige. Swipe a light layer where redness shows, tap outward three times, then press a damp sponge over the T-zone to avoid streaks. I use a lightweight tinted moisturizer (~$18) for combo skin and swap to a hydrating formula for dry days.
Mistake to Avoid: Piling on product to chase coverage, which cakes when you blend over powder. Start smaller and build.
2. Conceal-and-Spot Brighten
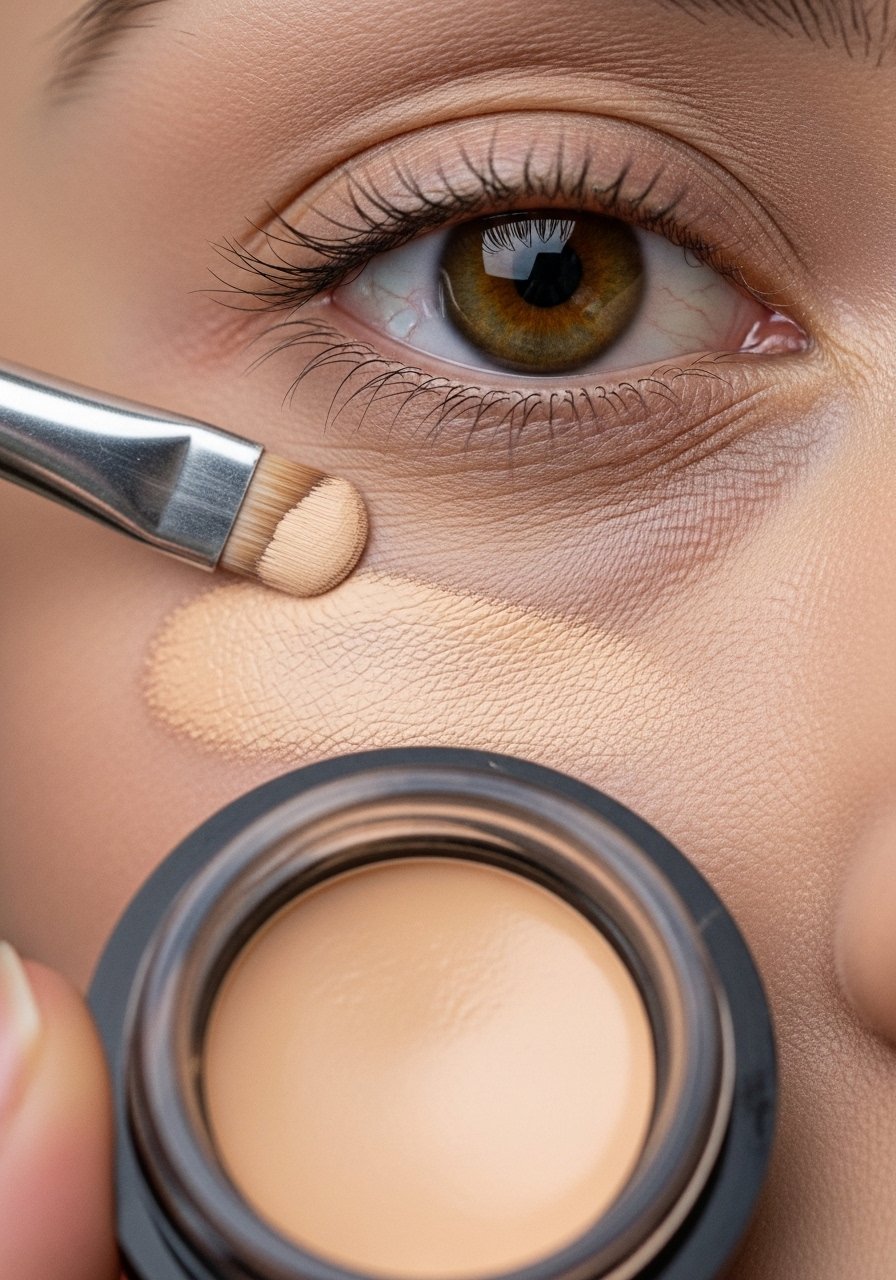
Targeted concealer is faster and looks fresher than full-coverage foundation. Use a flat concealer brush and a 1:1 mix of concealer and a light facial oil for dry under-eyes. Tap the mix in a triangle under your eye, then lightly blend with a clean ring finger. For oily skin swap the oil for a mattifying primer. I like a creamy stick concealer for quick spots.
Mistake to Avoid: Dragging concealer across the whole face. That is what makes it look heavy.
3. Cream Blush Layered Over Sheer Base
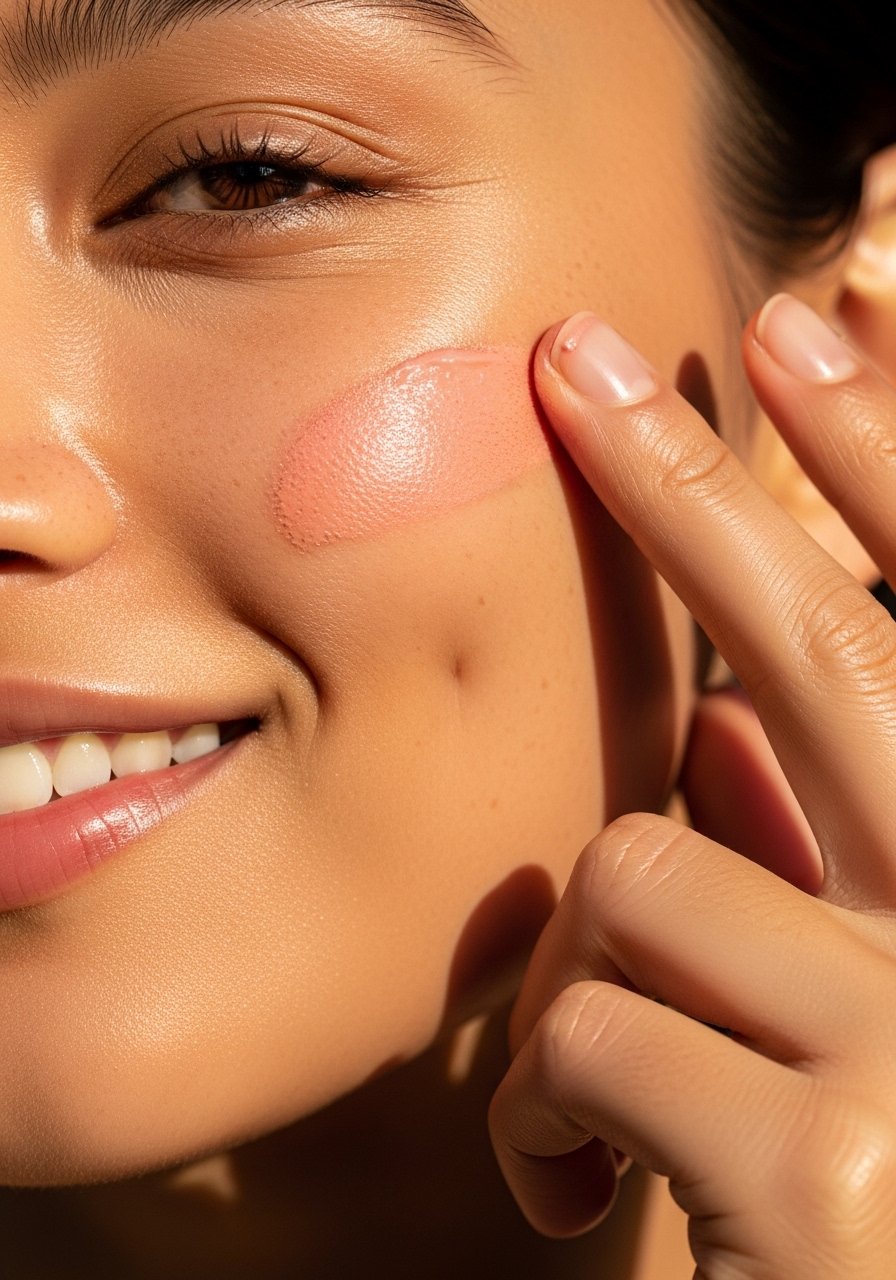
A fingertip of cream blush gives a lit-from-within look faster than powder. Warm peach shades suit warm undertones, rose suits cool. Press, do not swipe, and then pat a damp sponge once to soften edges. Layering a translucent veil of powder only on the nose and forehead keeps oil at bay. I reach for a small cream blush compact (~$14) for quick mornings.
Mistake to Avoid: Applying cream blush over heavy powder. The two fight and create a patchy finish.
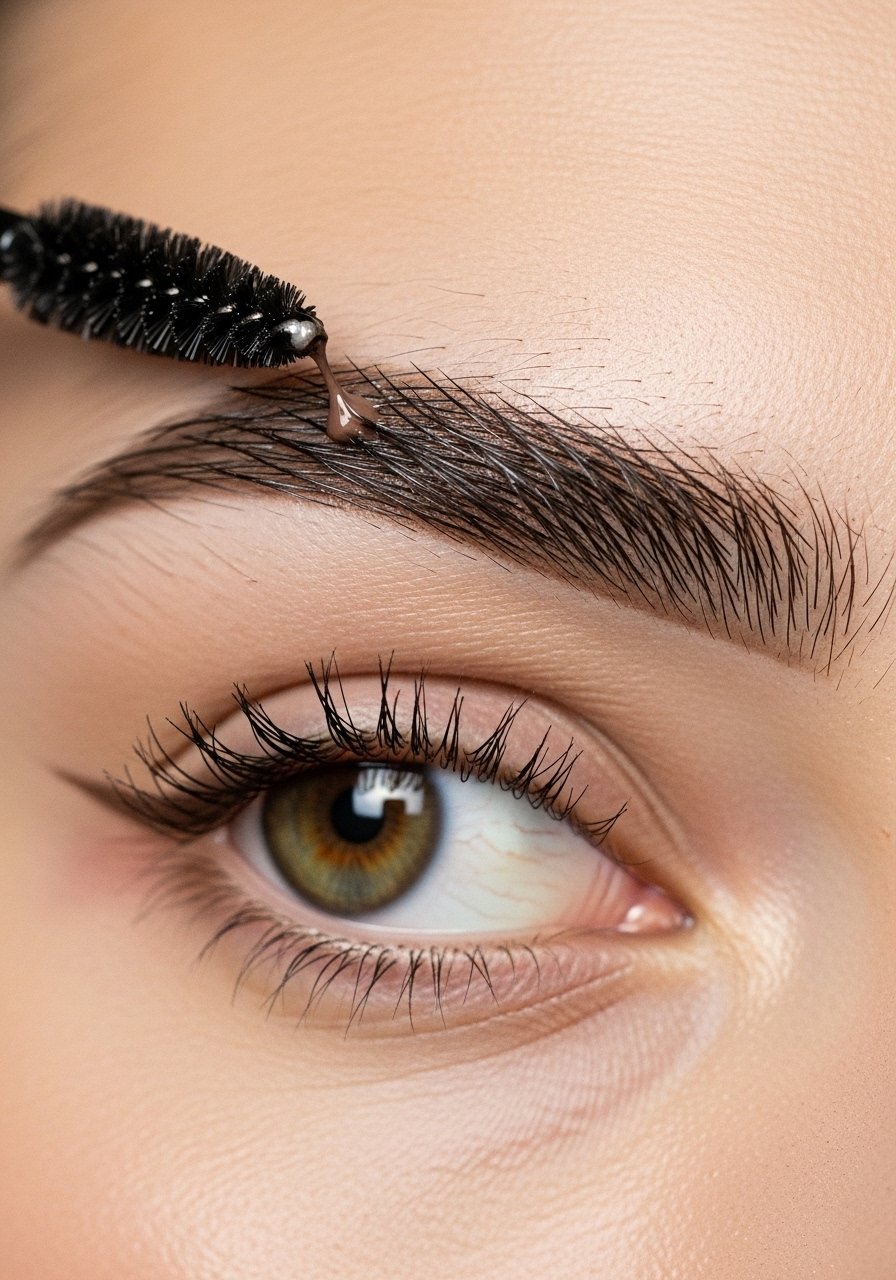
4. Brow Tint and Brush-Through
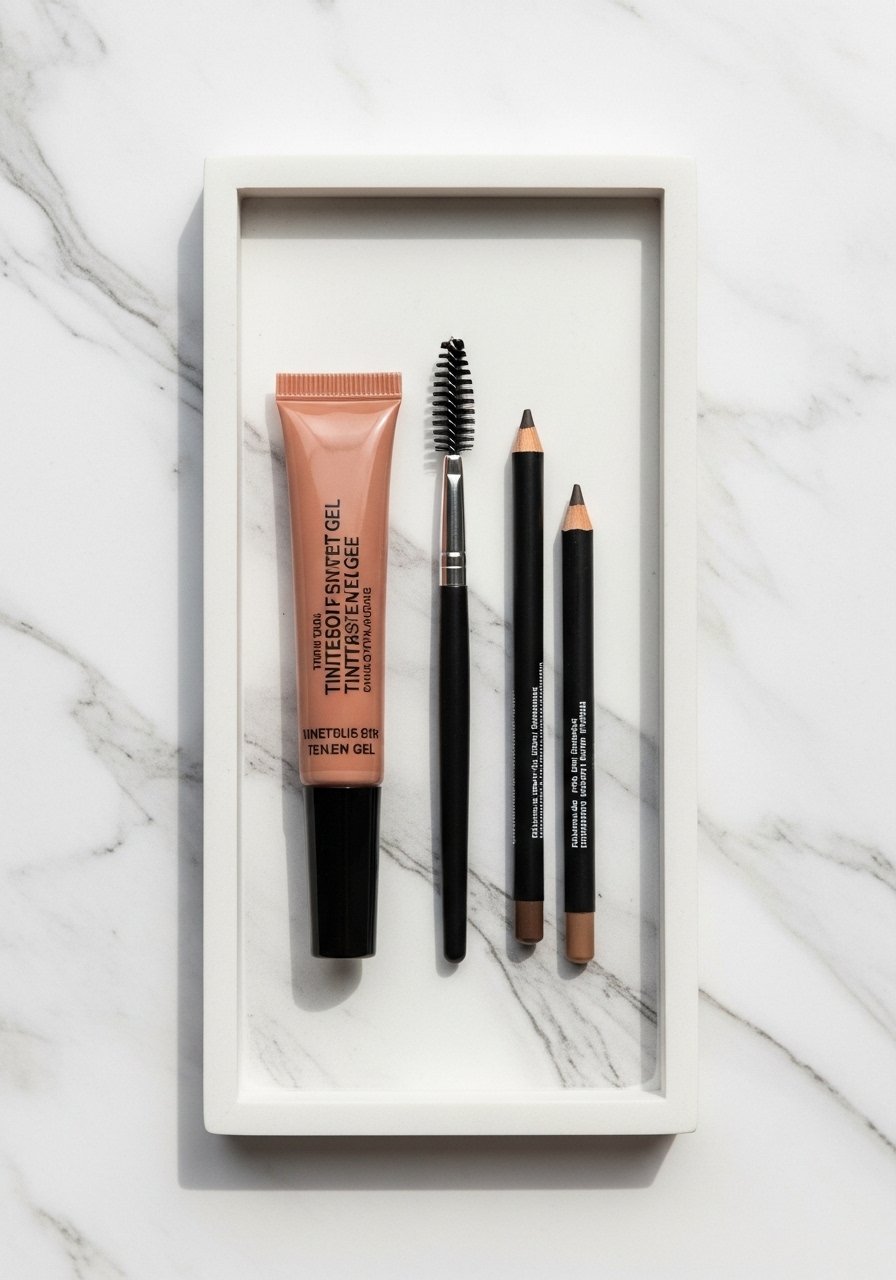
A tinted brow gel and a quick fill with a micro pencil is the fastest way to frame the face. Use tiny, hair-like strokes in the front and brush up with a tinted gel to set. For sparse arches a taupe pencil is safer than dark brown. Try a long-wear brow gel to keep hairs in place all day.
Mistake to Avoid: Heavy blocky fills that read fake in photos. Use short strokes and a brush.
5. Lash Lift Effect With Mascara Only

Skip the curlers and use a lengthening mascara in two quick coats. Wiggle at the base, sweep to the tip, then comb through any clumps with a clean spoolie. If you have sensitive eyes, choose a hypoallergenic formula. For days you need waterproof, apply one coat of regular mascara, let it dry for 30 seconds, then add a single thin coat of waterproof to the tips only.
Mistake to Avoid: Pumping the mascara wand in the tube, which introduces air and dries it faster.
6. Sheer Lip Stain With One Brush
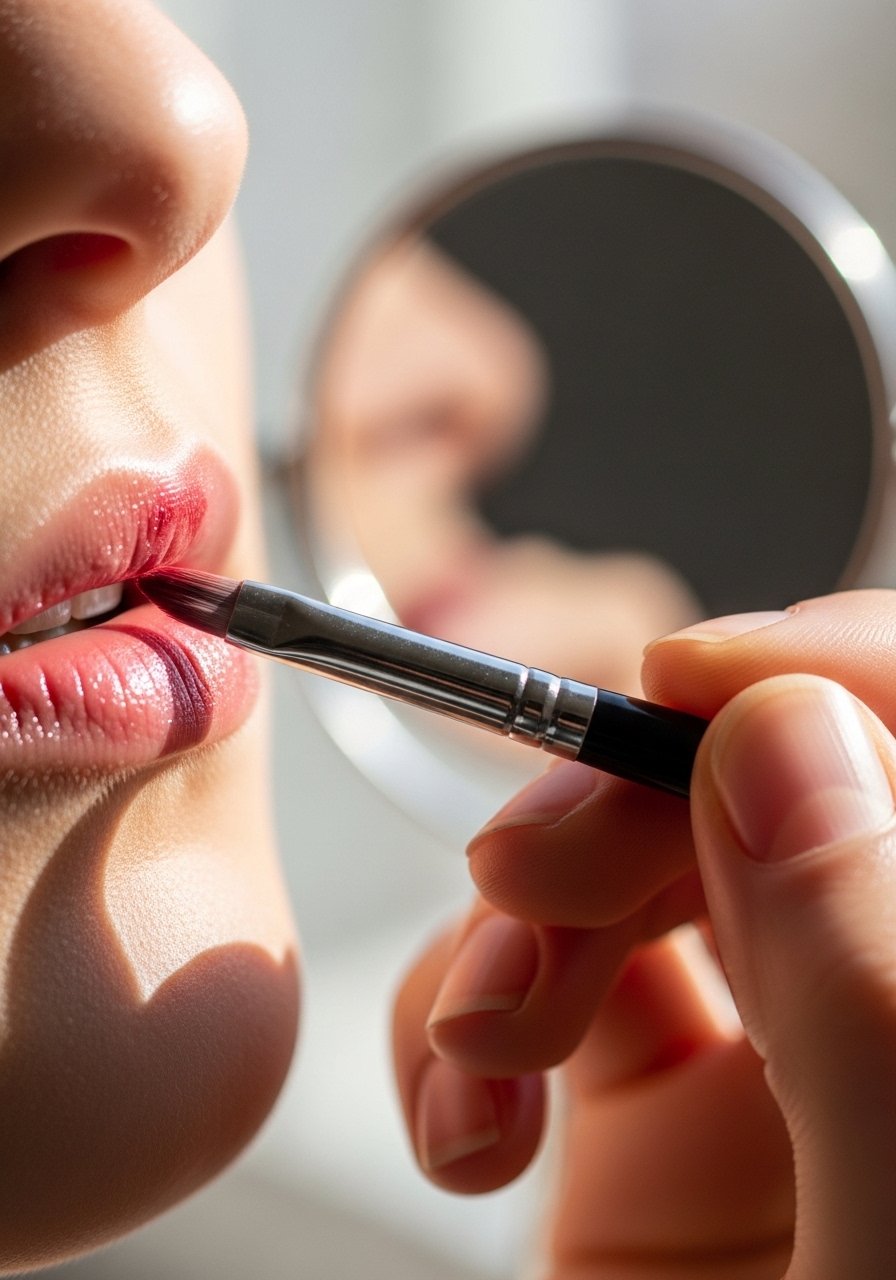
A lip stain applied with a brush lasts longer and looks fresher than glossy balm. Dab a touch into the center of the lips and press together to distribute. If your lips are dry, exfoliate once a week with a sugar scrub and follow with a clear balm before stain. I carry a compact lip stain for touch ups.
Mistake to Avoid: Smearing stain onto teeth. After pressing lips together, wipe the inside edge with a finger.
7. Balm-to-Powder Matte Skin
A multitasking balm gives moisture, then a light dusting of translucent powder locks the finish. Use a nickel-sized dot of balm for the cheeks and forehead, blend, then press powder with a puff only where you tend to get shiny. For oily skin choose a mattifying balm alternative. Pair this with the tinted base from idea 1 for quick consistency.
Mistake to Avoid: Applying powder with a large brush, which can lift the balm and make it patchy.
8. Monochrome Cheek and Lip
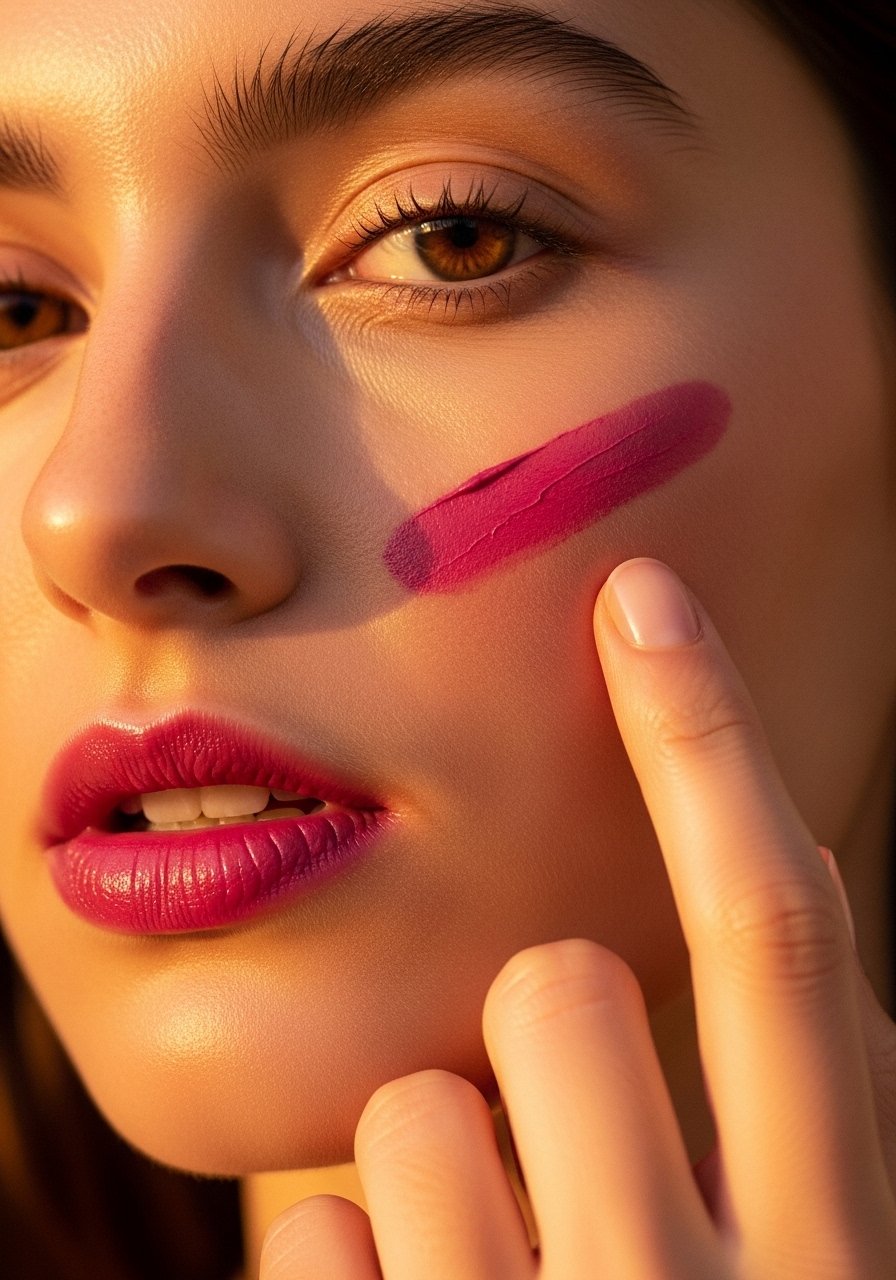
Using one product for cheeks and lips saves time and creates cohesion. Dab a cream tint on the apples of the cheeks and then lightly press it onto the lips. Choose a shade that complements your undertone, and blot once to remove excess. This works well for fair to medium skin. I prefer a multipurpose cream stick.
Mistake to Avoid: Choosing a shade too bright for daytime. Tone it down by blending with a finger.
9. Soft Brown Liner Smudge
A soft brown pencil smudged into the upper lash line gives definition without harshness. Draw tiny dashes between lashes, then smudge with a stiff brush. Top with mascara. For hooded lids keep the line thin and close to the lashes. I use a retractable brown pencil.
Mistake to Avoid: Drawing one continuous line. Short dashes look more natural when blended.
10. No-Makeup Makeup Powder Finish
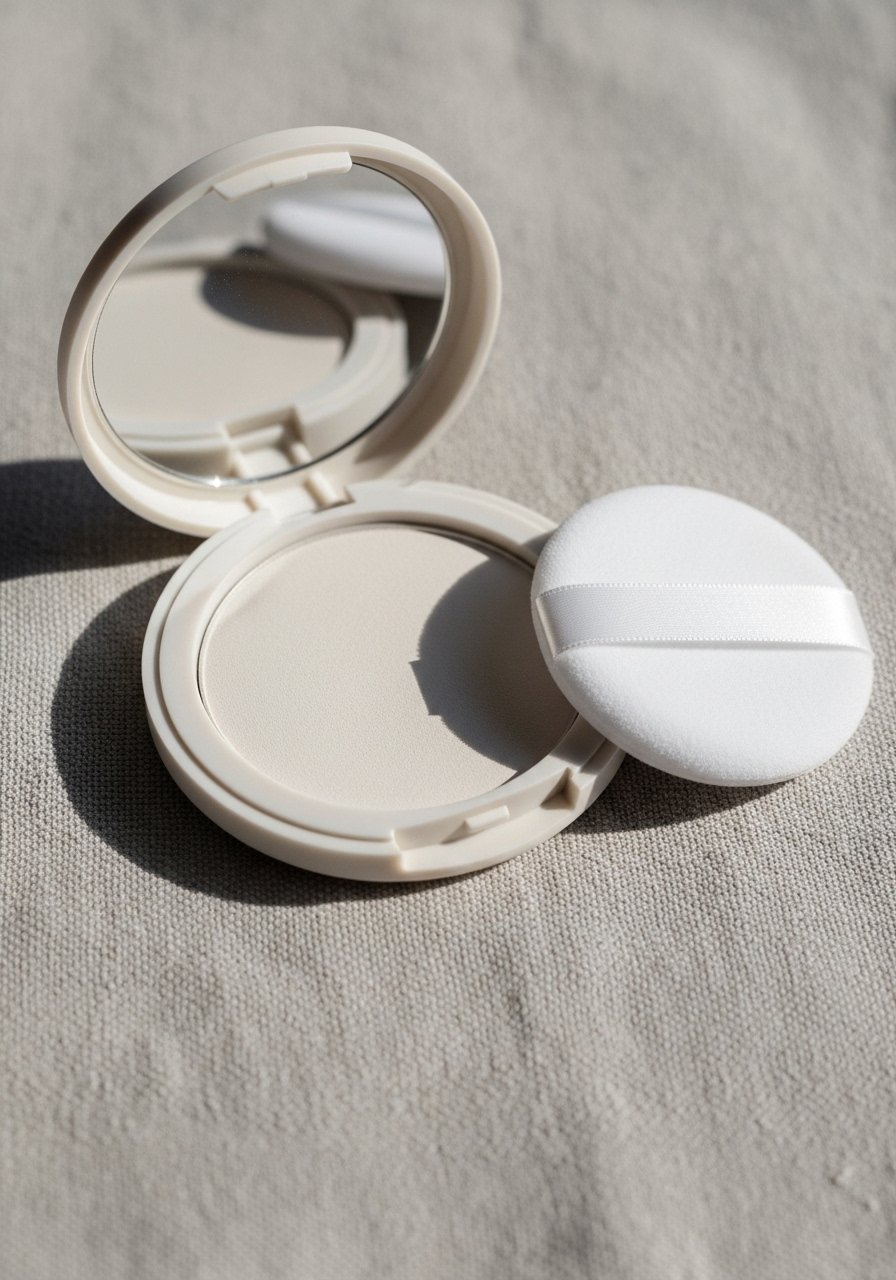
A finely milled translucent powder tapped onto the T-zone blurs pores and keeps shine away without a cakey look. Use a light hand and press the powder on for two seconds per area. If you have dry skin, dust only at the hairline and under the nose. A lightweight translucent powder under $20 is often all you need.
Mistake to Avoid: Swiping vigorously, which disrupts the base and emphasizes texture.
11. Quick Contour With Bronzer Stick
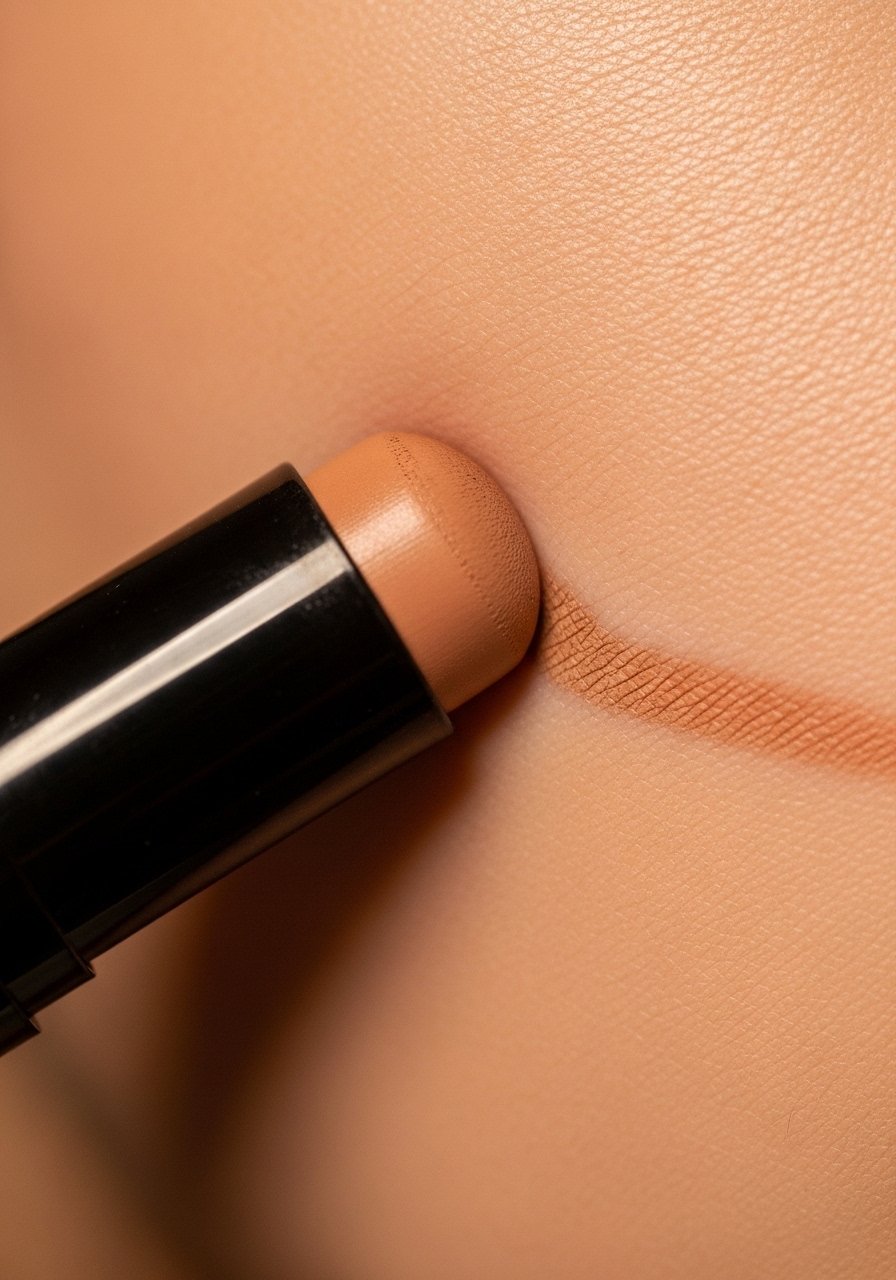
A cream bronzer stick drawn in the hollows and blended with fingers is faster than a full contour routine. Use one diagonal stroke per cheek and blend upward. For fair skin pick a softer, golden shade. Press a tiny bit across the forehead if you want warmth. I keep a slim bronzer stick in my bag for last-minute warmth.
Mistake to Avoid: Applying too low on the face, which drags your features downward.
12. Dewy Highlight With Balm

A clear balm tapped onto the tops of cheekbones and the Cupid’s bow catches light and keeps skin from looking flat in photos. Use less than you think, a rice-grain sized dot per spot. For oily skin skip the balm and use a cream highlighter sparingly. This pairs with the cream blush in idea 3.
Mistake to Avoid: Rubbing the balm in like lotion. Pat to place the sheen.
13. Concealer for Texture Control
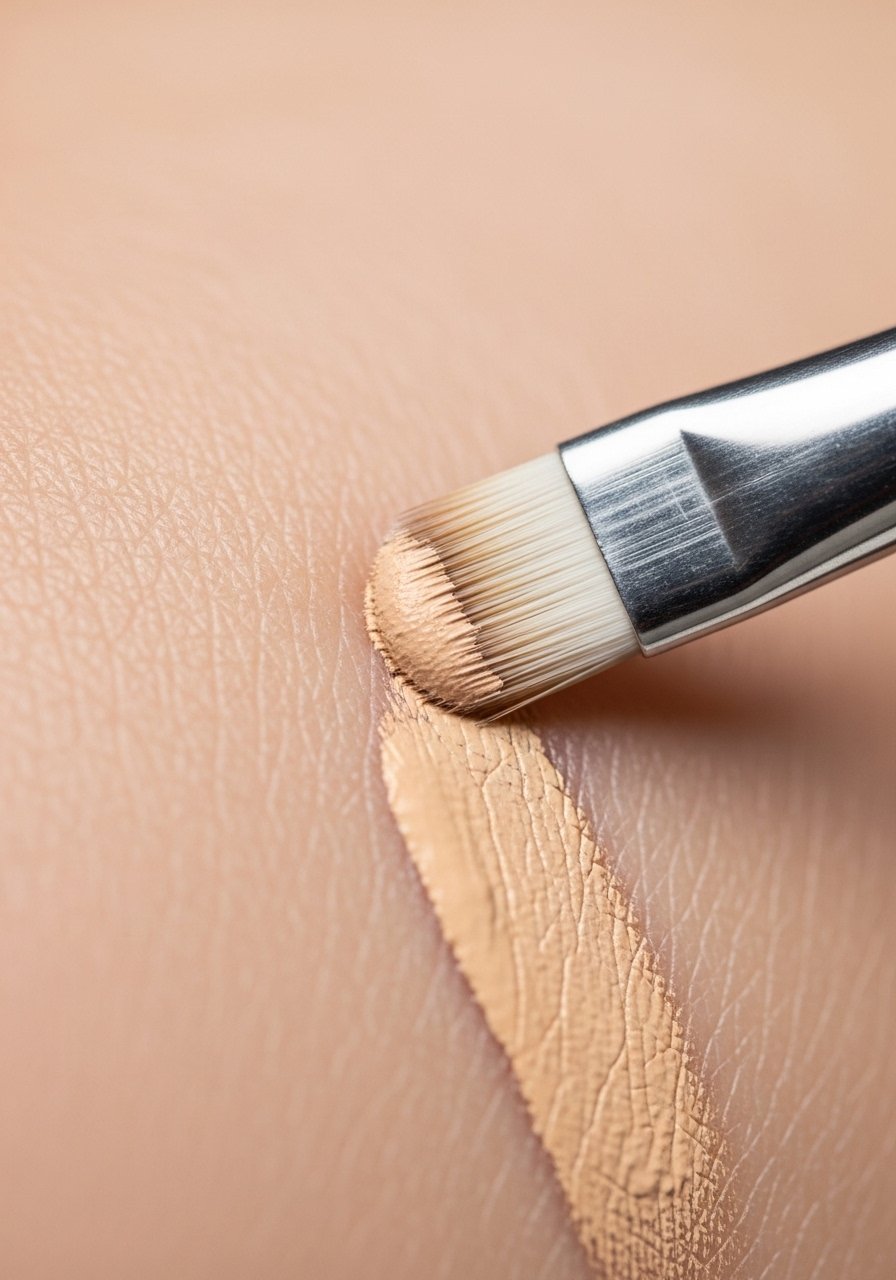
For visible texture or blemishes, dot concealer and stipple gently to blend without moving the surrounding base. A thin layer of setting powder over the concealer keeps it from settling. For photos, wait two minutes and then press with a sponge to reduce flash reflection. I use a precise concealer brush when I need exact coverage.
Mistake to Avoid: Over-blending which thins the coverage and re-exposes texture.
14. Sweat-Proof Minimal Evening Refresh
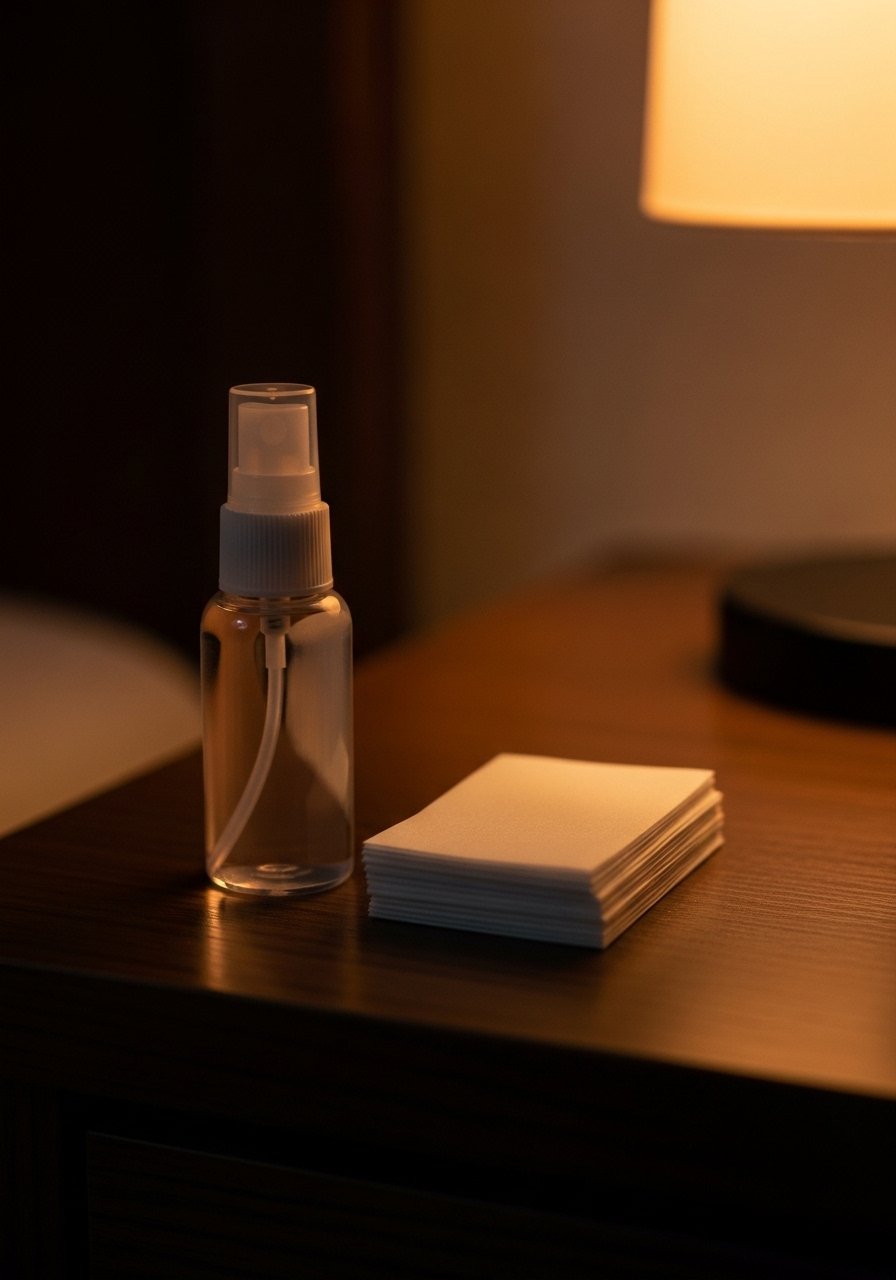
A quick evening refresh is blot, spritz, and pat a tiny concealer where needed. Blotting papers remove oil without adding layers. Then a light setting mist keeps everything in place. For humid days choose a mattifying mist formula. I pack a travel-size setting spray for commutes.
Mistake to Avoid: Adding powder on top of oil, which creates a muddy look. Blot first.
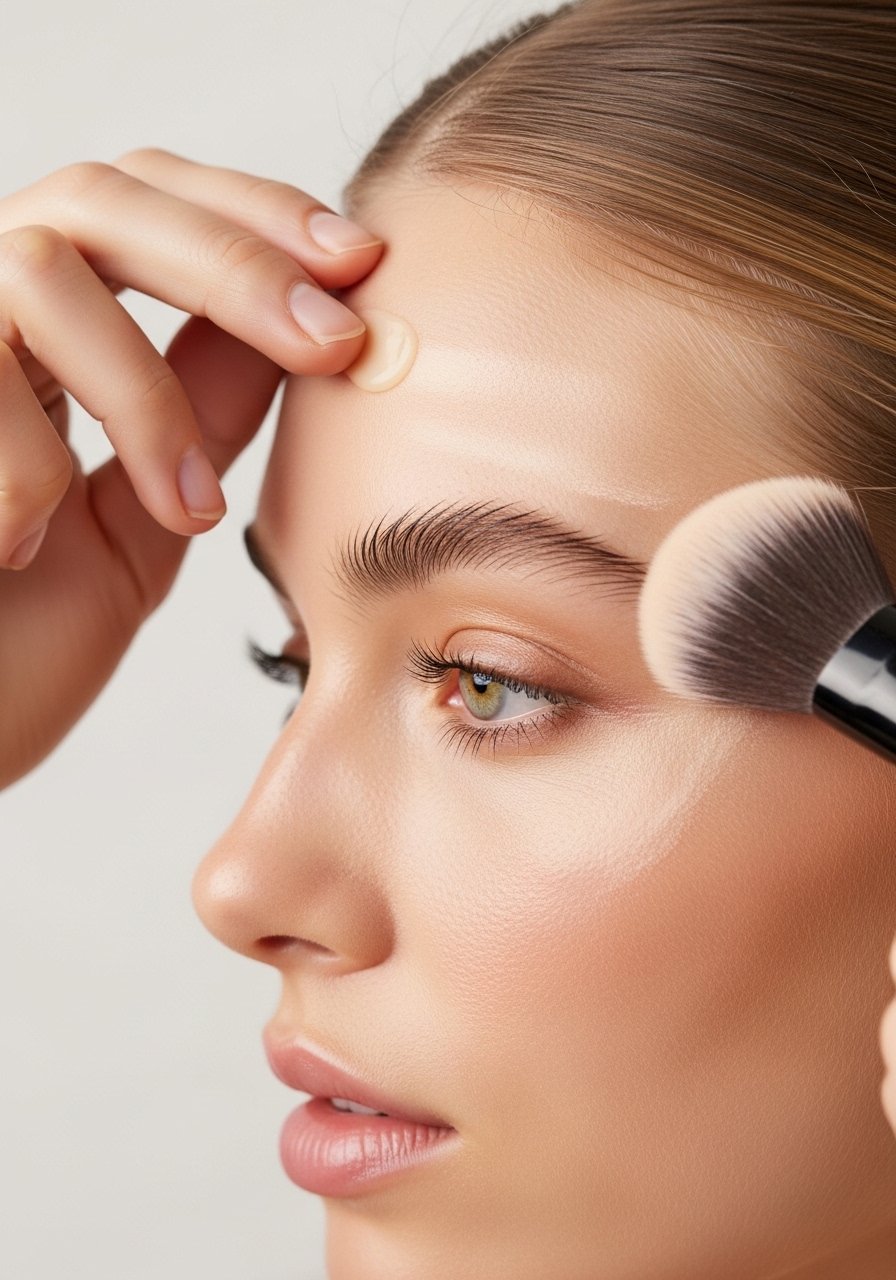
15. One-Brush Face Routine
A dense, synthetic brush can apply tinted moisturizer, blend cream blush, and press powder into place. Rinse only once a week if you use cream products to avoid product buildup. This routine is especially quick for medium coverage days. My go-to is a versatile face brush.
Mistake to Avoid: Using a damp brush for powder steps, which turns powder into streaks.
16. SPF Plus Light Coverage For Outdoor Days
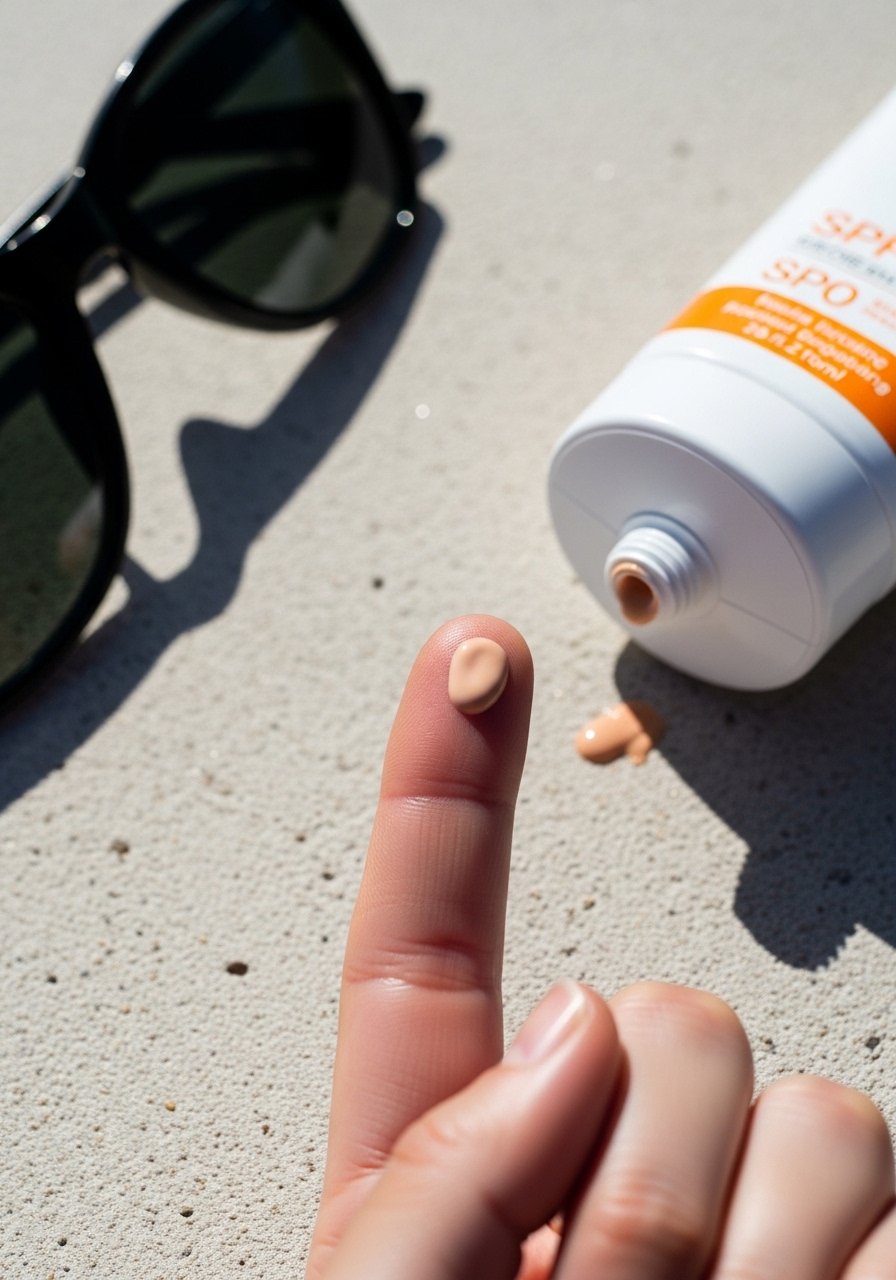
On outdoor days skip heavy base and use a tinted SPF applied in a thin layer with fingertips. Let it set for 60 seconds before applying any pigment to avoid pill. For oily skin a mineral SPF tends to sit better under powder. I keep a tinted SPF in my gym bag.
Mistake to Avoid: Mixing sunscreen into foundation at the sink where you can’t see the streaks.
17. Neutral Eyeshadow Wash With Finger
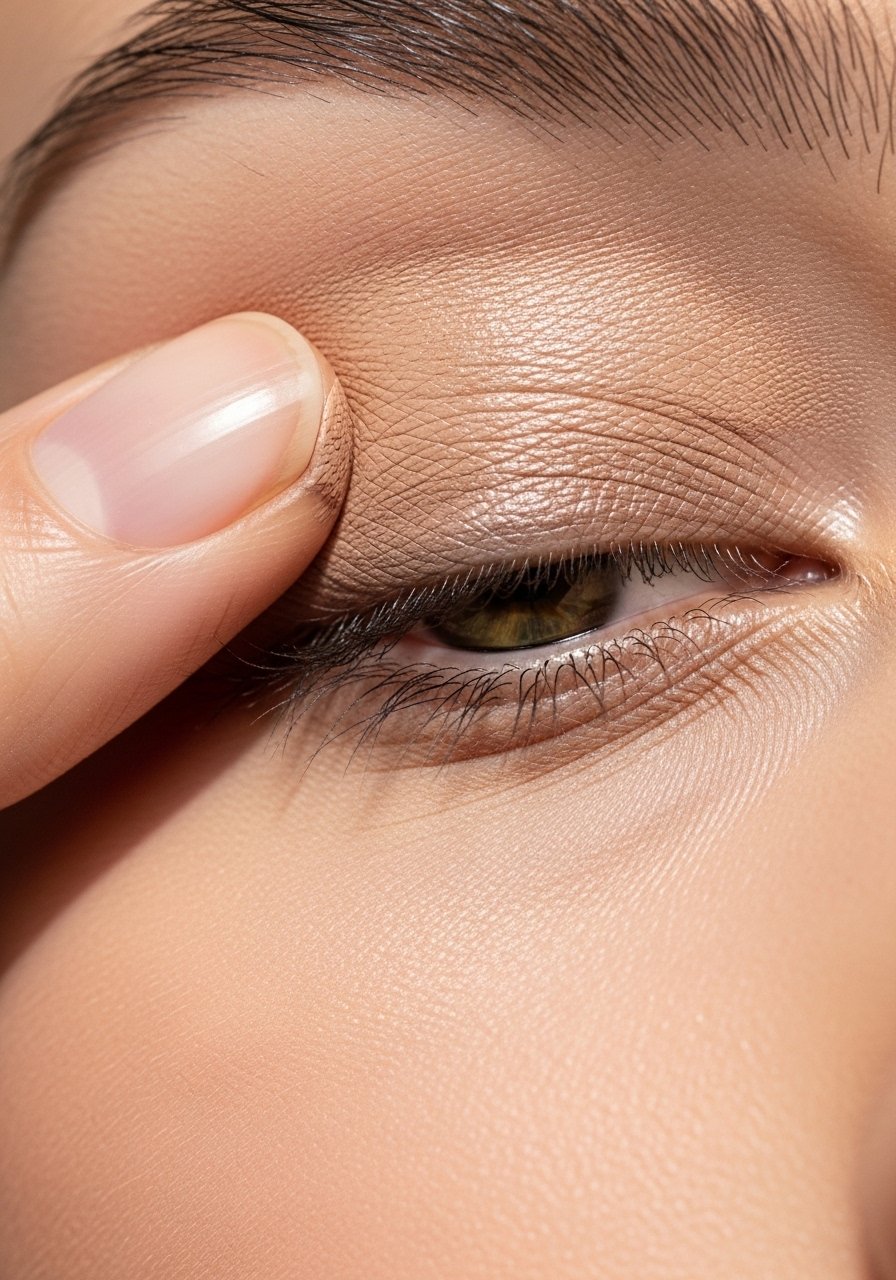
A finger-applied cream shadow in a soft taupe or beige evens the lid color and hides veins in ten seconds. Tap the pigment onto the mobile lid and blend at the edge with the fingertip for a diffused look. For hooded eyes keep pigment off the crease. A small cream shadow pot is the easiest to carry.
Mistake to Avoid: Using too much product at the start. Tap, then build.
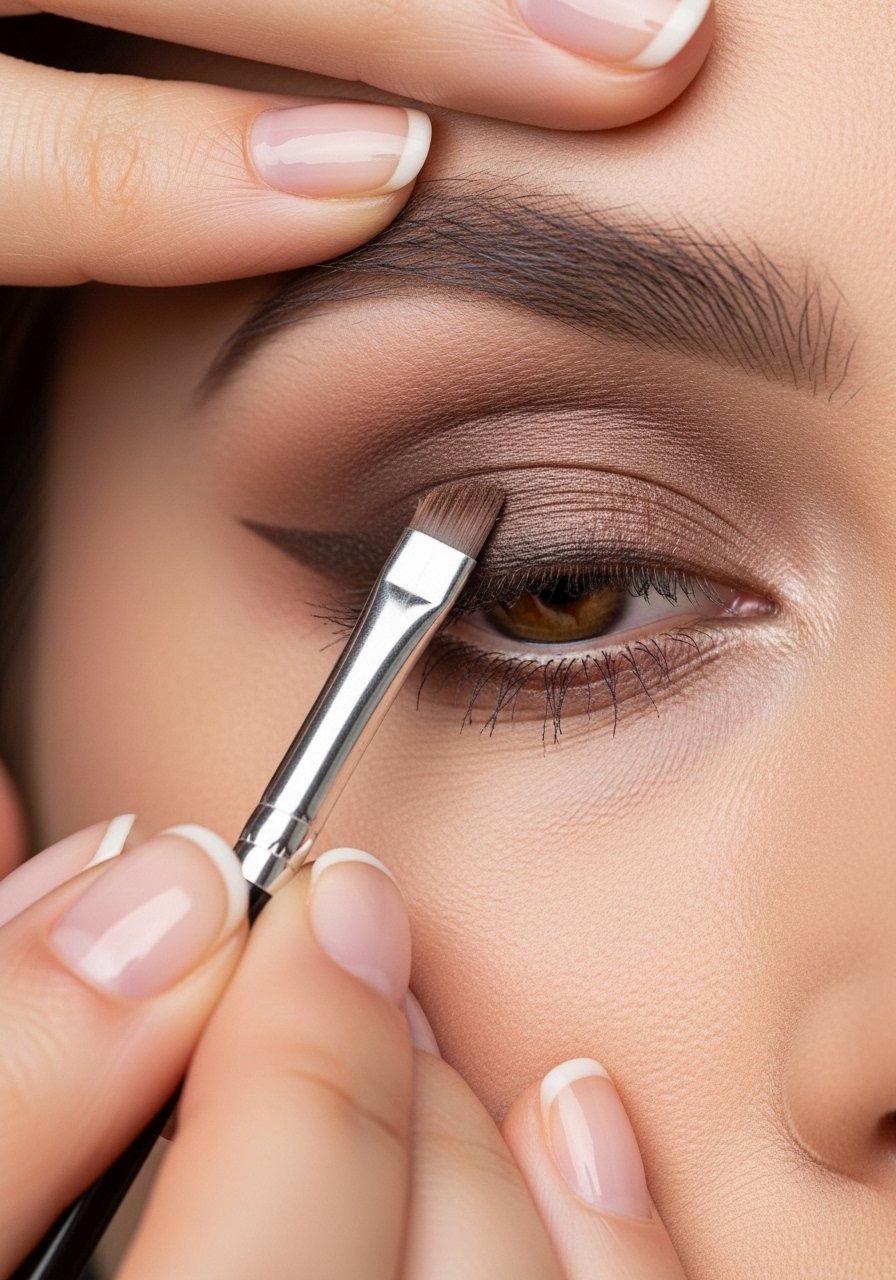
18. Cream Eyeshadow As Liner
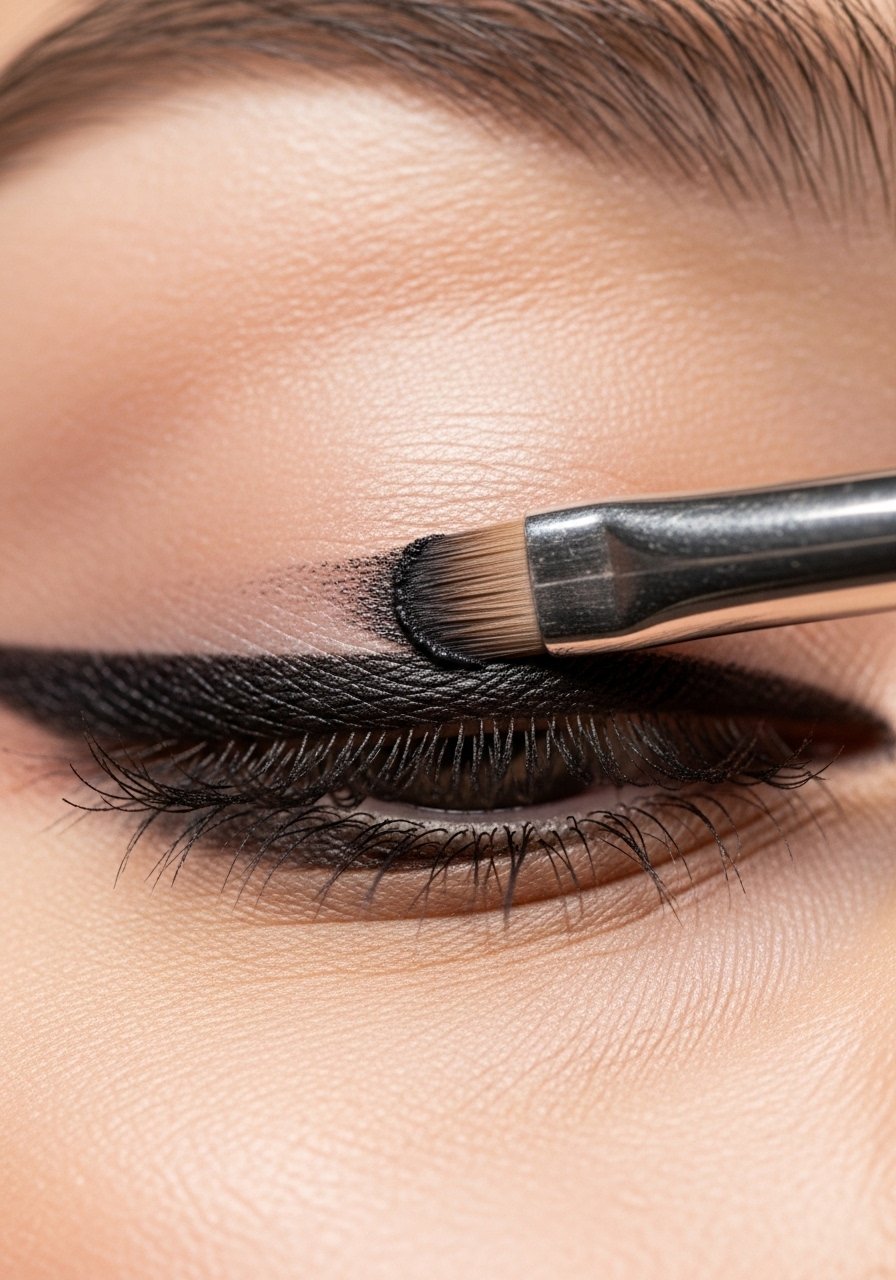
Smudge a dark cream shadow close to the lashes with an angled brush for a softer liner effect. Smudged brown reads less harsh than black in daytime. For oily lids set with a tiny amount of translucent powder under the shadow. Try a compact cream shadow that doubles as a liner.
Mistake to Avoid: Drawing a heavy line and trusting it to blend later. Start light.
19. Minimal Night-to-Day Touch-Up
For testing evening plans, carry a compact with a skin-touch powder and a multiuse stick. Blot shine, press a tiny bit of powder on the T-zone, and reapply lip color with a clean finger. This converts a day look into night in under a minute. I use a slim touch-up compact.
Mistake to Avoid: Reapplying full layers. Target only the areas that need it.
20. Tinted Brow Gel Only
On extra-busy mornings a tinted brow gel brushed up and through gives shape and color without pencils. Choose a tint that matches the base of your hairs, not the tip. For very sparse brows add a few micro-strokes with a pencil before gel. A travel tinted gel is a timesaver.
Mistake to Avoid: Choosing a shade too dark, which reads heavy in photos.
21. Blotting Paper and Light Powder Combo
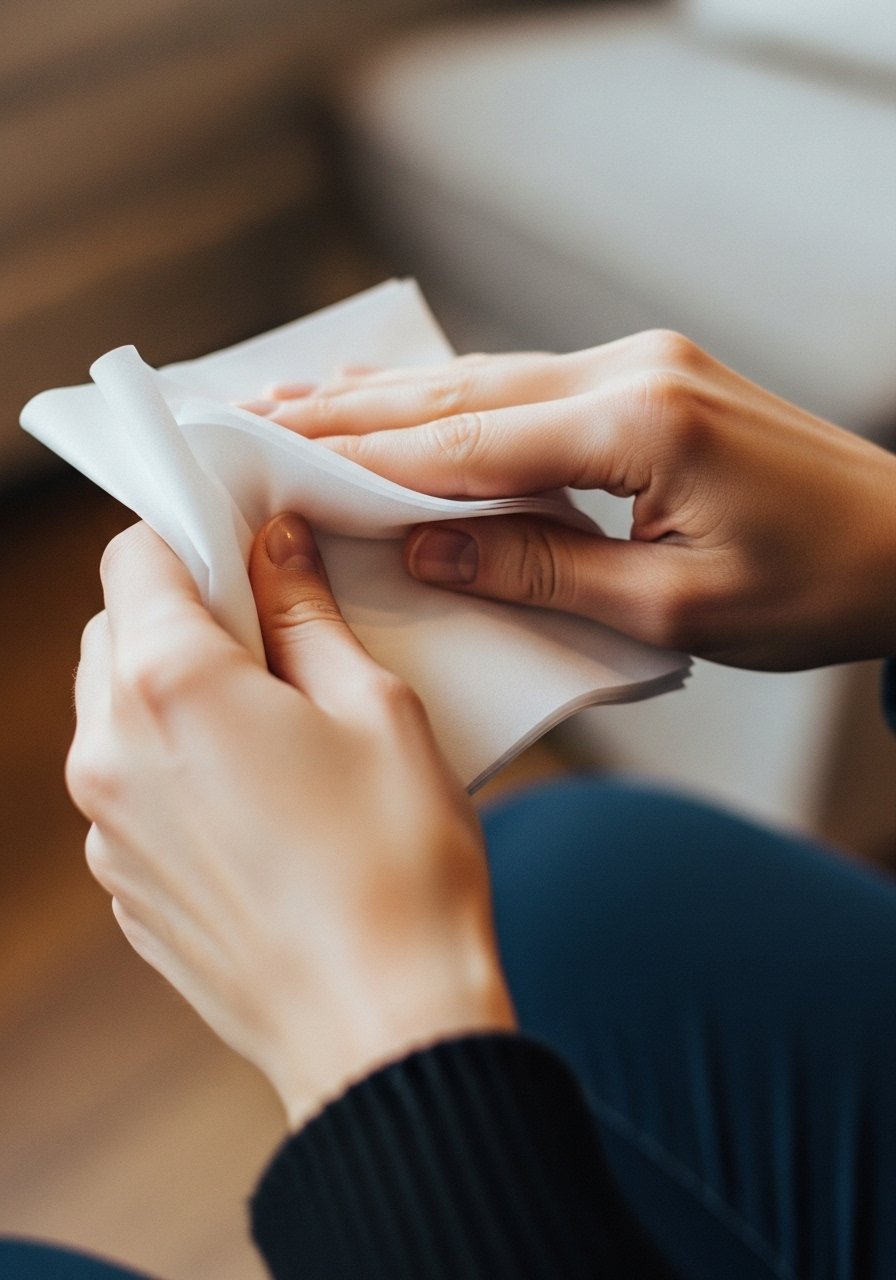
Blotting paper removes shine without adding product. After blotting press a barely-there layer of powder with a puff to keep pores soft. Use a blotting paper first to prevent over-powdering and texture. Keep a pack in your bag with a small pack of blotting sheets.
Mistake to Avoid: Over-blotting, which can remove too much of your base.
22. Single-Palette Travel Routine

A slim palette with two creams, one powder, and a cheek shade covers all bases for travel. Use the cream as a base, powder for setting, and one cheek color for lips and cheeks. Pick a palette with warm and cool options to match undertone shifts across seasons. A compact neutral palette keeps the kit light.
Mistake to Avoid: Bringing a dozen single products. One smart palette beats clutter.
Your Makeup Kit
- Honestly the best $18 I have spent. Lightweight tinted moisturizer (~$18), great for combo skin.
- For spot work: Cream concealer stick ($$) with a precise concealer brush (~$8).
- A tiny multipurpose: Cream blush stick in warm rose (~$12).
- Brows: Tinted brow gel (~$10).
- Lashes: Lengthening mascara ($).
- Face finish: Translucent setting powder (~$15).
- Touch-up: Travel setting spray (~$9).
- Tools: One versatile face brush and a small sponge.
- Lip: Compact lip stain (~$10).
- Blotting: Pack of blotting sheets (~$6).
- Palette: Slim neutral palette (~$20).
- Extras: Mini towel for blotting makeup tools (~$7).
Makeup Tips That Actually Help
Thin coats beat one thick coat every time. Three thin layers of a quick-dry top coat look smoother and last longer than one gloopy layer. Apply the same idea to tinted moisturizer layers.
Grab a pack of blotting sheets and keep one in every bag. Blot before you touch up powder to avoid packing product into pores.
Curious about undertones. If a product pulls orange in photos switch to neutral-beige or peach depending on warmth. A small shade finder tool helps when trying a new brand.
Observation: finger application often beats tools for cream products. A set of small silicone applicators makes travel clean and fast.
Contrast-first: many guides force a full contour. Try a slim bronzer stick instead. One diagonal swipe under each cheek and blend with your fingers for five minutes of contouring effect.
