
I kept painting milky white too thick and blaming the polish, until one afternoon I stripped everything down and mixed a drop of opaque white with three drops of clear base, then applied feather-thin coats. The nails looked like a soft moonlight wash instead of painted-on tips. That mistake taught me the ratio and the patience this finish needs, and I have not gone back.
These ideas are for people who like clean, wearable almond nails and do their own mani at home or sit in a salon occasionally. Expect mostly low- to mid-budget products and beginner to intermediate techniques. If you work with a tech, mention you want a milky wash and the one-drop-to-three-drops ratio. The look translates across short to long almond shapes and plays well with natural nails, gels, or light acrylics.
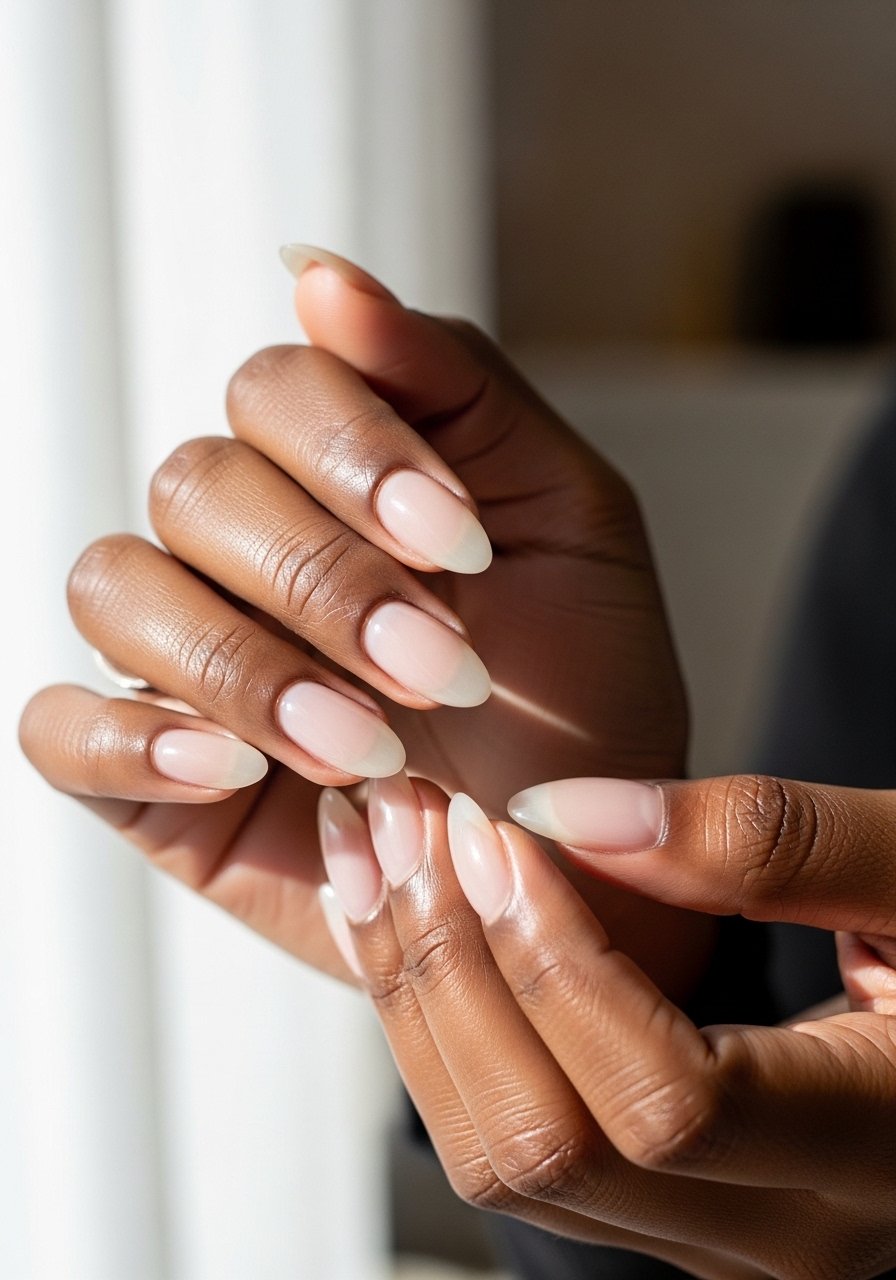
1. Classic Sheer Milky Almond
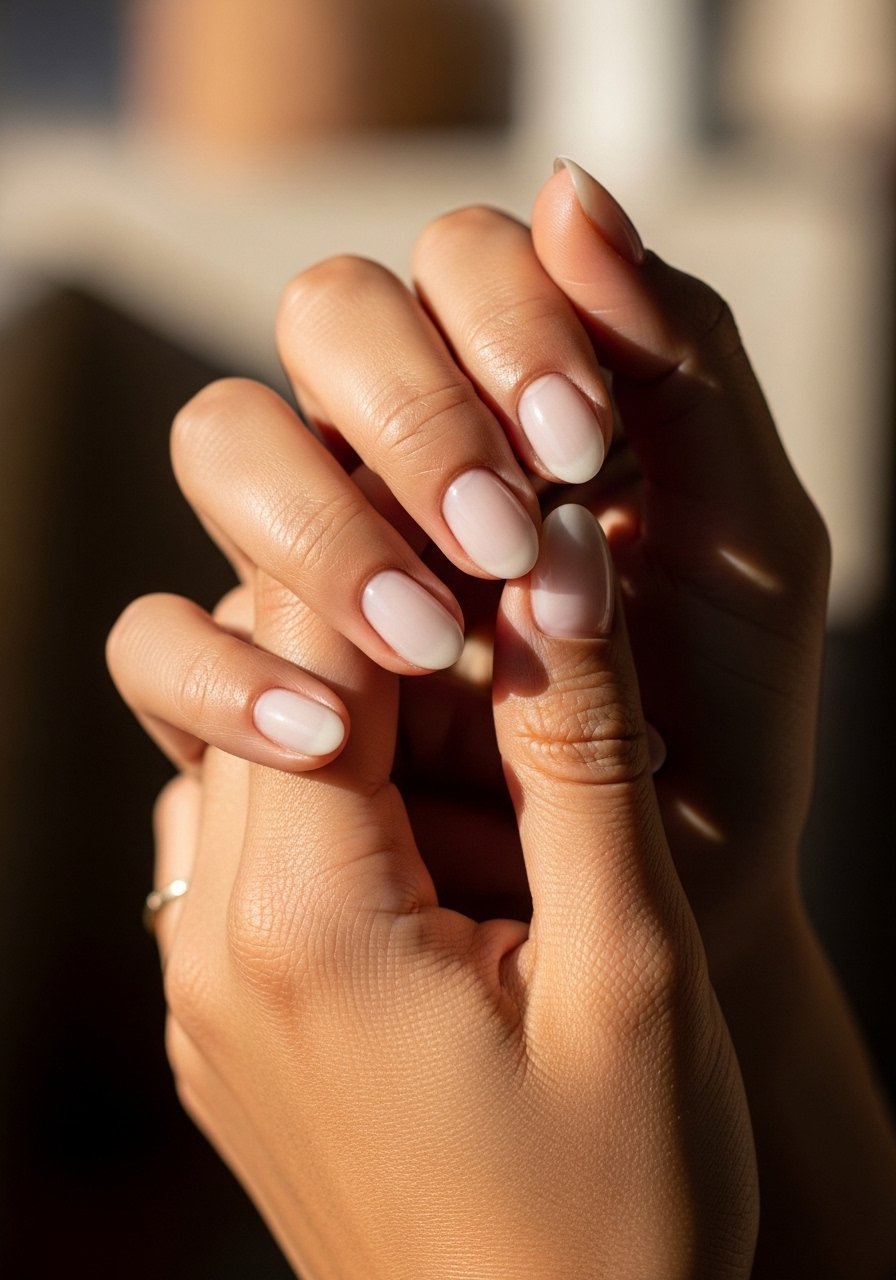
Start with a thin sheer base, one coat of a clear-leaning white, then two very thin top coats for depth. What makes it work is the semi-translucent layer that reads like porcelain from a distance and shows your nail line subtly up close. It feels clean and low-drama, great for work or weekends, and takes about 20 minutes of real time if you let each thin coat dry. Use sheer white nail polish for the base and a fast-dry top coat to finish.
Style/Vibe: Minimal porcelain
Best For: Short to medium almond, everyday wear
Skill: Beginner
Mistake to Avoid: Painting thick coats to get "coverage" in one pass, which ruins the milky depth.
2. Soft Ombré Milk Fade
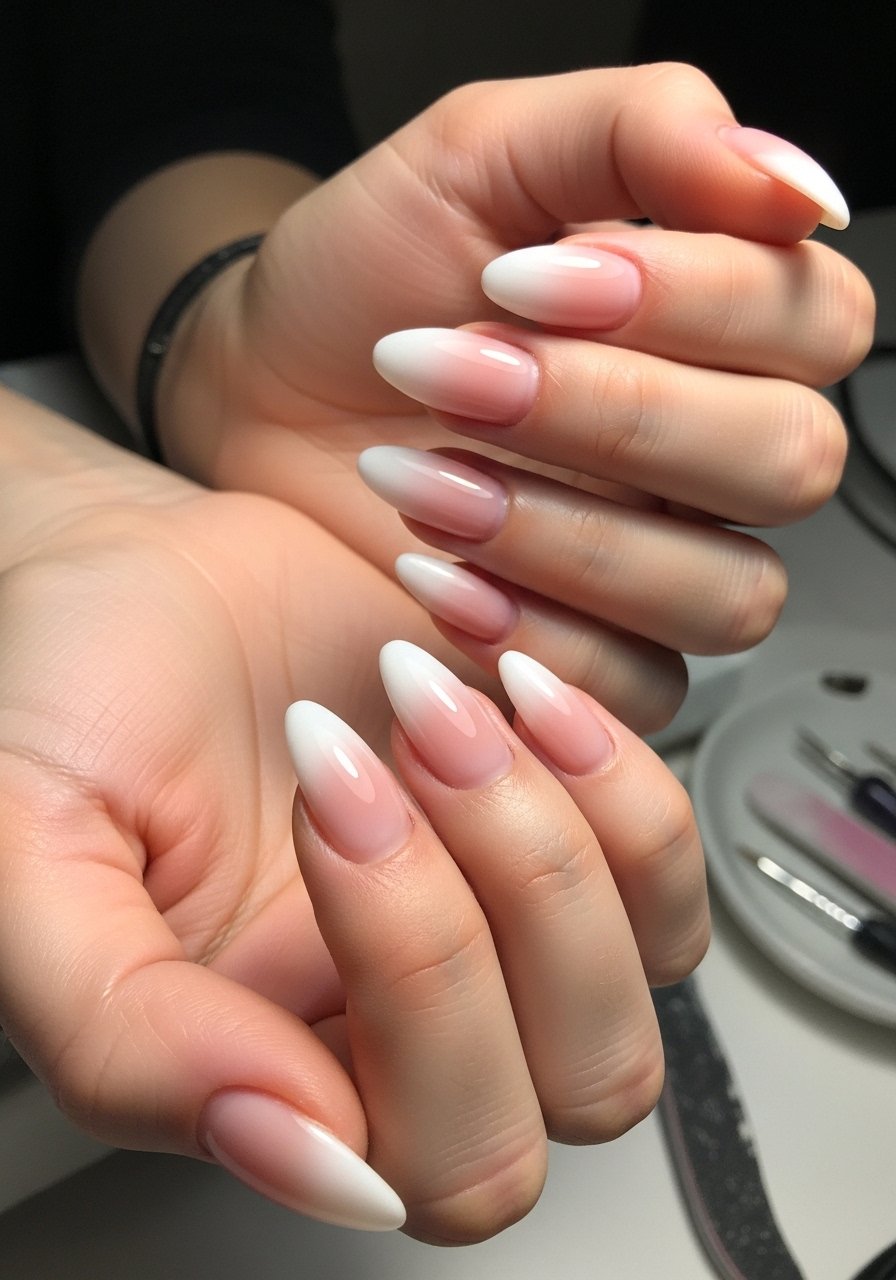
Blend a 70:30 clear-to-white mix at the cuticle and softly feather it toward the tip with a small brush. The visual trick is that the denser white sits near the nail bed and fades like blown-out film toward the tip, giving a subtle lift without a sharp line. It reads modern and soft, ideal for longer almond nails and events. Try a small synthetic brush and milky white builder polish for better control.
Style/Vibe: Soft gradient
Best For: Medium to long almond, special occasions
Skill: Intermediate
Mistake to Avoid: Dragging the product too fast, which creates streaks instead of a smooth fade.
3. Matte Milk Glass Finish
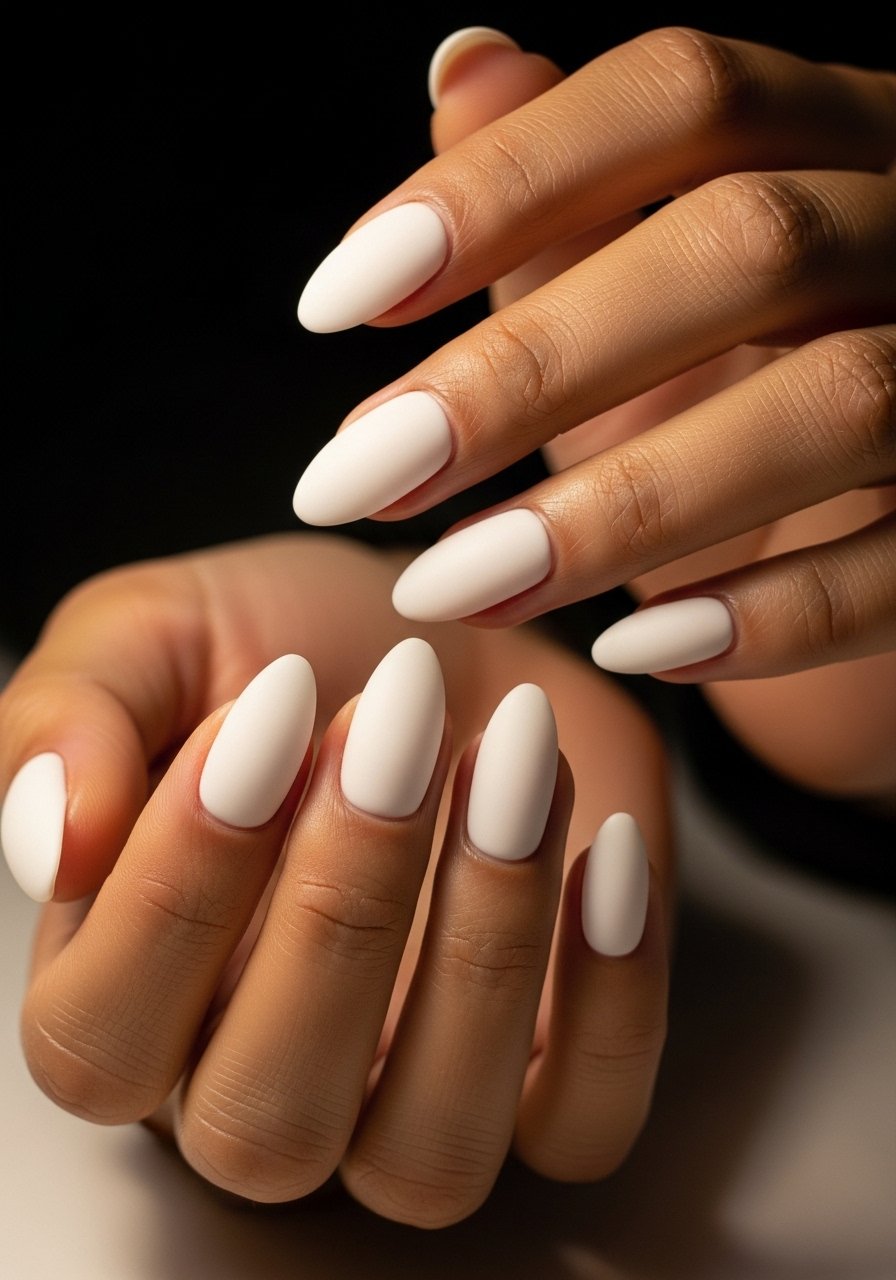
Swap gloss for matte to get that milk glass mood. Apply the same sheer layering technique, cure or dry, then finish with a matte top coat for that soft, velvety surface. It photographs muted but feels modern and intentional in person. This is low-maintenance because chips are less obvious, and it works on natural and gel nails. I like using matte top coat polish over a sheer base for consistent texture.
Style/Vibe: Milk glass chic
Best For: Medium almond, casual to office
Skill: Beginner
Mistake to Avoid: Applying matte over tacky polish before it fully sets, which traps fingerprints.
4. Tiny Negative Space Crescent
Keep most of the nail milky and leave a small crescent of natural nail at the cuticle for modern detail. That negative space makes the milky finish look intentional instead of opaque. It is quick to do with a round detail brush or a tiny hole reinforcement sticker as a guide. This suits short to medium almond nails and is salon-friendly. Use thin nail art brush set for the crescent.
Style/Vibe: Modern minimal
Best For: Short to medium almond, low-key outfits
Skill: Beginner
Mistake to Avoid: Making the crescent too large so it reads like a missing spot rather than a design element.
5. Milky with Micro-Gloss Tips

Paint a sheer milky base and add a microscopic glossy smile line at the tip with a fine brush. Up close you get a polished edge, from afar it looks like a refined French without the hard white. The fine line should be about 0.5 millimeters, which sounds nerdy but is the detail that sells the look. Use fine detail nail brush and a thin glossy polish.
Style/Vibe: Polished subtlety
Best For: Long almond, formal settings
Skill: Intermediate
Mistake to Avoid: Overpainting the tip thicker than the base, which draws attention away from the milky wash.
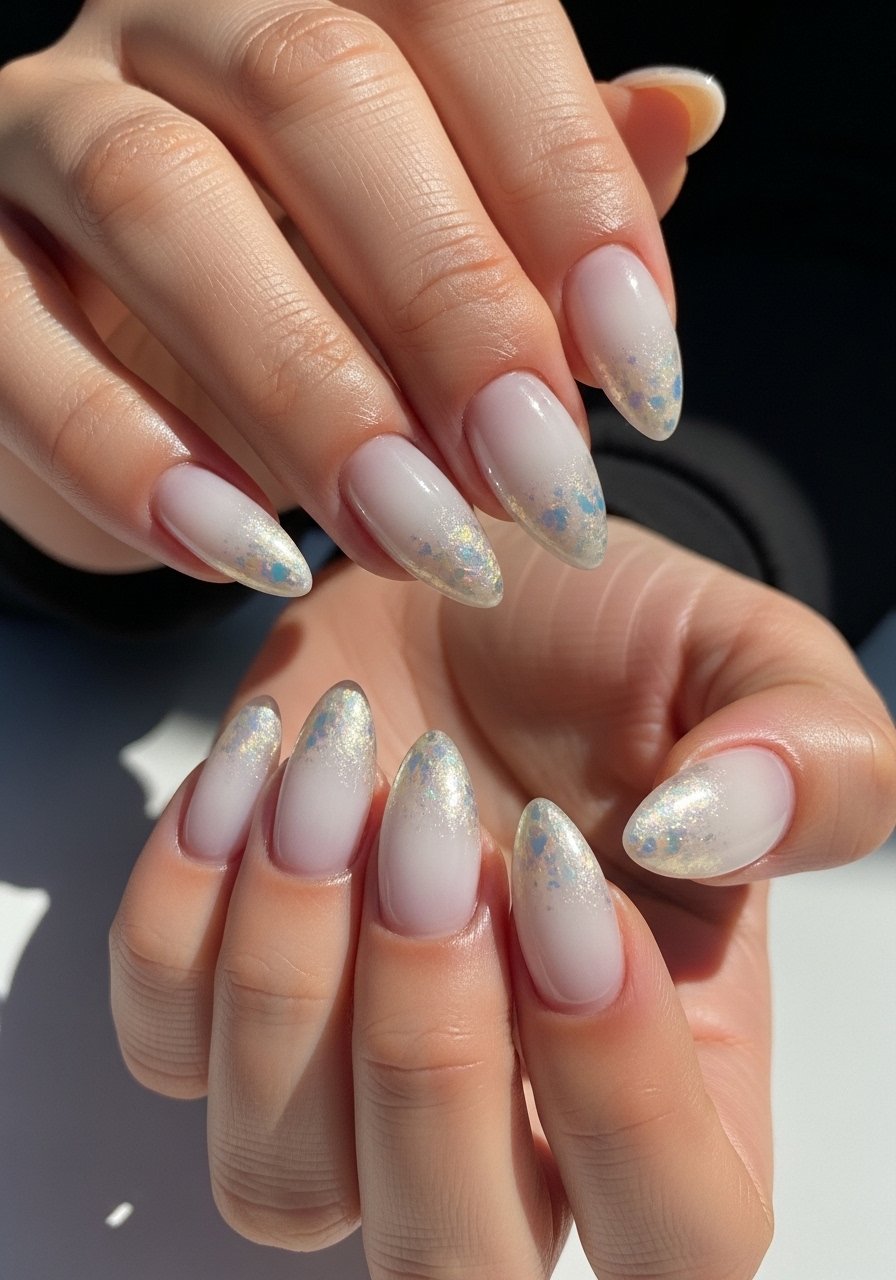
6. Sheer Milk with Gold Flakes

A milky base is the perfect backdrop for scattered gold flakes. Apply flakes sparingly, one to three per nail, near the free edge so they catch light without overwhelming the translucent finish. It reads quiet luxury and is forgiving on short nails. Press flakes into a tacky layer and seal with two thin top coats. I use gold nail foil flakes sparingly for a lived-in shine.
Style/Vibe: Subtle luxe
Best For: Short to medium almond, dates or parties
Skill: Beginner
Mistake to Avoid: Loading each nail with flakes, which makes the mani look costume-like.
7. Jelly Milk Sheen for Short Almonds
If your nails are short, go jelly-milk instead of opaque. That sheer, slightly glossy sheath lengthens the look of the nail and keeps tips from looking stubby. Mix one part sheer coral or peach with three parts white to warm the milk slightly and create a flattering skin-tone-friendly sheen. A tech who works at a salon downtown showed me this warm-milk trick and it reads natural in photos.
Style/Vibe: Warm translucent
Best For: Short almond, everyday natural look
Skill: Beginner
Mistake to Avoid: Using stark cool white on short nails, which shortens appearance.
If any of these products sound useful, here are the main tools I keep reaching for.
Milky Almond Nail Kit
Application Tools:
- thin nail art brush set (~$6-15), great for fades and tiny crescents
- fine detail nail brush (~$5-12), for micro-gloss tips
Polishes & Finishes:
- sheer white nail polish (~$8-18), base for most looks
- milky white builder polish (~$12-25), for stronger coverage when needed
- matte top coat polish (~$7-14), for milk glass finish
- quick-dry top coat (~$6-12), for busy mornings
Accents & Extras:
- gold-nail-foil-flakes (~$6-15), for tiny luxe touches
- nail glue-free stickers (~$4-10), for clean negative space guides
- nail polish remover wipes (~$6-12), for quick corrections
8. Satin Shimmer Over Milk
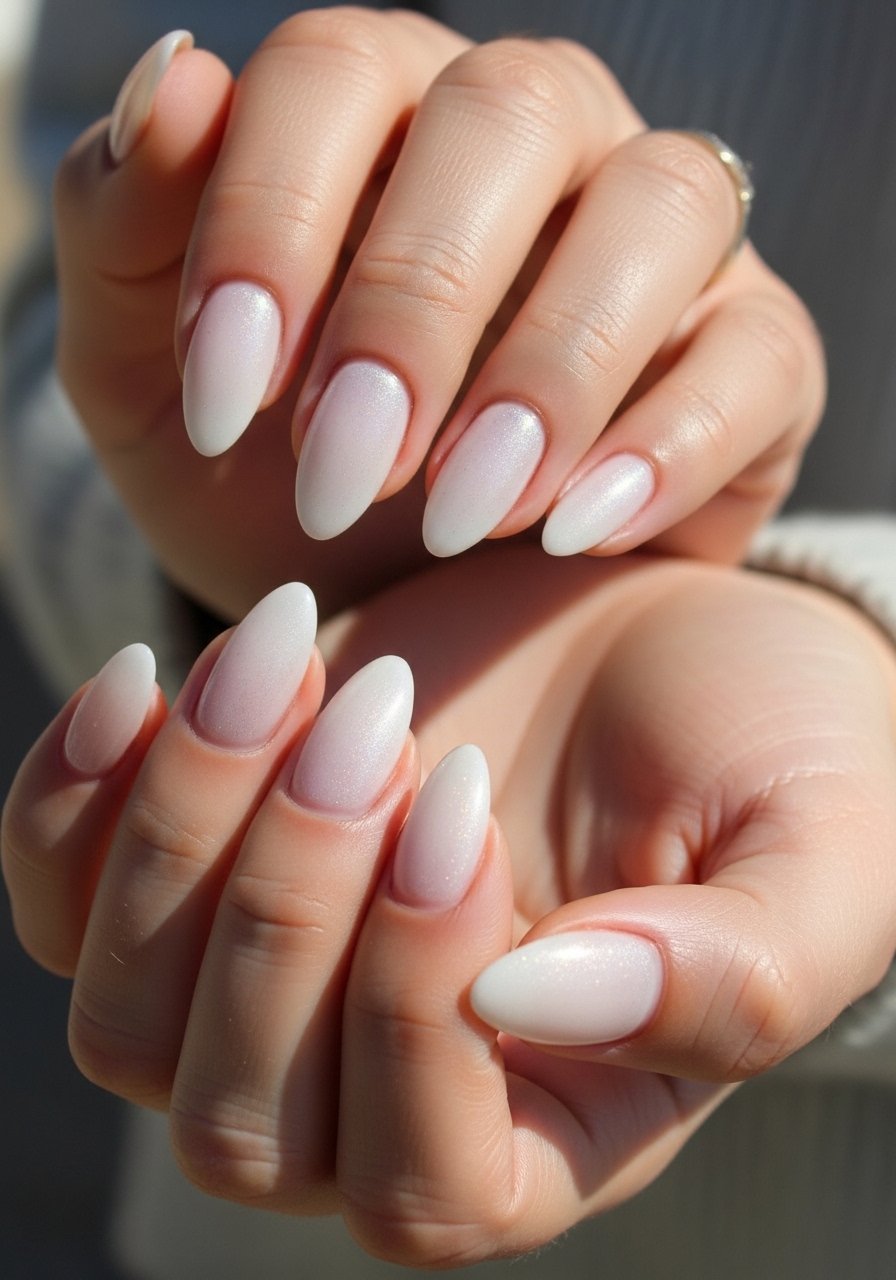
A whisper of pearly shimmer applied over the milky base adds dimension without glitter drama. Use a micro-shimmer top coat thinly, one swipe across the center, and you get soft catch-light in photos. The shimmer should be sparse enough that it does not read metallic. This is a quick upgrade for a wedding or party. I reach for pearl shimmer top coat because it layers without changing opacity.
Style/Vibe: Soft glam
Best For: Medium almond, photo-ready moments
Skill: Beginner
Mistake to Avoid: Brushing shimmer on in heavy strokes, which creates visible particles and uneven shine.
9. Ghost French with Milky Line

Instead of a bright white French, paint a very thin milk-white line where the tip begins, then blur it with a clean brush to ghost the edge. The result is an elegant nod to a French that stays soft and wearable. It suits long almond nails and looks intentional on textured fabrics. Use thin-line nail polish and a clean damp brush to soften.
Style/Vibe: Whisper French
Best For: Long almond, refined outfits
Skill: Intermediate
Mistake to Avoid: Hard edge at the smile line, which ruins the ghost effect.
10. Milky Marble Accent Nail
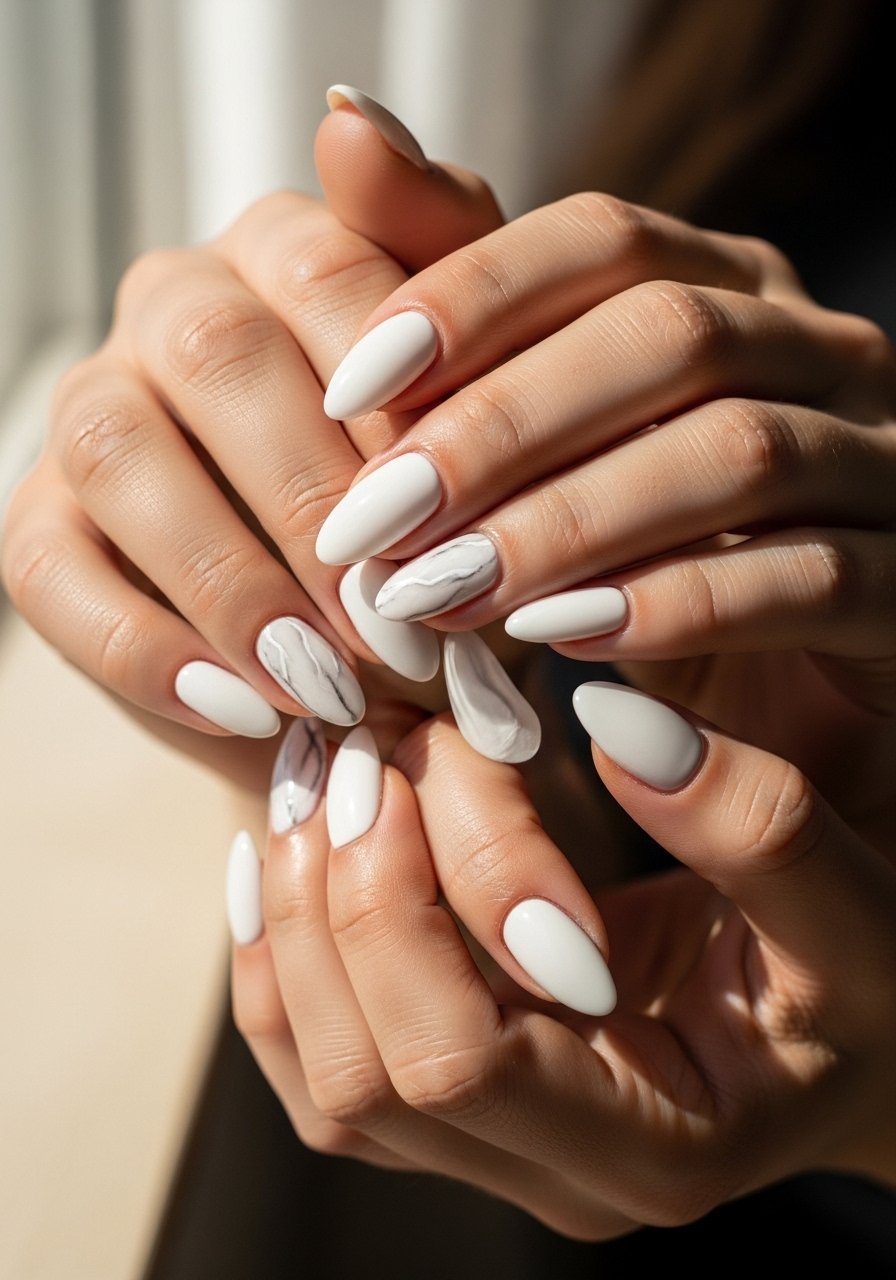
Keep most nails simple milky and go subtle marble on one accent nail. Use a thin gray diluted ink or polish for faint veins, and blur with a dotting tool for realism. The single marble nail reads editorial without being busy. It is a great place to play if you are salon-curious but not ready for a full set of art. Try nail marble pens for control.
Style/Vibe: Editorial subtle
Best For: Medium almond, creative but restrained looks
Skill: Intermediate
Mistake to Avoid: Heavy dark veins, which read like fake marble.
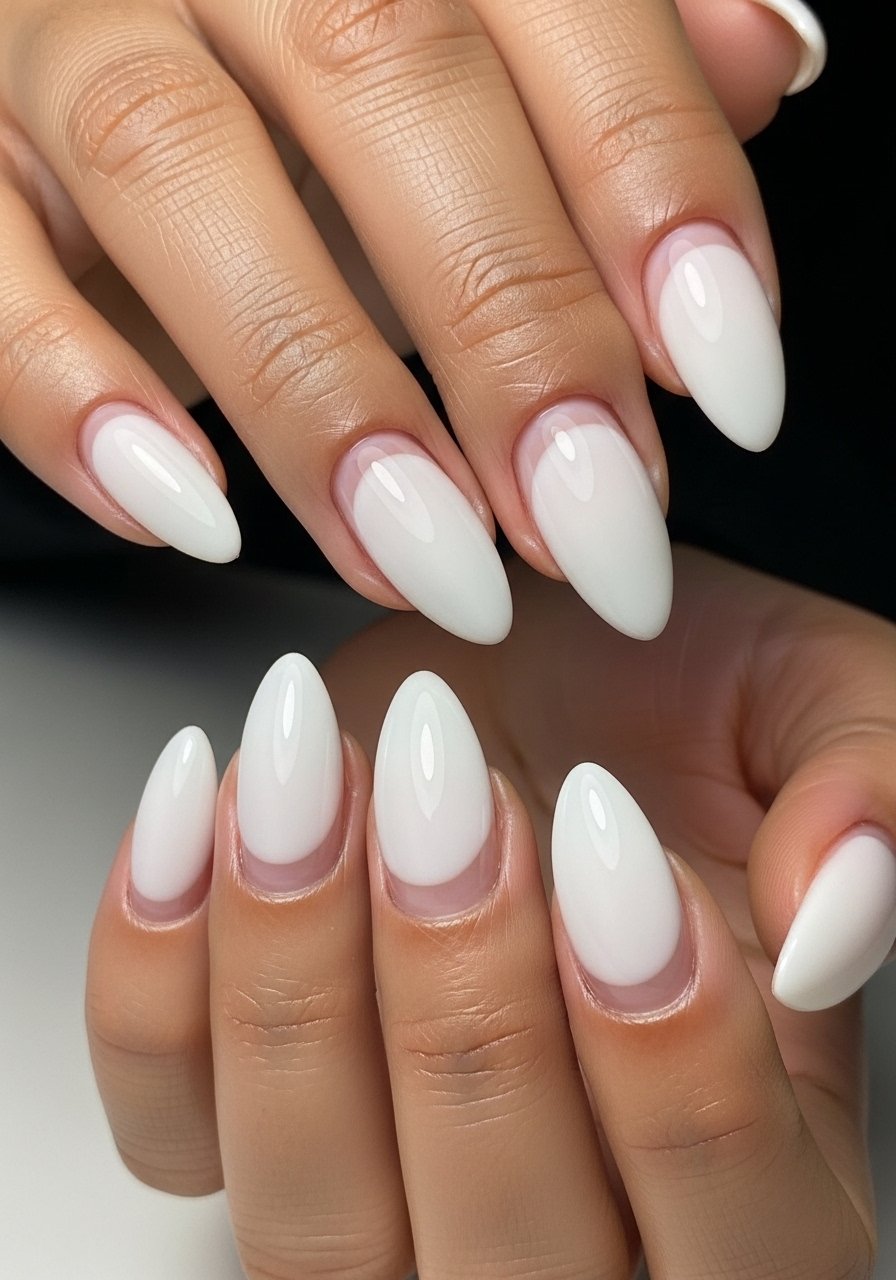
11. Opaque Milk for Long Almonds
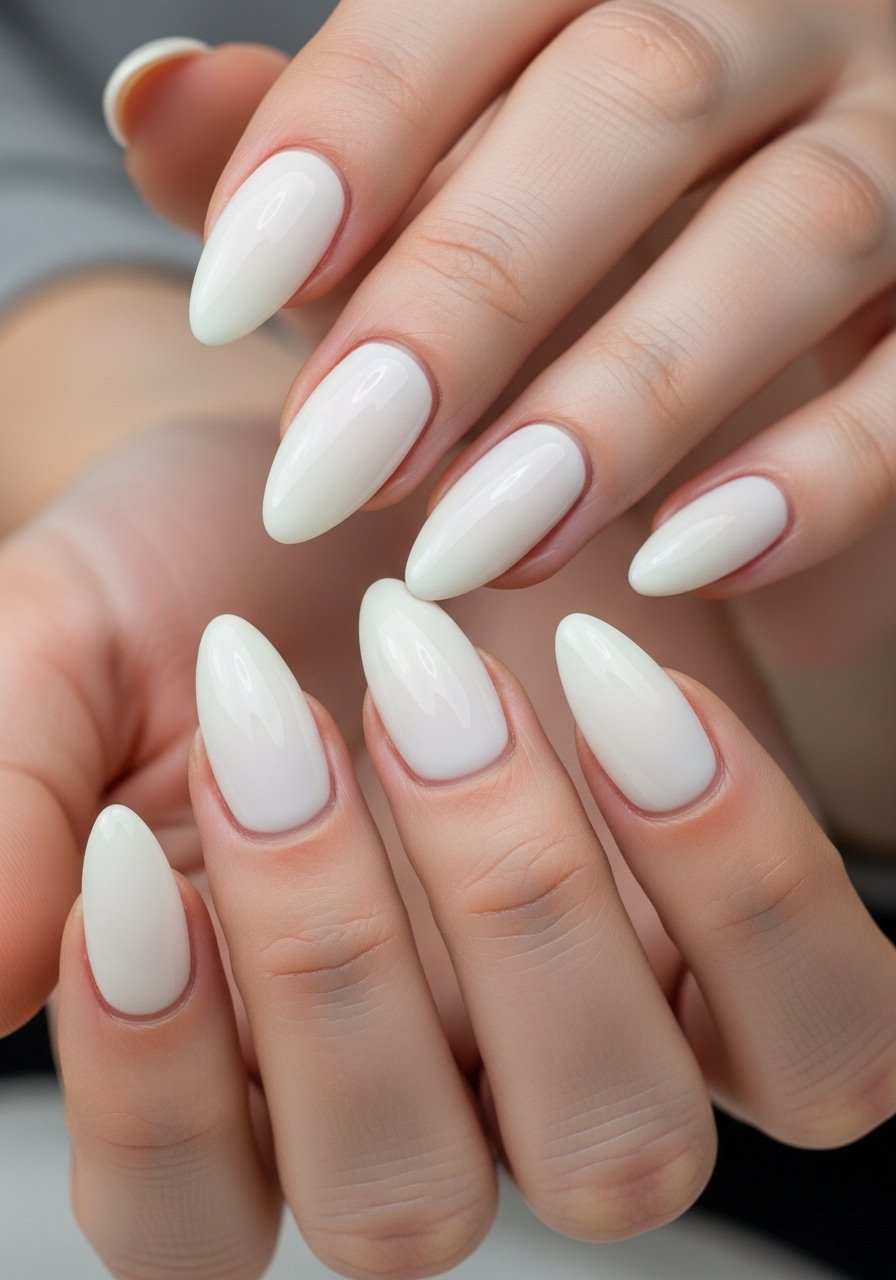
Long almond nails can carry a slightly more opaque milk than short nails. Use two thin coats of an opaque white-leaning polish and a thin final coat of sheer top to soften the edge. The bolder milky white elongates fingers and feels elevated. This approach is slightly higher maintenance because chips are more visible. Use opaque white nail polish formulated for smooth coverage.
Style/Vibe: Clean statement
Best For: Long almond, dressier environments
Skill: Beginner
Mistake to Avoid: Applying opaque polish in thick swipes, which shows brush marks.
12. Subtle Pearl Foil Gradient
Press tiny pearl foil bits at the base and drag slightly toward the center for a subtle gradient that catches light when you move your hands. It reads like an iridescent glow rather than silver flakes. This technique is forgiving on growth and works for both natural and gel nails. Seal with a glossy top coat over the foil. Use pearl nail foil for the base shimmer.
Style/Vibe: Luminous base glow
Best For: Medium almond, evening wear
Skill: Beginner
Mistake to Avoid: Placing foil all over the nail instead of concentrating it where it catches light.
13. Subtle Line Art Over Milk
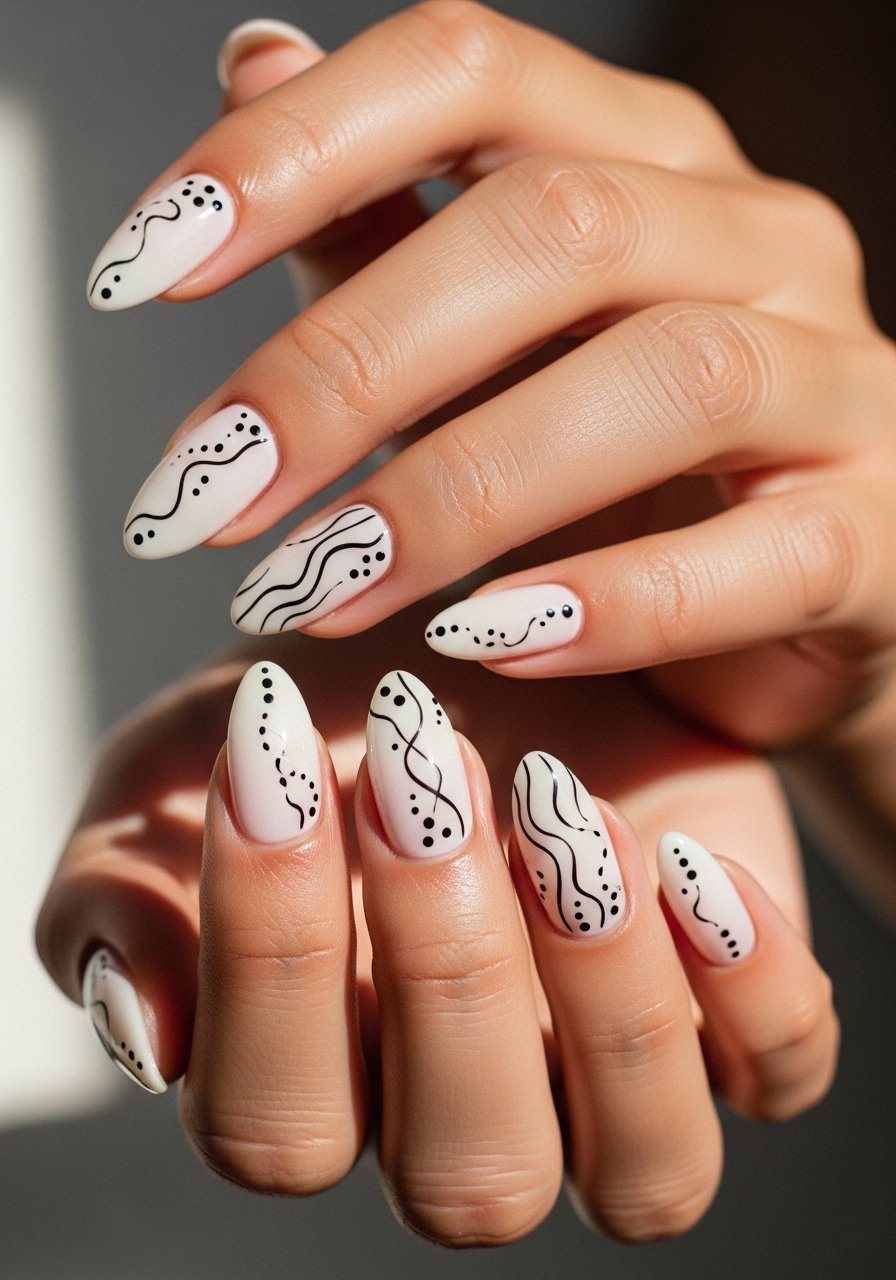
A tiny black line or dot on a milky background is surprisingly modern. Keep the lines delicate, one or two strokes per nail, and use black lacquer or gel for crispness. The contrast adds personality while keeping the overall look soft. This is great if you want a hint of graphic without full-on color. Use mini dotting tool set to keep marks consistent.
Style/Vibe: Graphic minimal
Best For: Medium almond, creative daily wear
Skill: Beginner
Mistake to Avoid: Making heavy or large black marks that overpower the milky base.
Milky Almond Mani Habits
Thin coats beat one thick coat every time. Three thin layers of sheer white nail polish look smoother and last longer than one gloopy layer.
Apply polish in three strokes per nail, not five. Grab fast-dry top coat to seal each thin coat and save drying time.
Let a very slightly tacky layer form before adding foil or flakes. I keep gold-nail-foil-flakes on hand and press them into tack, not wet polish.
If you wear gel, ask for one thin builder milky layer rather than heavy acrylic. milky white builder polish gives structure without bulk.
Buff lightly, not aggressively, before painting. A soft buff and a swipe of nail polish remover wipes removes oils and helps thin layers adhere.
