
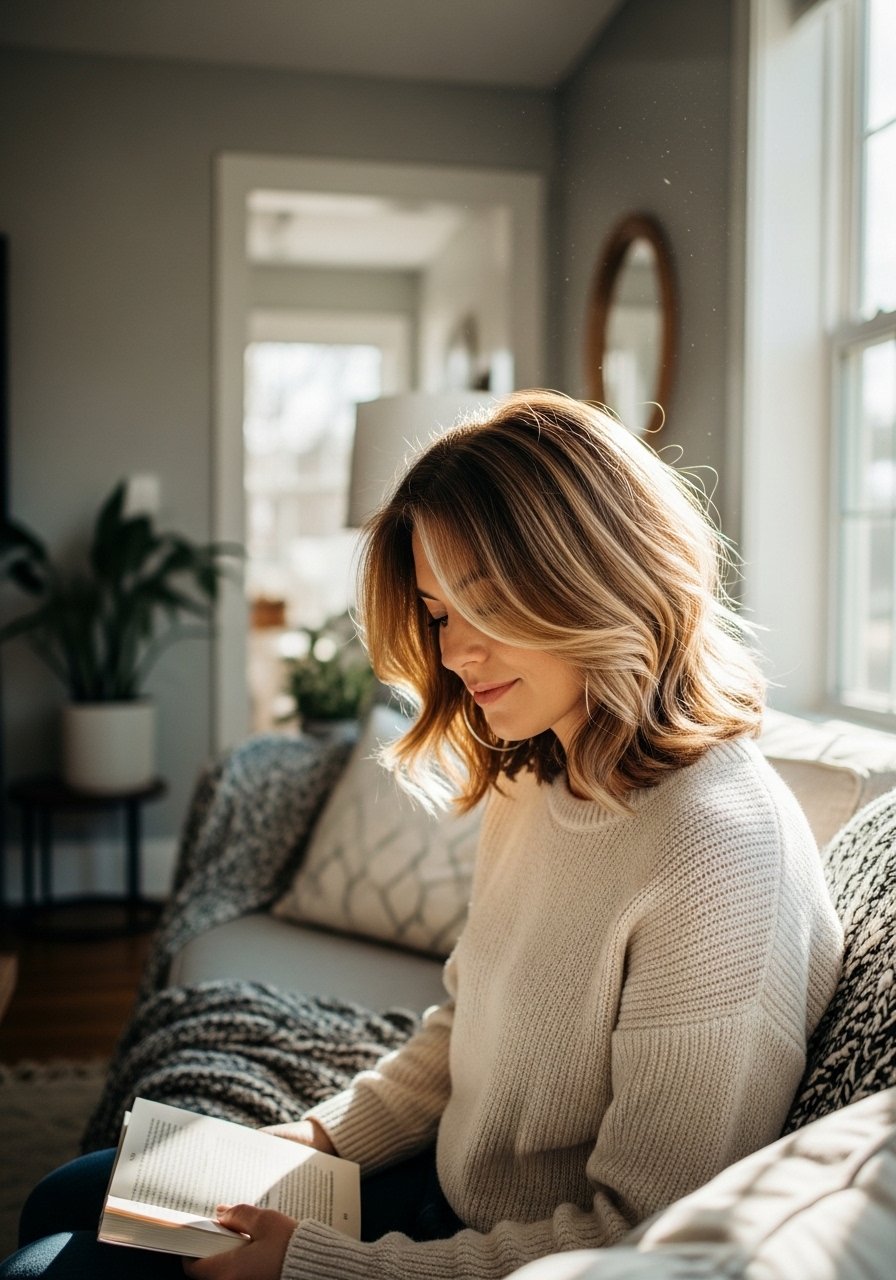
I kept asking my stylist for "just a little more shape" and walking out with slices that fell flat by noon. The moment I learned to ask for graduated lengths, face-framing pieces two to three inches shorter, and softer ends, my daily routine stopped being a tug-of-war with a curling iron. It took trying the same cut across straight, wavy, and curly hair to see what actually holds and what only looks good in the salon chair.
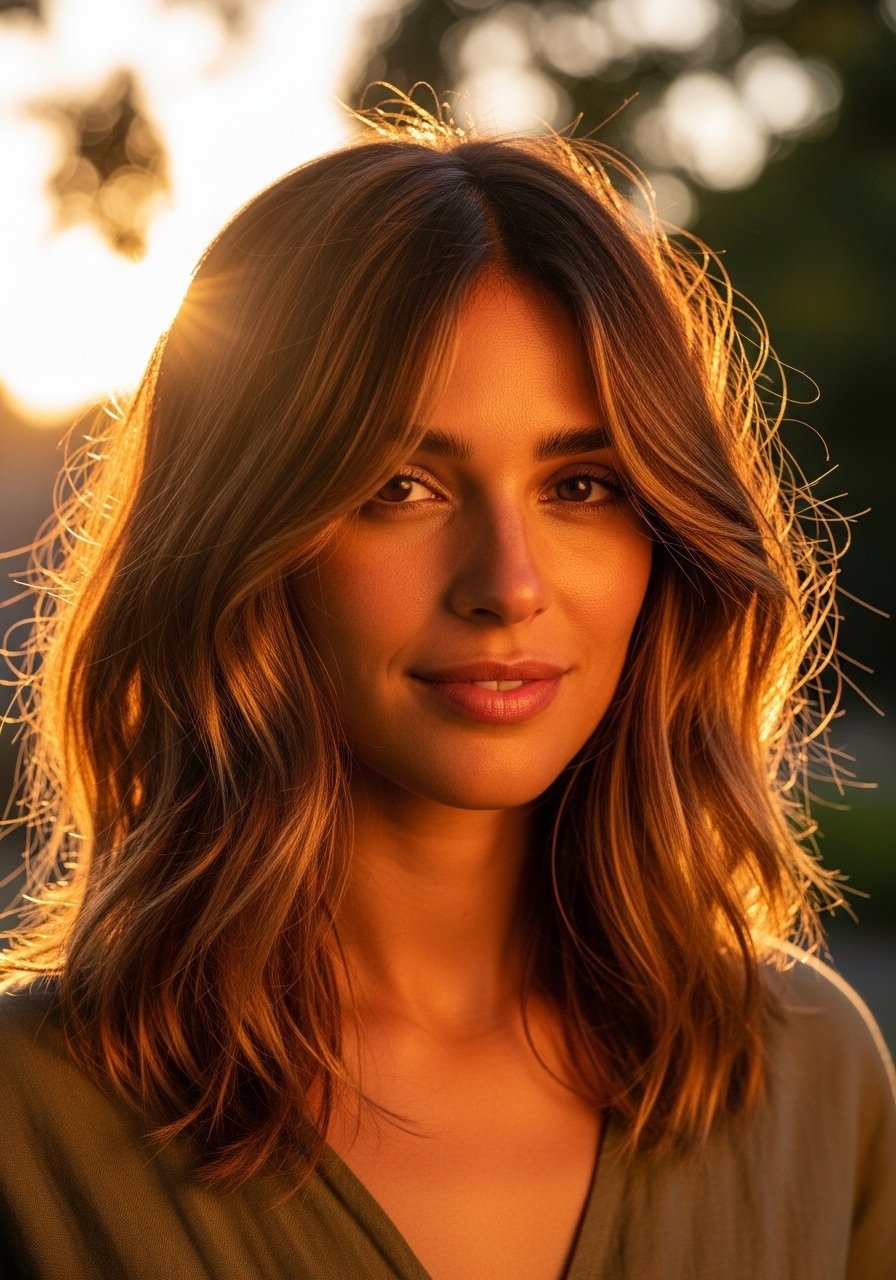
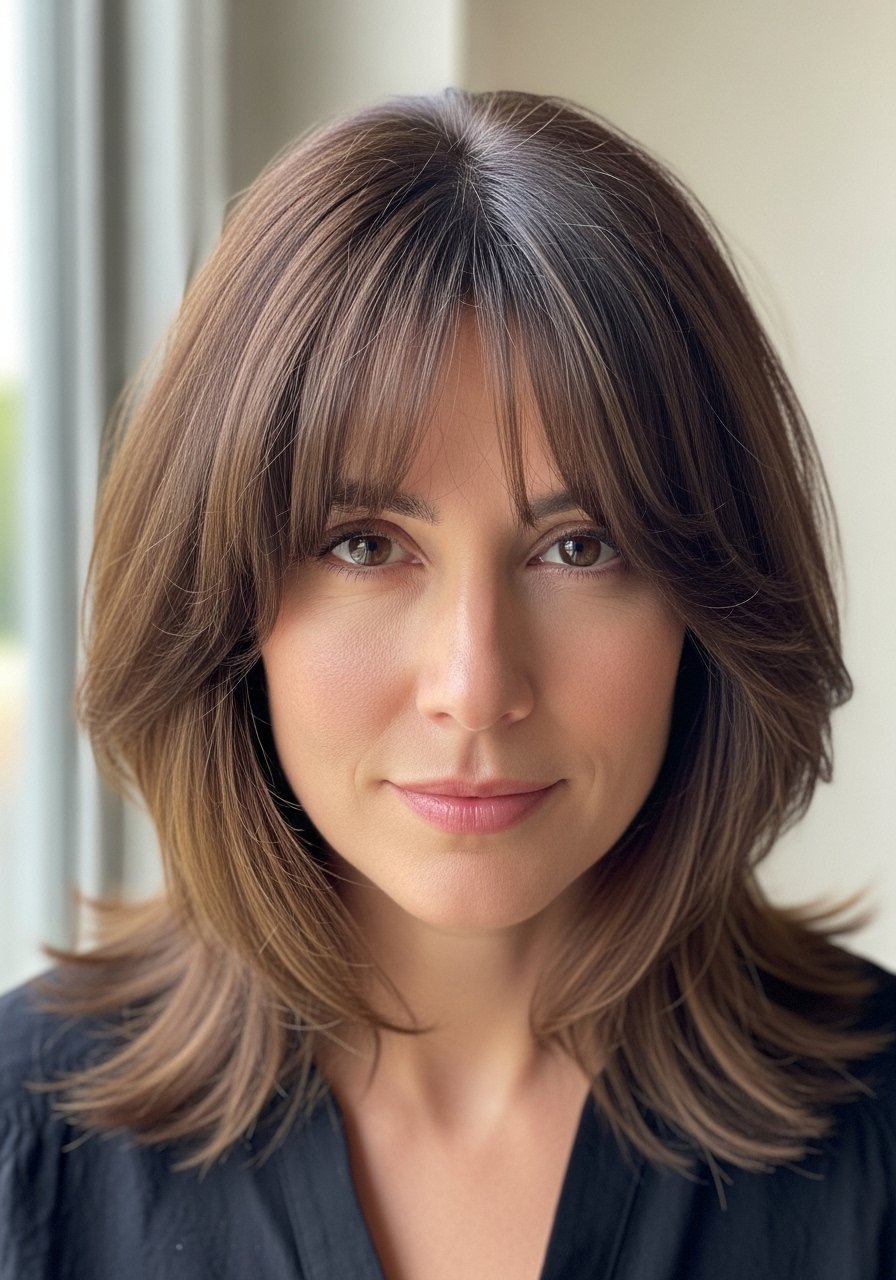
These nine looks are aimed at people with medium-length hair who want movement without losing weight, from quick low-effort styles to salon-level shapes you can maintain at home. Most require only one or two tools and a midrange product budget. I use these approaches across four hair textures I have styled, and I note easy heat-free swaps when they work.
1. Soft Blended Layers for Fine Hair
Blended layers are cut with a small vertical point at the ends to avoid a choppy look, creating the illusion of density without removing bulk. For fine hair ask for 1/2-inch graduation at the crown and longer face-framing lengths to keep movement. This makes ponytails look fuller and gives a lived-in sway when you walk. Style with a lightweight mousse and a blowout using a medium round brush, or scrunch with a salt spray for a texture option that is heat-free. I like pairing a wide-tooth comb early in the wash to detangle without breakage, then a lightweight styling milk while damp.
Mistake to Avoid: Asking for "lots of layers" without specifying softer graduation, which creates unwanted thinness.
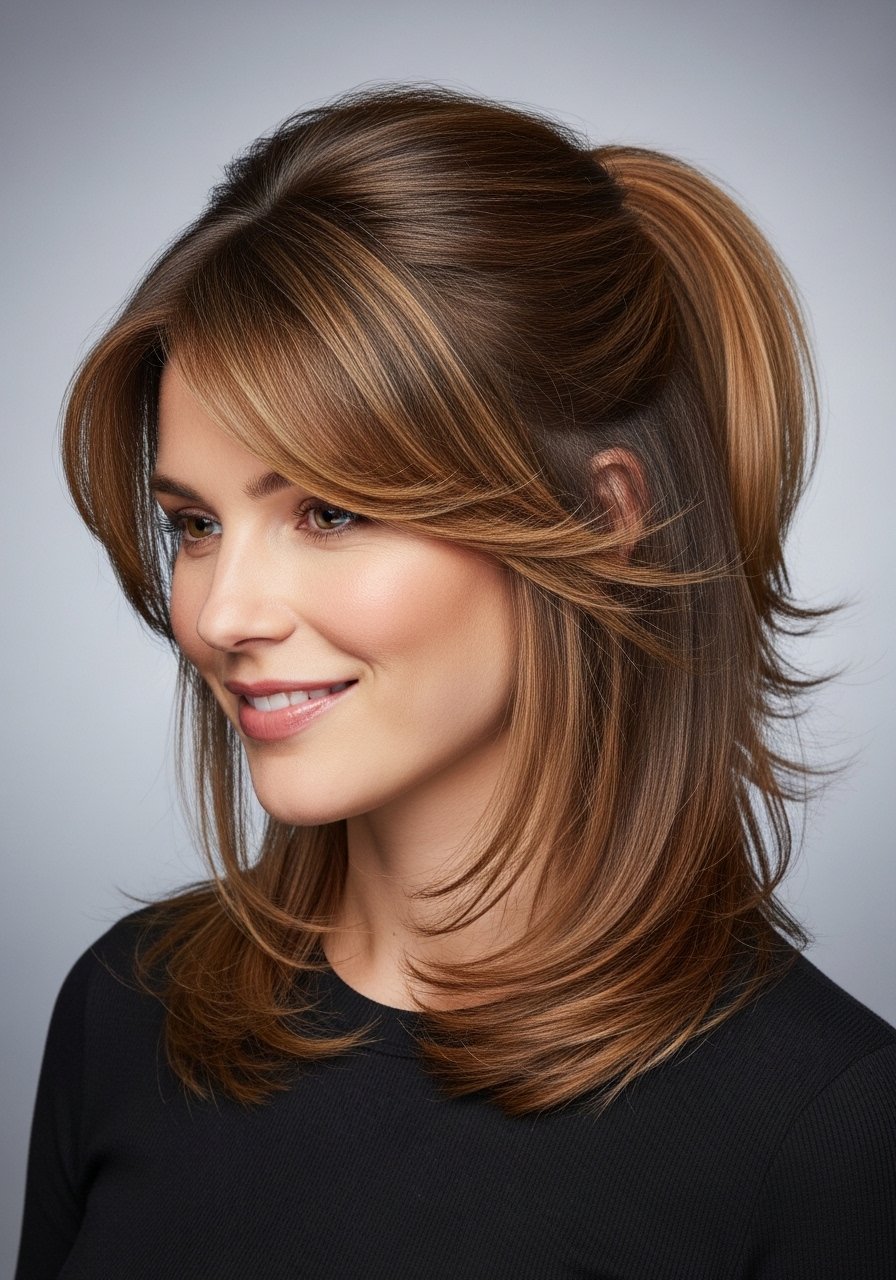
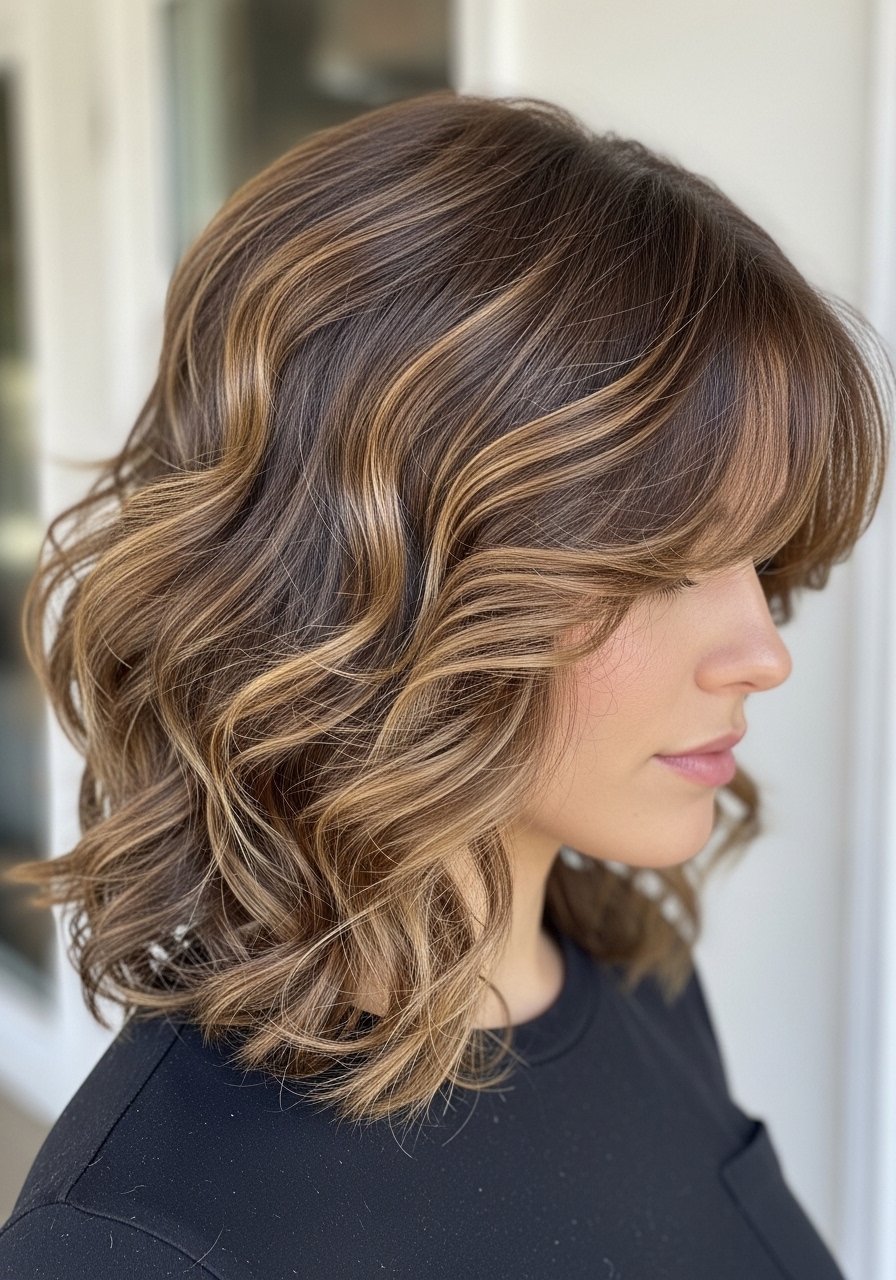
2. Curtain Layers With Face-Framing Pieces
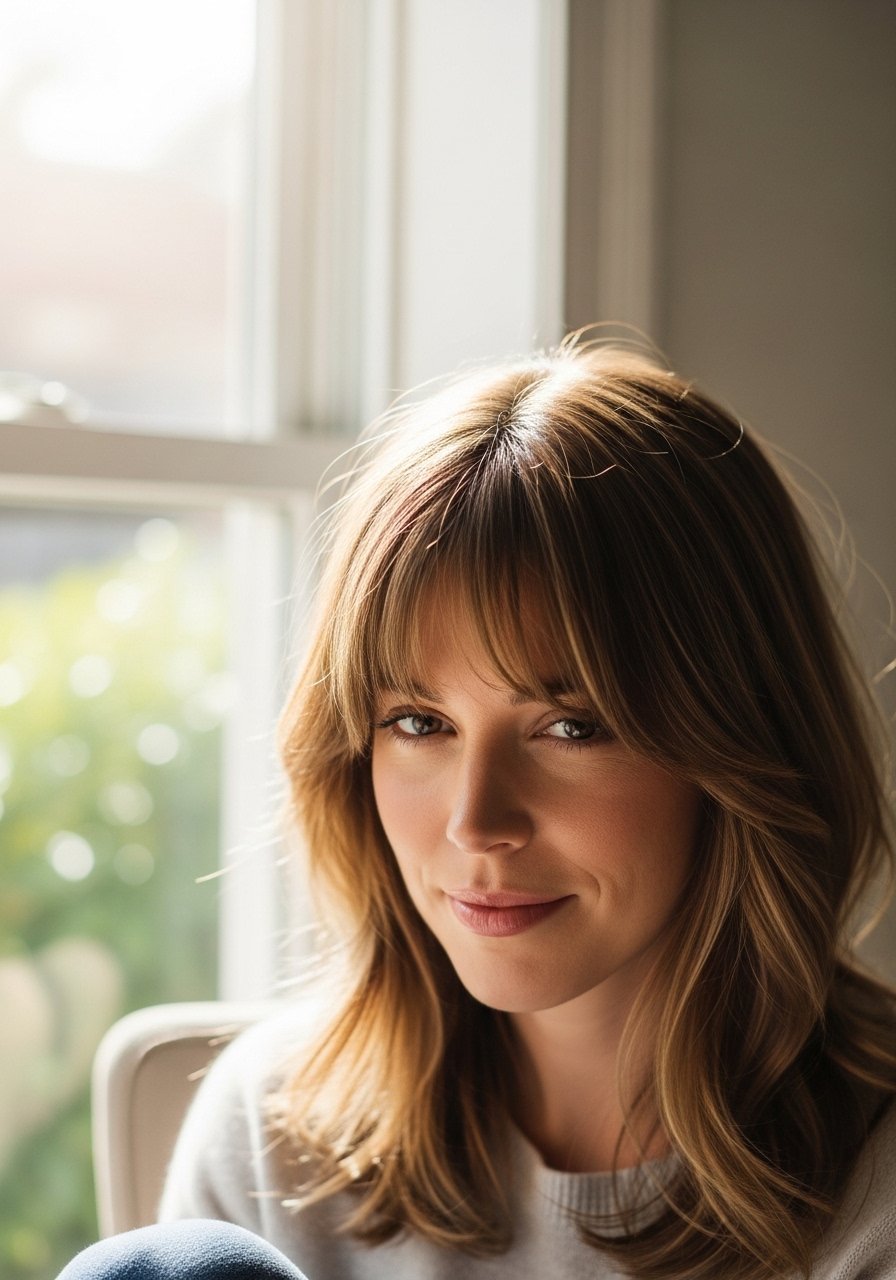
Curtain layers open the face and work with most partings, creating weight that swings while the front pieces land just below the cheekbones. Ask your stylist to keep the front pieces 2 to 3 inches shorter than the rest so they blend when you tuck hair behind one ear. This cut is low skill to style, needing only a quick round-brush sweep or a 30-second blow-dry with a paddle brush. For a lived-in finish, mist on a light texturizing spray and run fingers through the ends. It fits anyone who wants a gentle frame without committing to bangs.
Mistake to Avoid: Cutting front pieces too short, which forces frequent trims and limits styling options.
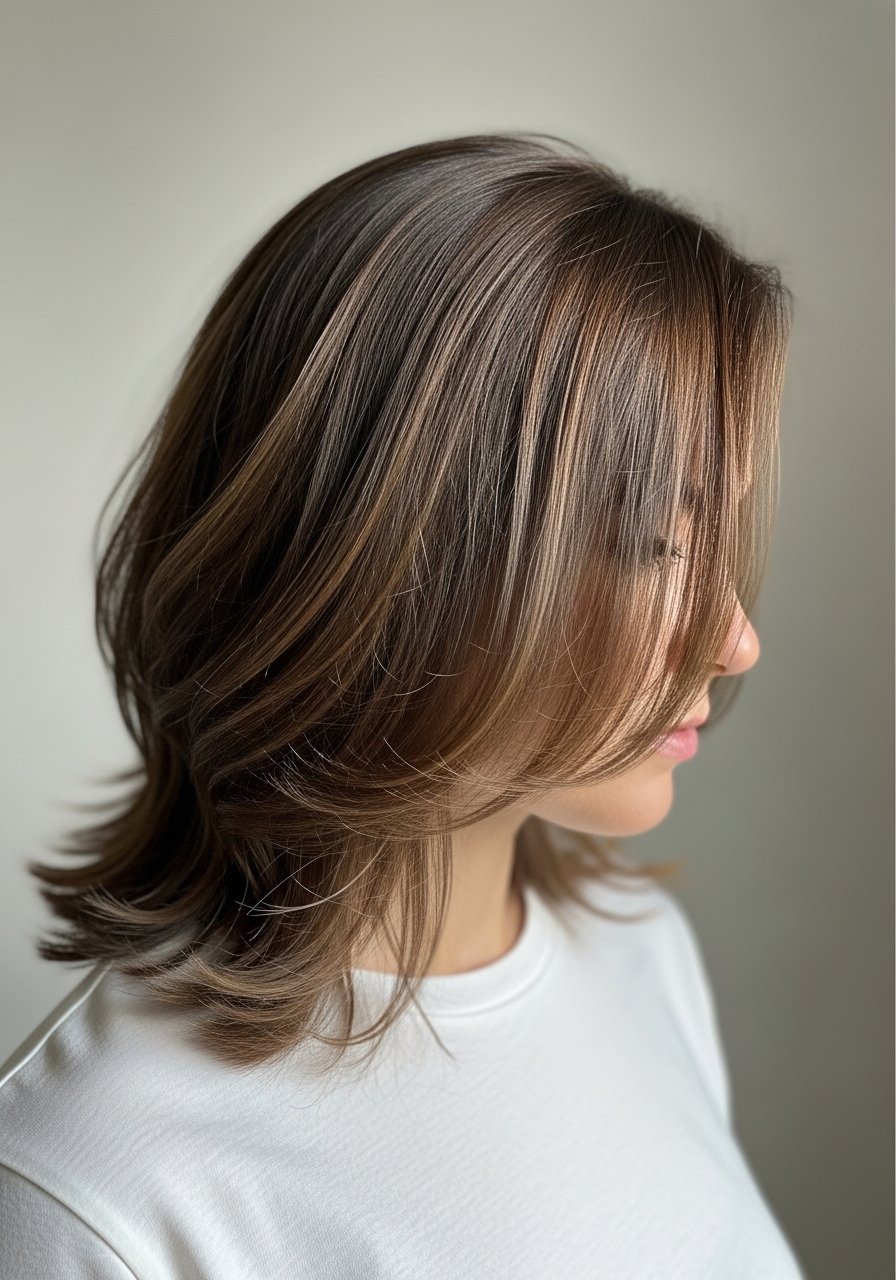
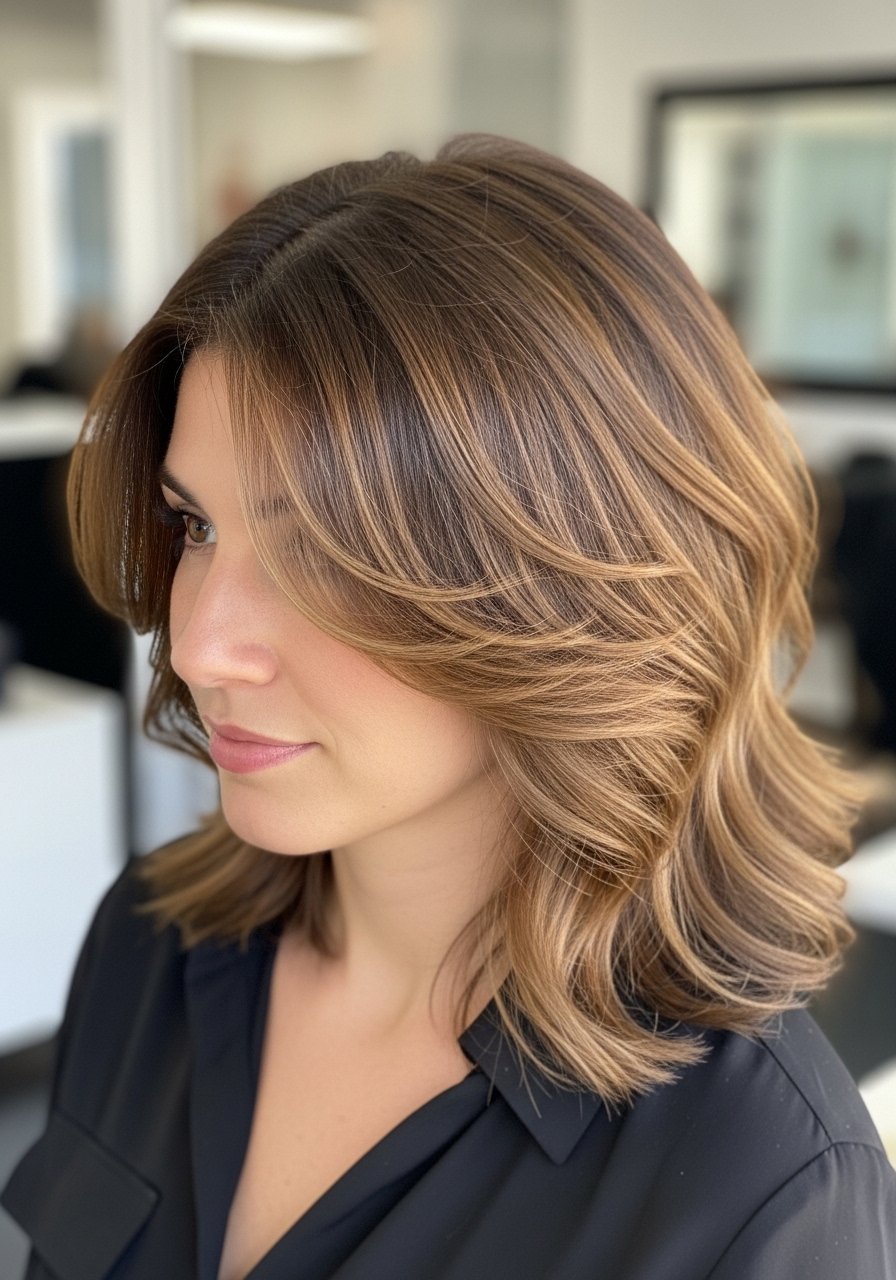
3. Subtle Layered Shag for Natural Waves
A subtle shag uses shorter layers around the crown to boost volume and longer layers through the mid-lengths so waves do not feel chopped. For wavy textures, ask for 1/8-inch thinning at the ends to reduce bulk without losing curl pattern. This creates a relaxed, lived-in vibe that air-dries beautifully when you apply a curl cream and scrunch. It is a great low-maintenance option for anyone who prefers heat-free styling. Pair with a diffuser only when you want extra definition, and skip over-brushing to keep the shape.
Mistake to Avoid: Over-thinning mid-lengths, which breaks up wave continuity and causes frizz.
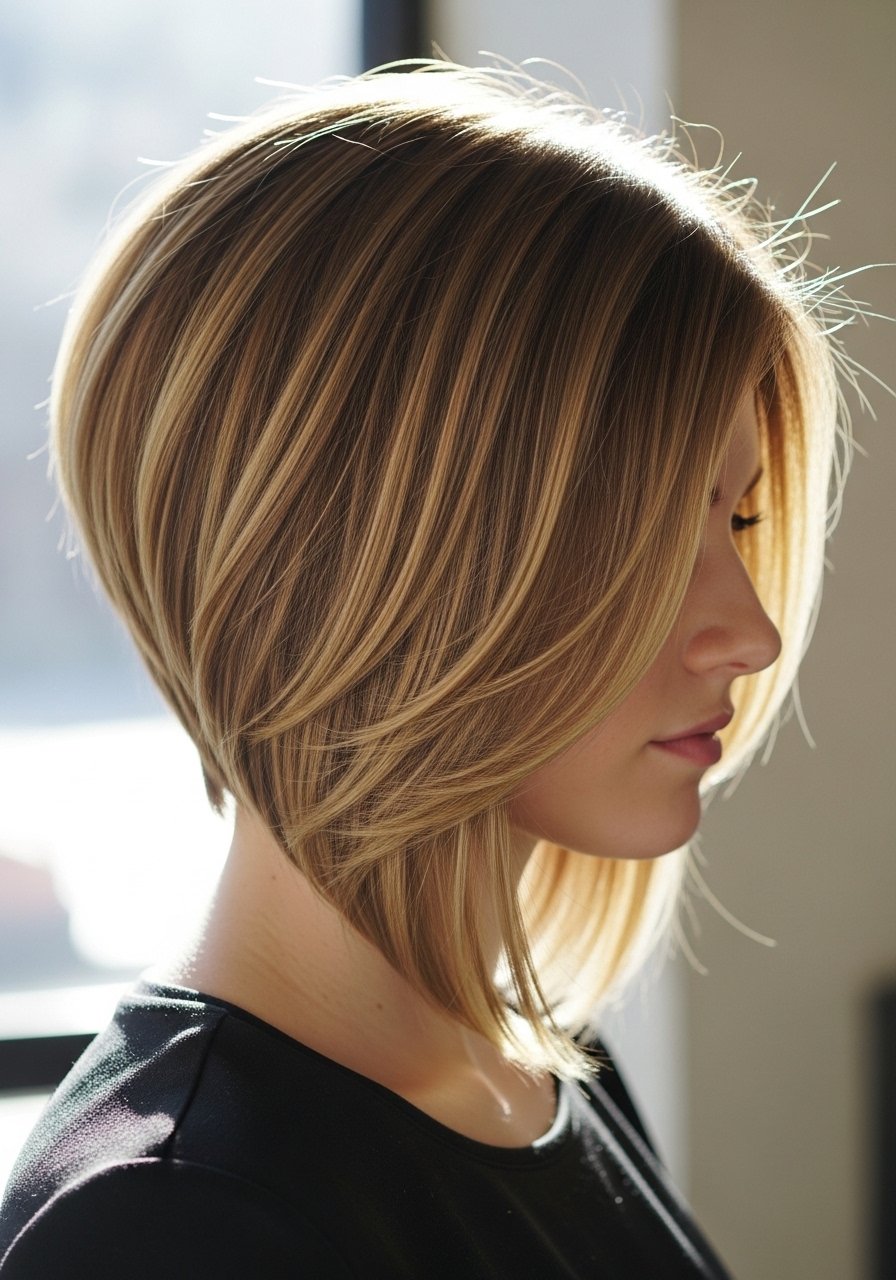
4. Razored Ends for Soft Movement
Razored ends give hair a feathered finish that reads soft on camera but still photographs as shape. This works especially well on thicker hair because the razor removes weight in a way scissors cannot. Ask for a razor light touch focused on the last inch to one and a half inches so the ends do not feel wispy. Styling is simple: a dime-sized balm on ends for shine and a quick round-brush pass for smoothness. This cut adapts to straight or slightly wavy textures and creates a modern, clean finish.
Mistake to Avoid: Requesting a full razoring all over, which can make ends appear stringy as they grow out.
5. Long Layers That Hold a Ponytail
Many layered cuts look great loose but fall apart in a ponytail. For a tidy tied-back look, get staggered layers that start below the crown and stop two inches above the ends. That subtle graduation keeps shorter pieces from popping out when you pull hair back. It also creates a smoother silhouette for buns. For styling, smooth the top with a light serum and mist a flexible-hold spray to tame flyaways. This approach is practical for active days and for anyone who alternates between updos and wearing hair down.
Mistake to Avoid: Cutting layers too short near the nape, which causes short pieces to stick out of ponytails.
6. Layered Lob With Face-Slimming Angles
A lob with diagonal layers gives the visual effect of a lifted jawline and sleeker profile. Ask for a subtle angle and layers that frame the face but do not create bulky ends. A 3-degree to 5-degree angle combined with soft interior layers creates that slimming effect without dramatic asymmetry. It styles well with a flat brush and a quick 45-second round-blow. This suits anyone wanting an updated, tidy shape that works for workdays and weekends. It also photographs well because the front length catches light.
Mistake to Avoid: Requesting a steep angle, which can read heavy on one side and needs frequent trims.
7. Hidden Layers for Volume at the Crown
Hidden crown layers are cut underneath the top layer so volume sits where you want it and the outer silhouette remains smooth. Ask for internal layers starting 2 inches from the scalp, not at the root, to avoid visible chops. This technique is a competitor gap because many articles only discuss face-framing or shag layers, not internal shaping for ponytail volume. It is low-effort to maintain, needing only a round-brush lift during blow-dry or a quick backcomb with a soft brush and a dab of powder for texture. Works across densities and is great for those who want lift without visible layering.
Mistake to Avoid: Adding internal layers too far toward the ends, which ruins the outer line and creates a stepped look.
If any of these ideas have you ready to actually try something, here is everything worth picking up.
Tools and Products for Layered Medium Hair
Styling Tools:
- wide-tooth comb (~$6-12), gentles out wet tangle without breakage
- medium round brush (~$12-25), perfect for smoothing and adding crown lift
Finishing Products:
- lightweight mousse (~$10-18), adds body without weighing fine hair down
- texturizing spray (~$12-20), for lived-in separation on waves and shags
- light hair serum (~$8-20), smooths ends and tames flyaways
Heat Tools & Accessories:
- ceramic blow dryer (~$35-70), reliable and gentle on mid-lengths
- silk hair scarf (~$10-25), protects texture overnight and reduces frizz
8. Piecey Layers for Curtain Bangs
Piecey layers work best when bangs are integrated into the cut rather than added afterward. Ask for the bangs to be cut bluntly then softened with 1/8-inch point cuts at the ends so they do not sit heavy. The front pieces should layer into the sides at cheekbone level for a cohesive flow. Style with a small amount of texturizing cream and a quick round brush or a 25mm iron for a soft bend. This look suits anyone wanting the drama of bangs without heavy maintenance.
Mistake to Avoid: Cutting curtain bangs too short at the center, which forces daily flat ironing to blend.
9. Heat-Free Layered Shape for Curly Hair
Curly hair needs layers that respect the curl pattern. Ask for staggered layers mapped to curl rings, not straight-line cuts. In practice that means the stylist cuts longer lengths for looser curls and shorter for tighter coils so the overall silhouette stays balanced. A simple wash-and-go routine with a leave-in and a gel or cream combo keeps the shape. For porosity, use a heavier cream if hair absorbs products quickly. This approach is a common gap in competitor articles that show layers on straight hair but ignore curl mapping techniques.
Mistake to Avoid: Cutting wet curls without checking the dry shape, which often leads to uneven length once the hair shrinks.
Keeping Layers Fresh Longer
Thin trims every eight weeks keep shape without shortening the style. Small, targeted trims on the ends prevent layers from separating oddly as they grow.
Grab a good pair of hair-cutting scissors for quick at-home snips. Learn to take off 1/4 inch, not more, and keep the line soft.
Curly and wavy textures do best with product applied in sections while damp, not all at once. A microfiber towel reduces frizz and saves drying time.
Most people overuse a high-hold spray on layered cuts. Try a flexible-hold hairspray instead for movement and long wear without stiffness.
If you want to switch to heat-free days, a small jar of styling cream that defines without crunch is the best single product investment.
