
I kept asking for small Maori motifs and ending up with fuzzy lines. After my third touch-up I realized the problem was never the artist alone. It was scale, placement, and whether the design had permission to be used as a personal motif. The moment I started testing stencil size on my skin and trying a henna mockup first, the pieces read cleaner and stayed meaningful.
These nine ideas aim for designs that read well over time, that are coverable when you need them to be, and that respect cultural context. They skew beginner-friendly on budget and technical demand, with a few that need an experienced artist. I compiled these after seeing variations across five shops I have visited, so you get what works in real life not just on a feed.
1. Koru Flow On Forearm
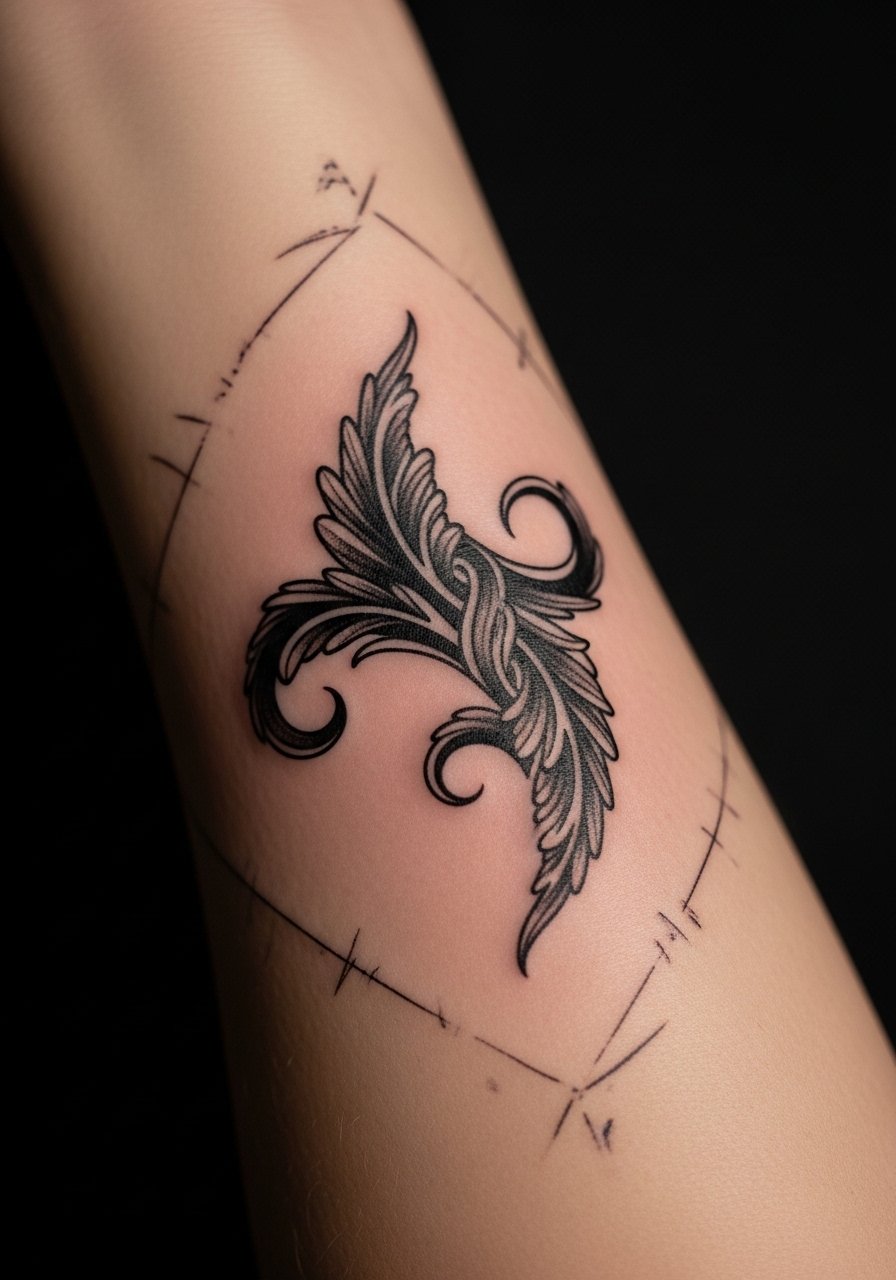
Style/Technique: Fine Line Koru
Pain Level: 4/10
Session Time: 1 to 2 hours
Best For: Forearm, people who want a coverable daytime piece
The koru reads as a spiral of new growth. It works when the inward curl sits at a 2 to 3 millimeter line weight so the negative space breathes, not when the artist packs too many tiny swirls into a short span. Visually it gives motion and calm at once, and it fits someone who wants a discreet, elegant piece that layers under shirts. For home care I used a lightweight tattoo aftercare balm that avoided clogging the lines. Budget wise it is a short session and low touch-up risk when scaled correctly.
Mistake to Avoid: Asking for microscopic detail on a small forearm panel which will blur as it heals.
2. Manaia Guardian Linework
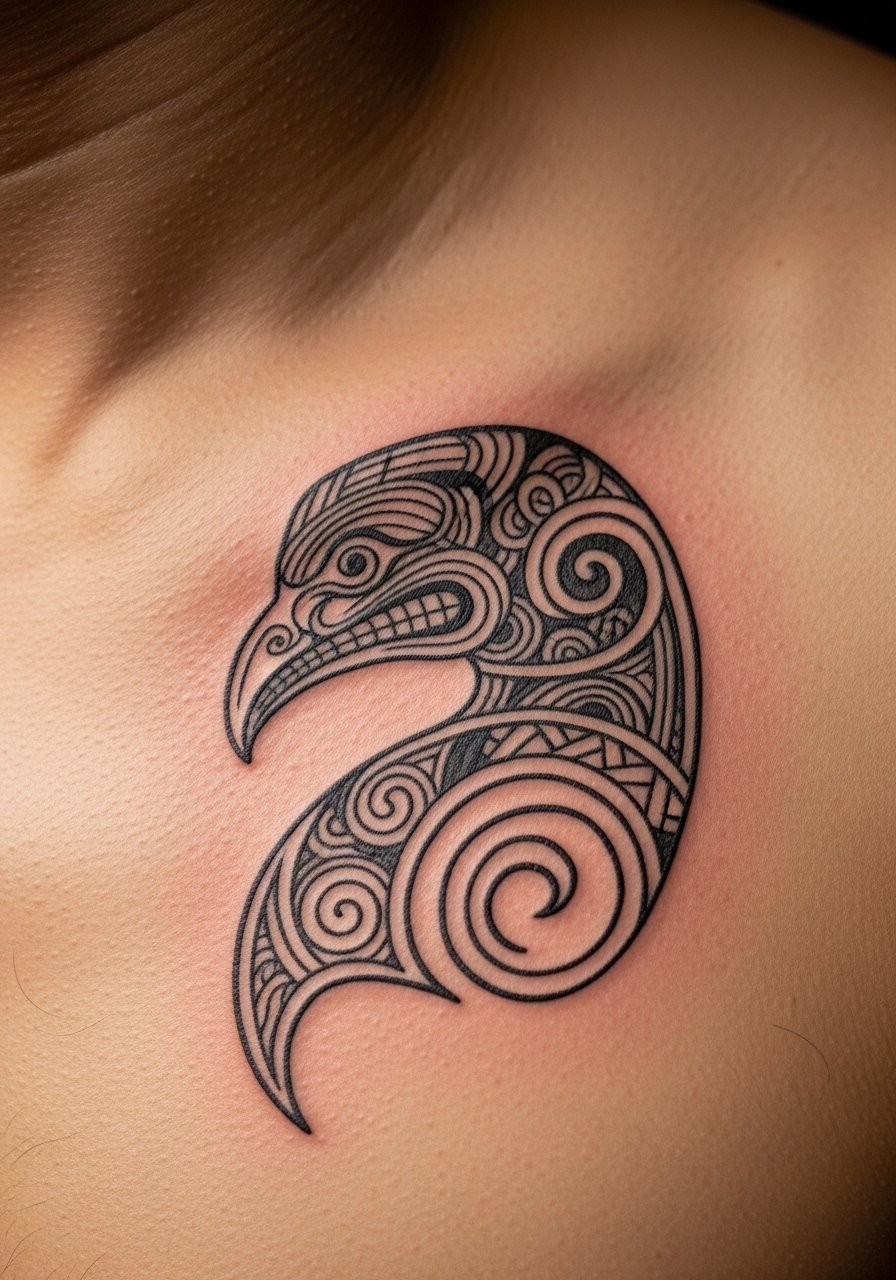
Style/Technique: Single Needle Linework
Pain Level: 5/10
Session Time: 1.5 to 3 hours
Best For: Upper chest, work-coverable under shirts
The manaia is a guardian motif that benefits from bold negative space and clear silhouette. It reads strongest when the main contour lines are spaced around 3 to 4 millimeters apart, which keeps the beak and body distinct on darker skin. This gives a grounded, protective feeling without being overly busy. If you want to trial placement, a temporary stencil transfer paper helps you test visibility with real clothing. Cultural-sensitivity matters here. If you are not Māori consult with an artist and be transparent about your intention.
Mistake to Avoid: Requesting full traditional motifs without discussing meaning and consent with the artist.
3. Hei Matau Minimal Hook
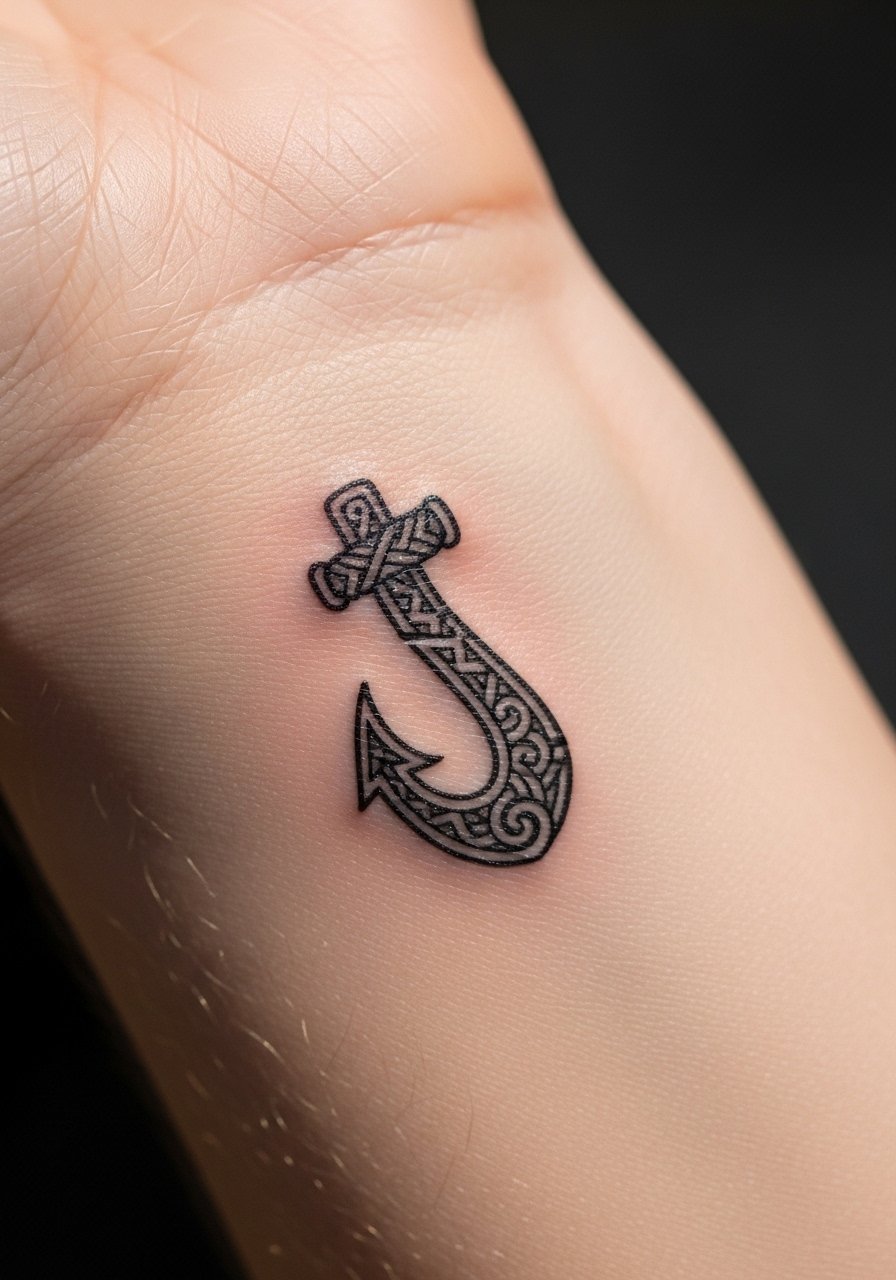
Style/Technique: Minimal Solid Black
Pain Level: 3/10
Session Time: 30 to 60 minutes
Best For: Wrist, ankle, people wanting a small symbolic hook
The hei matau is a fish hook symbol that feels like a simple daily talisman when kept minimal. It works visually as a single bold curve with a 0.6 to 1 millimeter taper at the tip so it heals into a crisp crescent. The result is intimate and easy to hide for workplaces that need coverability. This is a budget-friendly option since it is a short session. For planning I recommend trying a clear adhesive mockup before inking, and bring a sensitive-skin cleanser to the studio if you react to standard soaps.
Mistake to Avoid: Shrinking the hook too small so the curve fills in as it heals.
4. Whakaruruhau Shield Panel
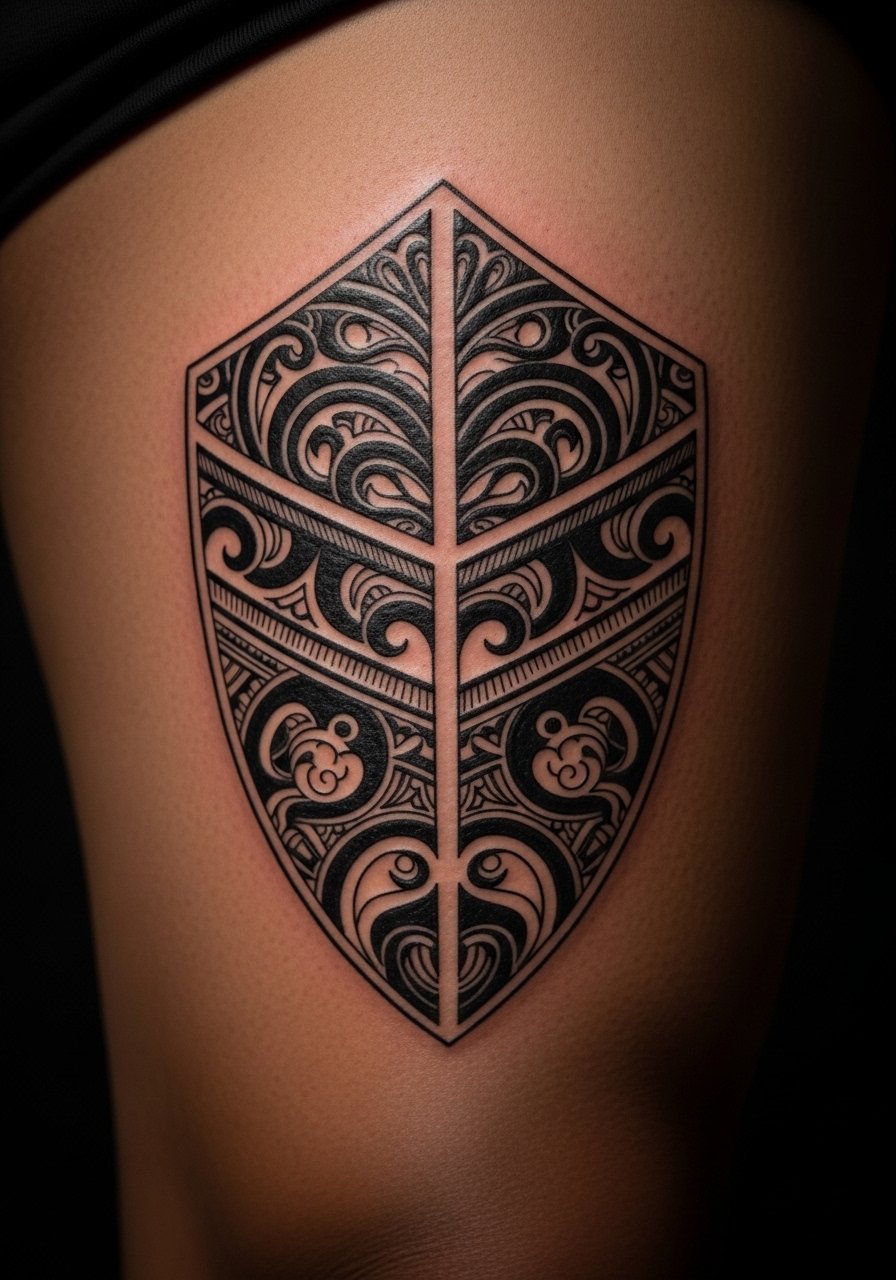
Style/Technique: Block Shading With Dotwork
Pain Level: 6/10
Session Time: 2 to 4 hours
Best For: Thigh, people wanting a statement piece that is coverable
A shield panel, or whakaruruhau, is about structure. The visual success comes from alternating filled panels and 2 to 3 millimeter open bands so each motif reads from a distance. It feels protective and deliberate, and it suits someone who wants a larger piece that stays private when needed. This takes more time and an experienced artist for crisp block fills. Bring a compression band and plan for layered sessions. I use a tattoo numbing gel for longer fills, but discuss with your artist first.
Mistake to Avoid: Asking for solid black across a wide area in one pass, which can scar or heal unevenly.
5. Kowhaiwhai Rib Band
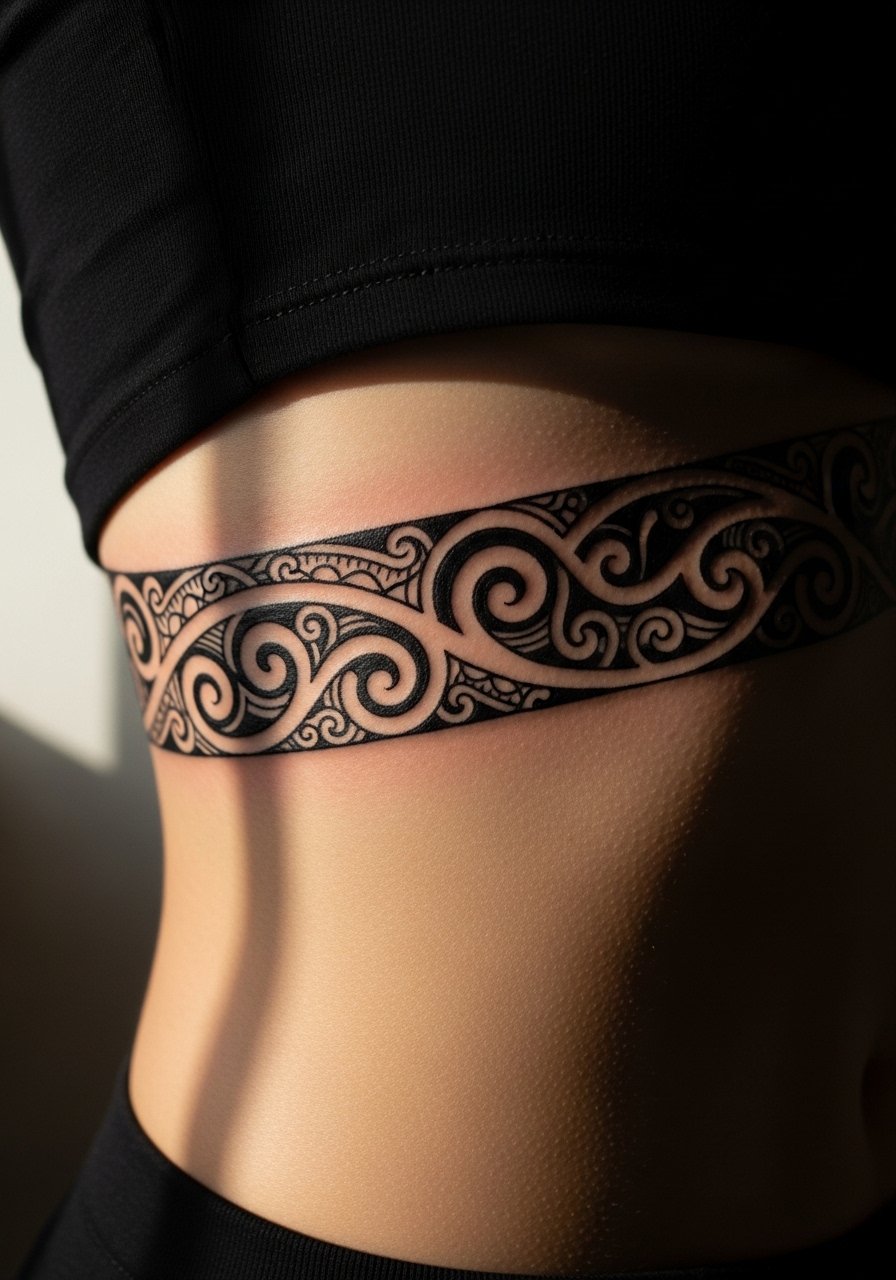
Style/Technique: Repeating Kowhaiwhai Band
Pain Level: 7/10
Session Time: 1.5 to 2.5 hours
Best For: Ribcage, people comfortable with higher pain and intimate placement
A kowhaiwhai band uses flowing repeated motifs. It works because rhythm matters. Keep each repeat at a consistent 8 to 12 millimeter length so curvature reads natural across body movement. The feeling is lyrical and personal. Ribs are higher pain and need slower sessions. For aftercare the thin skin and stretch calls for a breathable cover and a non-greasy healing ointment that does not saturate the stencil. This is a mid-budget idea with real presence when scaled to your torso.
Mistake to Avoid: Crowding the repeats too closely which makes the band muddled when you twist.
6. Mataora Geometric Sleeve Accent
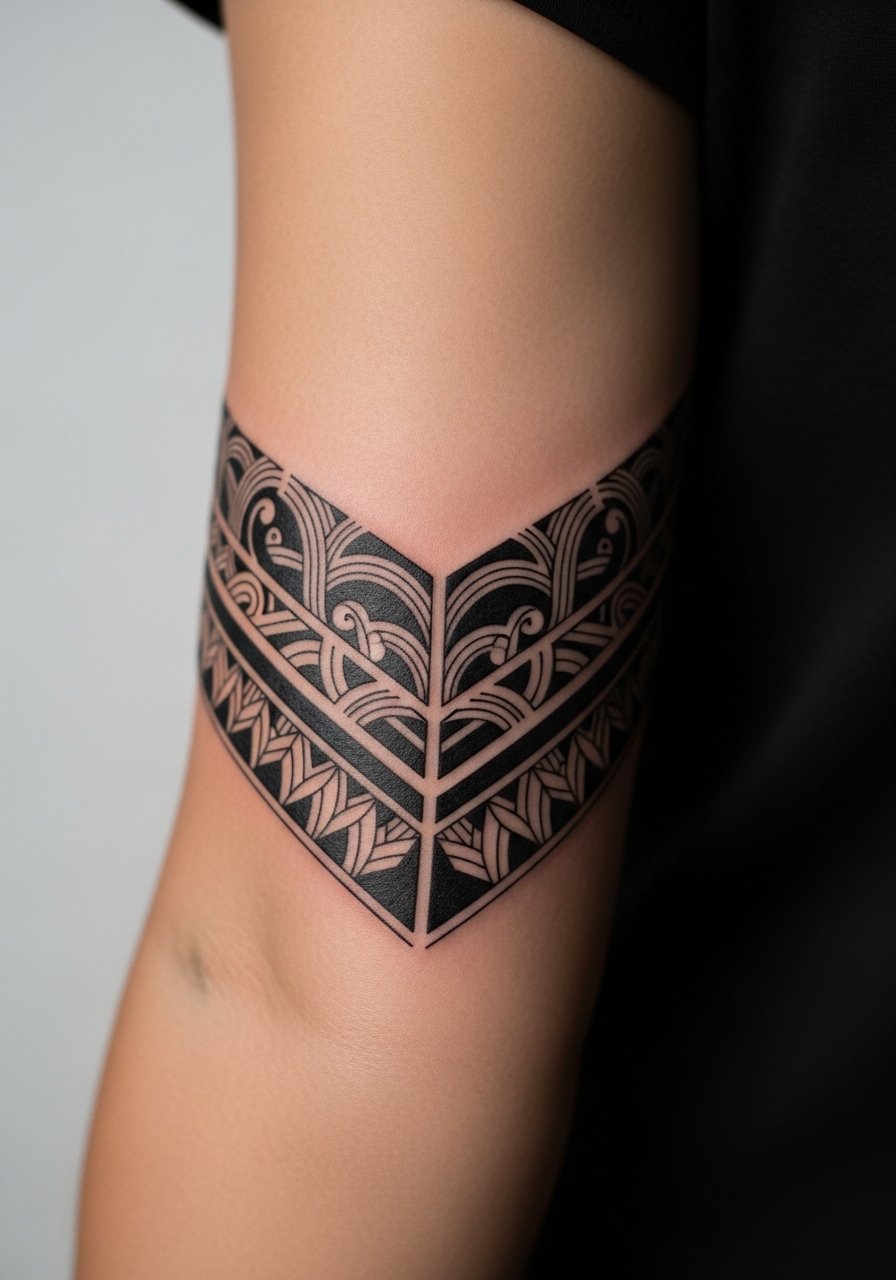
Style/Technique: Geometric Integration With Negative Space
Pain Level: 6/10
Session Time: 2 to 5 hours
Best For: Lower arm, those building a sleeve with cultural motifs
The Mataora accent mixes geometric panels and curved koru to slot into a larger sleeve. It works visually when you plan negative space ratios of roughly one to three, meaning one part open skin to three parts inked forms. That ratio keeps the sleeve readable and prevents patchy texture as it heals. This is for someone piecing a sleeve over multiple sessions and willing to pay for a cohesive plan. Pair with a studio-grade aftercare cream and ask the artist about how shading will age against your skin tone.
Mistake to Avoid: Dropping in a sleeve accent without measuring the surrounding open space, which creates crowded seams.
7. Ta Moko Inspired Cheek Accent
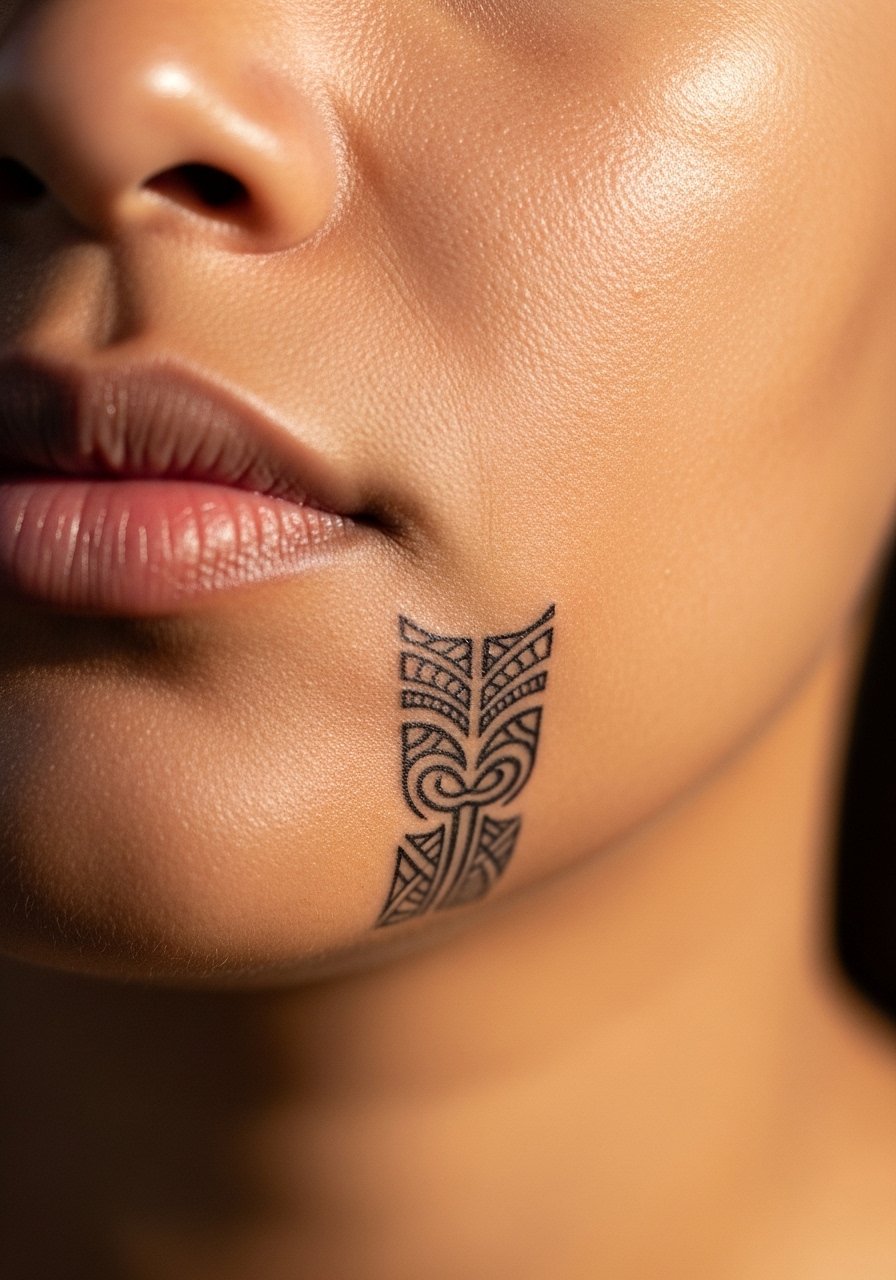
Style/Technique: Curved Facial Linework
Pain Level: 5/10
Session Time: 1 to 2 hours
Best For: Jawline, people wanting visible yet respectful facial accents
Ta moko carries deep meaning. A small cheek accent inspired by the facial language can be powerful if created with a Māori artist. Visually it should follow bone landmarks and use 2 to 3 millimeter spacing between main strokes for clarity. It reads like intent and identity rather than decoration. Consider long-term visibility for work and travel. For facial aftercare, a gentle non-comedogenic sensitive moisturizer helps soothe the skin without clogging pores.
Mistake to Avoid: Treating facial marks as purely decorative and skipping cultural consultation.
If you want to try the tools mentioned or pick a safe aftercare routine before reading the rest, here are the essentials I keep on hand.
Tattoo Kit For Authentic Lines
Studio Basics:
- Sterile stencil transfer paper (~$8-15), for testing placement.
- Professional green soap cleanser (~$6-12), studio staple.
Aftercare & Comfort:
- Tattoo aftercare balm (~$10-18), light and breathable.
- Non-comedogenic moisturizer (~$12-20), for facial or chest pieces.
Extras:
- Breathable tattoo bandage (~$8-14), for first 24 hours.
- Aftercare healing ointment (~$7-13), for scab-free healing.
8. Subtle Aotearoa Coastline Scar-Friendly
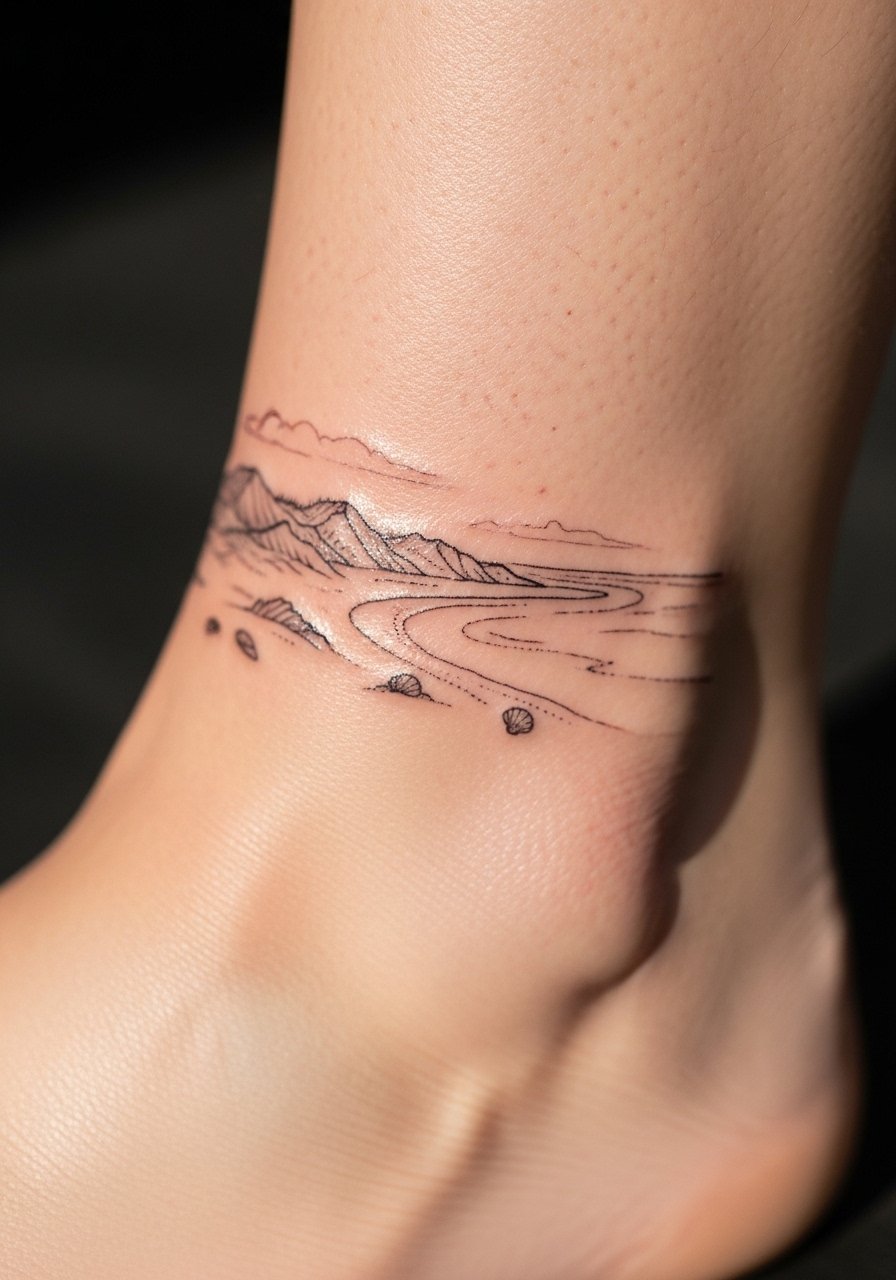
Style/Technique: Light Gray Wash, Scar-Friendly Approach
Pain Level: 3/10
Session Time: 45 minutes to 1.5 hours
Best For: Ankle, people with previous scarring or delicate skin
This coastline motif follows natural curves and works when you ask for a light gray wash rather than saturated black. For scar-friendly work the artist should use shallower passes and 0.4 to 0.8 millimeter needle depth to avoid further trauma. The feeling is calm and personal, ideal for someone with sensitive skin or old scars. It is a budget-friendly small session when done lightly. Bring a silicone scar gel if you plan to blend older texture before tattooing.
Mistake to Avoid: Pressuring the artist to tattoo over fresh scars without proper healing time.
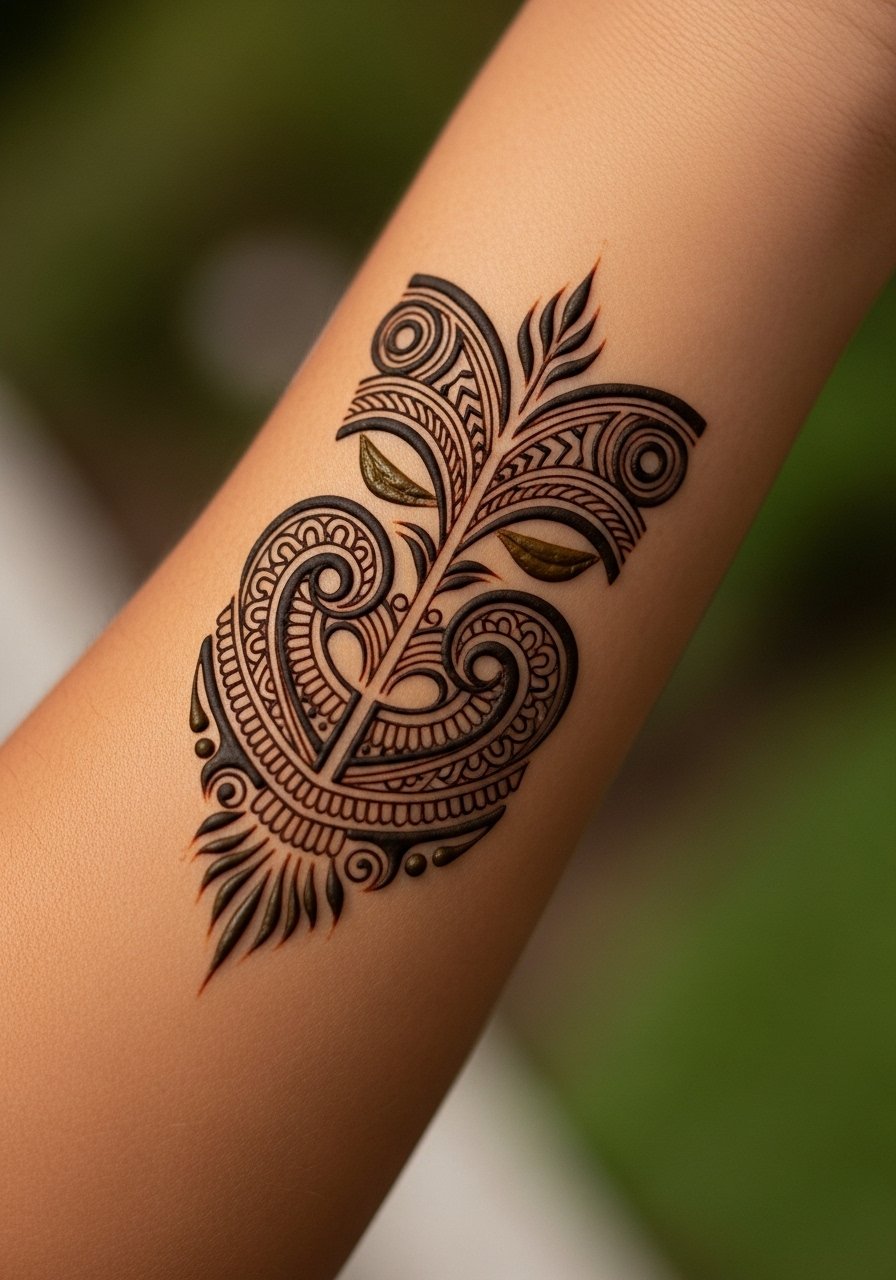
9. Henna Mockup Before Committing
Style/Technique: Temporary Henna/Transfer Mockup
Pain Level: 0/10
Session Time: 15 to 30 minutes for application
Best For: Anyone testing placement and scale before inking
If competitors skip the mockup step, you will see why it matters. A henna or transfer test lets you live with a motif for days to check movement, clothing friction, and how it ages on your skin tone. Use a quality temporary henna kit or a transfer stencil to wear the design. It prevents regrets and saves money on touch-ups. Try different scales, then photograph in natural light so you and your artist agree on the final proportion.
Mistake to Avoid: Committing to a permanent piece without testing scale and daily wear with a temporary mockup.
Living With Maori Lines
Thin coats beat one thick coat every time. If you use a gentle aftercare balm like the one linked above, apply light layers so pores breathe and scabs stay minimal, which preserves crisp lines.
Grab sterile stencil transfer paper for about $8 to $15. Test placement on multiple outfits and move naturally for at least two days before booking the session.
Most people expect a tattoo to look identical to the photo. It will not. Lines photographed close up read thinner on cameras. Ask for slightly bolder lines if you want the same visual weight after healing.
Everyone assumes sunblock is optional on healed work. Put on a mineral SPF and reapply when you know you will be in sunlight. Broad spectrum mineral sunscreen keeps ink from fading faster.
If you are not Māori, have a conversation with a Māori artist. I learned this after asking questions in studios and changing wording on my own ideas. That step saves awkwardness and ensures the design sits where it belongs.
