
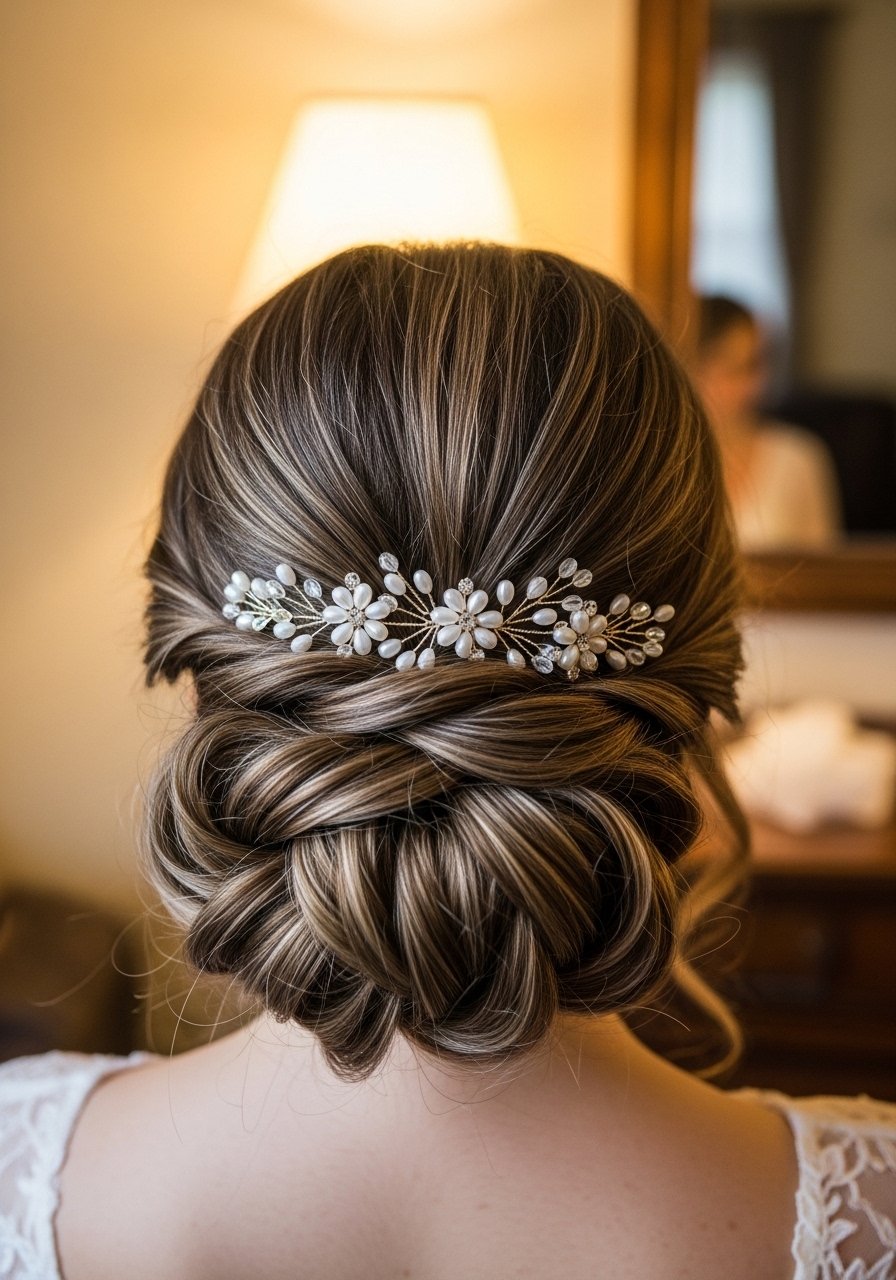
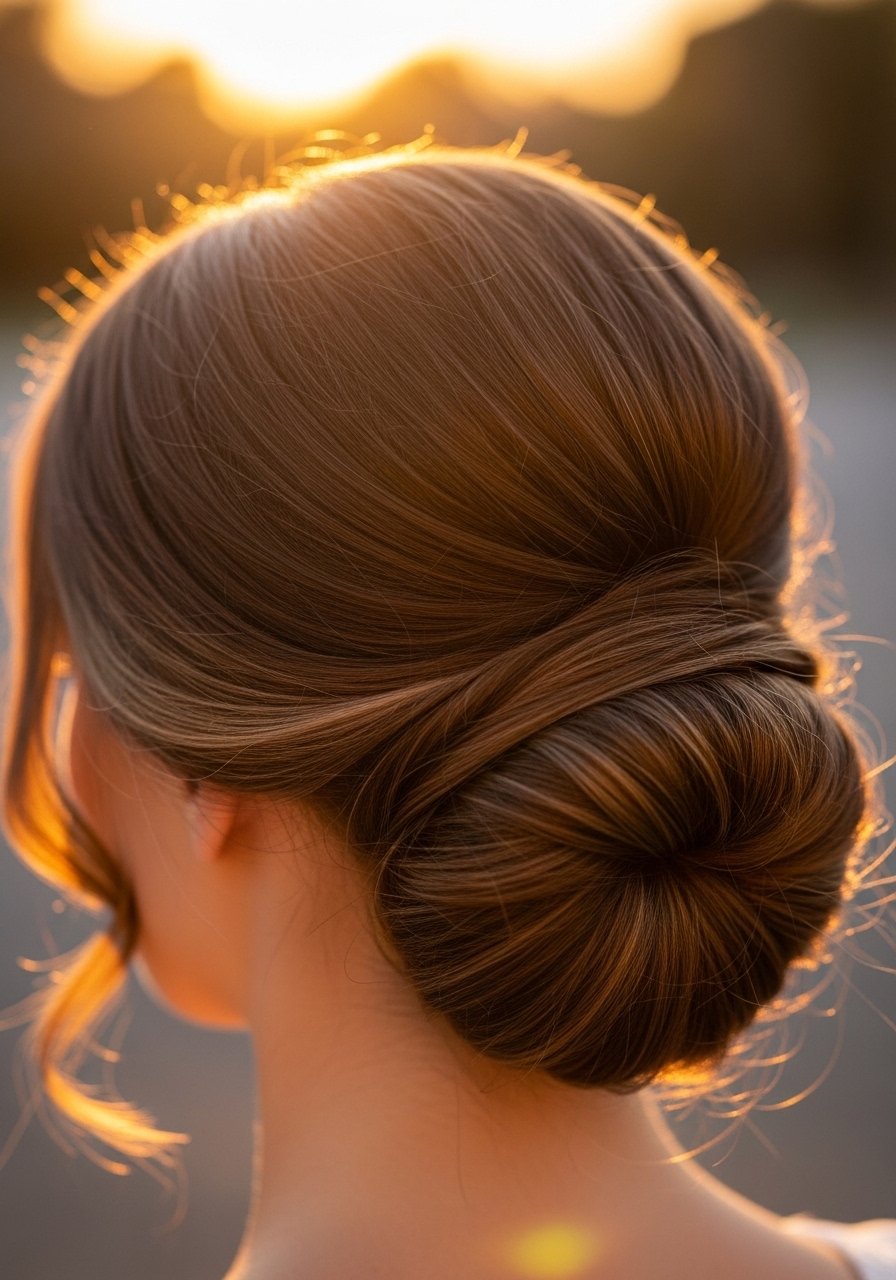
I kept making the same low bun mistake. I would pin it into place, take a photo, and by midday the whole thing had slumped into a messy halo. It clicked one morning when I swapped a stretched elastic for a small spiral tie and wrapped the base twice, not once. That small change kept the shape, and across four hair textures I have styled the same rule held true.
These tutorials lean practical and time-smart. Most are doable in under ten minutes with tools under $25, and several use a single splurge item I return to. They suit straight, wavy, and loosely curly hair easily, and where needed I note heat-free swaps and porosity tips so you do not overdo products.
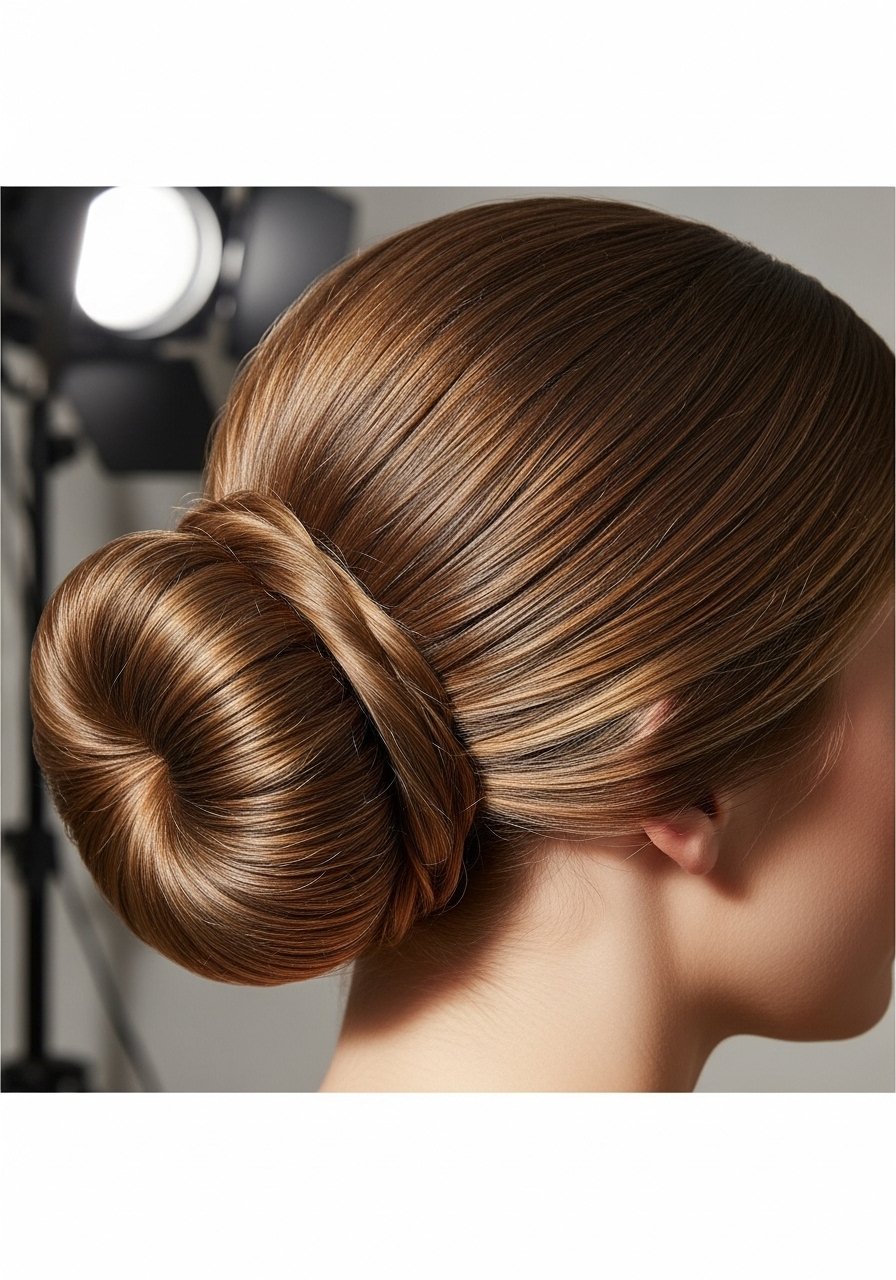
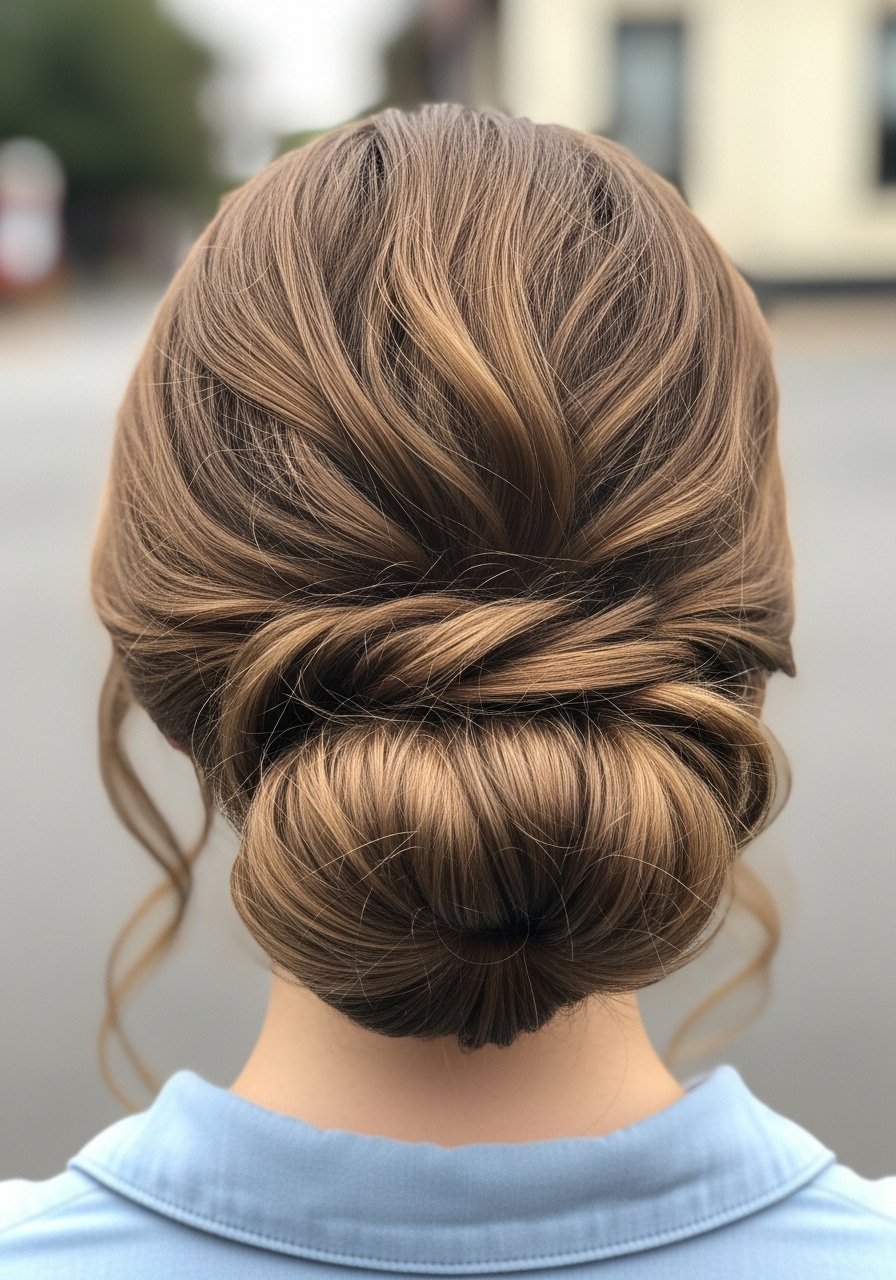
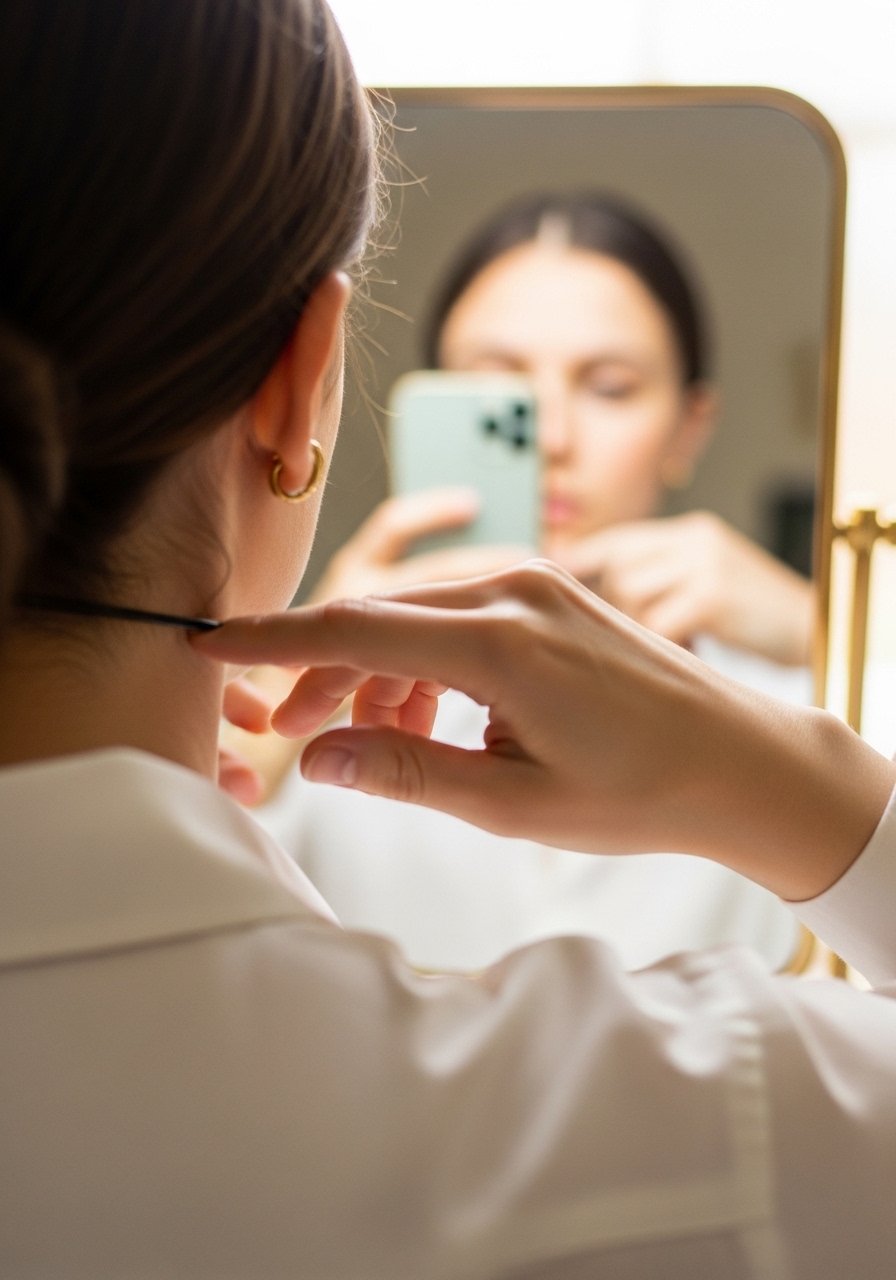
1. The Two-Turn Base That Actually Holds

The trick that saved my afternoon was wrapping the base twice around a small elastic, not once. For medium to fine hair wrap it three times, for thick hair two wraps with a second elastic on top. I like spiral hair ties, pack of 6 because they grip without dents. Finish with a mist of texturizing spray, about three light pumps, to add bite. The result looks tidy but lived-in, perfect for ten-minute styling.
Mistake to Avoid: Wrapping the elastic only once so the bun slides by hour two.
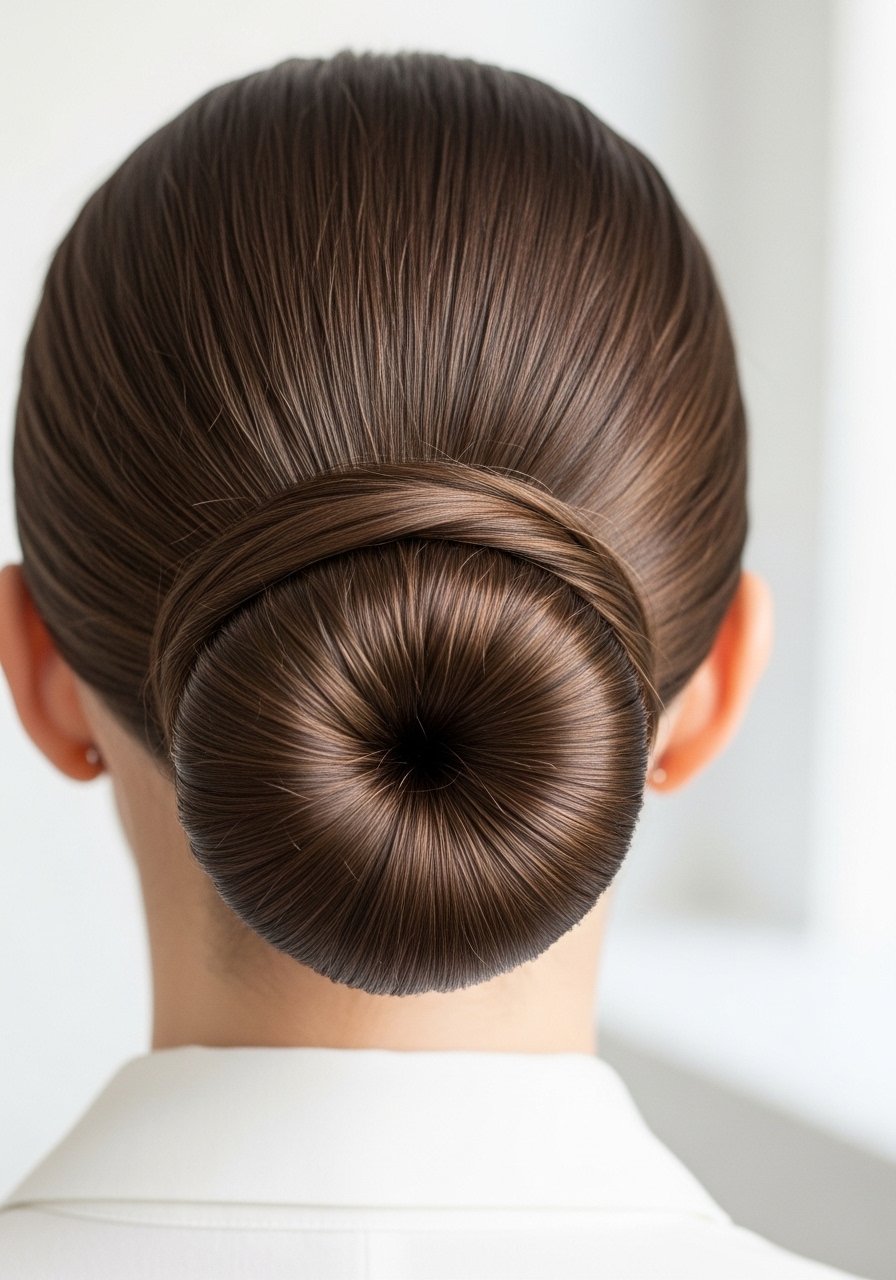
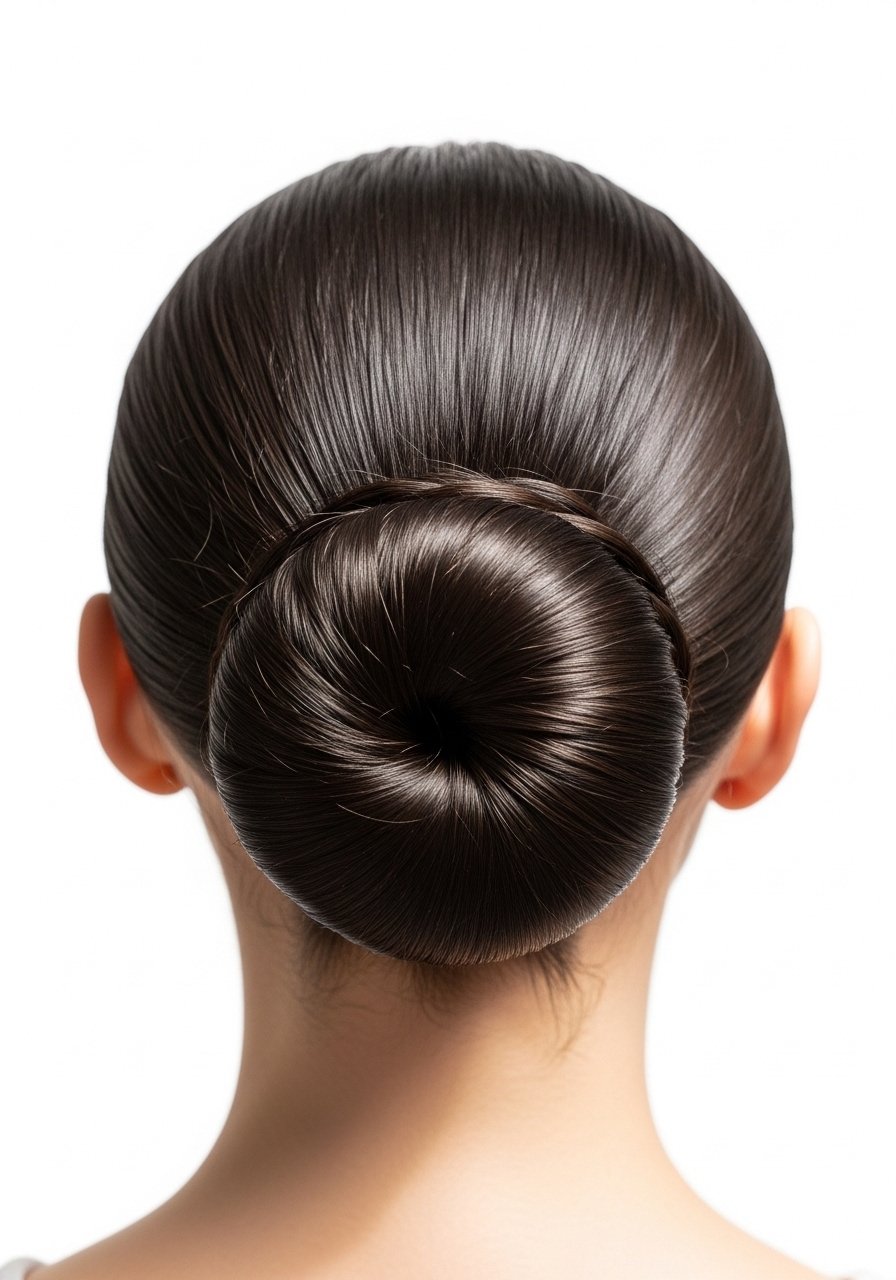
2. Low Slick Bun For Work-Visible Days
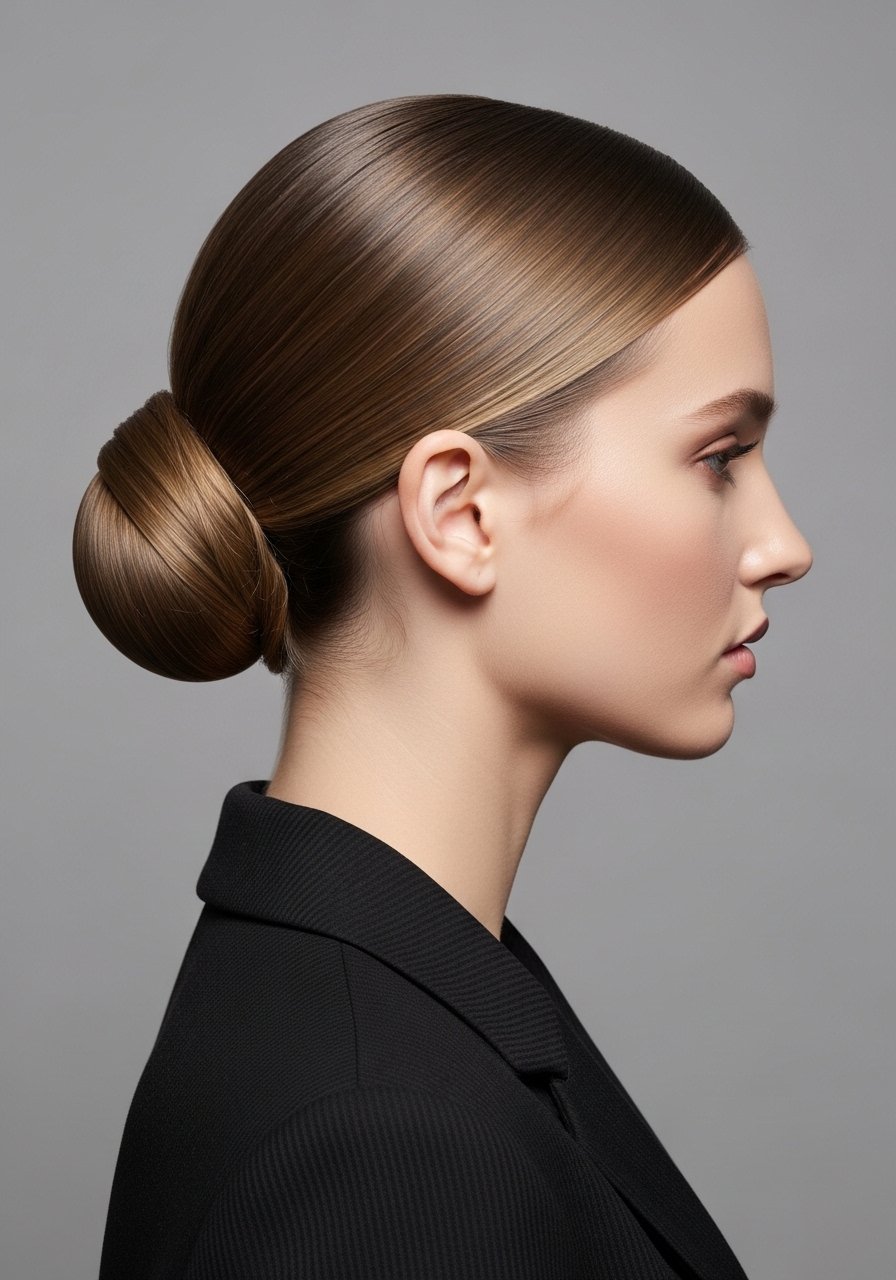
Start on damp hair, apply a pea-size of smoothing serum through ends, and use a fine-tooth comb to create a clean center or off-center part. Gather hair low, smooth with a boar-bristle brush, secure with a low elastic and coil into a flat bun. I use a small nylon hair elastic pack and a light-hold hairspray for shine. Works well on medium to thick hair and for anyone who needs a polished, workplace-appropriate look.
Mistake to Avoid: Brushing aggressively when dry and creating static instead of smoothness.
3. Textured Low Bun for Second-Day Hair

Second-day hair benefits from targeted grit. Spray two to three inches from the roots with a texturizer, rough-dry with fingers, then twist into a low bun leaving a few face-framing pieces. For that hold I reach for sea salt texturizing spray. On higher-porosity hair use one extra pump so it absorbs. This approach masks oil, adds volume, and feels undone rather than staged.
Mistake to Avoid: Applying too much conditioner at the base so the texturizer has nothing to grip.
4. Wrapped Knot With a Silk Scarf
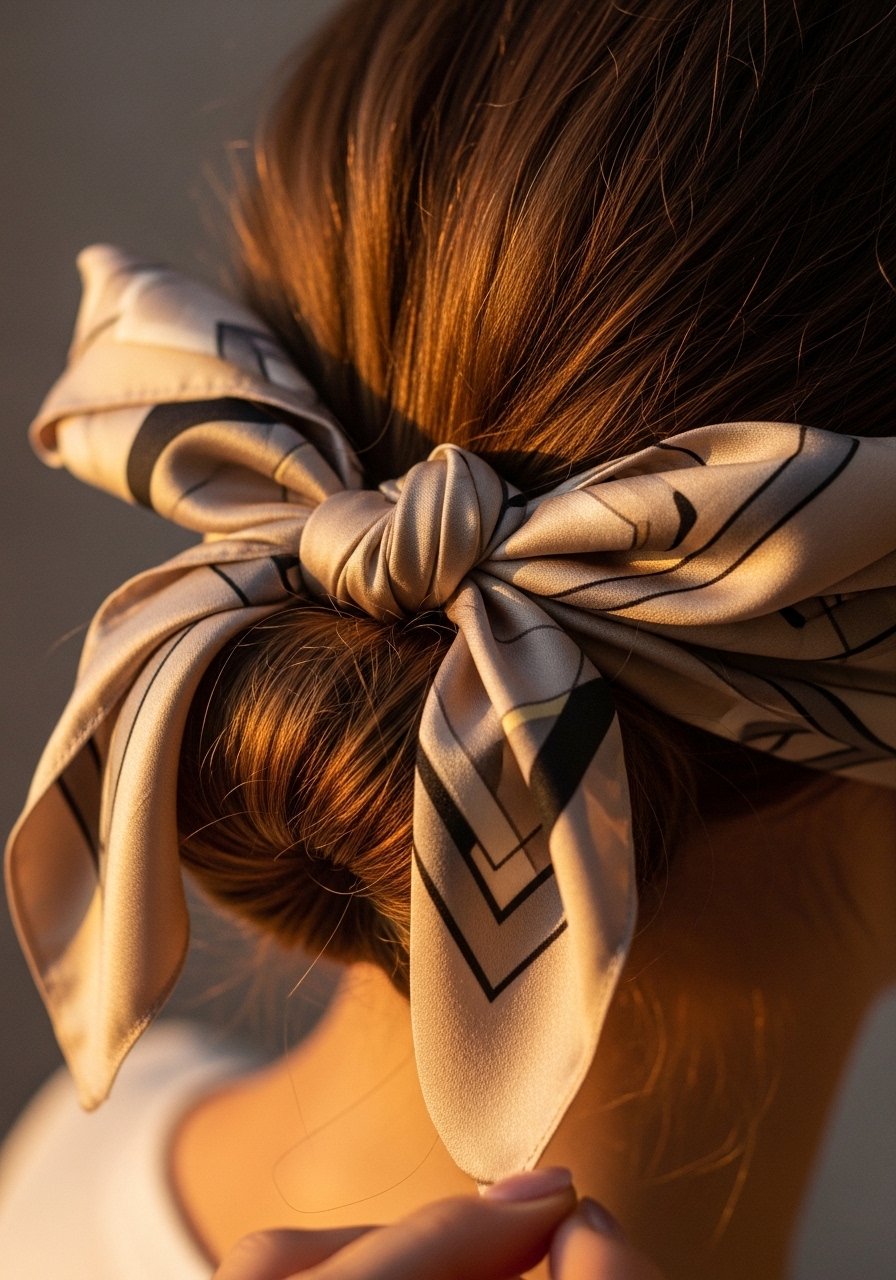
If pins are visible, use a 20-inch silk scarf to wrap the bun for a neat finish. Tie once, then thread the ends under the base and knot, tucking excess in. Silk reduces friction so it is gentler on fragile ends. I like 22-inch silk scarves in neutral tones. This adds a tidy, stylish finish and keeps bun shape for hours.
Mistake to Avoid: Using cotton scarves that absorb oil and make the bun sag.
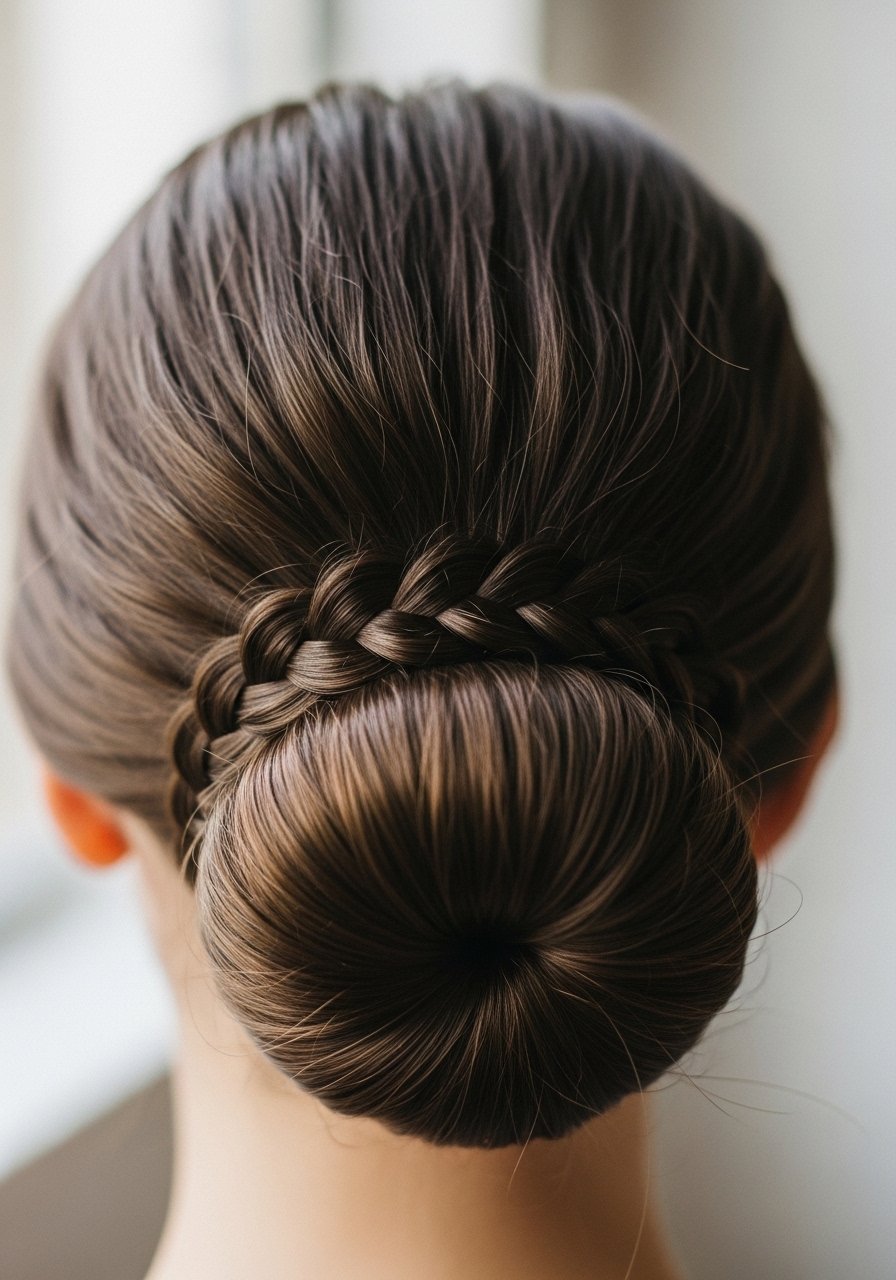
5. Low Braided Bun That Hides Pins
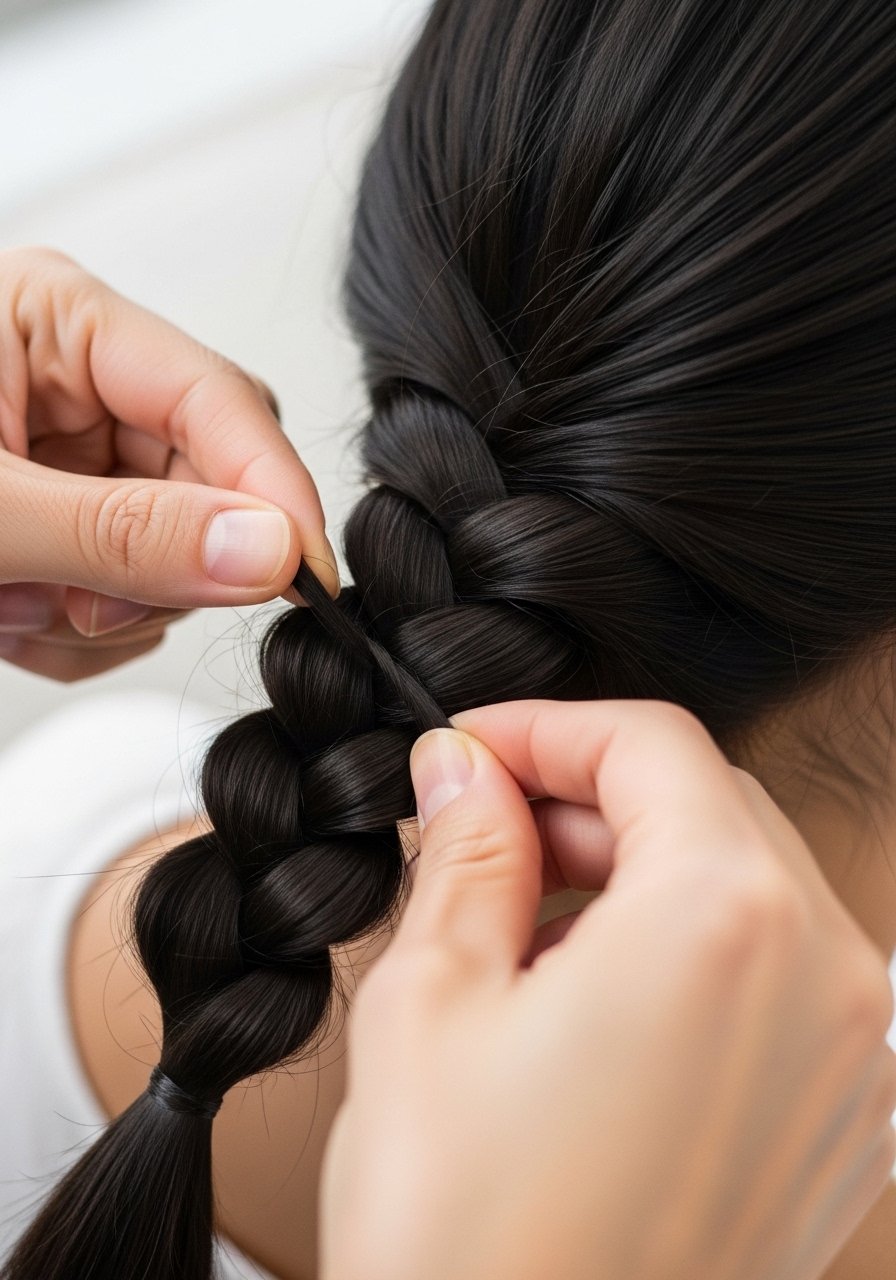
Start with a three-strand braid from the nape, secure the end, and coil the braid into a flat bun, inserting pins so they cross over each other. The braid gives structure so you need fewer pins. Use long bobby pins, 50-count and insert them with the wavy side down for better grip. This suits thick or long hair and reads more intentional than just a coiled pony.
Mistake to Avoid: Pinning into the braid without crossing pins, which lets sections pull free.
6. Low Messy Bun with a Donut for Volume
For round, full shape place a small bun donut over a low pony, spread hair evenly, and smooth the outer layer with a brush. For fine hair tease the pony lightly first, then cover the donut. Small foam bun form works well for medium-length hair. Use two elastic wraps around the base so the donut does not shift. It looks classic without feeling stiff.
Mistake to Avoid: Using a donut that is too large, which creates an obvious bump.
7. Twisted Low Chignon for Weddings
For an event-ready chignon twist two low sections toward the center and pin them into a loose coil. Add a hair comb or small pins for accents. On fine hair add a dab of texturizing powder at the roots for lift before twisting. I often use light-hold flexible bobby pins that bend with the twist. The result reads elegant but wears well through photos and dancing.
Mistake to Avoid: Over-twisting so the chignon looks rope-like instead of soft.
8. Heat-Free Low Bun for Wavy Hair
On wet waves, apply a curl cream, loosely twist each side into a low bun, and pin. Let dry naturally or sleep on it for a looser wave the next day. For extra hold use a lightweight gel applied sparingly at the crown. I like curl-defining cream, 6-ounce for this. This is a low-heat routine, great for porosity-sensitive hair that frizzes under heat.
Mistake to Avoid: Using too much gel so the hair hardens and loses bounce.
9. Low Bun For Shorter Lengths with a Twist

If your hair barely reaches the nape, create several small twists pinned horizontally to mimic a bun. Use short bobby pins to secure each twist. A little dry shampoo at the roots adds grip for shorter layers. Try dry shampoo, travel size for quick texture. This technique works for blunt cuts and layered lob lengths.
Mistake to Avoid: Trying to coil short ends into a single knot instead of using multiple small twists.
10. Low Side Bun With a Deep Part

Flip your part deep to one side and sweep hair behind the ear into a low side bun for an off-center look. Use a light-hold pomade at the roots on coarse hair for control. For shine I like a light mist of finishing spray rather than oil. Light finishing spray keeps the shape without weighing it down. Suits oval and heart-shaped faces.
Mistake to Avoid: Placing the bun too low and behind the neck so it disappears in photos.
11. Low Loop Bun That Uses No Pins

This is a quick pin-free option. Secure a low pony with a sturdy elastic, pull through partly to form a loop, then tuck ends under the elastic and wrap the elastic over them. Use strong nylon elastic so it does not slip. It holds best on medium to fine hair. Great for days you want a clean look without fiddling with pins.
Mistake to Avoid: Using a thin elastic that stretches out and lets the loop unravel.
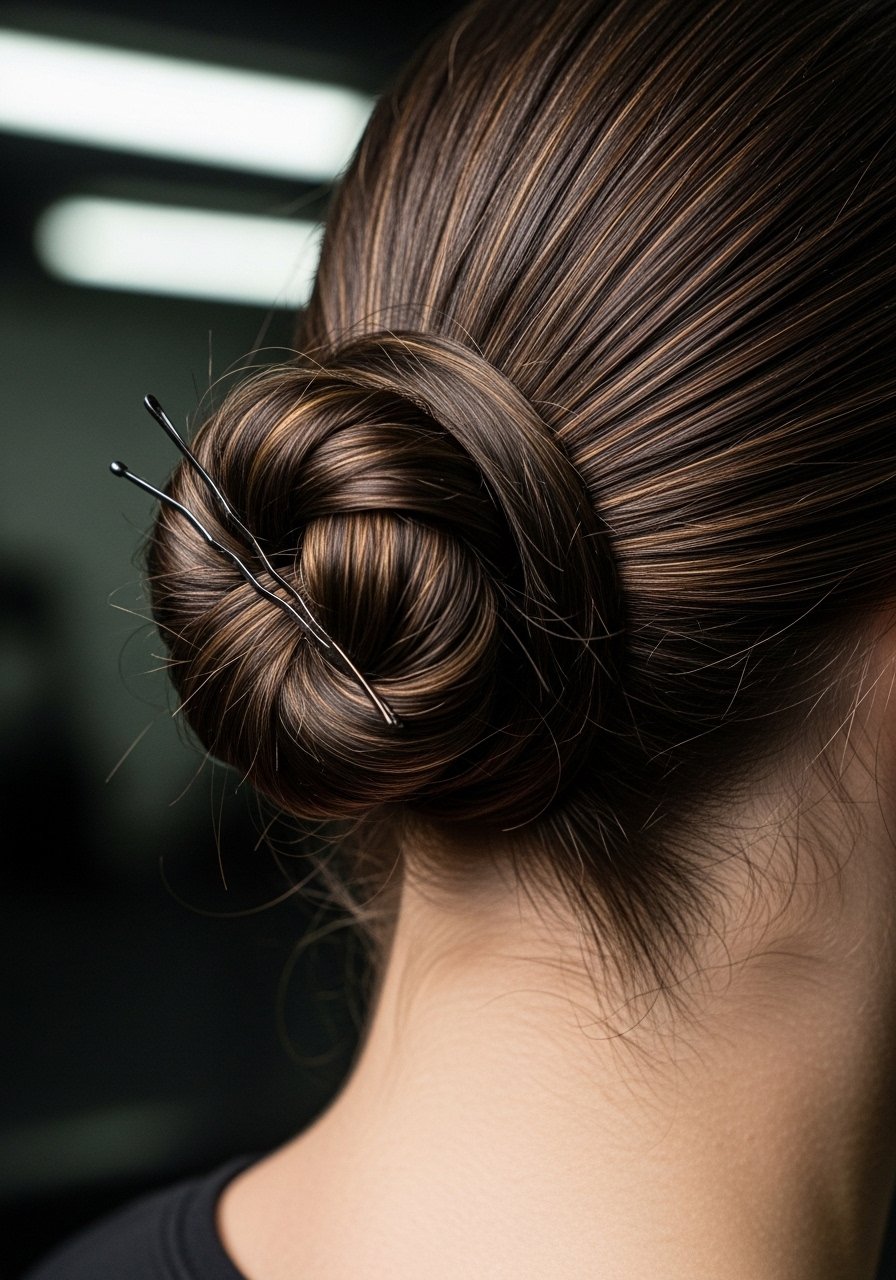
12. Low Bun With Hidden Elastic for Photos
After coiling the bun, take a small strand, wrap it around the elastic to hide it, and pin the end under the bun. Use pins placed horizontally and crossed for security. A tiny dab of hairspray on the wrapped strand keeps it from slipping. I reach for mini bobby pins, bronze pack for invisible support. This trick looks polished in photos without much extra time.
Mistake to Avoid: Wrapping too loosely so the strand untucks after ten minutes.
13. Low Bun for Curly Hair That Respects Shape

Curly hair needs less smoothing. Gather curls into a low tie with a satin scrunchie to avoid dents, then tuck larger curls gently into a loose bun to preserve shape. Apply a dime-sized curl cream to ends before styling. Satin scrunchies, set of 6 prevent breakage. This keeps the curl pattern intact while containing frizz for the day.
Mistake to Avoid: Over-brushing curls into a slick bun, which destroys their pattern.
14. Low Bun for Fine Hair With Root Lift

Tease the crown for subtle lift about two inches back from the hairline and smooth the top with a paddle brush. Secure a low pony and wrap into a bun, using a volumizing powder at the roots for lasting lift. Volumizing powder, small jar requires just a pinch. The finished look reads fuller without looking teased.
Mistake to Avoid: Teasing right at the hairline which makes styling look obvious and frizzy.
15. Low Bun With a Clean Finish Using a Toothbrush

A toothbrush is a cheap precision tool for laying flyaways. Lightly mist a toothbrush with hairspray and comb small hairs down along the hairline. For a softer finish use light-hold hairspray so the hair is tamed but still moves. This little detail reads polished in portraits and meetings.
Mistake to Avoid: Spraying the entire head and locking hair into a helmet instead of focusing on the hairline.
16. Low Knot With Crossed Pins for Active Days
If you need the bun to survive an active schedule, knot the pony once before coiling and insert two pins in an X over the base. The crossed pins create a pinning grid that rarely fails. Heavy-duty bobby pins work well for thick hair. It keeps shape through commuting, wind, and a short workout.
Mistake to Avoid: Using pins all in one direction which lets the knot rotate loose.
17. Low Ballerina Bun That Sits Flat
For a classic ballerina look, pull hair slick and coil very tightly, wrapping until the bun is flat against the head. Secure with many pins placed close to the scalp. A light pomade at the roots prevents flyaways. I use strong hold pomade, small tin. This suits straight hair best and looks neat for formal settings.
Mistake to Avoid: Leaving a gap between the bun and scalp which makes the style look unfinished.
18. Low Bun With a Soft Crown Roll
Create a small crown roll by backcombing a narrow strip around the crown and smoothing the top layer over it. Gather into a low bun and pin. The roll adds a vintage hint without much volume work. Use a fine-tooth comb for control and light-hold hairspray to set. Works on medium to thick hair.
Mistake to Avoid: Backcombing too aggressively so the roll looks matted instead of lifted.
19. Low Bun Using a Claw for Fast Days
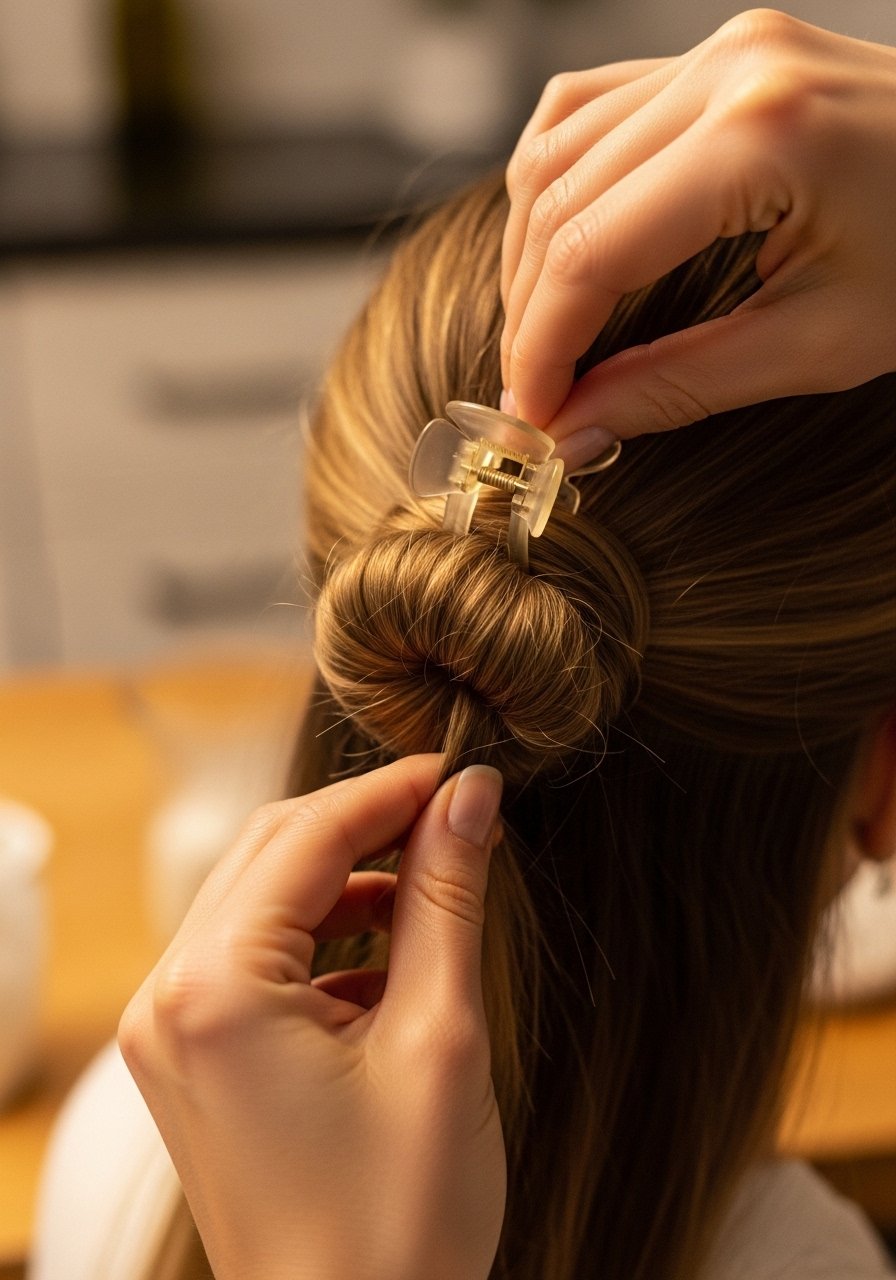
For an instant, secure hold twist hair into a low coil and fasten a medium claw clip over the base. This is a quick swap for when pins are missing. I keep medium claw clip, tortoiseshell in my bag for travel. It gives a casual, secure hold for short errands or coffee with a friend.
Mistake to Avoid: Twisting hair loosely so the clip sits on top and slips out.
20. Low Bun with a Wrapped Braid Accent
Braid a one-inch section from the temple and wrap it around the bun to hide pins and add detail. Pin the braid end under the bun with a single pin. This small accent elevates simple buns and works on most lengths. Use alligator clips to hold the braid while you form the bun. Great for dates or a day when you want a subtle twist.
Mistake to Avoid: Making the braid too tight so it looks more utilitarian than decorative.
21. Low Bun That Survives Rainy Commutes

On wet-weather days, start with a humidity-resistant spray at the roots and mid-lengths, then put the bun low and close to the neck. Seal with a few misted sprays on the outer layer, not so much that it stiffens. I trust humidity defense spray for commute resilience. It keeps the silhouette intact without creating crunchy texture.
Mistake to Avoid: Spraying heavily at the roots which creates a greasy look after drying.
22. Low Bun for Long Hair That Uses Sections

If your hair is very long, divide into three horizontal sections, coil each into a small bun, then pin them together into one large low bun. This distributes weight and looks neat. Use extra-long bobby pins for secure hold. It prevents the single-coil slip that long hair sometimes suffers from.
Mistake to Avoid: Trying to coil all the length into one loop which creates a heavy pull and eventual sag.
23. Low Bun With Invisible Net for Flyaway Control

A fine bun net tucks under and over the bun to keep short hairs contained without flattening. Place the net, then insert pins through it into the base. This is a pro trick for photo days. I keep discreet hair nets, pack of 10 handy. It keeps the bun tidy while preserving volume beneath.
Mistake to Avoid: Stretching the net too tight so the bun looks compressed and unnatural.
24. Low Bun with a Final Cross-Check
After pinning, gently tug at four compass points around the bun to test hold. If any give, add a pin crossing the weak point at a 45-degree angle. This quick cross-check saves you from a midday collapse. Keep medium bobby pins, matte black nearby for fast fixes. It is the step most tutorials skip and it makes the difference.
Mistake to Avoid: Skipping the tug test and assuming the bun will survive an entire day.
Your Hair Styling Kit
- Honestly the most used item, a pack of spiral hair ties, pack of 6 (~$8). They keep buns dent-free and hold well on most textures.
- For grip and day-two rescue, sea salt texturizing spray (~$12-18). Spray root to mid-length.
- For smoothing and shine, a small smoothing serum, 1-ounce (~$10-20). Apply pea-size to ends.
- Useful for pins, long bobby pins, 50-count (~$6-10) in mixed metal tones.
- For gentle hold and flyaway control, light-hold hairspray (~$8-15).
- For volume at the root, volumizing powder, small jar (~$10-14).
- For delicate hair, satin scrunchies, set of 6 (~$9-13).
- For travel fixes, a medium claw clip, tortoiseshell (~$7-12).
- For textured support, small foam bun form (~$5-9).
- Precision tool for baby hairs, toothbrush set for styling (~$4-8).
- For humidity days, humidity defense spray (~$12-18).
- For braids and wraps, a 22-inch silk scarf (~$15-30).
Hair Styling Tips Worth Knowing
Tiny anchors hold big shapes. Use two small elastics instead of one if your hair is fine. Spiral ties, 6-pack are cheap and save dents.
Keep a travel-size dry shampoo in your bag. A quick spray at the roots gives texture for instant bun grip on day two.
Curly hair responds best to styling when slightly damp. Try curl-defining cream, 6-ounce and twist into a low bun to preserve the pattern.
Cross your bobby pins for longevity. Two pins forming an X at the base hold better than three pins parallel. Keep heavy-duty bobby pins for thick hair days.
Use a toothbrush and light-hold hairspray for hairline control. It tames flyaways without creating a helmet.
If you plan to sleep in a low bun, wrap the base with a silk scarf like 22-inch silk scarf overnight. It preserves shape and cuts morning friction.
