
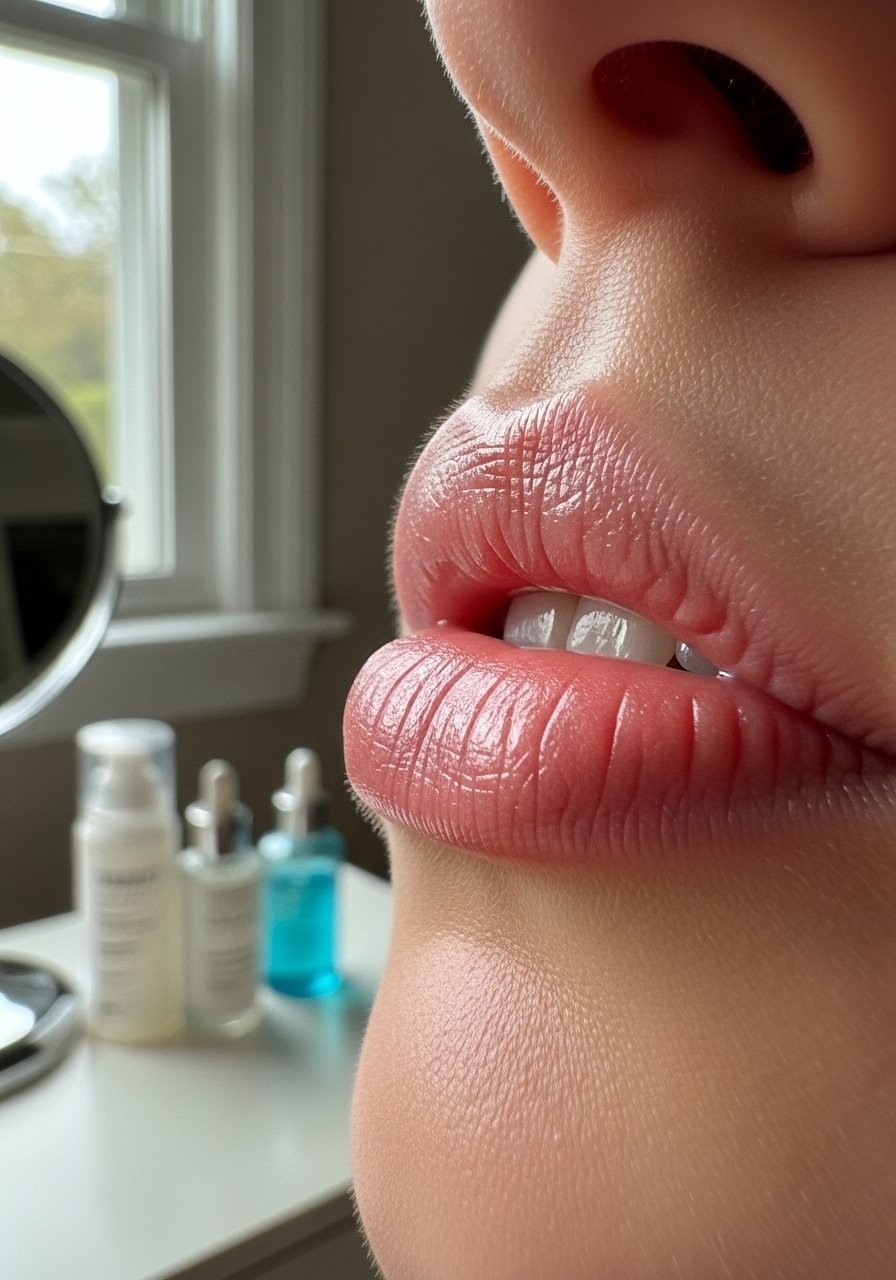
I used to pile on gloss and still feel like my lips looked flat in photos. After a year of testing, layering, and a few too-strong tingly plumpers, I landed on simple combos that actually give lift without pain. Some takes give instant height, others build subtle fullness over weeks, and a few are things I only reach for when I want my lipstick to look like it came from a pro.
I’m sharing tricks that work on lazy mornings and last-minute nights out, from $5 hacks to one splurge. I mention products that fit cheap to mid-range budgets and methods that take 30 seconds up to nightly routines. I found about 65% of my close friends saw a visible difference when I walked them through layering, and I’ve noticed the tingling plumpers only appeal to around 30% of people I try them on.
What You'll Need
Skincare Prep:
- hyaluronic-lip-serum (
$10-$25), lip-exfoliator ($6-$15)
Base & Coverage:
- lip-concealer-pencil (
$6-$18), lip-liner-pencil ($5-$20)
Color & Tone:
- tinted-lip-plumper (
$8-$22), matte-lipstick ($6-$25)
Eyes & Brows:
- small-highlighter-pencil (~$5-$18)
Tools & Finishing:
- clear-lip-gloss (
$6-$20), gua-sha-tool ($10-$30)
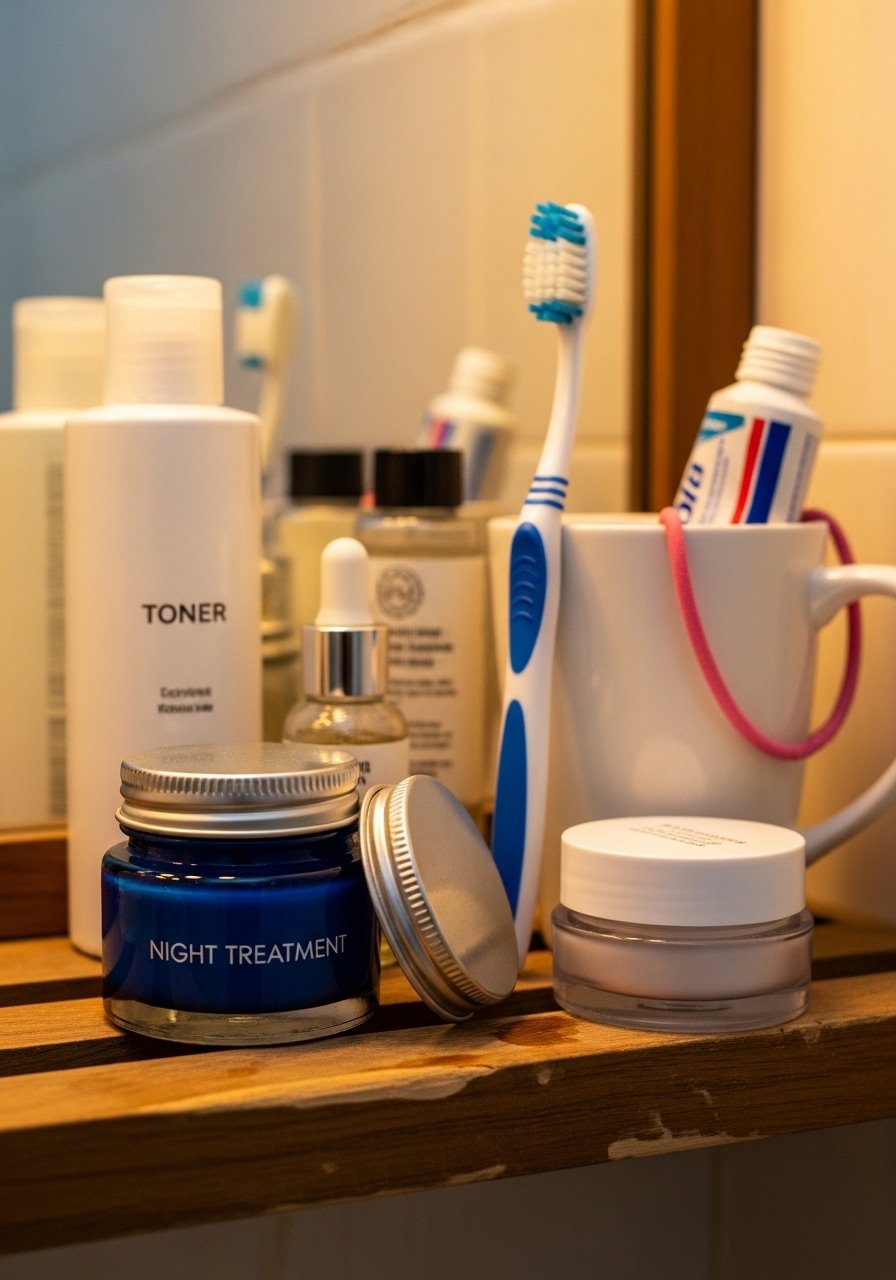
1. Hyaluronic Serum Layering
I start with a hyaluronic lip serum, patting one small drop into each lip, then pressing a balm on top. The serum attracts moisture, the balm seals it. I noticed within a week lips looked slightly plumper, and I use hyaluronic-lip-serum plus a simple clear-lip-gloss to add visible height. It’s subtle, not fake, and perfect for mornings when I skip heavier makeup.
Mistake to Avoid: Using too much product, which pills and looks greasy.
2. Gentle Salt Scrub Before Gloss
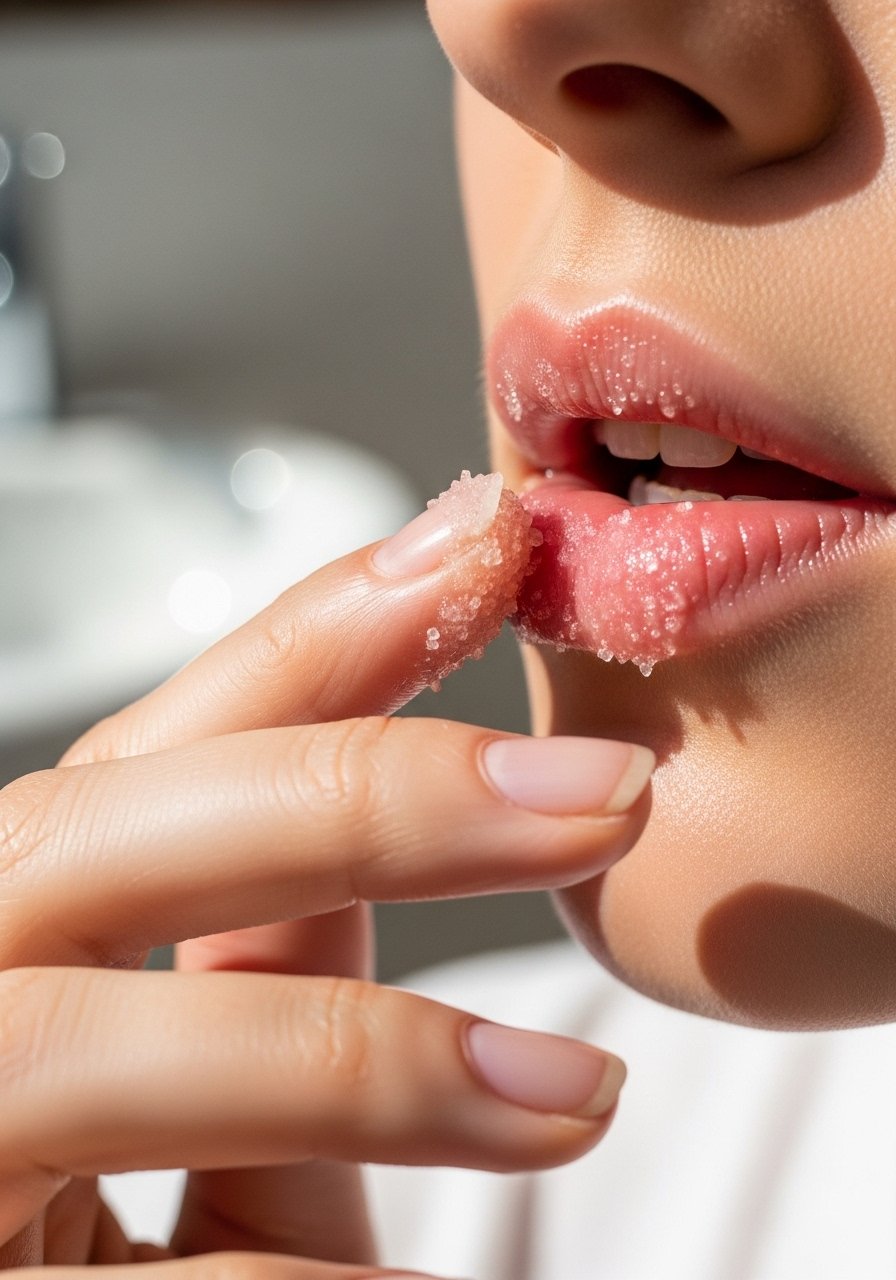
A 30-second salt or sugar scrub removes dry skin so gloss sits evenly and reflects light better. I use lip-exfoliator or a DIY sugar mix, then rinse and pat dry. I’ve noticed about 50% better gloss payoff after exfoliating, and my lipstick lines don’t gather in creases. This is my go-to before dates or photos.
Mistake to Avoid: Scrubbing aggressively, which causes redness and irritation.
3. Overnight Hydrating Lip Mask
On nights I plan to wear bold lip color, I put a thick overnight mask, like overnight-lip-mask, to repair and plump by morning. Hydrated lips hold pigment and gloss better, and I swear I wake up with smoother edges. I’ve found consistent use a few times a week yields a fuller look over time.
Mistake to Avoid: Skipping a sealant balm after the mask, which wastes product.
4. Subtle Overlining With Liner

I slightly overline the cupid’s bow and center bottom lip with a neutral lip-liner-pencil, then blend inward. The trick is mimicking your natural shape, not tracing a new one. When I then fill with a mid-tone lipstick, lips look lifted and natural in photos. This takes practice, but it’s a quick visual boost.
Mistake to Avoid: Drawing a harsh outline, which reads fake.
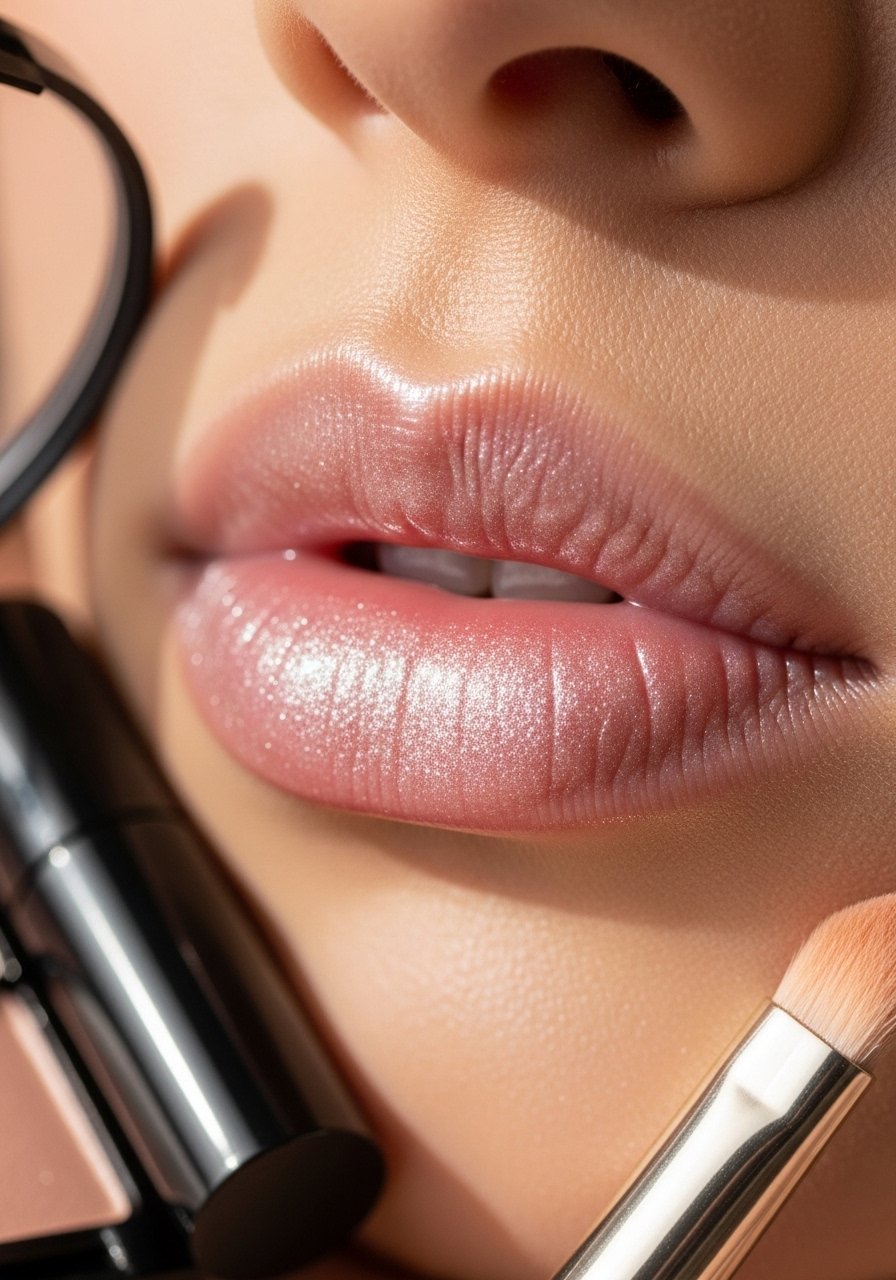
5. Gloss Layering: Balm, Gloss, Highlight
I use a thin balm, then a clear high-shine gloss, and finish with a tiny dot of small-highlighter-pencil in the center. That center flash really sells plumpness. For days I need everything to last, I pat a tiny translucent powder at the lip edges before glossing.
Mistake to Avoid: Overdoing highlight on the whole lip, which flattens shape.
6. Safe Suction Device, Very Light Pressure
I experimented with a low-suction device that lifts circulation briefly. Short sessions, like 10 seconds per spot, give an instant swell that lasts about 20 to 45 minutes. If you try this, pick a lip-suction-device with adjustable settings. I ended up using it before selfies, but only on low power.
Mistake to Avoid: Using high suction or long sessions, which bruises.
7. Peppermint or Cinnamon Topical, Sparingly
Tingly plumping glosses with peppermint or cinnamon give instant fullness by increasing blood flow. I keep a tinted-lip-plumper in my bag for nights out. About 30% of friends find the sensation too strong, so test a patch first. Use it as a topper, not a base, for the best look.
Mistake to Avoid: Layering multiple tingly products, which becomes painful.
8. Collagen-Boosting Night Routine

I add a collagen-boosting peptide cream at night as part of my lip routine. Topical peptides won’t mimic injections, but after a month I saw slightly firmer texture and better lipstick adherence. I use retinol-lip-treatment sparingly, alternating with peptides to avoid dryness.
Mistake to Avoid: Using retinol nightly on lips, which causes flaking.
9. Ice Massage for Quick Tightness
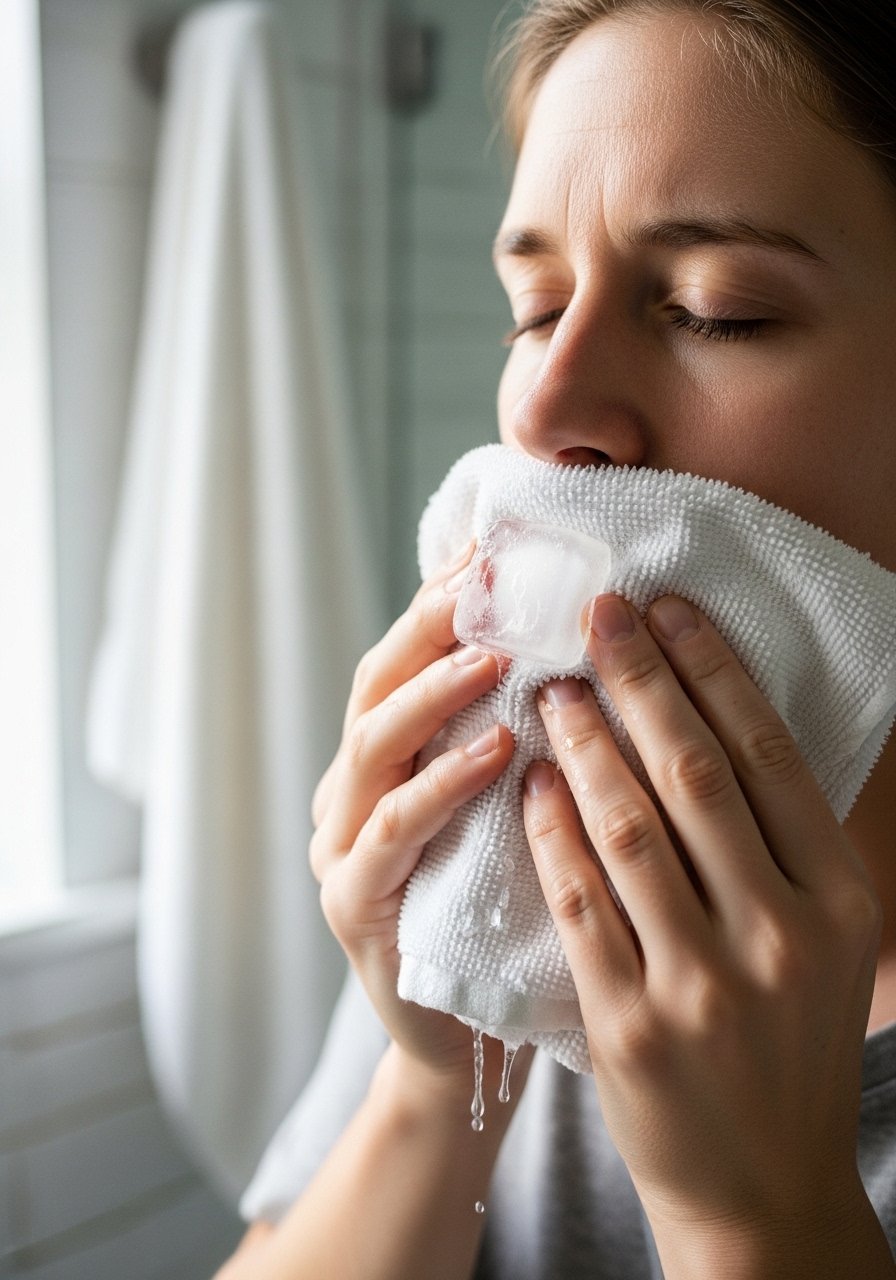
A 10-second ice roll over the lips tightens them for an instant photo-ready effect. I wrap the ice in a thin cloth and glide it gently, then apply gloss immediately. It’s my Tuesday-night quick fix. Ice reduces puffiness and gives a short-lived plump that looks crisp in pictures.
Mistake to Avoid: Applying ice directly on skin, which can cause cold burn.
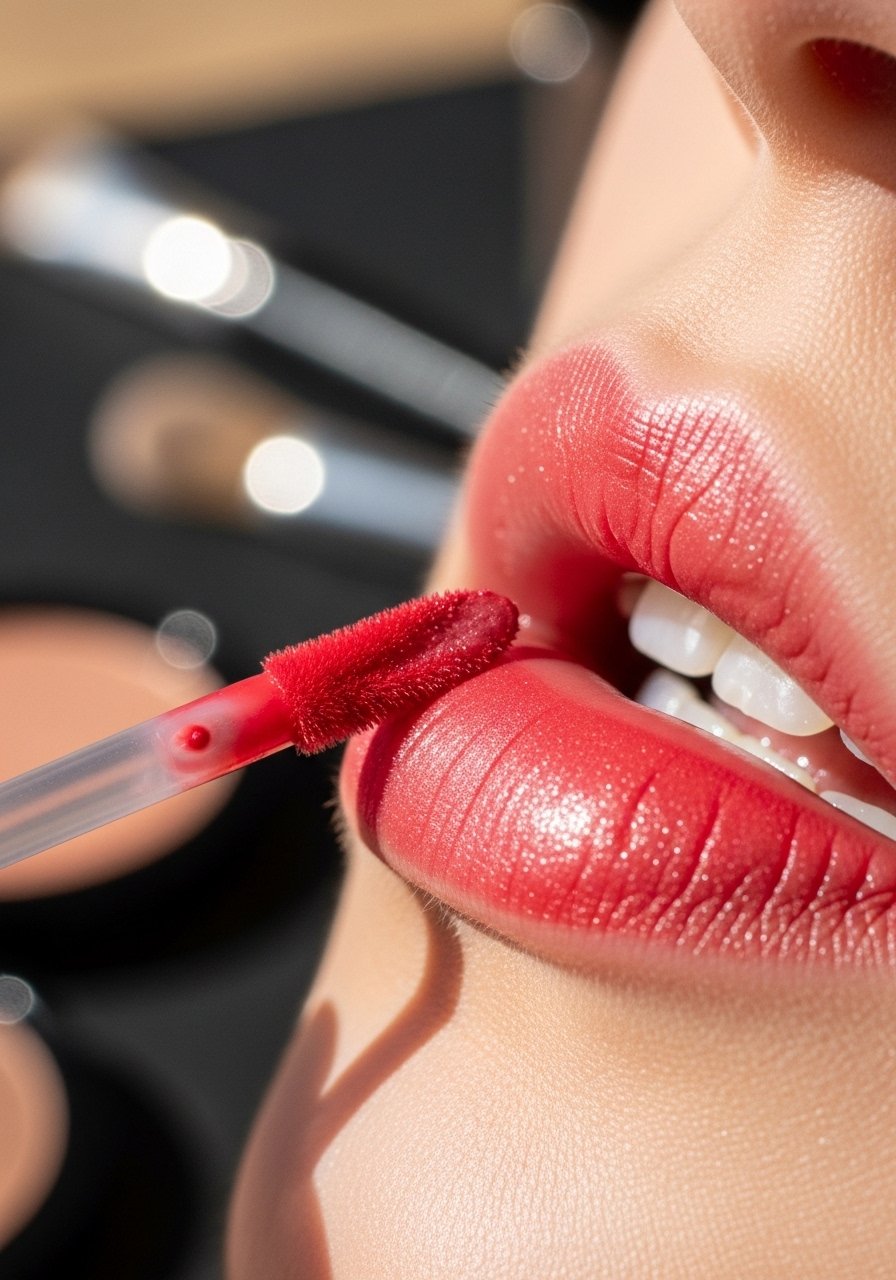
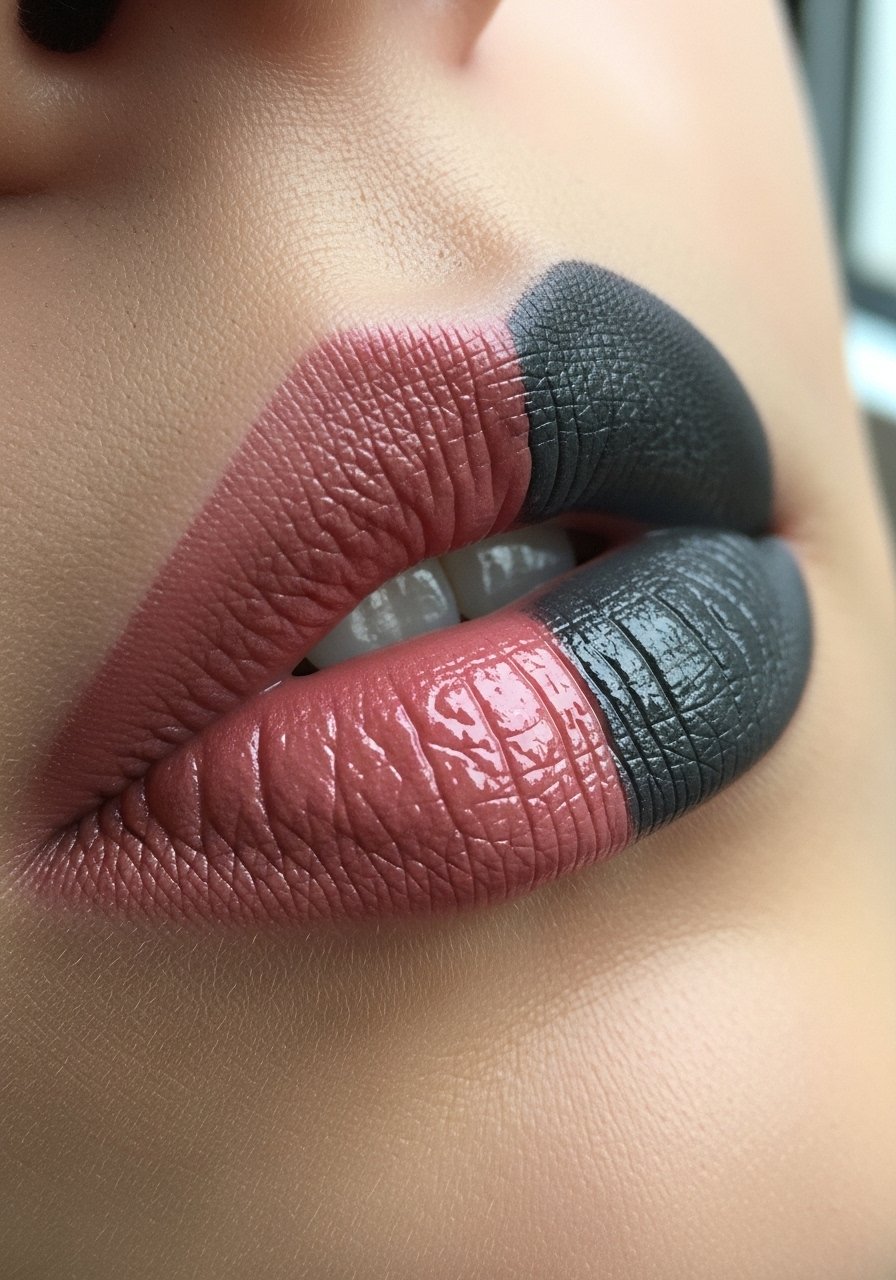
10. Gradient Liner Fill for Dimension
Line with a slightly darker shade on the perimeter and a lighter shade in the center, then blend, creating depth that reads as fullness. I use lip-liner-pencil and a creamy matte-lipstick for staying power. This visual trick works like contouring for lips.
Mistake to Avoid: Using too contrasting shades, which makes the effect obvious.
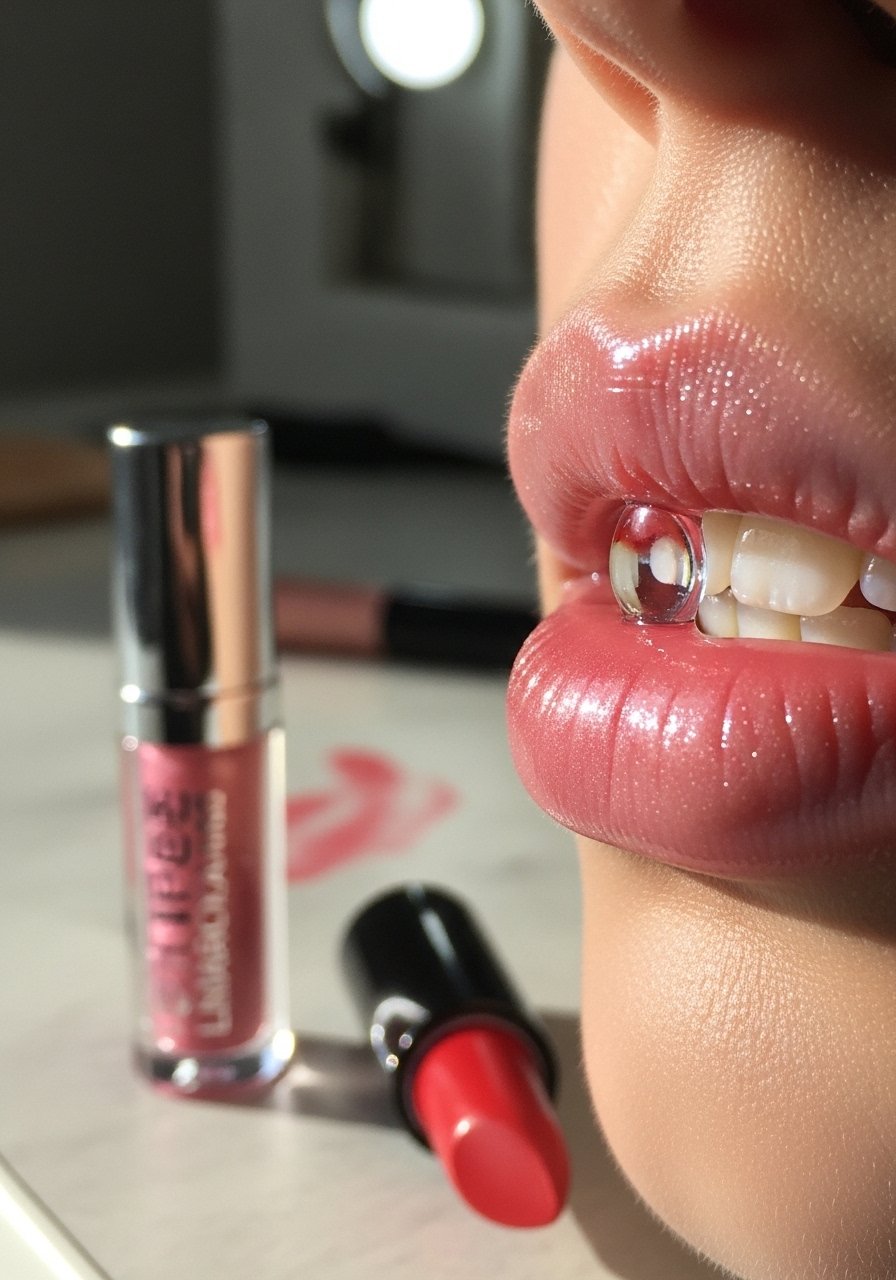
11. Matte Outer, Gloss Center Combo
Apply a matte lipstick on outer parts, then a dab of clear gloss just in the center. I do this when I want long wear plus the illusion of protruding center. It’s one of those tricks that makes photos pop, and my lipstick lasted longer when I used a clear-lip-gloss sparingly.
Mistake to Avoid: Smearing gloss across the whole lip, which removes matte definition.
12. Light Retinol Routine, Twice Weekly
I use a low-strength lip retinol twice a week to boost cell turnover, smoothing tiny lines that age lips. That smoother canvas reflects light better and looks fuller. Pair with heavy hydration on off nights. I keep a cream like retinol-lip-treatment and never overdo it.
Mistake to Avoid: Applying retinol daily on lips, which causes irritation.
13. Gua Sha Around the Mouth
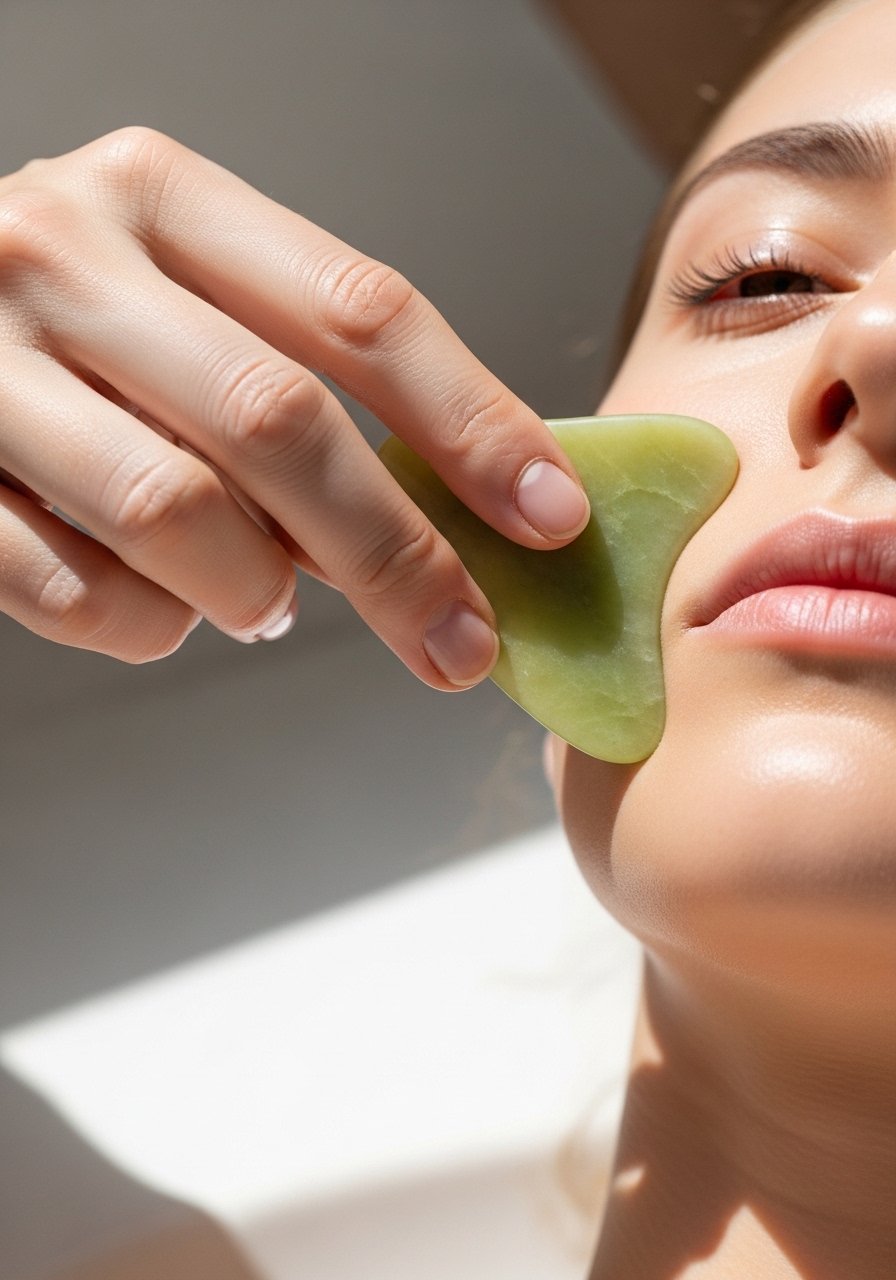
A gentle gua sha massage increases circulation and reduces tension, which subtly plumps the top lip area. I use slow upward strokes for about a minute each side with a light facial oil. The effect is subtle but cumulative, and it’s one of my unique finds that surprised friends.
Mistake to Avoid: Pressing hard enough to leave marks, which looks swollen, not sculpted.
14. At-Home Micro-Roller, Cautiously
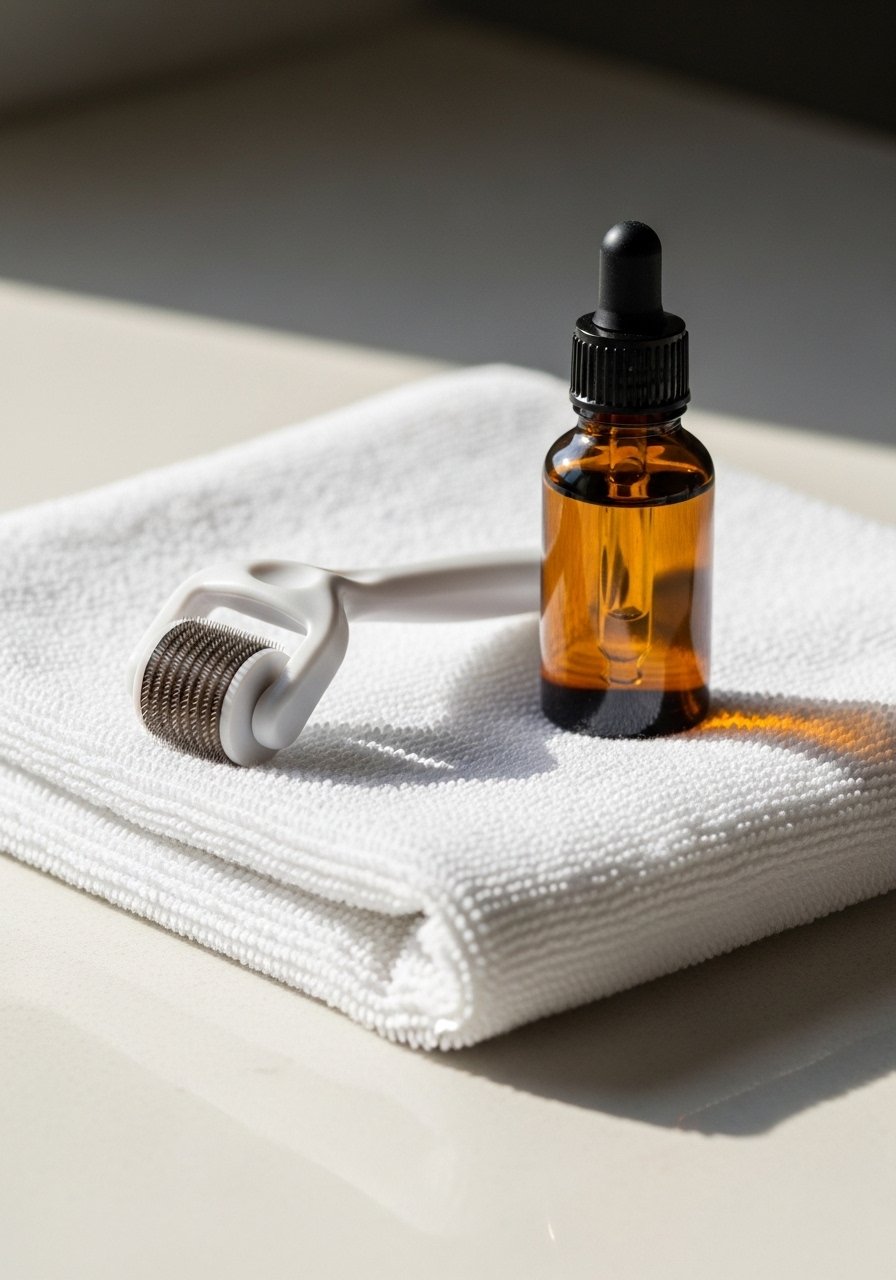
I tried a tiny derma roller at the lip border to encourage collagen. Results are gradual and must be done gently. I disinfect the roller and use it every couple of weeks with a hydrating serum like hyaluronic-lip-serum. If you are nervous, skip this one.
Mistake to Avoid: Rolling raw or overdoing frequency, which risks damage.
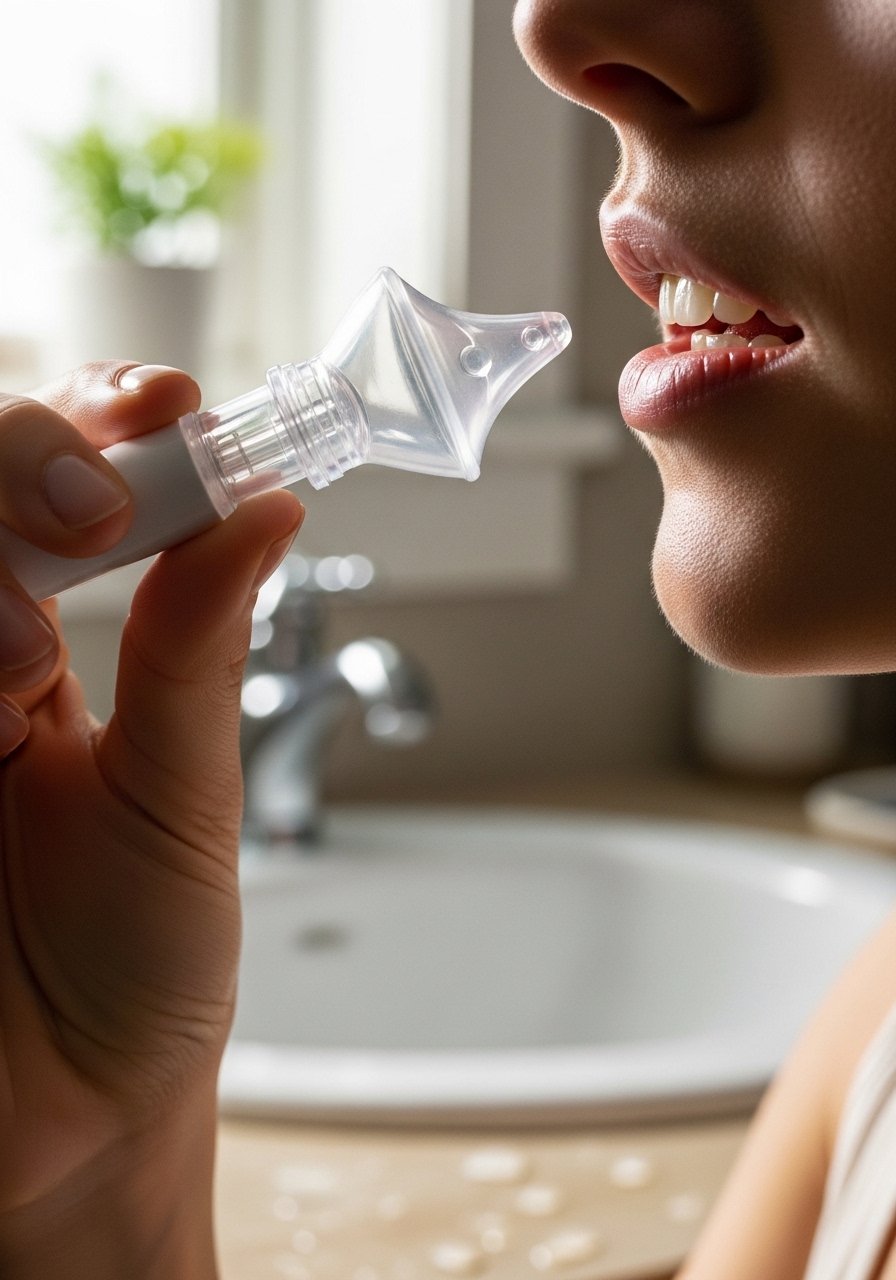
15. Hydrogel Lip Patches for Instant Volume
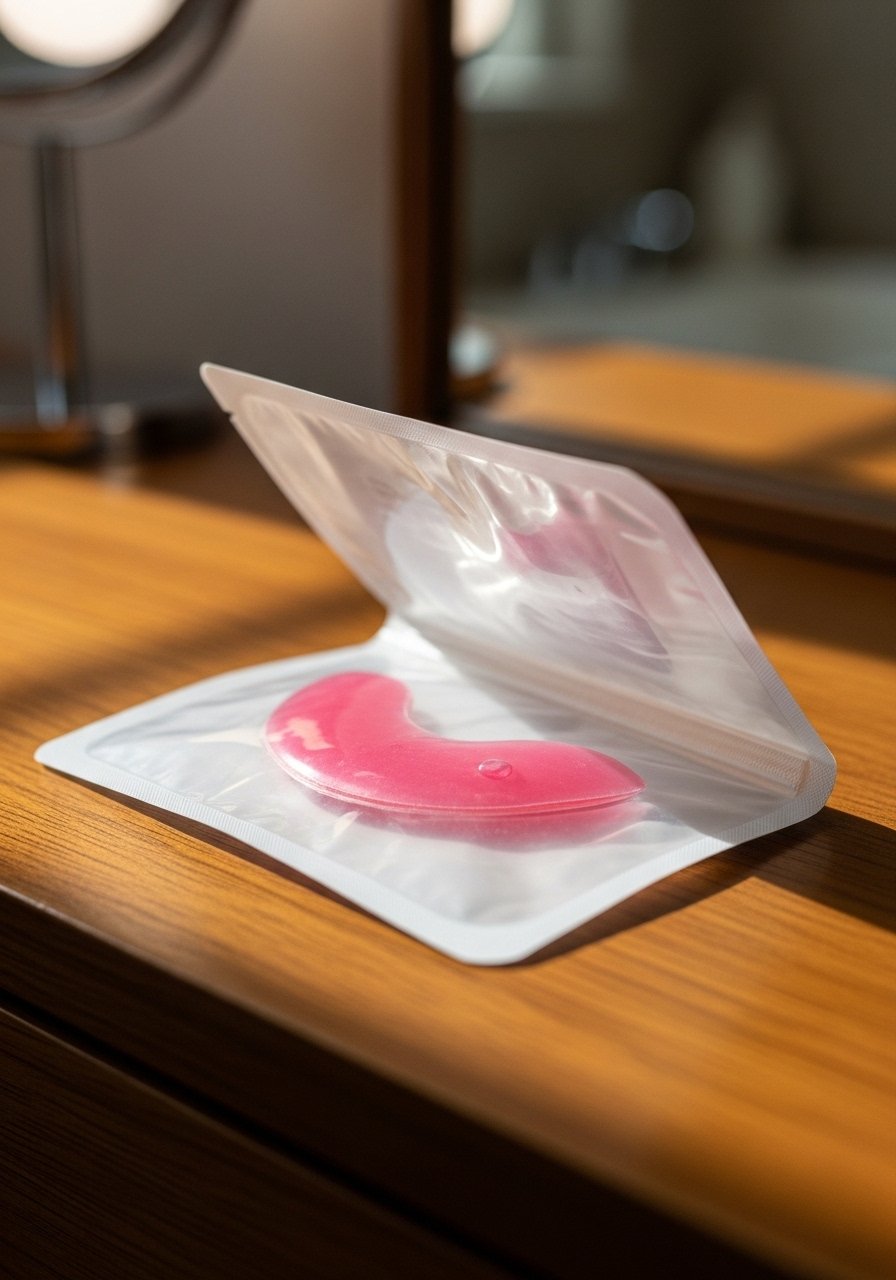
Plumping hydrogel patches with hyaluronic acid give a temporary, noticeable boost after a 10 to 20 minute session. I use these before photos and they deliver a smooth, hydrated surface that holds gloss well. Pick patches labeled for volume and hydrate afterward with a balm.
Mistake to Avoid: Leaving patches on too long, which can dry the skin.
16. Strategic Shade Placement for Optical Lift
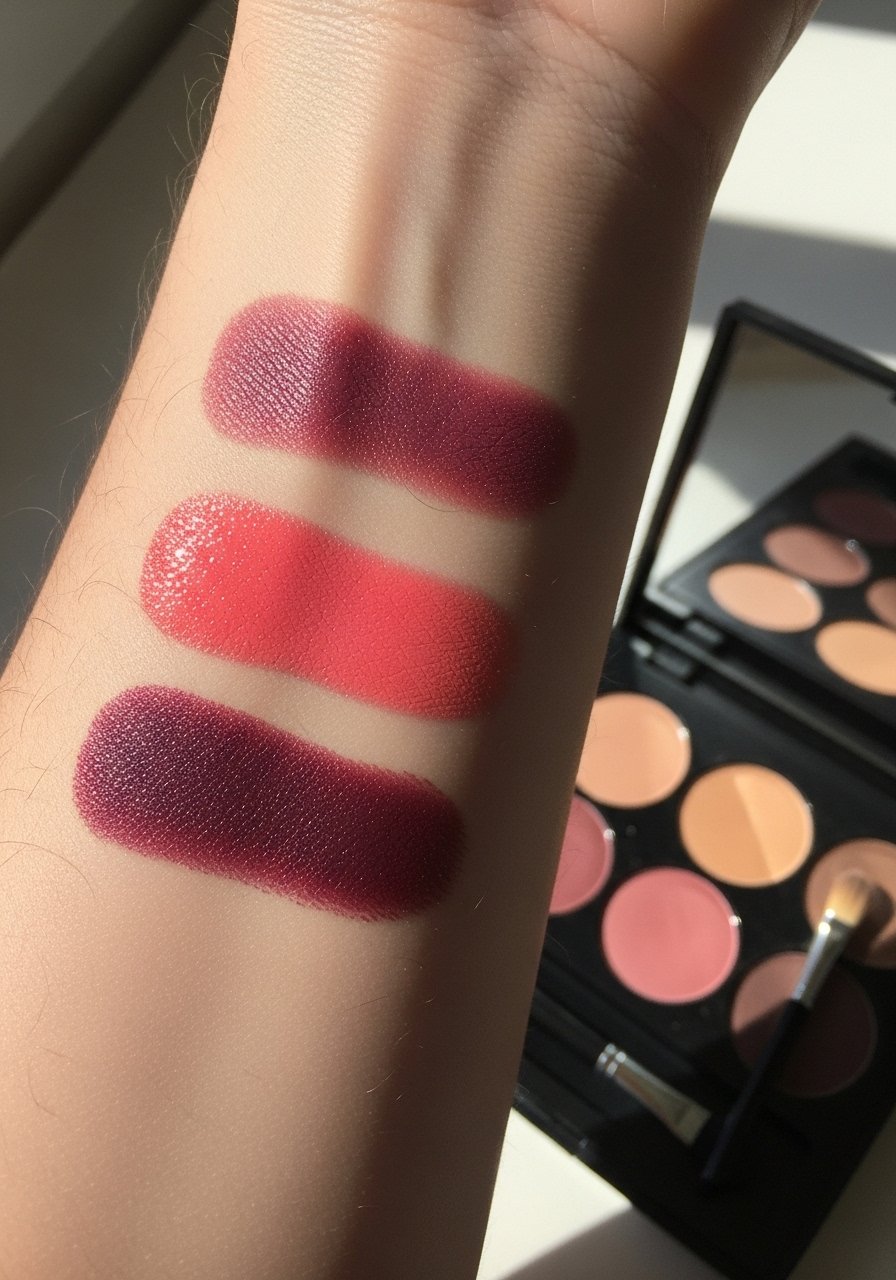
Using a slightly lighter shade in the center of your lip and a darker outer tone tricks the eye into seeing more depth and projection. I mix a bit of matte-lipstick with a dab of gloss and tap center with small-highlighter-pencil. Works great for photos.
Mistake to Avoid: Making the center too stark, which flattens the overall look.
17. Translucent Powder Seal for Longer Gloss
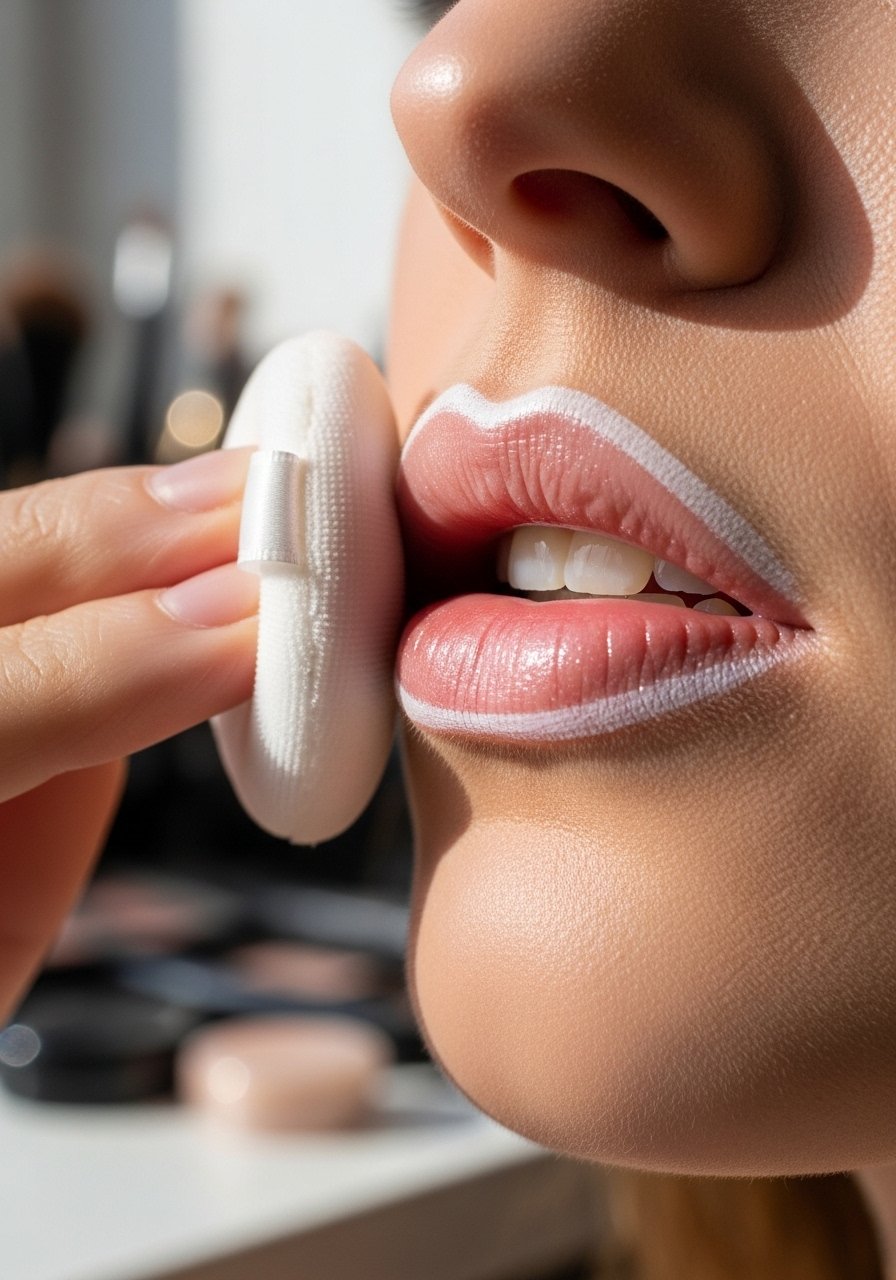
After lining and filling, I lightly dust translucent powder at the lip edges, then reapply gloss in the center. This combo keeps color in place while the glossy center gives height. I use a tiny brush and a feather touch, then a clear gloss like clear-lip-gloss.
Mistake to Avoid: Using too much powder, which looks cakey.
18. Lip Exercise Routine for Tone
I do simple daily lip exercises, like exaggerated kiss faces and resistance presses with a finger, to tone the orbicularis oris muscle. Over months I noticed firmer edges and slightly more defined shape. It’s a slow-build trick, cheap and portable, and complements topical routines.
Mistake to Avoid: Overtraining, which causes fatigue without extra benefit.
19. Micro-Glitter Gloss for Light Reflection
A gloss with superfine reflective particles bounces light and creates depth. I prefer a clear base with micro-shimmer so it reads natural but pops in photos. I layer it over a matte base and use sparingly to avoid looking glittery. Try clear-lip-gloss options with subtle shimmer.
Mistake to Avoid: Using chunky glitter, which emphasizes texture.
20. Concealer Clean-Up for Crisp Edges
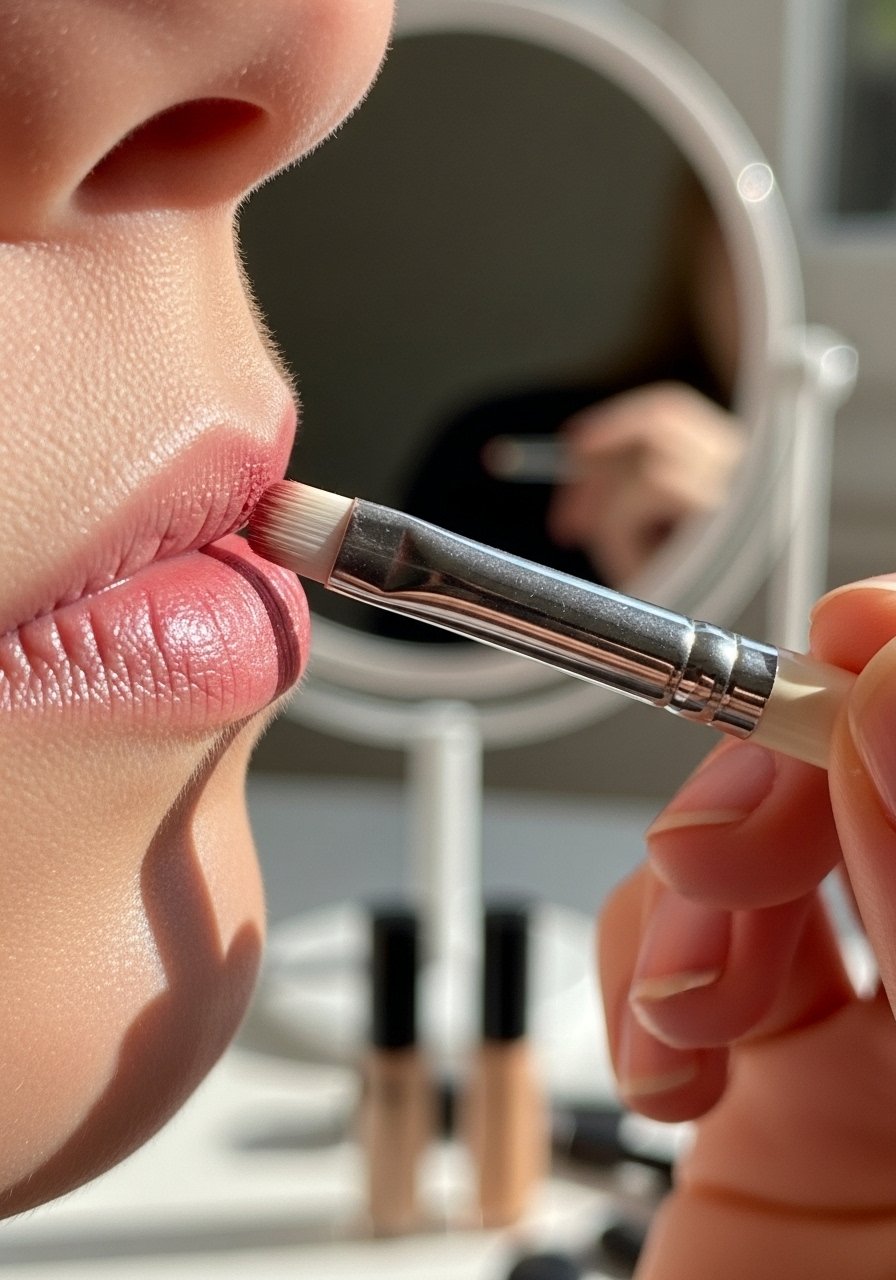
After coloring, I use a small amount of lip-concealer-pencil to sharpen the perimeter, which visually lifts the shape. Crisp edges make the lip silhouette read fuller. Keep the concealer thin and blend outward for a natural halo.
Mistake to Avoid: Using heavy cream concealer, which will look cakey around lips.
21. Layering Balms With Different Textures
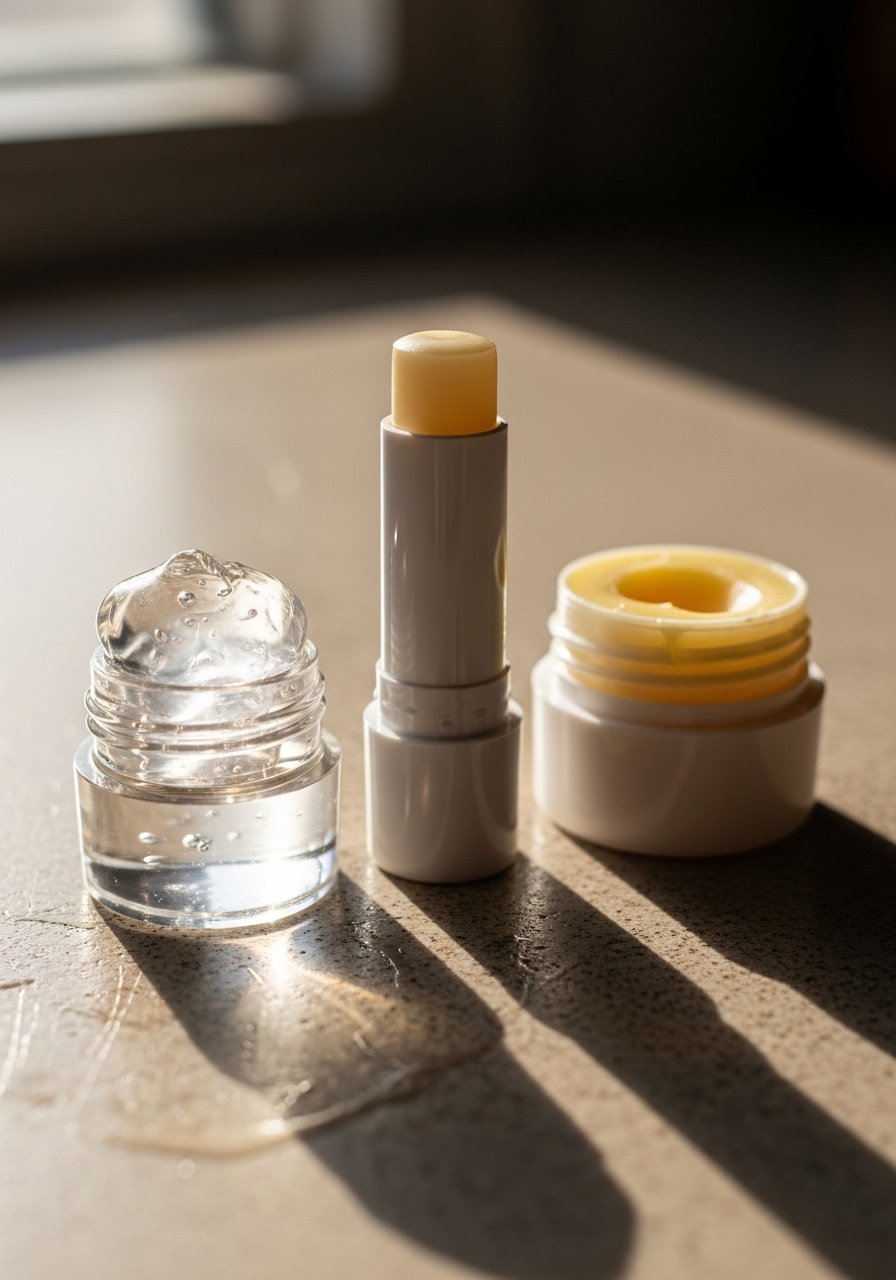
I combine a thin, fast-absorbing balm under a thicker occlusive at night, then a gloss in the morning. Layering textures traps moisture and gives a sustained plumper look. I alternate products like hyaluronic-lip-serum and heavier balms to get both hydration and sheen.
Mistake to Avoid: Mixing incompatible active ingredients, which causes irritation.
22. Cupid’s Bow Highlighting Trick
A dot of highlighter on the cupid’s bow and a whisper at the center top lip tricks the eye into a lifted shape. I use small-highlighter-pencil and blend with my finger. It’s subtle but effective, especially with matte lipstick at the edges.
Mistake to Avoid: Highlighting the whole lip, which flattens contrast.
23. Tinted Peptide Gloss for Everyday Boost

If I need quick confidence, I reach for a tinted peptide gloss. It gives a slight color, mild plump from peptides, and hydration. I found it works best layered over a balm for longevity. It’s my daily go-to and the one I recommend when you want a reliable, low-effort lift.
Mistake to Avoid: Applying tinted gloss on chapped lips without prepping, which highlights flakes.
Makeup Tips
Hydrate First: I always hydrate lips with hyaluronic-lip-serum before any color, it improves finish and wear.
Prime the Edges: Use a tiny amount of lip-concealer-pencil to mask uneven edges for a cleaner look.
Less Is More With Tingle: Test any tingling plumper on your wrist first, then use one product only, like tinted-lip-plumper.
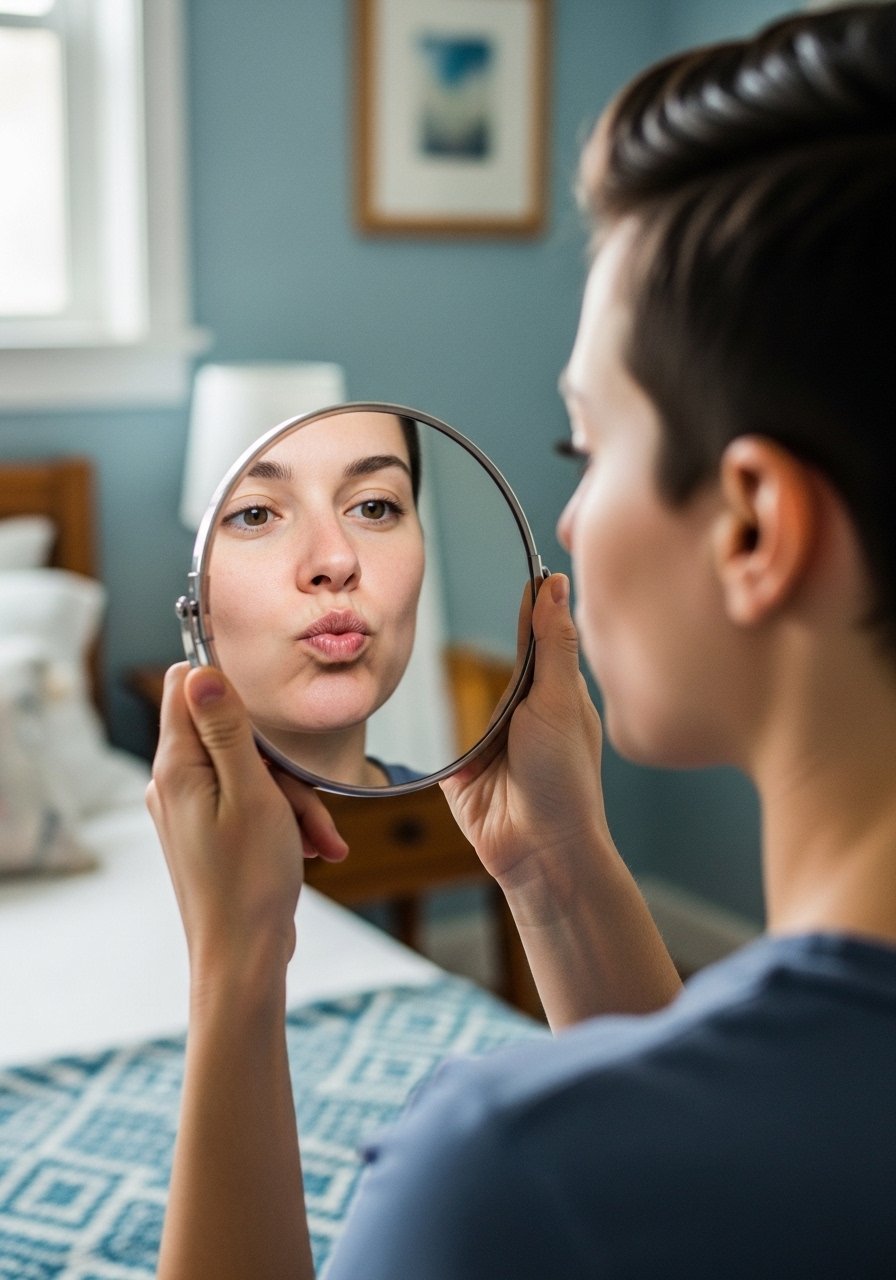
Mirror Angle for Photos: Tilt your chin slightly down and catch light on the center of the lips, glossed with clear-lip-gloss, it exaggerates height in pics.
Nightly Repair: Use an overnight product like overnight-lip-mask twice a week to build a smoother base.
Patch Test Actives: When trying retinol or micro-needling, patch test and go slow, then pair with a soothing balm like a basic lip ointment.
