
I kept booking a full sleeve when what I actually wanted was something tiny that still reads classic weeks later, not a smudge. After the third touch-up and a sore wallet, I started asking for pieces that use bolder single-line anchors, sit where clothing protects them, and heal cleanly. That switch saved time, and the tattoos finally looked like the photos I liked.
These picks are for people who want Japanese traditional motifs scaled down, budget friendly, and sensible for work or travel. I pulled these after asking artists across five shops I have visited to redraw larger motifs small, which taught me where line weight matters. Expect 30 to 90 minute sessions, mostly one-needle-liner work, and aftercare that fits a normal week of commuting.
1. Mini Koi With Bold Outline
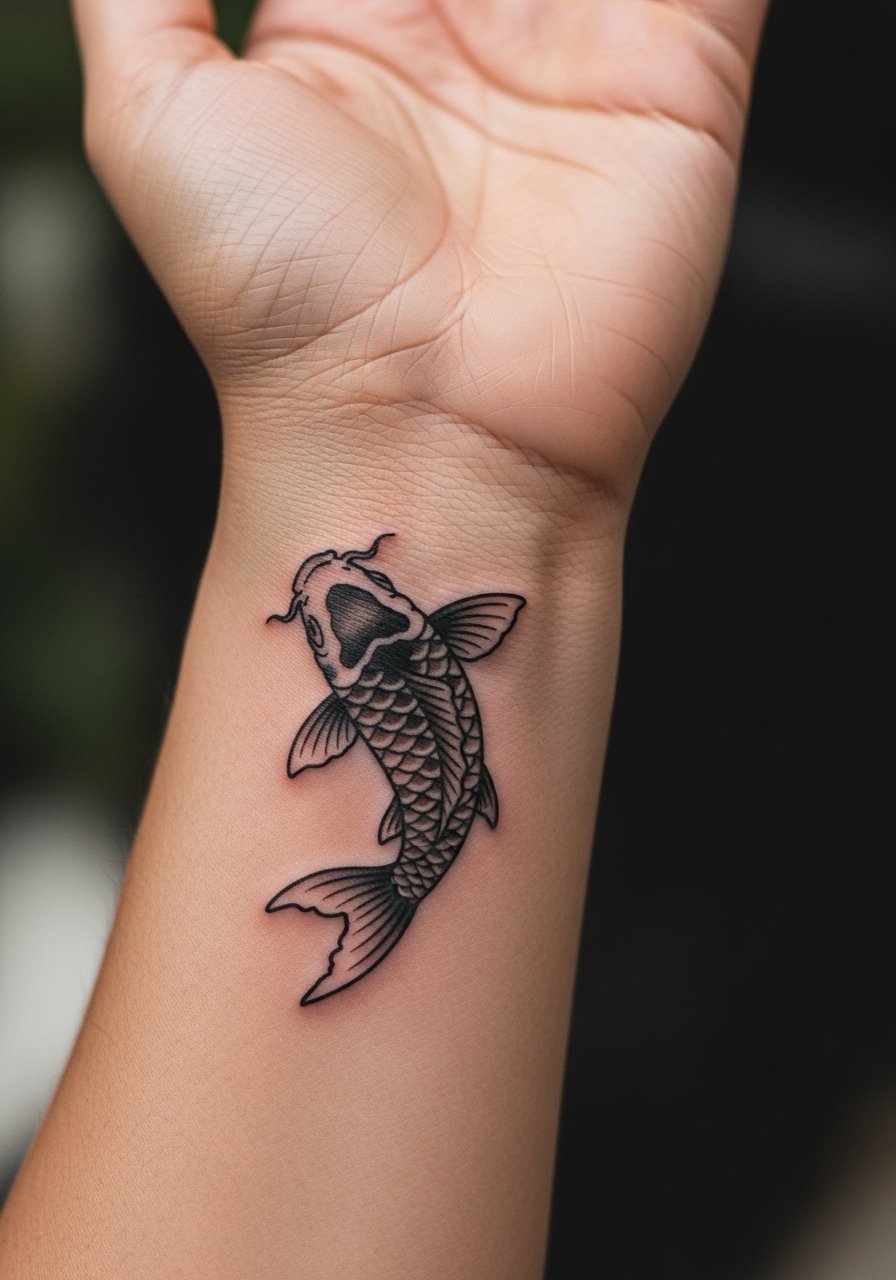
A tiny koi still needs a strong outer line to read after two years, which is why my artists use a 3RL for the outline and 1RL for the internal scales. The result looks graphic and slightly vintage, not washed out. It reads playful and intentional, good for someone who wants visible art on the wrist or ankle but needs easy cover with sleeves. Budget wise it is a short session and often one sitting. For home care I use fragrance-free soap and a thin layer of tattoo aftercare balm.
Style/Technique: Traditional small motif with bold outer line
Pain Level: 3/10
Session Time: 0.5 to 1 hour
Best For: Wrist, ankle, first-timers, office-visible
Mistake to Avoid: Asking for hairline outlines only, which blur faster than a slightly thicker 3RL outer line.
2. Single-Branch Sakura Sprig
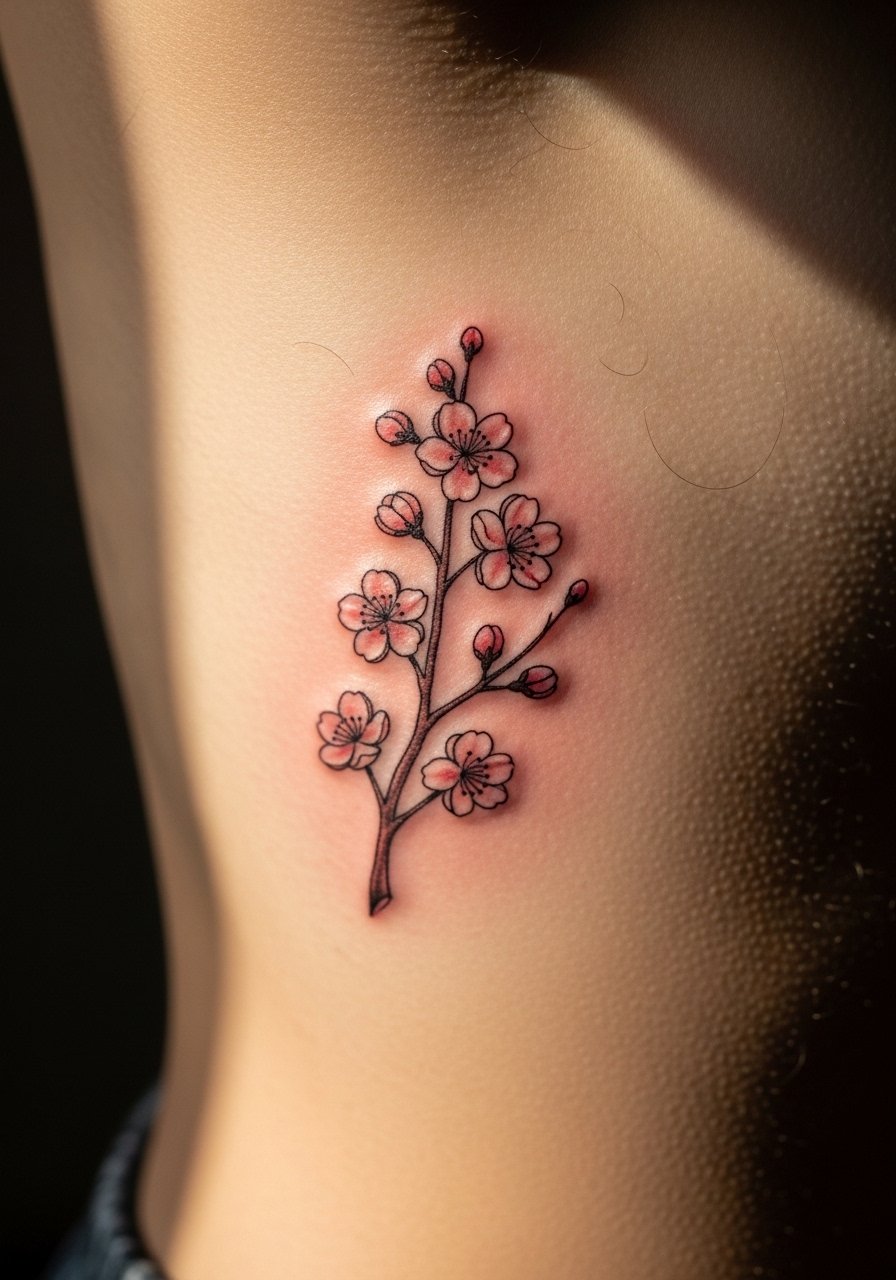
A one-branch sakura uses negative space to read delicate even when scaled small. Artists I trust keep the petal details to a single 1RL dot and a 2RL accent, then leave the core empty to prevent over-inking. It feels quiet and warm, good for someone who wants a personal symbol that can be covered. This is also a good choice if you want seasonal meaning without a crowded design. Bring a thin cotton shirt for the first few days and use a sterile adhesive bandage if your job requires close contact. I like a clean microfiber towel for gentle patting.
Style/Technique: Minimal floral with negative space
Pain Level: 4/10
Session Time: 0.5 to 1 hour
Best For: Rib, behind ear, collarbone, people who prefer coverable pieces
Mistake to Avoid: Asking for many tiny shaded petals, which can merge into an indistinct blob as it heals.
3. Tiny Wave Corner
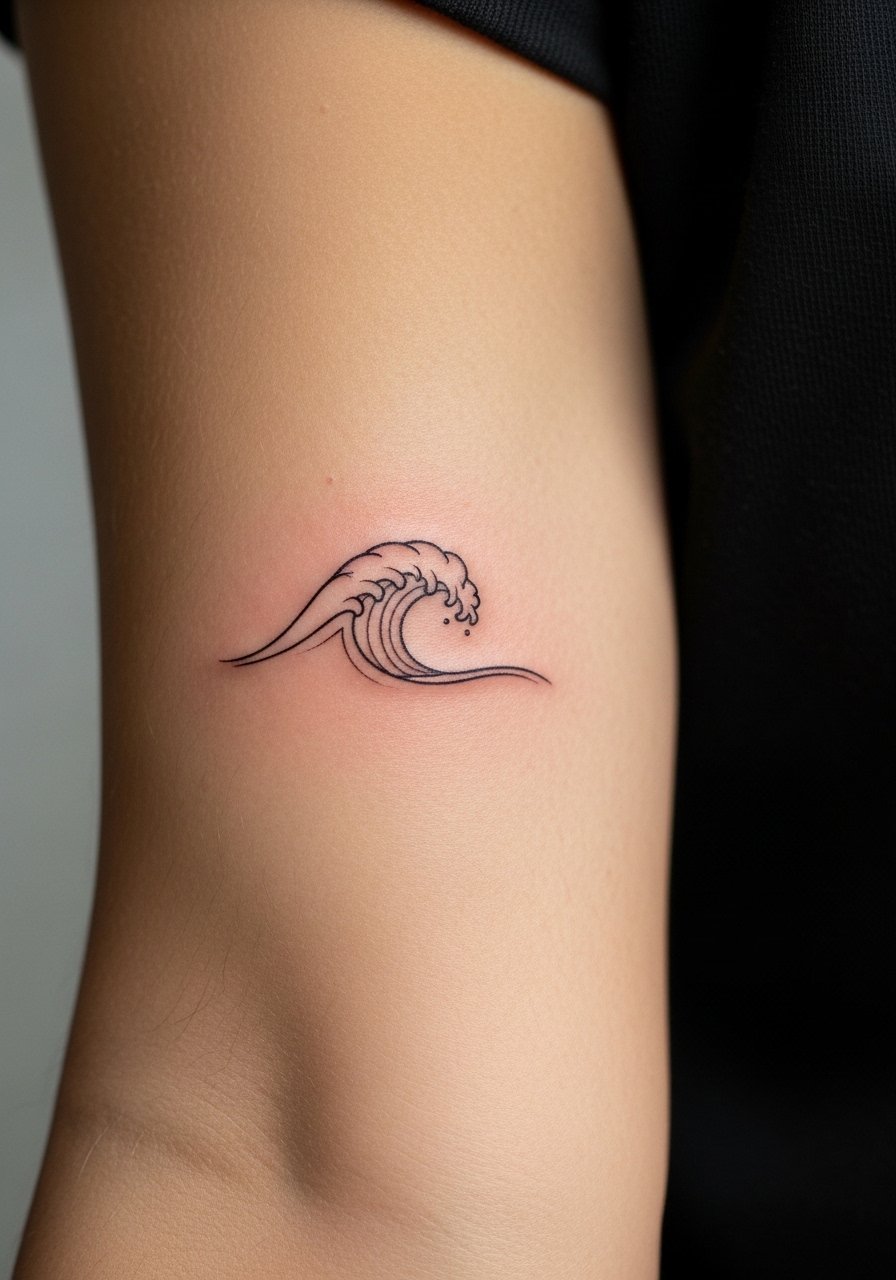
The small wave is one of those designs that survives rough use when the artist thickens the crest line to about 2.5 to 3 mm visually. It reads dynamic and summer-ready, and it looks intentional on someone with active hands because it tolerates friction. This fits casual wardrobes and is low cost. I recommend asking for slightly simplified curls so the piece does not require frequent touch-ups. For aftercare, a light non-petroleum healing ointment applied twice a day keeps lines crisp.
Style/Technique: Simplified traditional wave with reinforced crest line
Pain Level: 2/10
Session Time: 0.25 to 0.75 hour
Best For: Forearm, calf, people who want outdoor-friendly pieces
Mistake to Avoid: Requesting intricate shading inside the wave that will fade into grain quickly.
4. Small Kamon Crest
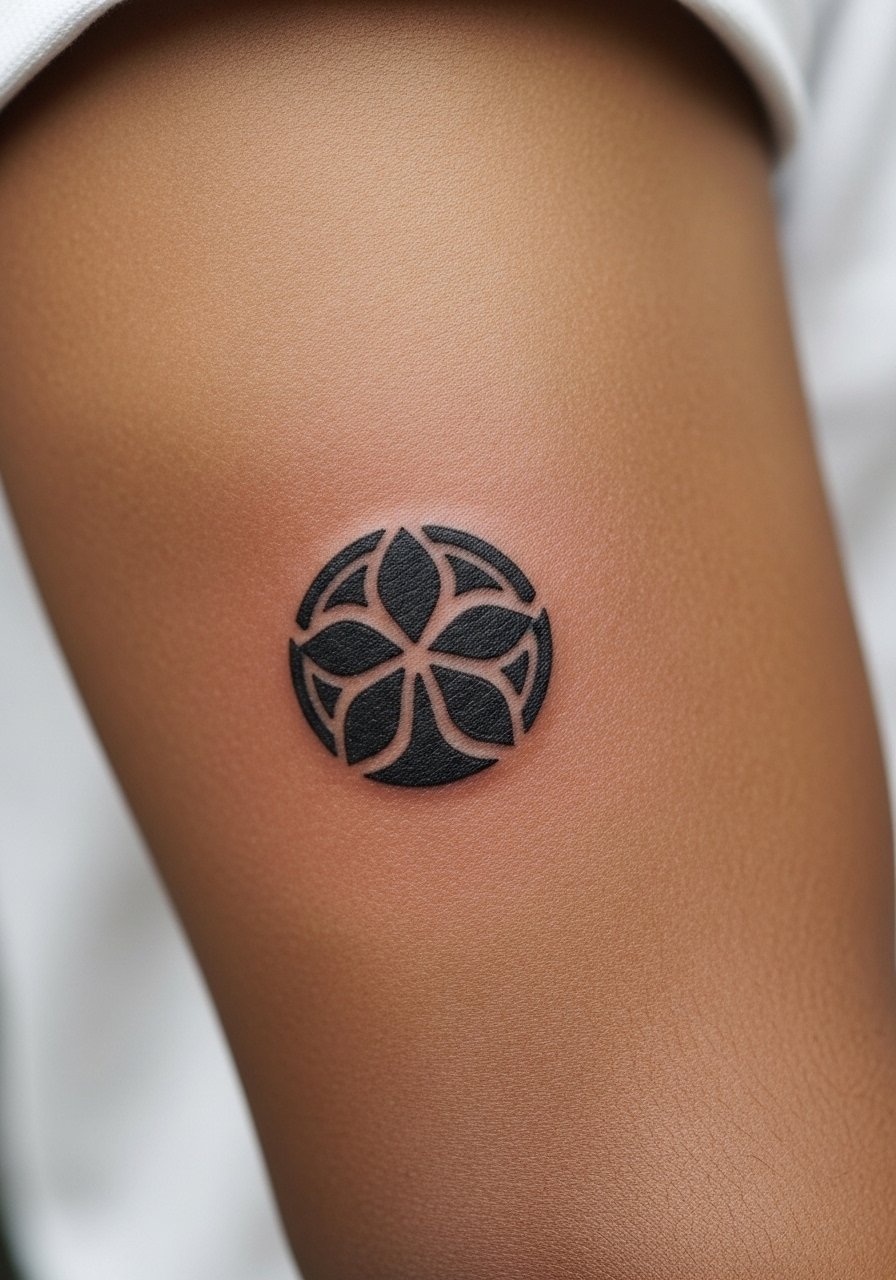
A kamon crest shrunk down becomes an elegant nod to heritage when rendered with a consistent 2RL outline and solid single-color fill. This choice is a rare competitor-ignored angle, because most roundups skip heraldic crests as tiny options. It works for someone who wants something coverable under short sleeves but sharp in a rolled shirt. If the design references family symbols, mention cultural context to your artist so they adapt it respectfully. A small dot grid stencil helps align the crest perfectly.
Style/Technique: Crest with solid fill and uniform outline
Pain Level: 3/10
Session Time: 0.5 to 1 hour
Best For: Inner bicep, chest edge, people seeking subtle symbolism
Mistake to Avoid: Choosing ultra-fine internal detail that will compress and become muddy over time.
5. Mini Daruma Face
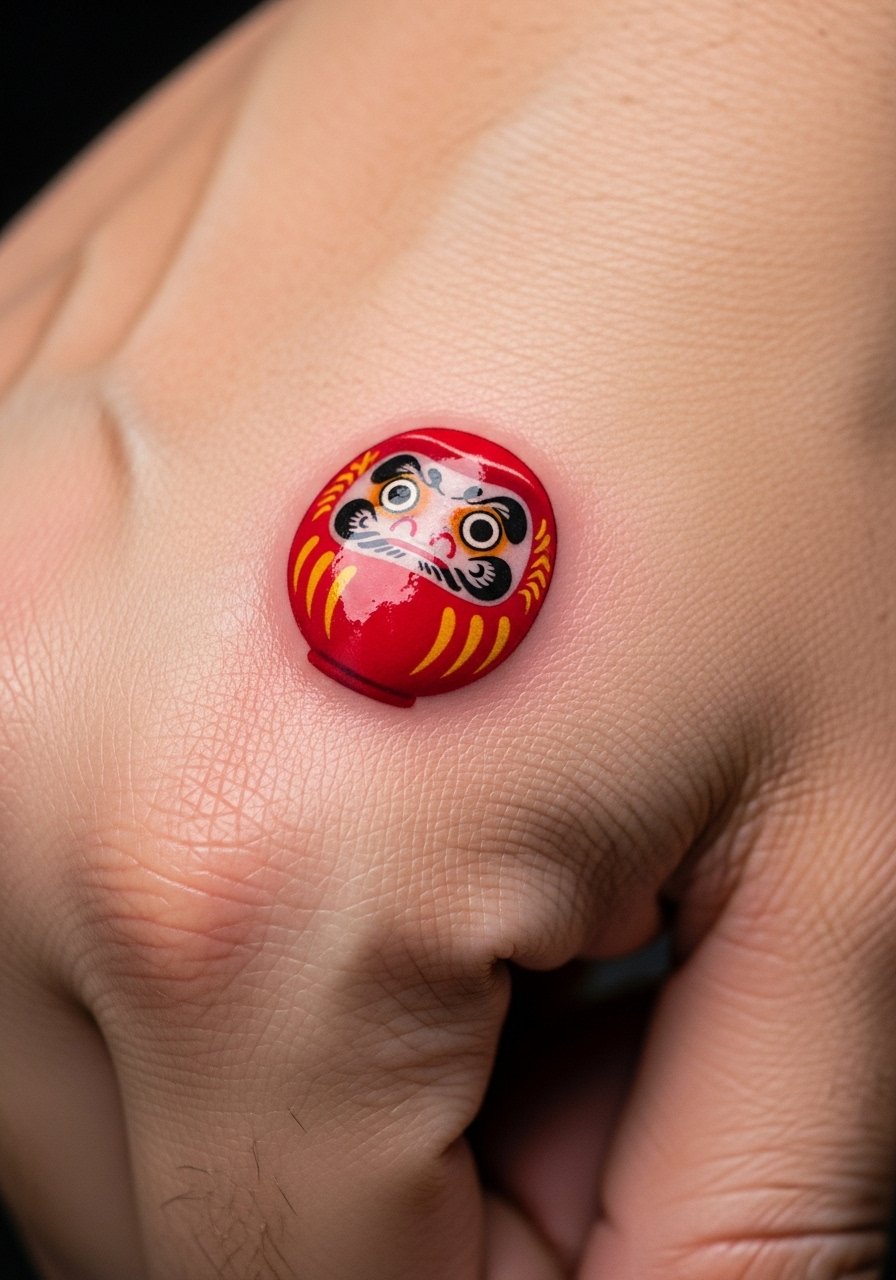
The daruma is compact and bold by nature, which makes it ideal when shrunk to a palm-sized piece. Keep eyes and facial lines at least 1 mm thick so the face remains legible after the first year. It creates a cheeky, talisman-like feeling and fits people who want a small cultural symbol on a visible spot. Note that hand placements are high wear and likely need touch-ups. Pair this with a protective bandage during the first 48 hours and a recommended adhesive dressing for sleeping.
Style/Technique: Bold icon with simplified facial lines
Pain Level: 5/10
Session Time: 0.5 to 1 hour
Best For: Hand, finger base, people okay with periodic touch-ups
Mistake to Avoid: Putting it on a finger pad or side where constant rubbing will erase small lines.
6. Tiny Crane Silhouette
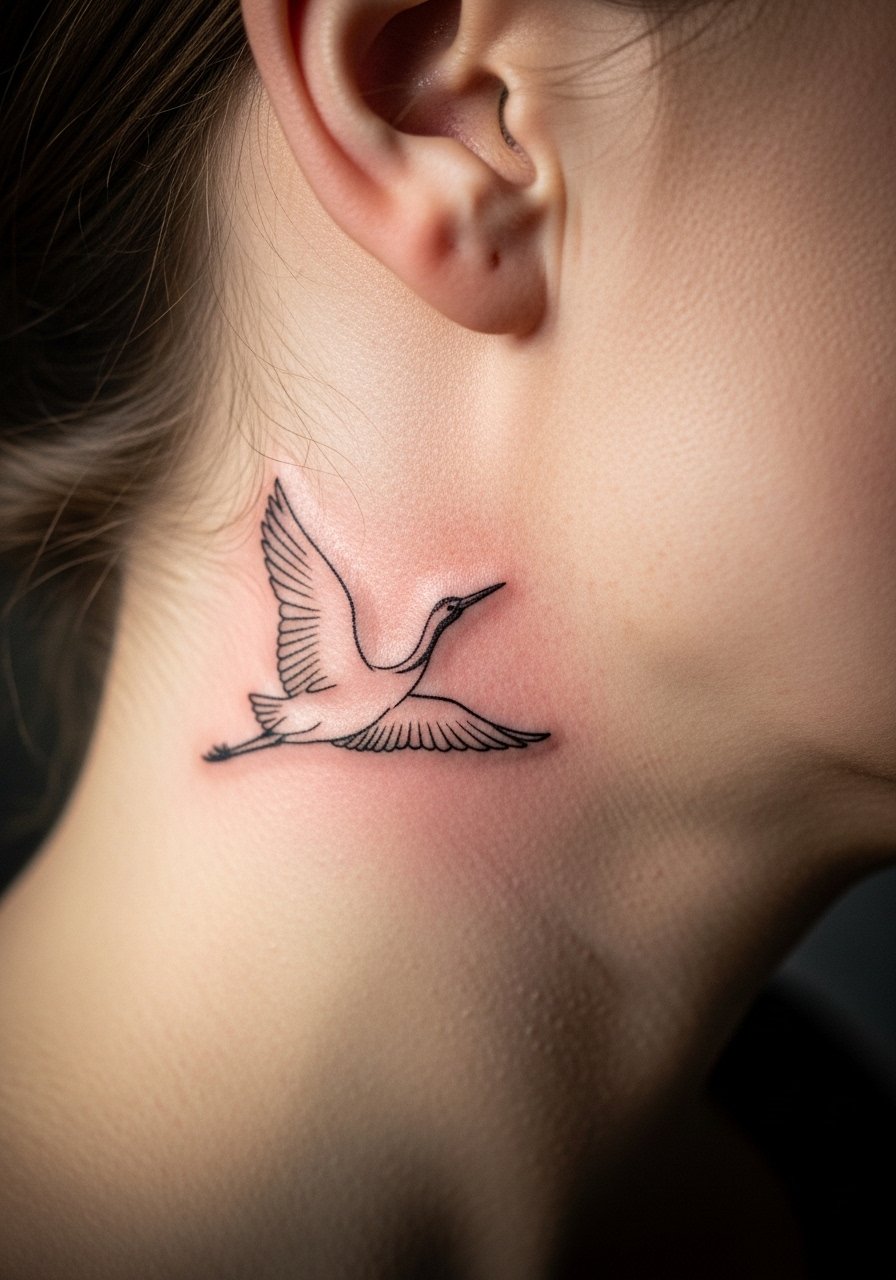
A single-line crane silhouette reads as motion and restraint when the wing strokes are drawn with a single 2RL curved sweep. It creates a poised, airy vibe and suits someone who wants neck or behind-ear placement but still needs a design that heals cleanly. This is one of the gaps many sites miss, because cranes scaled small require intentional negative spacing more than dense shading. Ask for a slightly elongated neck and one open wing so the silhouette does not condense during healing.
Style/Technique: Silhouette with deliberate negative space
Pain Level: 4/10
Session Time: 0.25 to 0.75 hour
Best For: Neck, behind ear, collarbone, people who want graceful, small motifs
Mistake to Avoid: Crowding feathers into the wing area instead of leaving clean curves.
7. Little Peony Bud
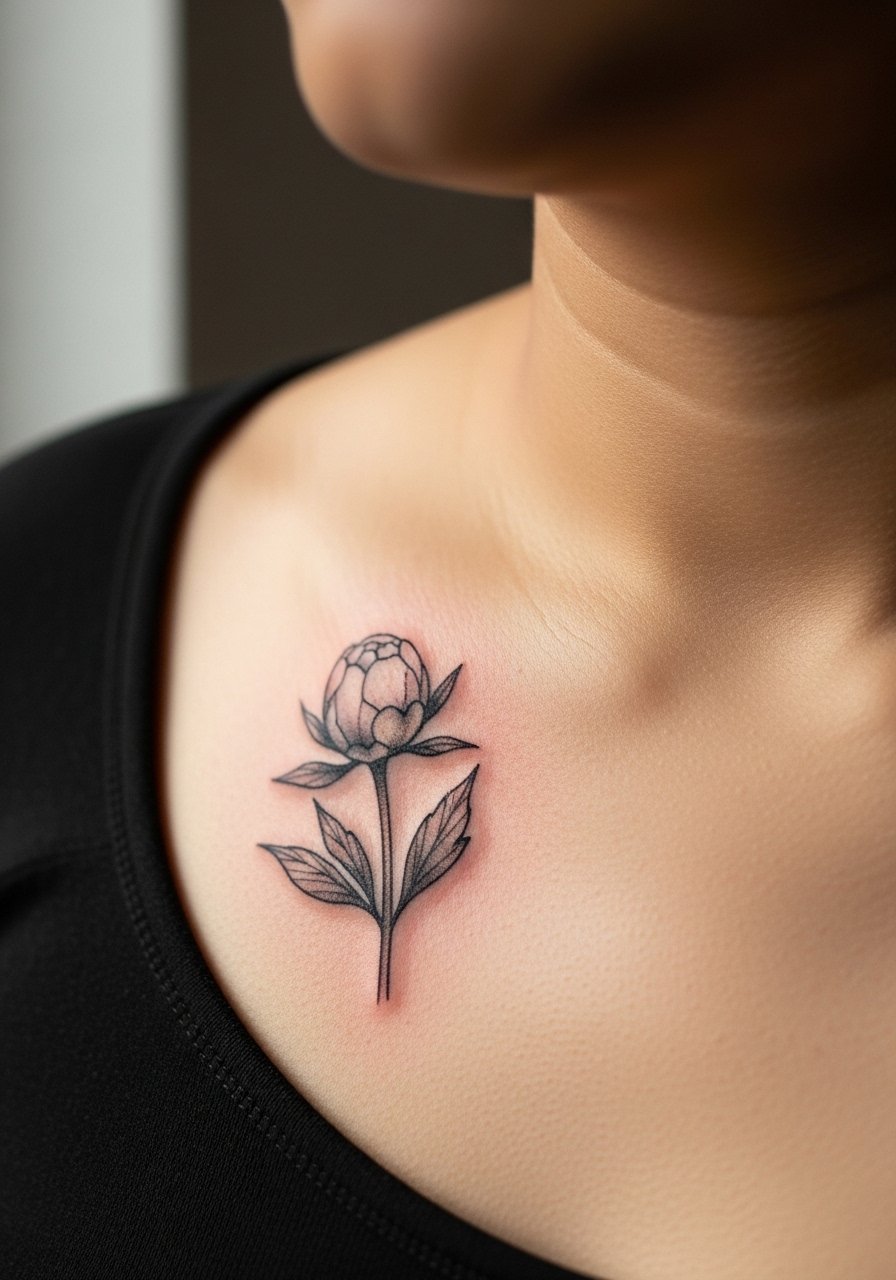
A bud rather than a full bloom keeps the peony readable small, and the trick is a consistent dot-fill at 1RL for texture plus a 3RL outline. It feels classic and slightly tucked away, which is perfect for someone who wants floral symbolism but not a statement piece. Budget friendly and quick, it ages gracefully if placed away from constant sun. Mention sun protection on the area for the first six months. Use a mild spf aftercare sunscreen once fully healed.
Style/Technique: Bud with dot-fill texture and bold outline
Pain Level: 3/10
Session Time: 0.5 hour
Best For: Clavicle, shoulder, people who prefer low-profile florals
Mistake to Avoid: Asking for layered color blending in a tiny area instead of simple dot texture.
If you want to shop now for the basics before booking a session, here are the items I reach for every single time.
Small Tattoo Starter Picks
Aftercare Essentials:
- tattoo-aftercare-balm (~$10-18), a fragrance-free healing salve I recommend for the first week.
- fragrance-free-soap (~$6-12), gentle wash for daily cleaning.
- adhesive-dressing (~$8-20), sterile bandage for the first 24 to 48 hours.
Prep & Tools:
- tattoo-stencil-transfer-paper (~$9-15), useful if you do custom placements at home.
- safety-razor (~$12-25), for shaving the area cleanly before an appointment.
- spf-aftercare-sunscreen (~$10-18), light, mineral SPF for healed tattoos.
Tiny Tattoo Care Moves
Keep the area dry for the first 24 hours. A thin layer of tattoo-aftercare-balm applied sparingly prevents scabs from getting overly thick.
Use fragrance-free soap twice a day to avoid residue buildup. Harsh detergents make line edges look soft during the first two weeks.
If you shave the spot before your appointment, do it with a new safety-razor and moisturize the day before. A smooth canvas means fewer missed lines.
For visible placements, carry a small tube of spf-aftercare-sunscreen once healed. Sun is the fastest way tiny detail loses contrast.
