
My first instinct was more product. More serums, more masks, more heavy creams. My skin reacted with new breakouts, and the scars only looked worse under thicker layers. I ended up stripping back to a few targeted treatments and the results finally started to show. Not gonna lie, the first three weeks felt like nothing was happening. Then things shifted.
This guide covers a straightforward routine you can do in a small bathroom or on a Tuesday night, with options for oily, combination, dry, and sensitive skin. Budget ranges from drugstore staples to a single treatment upgrade. It works by layering gentle exfoliation, daytime pigment-fighting, nighttime repair, and smart concealment, with an emphasis on consistency. After six weeks of testing this routine I saw real fading, and I tried this across three different skin types to tune the timing.
What You'll Need
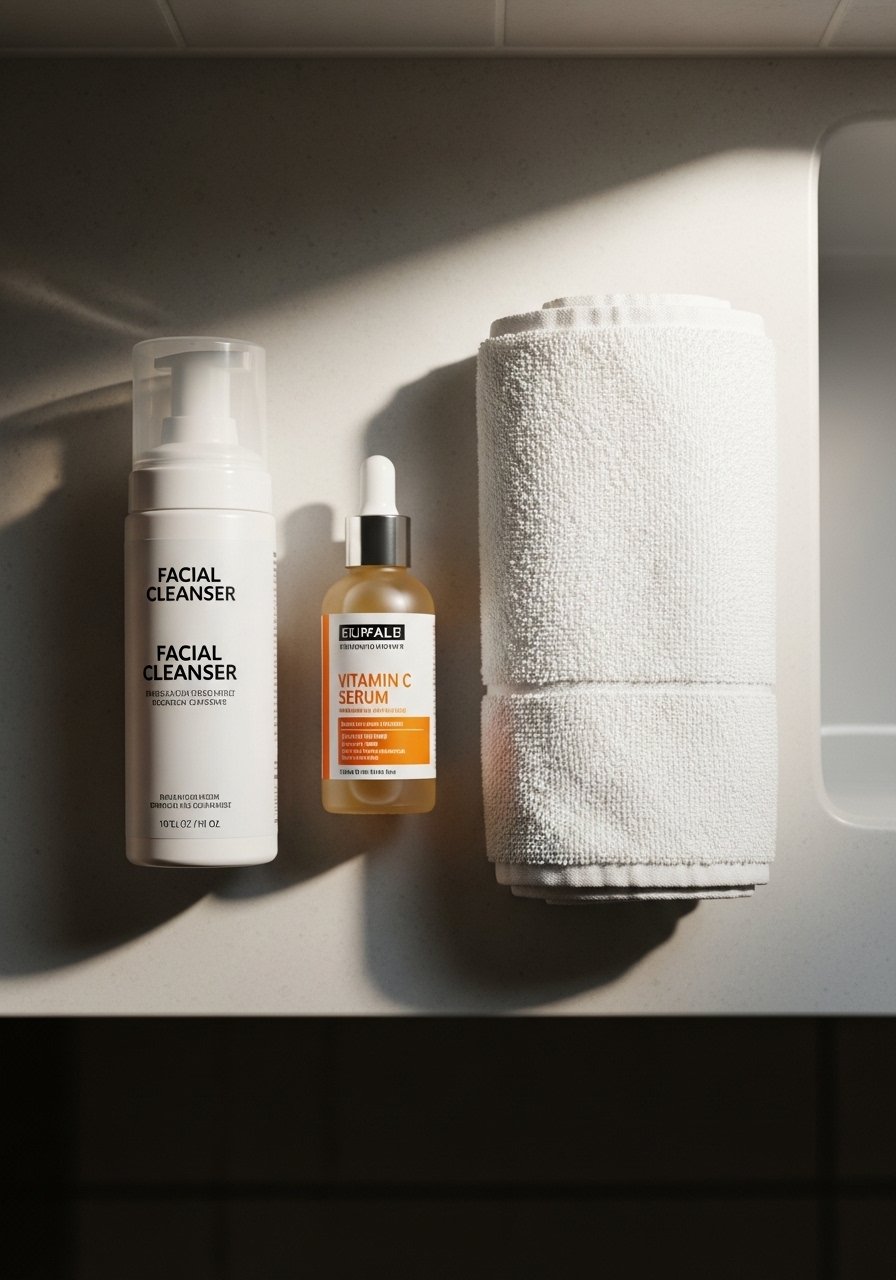
Skincare Prep:
- gentle-foaming-cleanser (~$8-20)
- micellar-water (~$6-15)
Treatments & Actives:
- vitamin-c-serum (~$12-30)
- niacinamide-serum (~$10-25)
- retinol-0.25-percent (~$10-40)
- glycolic-acid-10-percent (~$8-25)
Barrier & Seal:
- silicone-scar-sheets (~$10-25)
- rich-moisturizer (~$10-30)
- broad-spectrum-spf-30 (~$8-25)
Base & Coverage:
- color-corrector-peach (~$7-18)
- full-coverage-concealer (~$8-25)
- setting-powder (~$6-20)
Tools & Finishing:
- silicone-spatula (~$5-12)
- soft-face-sponges (~$6-15)
Step 1: Strip Back to a Clean Base
Pull everything off the shelf. Yes, everything. I ditched the dozens of serums and kept a gentle cleanser and micellar water. Clean skin helps actives work where they are needed. Start with a pH-friendly cleanser, rinse with lukewarm water, and pat dry with a soft towel. Apply 2 to 3 drops of vitamin C in the morning while skin is slightly damp so it spreads easily and feels cool. Wait two minutes before sunscreen so the serum can absorb.
Consistency beats intensity. Start with one active in the morning and keep it simple.
Mistake to Avoid: Using more products at once creates layering conflicts and often causes irritation that worsens scars.
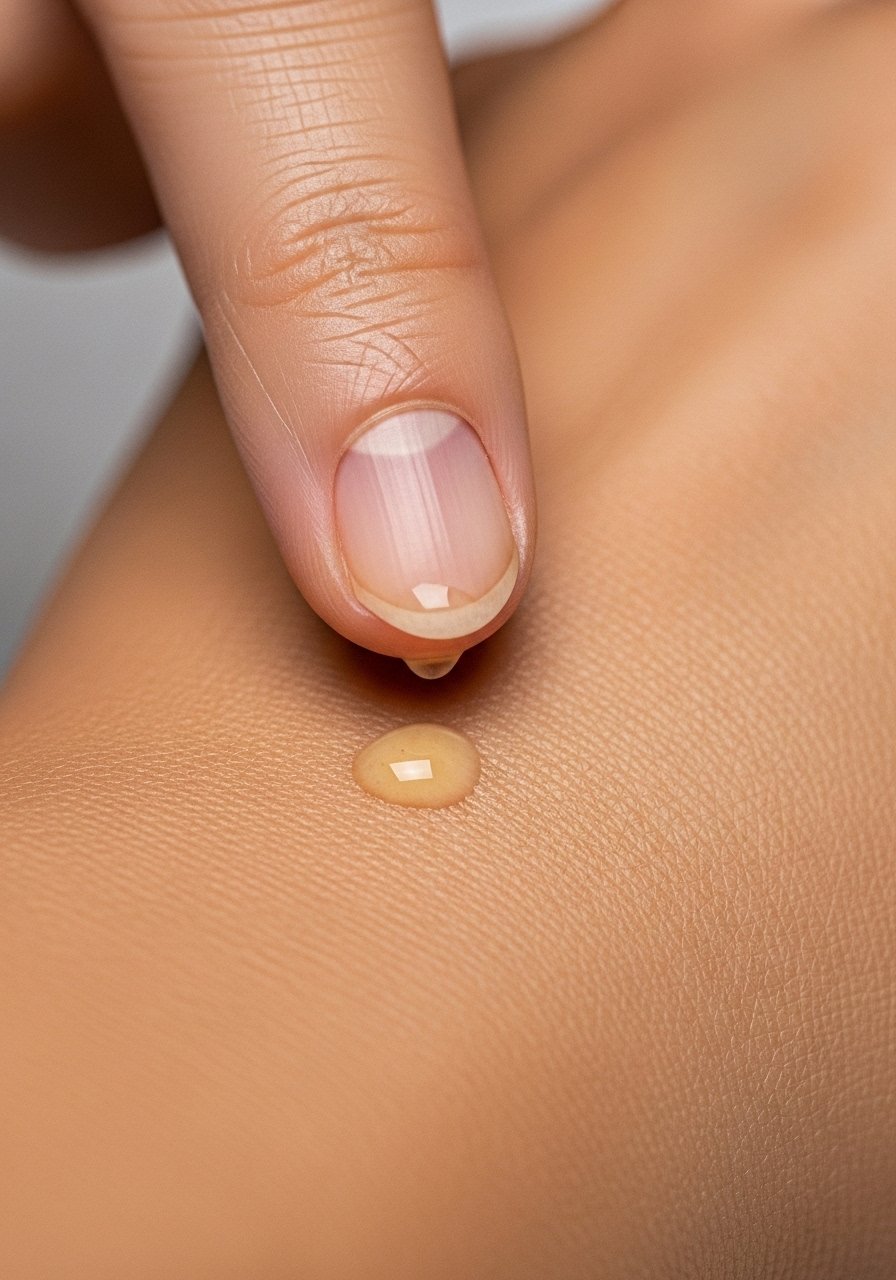
Step 2: Target Pigment in the Day
This is where pigment starts to lighten. Use a stable vitamin C serum in the morning to interrupt pigment production. Apply 2 to 3 drops and press it into the scarred areas, then let it sit for about two minutes. Follow with a broad-spectrum SPF 30 or higher. If you have oily skin, pick a gel texture that feels light and not tacky. For dry skin choose a creamier formula and seal with a thin layer of moisturizer so it does not pill under makeup.
After six weeks of testing this routine I noticed the darker spots were less obvious when I wore sunscreen every day.
Mistake to Avoid: Skipping daily sunscreen lets pigment darken and undoes topical brighteners.
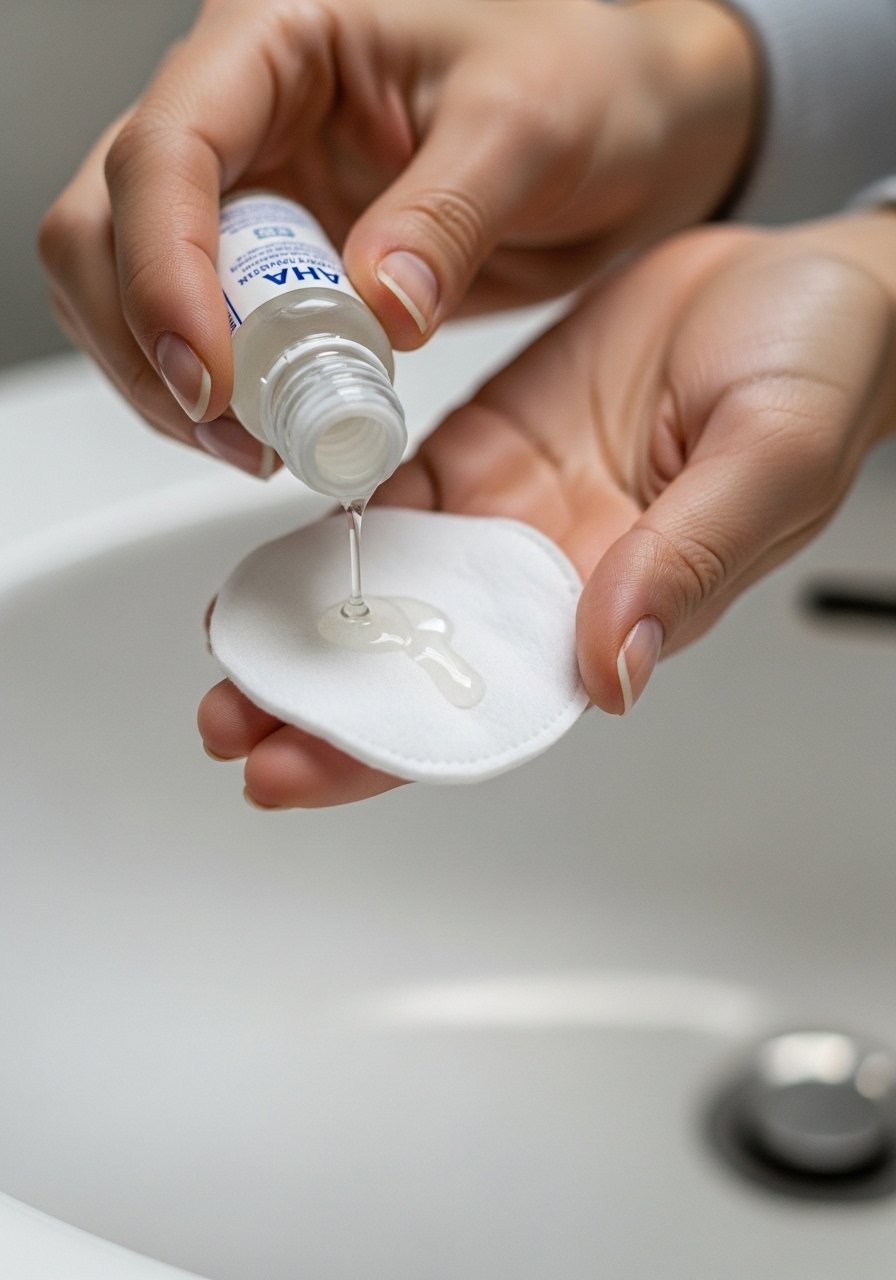
Step 3: Gentle Resurfacing at Night
Most people think more acid equals faster results. That is backwards. Start with a 10 percent glycolic AHA once or twice a week, applied at night only. Spread it on clean skin, avoid active breakouts, and leave for 3 to 5 minutes the first two uses. If your skin tolerates it, work up to 10 minutes. The goal is to smooth texture, not burn. A sandpapery feel indicates over-exfoliation, so back off. After the acid, wait 20 minutes and then apply a hydrating niacinamide serum to calm redness.
Start low and go slow with actives. Patch test behind the ear before rolling it into your routine.
Mistake to Avoid: Overusing acids early causes rebound inflammation that prolongs scarring.
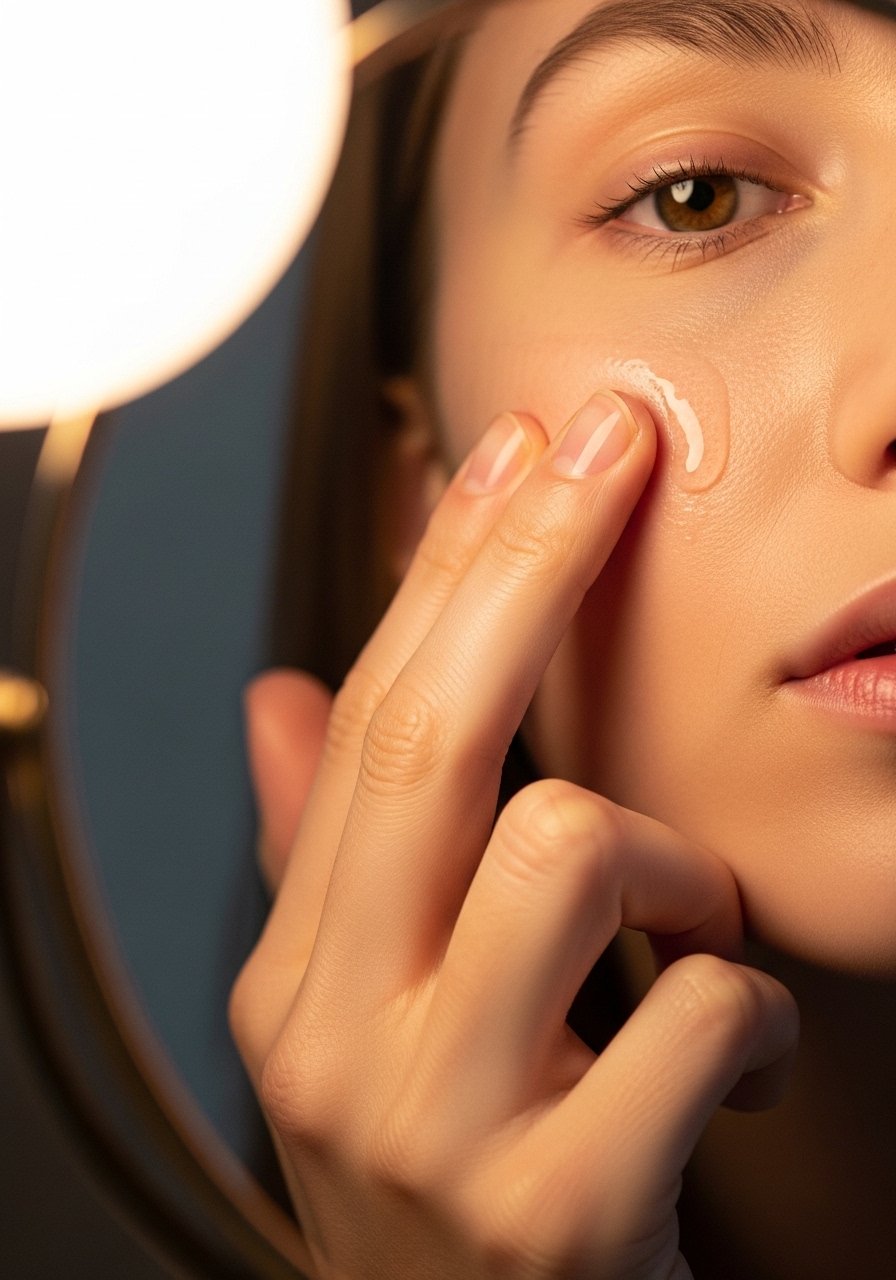
Step 4: Nighttime Repair with Retinoids
This part frustrated me at first, but then it clicked. Introduce a low-strength retinol at night, twice a week for the first month, then every other night in month two. Apply a pea-size amount across the face, avoiding the eye rim. Retinol increases cell turnover and helps remodel texture over months. Use moisturizer on top to reduce dryness. If you have very sensitive skin, use a bakuchiol alternative or a prescription retinoid under a clinician’s guidance.
Patience matters. It can take 8 to 12 weeks to notice changed texture, but the skin will feel smoother first.
Mistake to Avoid: Ramping up retinol too quickly leads to flaking and setbacks that delay visible improvement.
Step 5: Physically Smooth with Silicone and Moisture
I almost skipped this. Glad I did not. Silicone sheets or gels are a simple physical way to flatten raised scars and support repair. Use a silicone sheet overnight for several hours or a thin gel during the day under makeup. Pair this with a richer moisturizer to keep the barrier soft. The silicone feels slightly tacky and thin, like a second skin. For indented scars, daily massage with a small amount of oil helps break adhesions over time. Aim for 5 minutes of massage per night.

The principle is consistent contact and hydration. Think of it as gentle architecture for the skin.
Mistake to Avoid: Sleeping with a dry, untreated scar lets tissue harden and reduces the benefit of silicone treatment.
Step 6: Color Correct and Conceal Smartly
This is where you get confident fast. For red marks use a green corrector, for purple or deep brown use a peach or orange depending on your skin tone. Apply a thin layer of corrector only on the spot, press with a damp sponge so it blends into texture, then dot a full-coverage concealer on top. Set lightly with a translucent powder to avoid cakey buildup. If you need a product, pick a creamy full-coverage concealer that does not feel heavy. Color correcting before concealer reduces how much product you need.
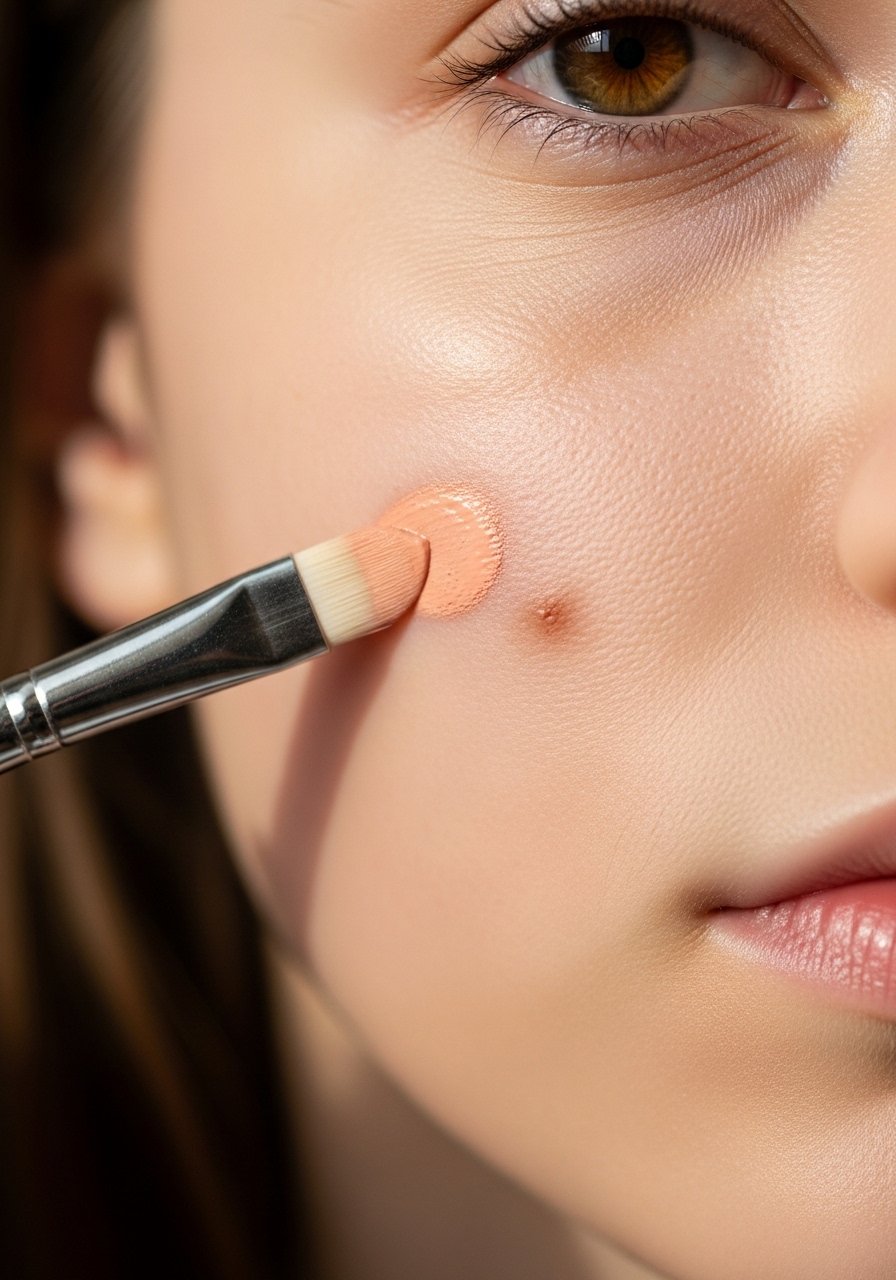
Photo-vs-reality note: in photos microtexture still shows, but in person the spots look much softer with this layering.
Mistake to Avoid: Piling concealer on without color correction makes coverage look thick and unnatural.
Makeup Tips
Use a damp sponge: Press concealer with a damp sponge for seamless blending and to avoid streaks, try a soft-face-sponge for best effect. soft-face-sponges
Spot-treat with silicone gel: A thin layer of silicone gel over a raised scar during the day reduces visibility while you run errands. silicone-scar-sheets
Layer light pigments: If you have oily skin, pick oil-free vitamin C gels in the AM so the feel is light and not tacky. vitamin-c-serum
Two-minute sunscreen rule: Wait two minutes after serums so sunscreen adheres to skin rather than sliding off. broad-spectrum-spf-30
Patch test jawline: When adding any acid or retinol, patch-test on the jawline for 48 hours to catch sensitivity before you apply to the face. glycolic-acid-10-percent
Night massage: Spend 5 minutes nightly massaging indented scars with a moisturizer or oil to help remodel tissue.
Makeup refresh: Carry a tiny dab of concealer and a mini sponge for 10-second refreshes rather than reapplying thick layers mid-day. full-coverage-concealer
Small Wins Daily
I am still not sure this is the best way, but it has worked every time for me when I stayed consistent. Start simple: cleanse, protect, and pick one active at a time. Keep a notebook for what you try and how your skin reacts over two weeks. Final tip, on a Tuesday night when you do not want to think, do the resurfacing step and follow with extra moisturizer. Stick with the routine long enough to see texture change, be patient, and celebrate small improvements.
