
I spent years trying to recreate the picture-perfect brunch that online photos promised. My first attempts had awkward timing, soggy pastries, and a centerpiece that looked like a science experiment. Then I noticed one small pattern in the photos I liked, and everything clicked. The trick is planning so the food, drinks, and table arrive at the same calm moment, not all at once. After three years of using the same base setup, I now host without sweating the small stuff.
This guide covers a relaxed, four-hour plan that fits a modest budget and scales up easily. Expect to spend under $200 if you mix store-bought with homemade. I have hosted this dinner for five seasons, so these timings and swaps are battle-tested. You will get a timeline, a make-ahead list, a simple centerpiece that avoids wilted flowers, and a drink station that keeps guests pouring without you running around.
What You'll Need
Main Decorations:
- Linen napkins (~$15-$30)
- Low ceramic vase (~$20-$45)
Lighting & Ambiance:
- Battery-operated taper candles (~$12-$25)
- String lights warm white (~$15-$30)
Tableware & Accents:
- Mixed pattern dinner plates set (~$30-$60)
- Glass carafe set (~$15-$35)
- Small chalkboard tent cards (~$8-$15)
Step 1: Lock the menu and the pace
Decide on three mains and two sides and stick to it. I aim for one big make-ahead dish, one quick skillet item, and one baked pastry. Pick timing first. I work backward from the moment guests sit. For example, if you want everything ready at 11:30 a.m., set the oven for pastries at 10:00 a.m., start the make-ahead casserole at 8:30 a.m., and plan a 3-minute poach for eggs right at 11:15 a.m. The mimosa ratio I use is two parts sparkling wine to one part orange juice, and it keeps the fizz without tasting watered down.

Decide now, then buy the rest accordingly. I almost skipped this and ended up with too many dishes to manage.
Mistake to Avoid: Skipping the timing plan makes everything jockey for oven space and guests eat at different times.
Step 2: Make-ahead like a pro
Pick one thing to finish entirely the day before. My go-to is a strata or quiche that reheats well. Cook it, cool it, wrap it, and refrigerate. Leave pastries par-baked if you want fresh warmth; 10 minutes at 375 F finishes them. Label containers and stack by reheating time. Mise en place is my principle here, set everything out in the order you will use it so you do not scramble. I found that prepping 80 percent of the meal the night before left me calm and present the morning of.
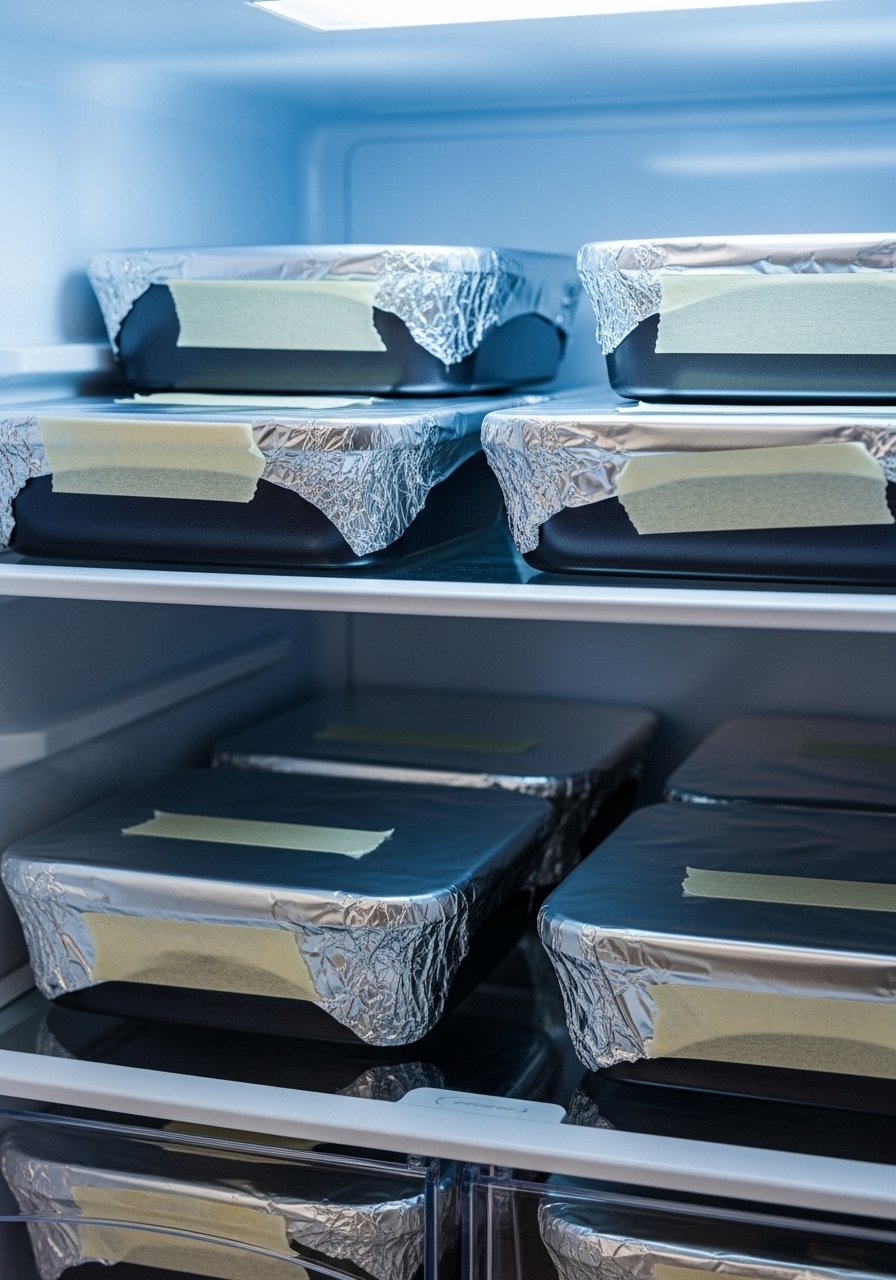
Honestly this step frustrated me at first, but once I trusted it, mornings felt manageable.
Mistake to Avoid: Leaving make-ahead items unlabelled makes you reheat the wrong dish when guests arrive.
Step 3: Table setting that breathes
Set the table the night before if you can. Use a single low centerpiece so sightlines stay open. I stack plates as a pattern and tuck linen napkins under forks for texture and weight, the napkin should feel substantial not flimsy. Add one height with a single taper or a small cluster of votives. The visual rule I follow is odd-numbered groupings, but not every item should be decorative; leave space to place serving dishes. The clink of forks on ceramic is part of the soundscape you want, not something to hide.
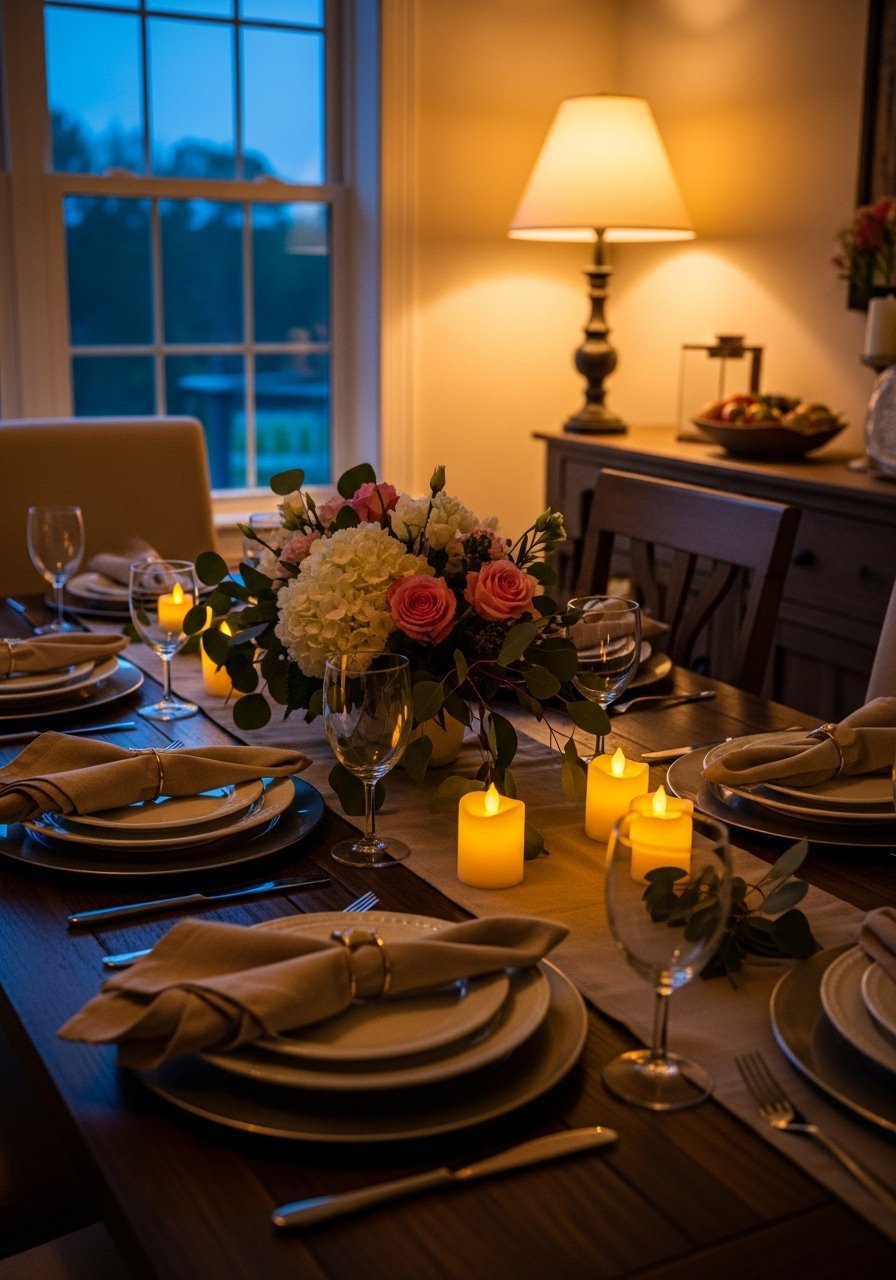
I am still not sure this is the best way, but it has worked every time for me.
Mistake to Avoid: Overfilling the table with tall items that block conversation across it.
Step 4: Build a self-serve drink station
Create a corner with carafes, ice bucket, and a small tray of garnishes. I set out a half-bottle of sparkling wine per four guests and a carafe of juice. Label jars with small chalkboard cards to avoid questions. For tea lovers, keep a teapot and a kettle on a low hot plate. The sound of a kettle’s hiss signals cozy and keeps people gathered without you. A clear station reduces traffic through the kitchen and gives guests something to do while you finish plating.
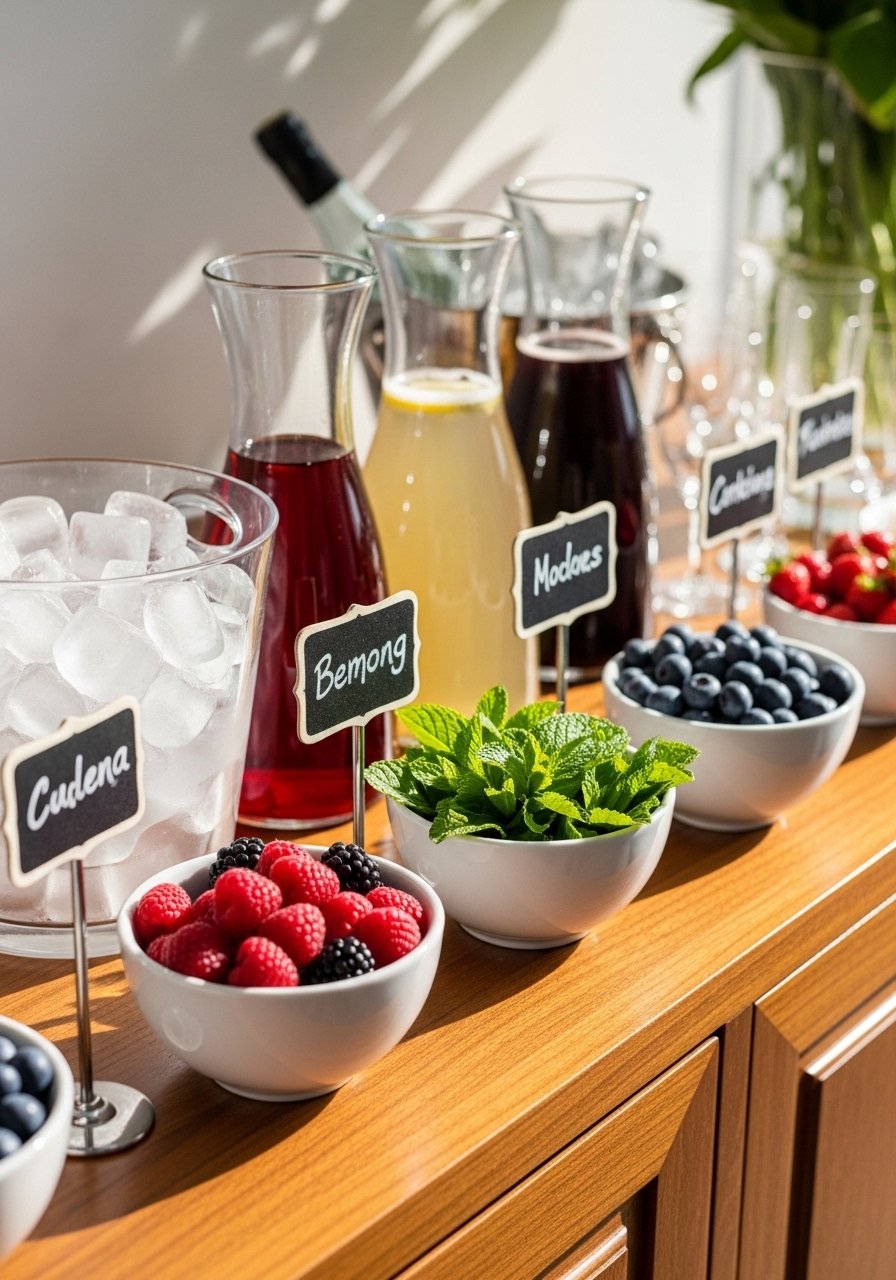
Side note, if you have cats, skip leaving open pitchers on a low table.
Mistake to Avoid: Leaving only one drink option forces everyone to crowd the kitchen for refills.
Step 5: Warm things up and time the hot items
Work in 10-minute windows. Reheat your make-ahead dish at 350 F for 20 to 25 minutes if chilled. Start skillet items 15 minutes before serving so they sizzle and smell right. Poach eggs for 3 minutes for runny yolks, or 4 minutes for set but creamy yolks. Keep a warm drawer or low oven at 170 F for plates so food does not cool on contact. Listen for the skillet hiss and watch for a light browning cue; the sound and color tell you more than a timer.
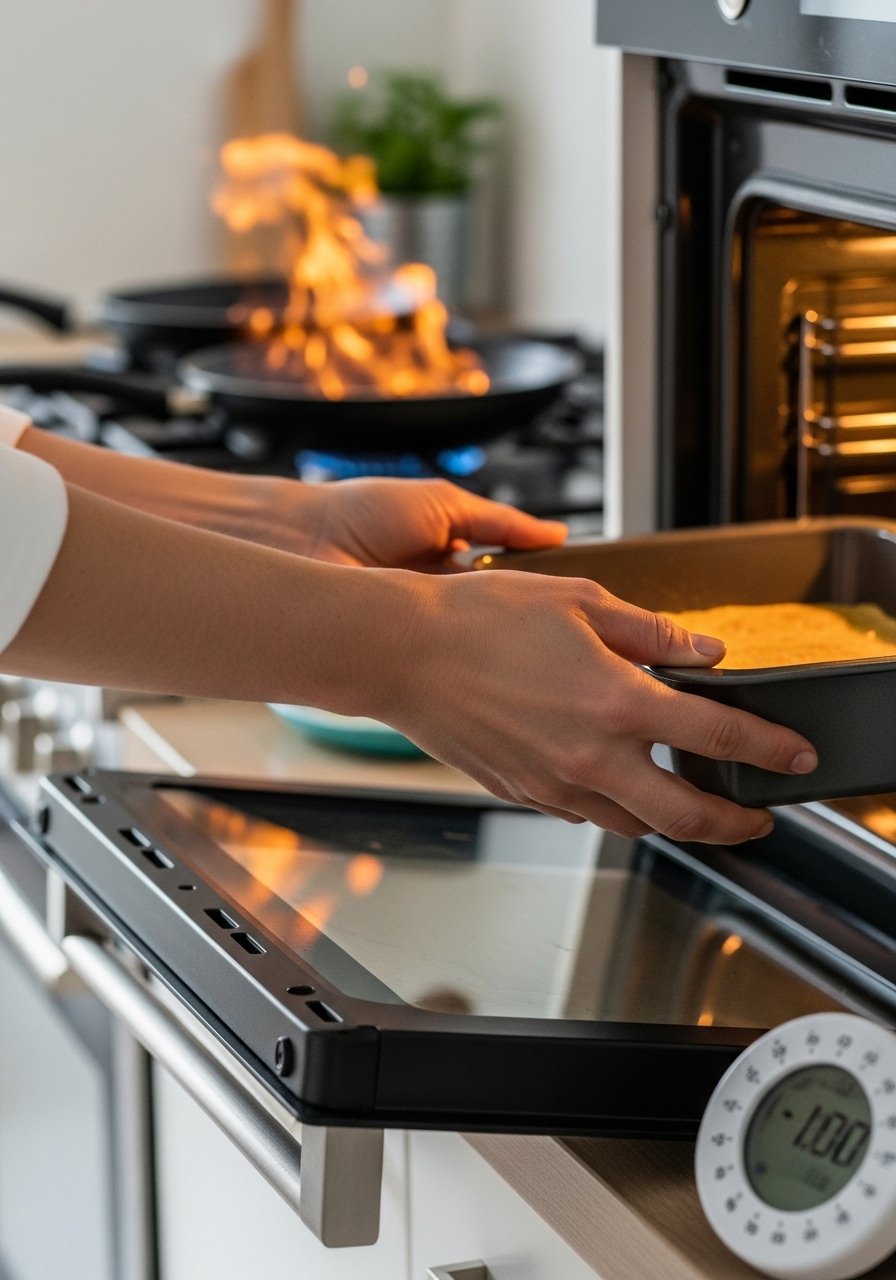
My first attempt had everything finish at once and get cold. Timing is what fixed that.
Mistake to Avoid: Turning on high heat to rush a dish makes it burn while the rest waits.
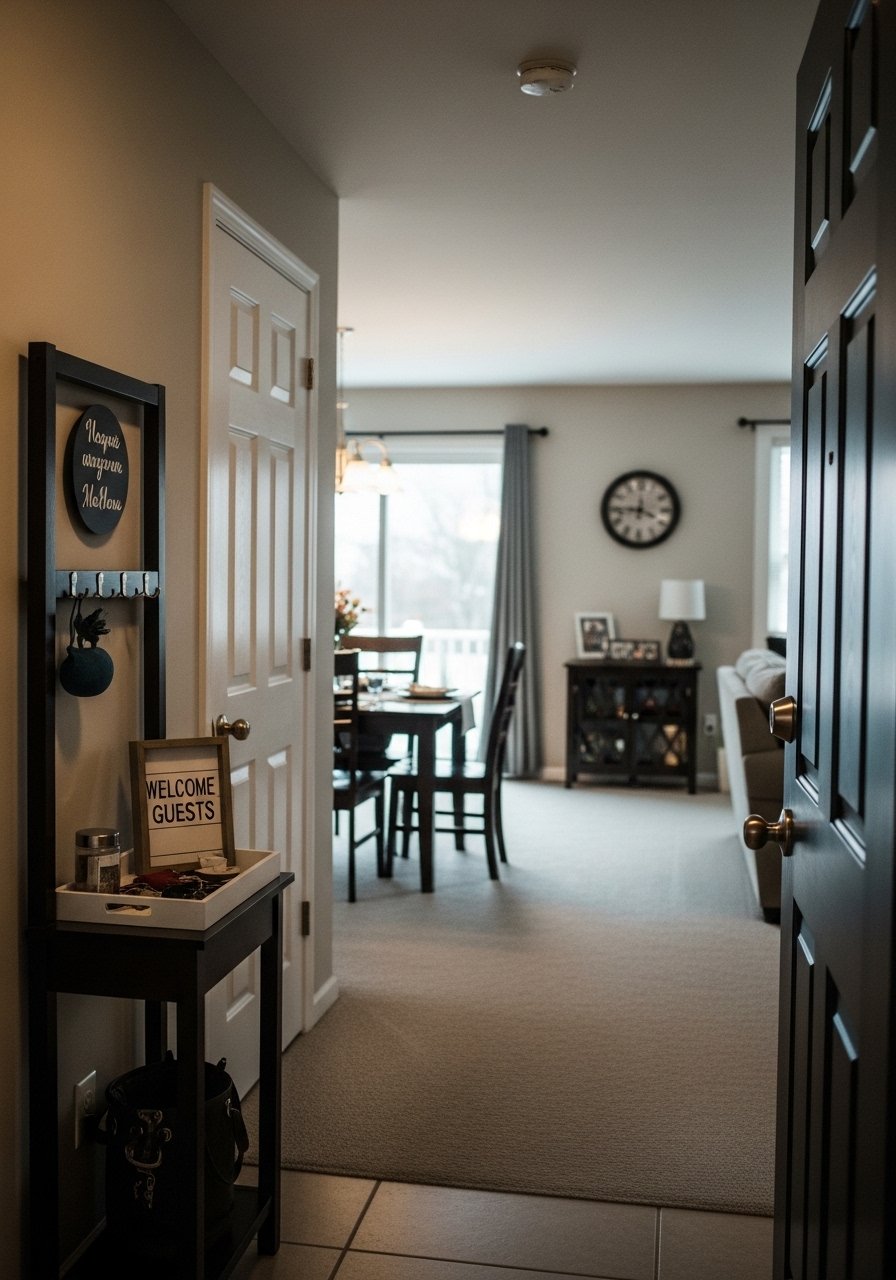
Step 6: Flow, seating, and the hospitality finish
Think through how guests will move from arrival to the table. Leave a small tray for purses near the entry. Seat close family first to set the tone. I use tent cards for dietary notes and to mark place settings for anyone with mobility needs. Keep a small basket with extra napkins and a jar of sugar or sweetener at the drink station. The final touch is a short welcome line at the head of the table, two sentences maximum, so everyone feels noticed and you can sit down within five minutes of starting.
Honestly, I nearly skipped the seating plan. Glad I did not.
Mistake to Avoid: Not planning a flow makes the kitchen a bottleneck and your guests stand awkwardly.
Holiday Brunch Tips
Keep one store-bought item: A bakery croissant can look homemade with a 5-minute warm-up and a butter brush. bakery-style croissants
Make a condiment station: Small bowls for jam, butter, and hot sauce cut down on trips to the stove. mini-serving-bowls
Use simple greenery not fussy blooms: A few eucalyptus stems in a low vase lasts longer and smells clean. eucalyptus-stems
Prep coffee the slow way: Set up a French press and a thermal carafe so coffee stays hot without bitterness. french-press-set
Offer one dietary swap: Label gluten-free or dairy-free options clearly so guests do not guess. chalkboard-tent-cards
Music at background level: Make a 30-minute playlist that repeats. It should be loud enough to fill gaps but quiet enough for conversation. portable-bluetooth-speaker
Stack plates by course: This small staging trick cuts seconds when you serve and keeps the table calm. plate-rack
Make It Personal
You will get better with practice. Start with the menu lock and the timeline. If something still goes sideways, remember it probably smells amazing and people will be grateful anyway. One final tip, write down the timeline that worked for you so next time you can relax before guests arrive. You will nail the pace with each try, and that calm is what really makes the day feel special.
