
I almost did nothing for my lips for years. I thought fuller lips meant injections and a lot of downtime. Then I started testing small routines at home on a Tuesday night when I did not want to think. The results surprised me. Some days the center still looks subtly fuller and natural, other days it is glossy and obvious. After six weeks of testing this routine I learned what actually moved the needle and what was fluff.
This guide covers the simple, repeatable steps I used when I had $40 and a free Saturday. Expect budget tools, quick skin-safe recipes, and color tricks that work across oily, combo, and dry lips. I tried this across three different skin types and adjusted frequency for sensitivity. If you are pregnant or on strong retinoids, patch test anything with actives and skip irritants like concentrated cinnamon.
What You'll Need
Skincare Prep:
- gentle-lip-scrub (~$8-15)
- hyaluronic-lip-serum (~$12-25)
Base & Coverage:
- nude-lip-liner (~$6-15)
- matte-liquid-lipstick (~$8-20)
Color & Tone:
- pearlized-center-highlighter (~$6-12)
- lip-plumping-gloss (~$10-20)
Eyes & Brows:
- brow-gel (~$6-15)
Tools & Finishing:
- lip-plumper-device (~$15-40)
- spf-lip-balm (~$5-12)
- small lip brush (optional)
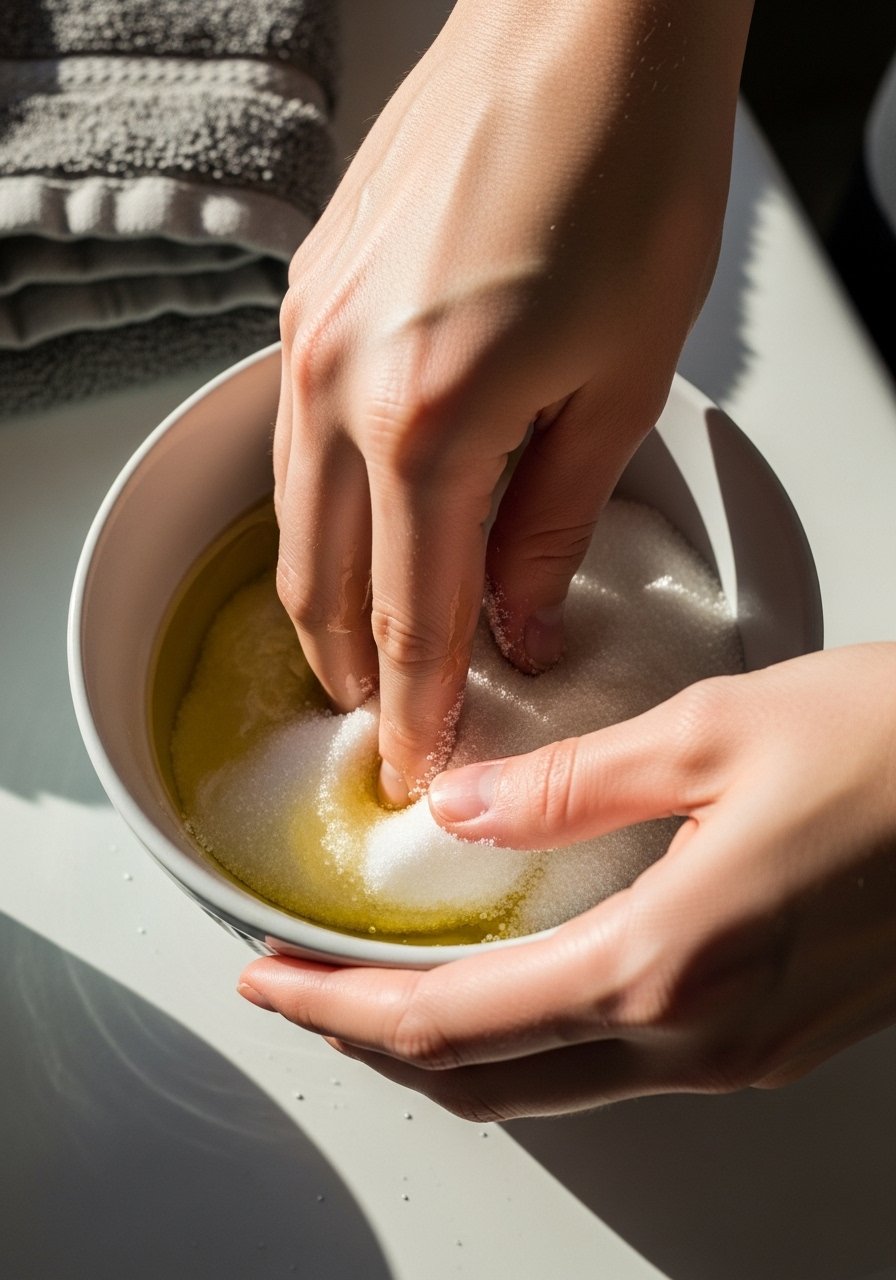
Step 1: Gently exfoliate for a smooth canvas
Pull one tablespoon of sugar and one tablespoon of coconut oil together in a small bowl, mix to a sandy paste. Rub the mixture over your lips in small circles for 60 seconds, then rinse with warm water. The 1:1 sugar to oil ratio leaves the lips soft without stripping. The goal is texture smoothing, not aggressive abrasion. I did this twice a week the first month and noticed matte color sat cleaner and looked fuller because there were no dry flakes. It feels slightly gritty and then silky as you rinse.
Mistake to Avoid: Skipping the exfoliation leaves flakes that make lip color sit uneven and look thinner.
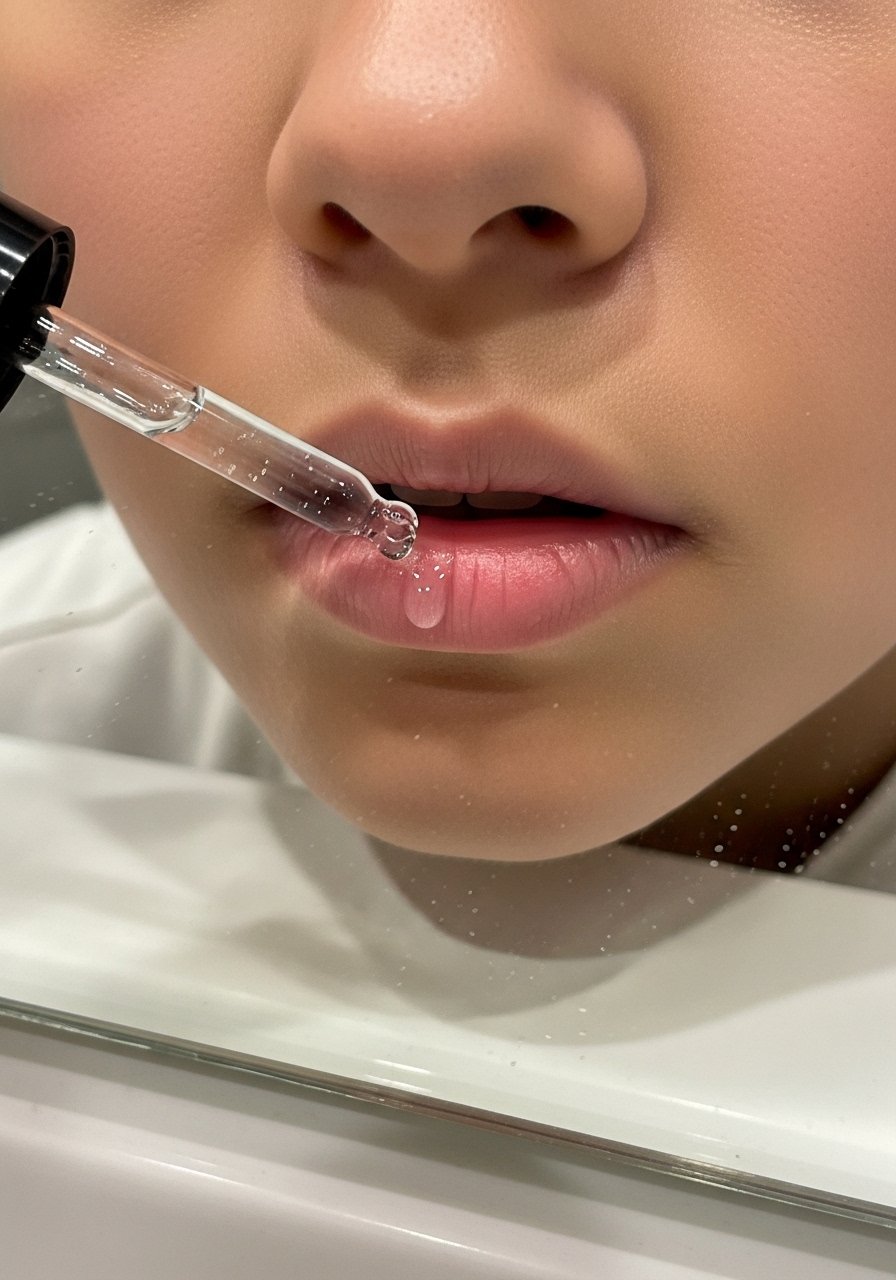
Step 2: Deep hydrate with a hyaluronic treatment
After exfoliating, pat a pea-sized hyaluronic lip serum into both lips and let it sink for 10 minutes. The principle here is layering lightest-to-heaviest, so apply water-based products before oils or balms. I once slathered balm on right away and the serum never absorbed. The right routine pulls moisture into the lips, which gives real, lasting plumpness instead of temporary shine. It tastes neutral and feels cool when it absorbs. For very dry lips, follow with a thin film of occlusive balm for five minutes then blot.
Mistake to Avoid: Applying heavy balm first blocks serum absorption and reduces the hydration benefit.
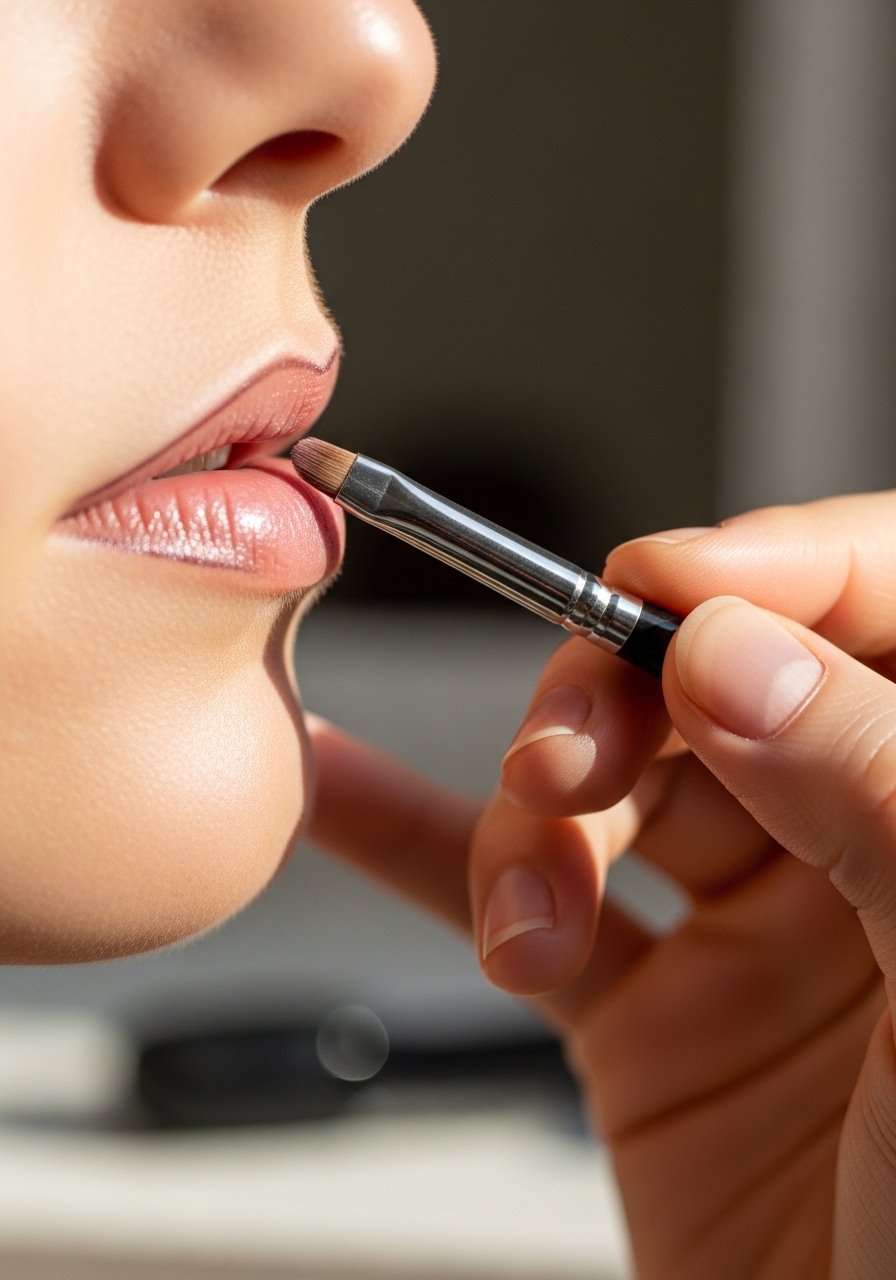
Step 3: Subtly reshape using liner and a small overline
Most people try a heavy overdraw and it reads fake. Instead, use a nude lip liner to gently trace just above your natural cupid’s bow by 0.5 to 1 millimeter and fill the outer corners lightly. Focus on soft, short strokes and blend inward with a small brush. This creates a visual fullness without obvious overline. I practiced tiny adjustments and my first attempt was bad. By the third try the shape read natural in photos and in person. The liner also gives the matte layer something to grip, so color lasts longer.
Mistake to Avoid: Drawing a hard, thick overline makes the lip look drawn on and not fuller.
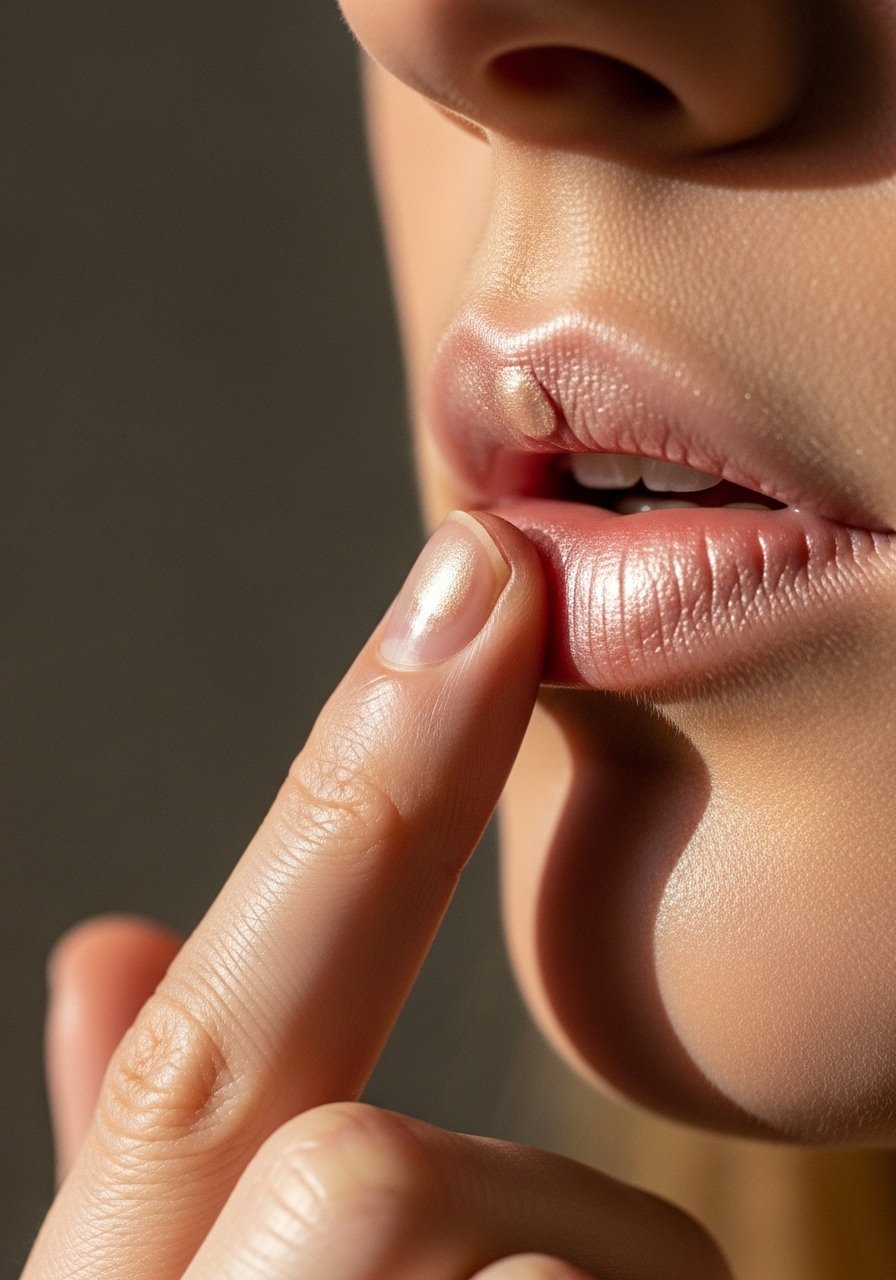
Step 4: Layer color for depth and a small center highlight
Start with a matte liquid color that matches your natural lip tone. Apply two thin coats, letting each coat set for 30 seconds. Then dab a pearled highlighter or a lighter gloss into the center and press with your finger for 10 to 15 seconds to blend. I use a 2:1 ratio where the matte area is double the center boost so the highlight looks like volume, not glitter. The color contrast tricks the eye into perceiving depth. It looks glossy in photos but in person the highlight feels tacky then smooths down.
Mistake to Avoid: Over-highlighting the whole lip washes out shape and makes lips look flat rather than full.
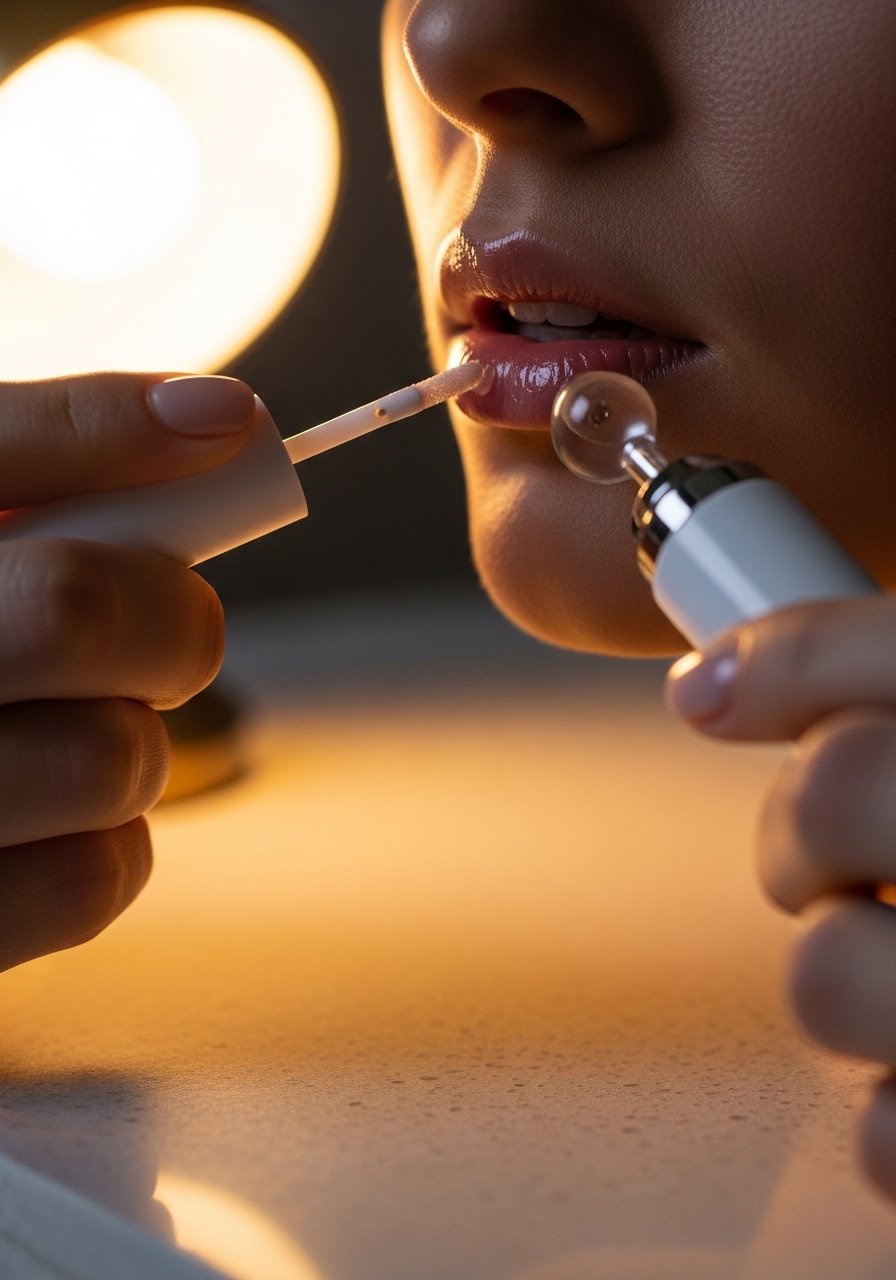
Step 5: Use a tingle gloss or short suction for immediate lift
If you want an instant boost for an hour, use a plumping gloss with mild peppermint or cinnamon and layer it on the center and edges. The cool tingle increases blood flow and gives a subtle swell. For a more mechanical boost, use a small lip-plumper device for 6 to 10 seconds per lip, repeat up to three times with 20 seconds between attempts. I bruised once by holding it too long, so start on low and test 6 seconds first. The glossy finish also reflects light, making lips read larger in photos and real life.
Mistake to Avoid: Leaving the suction device on too long causes bruising and uneven swelling.
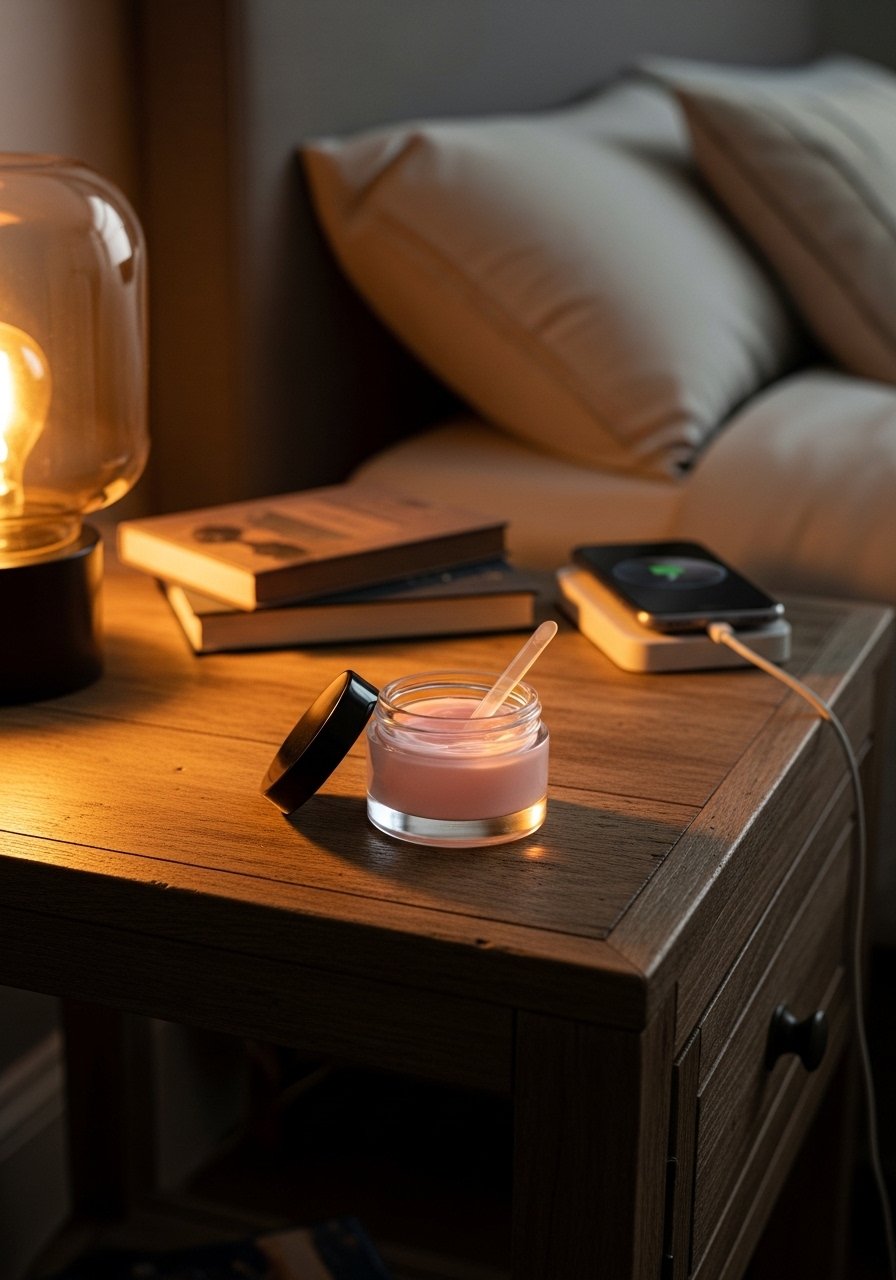
Step 6: Night care and maintenance for lasting results
At night, apply a thick hyaluronic balm or overnight lip mask. Use the scrub only 2 to 3 times weekly and the plumping gloss no more than daily to avoid irritation. I almost skipped the nightly mask and the fullness faded faster on busy weeks. Over time, consistent hydration maintains natural volume so you need fewer quick fixes. During the day, keep an SPF lip balm handy and reapply after eating. The nighttime routine is the one that made the small daily difference feel stable and natural.
Mistake to Avoid: Over-exfoliating and daily use of strong plumping agents leads to sensitivity and patchy results.
Makeup Tips
Balance sheen and matte: Press a tiny dot of gloss only to the center after applying matte color to keep shape while adding shine, pairing with lip-plumping-gloss.
Patch test spicy ingredients: If you like cinnamon or clove plumpers, test on the inner wrist and wait 24 hours before full lip use, try cinnamon-lip-boost.
Two-tone trick: Use a slightly warmer liner on the outer lip and a neutral matte inside to add perceived depth, and try nude-lip-liner.
Keep brows and eyes soft: A light brow gel and minimal eye definition shift attention to the lips without competing, use brow-gel.
Smart layering: Always apply water-based hydrators before oil-based balms, which helps actives absorb and makes them more effective over time, pair with hyaluronic-lip-serum.
Quick daytime refresh: Carry a tiny pot of balm and a travel lip brush to re-blend center highlight after eating, option: spf-lip-balm.
Budget swap: Skip expensive specialized gadgets at first and try a cooling peppermint gloss for immediate effect, then invest in a device if you like the look, sample: lip-plumping-gloss.
Most people end up spending between $500 and $800 when they finally commit to refreshing a room. A single vial of lip filler can cost between $600 and $1,200, so these low-cost tweaks are a good place to start if you are budget-limited.
Own Your Pout
This is one of those skills where small, consistent choices beat a single dramatic change. Practice the liner reshape twice, keep the scrub at 2 to 3 times weekly, and use the plumper devices carefully for 6 to 10 seconds if you try them. My first attempt was bad and then the third one clicked. Stick with the hydration-first principle and you will see natural fullness build over weeks, not just minutes. Keep experimenting and make the look yours.
