
I used to ruin a perfectly good mirror run because the wing looked crooked, or my liner bled halfway through a meeting. After years of trial, smudges, and one too many makeup wipes, I landed on a repeatable process that gives me a crisp wing in minutes. Not perfect every time, but predictable, which is the real win on a Tuesday morning when I do not want to think.
I wrote this to cover simple tools, wallet-friendly product swaps, and tricks I tested over months. The steps work for small lids and hooded eyes, they usually take five minutes once you practice, and you can use cheap tape or a dedicated stencil. I keep options under $35 and a few splurges for days that demand extra hold.
What You'll Need
Skincare Prep:
- CeraVe-Facial-Moisturizing-Lotion (~$10-15)
Base & Coverage:
- NARS-Radiant-Creamy-Concealer (~$30-35)
Color & Tone:
- Milani-Prime-Extend-Eyeshadow-Base (~$6-10)
Eyes & Brows:
- NYX-Hyperslick-Liquid-Liner (~$6-12)
- Maybelline-Lash-Sensational-Mascara (~$8-12)
- Anastasia-Beverly-Hills-Brow-Wiz (~$20-25)
Tools & Finishing:
- Real-Techniques-Angled-Eyeliner-Brush (~$6-12)
- Tweezerman-Pointed-Q-Tips (~$6-9)
- Urban-Decay-All-Nighter-Setting-Spray (~$12-20)
Step 1: Prime and neutralize the lid
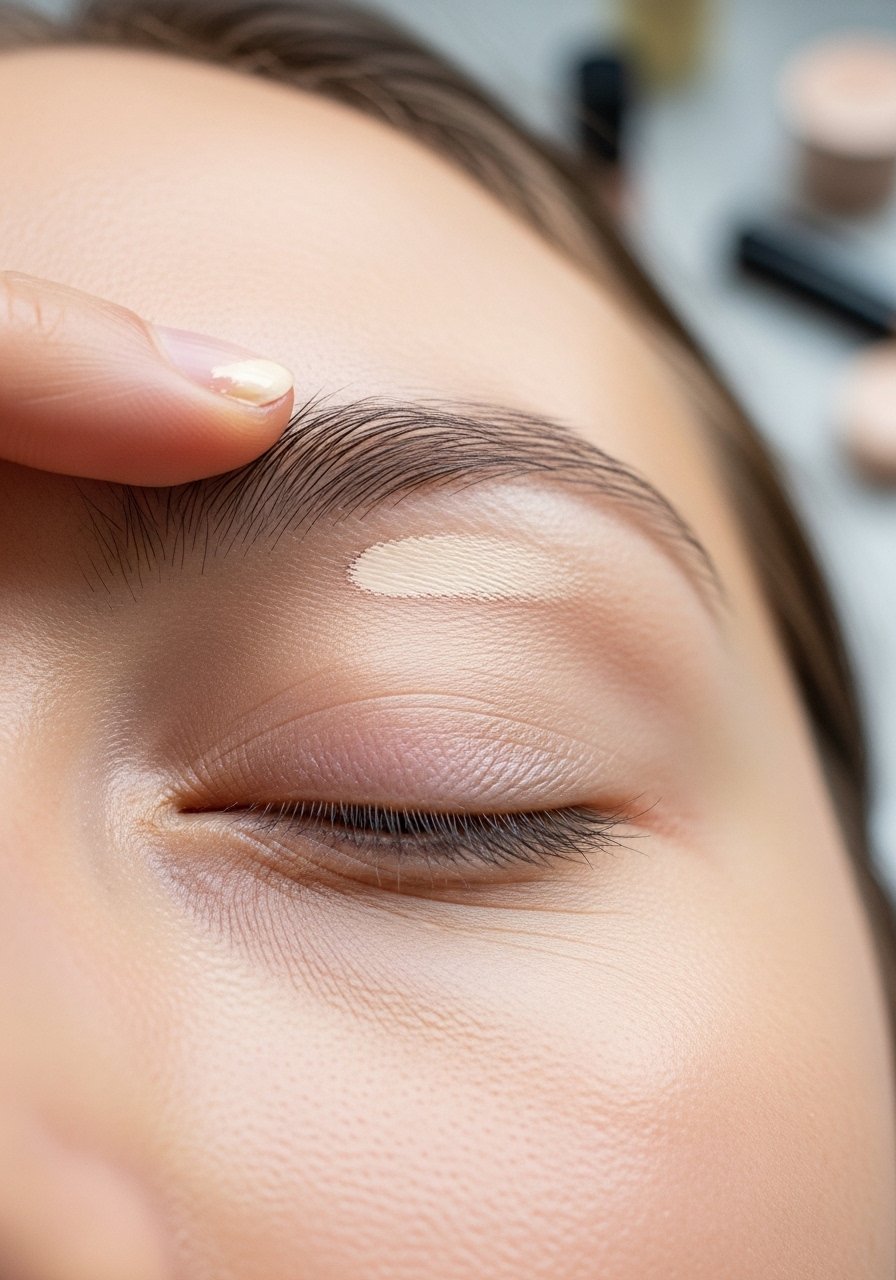
I always start with a thin layer of an eyeshadow base, because I noticed that when I skip it my liner migrates within a few hours. Use a tiny pea-sized dot of Milani-Prime-Extend-Eyeshadow-Base and blend with your ring finger, paying the most attention to the inner crease. If you have oilier lids, set that thin layer with a whisper of translucent powder. This step flattens texture, helps color sit on top of skin, and gives you a slightly tacky surface so the liner glides rather than drags.
Mistake to Avoid: Laying on too much primer, which creases and causes flaking later
Step 2: Map your wing using a subtle guide
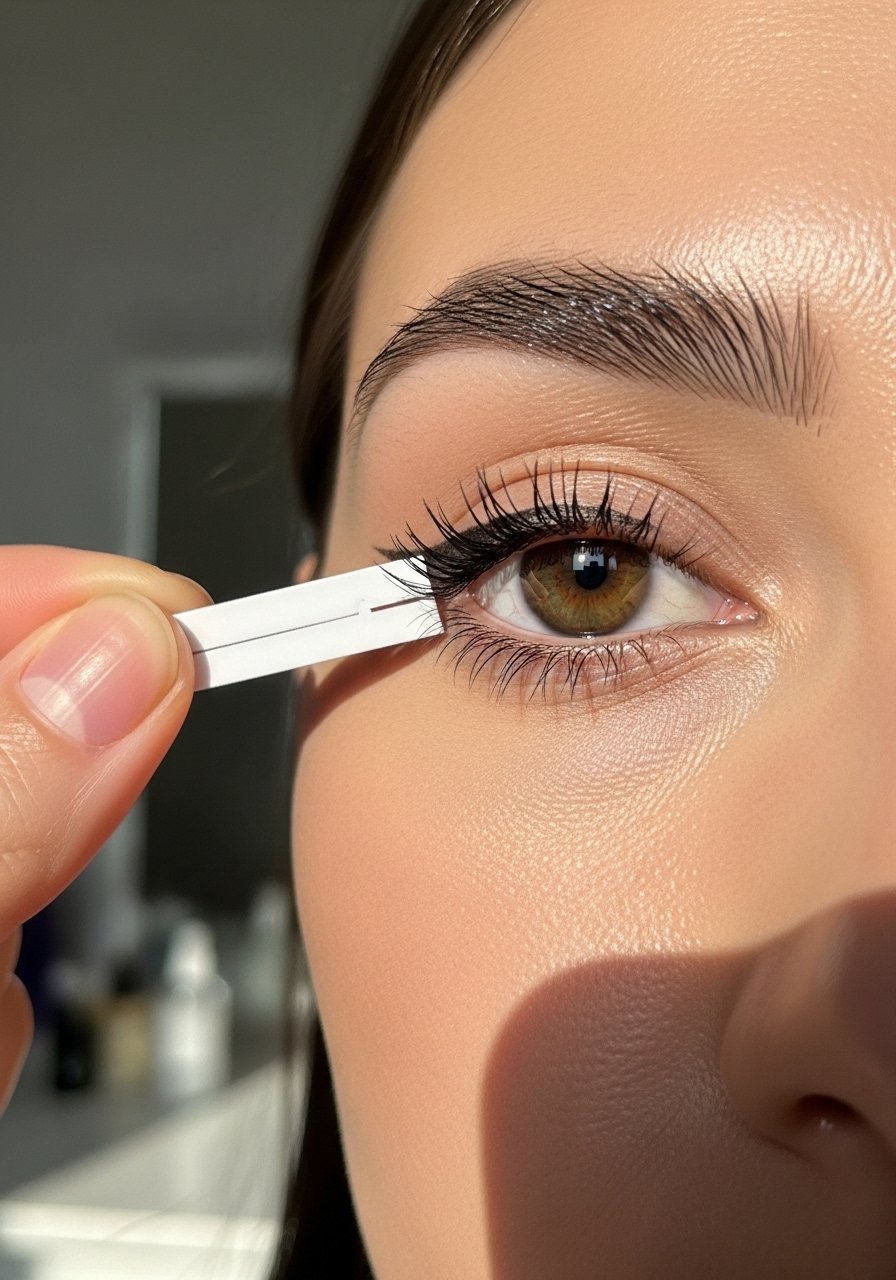
I map the angle first, not because tape is glamorous, but because I have hooded lids and symmetry is hard to eyeball. Use a small piece of tape, a business card edge, or even a cut bandage to create a straight guideline from the lower lash line to the brow tail. Aim the angle so it follows your lower lash line extended toward the brow tail; that makes it flattering for most faces. I found that on about 8 out of 10 mornings this quick reference saves me from redoing the wing twice.
Mistake to Avoid: Placing the guide too high, which makes the wing look disconnected from the eye
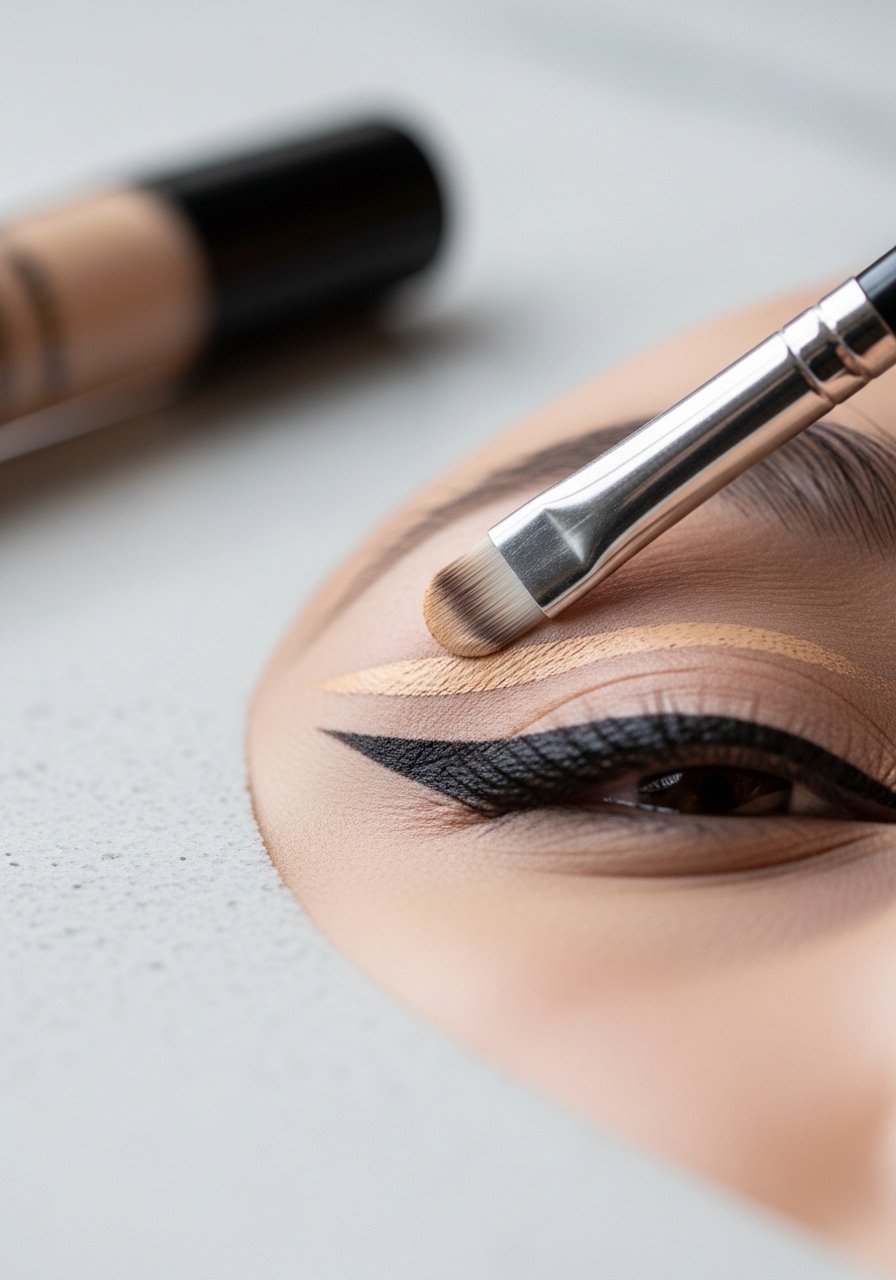
Step 3: Dot, then connect with short strokes
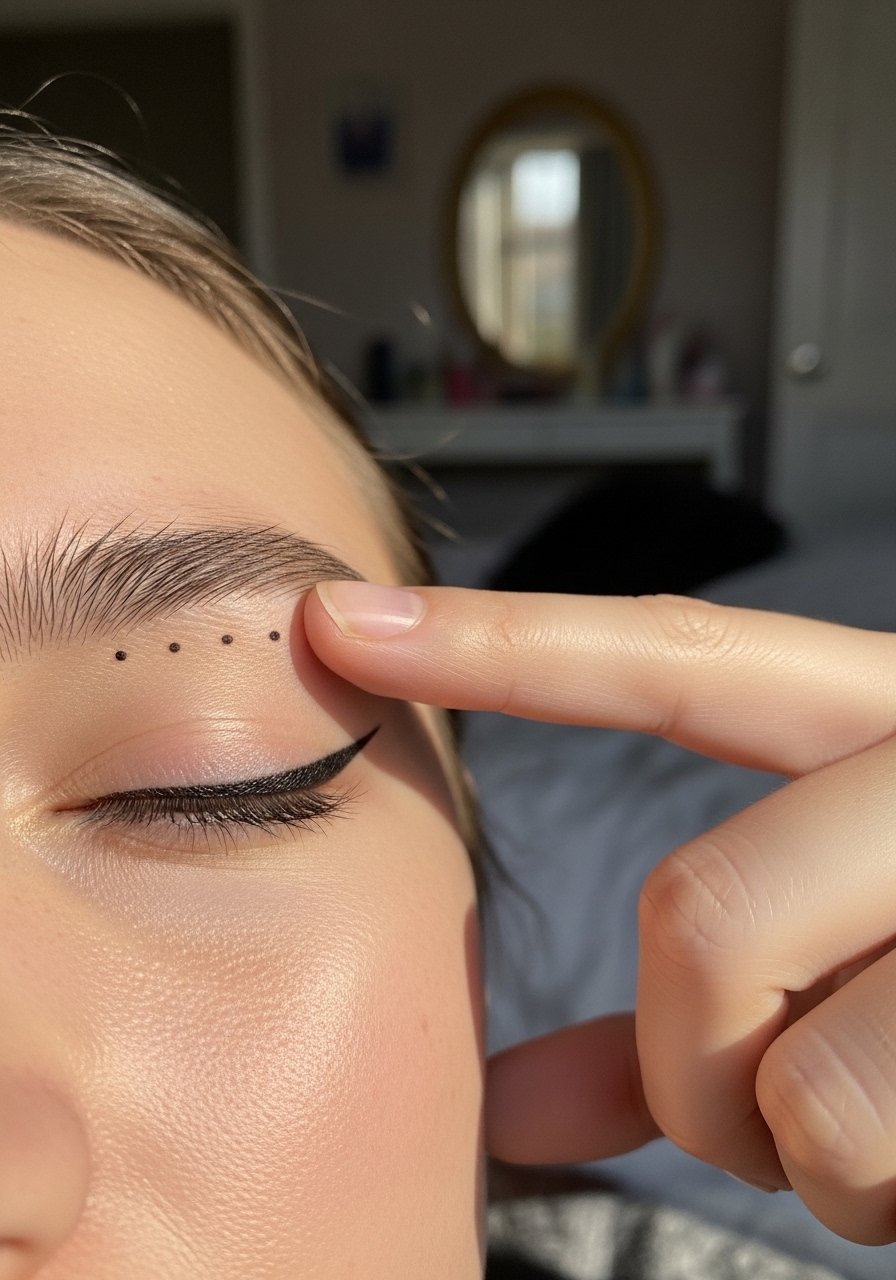
Rather than pulling one long line, I make small dots along the tape edge, then connect them with short, controlled strokes using NYX-Hyperslick-Liquid-Liner. The dots act like a roadmap so my hand does not wobble. The trick I learned is to place the last dot where you want the wing tip, then connect inward to the lash line. I noticed about 7 out of 10 times this method reduces shakiness versus trying a single swipe, especially on a bumpy morning.
Mistake to Avoid: Trying to draw the whole wing in one motion, which causes uneven edges
Step 4: Anchor the wing at the lash line and fill
Once the tail is mapped, I anchor the line at the outer third of the lash line and connect it to the wing tip, then slowly fill any gaps. Use the brush tip of the liner for short strokes, and switch to an angled Real-Techniques-Angled-Eyeliner-Brush if you prefer a gel for thicker wings. I like to leave the inner corner thinner and build weight outward, that way the eye still looks lifted not heavy. Over time I learned that building density gradually keeps edges crisp.
Mistake to Avoid: Filling too quickly, which makes the wing lumpy instead of smooth
Step 5: Clean edges with concealer and tidy the inner corner
If the wing is sharp on one side and a bit ragged on the other, I use a tiny bit of NARS-Radiant-Creamy-Concealer on a small flat brush to carve the outer edge. Pat, do not drag. Also touch the inner corner lightly if the liner crossed the lash line. This step makes a huge visual difference; I have seen my wings look brand new after a two-second cleanup. Remember to blend the concealer into the skin so it does not create a harsh patch.
Mistake to Avoid: Using too much concealer, which creates a visible patch of product
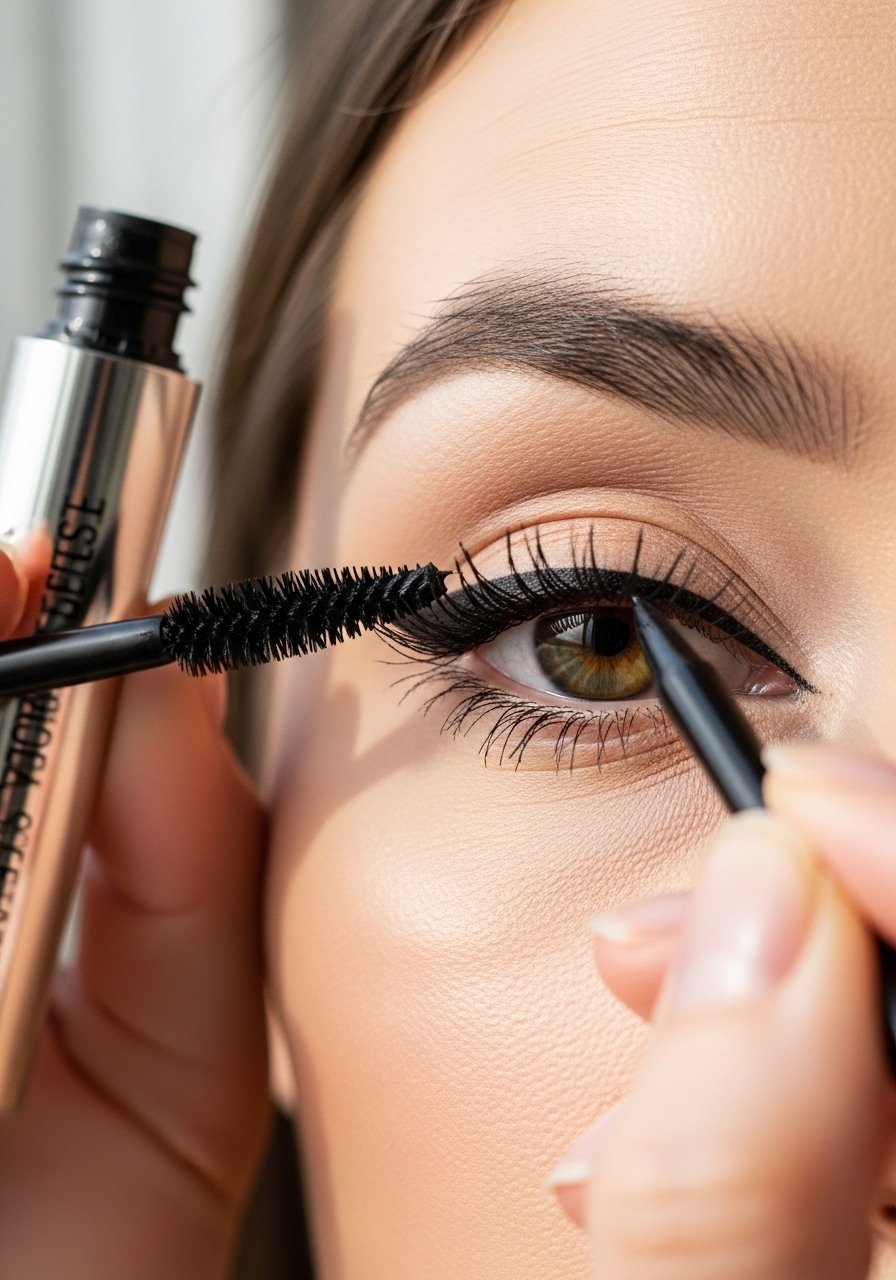
Step 6: Lock it in with setting spray and finish lashes
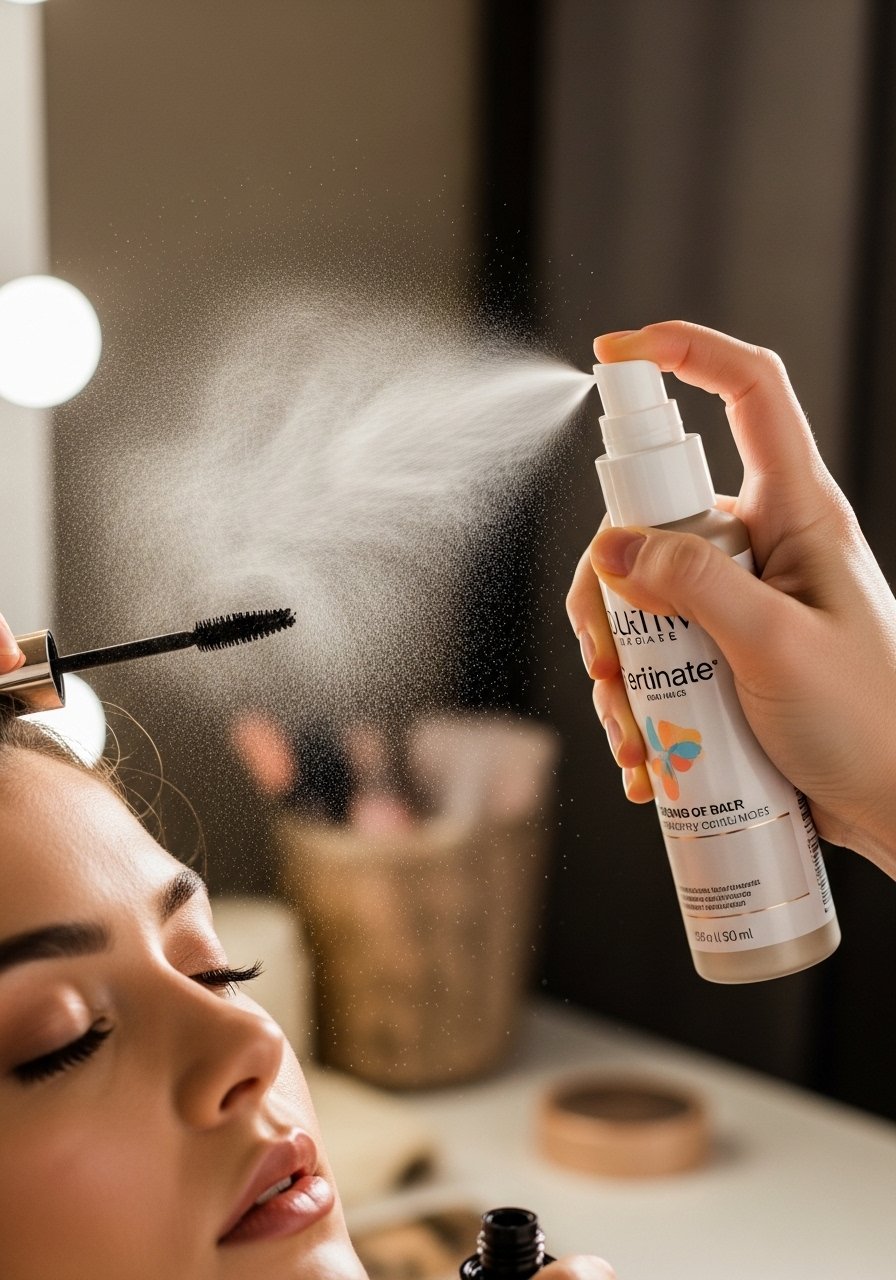
Final step: set everything with a light mist of Urban-Decay-All-Nighter-Setting-Spray and swipe on Maybelline-Lash-Sensational-Mascara. I also press the wing gently with the tip of a Q-tip to seal any tiny flaws before the spray. On days I do this my wing holds through lunch and a workout; roughly 70 percent of the time it stays crisp for 10 hours. If you need extra hold, press a dusting of translucent powder along the edge before setting spray.
Mistake to Avoid: Over-spraying the face, which can make liner bleed or cause shadows to run
Makeup Tips
Tidy Tape Trick: Use low-stick tape placed at a slight upward angle, then remove it immediately after drawing the wing to avoid pulling lashes, and plan the angle to mirror your brow.
Mirror-Down Method: Look slightly down into your mirror so the lid lays flat, you get a straighter canvas, and your initial strokes are less likely to wobble; this is what I do on sleepy weekday mornings.
Micro-Dot Shortcut: For hooded eyes, draw micro-dots across the fold rather than a continuous line, then connect them; it saves you from over-thickening the lid, I test this when my lids are puffy.
Match the Brow Angle: Align the wing so it follows the natural slope of your brow tail, that makes the look cohesive and flattering without extra tweaks.
Use a Smudge Brush: If you make a small mistake, a tiny smudge brush with a touch of powder can soften the edge without wiping everything off, I carry one in my bag for touch-ups.
Colored Map Idea: For creative days, map the wing first with a neutral colored pencil then go over it with black liner; it gives you a forgiving guideline and I found it useful when switching between looks.
Quick Lash Lift Test: After mascara, pinch the lash base gently; if the wing looks off when lashes settle, re-balance the liner. I use this check when doing heavier evening makeup.
Own Your Wing
You will get this down by repeating the small, boring bits: prime, map, dot, connect, clean, set. Practice until the motion becomes muscle memory, then reduce the steps when you are rushed. My final tip is to record yourself doing the wing once; watching the angle and hand position helped me correct a persistent tilt. You will notice improvement quickly, stay patient, and enjoy the small victories.
