
I did not expect tape to change everything. I tried it on a rainy Tuesday when I had five minutes and a shaky hand. The first try looked tidy. The third try actually looked intentional. It feels small, but once you see the angle and the negative space it clicks, and you stop overworking the inner corner.
This guide covers quick and steady wings for everyday wear, from bare-bones liner to a slightly bolder flick. Budget ranges from inexpensive drugstore liners to a midrange gel and brush setup. It works across three different eye shapes I tested, and it plays well with oily lids if you add a mattifying primer. After six weeks of testing this routine, the timing and order below are what I kept coming back to.
What You'll Need
Skincare Prep:
- Micellar water (~$6-$15)
Base & Coverage:
- Lightweight face primer (~$8-$25)
Color & Tone:
- Neutral eyeshadow single or compact (~$6-$30)
Eyes & Brows:
- Liquid eyeliner pen (~$6-$20)
- Gel eyeliner pot (~$7-$25)
- Angled eyeliner brush (~$5-$15)
Tools & Finishing:
- Low-tack tape (~$4-$10)
- Small concealer brush (~$4-$12)
- Setting spray (~$8-$20)
- Cotton swabs (~$3-$8)
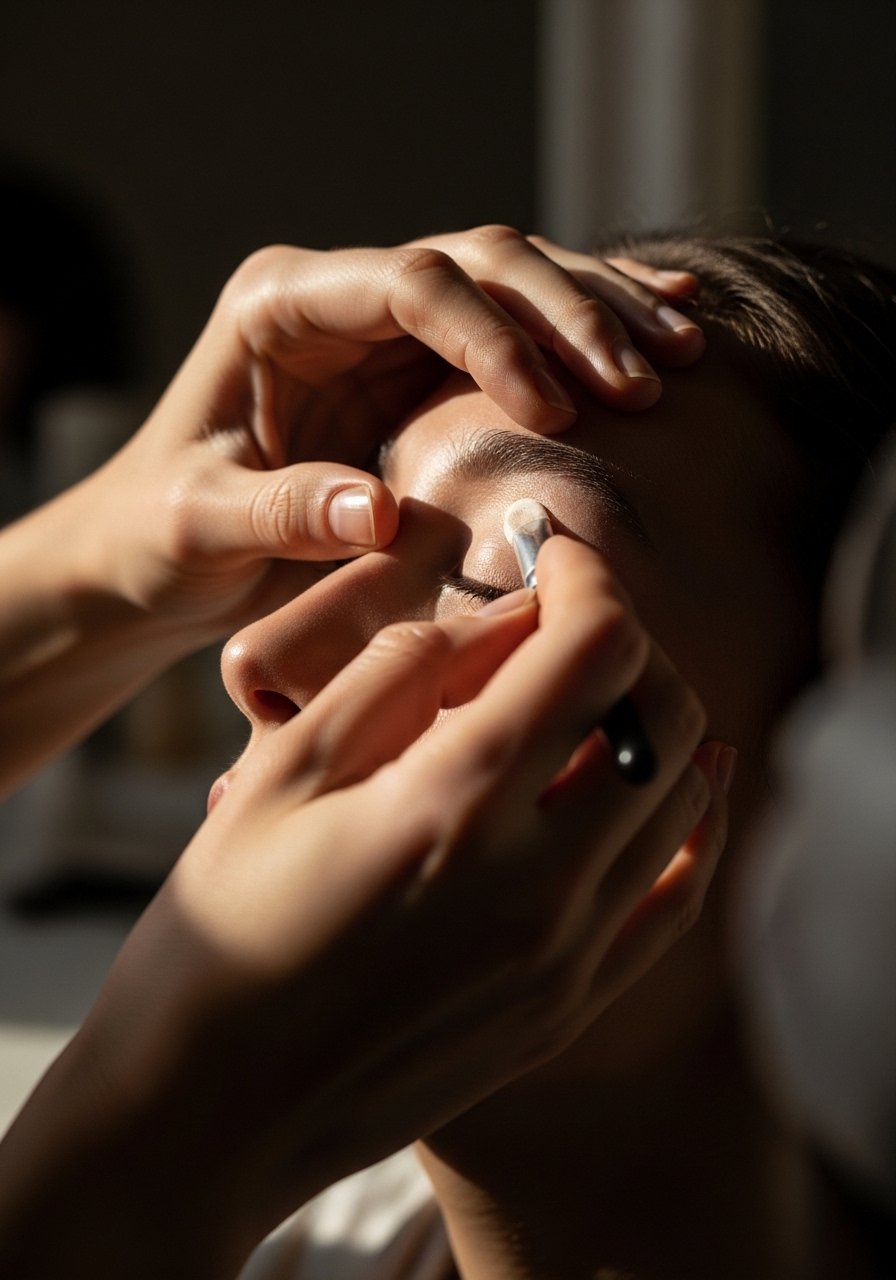
Step 1: Prep the lid like a canvas
Start by removing any oil or leftover product with micellar water. Pat skin dry. If your lids get shiny, press a fingertip of mattifying primer across the lash line and center lid. For oily lids, I learned to let primer sit for 30 seconds and then lightly dust a neutral powder or a matte eyeshadow over it. That gives the liner something tacky to grab, and it keeps the wing from sliding later. If you have textured lids, a single thin layer of cream primer smooths things out without feeling heavy.
Mistake to Avoid: Rubbing primer in too much, which blends it away and makes the liner slip.
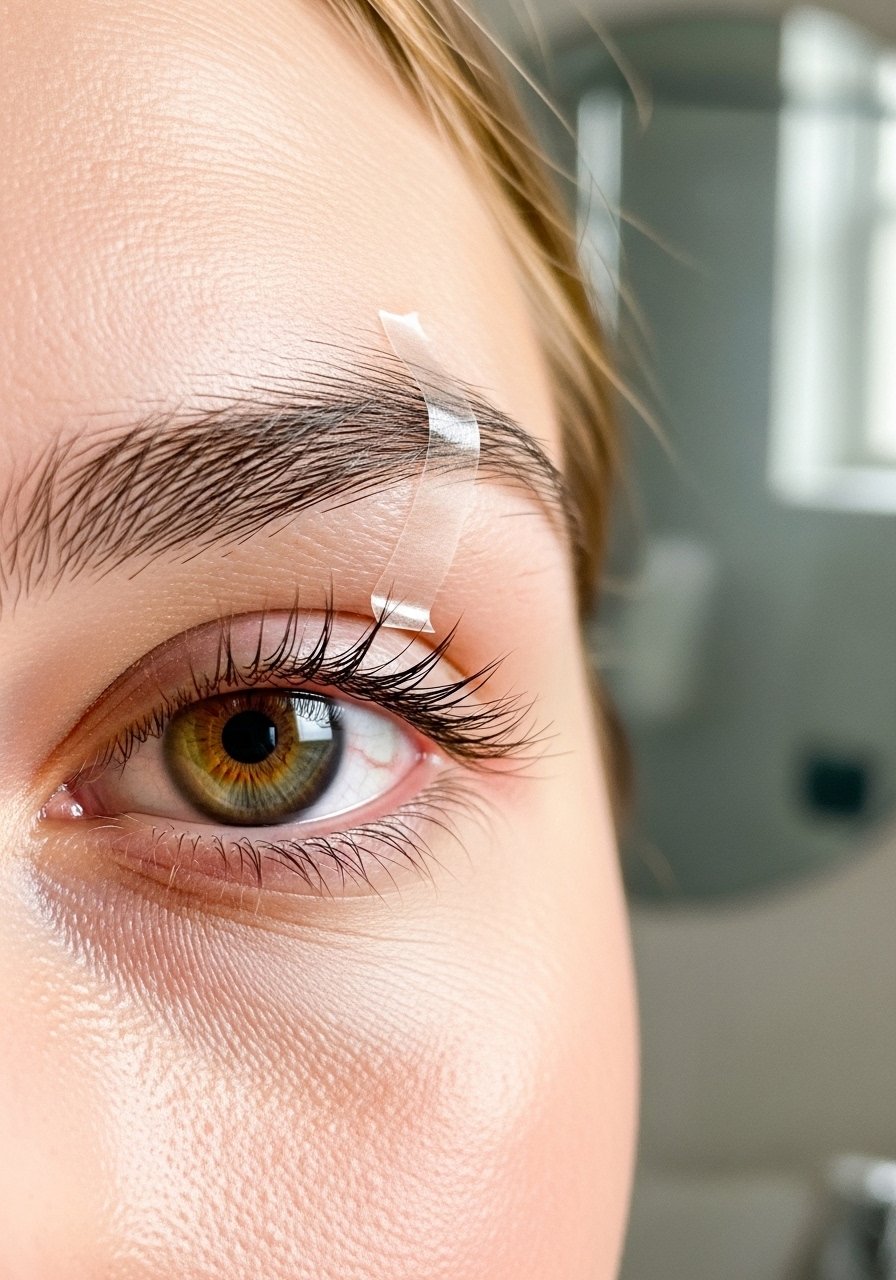
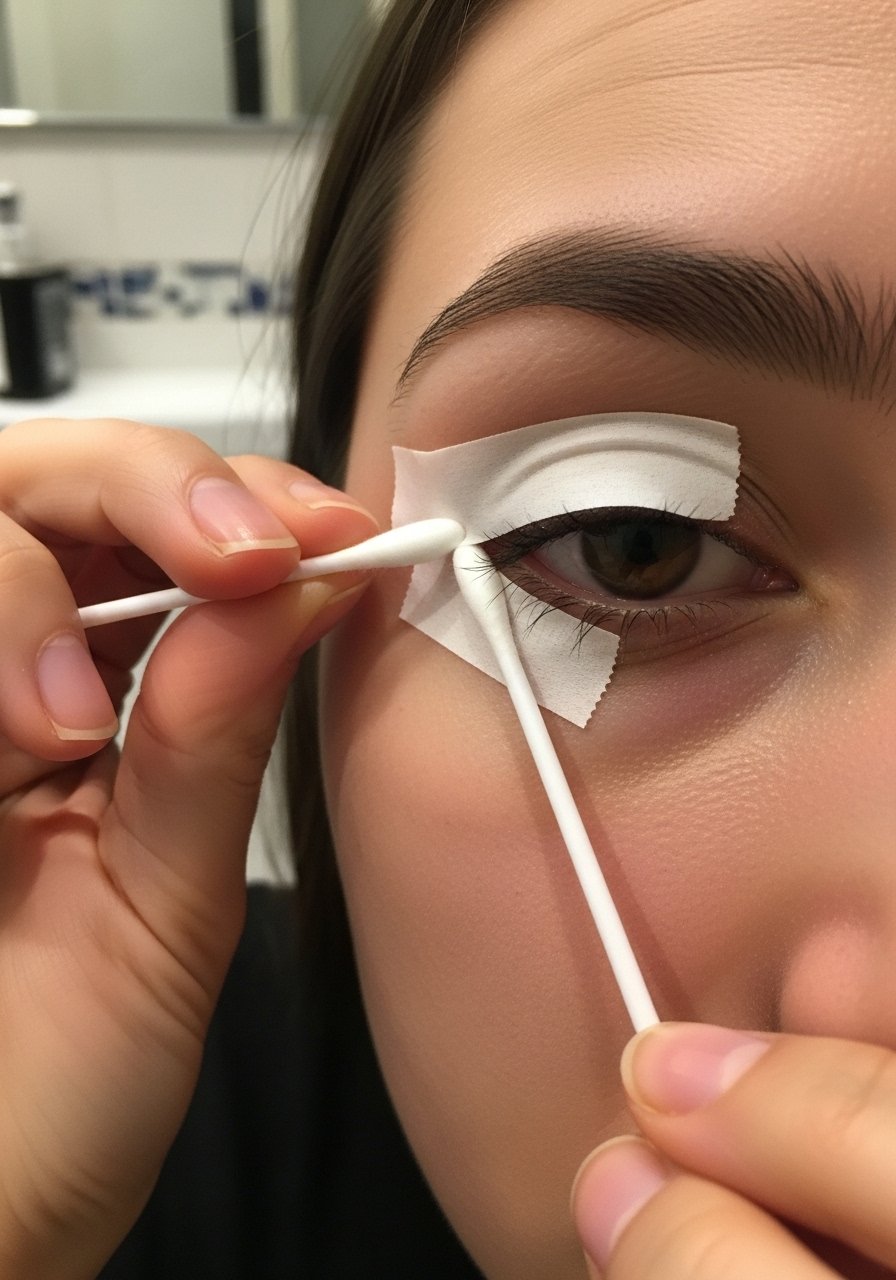
Step 2: Mark your angle with tape or a dot
This part felt awkward at first. Align a small strip of low-tack tape from the outer corner toward the end of your brow at about a 30 to 45 degree angle. If tape feels too rigid, mark two tiny dots with a pencil where the wing should end and where it should meet the lash line. I usually make the wing length about one-quarter to one-third of the visible eye length. The tape gives a crisp guideline and keeps that slanted negative space consistent between eyes. Press the tape gently so it lifts cleanly later.
Mistake to Avoid: Placing tape too far upward so the wing looks detached from the eye.
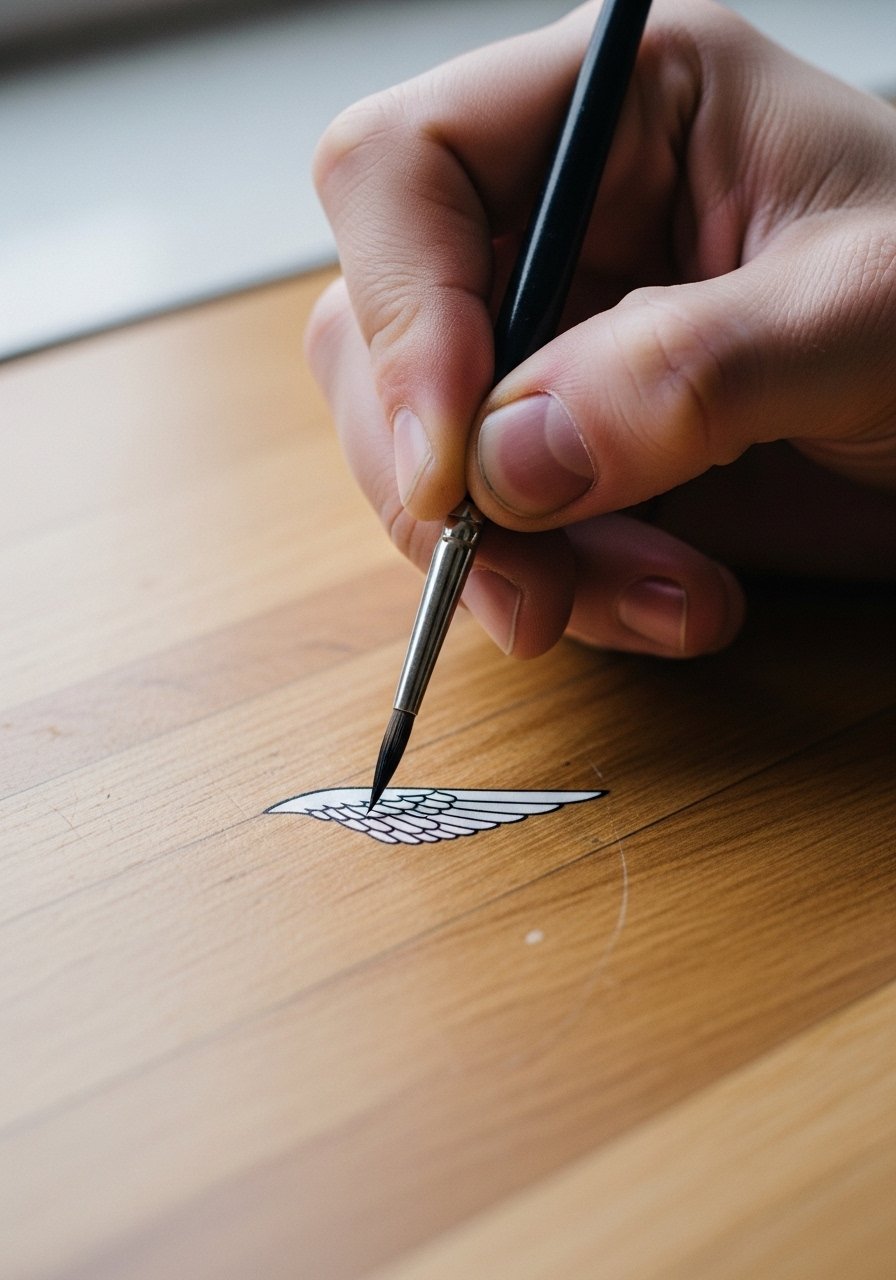
Step 3: Draw the skeleton—flick then connect
Start by drawing the flick from the tape edge inward, not from the inner corner outward. With a liquid pen, use a light touch, a single confident swipe from the tape point toward the outer third of the lash line, then connect that flick back toward the lash line to create a small triangle. If you prefer gel, dip the angled brush lightly into the pot and use short, controlled strokes to build the shape. For many eyes, two thin strokes layered look smoother than one thick one. Wait 8 to 12 seconds between gel layers so the product sets slightly and you avoid dragging.
Mistake to Avoid: Overworking the outer corner so the line becomes blotchy instead of crisp.
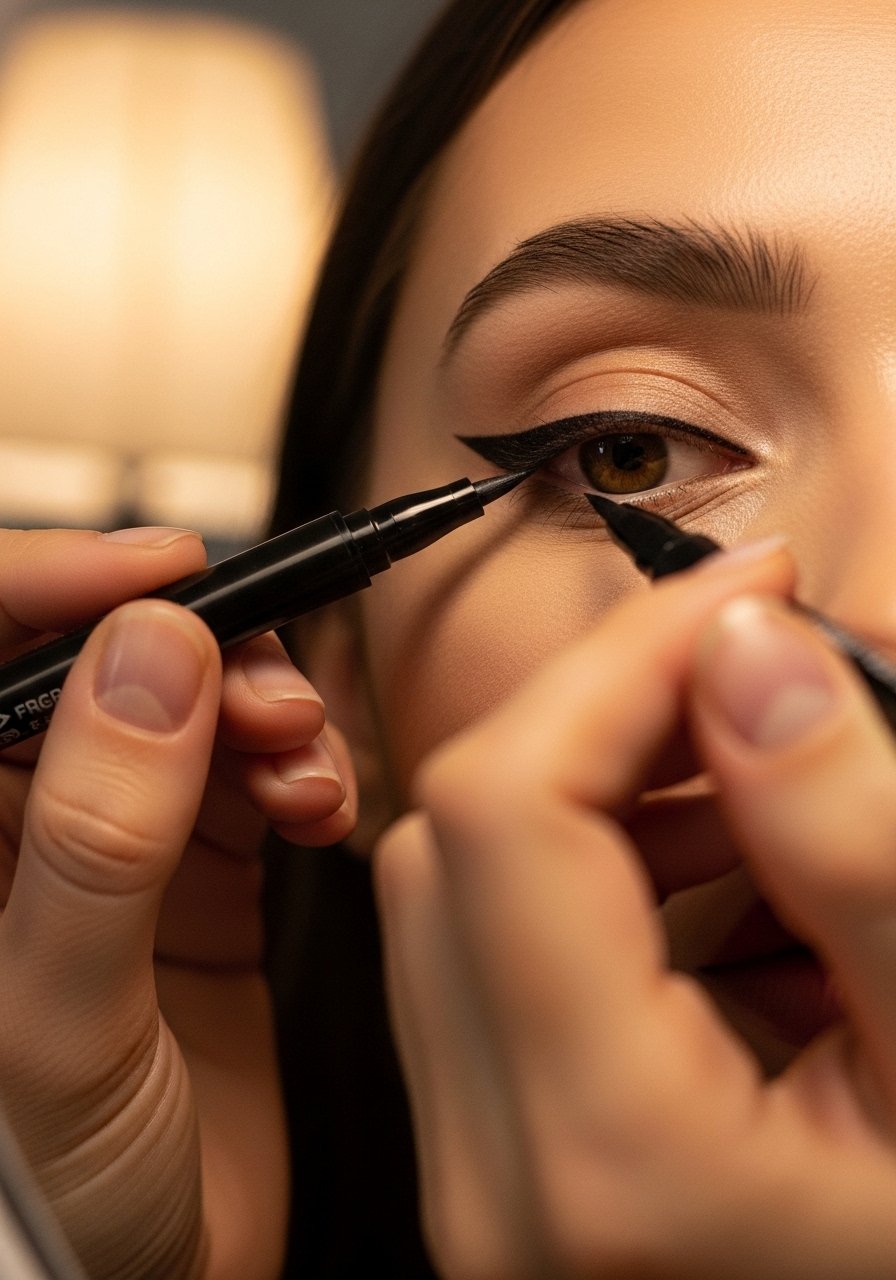
Step 4: Fill, taper, and balance
Once the triangle is formed, fill it in using hairlike strokes toward the inner lash line. Thicken the outer third gradually so the line tapers naturally into the lashes. The guiding principle here is pressure control, keeping light pressure at the inner corner and a bit firmer on the outer third. For hooded eyes, keep the wing flatter and closer to the lash line so it does not disappear when you open your eyes. If you make the inner part too heavy, lift the look with a thin flick of concealer on a small brush to sharpen the edge.
Mistake to Avoid: Making the inner line too thick, which shortens the visible lid space.
Step 5: Clean up and mirror the other side
Take the tape off while the liner is still slightly tacky but not wet to avoid smudging. Use a cotton swab dipped in micellar water to remove any tiny mistakes. When matching both wings, look straight into a mirror and compare the negative space under each wing, not the outer tail height. I often adjust the shorter wing by adding a hairline of product at the outermost point. If symmetry still trips you up, use tiny guide dots at three points along the lash line and connect them.
Mistake to Avoid: Correcting by drawing over the whole line, which thickens unnecessarily.
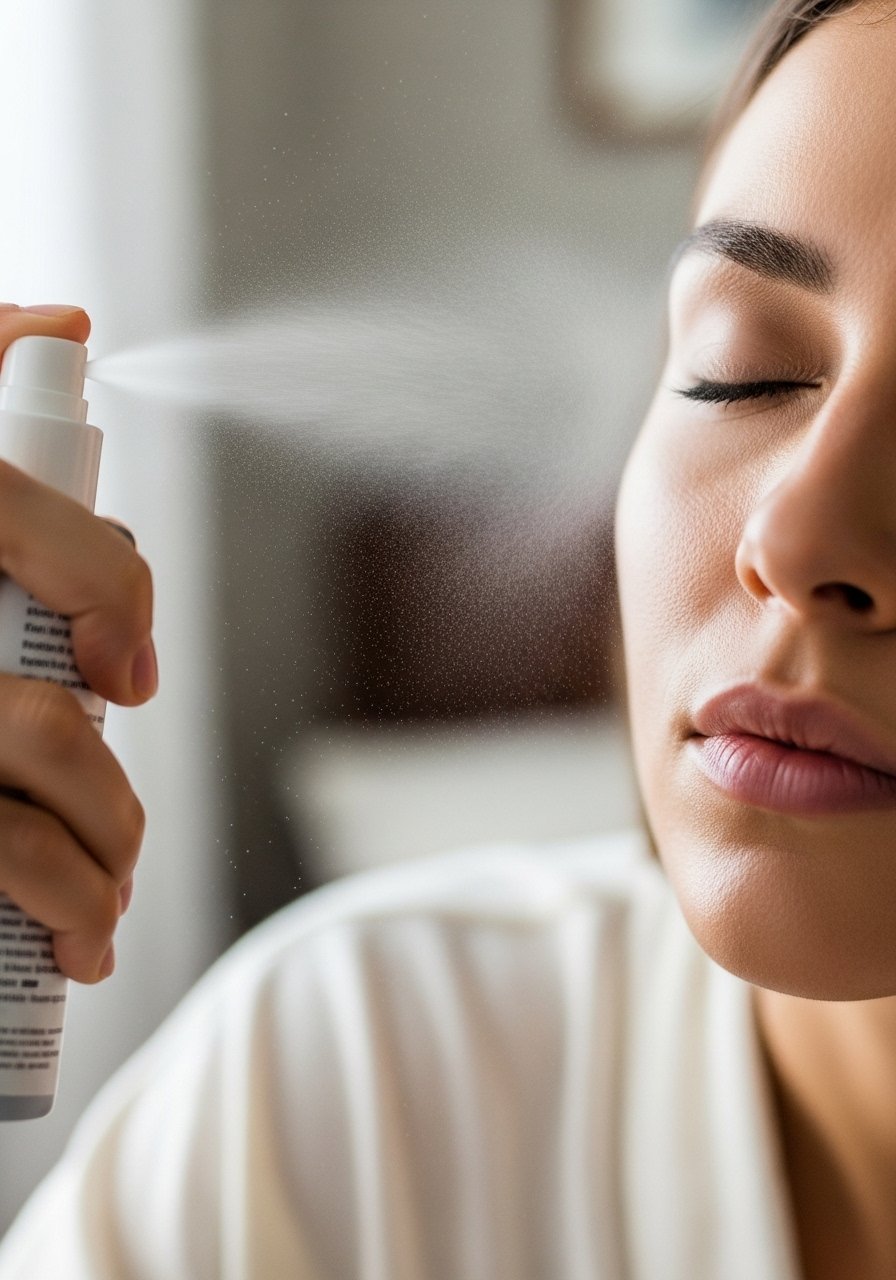
Step 6: Set and tweak for longevity
Finish with a light mist of setting spray or a touch of translucent powder over the primer area if you have oily skin. For gel liner, avoid rubbing the area for at least three minutes while it fully sets. If you like a softer, smoky wing, press a tiny bit of neutral eyeshadow along the edge with a small smudger brush. I am still not sure this is the best way, but it has worked every time for me when I needed the look to last through an evening.
Mistake to Avoid: Spraying too close with setting spray and causing the liner to run before it dries.
Makeup Tips
Start with dots: Mark three tiny dots—outer wing, mid-lash, inner corner—then connect them with a pen like liquid eyeliner pen for a steadier line.
Angle test: Hold a business card to get the tape angle right and then cut a small strip from it instead of using full tape for a gentler lift. Try makeup-tape if you prefer a ready option.
Gel plus brush trick: Use a pea-sized dab of gel eyeliner and an angled-eye-brush for controlled width and less product waste.
Tightline first: Smudge a kohl pencil into the upper waterline before the wing to make the lash base look fuller without thickening the inner liner.
Short on time: Do one eye with the full wing then mirror the angle by resting the pen tip at the same angle for the second eye. Keep a cotton-swabs handy for instant fixes.
For oily lids: Press a tiny amount of translucent powder along the lash line after primer and before liner. It prevents migration and feels velvety rather than slick.
Subtle correction: If the wings still read uneven in photos, take a thin stroke of concealer on a concealer-brush-small to sharpen only the outer point.
Make It Yours
Mastering a reliable wing takes patience and repetition. Practice the flick-and-connect sequence three times in a row on a Tuesday night when you are not rushed. As you build muscle memory, you will need less tape and fewer corrections. Final tip, if you are ever unsure, photograph both eyes straight-on in natural light and tweak from the image rather than the mirror. Keep practicing and you will get there.
