
I spent an afternoon staring at other people's marble sets, trying to name the tiny detail that made them sing. After three messy attempts I realized it was not the polish, it was the layers and the clean-up. This guide breaks that down so you get the glossy, slightly imperfect swirls that read like stone in photos and still look wearable on your phone-call hand.
This guide covers both water marbling and the plastic-wrap method, plus cleanup, top coat choices, and gel adaptations. Time runs from a brisk 30 minutes for a single accent nail to about 75 minutes for a full set. I am still not sure this is the best way, but it has worked every time for me after a month of testing this gel system. A tech at a salon downtown showed me the tiny drag trick that finally made my lines look like marble.
Style/Vibe: Subtle marble with glossy shine
Best For: Short to medium nails, special occasions or everyday wear
Skill: Intermediate
Time: 45-75 minutes
What You'll Need
Tools & Brushes:
- thin-nail-art-brush (~$6-12)
- dotting-tool-set (~$8-15)
Base & Top Coat:
- opi-base-coat (~$8-14)
- seche-vite-top-coat (~$7-13)
Polishes & Designs:
- white-cream-polish (~$4-10)
- black-cream-polish (~$4-10)
- two-accent-colors (~$4-12 each)
Finishing & Extras:
- pure-acetone (~$6-10)
- cleanup-brush (~$5-9)
- uv-led-lamp (~$20-40) optional for gels
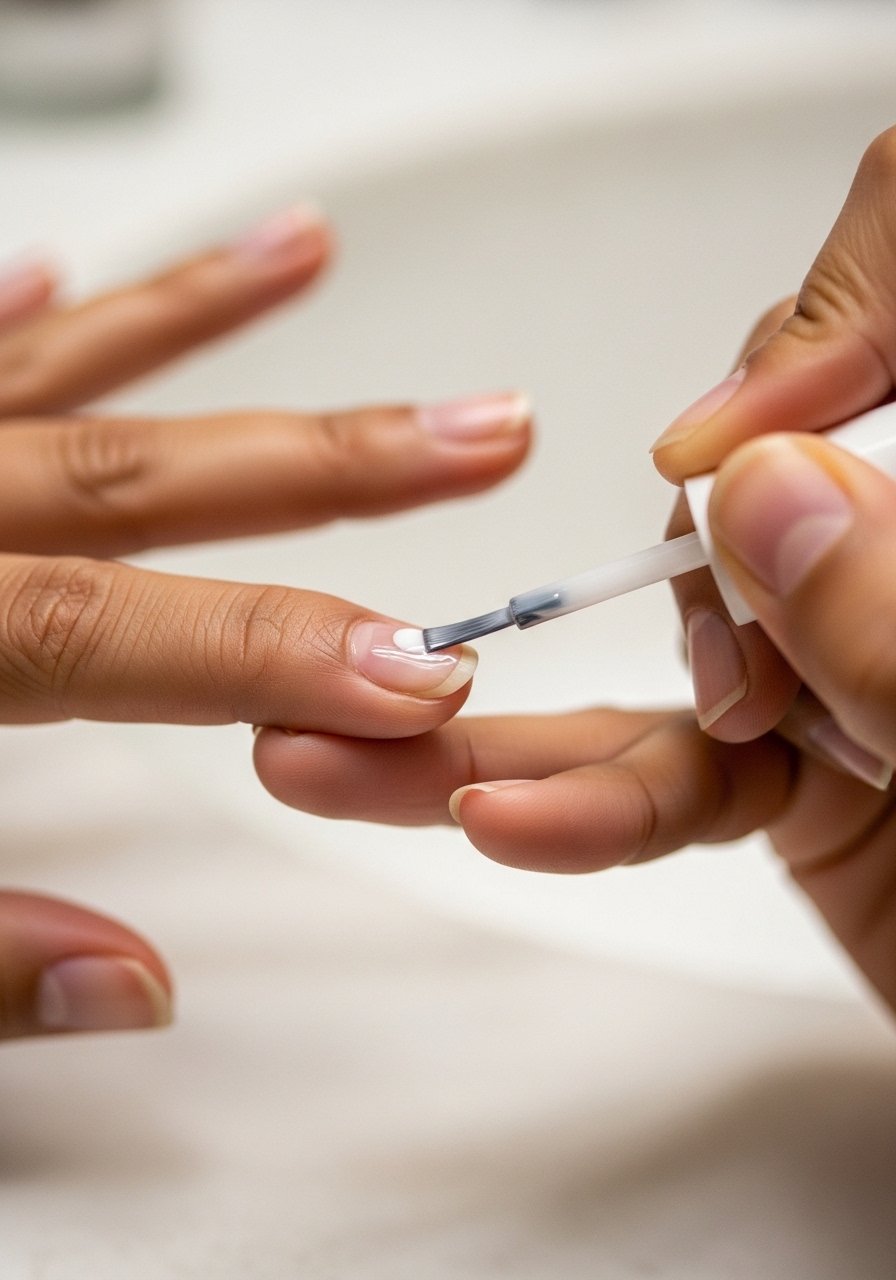
Step 1: Prep the canvas, shape and degrease
Pulling everything off the nail is the first move. File to your desired shape with 180 to 240 grit depending on how much length you need to remove. I prefer a soft square for marble because the broader surface reads the pattern better. Lightly buff the surface so polish has tooth. Wipe each nail with pure acetone on a lint-free pad to remove oils. If you are using gel, push cuticles, apply a thin primer if your product recommends it, and cure the base under a UV lamp for 30 to 60 seconds per the lamp instructions.

Keeping oils off the nail lets the polish sit on the surface instead of sliding around when you marble.
Mistake to Avoid: Skipping the degrease step makes polish slide and ruins the marble pattern.
Step 2: Lay a steady base color in thin layers
This is where most sets go wrong because people glob on polish. Apply one very thin coat of your background color, about a single smooth stroke per nail. Let it dry 60 to 90 seconds. Apply a second thin coat if coverage still reads uneven, then wait another 60 seconds. For gel users cure 30 to 60 seconds per coat under a 36W lamp. I found that two thin coats give the best contrast for marbling and keep the surface tack-free enough that the water or plastic method will accept the design.
Thin layers follow the principle of working in thin layers so each step reads and does not smudge when you marble.
Mistake to Avoid: Applying thick base coats leaves ridges that distort the marble when you press or dip.
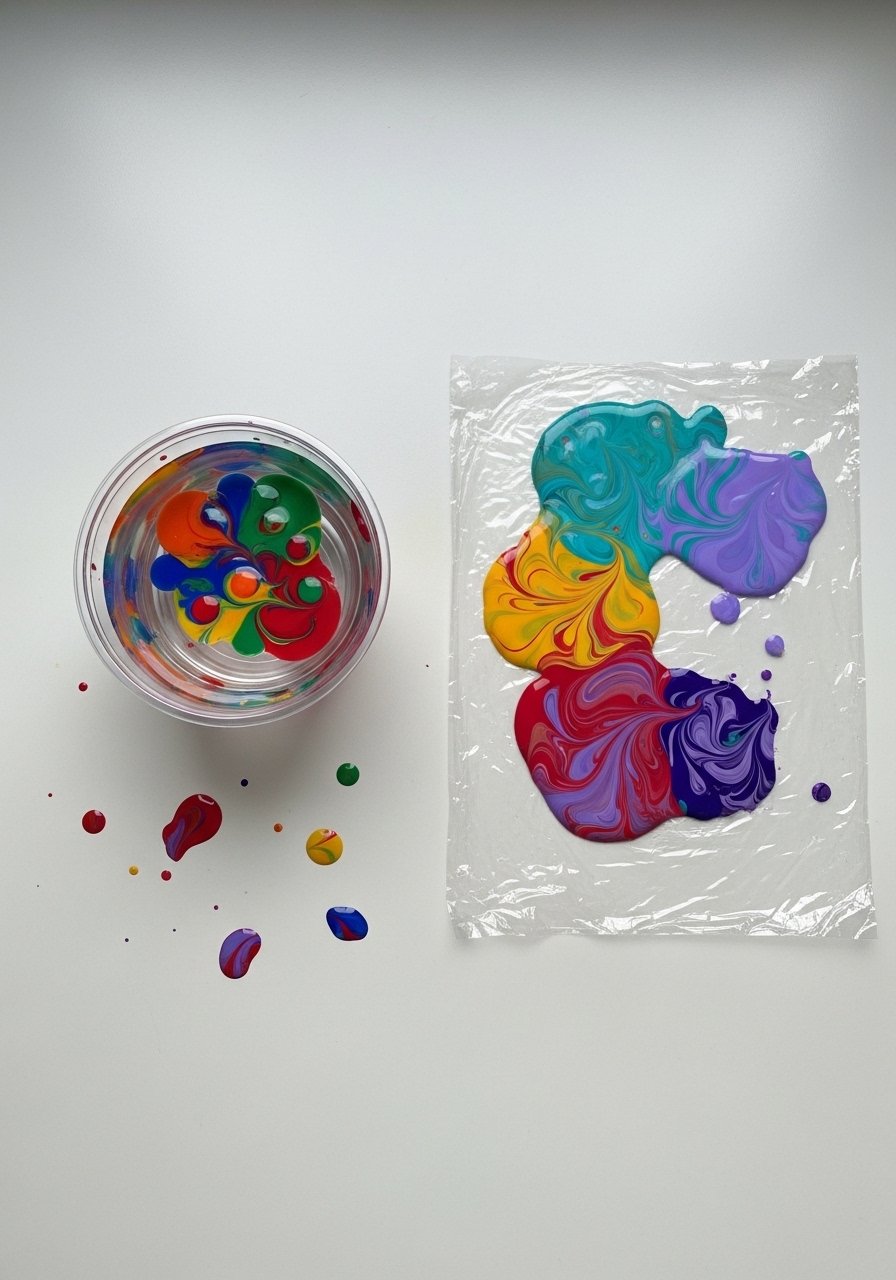
Step 3: Choose your marble method and set up
This step feels like picking your weapon. For high-contrast, use water marbling. For soft, feathered veins try the plastic-wrap method. For water marble, prepare a disposable cup of room-temperature filtered water and have 6 to 8 drops ready for each color. For plastic-wrap marble, squeeze small dots of polish onto a sheet of cling film and press briefly onto the nail. I like water marbling for accent nails and plastic-wrap for full sets because cleanup is easier on the latter. Gather a toothpick, tape or liquid latex for cuticle protection, and paper towels.
Different situations call for different methods. On a Tuesday night when I do not want to think, cling film saves time.
Mistake to Avoid: Choosing water marbling without protecting cuticles makes cleanup take three times longer.
Step 4: Water marbling technique, timing and drag
Most people start dragging immediately and end up with messy blobs. Drop 6 to 8 drops total, not per color, alternating colors into the center of the water so they spread in concentric rings. Wait about 3 to 6 seconds for the polish to flatten and stop forming a raised bead. Use a toothpick or a thin-nail-art-brush to drag from the center outward to create veins. Dip the nail at a 45-degree angle and hold it under for 2 to 4 seconds, then pull out slowly. Clean the surrounding skin immediately with an acetate-dipped cleanup brush for a neat edge.

You can hear the tiny click when the toothpick lifts the polish pattern off the water. That sound means the pattern has formed.
Mistake to Avoid: Dragging too early scrambles the rings into muddy spots and wastes the polish.
Step 5: Plastic-wrap marble for softer veins and speed
This part feels wrong while you are doing it because it looks messy until you press. Put blobs of polish on cling film and use a folded piece of plastic to pick up a marbled pattern. Press it lightly onto the nail for about 3 seconds then lift straight up. The pattern will be softer, with smudgy veins rather than crisp lines. This method is forgiving on shaky hands and great for gradient blends. If you want metallic veins, add a tiny dot of your metallic polish and twist the wrap gently before pressing.

Honestly this step frustrated me at first. I almost skipped it. Glad I did not.
Mistake to Avoid: Pressing too hard with the wrap smears the entire nail and flattens the design.
Step 6: Clean up, top coat and final cure
This is the part where everything snaps into place. Remove any tape or liquid latex. Use an angled cleanup-brush dipped in acetone to remove polish from the skin in a single gentle sweep. For regular polish let the design rest 2 minutes before applying a thin glossy top coat. For gel top coats cure 30 to 60 seconds per layer under the UV-LED lamp. I like sealing edges with the top coat brush stroke from the free edge toward the cuticle to avoid pulling and to lock veins into place. The finished nails should feel smooth and slightly cool to the touch.

A good top coat adds depth to the marble and protects it from chips.
Mistake to Avoid: Applying top coat while the polish is still tacky drags the marble and makes streaks.
Nail Tips
Use tape or liquid latex: Protect the skin around nails for easier cleanup with liquid-latex-protector.
Thin is better: When in doubt, thin your polish with a drop or two of polish thinner rather than acetone, which changes the formula. Try nail-polish-thinner.
Experiment with drop counts: Start with 4 drops for small nails and 6 to 8 drops for medium nails. The dot spacing changes the veins.
Mix finishes: A matte top coat over marble softens it for daytime looks. Use matte-top-coat.
Try a metallic accent: Drag a tiny line of metallic polish into the veins for a subtle highlight. Check out gold-nail-polish.
Quick fix for bubbles: If you see bubbles before curing, tap the lamp once. The lamp click often settles the surface. For regular polish smooth the bubble gently with a warmed top coat brush.
Preserve with edging: Paint the free edge with top coat twice to seal the design. This adds an extra two to three days of wear.
Polish Your Skill
This approach rewards small experiments. Try one accent nail first, then a half-set, then a full set as your confidence grows. Final tip, keep a scrap plastic sheet so you can test color combos quickly without starting on your hand. The more you play with drop counts and drag directions the more confident you will feel. You will get to a point where the first two steps feel wrong and the last two make total sense.
