
I tried sprinkling glitter over wet polish the first time. It looked fine for photos and then smeared into a dusty halo by morning. After three ruined manicures I figured out the small order changes that stop glitter from escaping your nail bed and turning your sink into a sparkly crime scene. This guide is the pared-down version of what actually works at home, not the pretty tutorial that forgets cleanup.
This covers quick at-home methods, budget product swaps, and salon-grade tricks you can do in 30 to 60 minutes. Expect to spend $10 to $35 per session depending on whether you buy loose glitter or a polish. I tested this routine across natural polish and a month of gel experiments, and a tech at a salon downtown showed me a tidy edge trick that changed everything.
What You'll Need
Tools & Brushes:
- Nail-file set (~$6-15)
- Fan brush for cleanup (~$5-12)
Base & Top Coat:
- Good quality base coat (~$6-14)
- Fast-dry glossy top coat (~$7-15)
Polishes & Designs:
- Fine loose glitter mix (~$5-12)
- Sponge applicator pack (~$6-10)
Finishing & Extras:
- Liquid latex barrier (~$8-15)
- Cuticle oil (~$5-12)
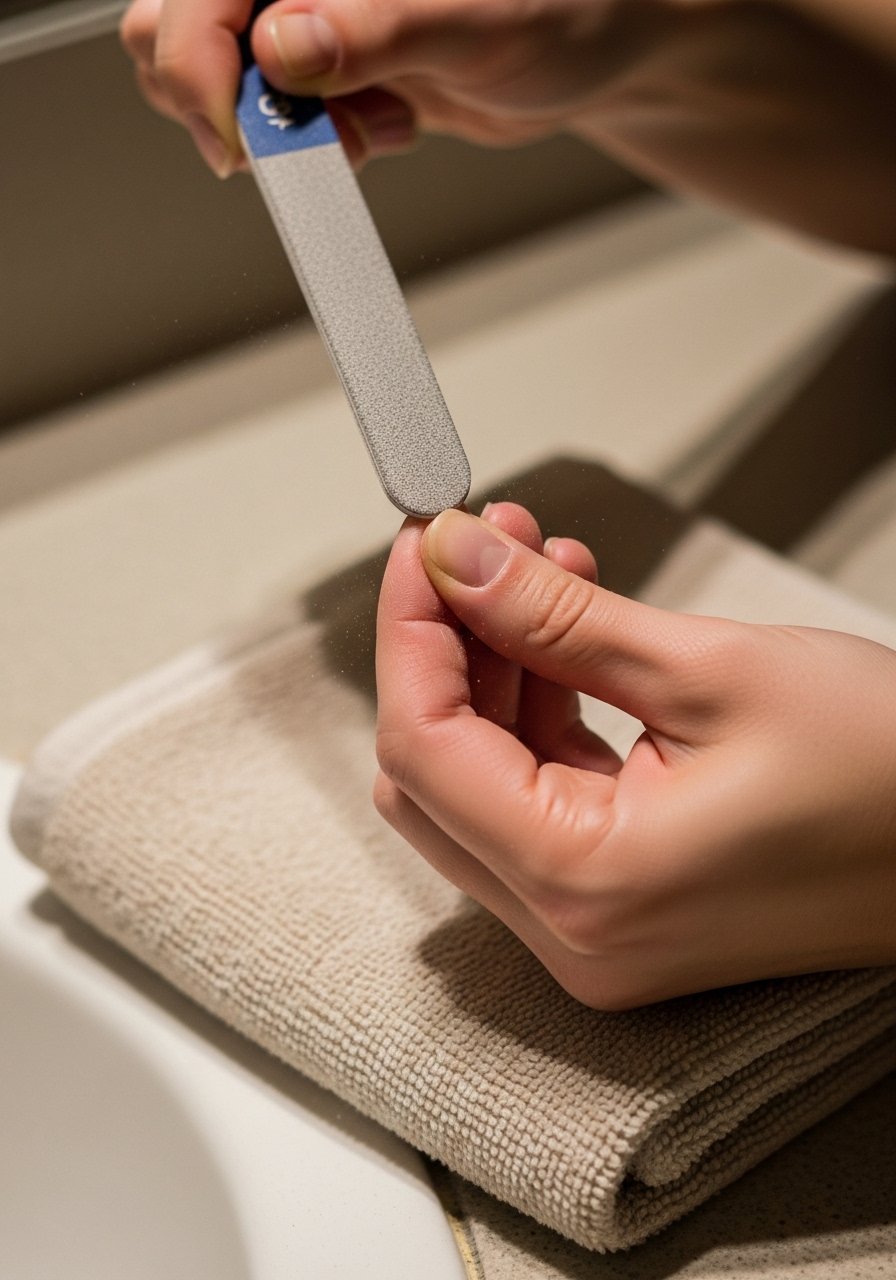
Step 1: Clean and mattify the canvas
Pull the old polish off, shape the nails, and buff gently. I use a 180-grit file to shape, then a 240-grit on the nail surface to remove shine so glitter has something to stick to. Wipe each nail for 20 seconds with 70% isopropyl alcohol or a dedicated nail cleanser to remove oils. If your nails feel slick, that is the problem you will fight later. I almost skipped the buff step the first time and the glitter slid right off by day two.
Mistake to Avoid: Skipping the buff and cleanse step makes the glitter lift within 48 hours.
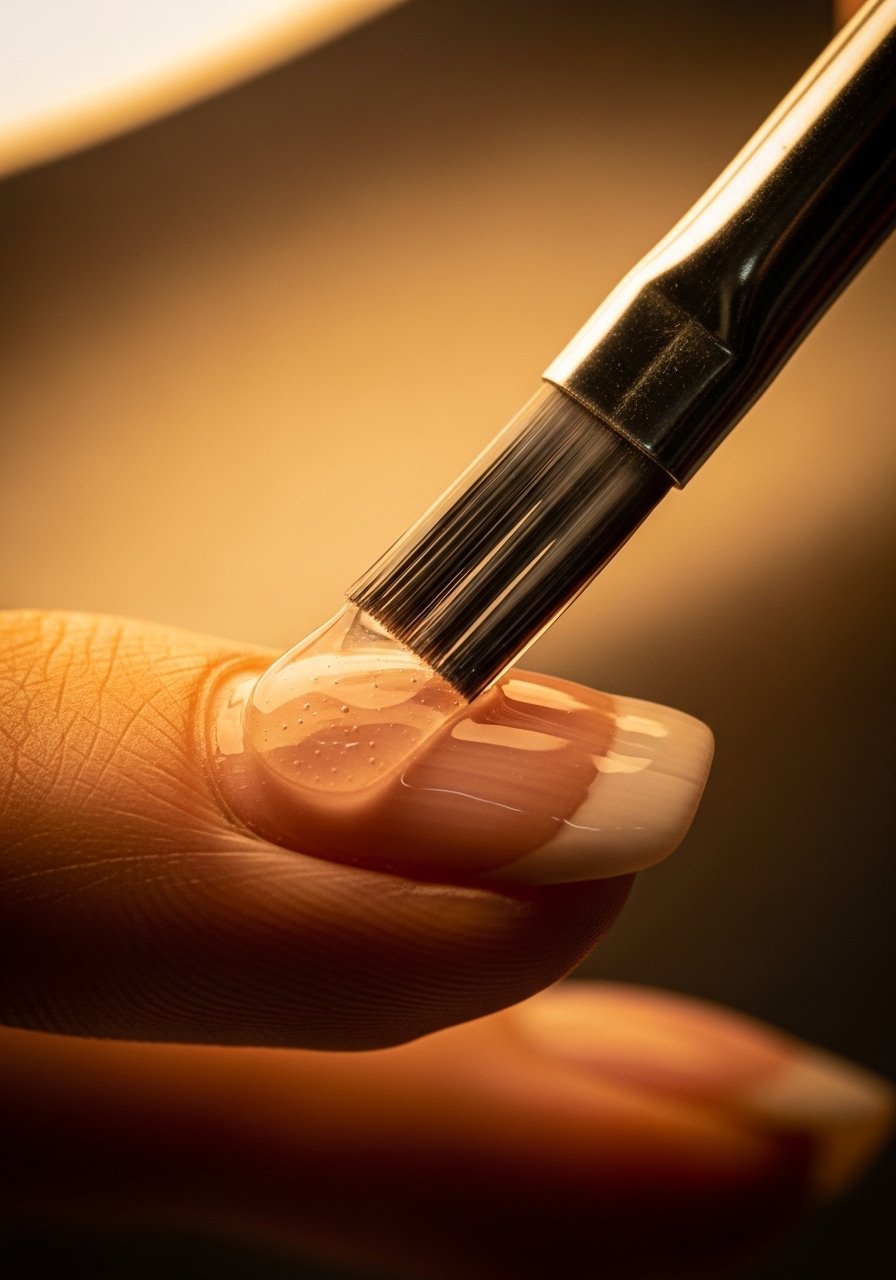
Step 2: Create a sticky base layer
Apply one thin layer of base coat and let it air dry 60 seconds, or cure for 30 seconds under an LED lamp. The trick is to stop when the surface is tacky, not bone dry. That tack is the vacuum that pulls glitter in. For regular polish I use a tacky base coat, and for gel I cure to a tacky inhibition layer then proceed. After a month of testing this gel system I learned that the tack window is usually between 10 and 90 seconds depending on product and lamp. The surface should feel slightly tacky to the touch, like new adhesive tape.
Mistake to Avoid: Waiting until the base coat is fully dry before applying glitter causes poor adhesion and patchy coverage.
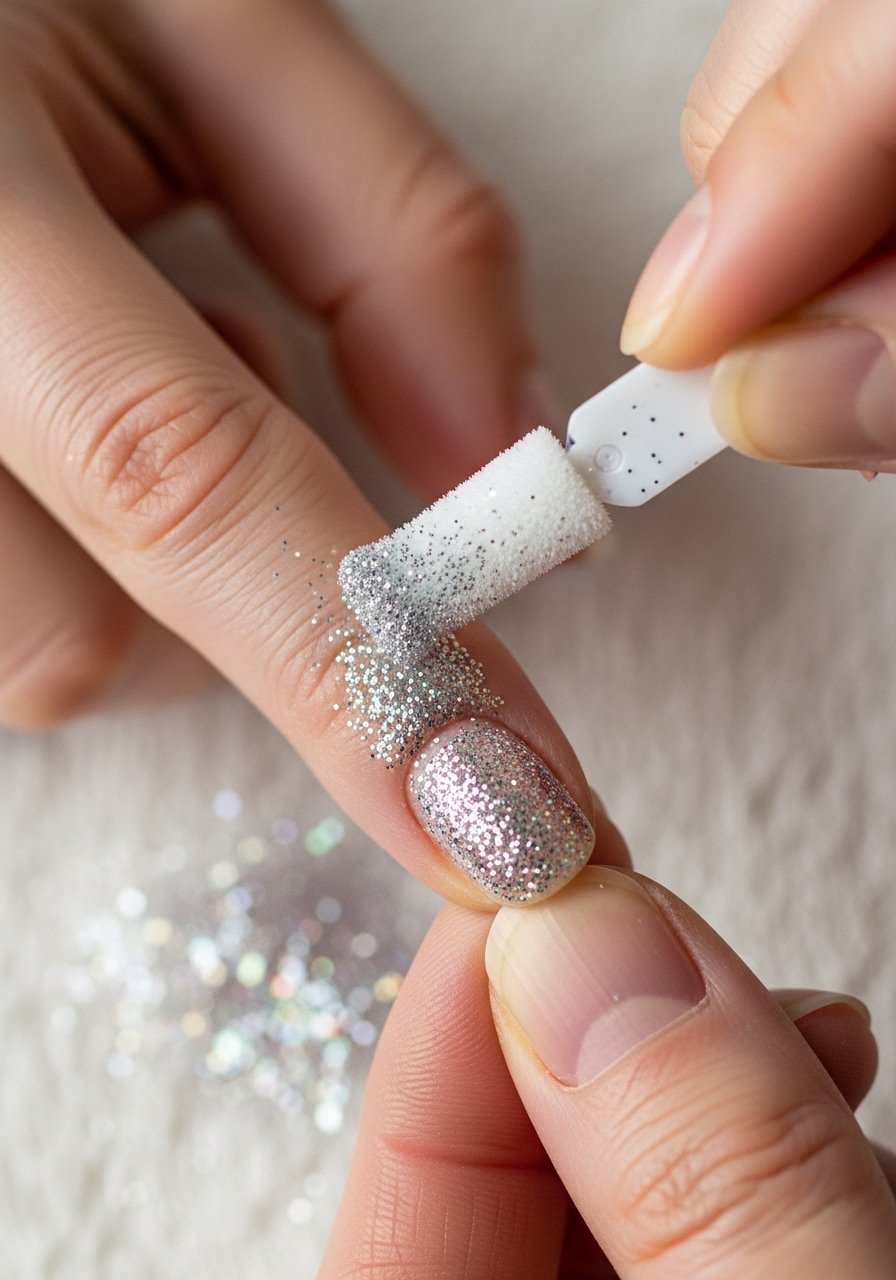
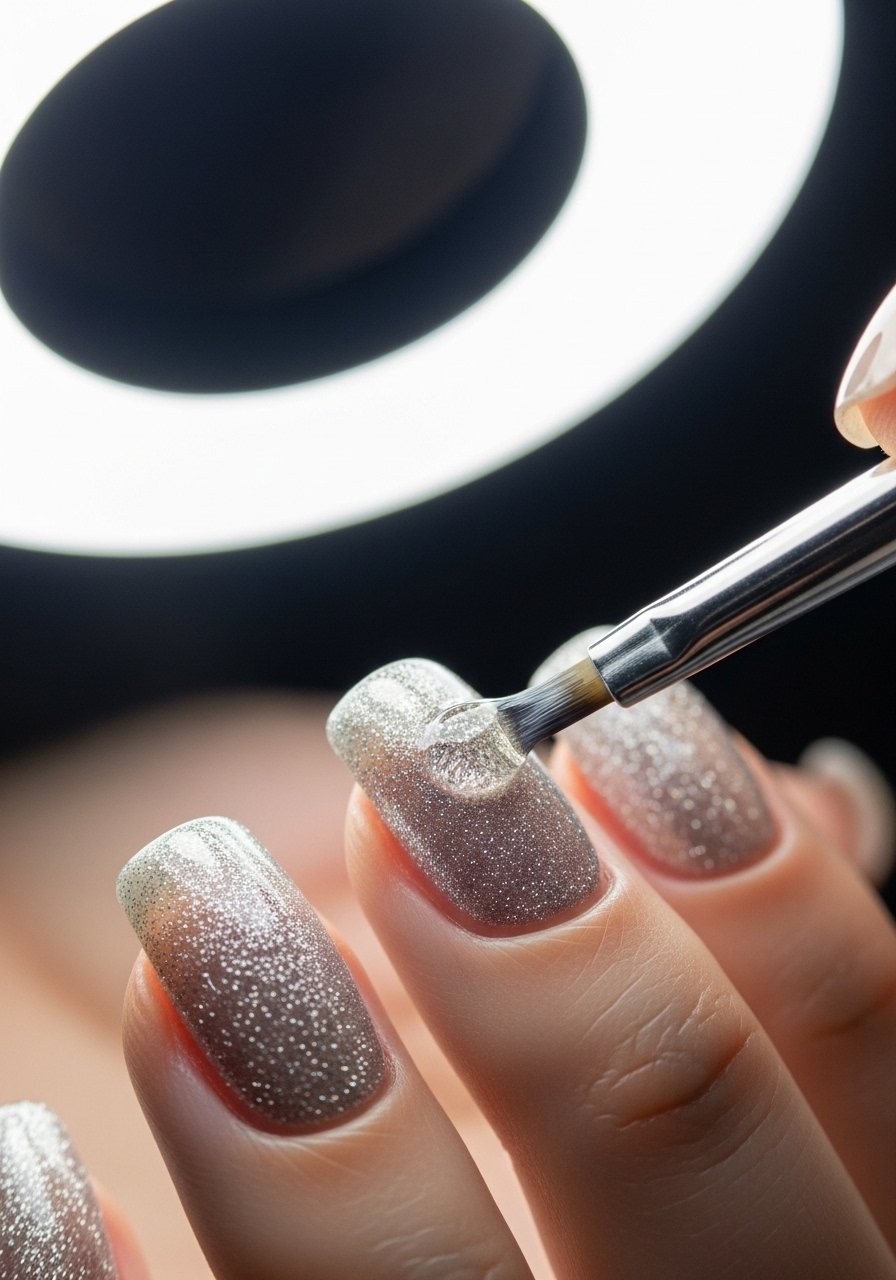
Step 3: Apply glitter using the right tool
Action: press, do not fling. For loose glitter try a small brush or a fingertip press. If you want dense coverage, dab glitter onto a makeup sponge first then press that sponge to the nail. For a subtle fade, dust the tip with a tiny spoon and brush excess away. I use about a 2:1 clear-to-glitter approach when mixing chunky glitter into a clear polish for controlled application. The glitter feels slightly gritty at this stage. Use a soft fan brush to whisk away fallout from skin, not the nail, which keeps edges clean. I found the sponge method gives film-like coverage with less fallout.
Mistake to Avoid: Rubbing glitter into a fully wet surface makes it smear and clump unpredictably.
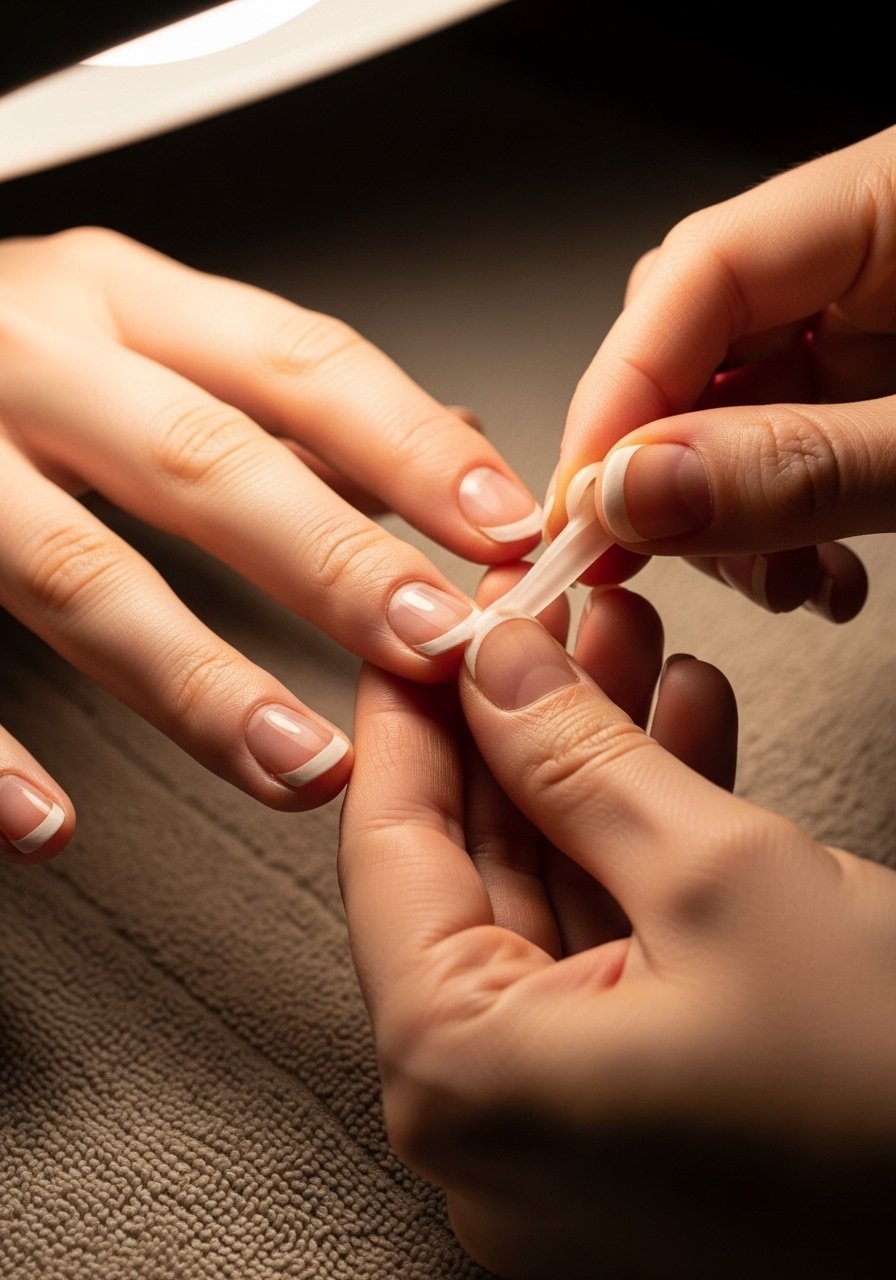
Step 4: Protect the cuticle line and remove fallout
Most tutorials skip the barrier step. I paint liquid latex around the nail before applying glitter, then peel it off to remove stray sparkles. For quick fixes use sticky tape or a lint roller on the skin around the nail. Use an orange wood stick dipped in rubbing alcohol to scoot tiny bits off the cuticle without smudging the glitter. Honestly this step frustrated me at first because the latex felt fiddly, but it saves more time than cleaning up a sparkly sink. The barrier makes the final edge look clean and professional.
Mistake to Avoid: Skipping a cuticle barrier leaves a dusty halo of glitter that ruins the clean look.
Step 5: Seal with thoughtful top-coating
Feeling: this part feels like sealing a tiny jewel. Use the thin-to-thick principle, apply two thin coats of top coat rather than one thick coat. For regular polish wait 60 seconds between coats. For gel, cure each thin layer for 30 seconds and finish with a glossy 60-second cure. If you used chunky glitter, slightly buff the surface with a fine buffer before top coat so the finish is smooth. The top coat should glide cool and glassy, not tugging. My first attempt buried glitter under a single heavy coat and it wrinkled. Two to three thin layers give durability and a salon-level gloss.
Mistake to Avoid: Applying one thick top coat will create air bubbles and uneven shine.
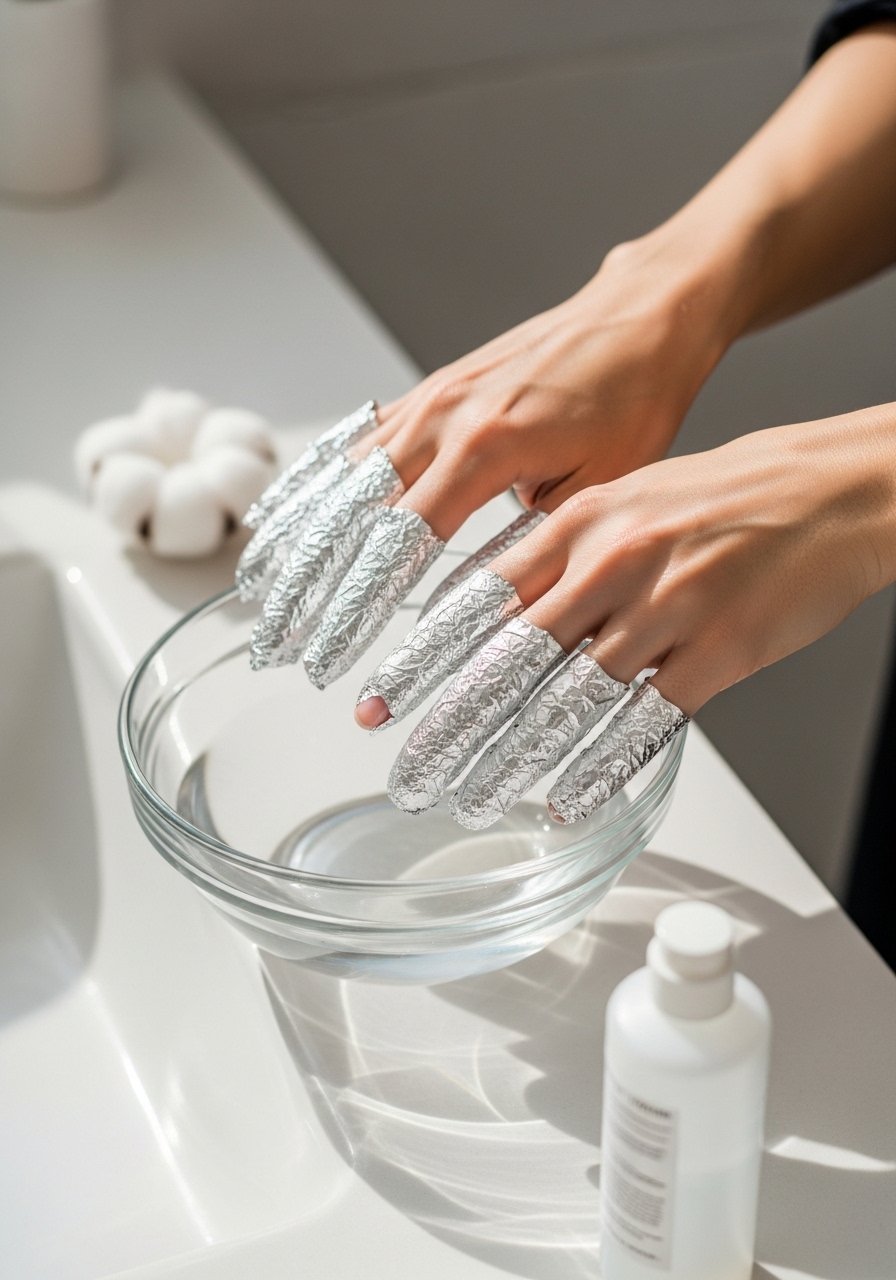
Step 6: Aftercare and clean removal
A little maintenance keeps the set looking fresh. Apply cuticle oil nightly to keep surrounding skin supple and to prevent glitter from flaking out. When removing glitter, file the top shiny layer gently, then soak in acetone using foil wraps for 10 to 15 minutes rather than scrubbing. If you have a soak-off gel top coat follow the product cure/remove instructions. I learned the hard way that pulling glitter off dry nails rips the nail plate. Take the slow removal route and your nails will thank you.
Mistake to Avoid: Picking or peeling glitter off dry nails damages the nail surface.
Nail Tips
Seal the edge: Run top coat along the free edge to lock glitter in place with fast-dry top coat.
Sponge for density: Use a makeup sponge to build intense glitter without thick paste, try a sponge pack.
Use a barrier: Liquid latex around the cuticle eliminates cleanup, pick a liquid-latex barrier.
Ditch the sink mess: Do glitter work over a folded towel and sweep leftover flakes into a trash bag for easy disposal, and keep a fan brush on hand.
Matte twist: For a different look press ultra-fine glitter into a slightly tacky matte top coat, then seal with glossy top coat for a layered effect, try fine glitter mix.
Quick fix for fallout: Use a piece of scotch tape pressed against skin to lift stray pieces without smearing, then reapply cuticle oil.
Salon shortcut: If you have a gel lamp, cure thin layers for 30 seconds each to speed the process and reduce smudging, and choose a LED lamp you trust.
Spark Start
This takes practice, but the results are steady once you learn the sequence. My first attempt was bad, the second was barely better, and by the third it clicked because I focused on the tack window and sealing the edge. Final tip, do one nail at a time when using loose glitter. It keeps cleanup calm and your manicure intact. Keep experimenting with sponge density and top coat layers and you will get a finish that lasts without the mess.
