
I thought the answer was piling on product. I sprayed, smeared, smoothed, and ended up with a greasy halo that collapsed by noon. The trick was less product and more structure. After a few bad mornings and one very lopsided office selfie, I rewired the order, tightened my technique, and now a polished ponytail lasts all day without feeling crunchy.
This guide works for straight, wavy, and loosely curled hair. Expect 10 to 20 minutes once you get the rhythm. I refined this across four hair textures I have styled, and after washing and restyling about fifteen times I can say it is repeatable. If you have fine hair, plan lighter product. If your hair is thick or coarse, raise heat settings a touch and use a firmer hold product.
What You'll Need
Styling Products:
- lightweight smoothing serum (~$10-25)
- medium-hold hairspray (~$8-20)
- edge-control gel (~$6-15)
Tools:
- boar-bristle brush (~$8-30)
- fine-tooth comb (~$3-12)
- flat elastic bands (no-metal) (~$5-12)
- bobby pins (~$3-8)
- flat iron (~$25-150)
Treatments & Prep:
- heat protectant spray (~$8-20)
- dry shampoo (~$6-18)
Step 1: Get the base right
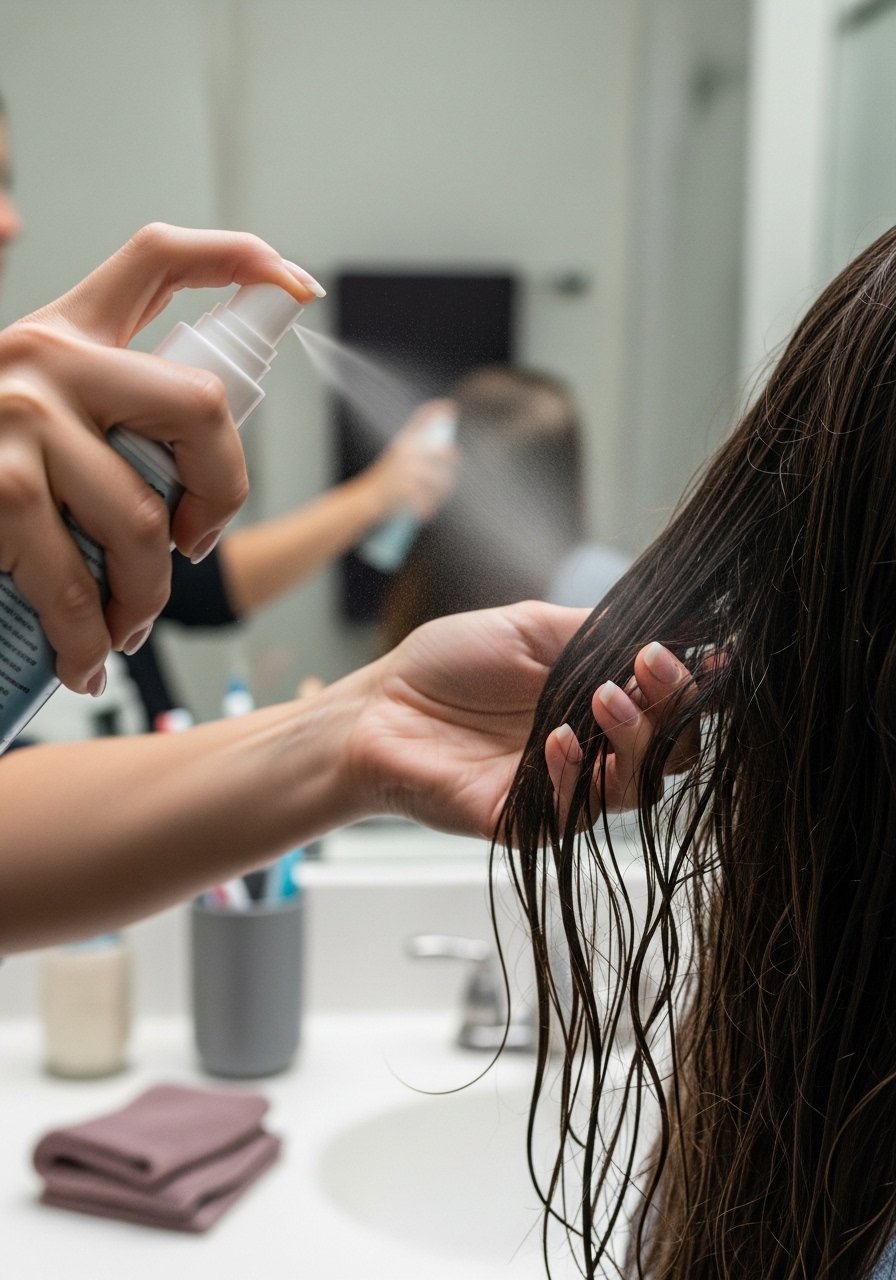
You want hair about 80 percent dry before you try to smooth it down. If it is soaking wet your elastic will slip and the shape will sag. I blow-dry on medium while brushing with a boar-bristle brush, working from roots to ends so the cuticle lies flat. Spray a light mist of heat protectant and use a pea-sized amount of smoothing serum on the mid-lengths and ends. For thick hair I use a slightly larger amount, about two pea-sized drops. This step sets the texture and reduces flyaways later.
Mistake to Avoid: Pulling a wet ponytail tight, which creates frizz and uneven tension.
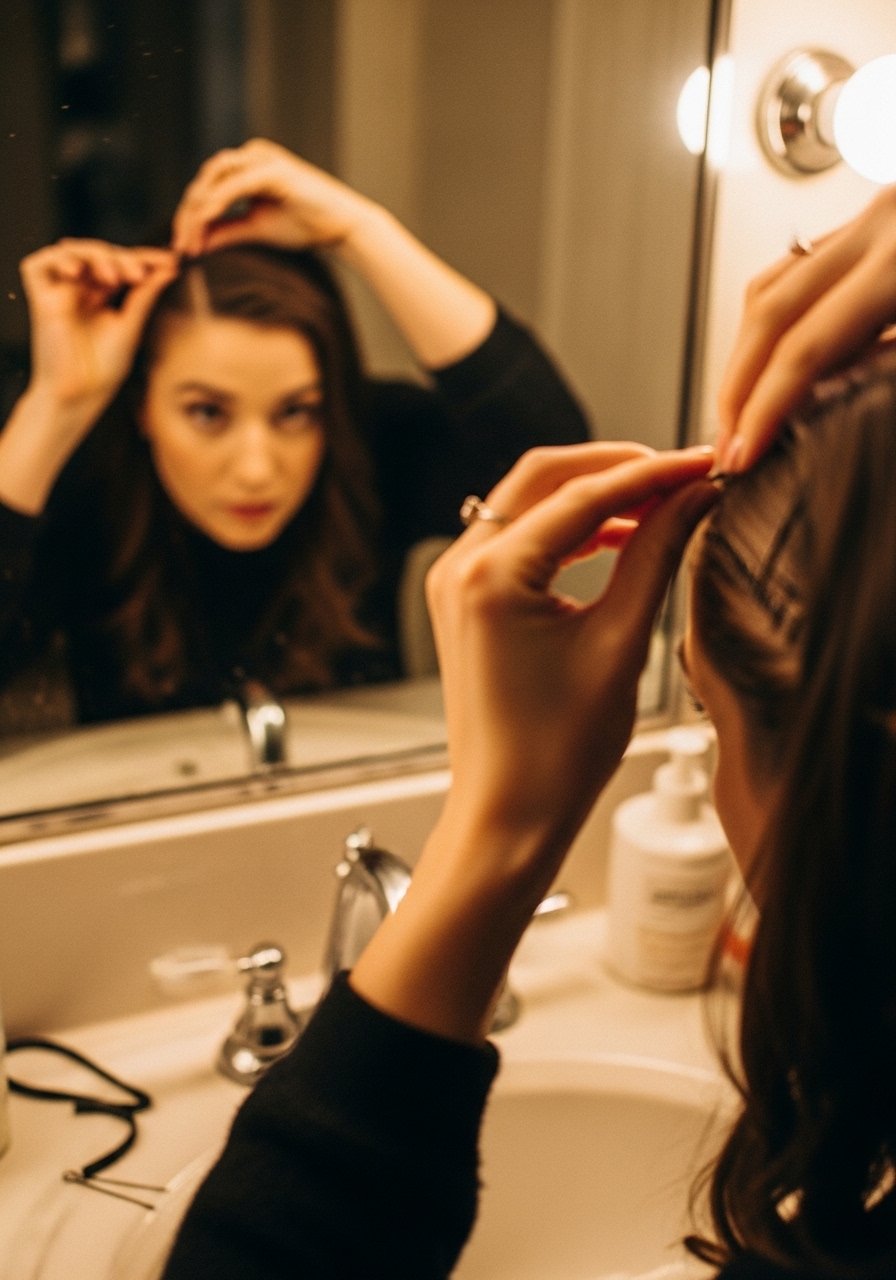
Step 2: Section and smooth
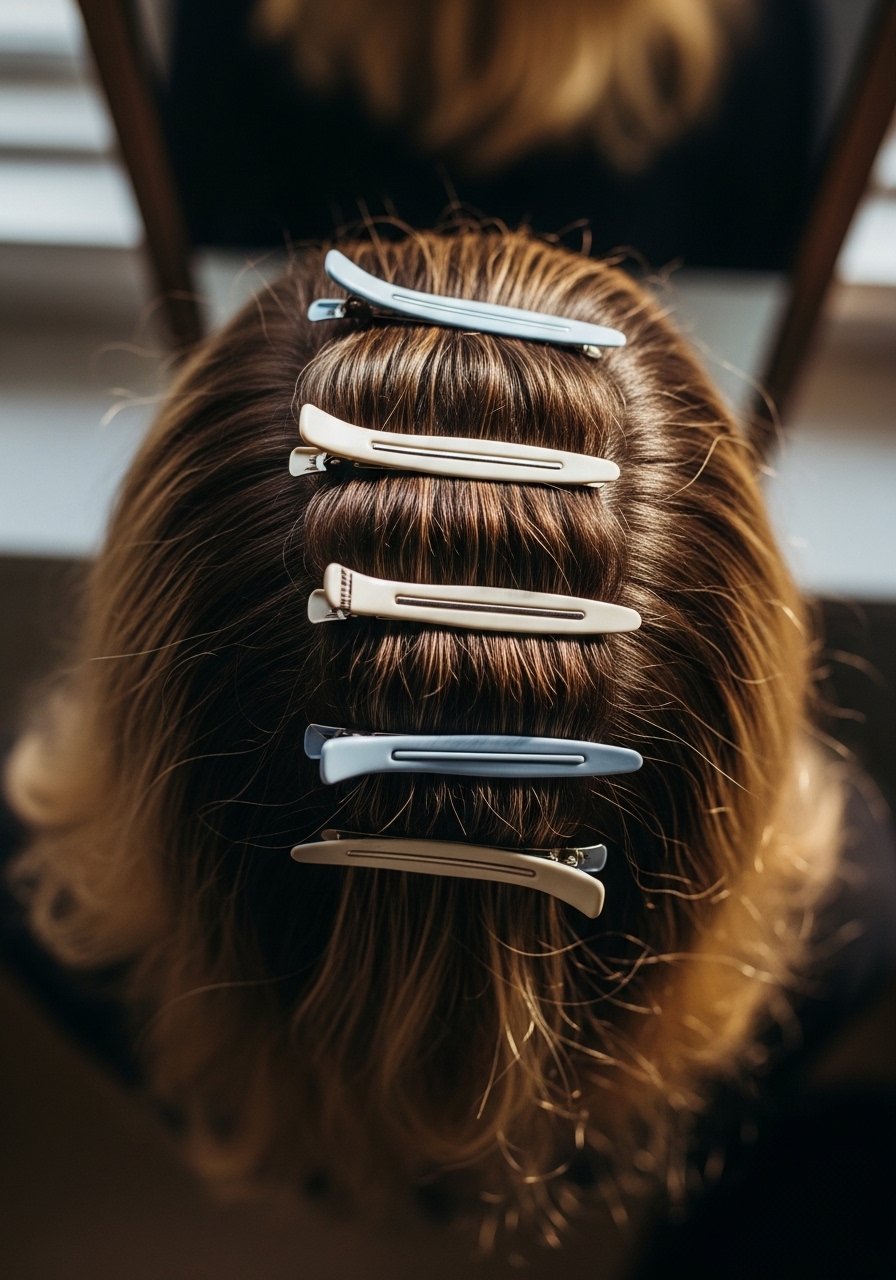
Pull everything back into a loose low ponytail and clip the tail away. Now take the top section and smooth it with the boar-bristle brush, working in 2 to 3 passes from forehead to crown while holding light tension. The principle is even tension distribution: distribute the pull across small sections so you do not create a single tight point that causes bumps. I use a tiny dab of edge-control gel along the hairline to tame baby hairs. If you have high porosity hair, use a cream-based control instead of an alcohol-heavy gel.
Mistake to Avoid: Brushing the whole head once and assuming it will stay flat.
Step 3: Anchor the ponytail
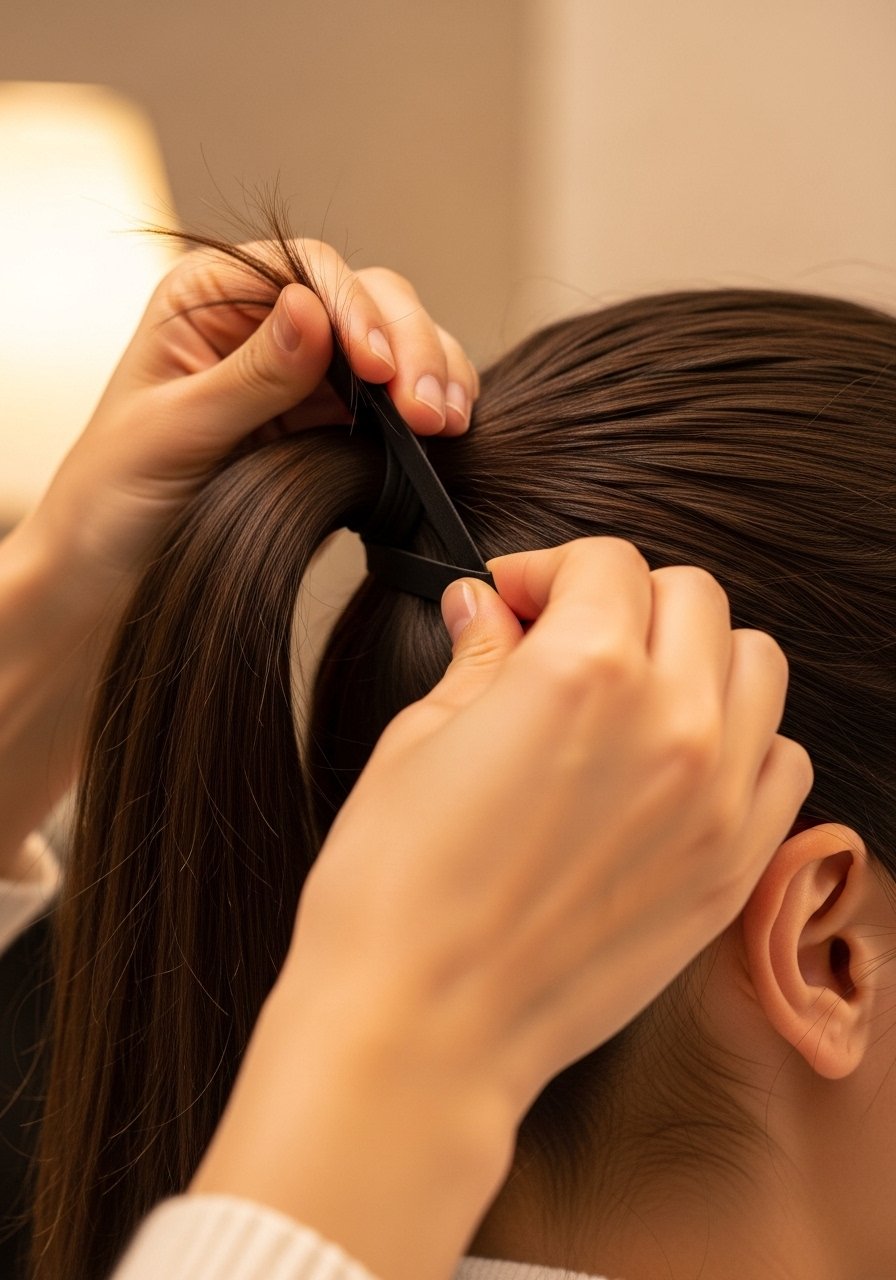
Decide where the pony will sit, then secure it with one elastic, then a second for longevity. The trick I learned that competitors skip is anchoring the first elastic with a small looped section of hair and then wrapping that loop with the tail later. It hides the elastic and gives a cleaner finish. For medium hair use two wraps around the elastic. For thick hair use three. Keep the tension firm but not painful. The wrapped loop stops the ponytail from drooping and spreads pressure across the base.
Mistake to Avoid: Tying the elastic so tight it pulls at the scalp and creates a bump.
Step 4: Smooth the crown and hide imperfections
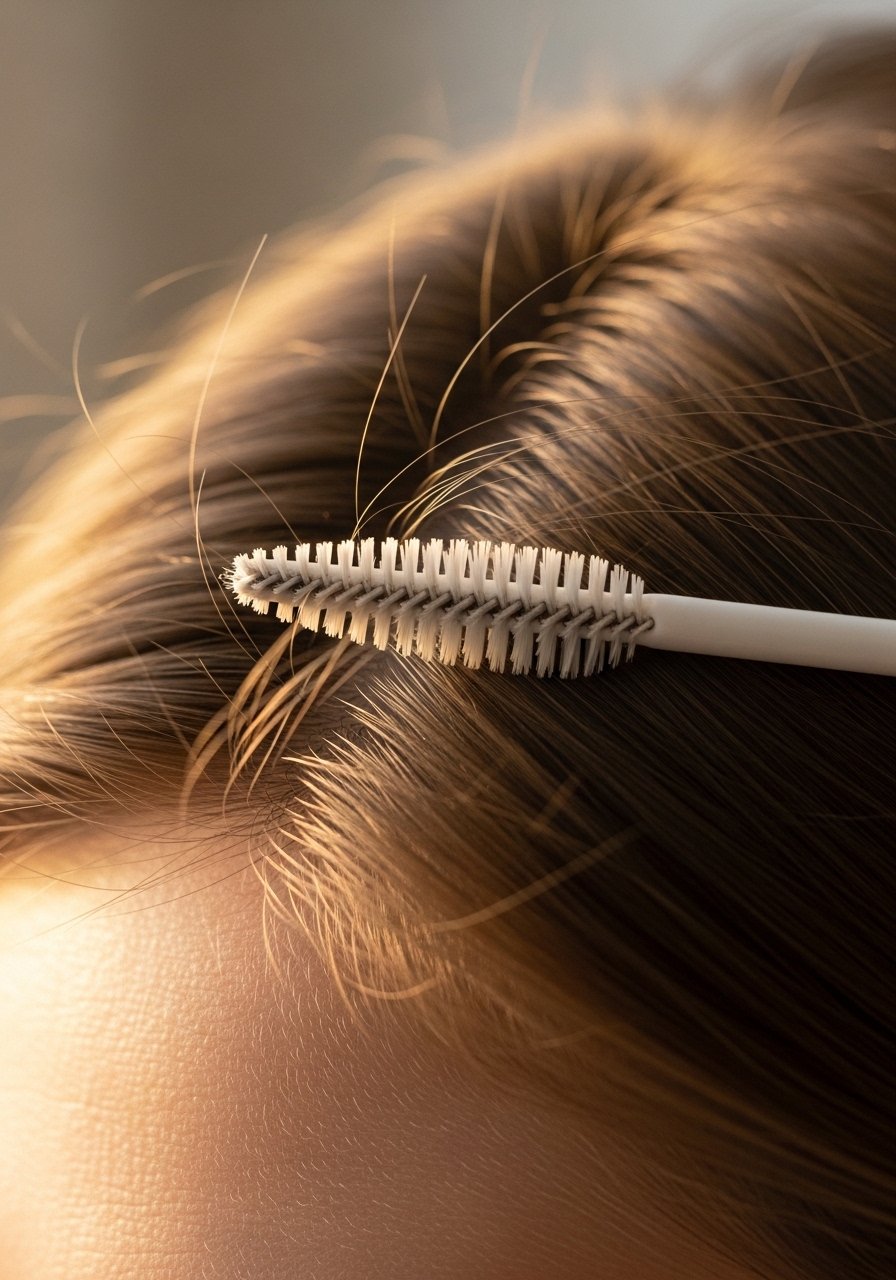
This is where it starts to actually look polished instead of just pulled back. Use a fine-tooth comb to gently smooth any surface irregularities while holding the elastic steady. Spray a light mist of medium-hold hairspray on the comb, then comb through for control without stiffness. If a small bump appears, tease a 1-inch section just beneath it and flatten, then resmooth. Wrap a 1-inch strand of hair around the elastic and pin underneath with a bobby pin to conceal hardware and create a continuous look.
Mistake to Avoid: Dousing the hair in hairspray, which makes it look hard and attracts dust.
Step 5: Work the tail for finish and movement
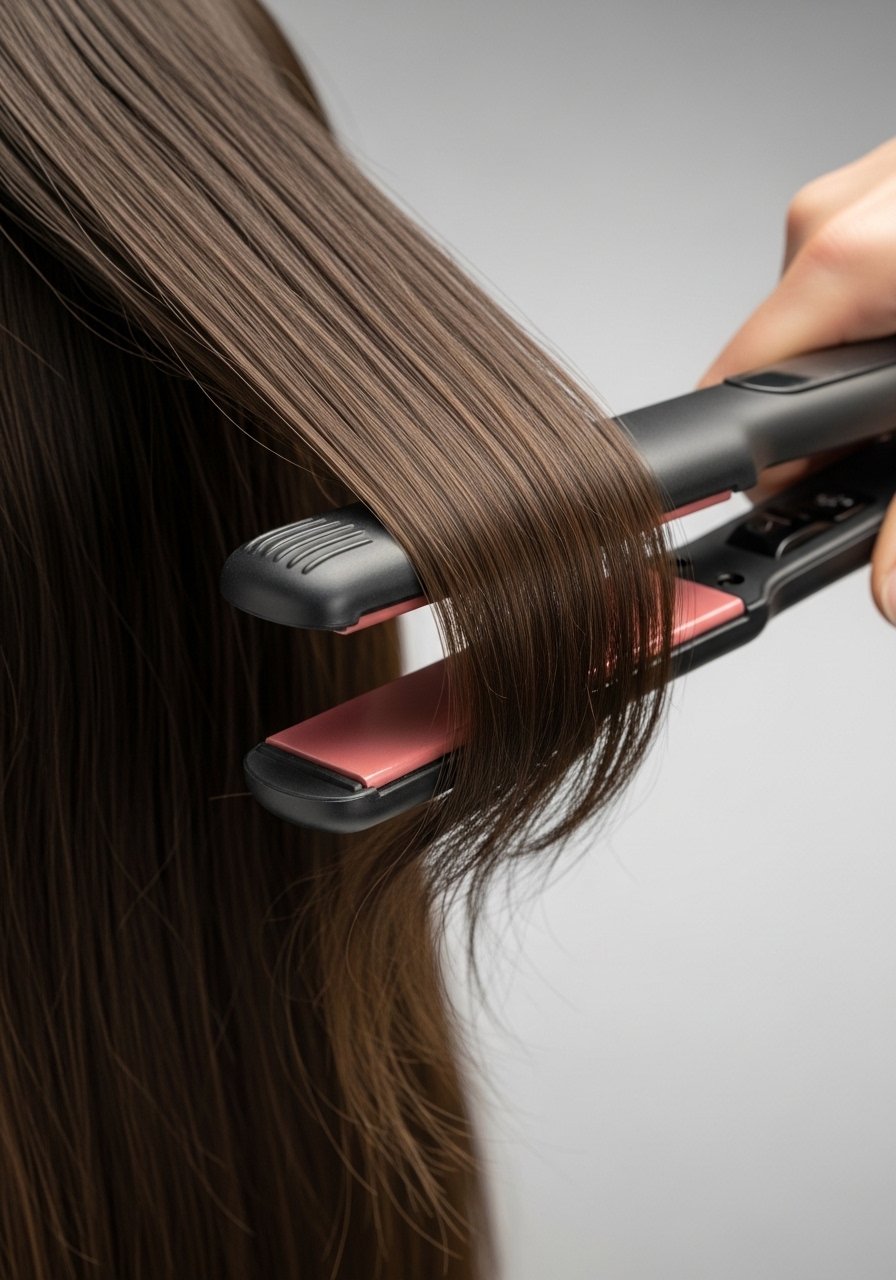
If you want a straight glossy tail, run a flat iron down the length in 1 to 2 slow passes. For fine hair set the iron to about 320 degrees Fahrenheit. For thick or coarse hair set closer to 380 degrees Fahrenheit. Use a slow, even glide and listen for the hair sliding without a rough catch. If you prefer volume, diffuse or finger-curl the tail instead of heating. Finish with a tiny drop of lightweight serum on the ends to add gloss and weight so the pony swings cleanly.
Mistake to Avoid: Passing the flat iron too quickly, which leaves the tail frizzy and uneven.
Step 6: Lock it and refine
I used to skip this step every time and then wonder why my pony fell flat by afternoon. Lightly spray the crown with a mist of hairspray for hold, then press edges with a clean cloth to lay them without crushing the shape. Tuck the wrapped strand under the elastic and secure with two bobby pins crossed for stability. If you need extra hold at the base, place one pin vertically and another horizontally for an anchor point. Step back and check in natural light for any small flyaways and touch them with a dab of gel on your fingertip.
Mistake to Avoid: Overpinning in visible places, which makes the style look fussy.
Hair Styling Tips
Quick morning shortcut: For second-day hair, refresh with dry shampoo at the roots and redo the top smoothing with a dry brush, then tighten the elastic rather than rebuilding the whole style. Try dry shampoo.
Swap heavy pomade for light cream: If your routine used to rely on thick pomades, swap to a lightweight serum to avoid a greasy look. Use lightweight smoothing serum.
Heat-free option: Instead of a flat iron, use a paddle brush and high-tension blow-dry method to smooth the tail for those who avoid heat. Apply heat protectant spray even when you skip flat ironing for safety.
Porosity check: If your hair soaks up product fast and feels dry, use a slightly heavier leave-in oil on the ends. If it repels product, use a spray or lighter gel so it distributes evenly.
Micro-adjustments: Keep a travel kit with a fine-tooth comb, two elastic bands, and a small hairspray for quick midday fixes. I once fixed a slouchy pony on a train in under two minutes.
Tension rule: Aim for firm tension in the first 10 seconds after tying the elastic, then release slightly. That initial hold sets the base and prevents the pony from sagging by noon.
Hidden hardware trick: For thick hair, secure the wrapped strand with bobby pins tucked under the pony so nothing shows. This is a small detail that changes how polished the style looks.
Polish and Repeat
Practice this in the morning once and it will speed up. Try varying the pony height across a week to see what flatters your face and your outfit. Final tip, when you wrap the strand around the elastic make one pin invisible and cross it under the hair to lock the wrap without creating a hard edge. I am still not sure this is the best way, but it has worked every time for me and it makes the ponytail look intentional and put together.
