
I piled on more foundation and concealer my first few times. The idea was hide, then sculpt, then set. It looked heavy and flat in daylight. What finally clicked for me was pulling back, thinking in planes not layers, and learning where to leave empty space. I still do this on a Tuesday night when I do not want to think, and it reliably gives that sculpted look without feeling like a mask. Most people take between 5 and 10 minutes to contour once they practice.
This guide shows how to make contouring look intentional, not painted on. It works on a budget, from a $15 cream stick to a $35 powder bronzer, and across oily, dry, and combination skin. I tested this sequence across three different skin types, and after six weeks of testing this routine I tweaked how much product I use at each stage. Expect to layer thinly, blend for 20 to 30 seconds per area, and adjust undertones for your complexion.
What You'll Need
Skincare Prep:
- Lightweight hydrating primer (~$10-30)
- Oil-free moisturizer (~$8-25)
Base & Coverage:
- Medium coverage foundation (~$12-40)
- Sheer liquid concealer (~$6-20)
Color & Tone:
- Cream contour stick (~$8-25)
- Matte setting powder (~$8-30)
- Cool-toned bronzer powder (~$10-35)
Eyes & Brows:
- Brow pencil (~$6-20)
Tools & Finishing:
- Dense blending brush (~$8-18)
- Small angled brush (~$6-15)
- Beauty sponge (~$5-12)
- Setting spray (~$8-25)
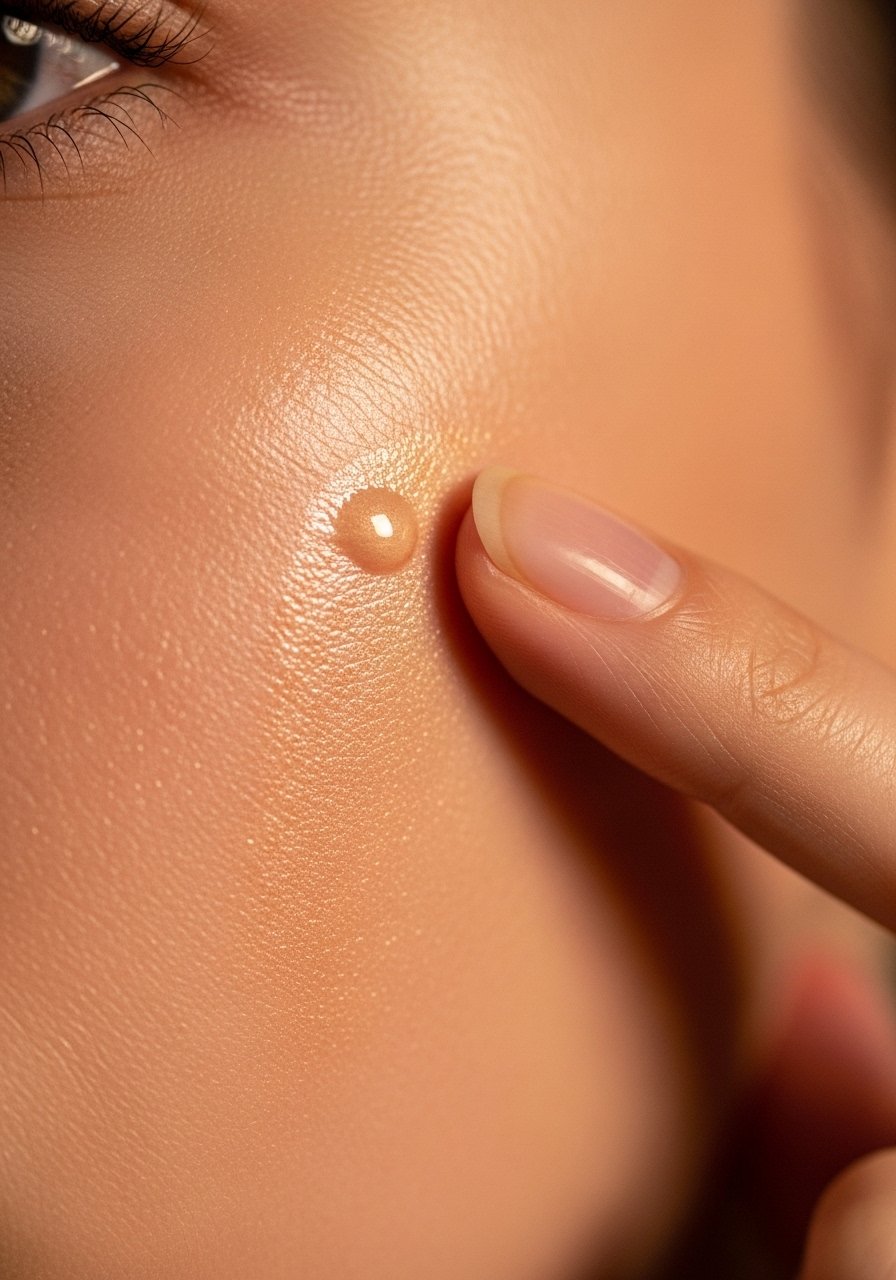
Prep the canvas, not the mask
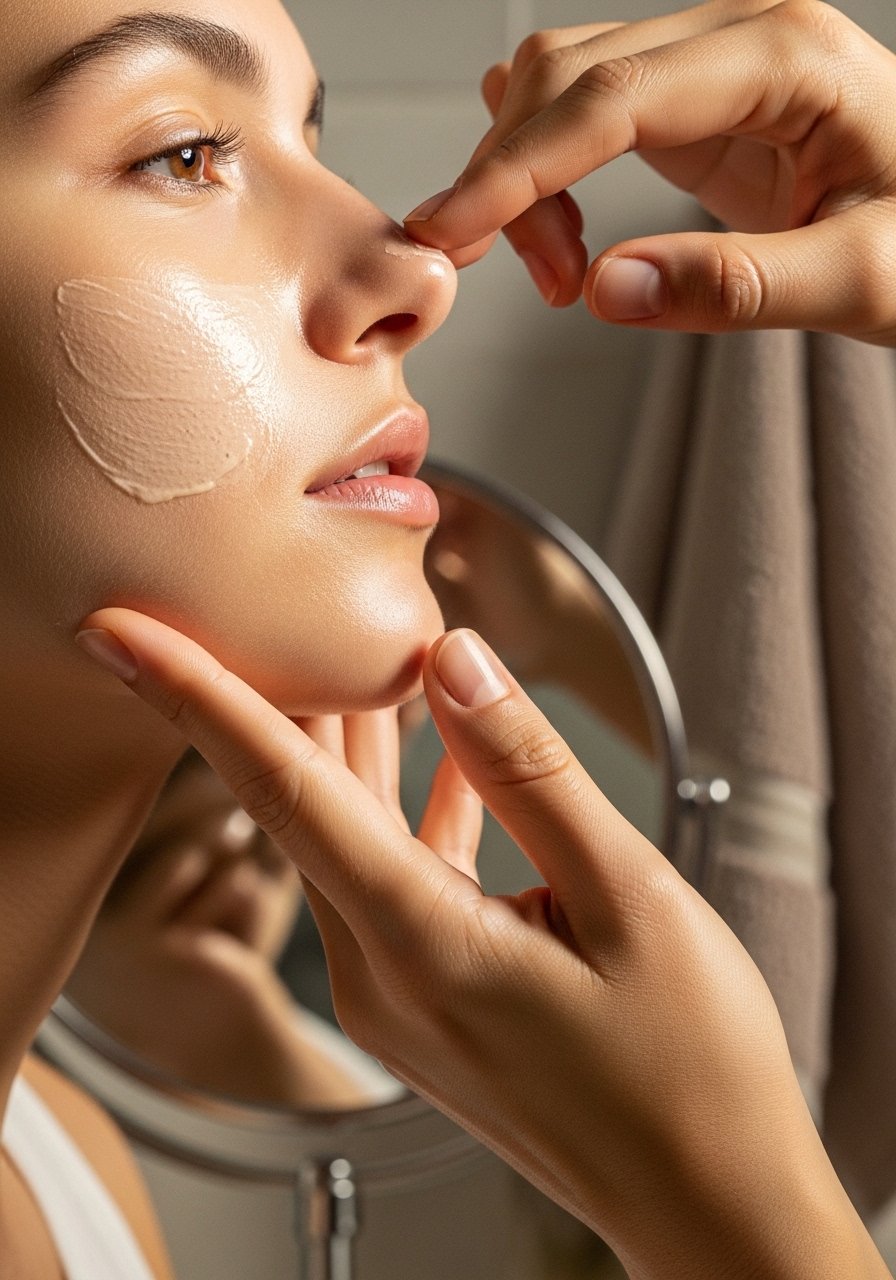
Start with skin that moves with you. I pat a pea-size moisturizer then one pump of primer where I get shiny. Apply foundation in thin layers, about one pump for most faces. The principle here is layering order: skincare, thin base, then contour. For dry skin, use a cream contour stick blended quickly with a damp beauty sponge so it feels bouncy and not tacky. For oily skin, use a matte cream or powder contour and set with powder right away. I do about 1:2 ratio of contour to highlight so the shadow reads believable on camera and in person.
Mistake to Avoid: Piling foundation under the contour so the product cannot blend into the skin.
Map the planes, mark the anchors
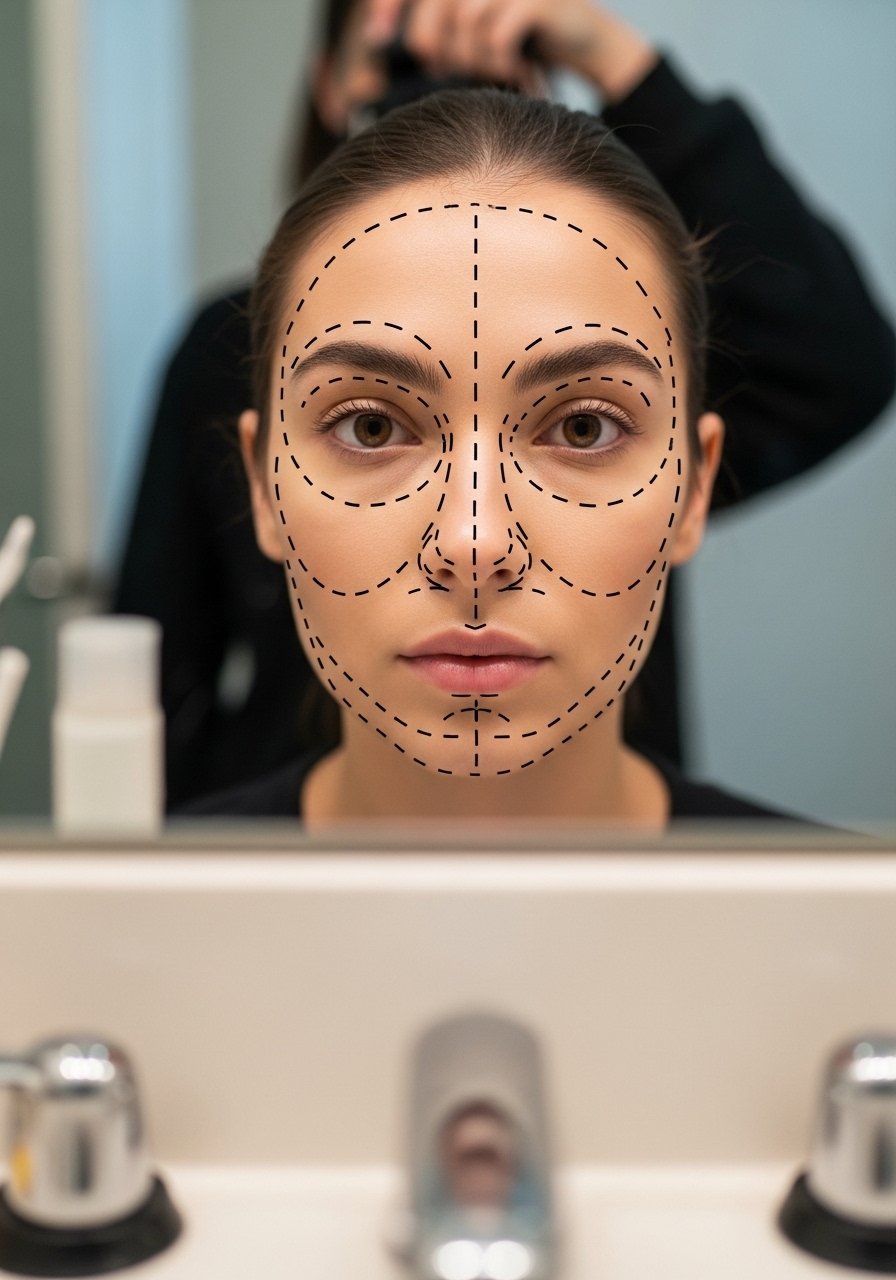
Most tutorials start blindly. I learned to mark first. Use a small swipe under the cheekbone from the ear toward the mouth, a tiny stroke at the temples, and a soft line along the jaw where shadow naturally falls. Think of the cheek hollow like a crescent, not a stripe. For sizing, stop the cheek line about two-thirds of the way toward the mouth to keep it natural. If you are unsure, keep the initial marks faint. The trick is to pick one anchor at a time and blend it fully before adding another.
Mistake to Avoid: Drawing a full stripe from ear to mouth that looks sharp and fake.
Cream first, powder later
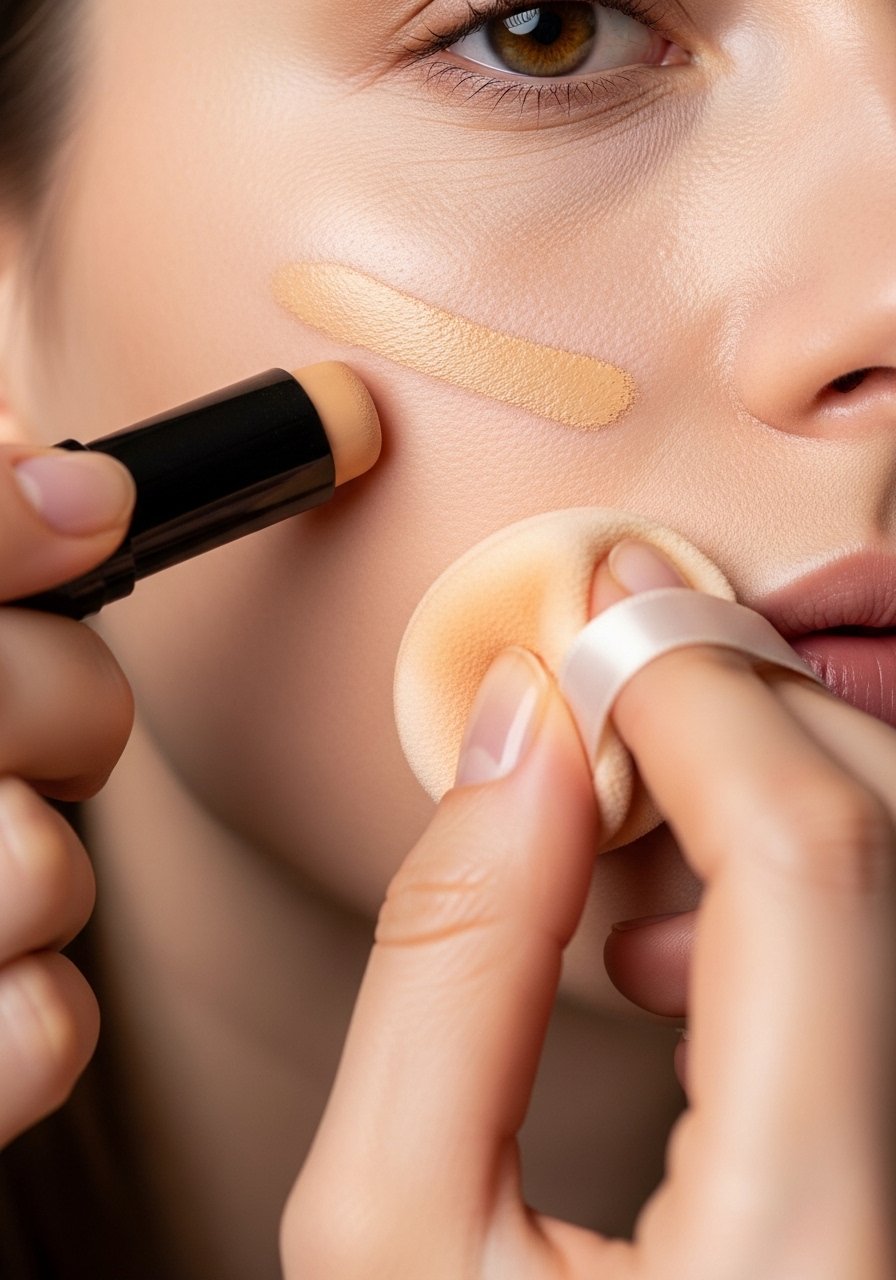
I switched to a cream-first approach after my second attempt looked layered and patchy. Apply cream contour in thin strokes and let it sit 10 to 20 seconds so it becomes tacky. Then, bounce a damp sponge in quick 20 to 30 second passes to blur edges. Use a 1:1 layering rule when switching to powder: one light dusting of powder contour for every one swipe of cream. Cream gives that soft shadow in real life and powder keeps it from moving. It feels slightly cool to the touch as you blend and looks less flat in photos.
Mistake to Avoid: Rubbing aggressively while the cream is still wet so it streaks.
Blend the perimeter, not the center
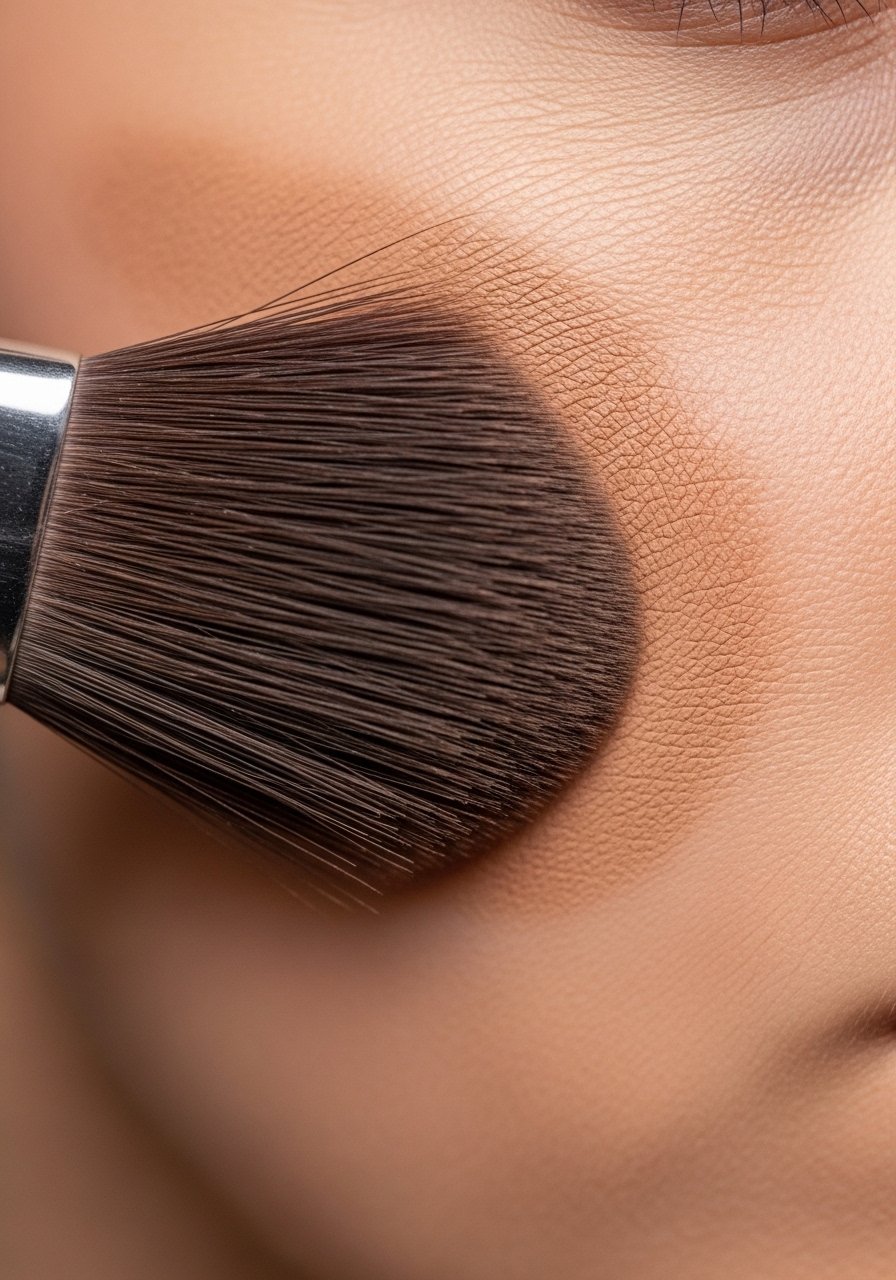
This step feels wrong at first. Blend out the edges of your contour more than the center of the shadow. That creates the illusion of depth while keeping the core shape intact. Use small circular motions with a dense brush and soften the outer rim until there is a soft gradient. If you have used a cooler-toned powder, tap lightly to avoid warm halos. I tend to spend 20 to 30 seconds on each cheek, listening for the whisper of the brush against skin. The result should look soft from across the room and detailed in photos.
Mistake to Avoid: Over-blending until the contour disappears entirely.
Add light strategically
Highlight is not a counterweight to contour. I use a small amount where light naturally hits the face: top of cheekbone, bridge of nose, and cupid’s bow. Keep a 1:2 ratio of highlight to contour so the area reads as light, not shiny. For daytime, a sheer liquid or cream highlight blended with a damp sponge keeps things skin-like. For oily skin, prefer a satin powder highlight and press it with a flat brush. The tiny reflective spots are the pieces that make the shadow look like real bone, not paint.
Mistake to Avoid: Slapping bright highlight over heavy contour which makes both look fake.
Set and check in real light
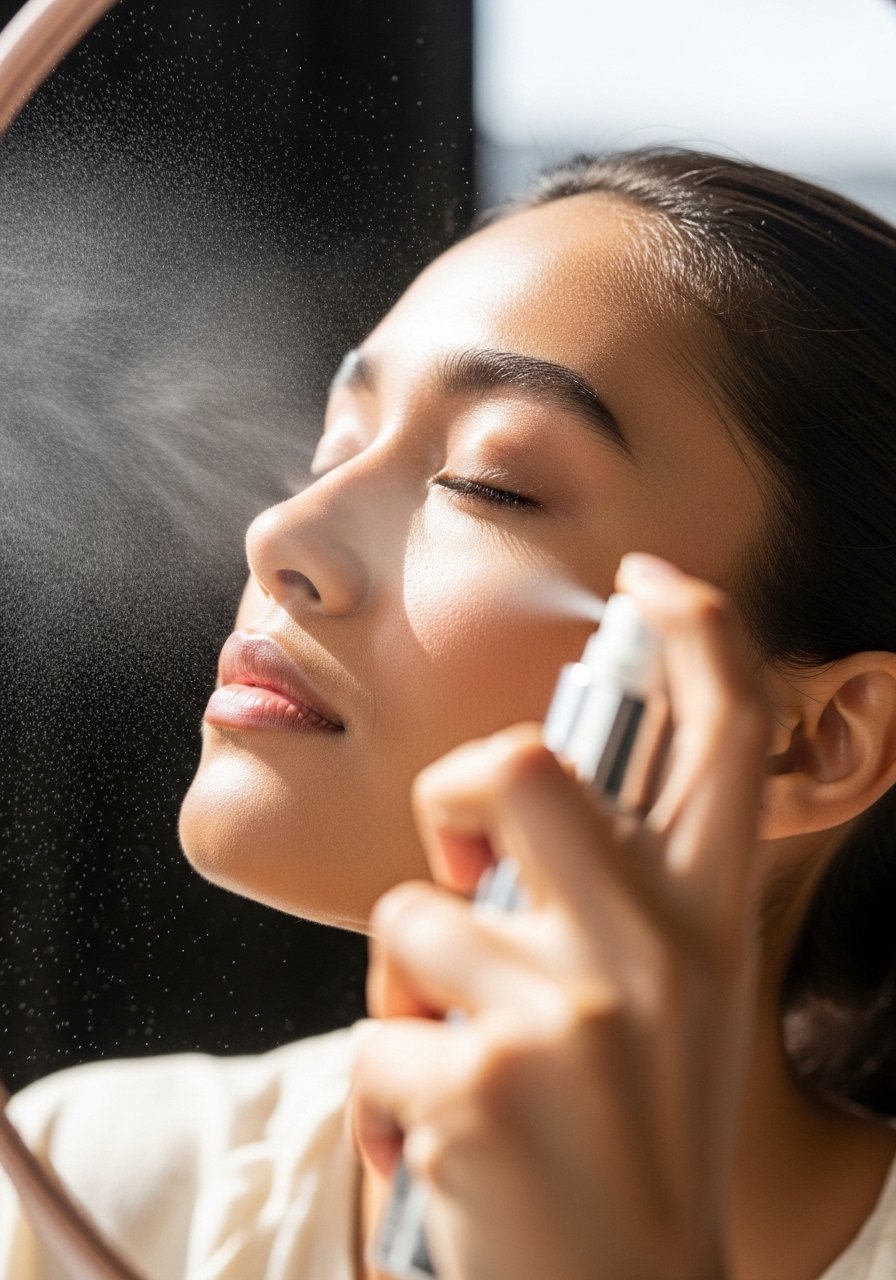
Finish with a light mist of setting spray and then check in natural light. I have a small ritual now: spray, wait 30 seconds, then step outside for a quick look. Photos lie sometimes, but natural light will show if you have a patch or an overdone edge. If you notice a harsh line, soften it with a clean brush and a powder puff. For longevity on warm days, add a tiny dusting of matte setting powder across T-zone only. I am still not sure this is the best way, but it has worked every time for me on both busy mornings and evenings out.
Mistake to Avoid: Skipping the natural light check and assuming indoor lighting told the whole truth.
Makeup Tips
Match undertones: Pick a contour that is one to two shades darker with a slightly cool undertone for true shadow. Try a cream contour stick for skin-like blending.
Use the face map trick: Tilt your head, imagine a light source at 45 degrees, then apply contour where the natural shadow would sit. A cool-toned bronzer can deepen without adding warmth.
Tools matter: Swap a dense blending brush for a small angled brush when working the jawline for sharper definition. Consider the small angled brush for that task.
Build slowly: Start with faint marks and layer up. A little goes a long way and you can always add more.
Photo vs reality: If you plan to be photographed, add one thin layer more than you think. In real life, keep it softer. Most people take between 5 and 10 minutes to contour once they practice.
Skin-type note: For dry skin, use cream products and a damp sponge. For oily skin, set cream with powder right away and carry blotting sheets.
Quick fix: If you overdid it, sweep a clean loose powder brush through a translucent powder and very lightly brush over the area to soften the contrast.
Own the Angles
You will get faster and more confident the more you practice. My first attempt was bad. The second was barely better. The third one clicked and that is how you will get there. Final tip, pick one feature to emphasize each time, whether cheekbones or jawline, and refine that before adding extra details. Small adjustments compound into a sculpted look that feels like you, not a costume.
