
The moment it clicked was halfway into a consult when my artist asked if I wanted this piece to live in sunlight or stay secret. I had been picturing chest tattoos as big centerpieces, but a placement that disappears under a tee can carry more meaning than a loud display. These tucked spots are about control, wardrobe choices, and how your body moves with ink.
This list is for people who want chest ink that is private by design, from someone who visited five shops and learned which spots age cleanest and which fray with movement. Expect a range of pain and session time. Most ideas are coverable by work clothing, many need a short touch-up later, and nearly every placement benefits from a gentle shave and proper aftercare. Budget ranges from a single-session micro piece to multi-hour lines that need two visits.
1. Inframammary Crease Script

This sits right in the inframammary fold so it shows only in low-cut tops or swimwear. It looks delicate because the skin is soft and rarely stretched outward, which makes thin script read clearly over time. Best for people who want a secret phrase, someone comfortable with clothing revealing it occasionally. Prep is a careful shave and a thin stencil, so bring a tattoo transfer paper for crisp lines, and plan for a touch-up at six months. The skin here heals with gentle scabbing because it moves with breathing.
Style/Technique: Fine-line script
Pain Level: 6/10
Session Time: 0.5 to 1 hour
Best For: Coverable personal text under the breast
Mistake to Avoid: Skipping a test stencil placement, which can leave the script sitting awkwardly when you stand or sit.
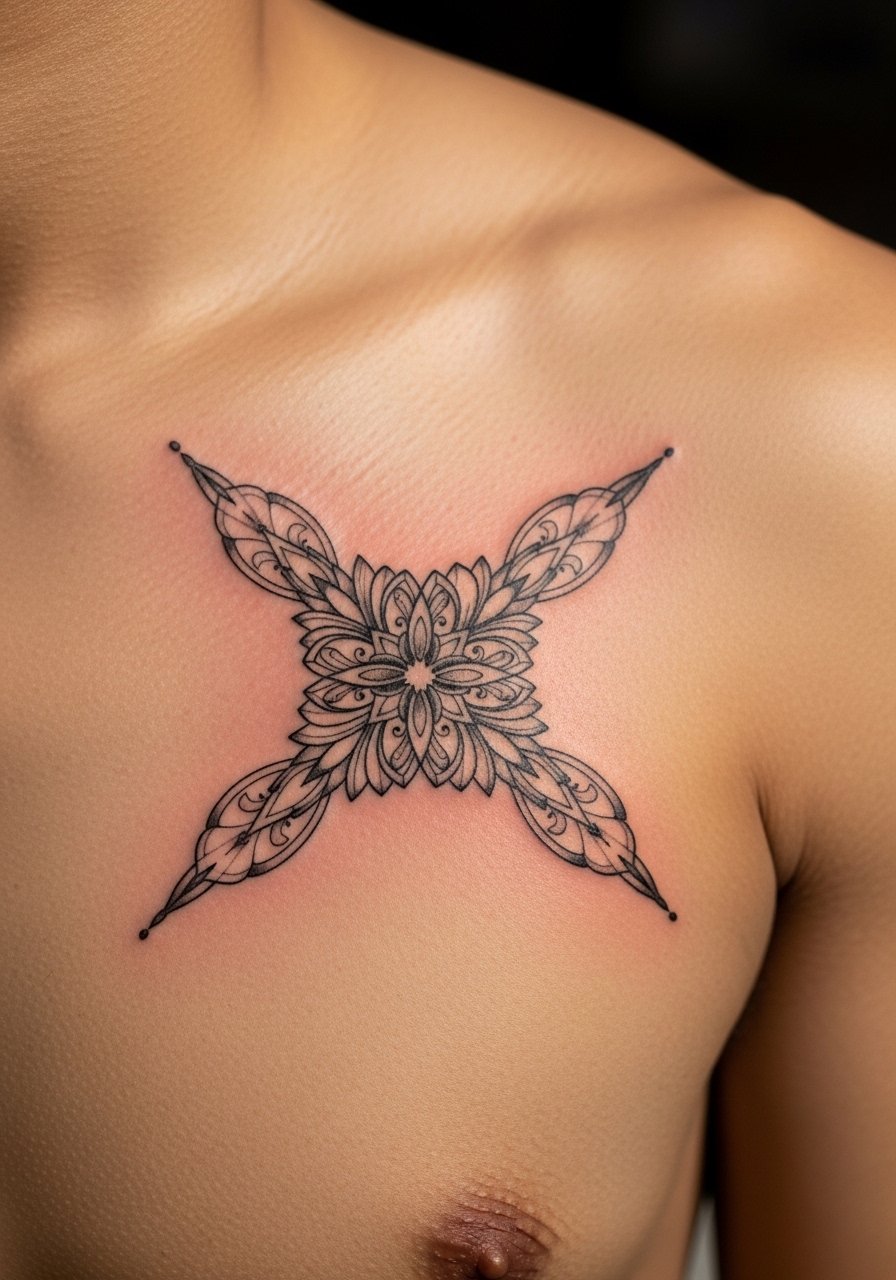
2. Sternum Micro-Column
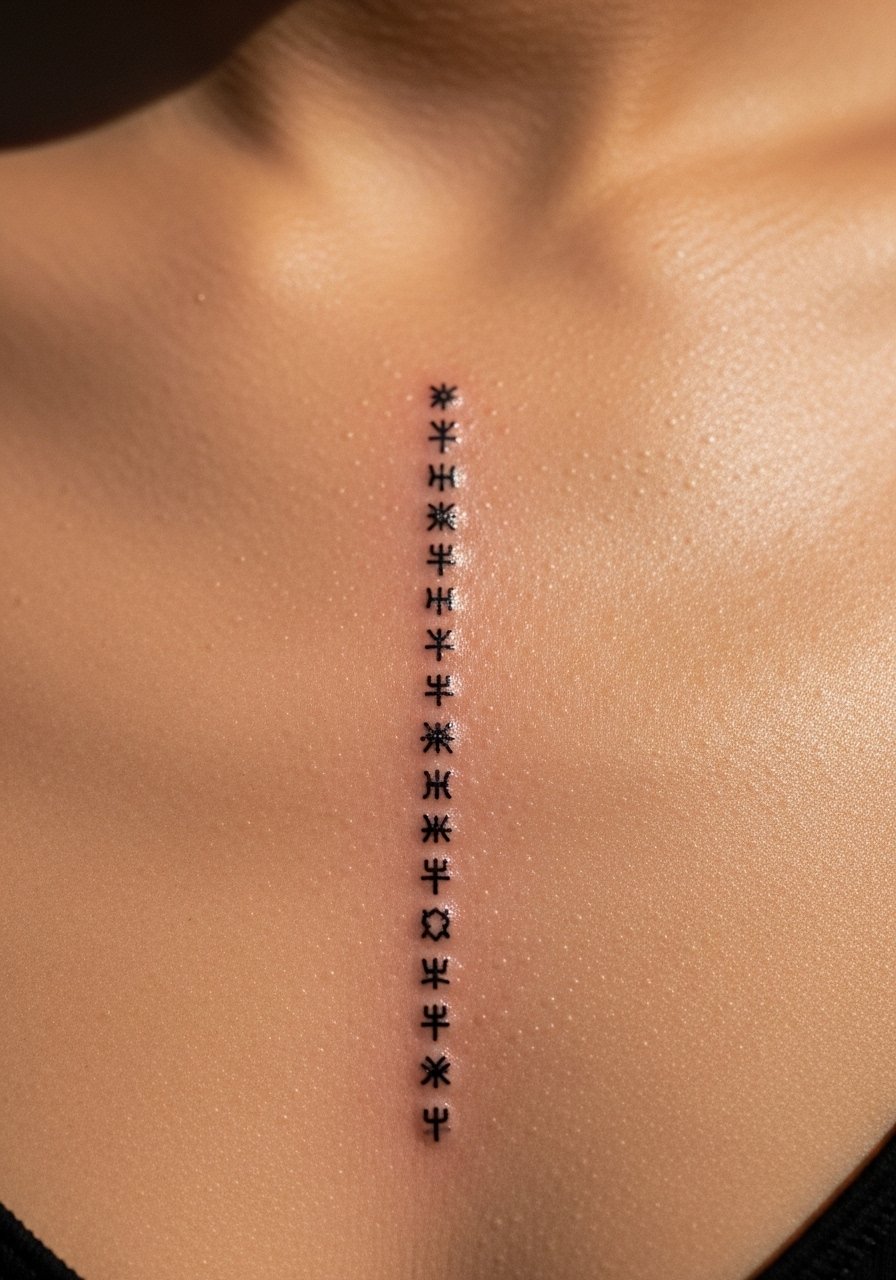
A vertical stack along the sternum reads like a spine for the chest. It works visually because the sternum is a natural centerline. Use very small motifs to keep it intimate and easy to cover with most tops. This placement ages predictably if the artist spaces dots or symbols to avoid blowout. Bring a tattoo aftercare ointment to reduce shine during healing. Pain is moderate where bone is close, and the piece may look brighter when fresh, then soften as it heals.
Style/Technique: Micro-icons vertical column
Pain Level: 7/10
Session Time: 1 to 2 hours
Best For: Small central pieces that stay private under most shirts
Mistake to Avoid: Crowding tiny symbols too close together, which causes ink to blur with time.
3. Lateral Rib Tuck
Tucking a design along the lateral ribs gives a side-boob reveal only in certain swimsuits or halters. The curve of the ribs flatters flowing designs like vines or waves. This area moves a lot when you breathe so expect more sting and slightly longer healing. I bring a medical-grade adhesive bandage for the first 48 hours to protect the area from friction. Cultural and design choices matter here; avoid styles that appropriate sacred motifs without consultation.
Style/Technique: Flowing linework along the ribs
Pain Level: 8/10
Session Time: 1 to 2 hours
Best For: Curved, private designs revealed selectively
Mistake to Avoid: Picking a dense design that will distort across the rib curve during movement.
4. Inner Clavicle Whisper
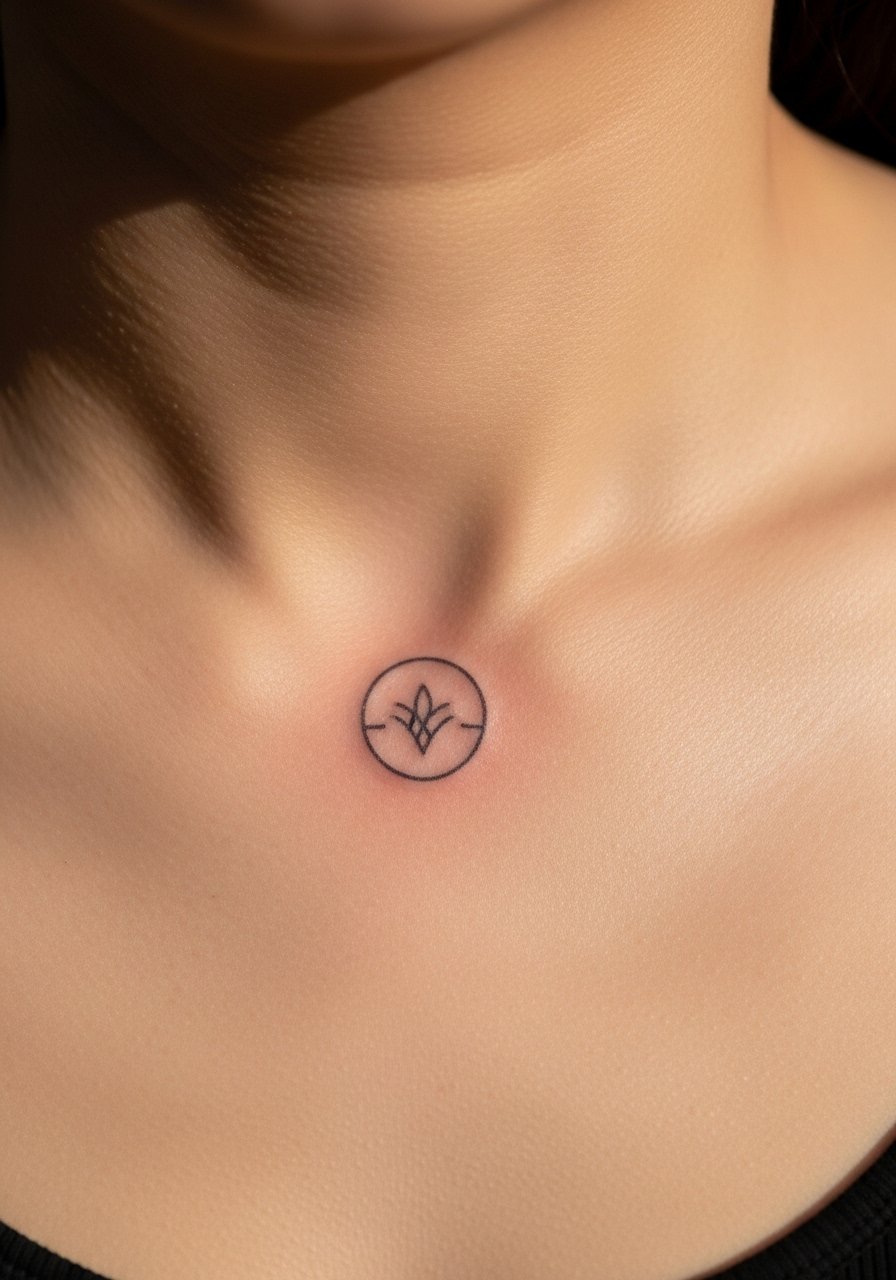
A tiny mark tucked just below the clavicle peeks out under v-necks or slips away under higher necklines. It catches necklaces and becomes a subtle focal point. Because the skin is thin, fine-line work reads crisp. For prep, use a short, careful shave and a light stencil. I learned across five shops that artists who steady the collarbone area get cleaner edges. Hypoallergenic stencil gel helps avoid smudging during placement.
Style/Technique: Micro-emblem under the clavicle
Pain Level: 5/10
Session Time: 20 to 45 minutes
Best For: Necklace-adjacent, subtly visible pieces
Mistake to Avoid: Placing large motifs too close to the clavicle, which makes them hard to conceal and prone to early fading.
5. Axillary Edge Marker

This sits where the pectoral meets the armpit and stays mostly hidden unless you lift your arm or wear a deep-cut tank. It is great for shapes, sigils, or short phrases. The area can trap sweat, so antibacterial cleansing during healing matters. Use a breathable aftercare product and a non-stick gauze pad after sessions to avoid rubbing. Expect moderate pain where thin skin meets muscle.
Style/Technique: Small geometry near axilla
Pain Level: 7/10
Session Time: 30 minutes to 1 hour
Best For: Hidden marks that show up intentionally in sleeveless looks
Mistake to Avoid: Letting tight clothing rub the area during the first week, which disrupts scabbing.
6. Under-Pectoral Band

A thin band tucked under the pectoral looks like jewelry when seen, but disappears under a shirt. This placement suits linear designs, single words, or dot work that works with body contours. Men and people with chest muscle definition get clean lines here. Numbing creams can help if you are nervous; try a topical numbing cream applied as directed. The skin heals flat, but expect some sensitivity when sleeping on your side.
Style/Technique: Linear band under pectoral
Pain Level: 6/10
Session Time: 30 minutes to 1 hour
Best For: Muscular chests or anyone wanting a jewelry-like hidden band
Mistake to Avoid: Choosing a heavy fill that will look bulky when the body moves.
7. Bra-Band Hider
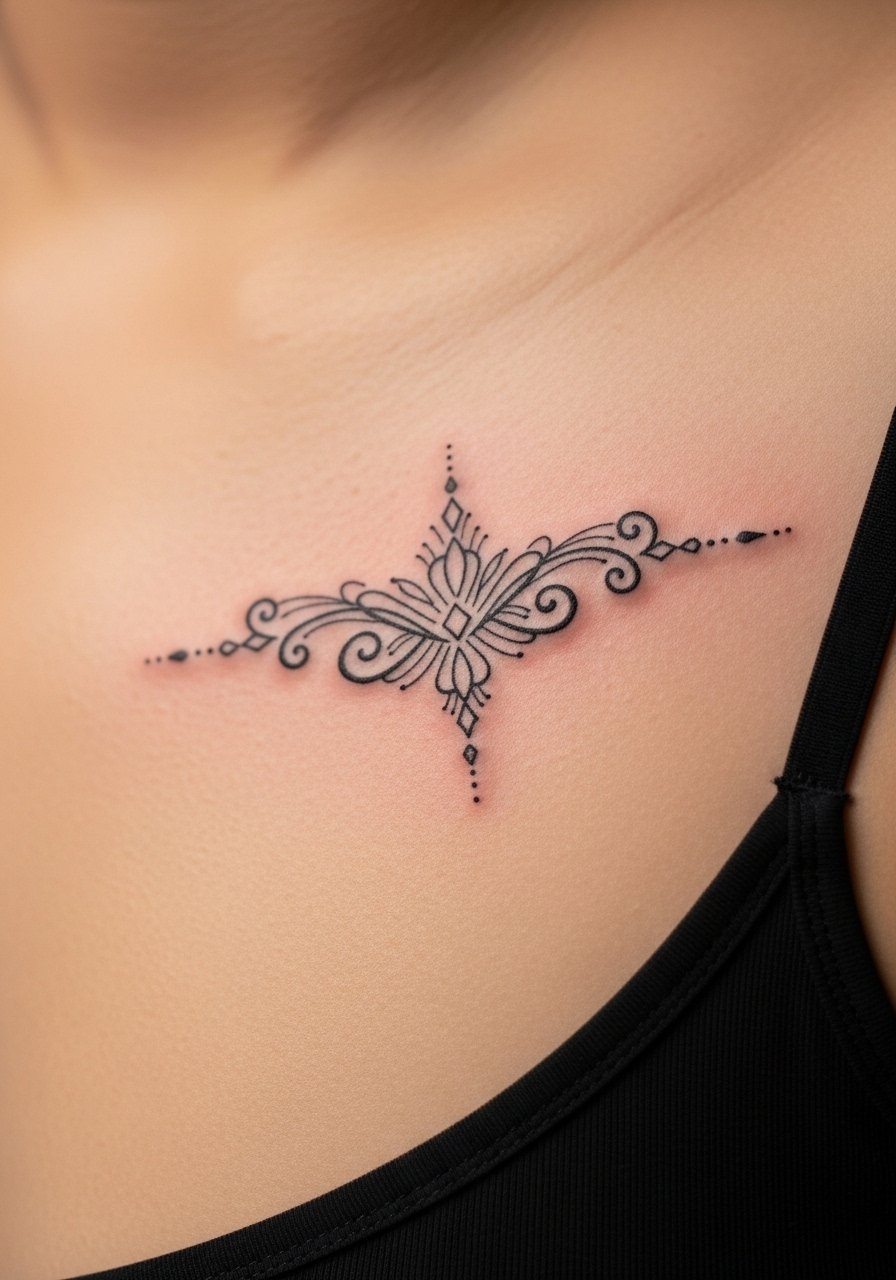
Placement directly under the bra band means it appears during swim season or when you unclip a bra. Tiny ornamental pieces read like intentional accents. Because this spot is under fabric most days, irritation risk from bras is real. Use a clean shave and a thin layer of fragrance-free moisturizer after the initial healing to keep the area supple. It is coverable for work and intimate for evenings.
Style/Technique: Small ornamental under-bra design
Pain Level: 5/10
Session Time: 20 to 45 minutes
Best For: Hidden accents that surface for intimate wardrobes
Mistake to Avoid: Letting a tight underwire rub an unhealed tattoo, which can pull ink and cause scarring.
If any of these placements have you ready to actually try something, here is what I reach for before and after a chest session.
Chest Tattoo Starter Kit
Pre-Session & Aftercare:
- Disposable razor (~$5-10), clean shave before the appointment.
- Tattoo transfer paper (~$10-20), for crisp stencils.
- Hypoallergenic stencil gel (~$8-15), keeps designs in place.
- Topical numbing cream (~$15-25), if your artist approves.
- Tattoo aftercare ointment (~$6-15), for the first days.
- Fragrance-free moisturizer (~$8-20), for long-term hydration.
- Non-stick gauze pads (~$5-12), to protect fresh ink.
- Medical adhesive strips (~$6-14), for secure dressing.
- Mineral sunscreen for healed tattoos (~$10-20), SPF to prevent fading.
Chest Tattoo Aftercare Habits
Thin layers beat thick smears. Dab a pea-sized amount of tattoo aftercare ointment over fresh ink rather than rubbing it in, which keeps scabs soft and colors crisp.
Grab non-stick gauze pads for the first two nights. Changing them gently avoids pulling scabs and reduces infection risk.
Keep a fragrance-free moisturizer handy after peeling finishes. Light daily hydration prevents tightness and preserves line sharpness.
Most people hold their phone against their chest while texting. Avoid pressure on a fresh tattoo. Use medical adhesive strips to secure dressings before sleep, especially if you toss and turn.
When choosing a design with cultural roots, ask questions and credit traditions. A small consult with an artist who understands symbolic context prevents regret and honors creators. A tech at a downtown shop once pointed this out to me, and it changed how I pick motifs.
8. Heart-Side Pocket

A single symbol placed over the left chest reads like a private talisman. It sits over softer tissue so linework tends to age gently. This feels intimate because the spot aligns with where people put keepsakes. Keep designs simple to avoid stretching across muscle movement. I recommend a fragrance-free moisturizer during later healing to soften the skin. Visibility is low under shirts, full under swimsuits.
Style/Technique: Tiny symbolic mark over the heart
Pain Level: 6/10
Session Time: 20 to 40 minutes
Best For: Personal symbols and small memorial marks
Mistake to Avoid: Choosing heavy shading, which looks muddy in this soft, mobile area.
9. Chest-to-Shoulder Transition
This sits where chest meets shoulder and hides when your arm rests naturally. It is ideal for short pieces that peek under sleeveless tops. Because it crosses two planes, the design should be balanced so it reads both when seen from the front and the side. A tattoo transfer paper helps artists preview the curve. Healing may feel tight with arm movement for a week.
Style/Technique: Transitional ornamental linework
Pain Level: 5/10
Session Time: 45 minutes to 1.5 hours
Best For: Pieces that peek with movement and sleeveless looks
Mistake to Avoid: Letting the design stop abruptly at the shoulder, which makes it look unfinished.
10. Upper Sternum Necklace Line

A thin chain or dotted line along the upper sternum mimics jewelry and hides under most tops. It benefits people who want the look of a choker without metal. The fine detail needs an artist experienced in crisp micro lines. Avoid heavy filler. Aftercare includes gentle cleaning and tattoo aftercare ointment at night to keep the skin pliable.
Style/Technique: Micro chain or dotted line
Pain Level: 4/10
Session Time: 30 to 60 minutes
Best For: Jewelry-like accents that remain subtle in everyday wear
Mistake to Avoid: Going too dense with dots, which can merge into a blur as skin stretches.
11. Sternum Negative Space Band
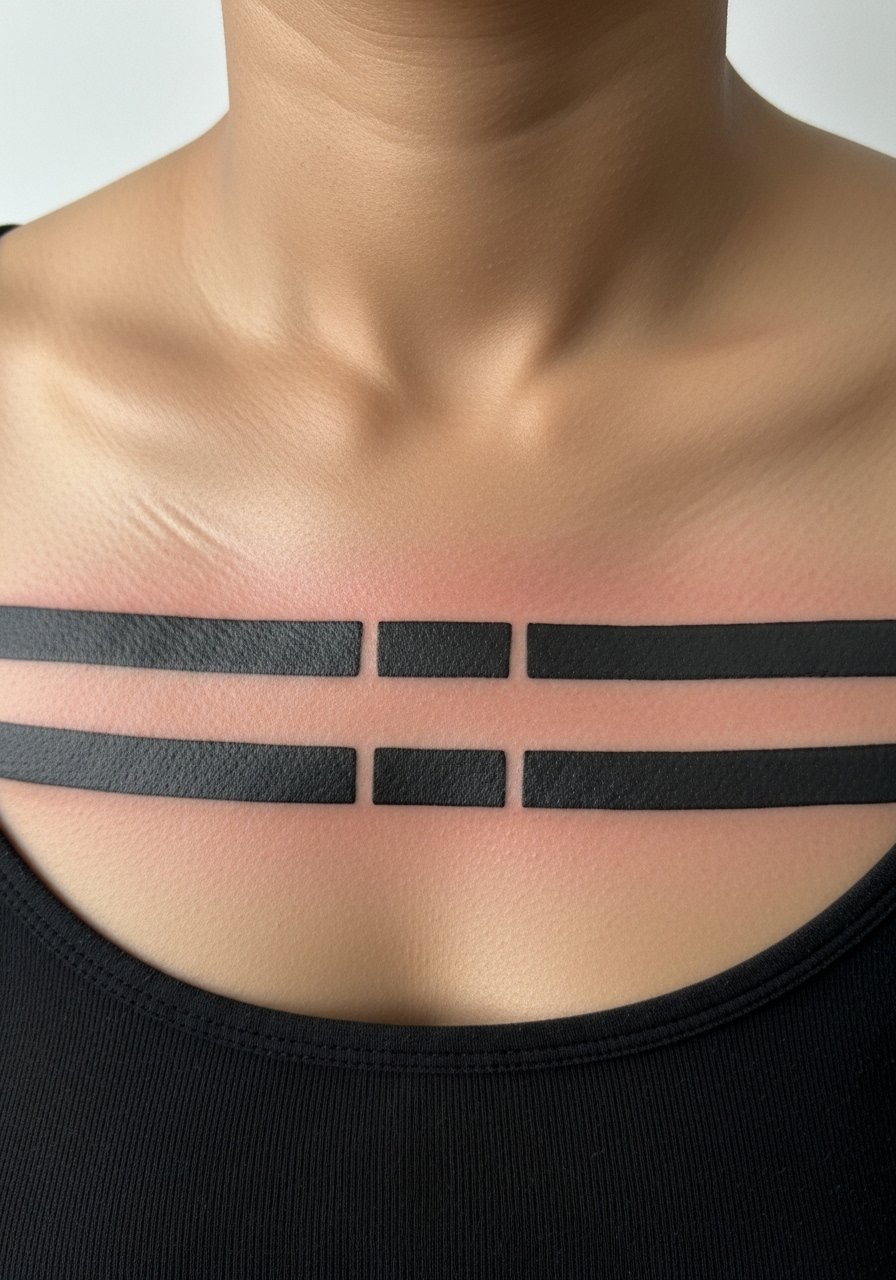
Negative-space work uses surrounding ink to create a band that reads only when you look closely. It hides well under clothing and keeps the centerline clean. This technique depends on high-contrast line edges, so pick an artist who does crisp negative space. Expect a slightly longer session since the artist works carefully around gaps. Use a non-stick gauze pad during the first days.
Style/Technique: Negative-space banding
Pain Level: 6/10
Session Time: 1 to 2 hours
Best For: Subtle bands that stay private in daily outfits
Mistake to Avoid: Asking for too many tiny gaps that will fill in over time.
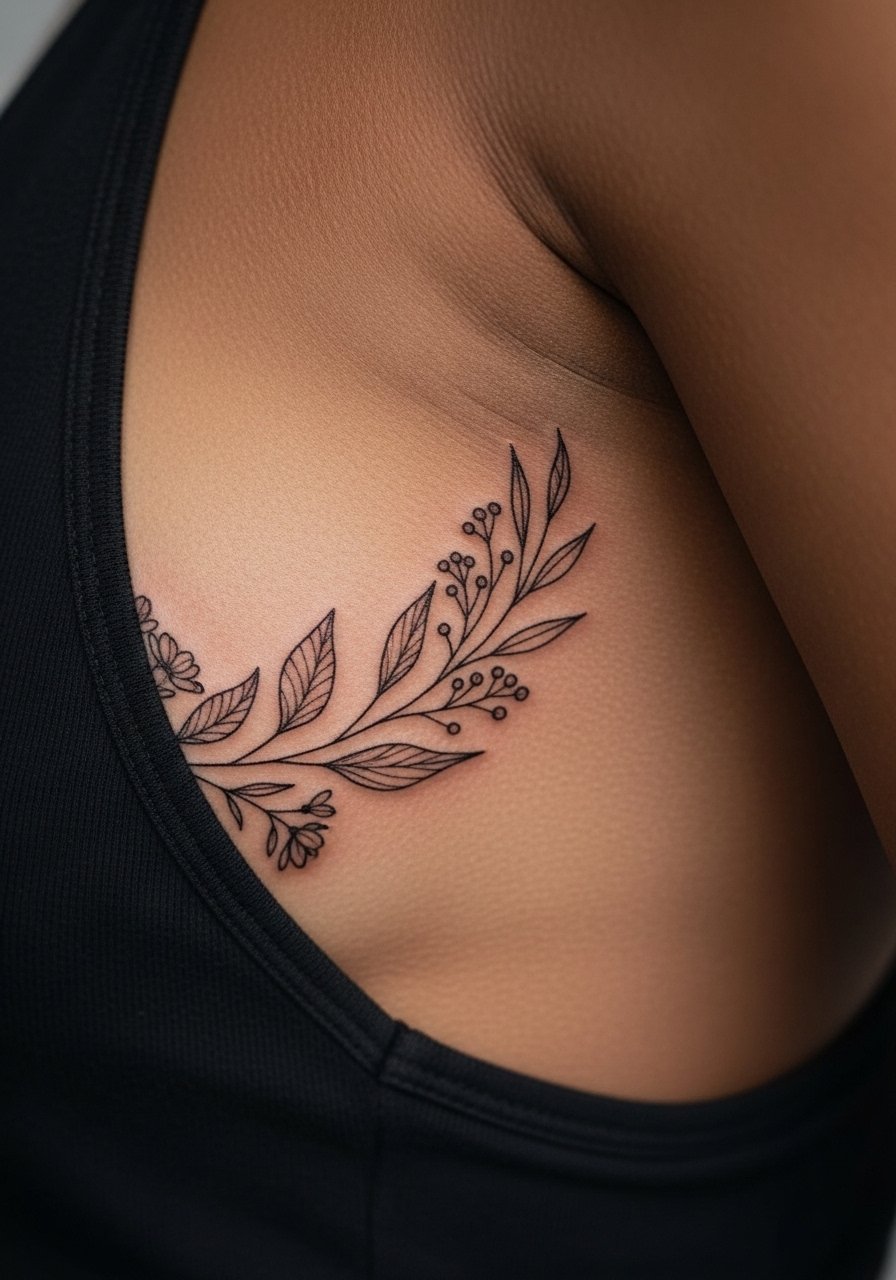
12. Vertical Botanical Column
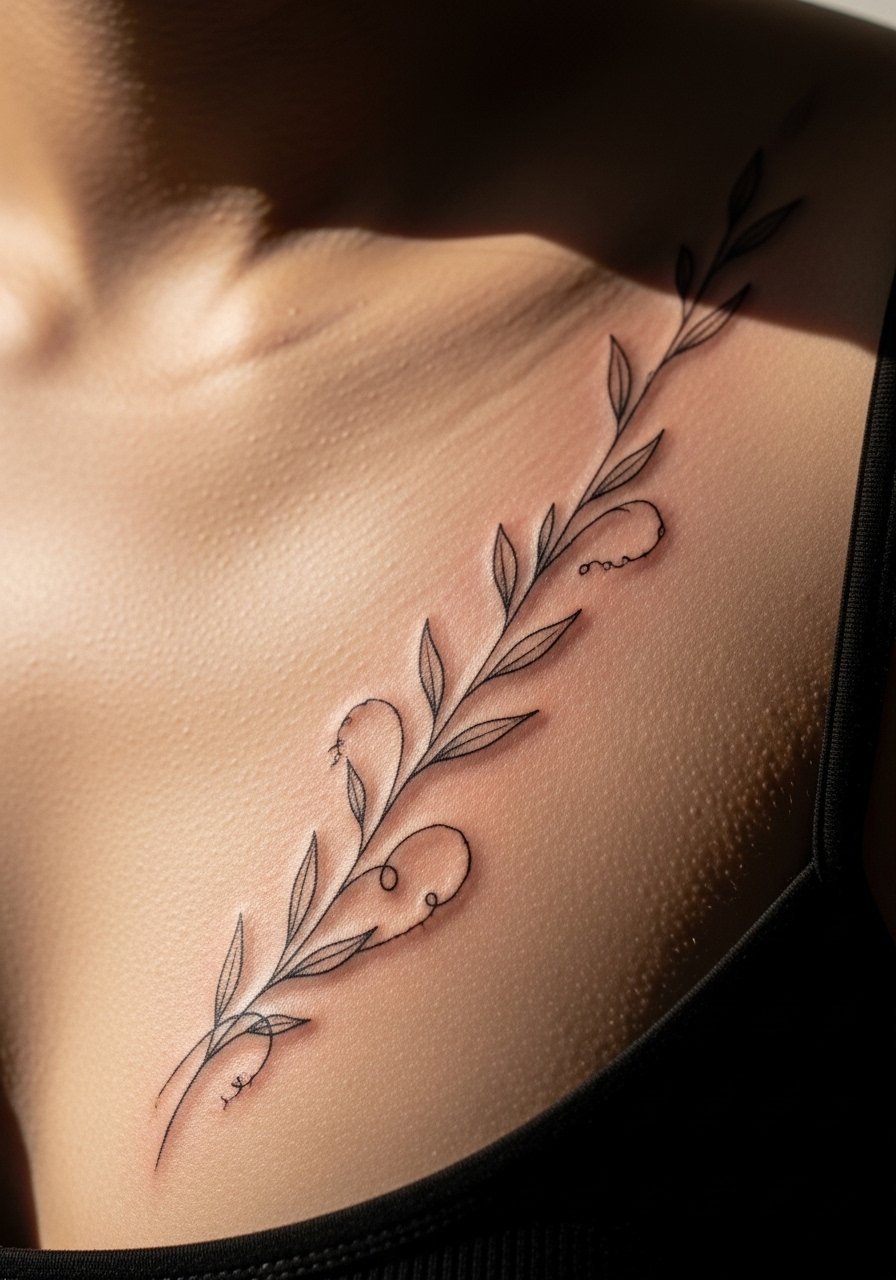
A single vine or stem placed vertically beside the breast tucks along natural curves and peeks in side profiles. It pairs well with low risk of blowout if the artist keeps lines shallow. This is a good knit for folks who want organic shapes that flow with the body. Use fragrance-free moisturizer after peeling to keep leaves crisp.
Style/Technique: Thin botanical vertical strip
Pain Level: 6/10
Session Time: 45 minutes to 1.5 hours
Best For: Organic, coverable designs that follow body lines
Mistake to Avoid: Insisting on heavy black fills that compete with the curve and cause early saturation.
13. Micro-Dot Under-Breast Row

A horizontal row of small dots along the under-breast line is almost invisible unless you’re looking. It creates a punctuation mark of ink and ages well because dots disperse tension. Ideal for someone wanting a discrete marker that is easy to touch up. Keep clothing soft while healing and use a non-stick gauze pad at night to avoid bed sheets tugging scabs.
Style/Technique: Micro-dot horizontal row
Pain Level: 5/10
Session Time: 20 to 40 minutes
Best For: Discreet markers along the under-breast curve
Mistake to Avoid: Using too-large dots that merge during healing and lose the dotted effect.
