
I kept buying pretty jars and calling it a gift. The first few times the recipient smiled politely, then texted three days later that the candle leaked or the soap smelled odd. Making a few of these by hand taught me which shortcuts look homemade and which feel thoughtful. These are the fixes I wish I had known before wrapping a single thing.
Most of these ideas are weekend projects, many under $30 to make, a few that stretch to $60 if you buy tools. They tilt renter-friendly, use common materials, and assume basic hand skills rather than a craft room. If you have zero time, pick one no-sew option and skip the finishing steps that need drying.
1. Beeswax-Soy Mason Jar Candle
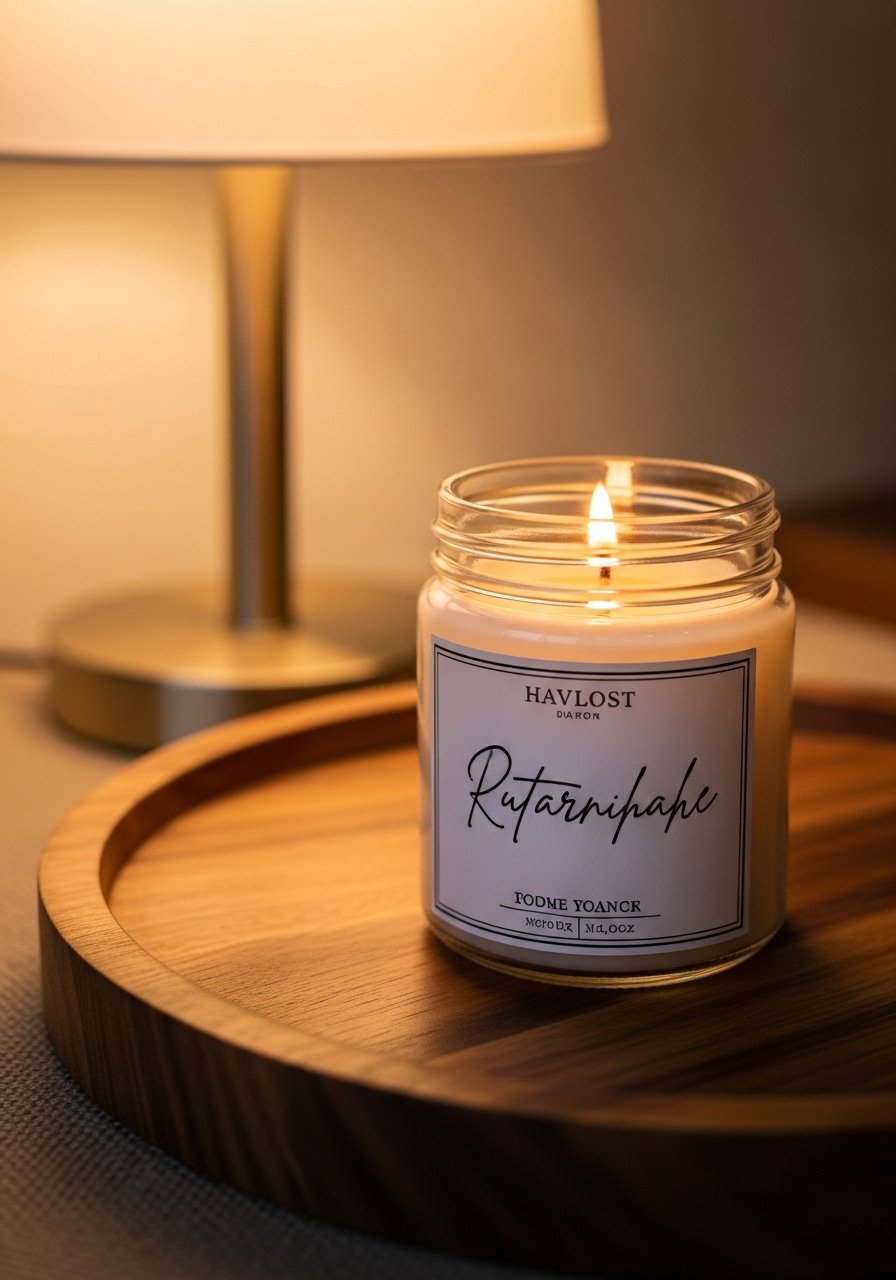
A 1:4 ratio of beeswax to soy wax makes a burn that lasts without sweating on hot days. Melt on low, stir in 20 drops of essential oil per 8-ounce jar, and pour when the mix is about 130F for a smooth top. I like using mason jar sets for a hometown look and 100% beeswax pellets to add a soft honey scent. These hold up well in transit if you pack with shredded paper.
Mistake to Avoid: Pouring right after melting makes a cratered surface and uneven burn.
2. Hand-Stitched Linen Napkin Set
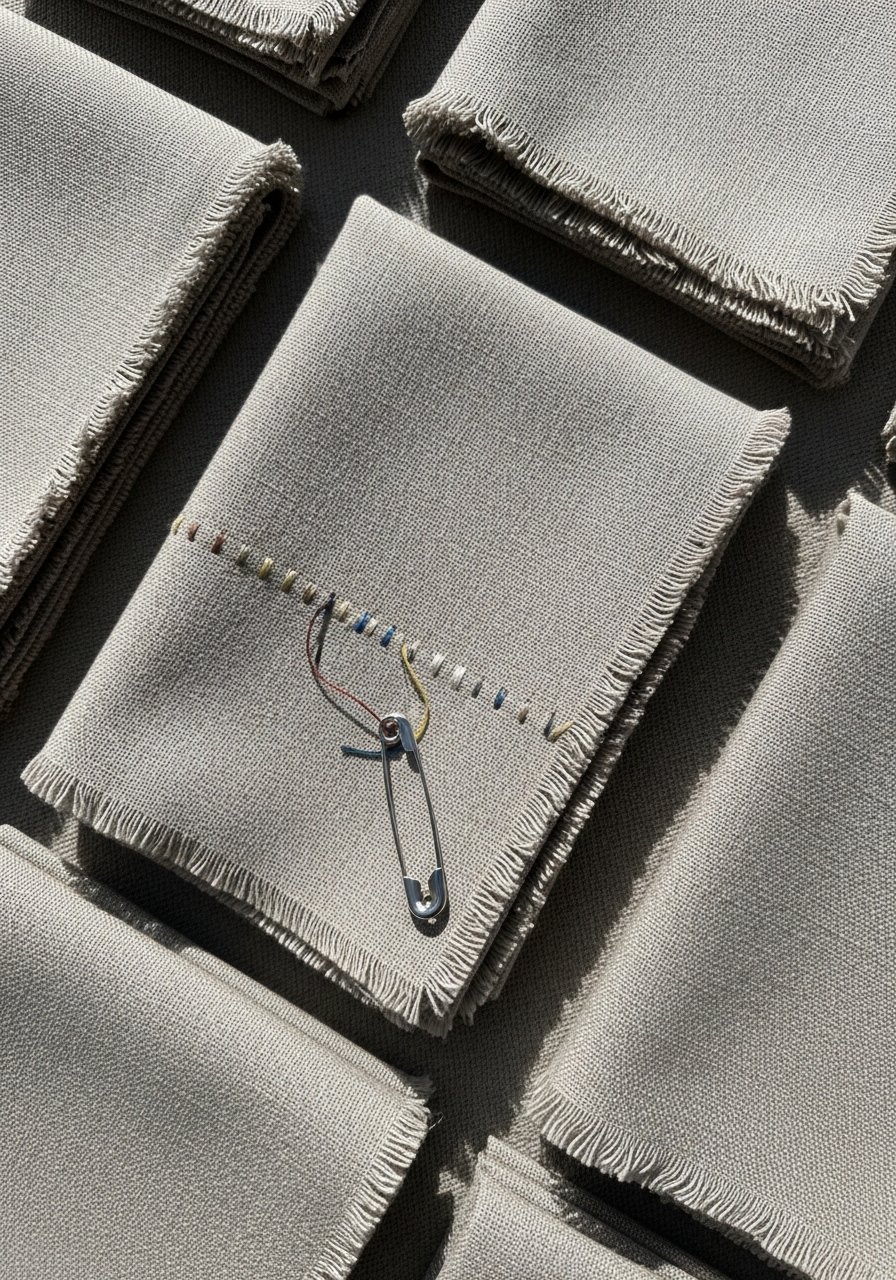
A simple 1/4 inch seam allowance gives a neat edge without bulky hems. Use linen prewashed for less shrinkage and finish with a topstitch 1/8 inch from the fold for a tailored look. For supplies, grab a linen fat quarter bundle and a stitching needle pack. These suit someone who entertains, and you can personalize with a single embroidered initial in the corner.
Mistake to Avoid: Skipping prewash, which leads to puckered, ill-fitting napkins after the first wash.
3. Lavender Sachets in Scraps
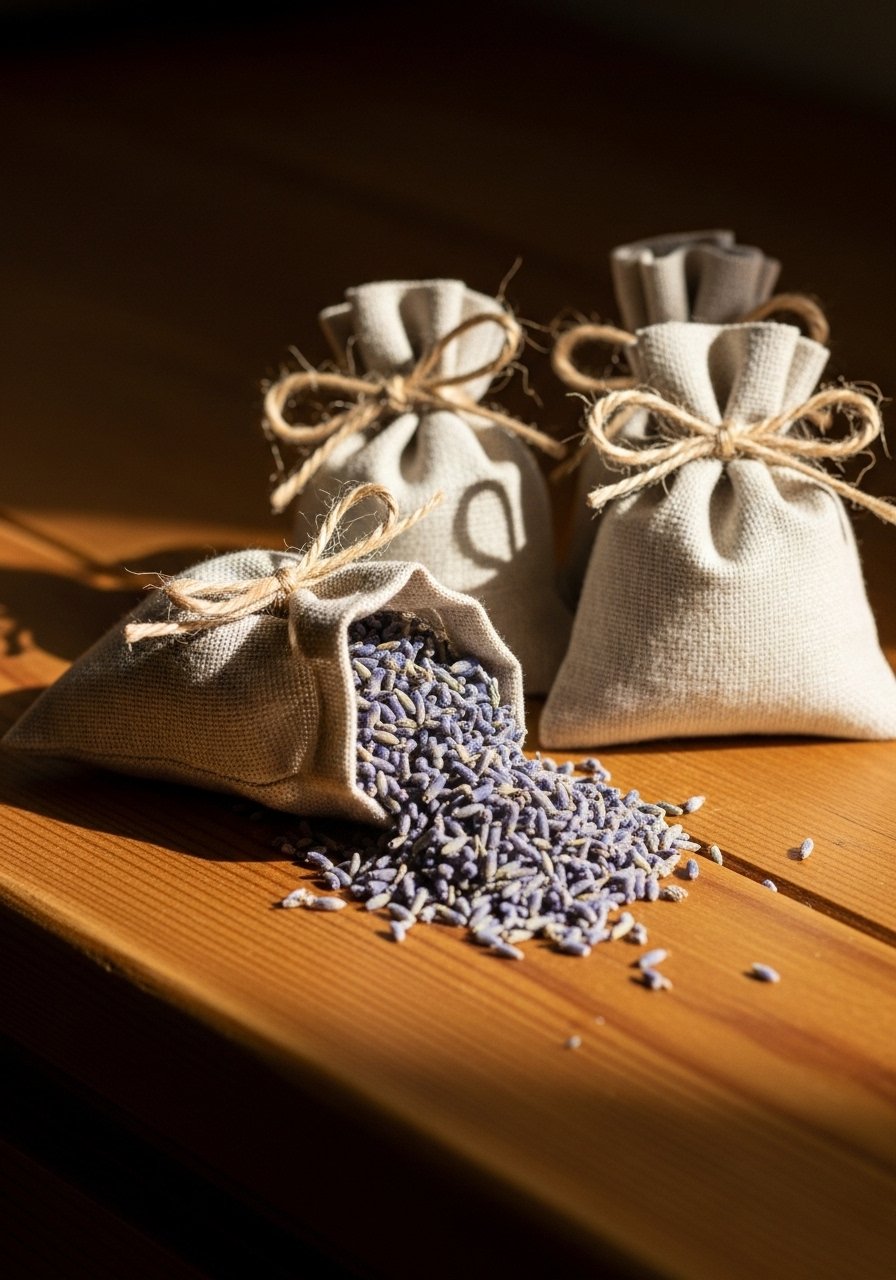
Sew a 3.5 by 4.5 inch pocket, fill to three quarters with dried lavender to avoid bursting, and stitch closed. Use scrap linen or cotton and attach a tiny safety pin label with care instructions. I use dried culinary lavender and small muslin bags when time is short. Sachets are great for people with small closets who want something subtle and useful.
Mistake to Avoid: Overfilling so the sachet becomes lumpy and tears at the seams.
4. Resin Photo Coasters
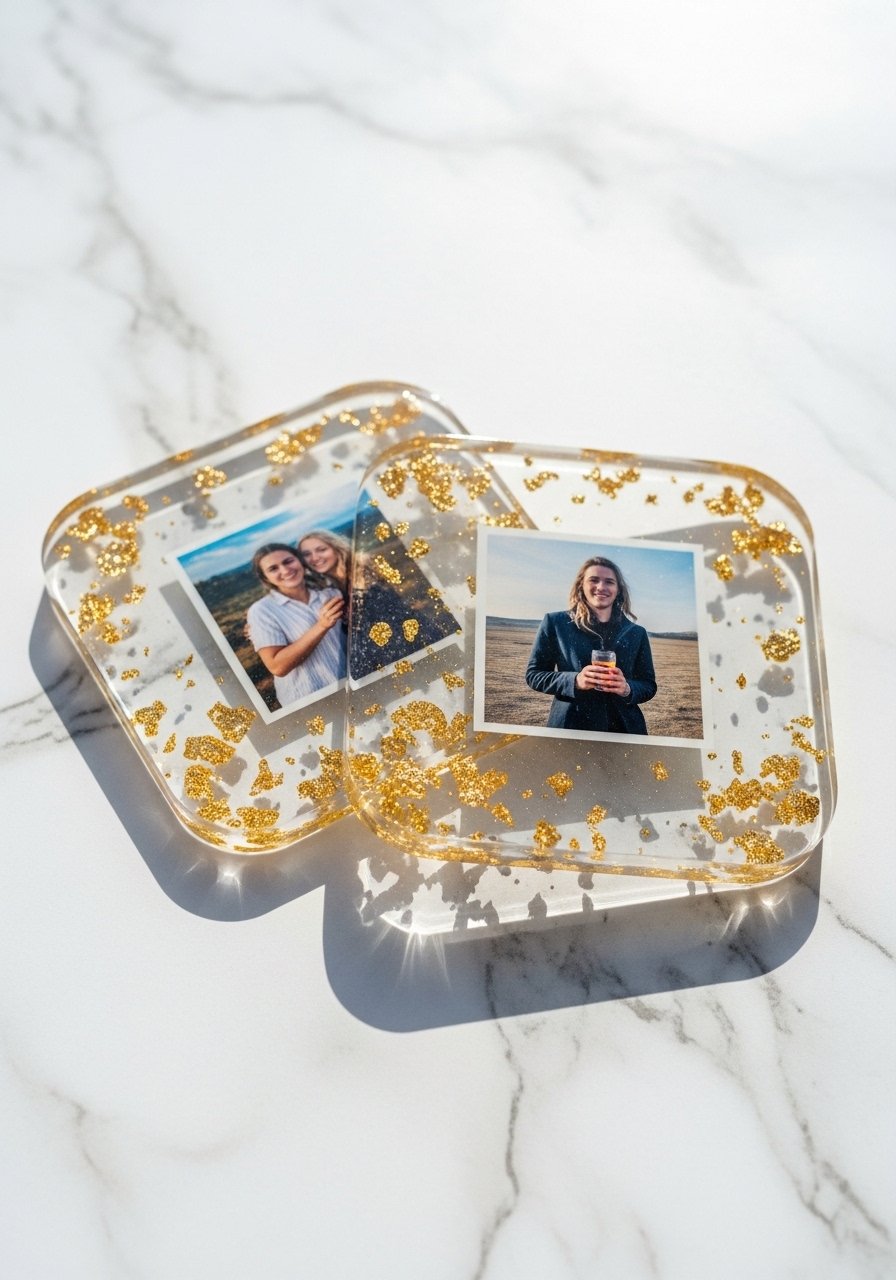
Use a silicone coaster mold and trim photos to 3.5 inches so they sit centered. Mix epoxy at the package ratio and let each pour cure for 24 hours before sanding edges. For beginners, clear epoxy resin kits and silicone coaster molds are foolproof. These feel personal because of the image, and seal with a felt pad so they do not scratch surfaces.
Mistake to Avoid: Rushing the cure and trapping bubbles that show up forever.
5. Mini Herb Garden in a Crate
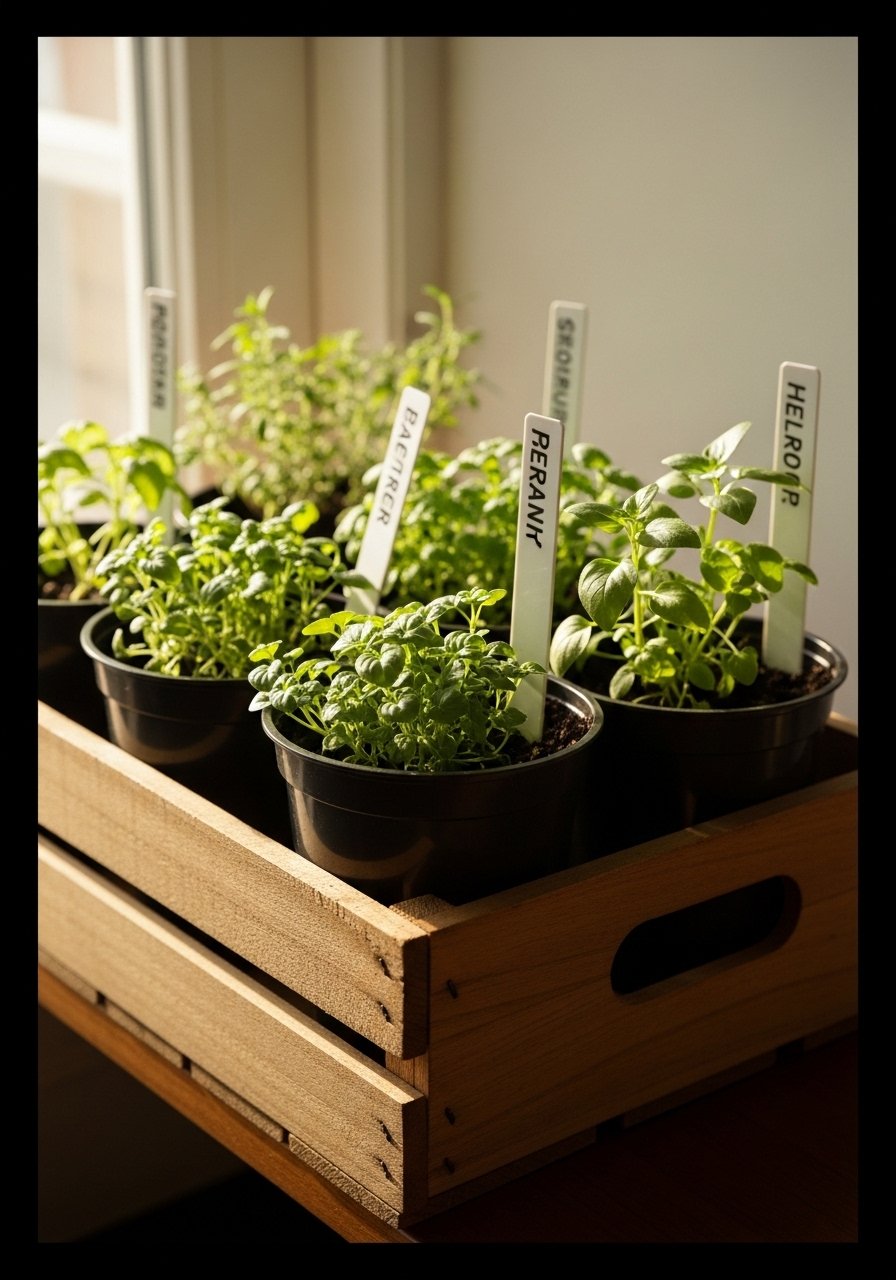
Line a reclaimed six-slot crate with landscape fabric, use 3-inch pots, and group three herbs that share watering needs, like basil, parsley, and chives. I use biodegradable 3-inch nursery pots and starter herb soil. This is great for a balcony beginner because it is compact and renter-friendly, and I add a handwritten care card for anyone who worries about killing plants.
Mistake to Avoid: Mixing drought- and water-loving herbs in the same container, which guarantees disappointment.
6. Citrus Cinnamon Potpourri Mix
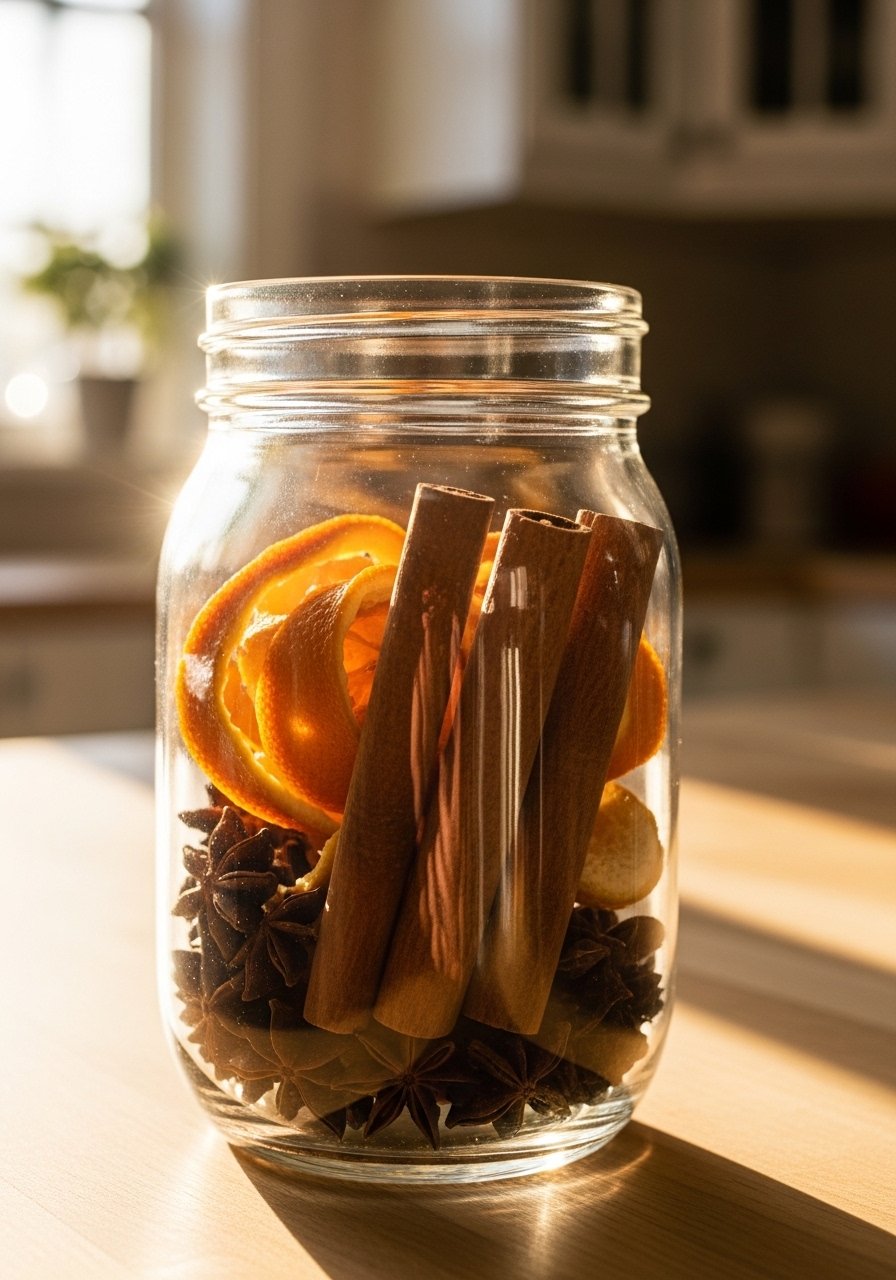
Dry two cups of orange peels in the oven at 200F for about 2 hours, then mix with three cinnamon sticks and a tablespoon of whole cloves. Tie a small muslin bag and add 10 drops of clove essential oil for depth. Pack with glass spice jars for gifting. This smells cozy in small apartments and lasts months when kept in a cool cabinet.
Mistake to Avoid: Using fresh peel, which molds before it ever becomes fragrant.
7. Chunky Knit Earwarmer
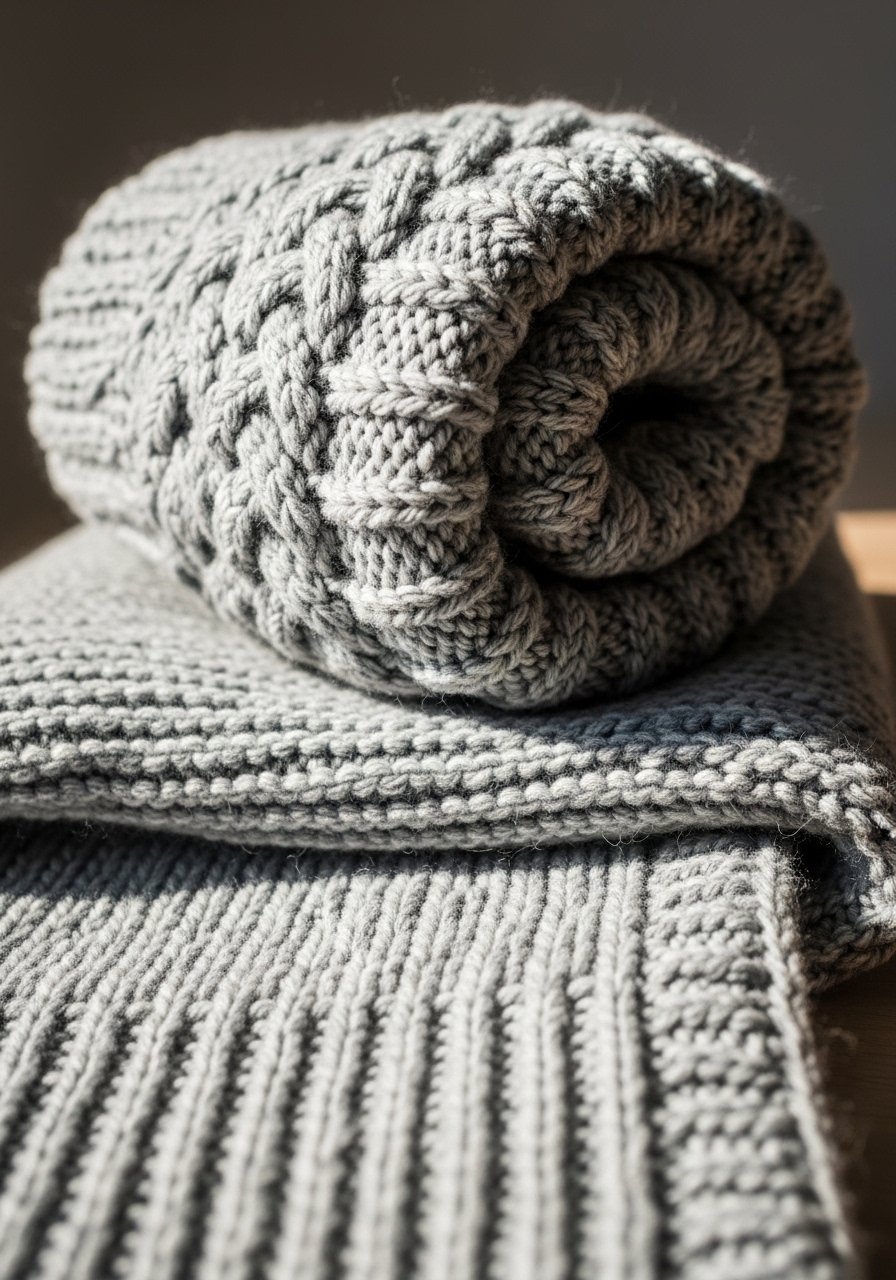
Use bulky yarn and two 10 mm needles for a five-minute cast-on that knits up in an evening. Aim for 18 to 20 inches circumference for most adults, then seam with a mattress stitch. I buy super-bulky yarn skeins and a set of wooden knitting needles. This is low-skill and feels hand-thrown-together in the best way.
Mistake to Avoid: Knitting a length that is too short so the earwarmer pulls on the ears uncomfortably.
8. Upcycled Patchwork Tote
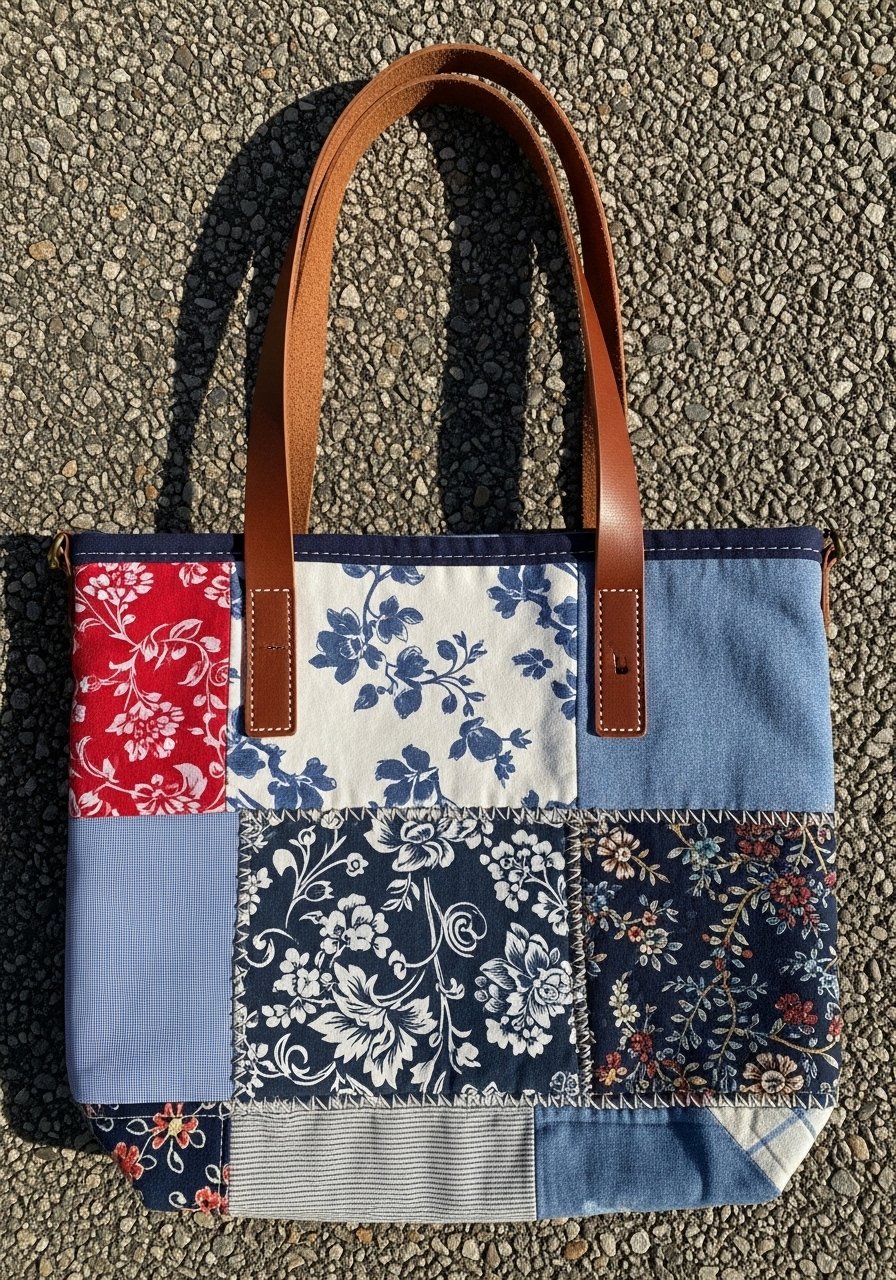
Cut squares at 6 inches, sew with a 1/4 inch seam, and press each block before assembling the bag body. Line with cotton for structure and attach leather handles with rivets for durability. For hardware, use leather strap handles and a heavy-duty sewing needle pack. This is a mid-skill project that uses both thrifted finds and one new element.
Mistake to Avoid: Forgoing a lining which makes the tote floppy and less useful.
9. Copper-Dipped Wine Glasses

Mask the stem and upper bowl, then use metallic spray paint to dip the base in a slow, even stroke. Cure per paint instructions and wrap the stem with a tiny care card. Pick up metallic copper spray paint and use winelight adhesive sheets for clean lines. These are fragile gifts that read upscale for a small cost.
Mistake to Avoid: Painting the entire glass so the recipient cannot drink without tasting paint.
10. Sea Salt Bath Soak Jars
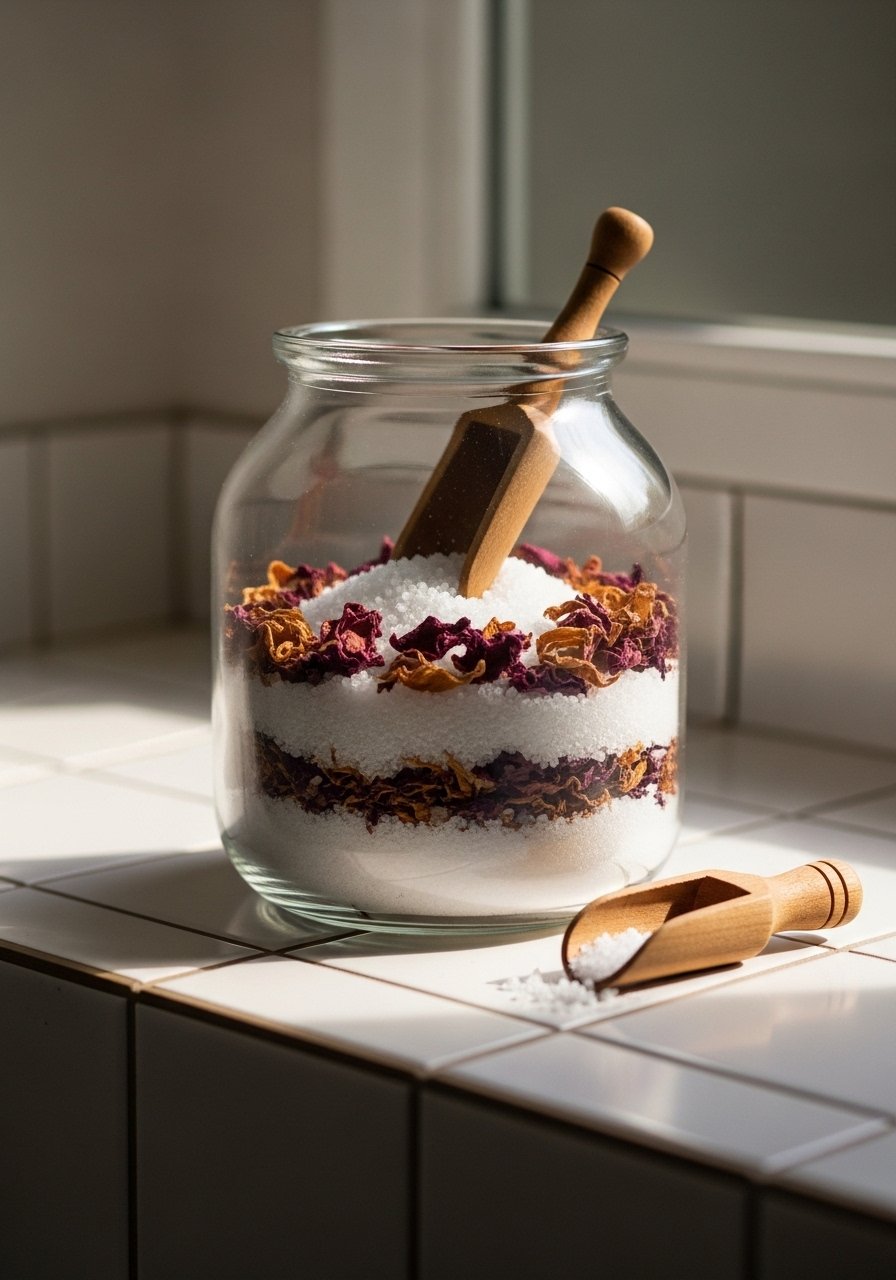
Layer one cup Epsom salt, 1/2 cup dead sea salt, add 20 drops of essential oil total, and stir with a wooden spoon. Pack into a wide-mouthed jar and include a 1-tablespoon scoop. I keep epsom salt and glass jars with lids on hand. These are easy to make in batches and travel well when wrapped in kraft paper.
Mistake to Avoid: Bottling wet salt, which clumps and loses fragrance fast.
11. Layered Cookie Mix in a Jar
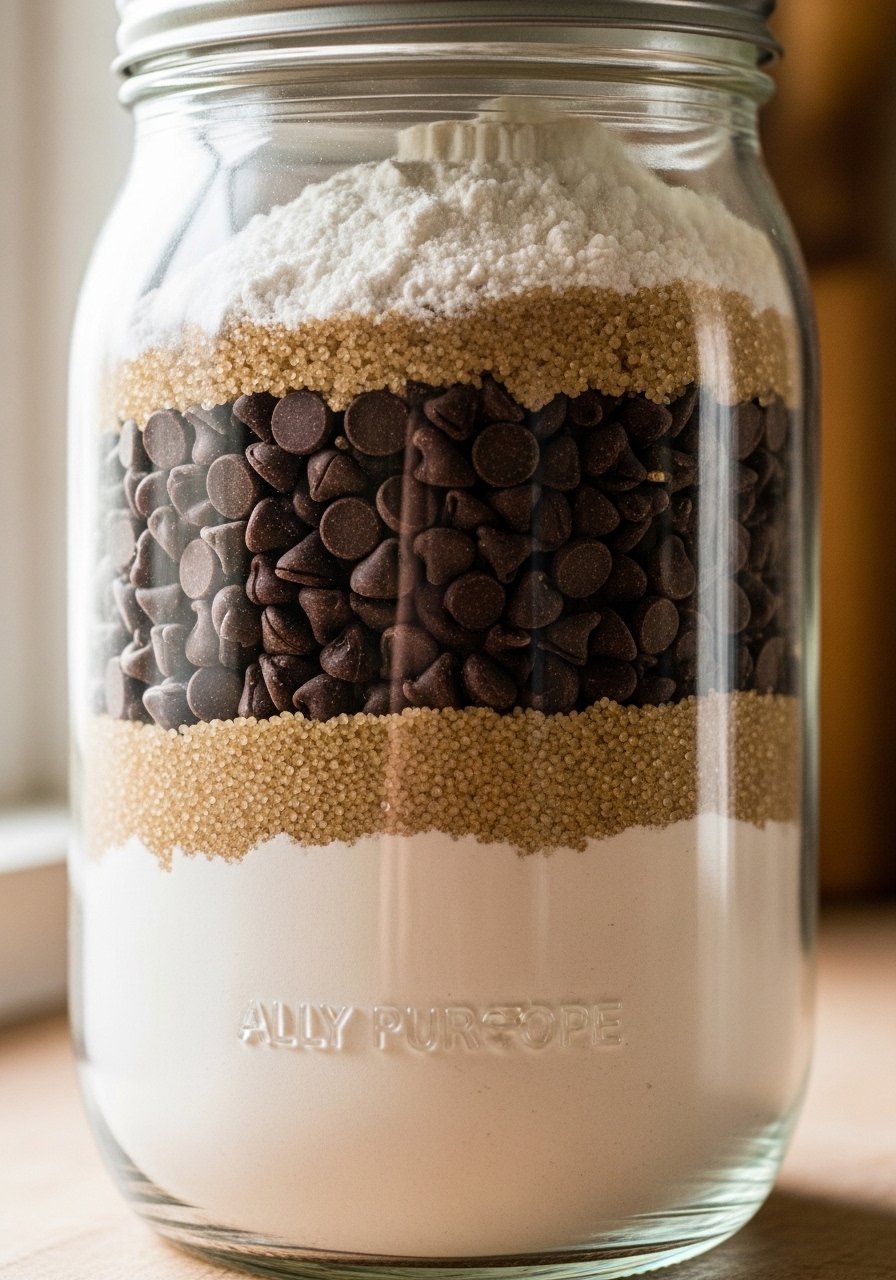
Layer dry ingredients in this order: flour, brown sugar, white sugar, chips so colors stay visible. Add a printed tag with wet ingredient amounts and bake time for one dozen cookies. Use 24-ounce straight-sided jars and printable recipe tags on heavy cardstock. These are great for people who like something they can use immediately and they ship easily with bubble wrap.
Mistake to Avoid: Putting baking powder on top where it absorbs moisture and fizzles before baking.
12. Macrame Plant Hanger with Beads
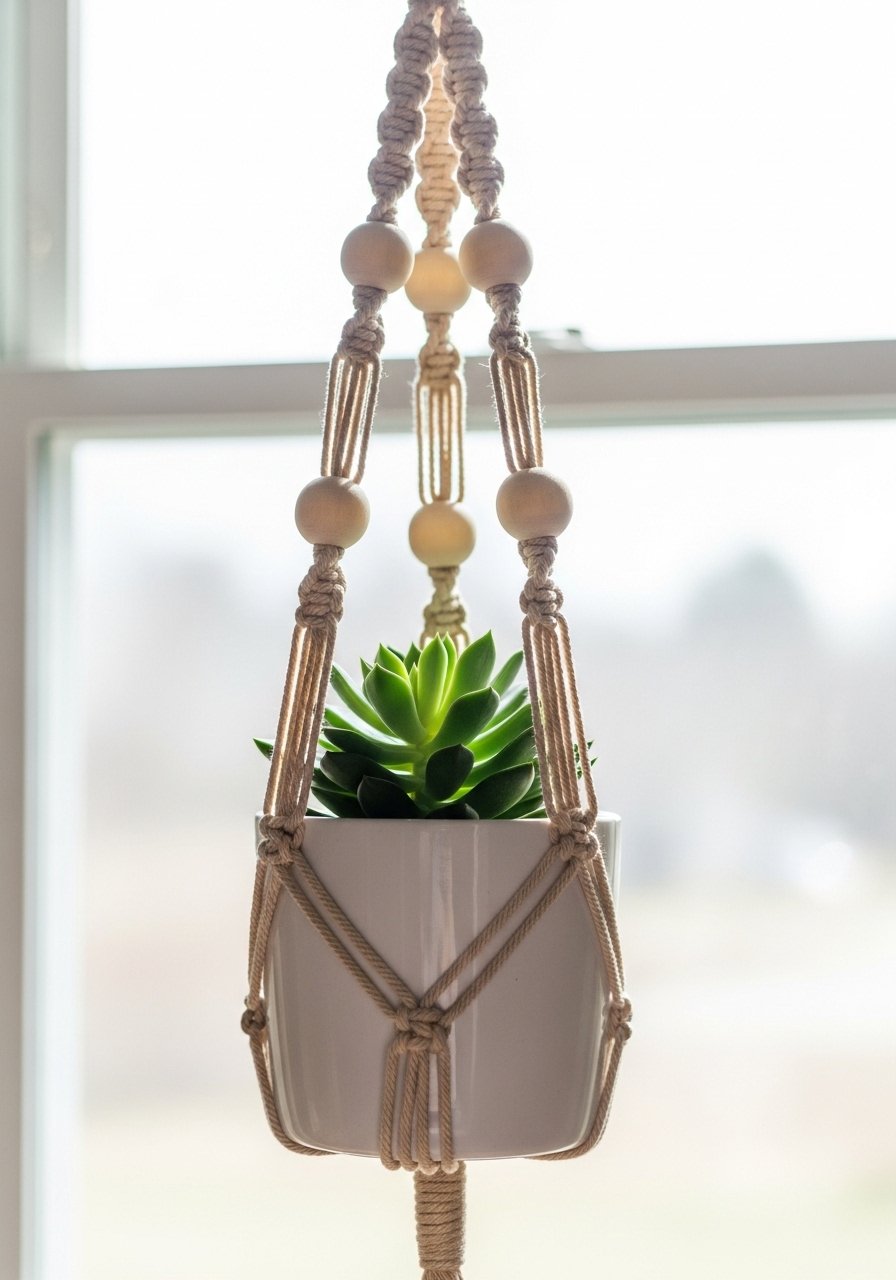
Follow a basic square knot pattern, finishing with three-quarter-inch wooden beads every 4 inches for visual rhythm. Use 3 mm cotton cord and test with a 3-inch pot to set proportions. I use 3 mm cotton macrame cord and unfinished wooden beads. Macrame is forgiving and looks charming in modern and boho homes.
Mistake to Avoid: Making the hanger too long for the intended plant size so it dangles awkwardly.
13. Leather Cord Catcher
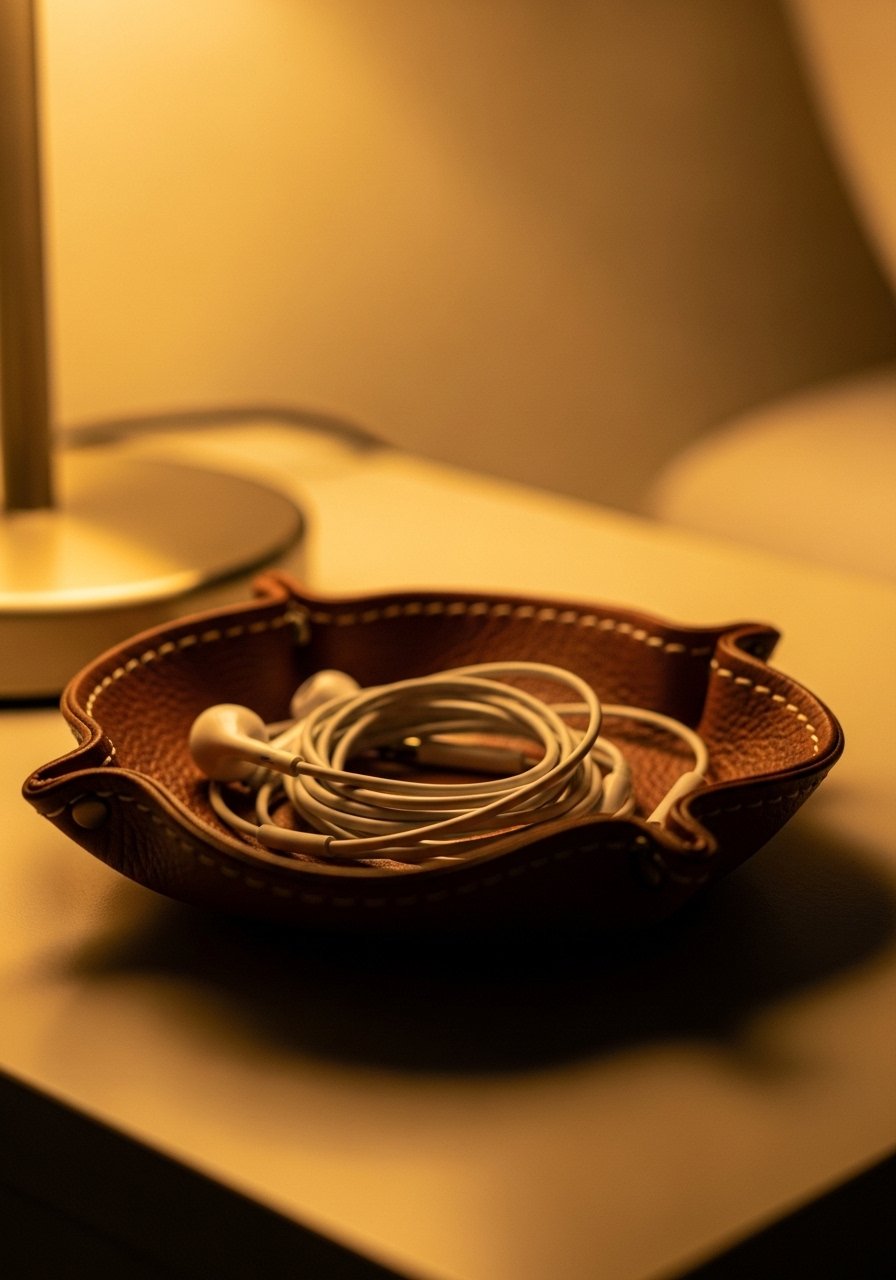
Cut a 4-inch circle, stitch a 1/8 inch seam, and finish the edge with a light burnish. Add a snap to close and make a set of two in contrasting colors. For tools, try a small leather kit and snap fastener set. This is a fast, polished gift for someone who loses cords in their bag.
Mistake to Avoid: Cutting too thin leather that warps with use and looks cheap.
14. Polymer Clay Pendant Necklace
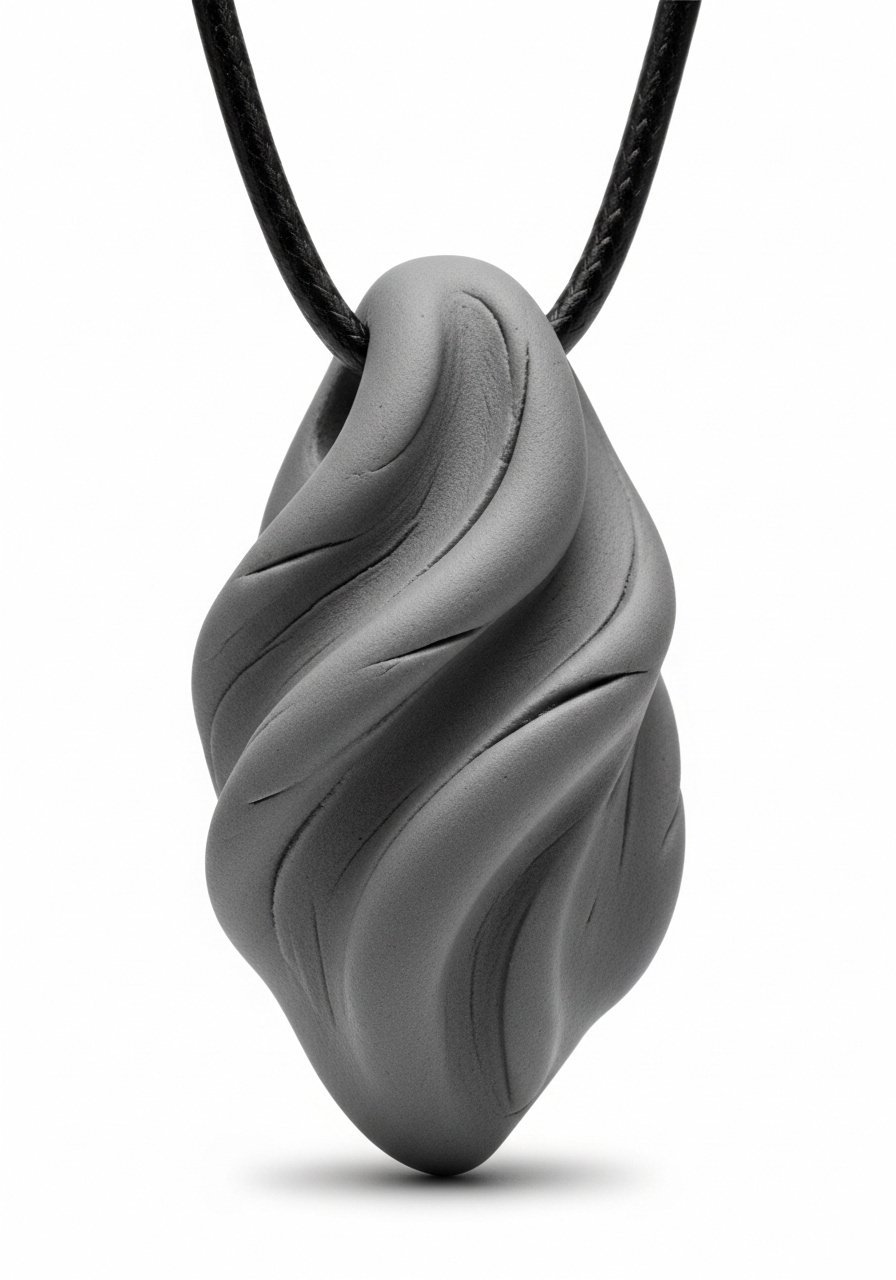
Keep shapes under 1.5 inches, bake per clay instructions and sand after curing for a velvety finish. Add a tiny jump ring and hang on a 18-inch cord. I use polymer clay packs and leather necklace cords. These are perfect for a friend who likes subtle, handmade jewelry.
Mistake to Avoid: Using metal findings that are too large for the delicate clay pendant and overpower it.
15. Soy Wax Melts Sampler
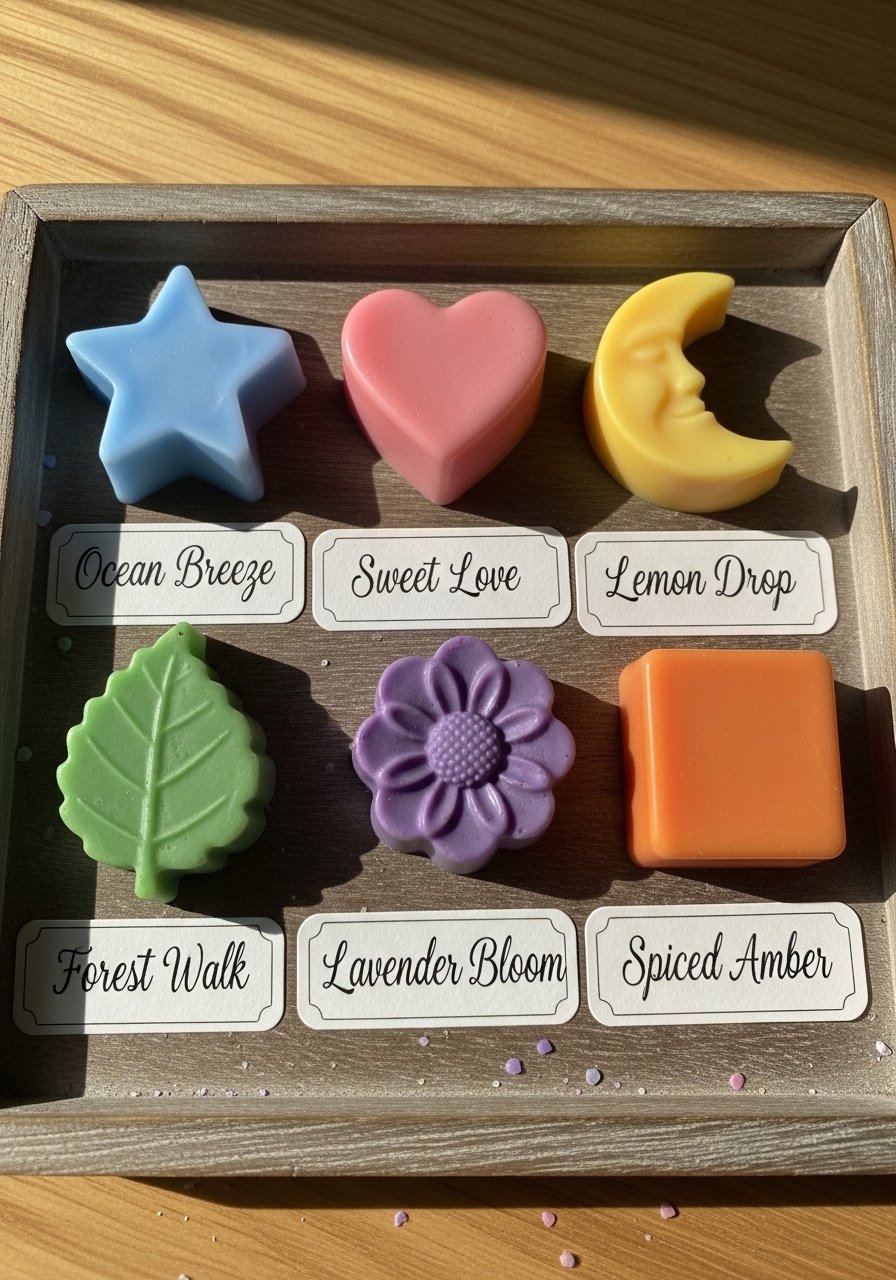
Pour soy wax into silicone molds in 1-ounce servings, add 5 to 8 drops of essential oil per ounce, and label each scent. Use a small silicone mold set and soy wax flakes. These are great for scent-curious friends who do not want the open flame of a candle.
Mistake to Avoid: Over-scenting so the melts smell chemically instead of natural.
16. Simple Embroidered Hoop Art
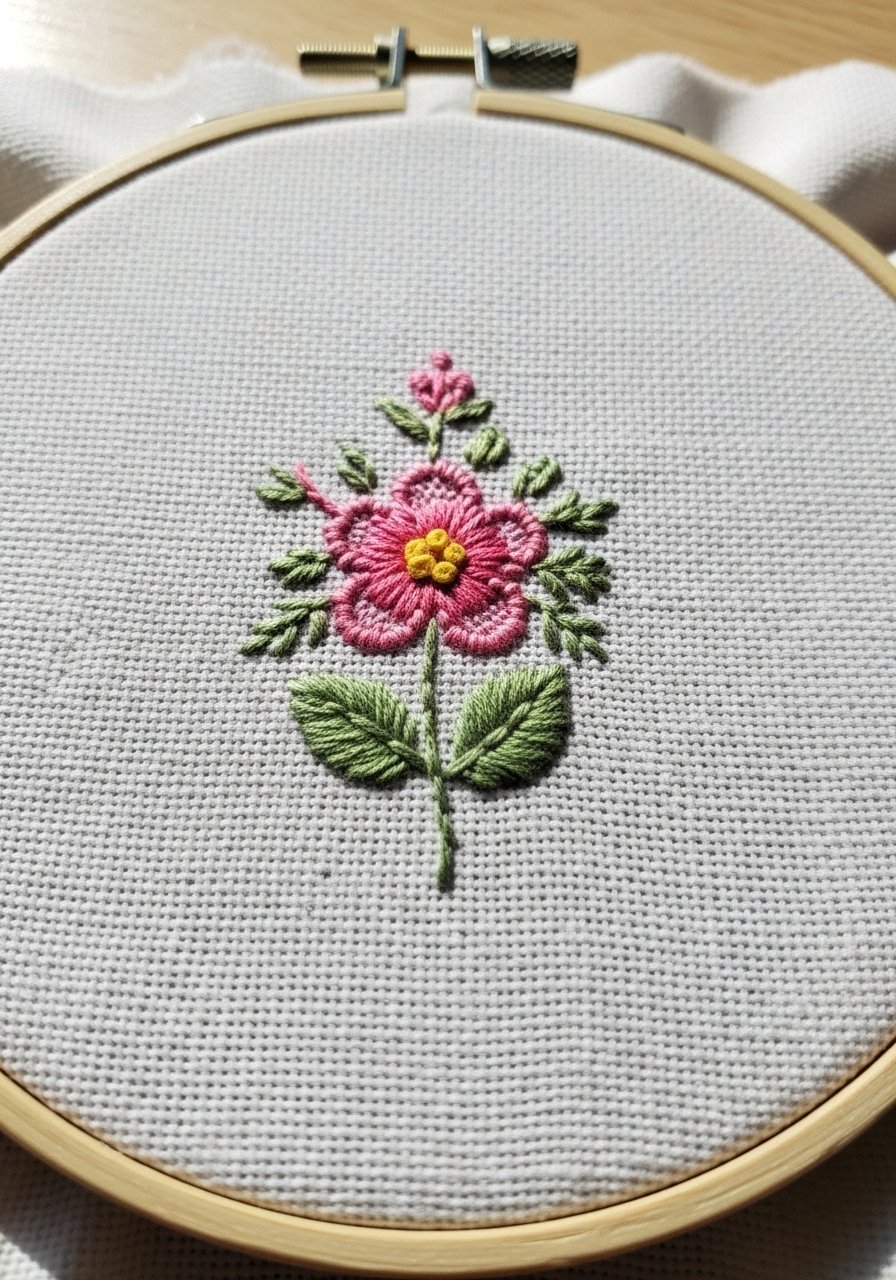
Trace a minimal design and use satin and backstitch to keep stitches tidy. Use a 6-inch hoop so the piece reads finished on a narrow shelf. I use embroidery floss sets and 6-inch wooden hoops. Hoop art feels personal and is light enough to mail without heavy packaging.
Mistake to Avoid: Starting with a crowded pattern that reads messy at small scale.
17. Hand-Stamped Brass Keychain
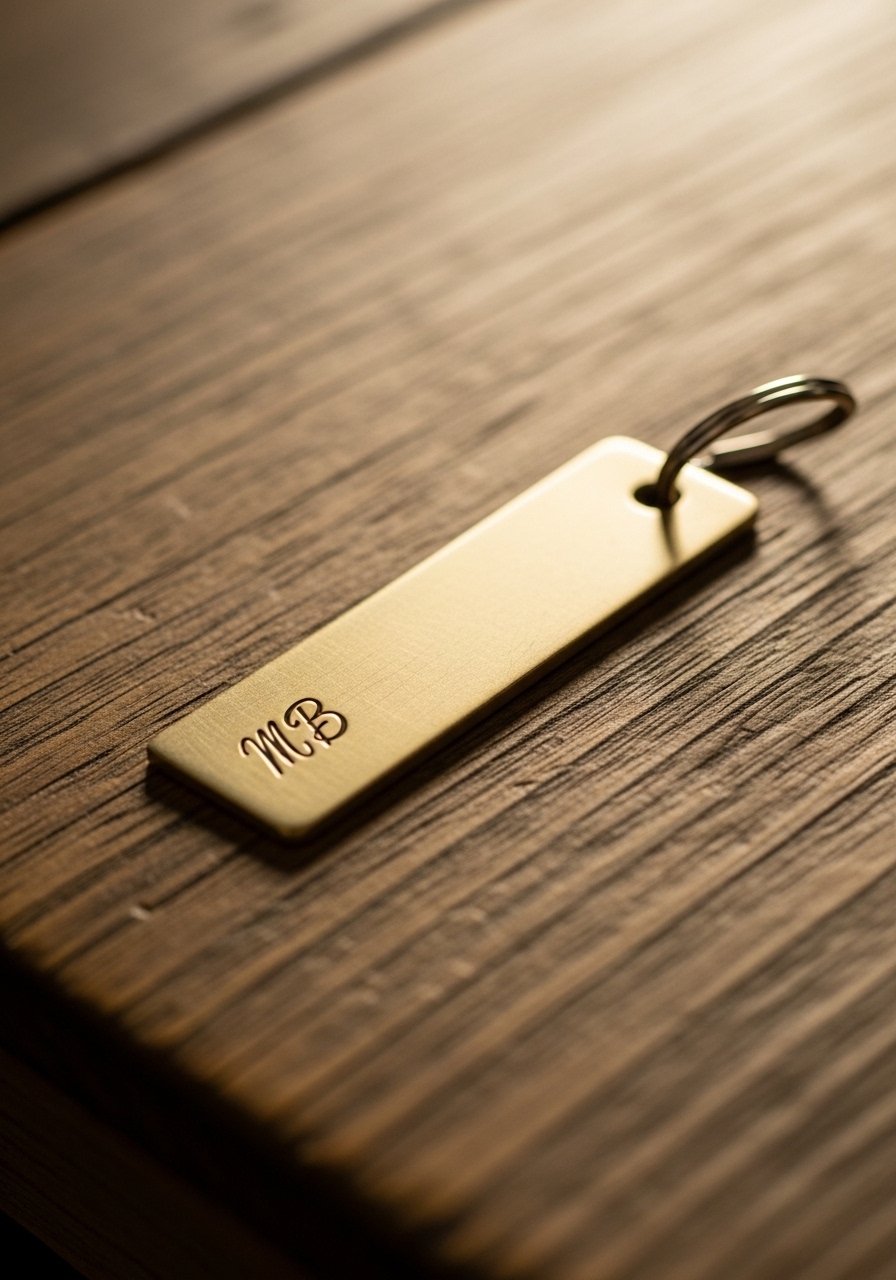
Cut tags 1/2 by 2 inches, stamp letters with a 3 mm punch, and darken letters with black rubbing compound for contrast. Attach to a split ring and polish the edges. Use a metal stamping starter kit and brass blank tags. This is a pocket-sized gift that feels durable.
Mistake to Avoid: Stamping with uneven force, which creates crooked or faint letters.
18. Burned-Initial Wooden Board
Use a wood-burning tool, sketch the initial at 1.5 inches high, and seal with a food-safe oil. Choose hard-grain wood and sand edges to 220 grit for a smooth finish. I use hardwood cutting boards and a wood-burning tool kit. These make excellent housewarming gifts because they feel intentional and useful.
Mistake to Avoid: Burning too deep which splits the wood and looks amateur.
19. Wildflower Seed Bombs
Mix one part compost to two parts clay and add one tablespoon of seeds per bomb, roll, and dry for 48 hours. Pack in recycled paper tubes with planting notes. For supplies, grab wildflower seed mixes and air-dry clay powder. These are low-cost and perfect for neighbors who like a bit of yard color.
Mistake to Avoid: Using heavy clay that never disintegrates in soil so seeds cannot sprout.
20. Cold-Process Soap Bars
Follow a tested recipe, keep lye and oils at 100F to avoid separation, and cure bars for 4 to 6 weeks. Use a 70/30 olive to coconut oil mix for gentle lather. I recommend a cold-process soap starter kit and soap molds. Note that soap is a heavier, longer project but it feels very finished.
Mistake to Avoid: Rushing curing which makes soft, unstable bars that disintegrate in use.
21. Pantry Gift Basket
Curate three complementary items like small-batch jam, a jar of nut butter, and a hand-cured cracker. Wrap in cellophane and tuck in a printed ingredient label for allergens. I source stoneware jam jars and kraft gift baskets. People love edible baskets because they are immediately useful and low-commitment.
Mistake to Avoid: Including perishable items without refrigeration instructions that spoil in transit.
22. Felted Wool Dryer Balls
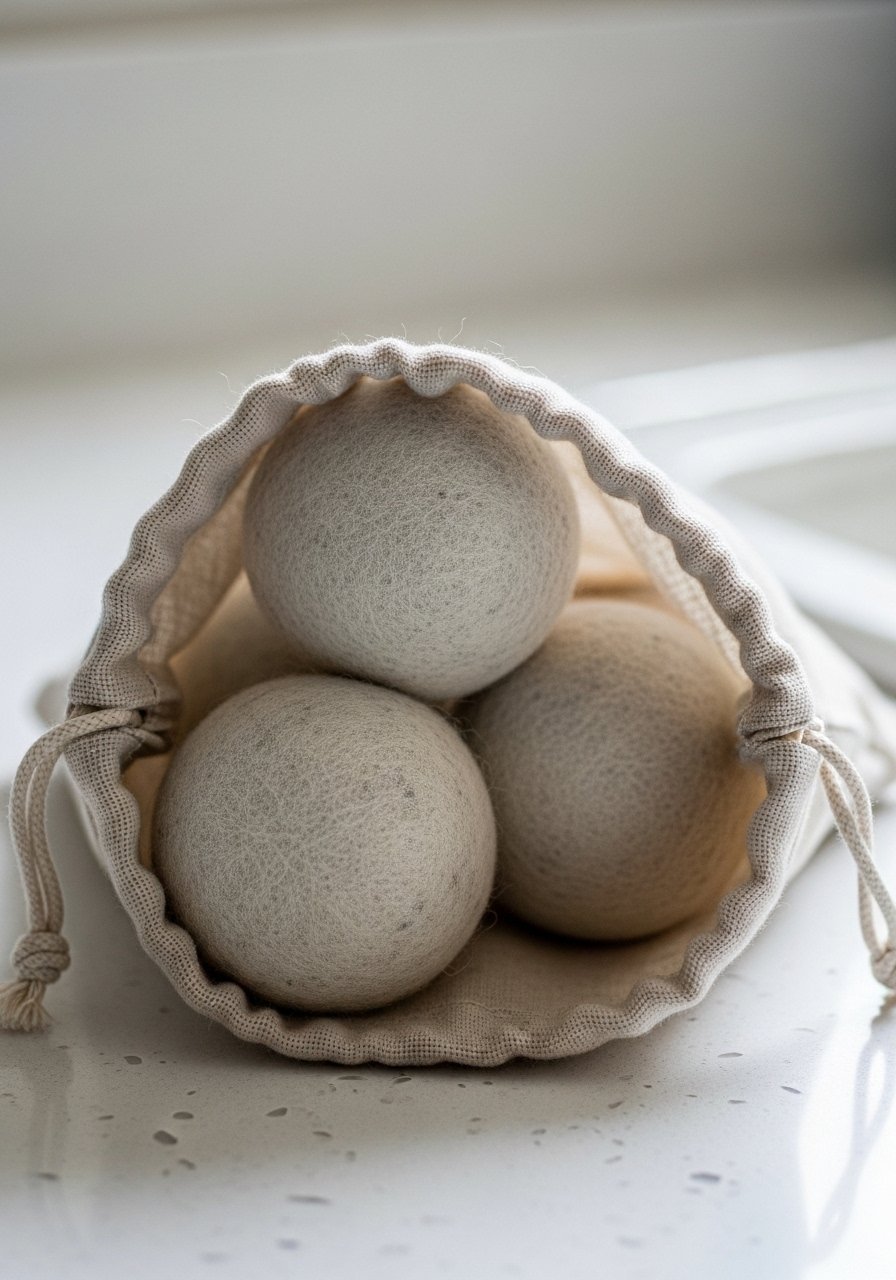
Use 100% wool roving, wrap each ball to about 2.5 inches, and felt in hot water until firm. Add 6 to 8 drops of essential oil per ball for scent in dryer cycles. Try wool roving packs and felted dryer ball sets if you want ready-made options. These are eco-friendly and reduce drying time.
Mistake to Avoid: Using blended wool which pills and does not felt into a tight ball.
23. Small-Batch Jam in Cute Jars
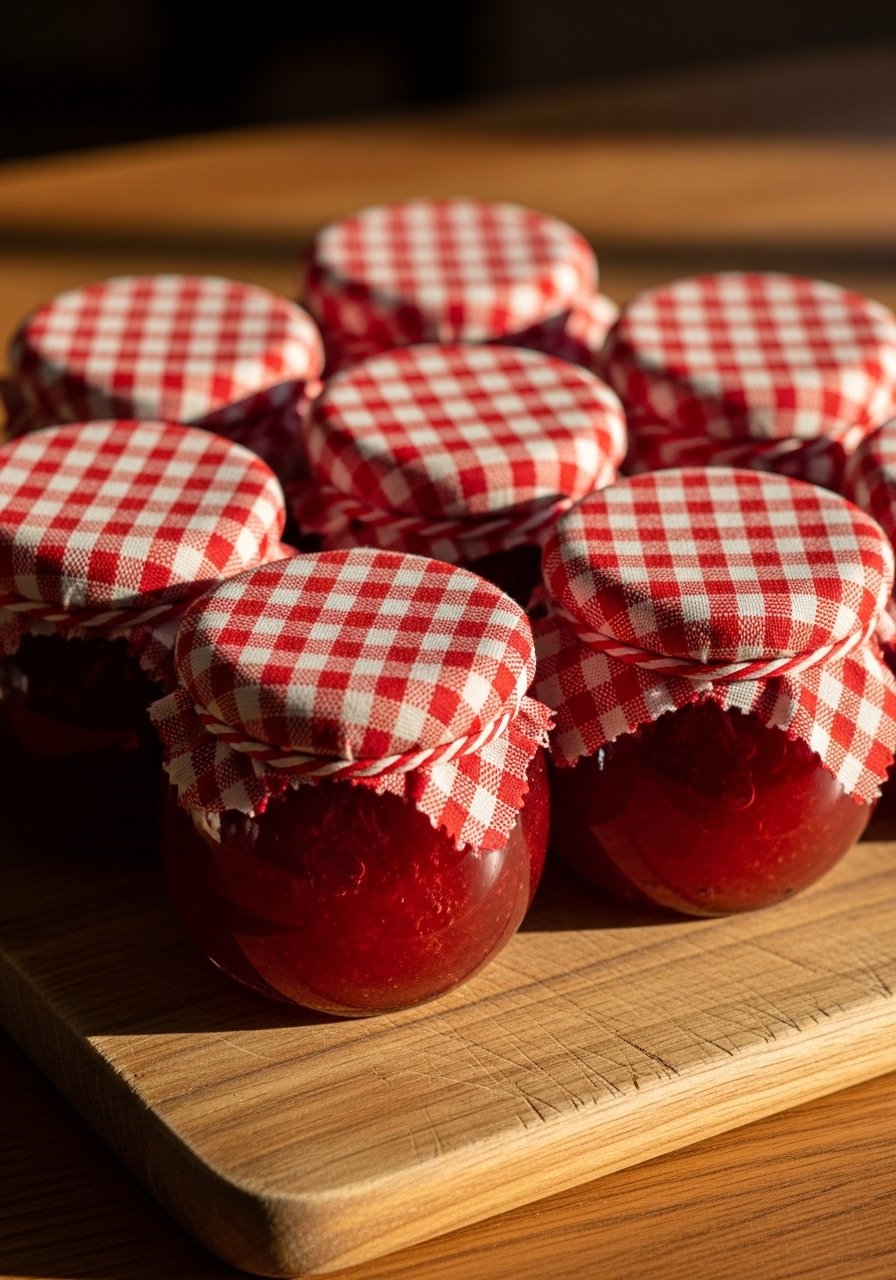
Use a 2:1 fruit to sugar ratio for a less-sweet preserve, cook to 220F for proper set, and pour into sterilized 4-ounce jars. Label with date and jar weight. I use 4-ounce jam jars and a digital candy thermometer. Homemade jam feels like a tiny celebration in a jar.
Mistake to Avoid: Skipping the sterilization step, which risks spoilage.
24. Painted Terracotta Succulent Pots
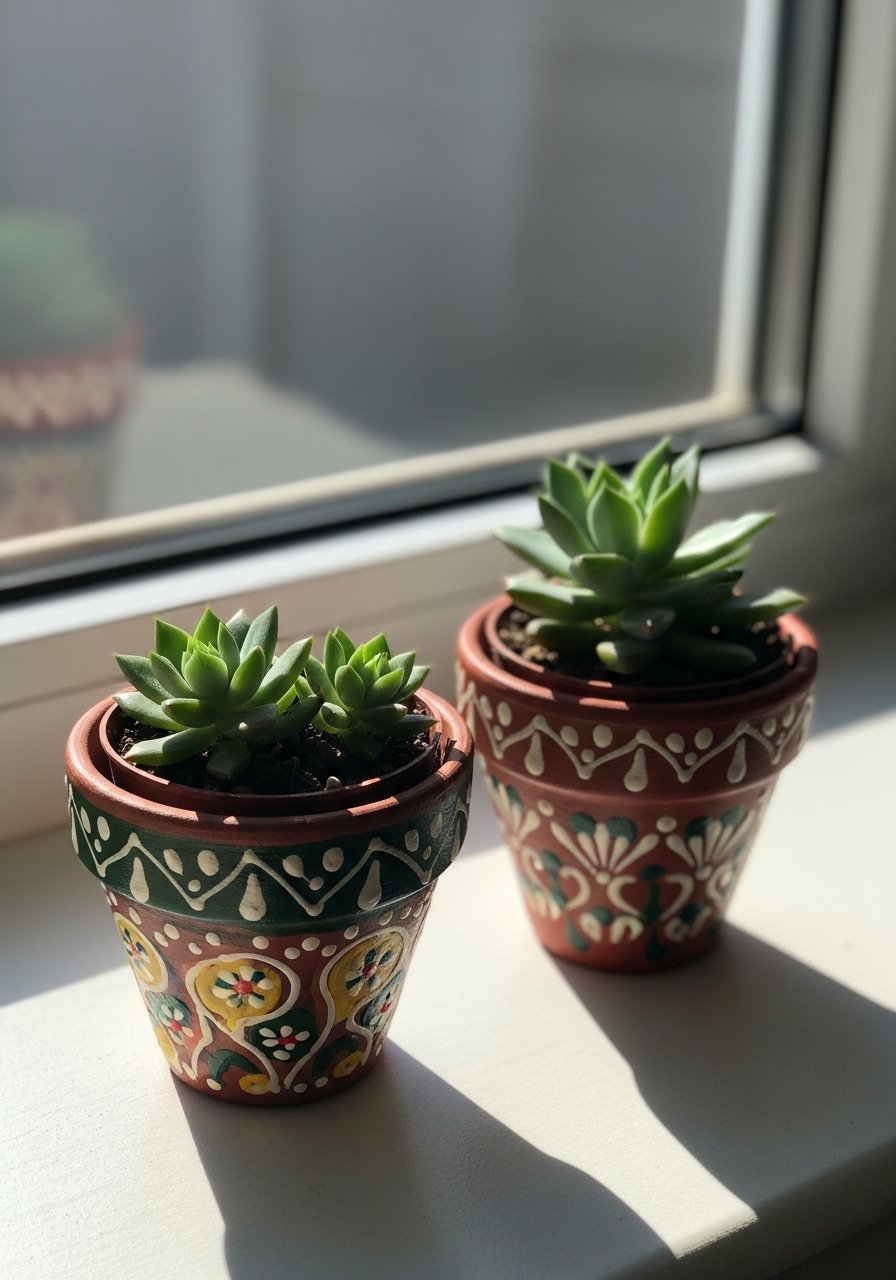
Tape off a 1-inch band for a clean stripe and use two thin coats of acrylic paint, letting each coat dry 20 minutes. Seal with a matte spray for durability. Use mini terracotta pots and acrylic paint sets. These are renter-friendly and fit a windowsill easily.
Mistake to Avoid: Painting the interior drainage hole closed which drowns succulents.
25. DIY Photo Calendar With Stand
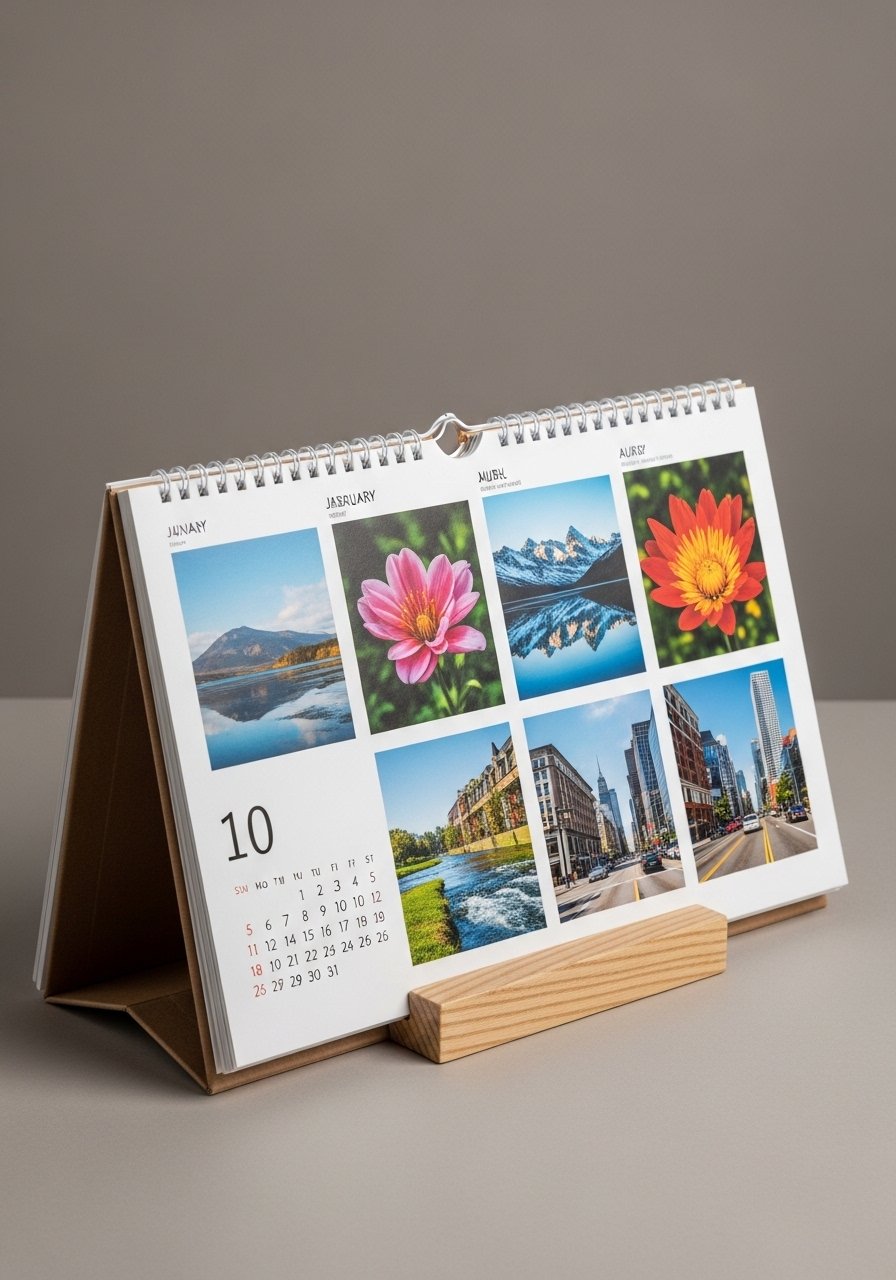
Print twelve 4×6 photos and mount on cardstock, score a 1/2 inch fold so pages flip smoothly, and use a small wood block as a stand. I use photo paper 4×6 and a desktop-calendar-stand. Personal calendars are excellent for long-distance friends because they last the whole year.
Mistake to Avoid: Using the wrong photo orientation so images crop awkwardly when printed.
26. Handcrafted Lip Balm Trio
Melt two parts beeswax to five parts carrier oil, add 5 drops essential oil per tin, pour into 0.25-ounce tins and cool flat. Label each flavor and pack in a small box. I use empty lip balm tins and coconut oil, organic. This makes a compact stocking stuffer or a pocket gift.
Mistake to Avoid: Using fragrance oils not rated for lip products which irritate sensitive skin.
27. Pressed Flower Frame

Press flowers between newspaper and heavy books for two weeks, arrange on acid-free mat, and sandwich with glass for a clean look. Use a 5×7 frame so postage stays reasonable and add a short note with the flower names. I rely on pressing paper kits and 5×7 frames. This is a quiet gift for someone who likes nature and subtle decor.
Mistake to Avoid: Mounting pressed flowers on non-acid-free paper which browns over time.
Your Decor Shopping List
Textiles: Honestly the best $18 I have spent, linen fat quarter bundle ($15-25). Great for napkins and small pouches.$25-40). It pays off fast.
Tools: For burned initials and small wood projects get a wood-burning tool kit (
Containers: Wide-mouth glass jars 8 oz ($12-20) are the workhorse for candles, salts, and mixes.$6-12) plus cotton thread 3-spool set.
Sew Supplies: Hand-sewing needle set (
Planting: 3-inch nursery pots 12-pack ($10) and starter herb soil 2 qt.$20) and cold-process soap kit (~$30-50).
Soap & Wax: Soy wax flakes 2 lb (
Jewelry: Polymer clay multi-pack and leather cord set.
Paper & Print: Photo paper 4×6 gloss and blank kraft gift tags 100-pack.
Packaging: Kraft gift boxes small set and shredded paper filler.
Labeling: Printable sticker sheets for quick branding.
Upcycle Tools: Heavy-duty fabric scissors and hand sewing starter kit.
Shipping: Bubble mailers small 25-pack and fragile tape.
Decorating Tips Worth Knowing
Thin layers beat thick ones. For painted pots and dipped glasses, two thin coats give a cleaner finish than one heavy coat. Try matte acrylic paint set for small projects.
Keep a small stash of neutral wrapping. A roll of kraft paper and twine set saves last-minute panic and looks intentional.
Use padded dividers when shipping fragile items. Corrugated dividers prevent rattling and busted gifts.
Label ingredients plainly. If you include any food or bath item, a waterproof label pack avoids allergen confusion.
Try a tiny gift test. Send one sample to yourself or a neighbor to check packaging and scent. A small shipping scale helps predict postage cost.
Pair a handmade with a store-bought small. Add a quality wooden spoon to a jam jar for an instantly useful combo.
Keep a printable tag template. A tidy tag with care and ingredients makes your project read professional, and white cardstock 8.5×11 prints crisp results.
