
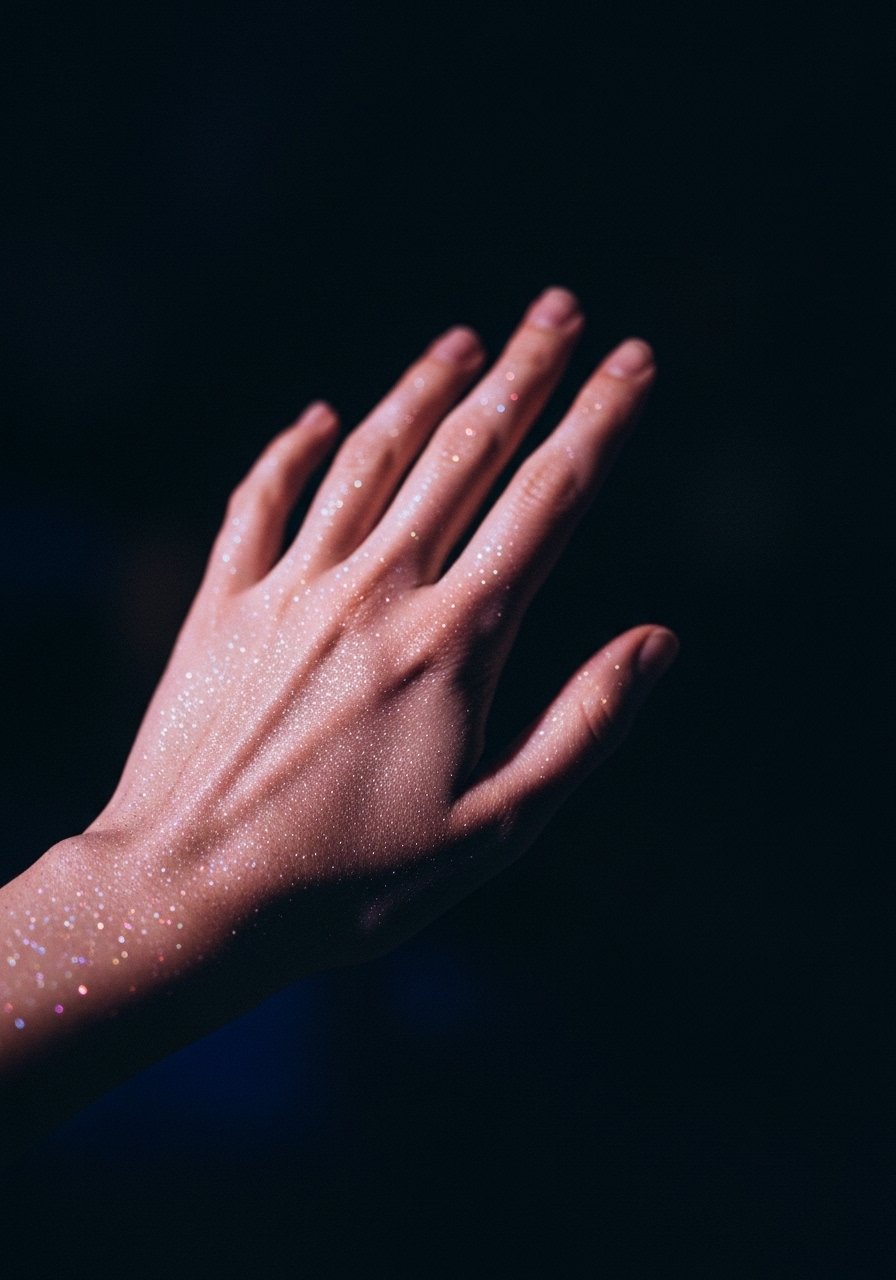
I used to ruin party outfits by pairing them with boring nails, until I learned how a little sparkle changes everything. I’ve found that about 60% of people glance at your hands first when you’re holding a drink, so glitter became my quick win. These designs are what actually survived a night out, a dance floor, and a coffee spill, so I’m writing from real-life trial and error.
I pulled these together for different skill levels: quick stick-on options, 20-minute salon looks, and detail-heavy fancies for when I have an hour. I’ve noticed I get compliments on glitter tips about three out of five party nights, so I focused on wearability and simple swaps. Budget ranges here go from under $10 for a quick glitter top coat to around $40 for powders and stamping kits.
What You'll Need
Tools & Brushes:
- nail-brush-set (~$8-$20)
- dotting-tool-kit (~$5-$12)
Base & Top Coat:
- base-coat-nail-polish (~$6-$15)
- quick-dry-top-coat (~$6-$18)
Polishes & Designs:
- glitter-nail-polish (~$6-$15)
- holographic-powder (~$6-$20)
- nail-striping-tape (~$4-$8)
- nail-stamping-kit (~$10-$30)
Finishing & Extras:
- nail-adhesive-gems (~$4-$12)
1. Full-Glitter Ombre
Style/Vibe: Bold sparkle, high impact
Best For: Long nails, photo-ready manicures
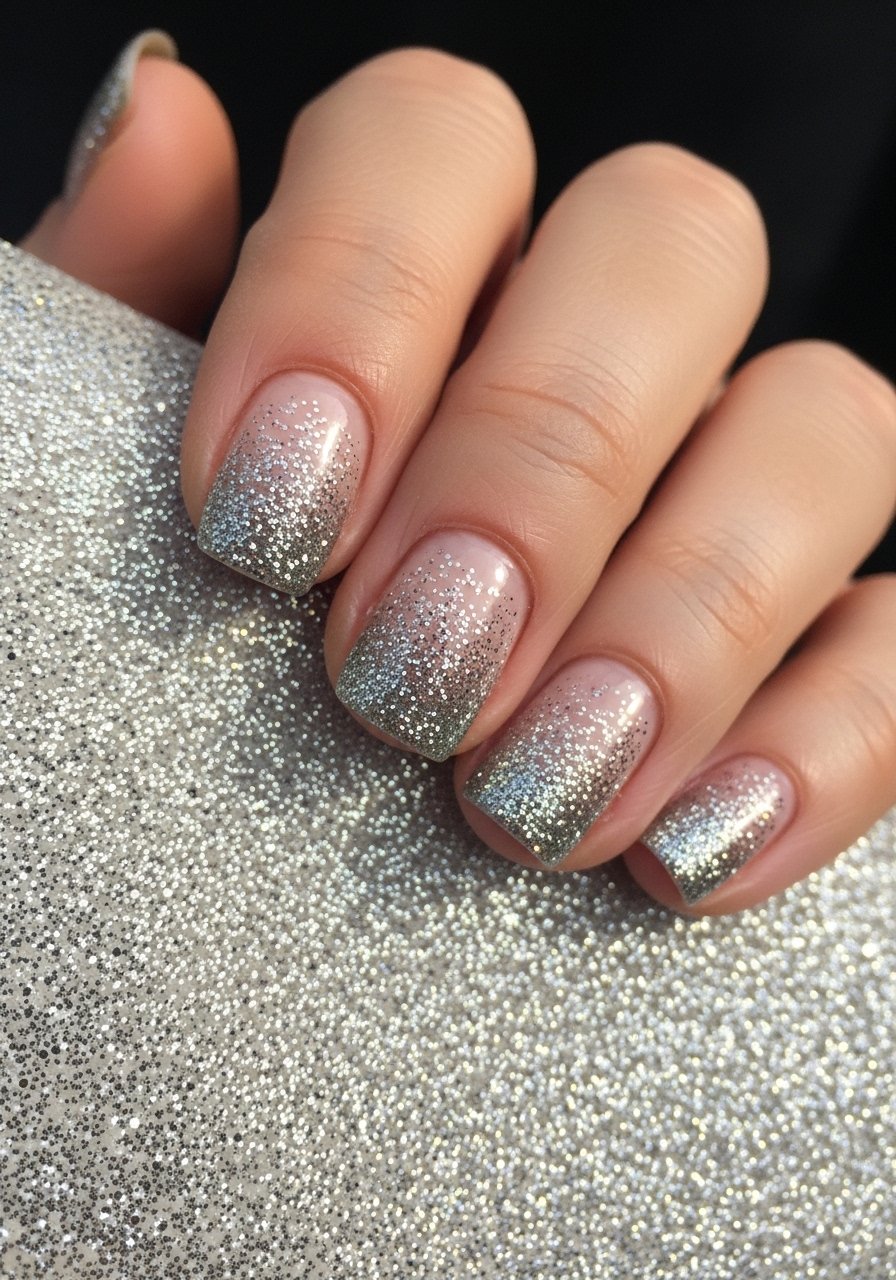
I like this when I want everything to scream party without extra accessories. Start with a sheer base, pack on a dense glitter polish like glitter-nail-polish near the tips, then drag the brush down to fade. I used to do three layers, now I do two heavy ones and press product in with a sponge for less fall-out. Quick-dry top coat seals it so it lasts through a night and a half.
Mistake to Avoid: Don't use a thick top coat too early, it drags the glitter and ruins the fade.
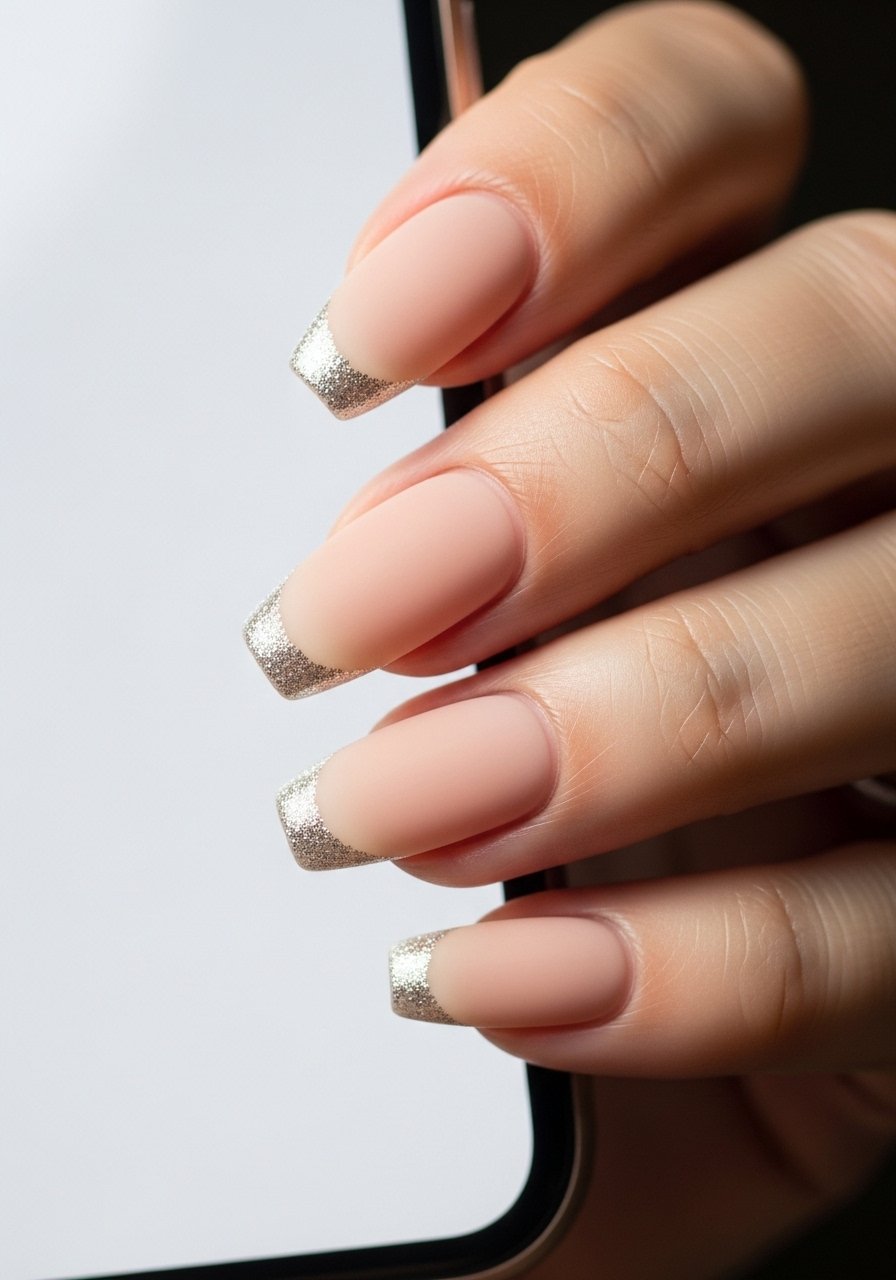
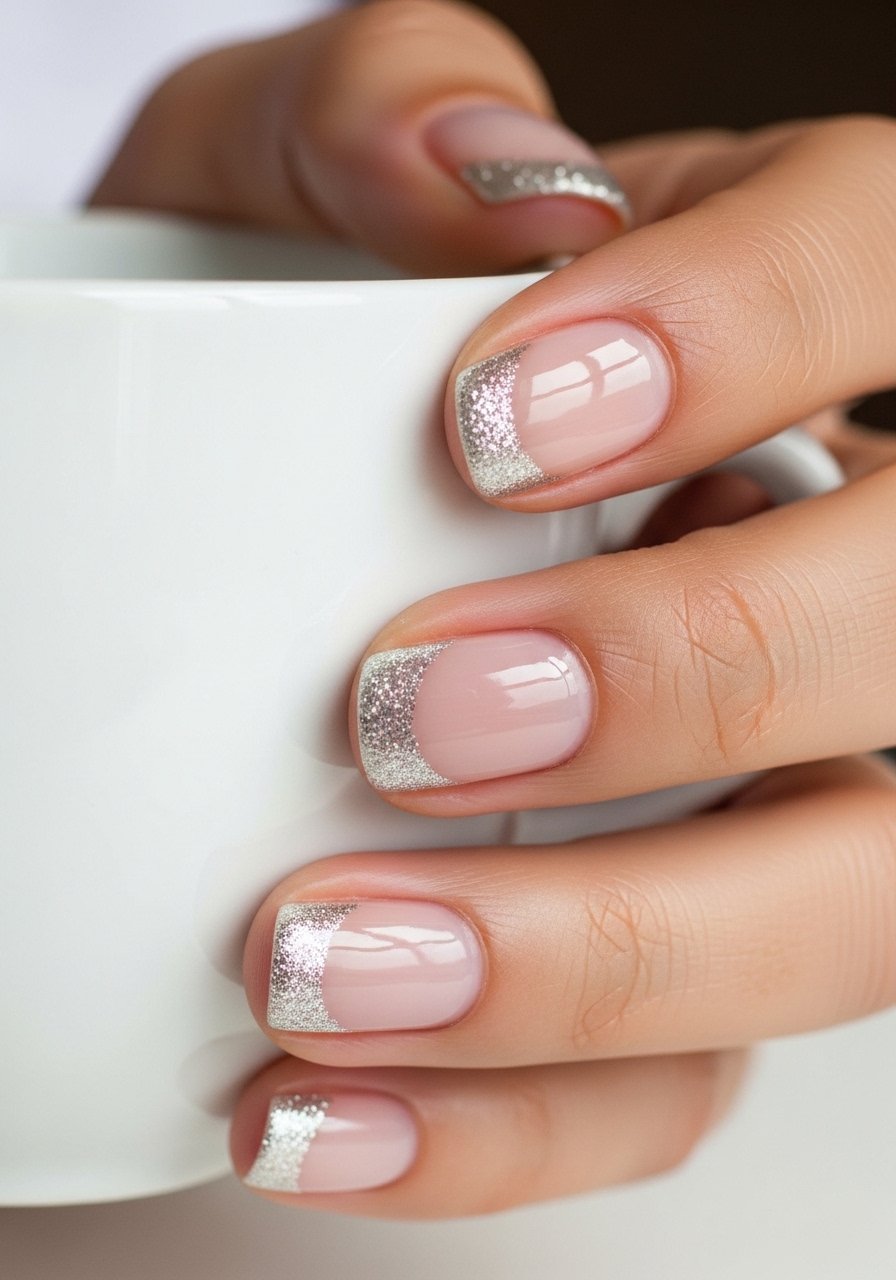
2. Glitter French Tips
Style/Vibe: Classic with party twist
Best For: Short to medium nails, work-to-party looks
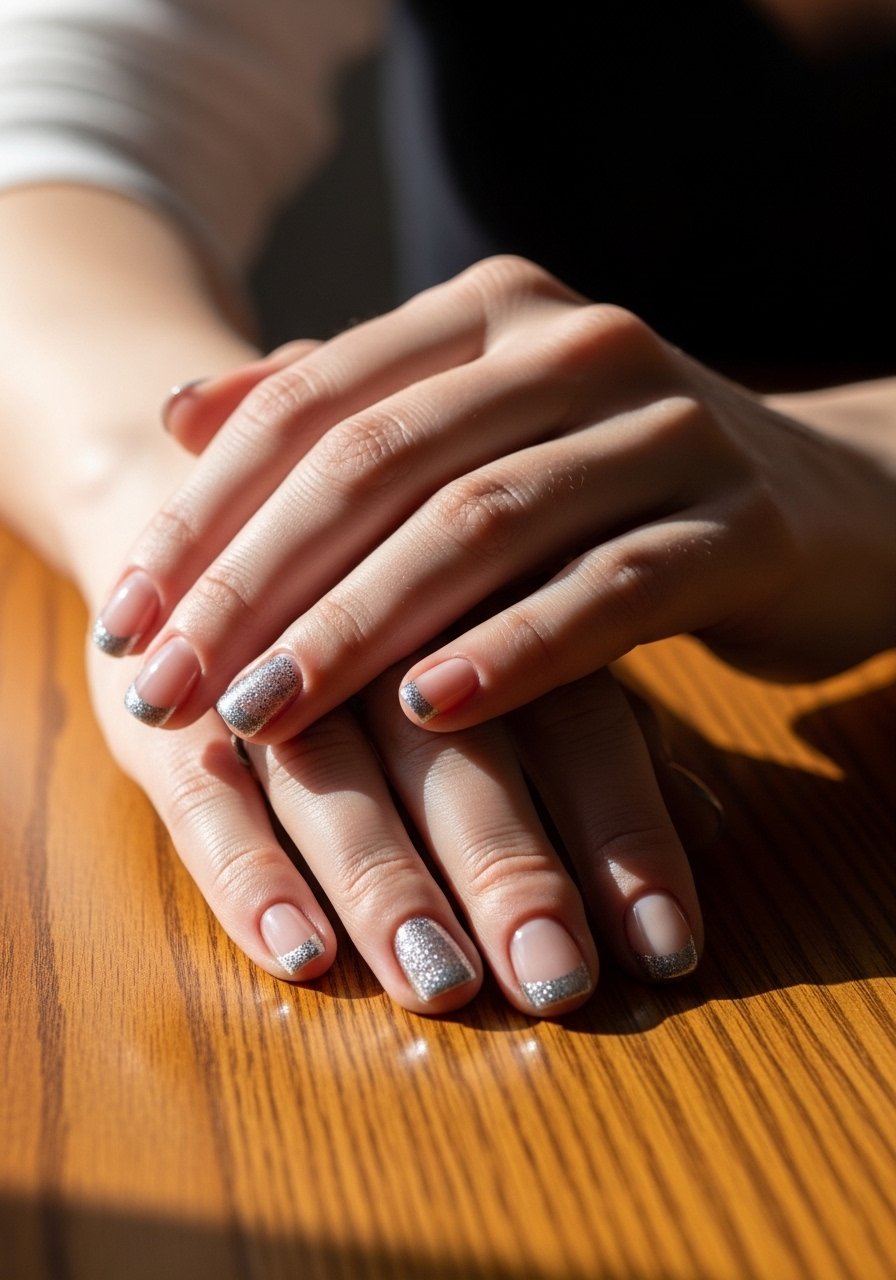
I switched my white tips for a fine line of metallic glitter and suddenly my hands looked dressed. Use nail-striping-tape for a clean edge, paint a thin glitter stroke, then remove tape. It takes about 10 minutes if you’re tidy. I once overdid the glitter and it read costume, so now I keep the band narrow. Works well when you want subtle shine without full-on drama.
Mistake to Avoid: Don't overload the brush, a thick line looks clumpy and chips faster.
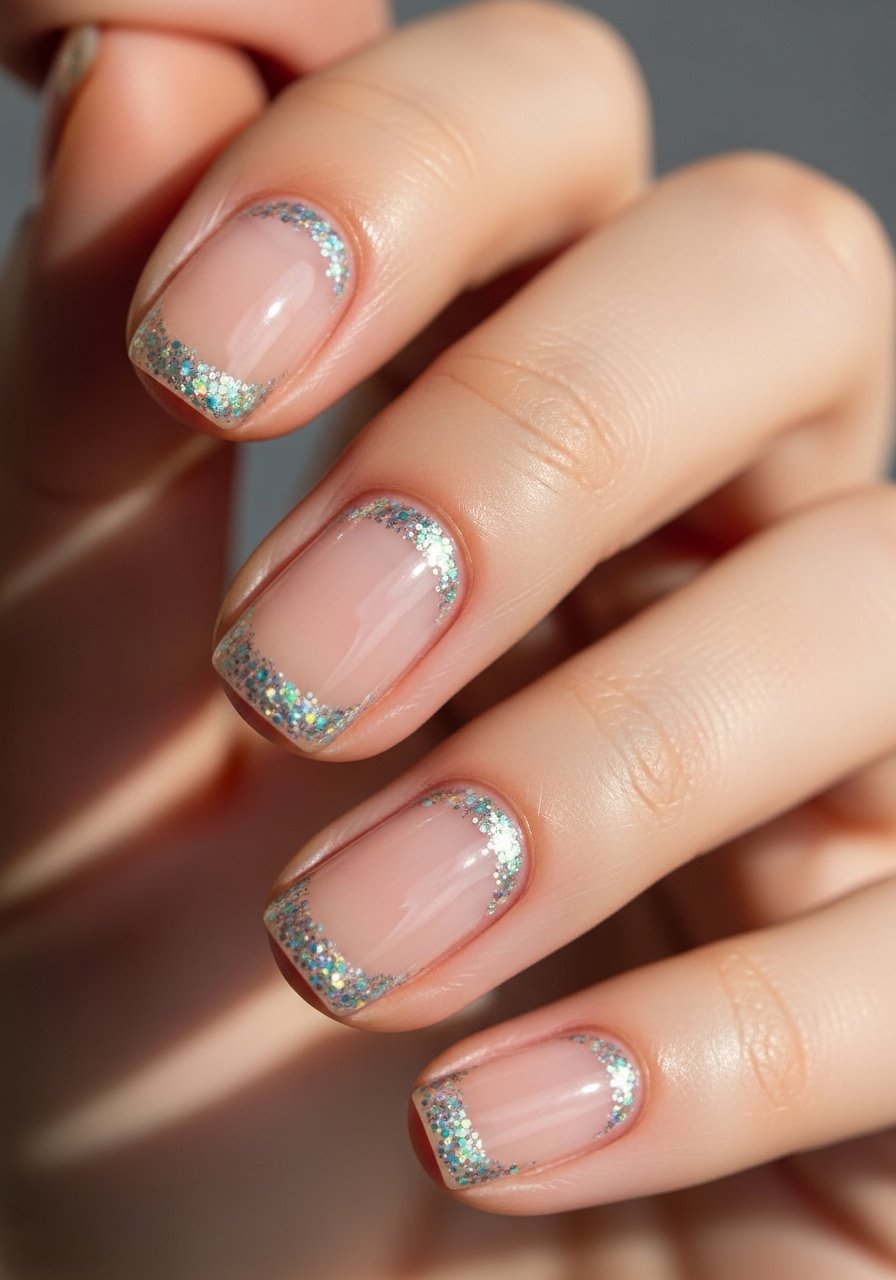
3. Negative Space Glitter Crescent
Style/Vibe: Modern minimal
Best For: Short nails, minimalist wardrobes
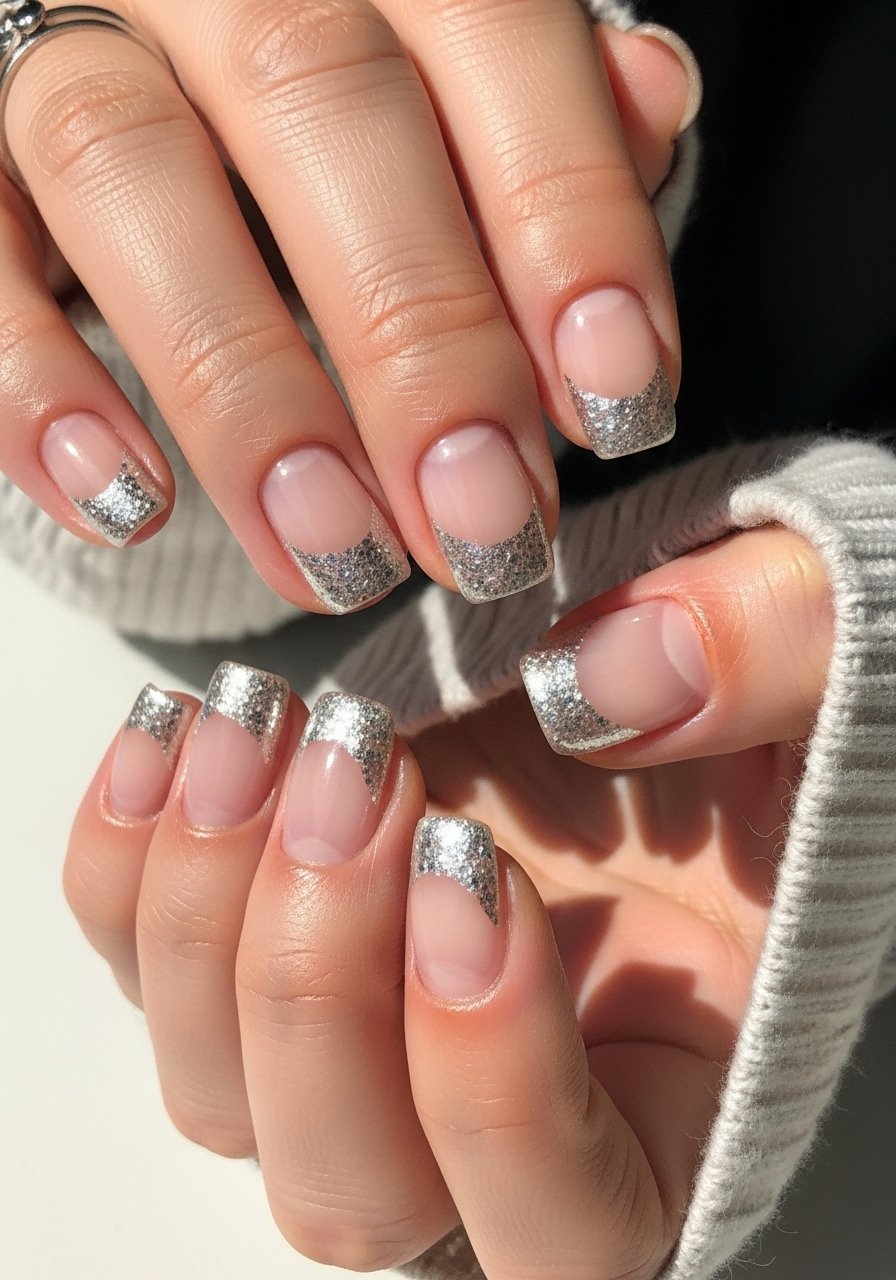
This was my go-to when I wanted something interesting but not loud. Paint a sheer or nude base, use a small brush to add a glitter crescent near the cuticle, then top coat. I used holographic-powder pressed into tacky polish for a flat, mirror-like finish. I noticed friends asked about the shape more than the color, so the negative space becomes the conversation starter.
Mistake to Avoid: Don't skip cleansing the cuticle area, or glitter will pool where it shouldn't.
4. Confetti Accent Nail
Style/Vibe: Playful pop
Best For: Accent only, short salon sessions
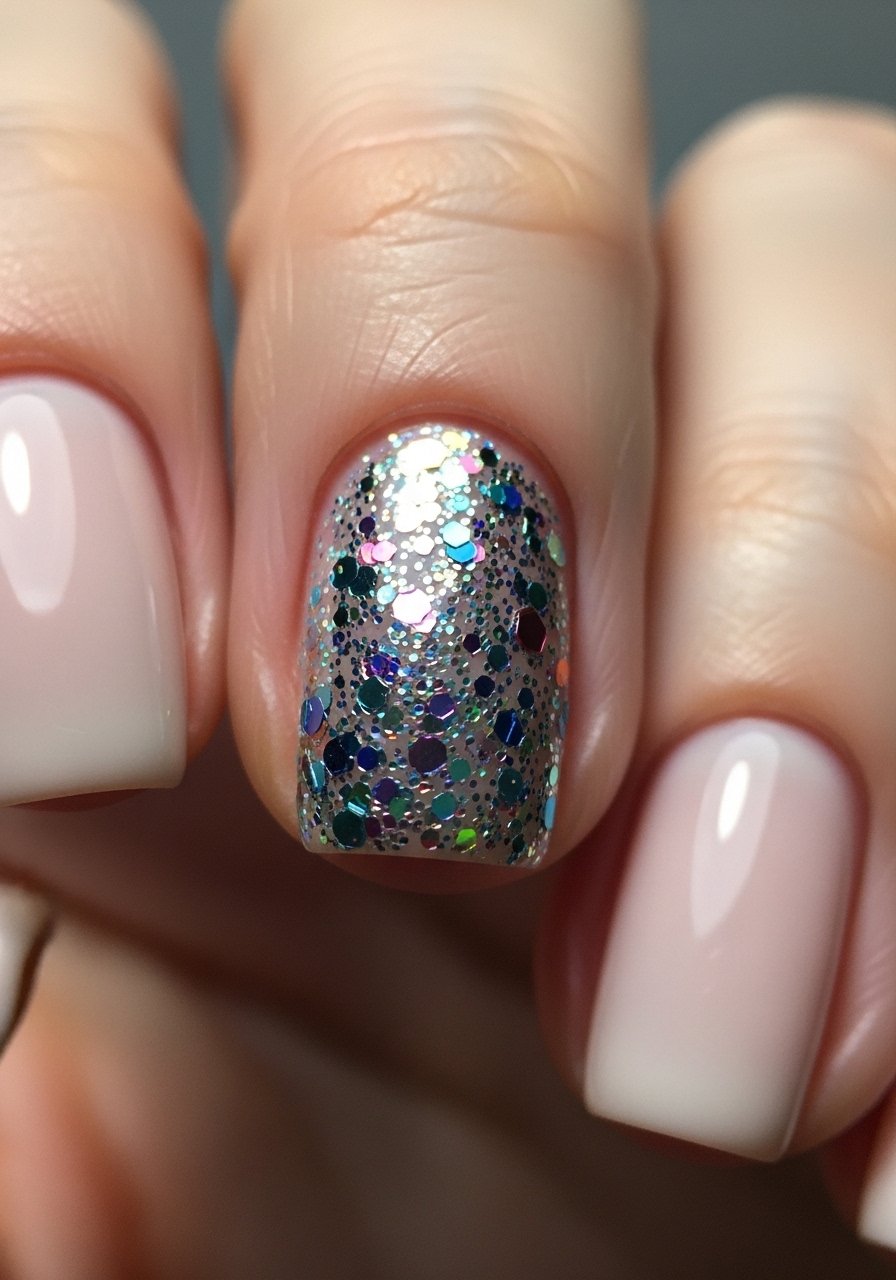
I reserve this when I want one nail to do the talking. Apply a neutral polish on all nails, then press a chunky glitter confetti mix into sticky top coat on the accent nail. I use nail-adhesive-gems for larger pieces sometimes. It lasts surprisingly well if you sandwich the confetti under a thick top coat. Three nights in a row it survived clinking glasses and phone typing.
Mistake to Avoid: Don't use too little top coat, otherwise the confetti will snag and pop off.
5. Matte Base with Glitter Tips
Style/Vibe: Contrast play
Best For: Trendy nights out, medium nails
I love the contrast of matte and glitter because it looks designer but is fast. Apply a matte top coat, then carefully paint glitter tips using glitter-nail-polish and finish only the tip with a glossy top coat if you want shine contrast. I once spilled glossy top coat on the matte area and ruined the effect, so work in stages and cure each part if you use gel.
Mistake to Avoid: Don't cover the entire nail with glossy top coat or you lose the matte contrast.
6. Glitter Gradient with Gem Accents
Style/Vibe: Glam-meets-elegant
Best For: Formal events, long nails
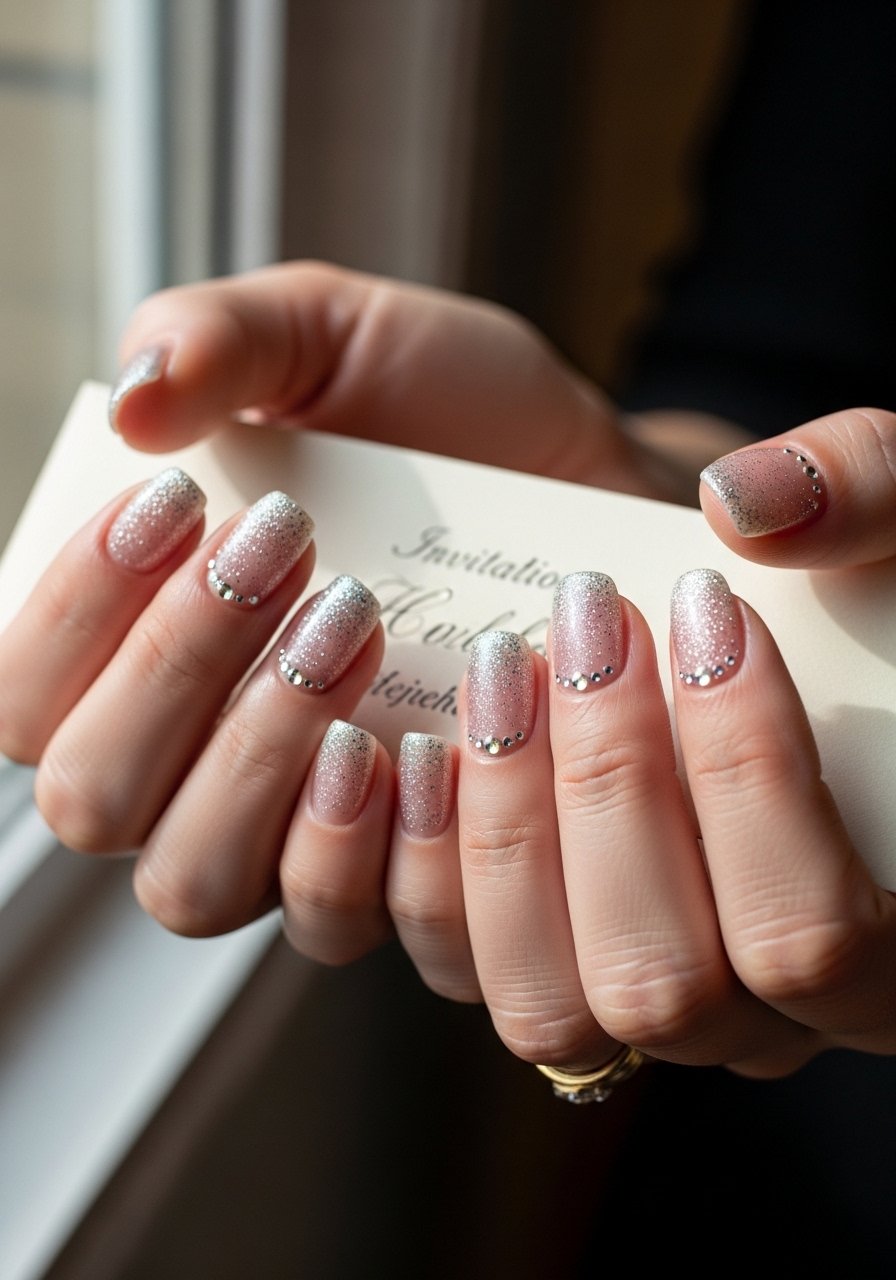
This was my wedding-plus-party compromise when I wanted sparkle that reads elegant. I blended glitter from the cuticle outward using a sponge, then added a tiny gem cluster at the base using nail-adhesive-gems. A clear builder gel holds the gems for nights of dancing. It took longer than my usual 20 minutes, but the camera photos were worth it.
Mistake to Avoid: Don't overcrowd with gems, or the nails feel heavy and catch on fabric.
7. Striped Glitter Stiletto
Style/Vibe: Edgy, graphic
Best For: Long nails, bold outfits
I went for stripes when I wanted structure with my glitter. Paint a base color, place striping tape where you want the lines, then paint glitter between the tape lines and remove it. Try nail-striping-tape that stays sticky. I learned the hard way that tape needs to be pressed down fully, or glitter bleeds. When done right, the stripes look like a polish brand did them.
Mistake to Avoid: Don't peel tape too slowly, it can pull the polish and ruin the crisp lines.
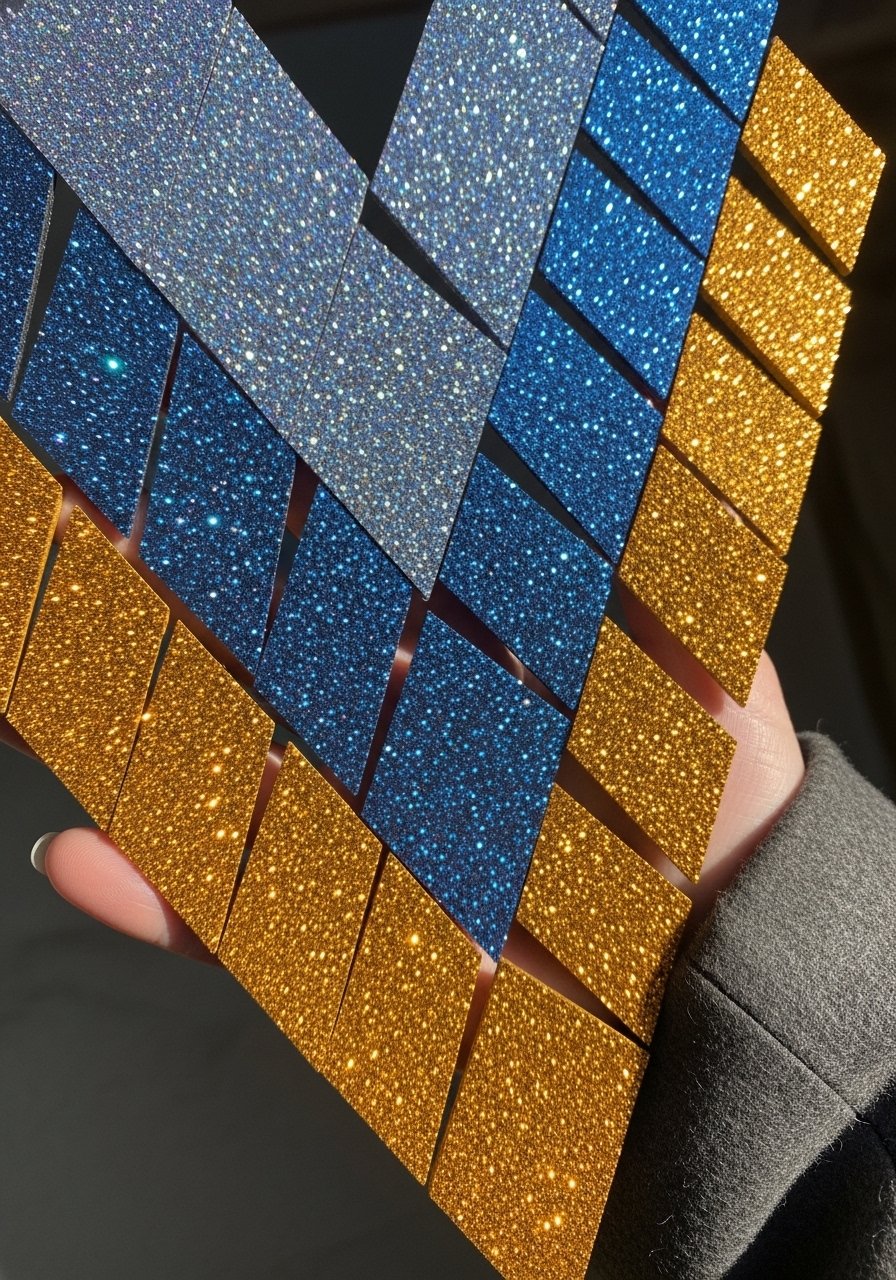
8. Holographic Glitter Fade
Style/Vibe: Futuristic shimmer
Best For: Photo-heavy nights, medium to long nails
This one catches flash photography in the best way. I press holographic powder into a tacky top coat at the center of the nail, then buff outward for a faded rainbow effect. Use holographic-powder and a soft brush for blending. I noticed this style hides tiny chips because the light distracts the eye, so it’s great for longer stretches between touch-ups.
Mistake to Avoid: Don't over-buff, or the holographic effect loses its intensity.
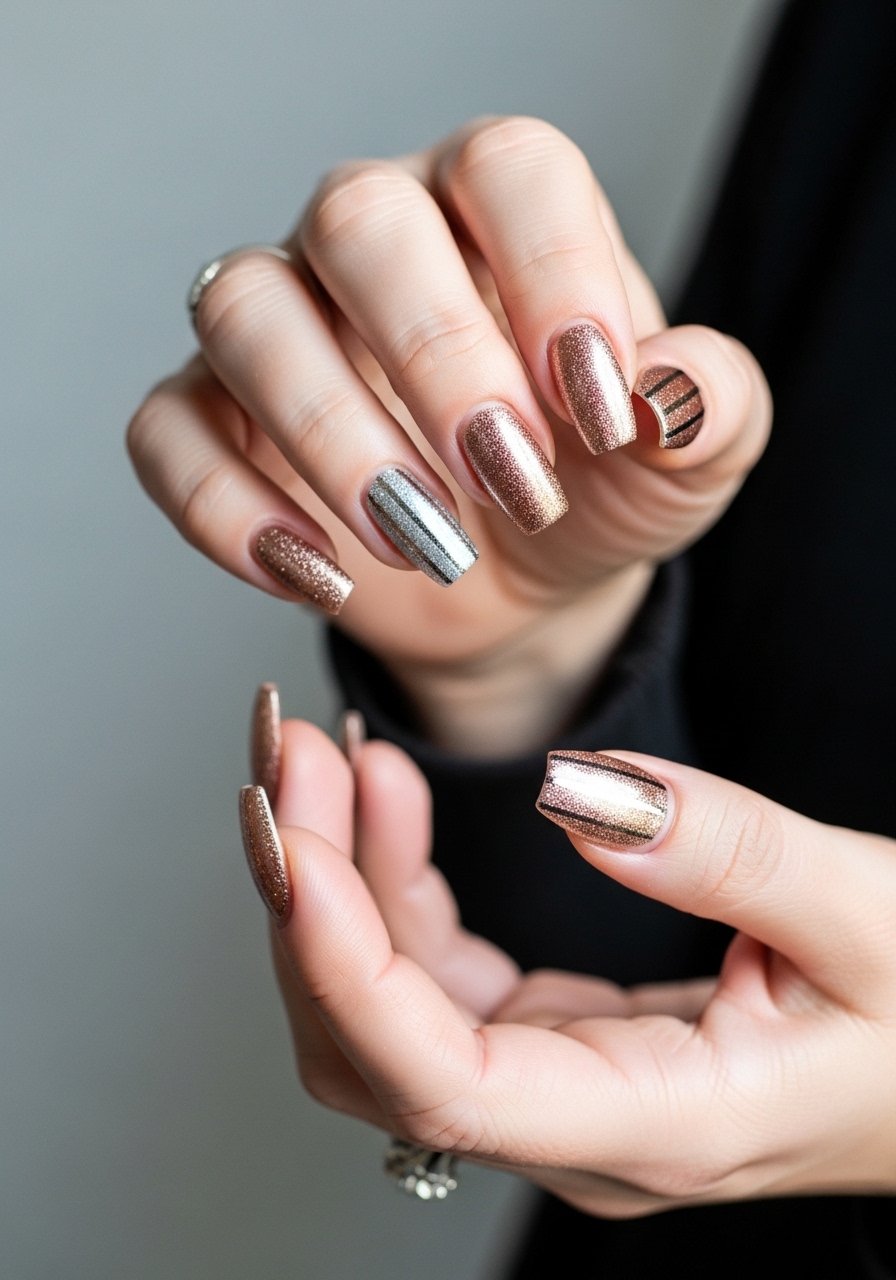
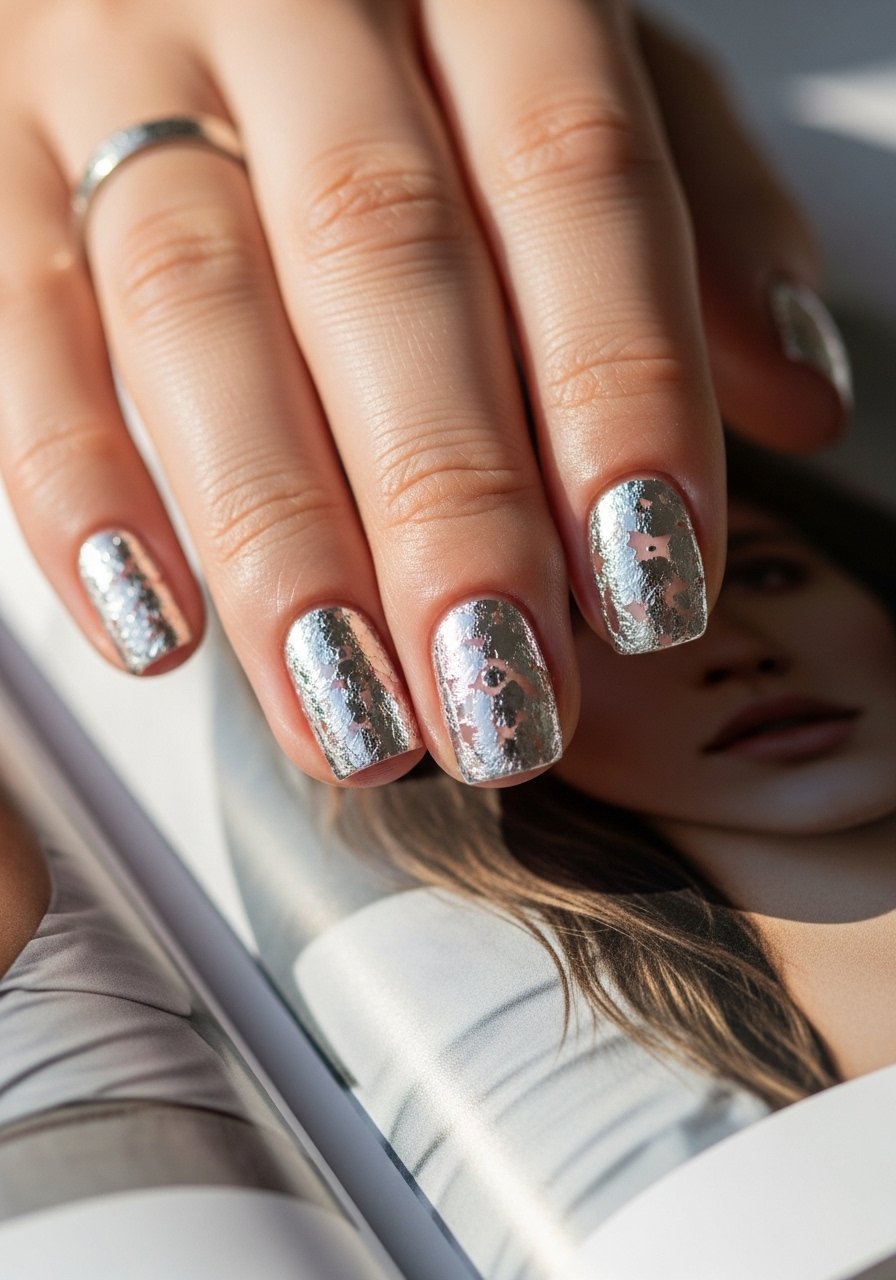
9. Chrome Glitter Duo
Style/Vibe: Sleek metallic
Best For: Short to medium nails, polished looks
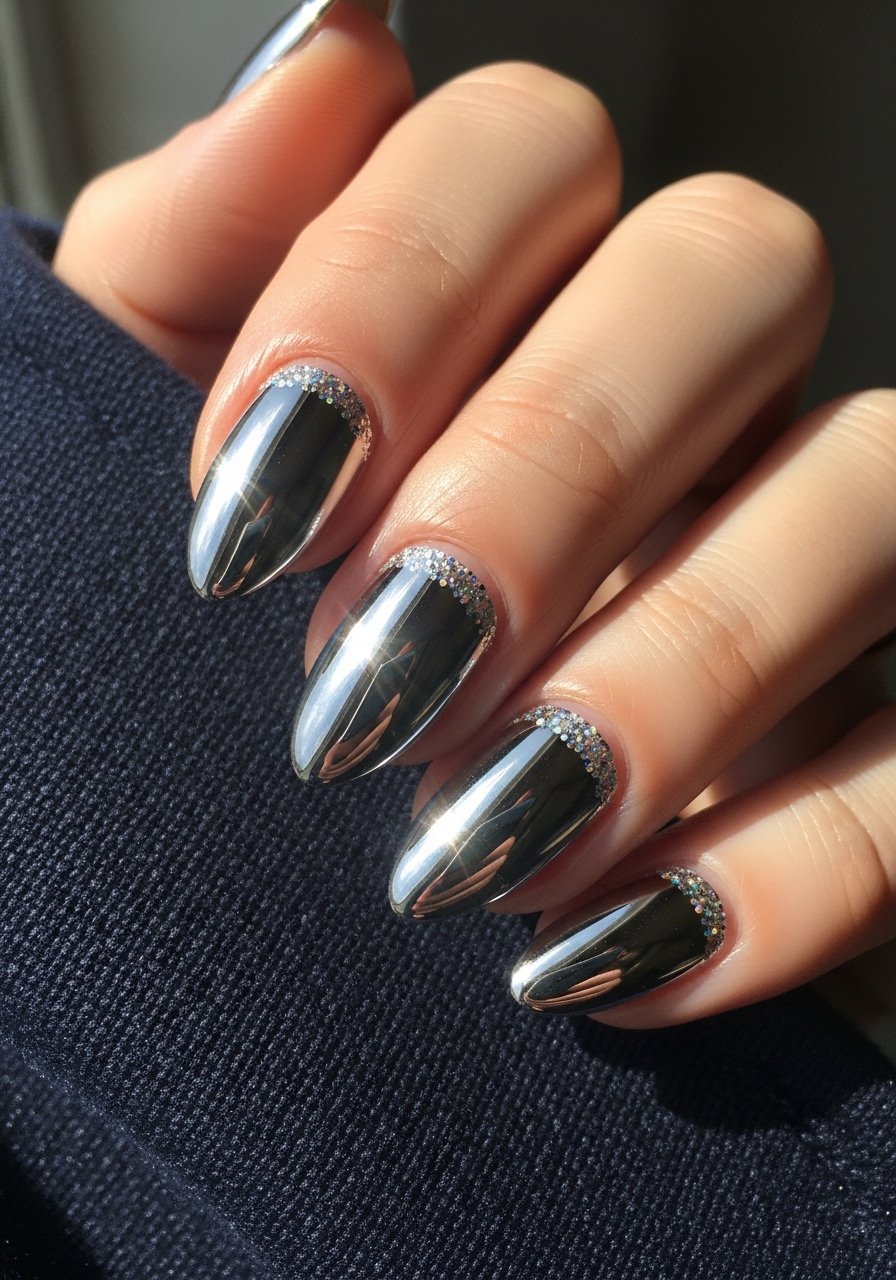
Combining chrome and glitter made my nails feel expensive without a salon trip. Apply chrome powder over black or dark base for depth, then add a line of fine glitter. I used holographic-powder for chrome effects and a micro glitter polish for the stripe. It survived a night of cocktails and held up to a few kitchen tasks, which surprised me.
Mistake to Avoid: Don't skip a sticky-free top coat or the chrome will dull quickly.
10. Glitter Marble Accent
Style/Vibe: Artsy sparkle
Best For: Medium nails, creative looks
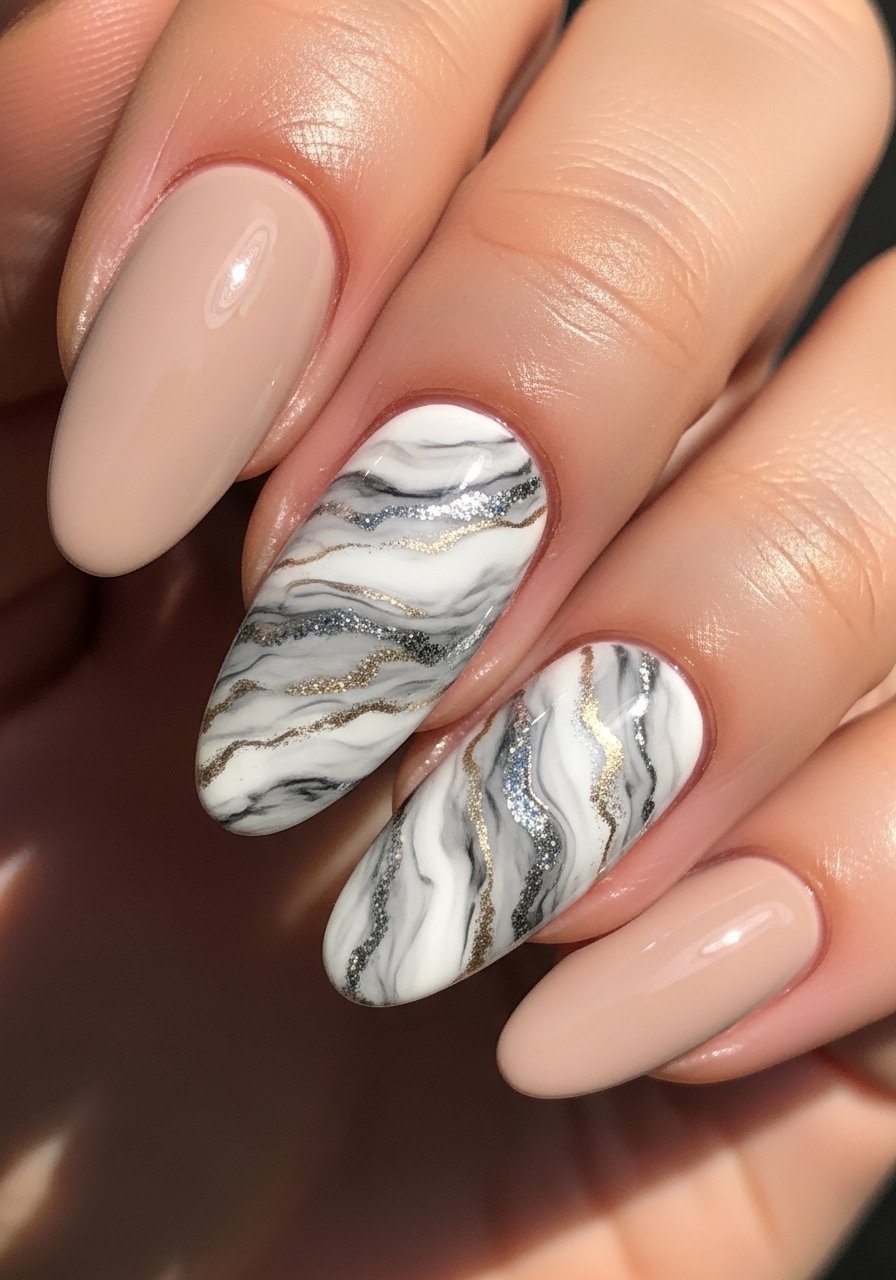
Marble plus glitter was a happy accident for me. I dropped tiny drops of polish into a clear base, swirled gently, then dusted glitter into the wet areas with a fine brush. A nail-brush-set makes the swirls easier. It takes patience but looks handmade and luxe. People asked the salon where I got them, so it reads high-end even when done at home.
Mistake to Avoid: Don't overmix the marble, or it turns into a muddy blob.
11. Glitter Half-Moon
Style/Vibe: Retro with sparkle
Best For: Short nails, vintage outfits
I rediscovered half-moon nails when I wanted retro but festive. Paint the nail with your color, place a circular guide at the base, dab glitter inside the moon, then remove the guide. nail-striping-tape or sticker guides help. This one survived cocktail rings and was a quiet party pleaser. I kept the moons small for less bulk and better longevity.
Mistake to Avoid: Don't place guides over wet polish, they will peel off the base color.
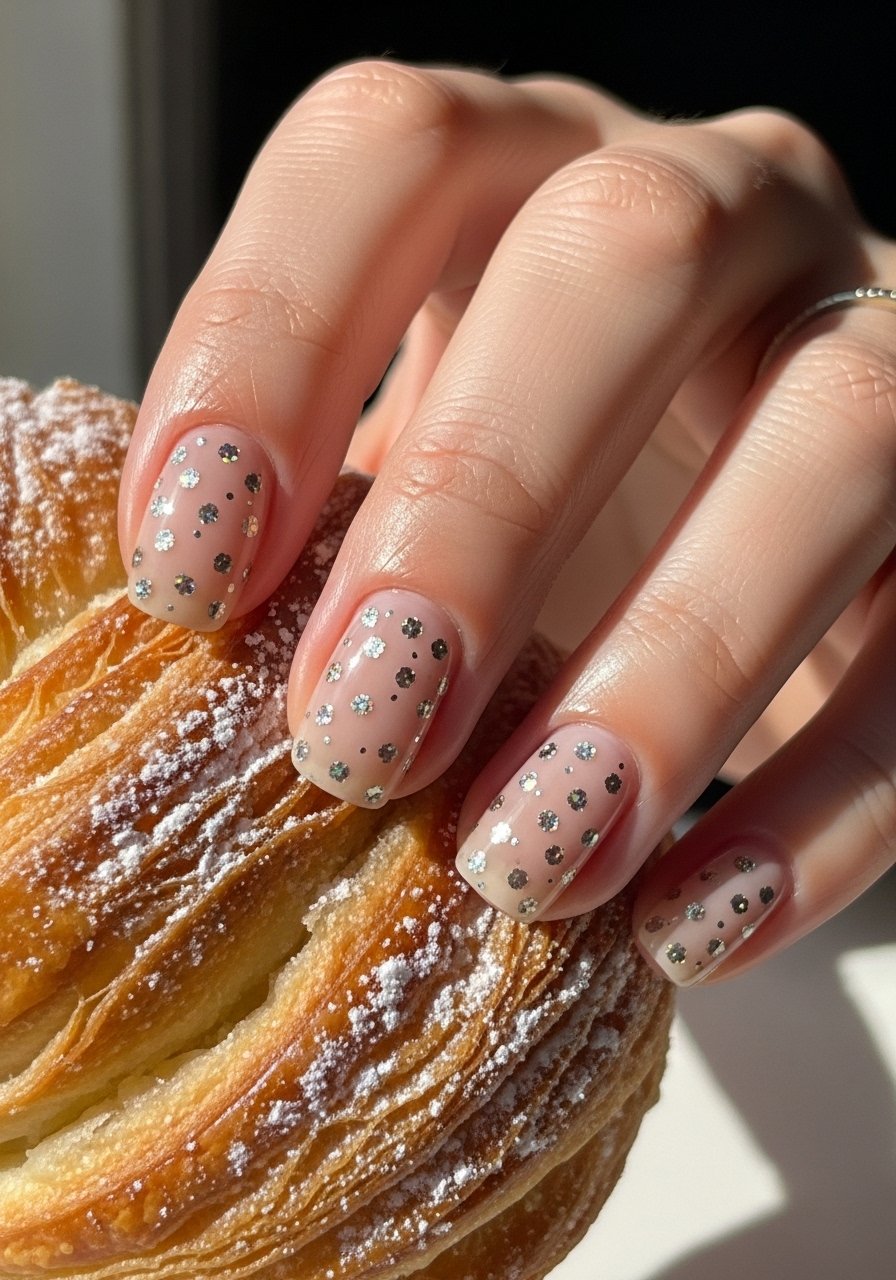
12. Sheer Nude with Micro Glitter
Style/Vibe: Understated shimmer
Best For: Office-friendly parties, very short nails
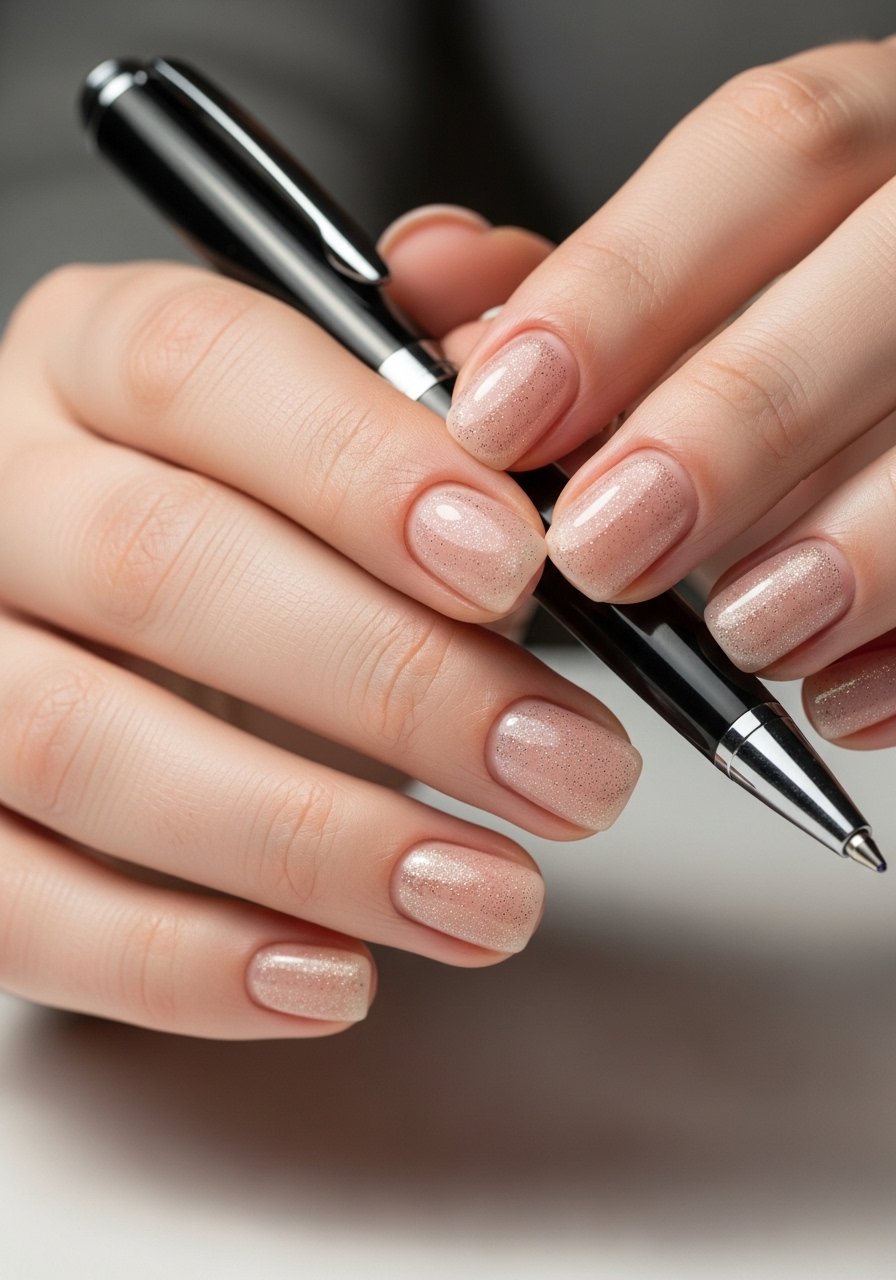
When I want sparkle that reads mature, I use micro-glitter over a sheer nude base. It’s basically a secret shimmer. One coat of glitter-nail-polish and a thin top coat keeps it office-appropriate and party-ready. I’ve found this style gets compliments from coworkers who usually skip comment on nails, so it’s a subtle attention-grabber.
Mistake to Avoid: Don't pile glitter, a heavy hand makes it look like craft supplies.
13. Glitter Foil Flakes
Style/Vibe: Textured luxe
Best For: Accent nails, editorial looks
Flaky foil gives a raw, editorial vibe that lasted through a weekend festival for me. Apply a tacky top coat, press on foil flakes with tweezers, and seal. I use nail-adhesive-gems style tools for placement. The uneven texture adds depth, and it survives hugs and handshakes if you seal properly.
Mistake to Avoid: Don't skip sealing the edges, flakes will lift and catch on fabric.
14. Glitter Polka Dot Accent
Style/Vibe: Cute and flirty
Best For: Short nails, casual parties
Dots are my quick brunch-to-party trick. I dot a clear top coat, drop tiny glitter in each dot with a toothpick or dotting-tool-kit, then seal. It takes five minutes and looks put together. I noticed this gets giggles at dessert tables, and it’s forgiving if you’re not precise.
Mistake to Avoid: Don't let the dots dry before adding glitter, it won't adhere well.
15. Glitter and Rhinestone Cluster
Style/Vibe: Maximalist glam
Best For: Special events, long nails
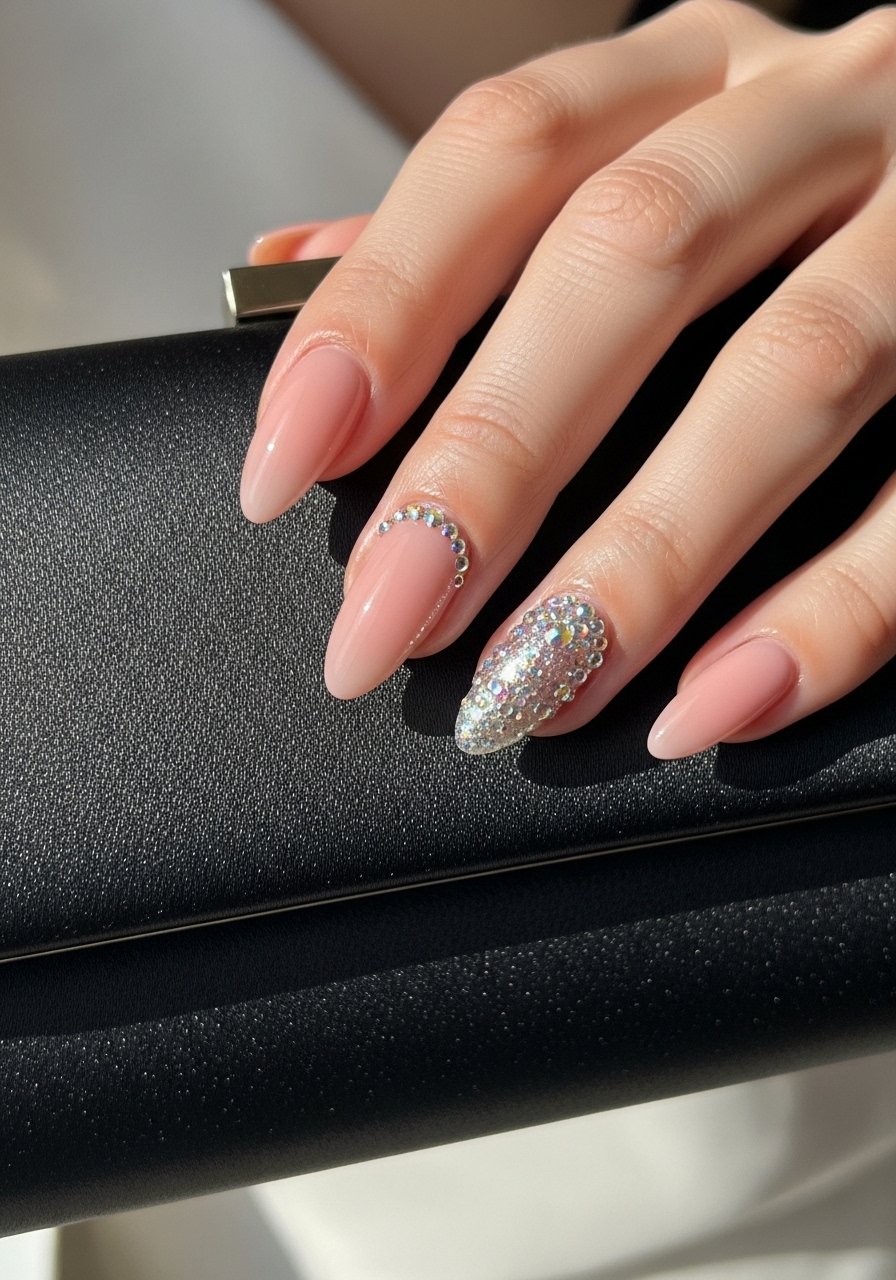
I pull this out for big celebrations when I want jewelry on my nails. Use a builder gel or strong nail glue and position rhinestones with a tool, then scatter micro-glitter around them. nail-adhesive-gems is handy for precise placement. It’s heavier, so I only do one or two cluster nails to avoid catching on fabric.
Mistake to Avoid: Don't use weak glue, the stones will fall off within hours.
16. Neon Glitter Pop
Style/Vibe: Energetic and fun
Best For: Outdoor parties, short nails
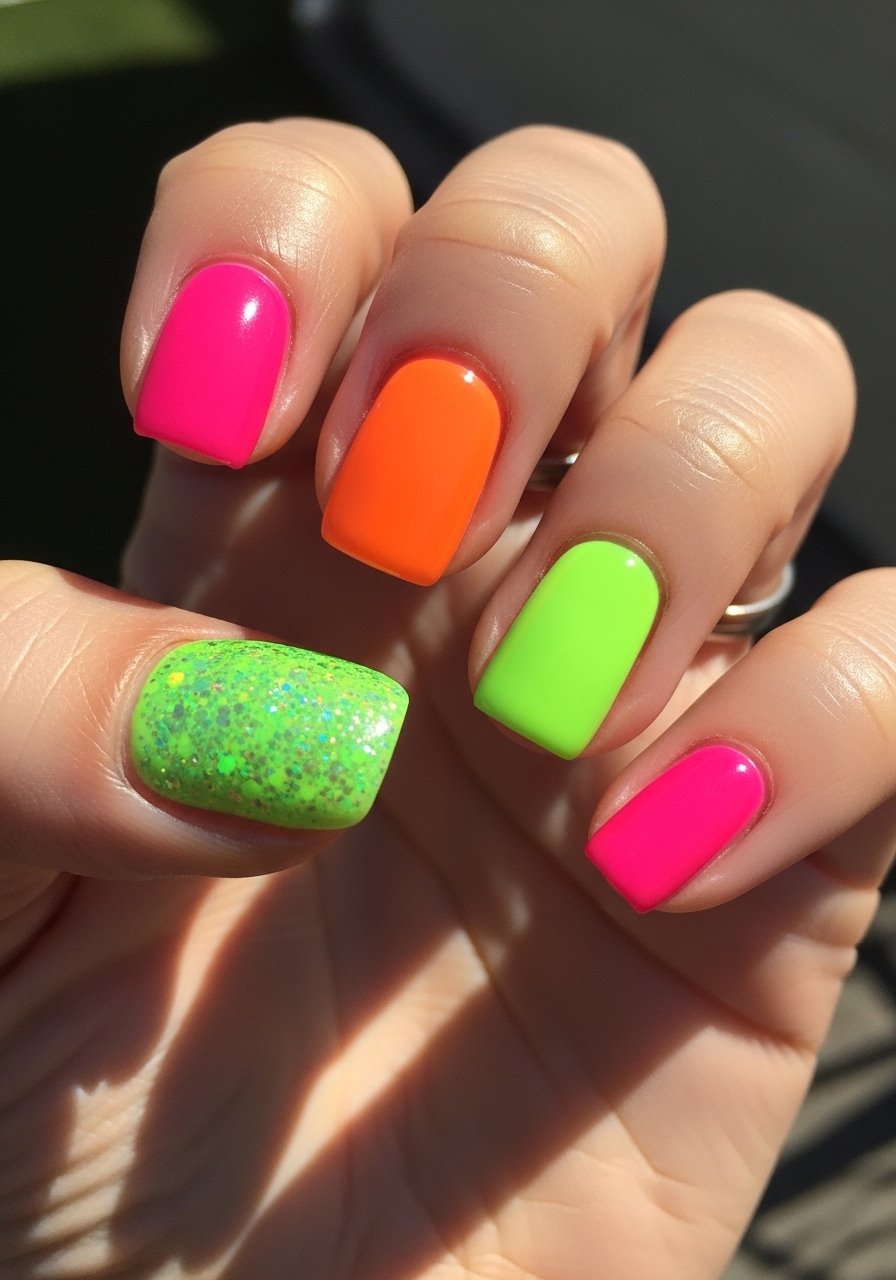
Neon glitter wakes up an otherwise neutral set, and I love it for summer cocktail hours. Paint one nail in a neon glitter polish or layer micro-glitter on neon base. glitter-nail-polish in neon shades stands out in daylight. I once used neon on every nail and it was too loud, so I stick to one or two accents now.
Mistake to Avoid: Don't pair neon with busy outfits, it competes and looks chaotic.
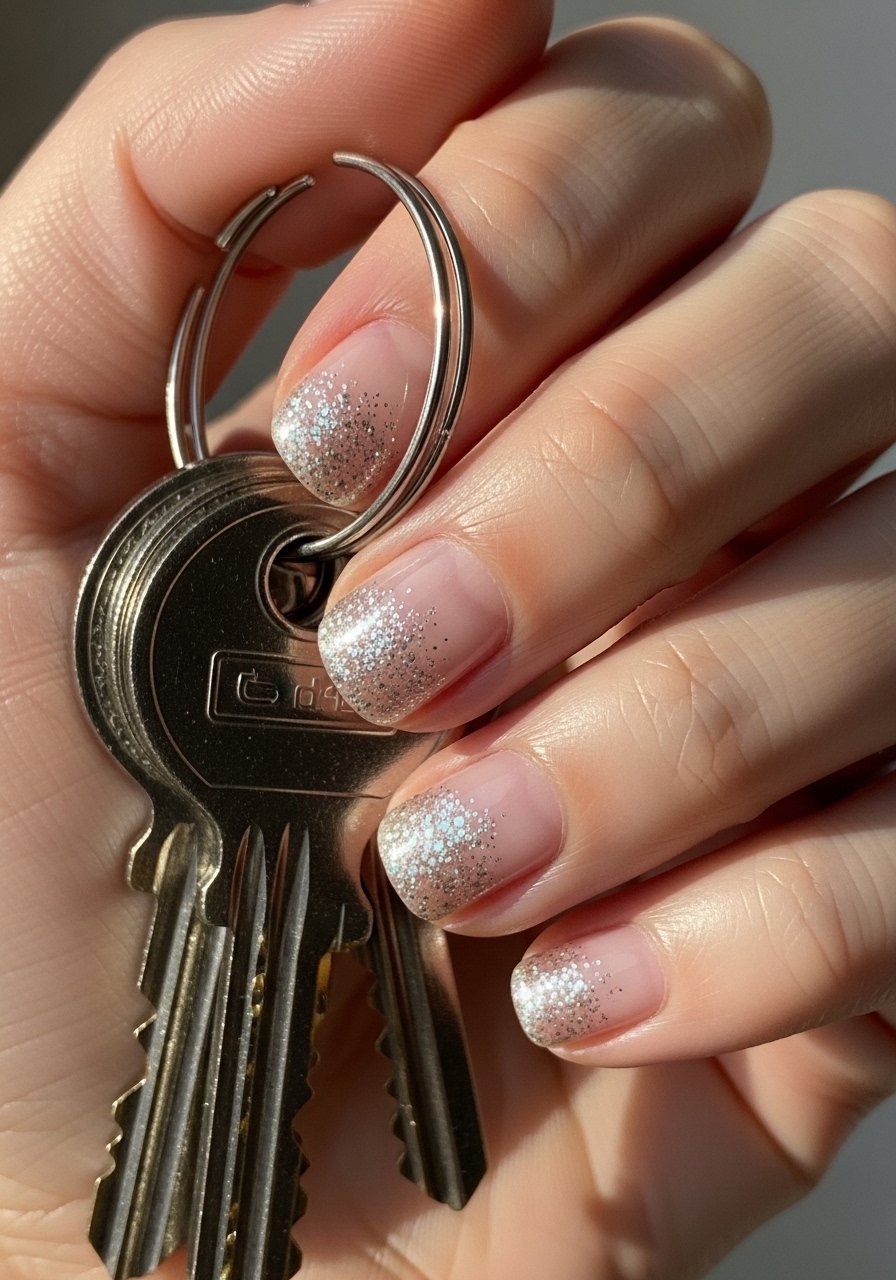
17. Subtle Cuticle Glitter Line
Style/Vibe: Tiny detail, wow effect
Best For: Minimalists, short nails
A thin line of glitter by the cuticle is my secret for looking put together fast. Use a tiny brush to place glitter where a metal ring would sit. nail-brush-set helps. It’s low-maintenance and hides regrowth because the line sits away from the free edge. I got this look in under 15 minutes twice before a dinner date.
Mistake to Avoid: Don't draw the line too close to the cuticle or it will look like polish flooding.
18. Reverse French Glitter Band
Style/Vibe: Contemporary twist
Best For: Medium nails, fashion events
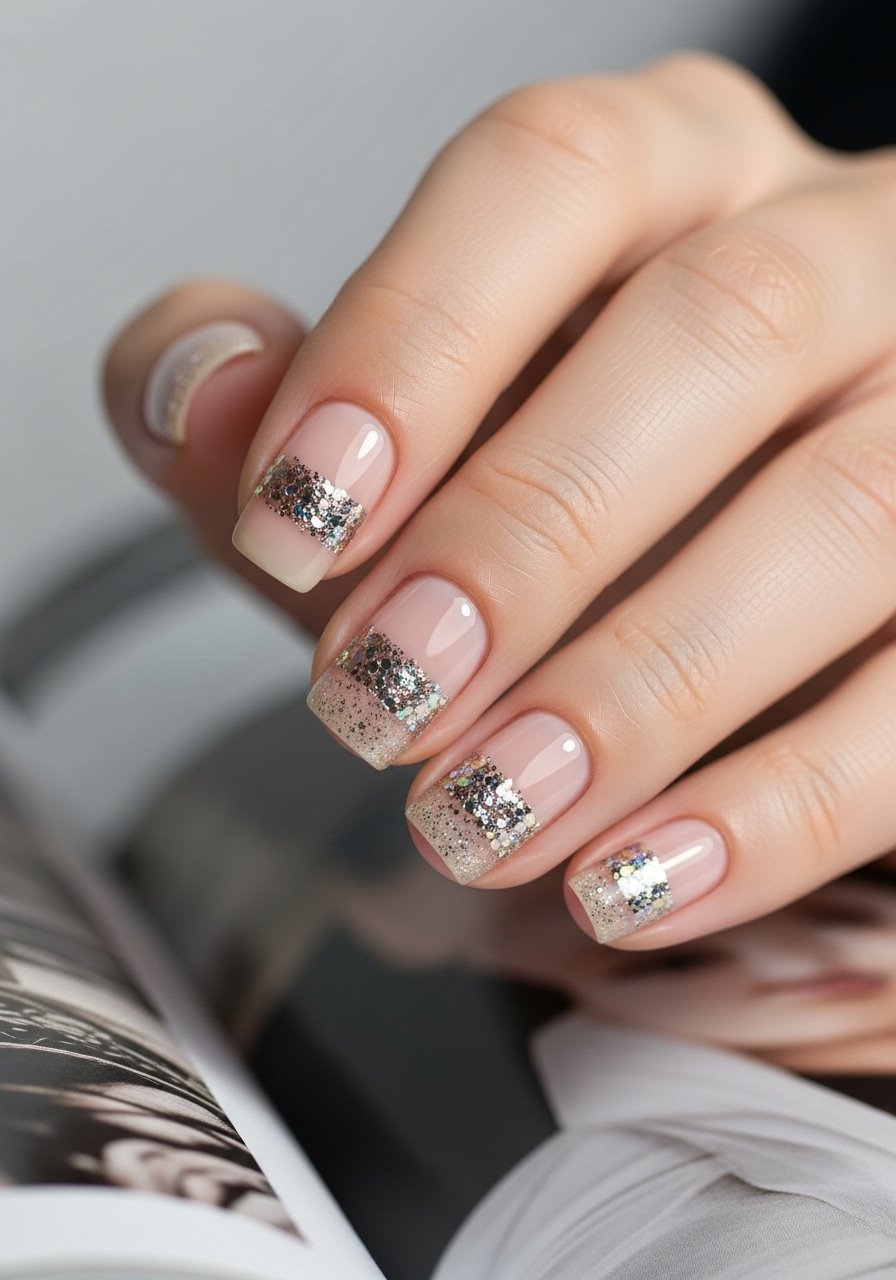
Reverse French is a band of glitter across the middle of the nail, and it photographs really well. I paint a solid base, place striping tape to mark the band, paint glitter over it, then remove tape. nail-striping-tape ensures crisp edges. It’s less traditional and gets comments when I’m at fashion events.
Mistake to Avoid: Don't use thick tape that lifts polish when removed.
19. Two-Tone Glitter Chevron
Style/Vibe: Graphic and chic
Best For: Medium to long nails, fashion-forward looks
I used chevrons to match a color-block dress once and it tied the whole outfit together. Paint the base, use tape to form the V, apply one glitter tone in the V and another outside it, then top coat. A nail-brush-set helps clean lines. It’s bold but wearable when you limit the palette.
Mistake to Avoid: Don't skip pressing the tape down firmly, or the chevron edges will fuzz.
20. Galaxy Glitter Swirl
Style/Vibe: Cosmic and dreamy
Best For: Photo nights, medium nails
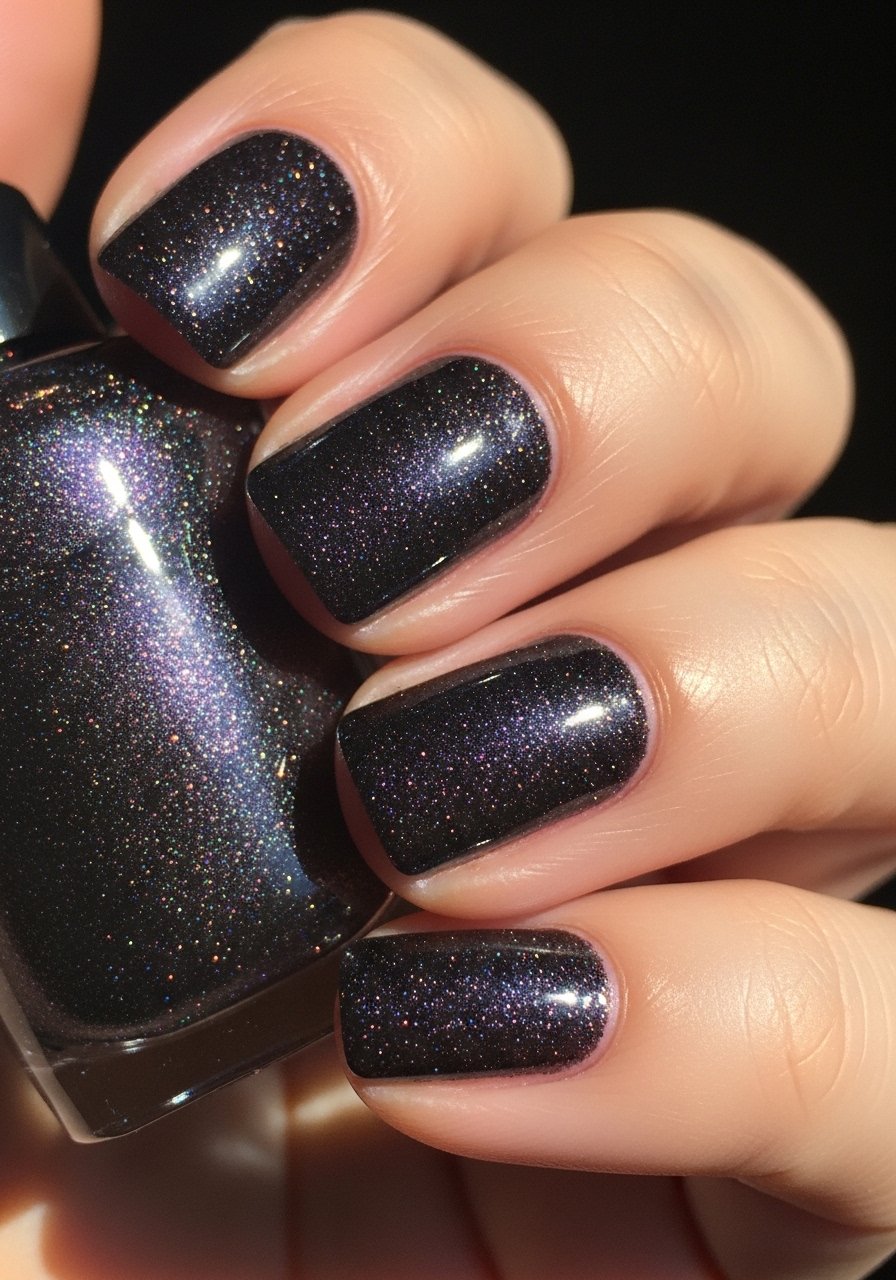
I tried galaxy nails when I wanted dreamy sparkles that read complex. Build a dark base, dab glitter clusters and use a small brush to blur edges into swirls. I used holographic-powder for stars. It hides tiny mistakes and looks richer than the effort required, I promise.
Mistake to Avoid: Don't use too many base colors, or the galaxy becomes muddy.
21. Metallic Line Ombre
Style/Vibe: Polished and structured
Best For: Cocktail parties, medium nails

I like a metallic stripe to make an ombre look more intentional. Blend two colors, then use a thin brush to lay a metallic glitter line where they meet. nail-striping-tape helps keep it straight. It photographs well and the line hides small blending mistakes.
Mistake to Avoid: Don't skip smoothing the base before adding the metallic line, bumps show under the stripe.
22. Heart-Shaped Negative Space with Glitter
Style/Vibe: Romantic and playful
Best For: Date nights, short nails
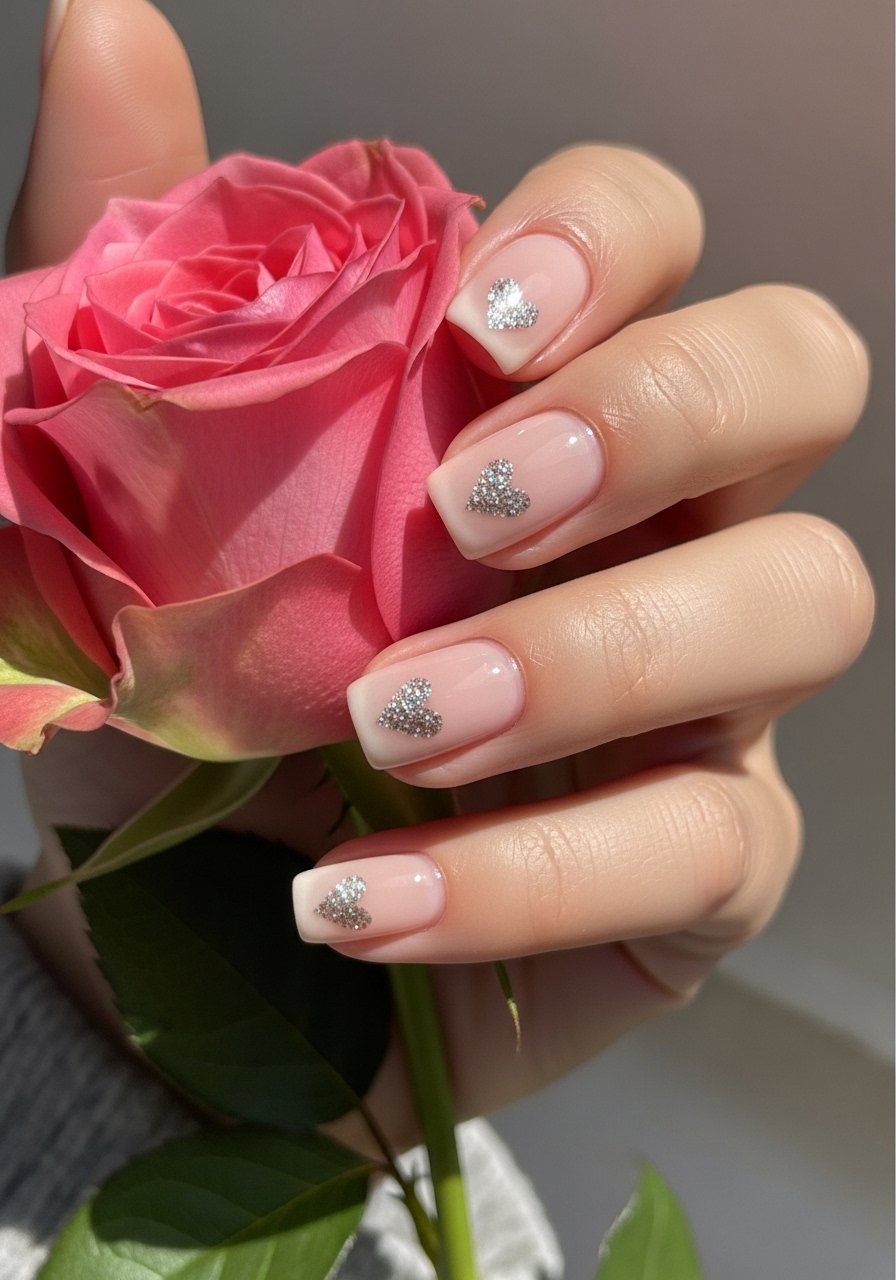
I did hearts for a Valentine’s party and it made the look feel curated, not childish. Paint the base, use a small heart sticker to mask the area, dab in glitter, and remove the sticker. dotting-tool-kit is great for cleanup. It’s a sweet detail that reads intentional.
Mistake to Avoid: Don't use stickers that are too big for your nail surface, hearts will look awkward.
23. Matte Glitter Ombre
Style/Vibe: Soft sparkle with low shine
Best For: Subdued parties, fall events
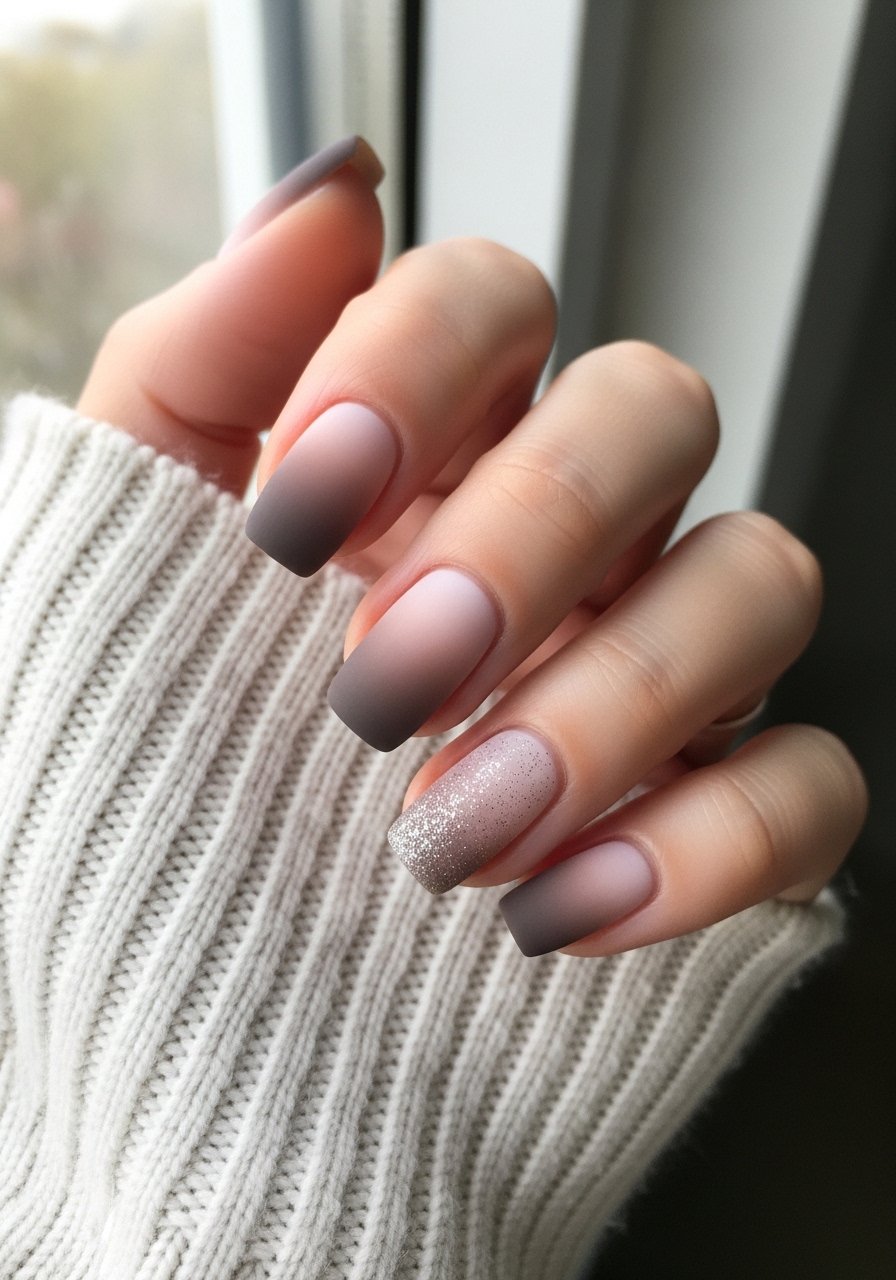
Turning glitter matte makes it less party-crazy and more cozy. Create a glitter ombre, then gently apply a matte top coat. I used quick-dry-top-coat and then a matte finish. It looks intentional but won’t blind anyone. Great for cocktail parties in cooler months.
Mistake to Avoid: Don't rub the matte coat too soon, you can smudge the glitter placement.
24. Glitter Lace Stamping
Style/Vibe: Delicate and ornate
Best For: Formal gatherings, medium nails
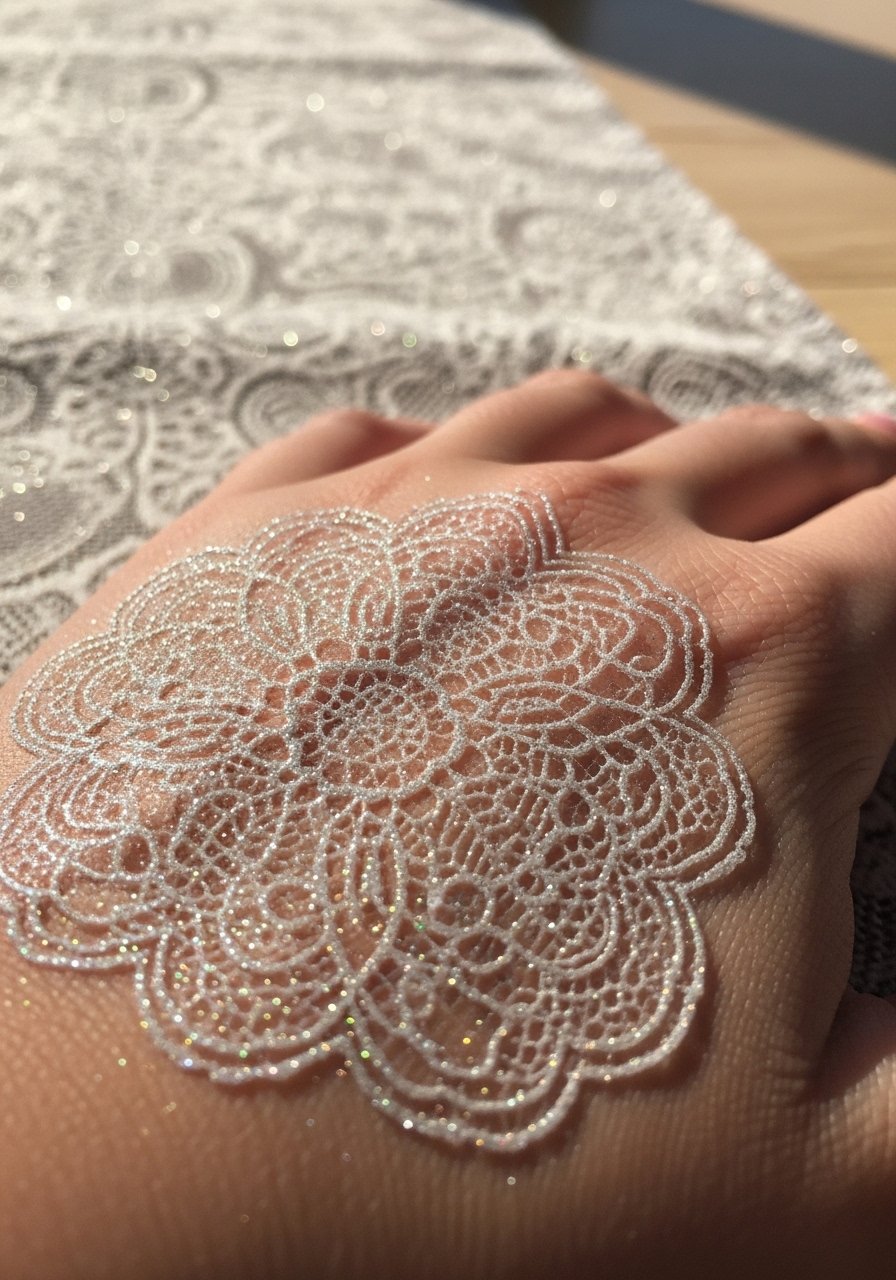
Stamping lace with glitter makes nails feel intricate without freehand skill. Use a nail-stamping-kit and glitter polish to transfer patterns. I had a minor learning curve but once I got pressure down, results were salon-level. Works best when you use a single-color glitter for clarity.
Mistake to Avoid: Don't press the stamper at an angle, you'll get half-transferred patterns.
25. Clear Jelly Encapsulation with Glitter
Style/Vibe: Depthy and glossy
Best For: Long-lasting wear, medium to long nails
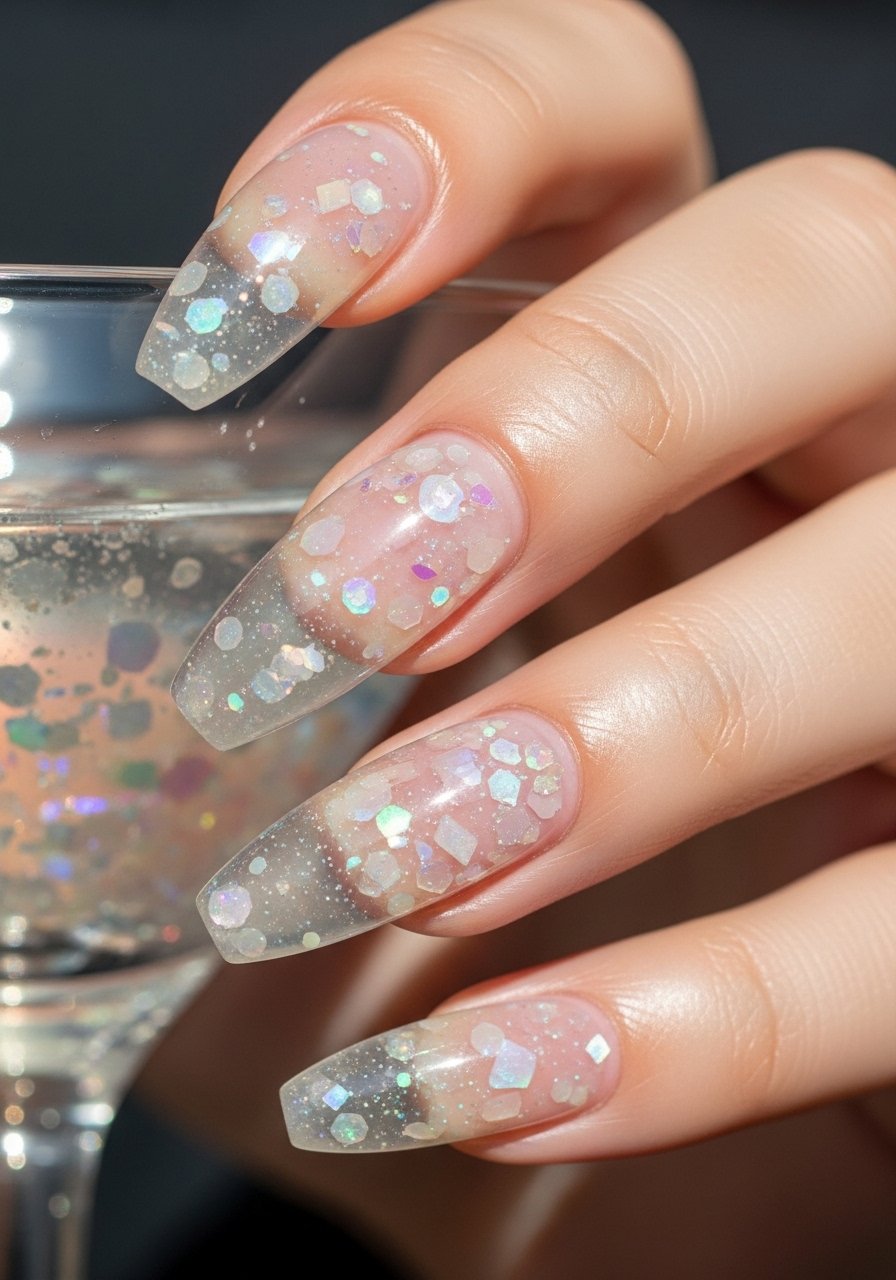
Encapsulation keeps glitter from flaking and gives a glassy look. Place glitter on a base, then encapsulate with clear builder gel or thick top coat. I use base-coat-nail-polish and then a builder layer. It’s what survived my luggage toss during travel and still looked intact at the afterparty.
Mistake to Avoid: Don't trap air bubbles under the gel, they ruin the encapsulated look.
26. Glow-in-the-Dark Glitter Overlay
Style/Vibe: Fun and unexpected
Best For: Night events, raves
This is one of my fresh favorites for late-night events. Use a glow-in-the-dark base or powder, then layer transparent glitter over it. holographic-powder works for the glitter effect and a glow base makes it pop under black lights. It turned heads at a rooftop party and lasted until dawn.
Mistake to Avoid: Don't rely on glow alone, test in low light first to ensure visibility.
27. Glitter Accent on Short Nails
Style/Vibe: Practical sparkle
Best For: Busy hands, everyday parties
Short nails can still sparkle and stay functional. I apply a nude base, then add a small crescent or dot of micro-glitter near the tip using a dotting-tool-kit. It lasts through keyboard use and feels polished. I noticed my short-nail friends get the most curious comments because it’s unexpected and tidy.
Mistake to Avoid: Don't over-embellish short nails, the design will look crowded and shorten the visual length.
Nail Tips
Prep with a clean canvas: Buff gently, push cuticles back, and use base-coat-nail-polish for adhesion, I skip this and regret it every time.
Seal edges: Swipe top coat over the free edge to prevent lifting, I learned this after chips ruined a night out.
Use a sponge for gradients: A makeup sponge packs glitter without bulk, and it saved me time when I wanted an ombre look fast.
Secure 3D bits with builder gel: For rhinestones and foils, a gel base holds better than glue in my experience, I bring a small vial to touch up if needed.
Less is more with chunky glitter: Reserve chunky pieces for accents, they catch on sleeves; micro-glitter lasts longer and looks refined.
Carry a tiny repair kit: A small clear polish and a couple of loose glitters in a zip bag fixed one emergency manicure at a bar sink, true story.
