
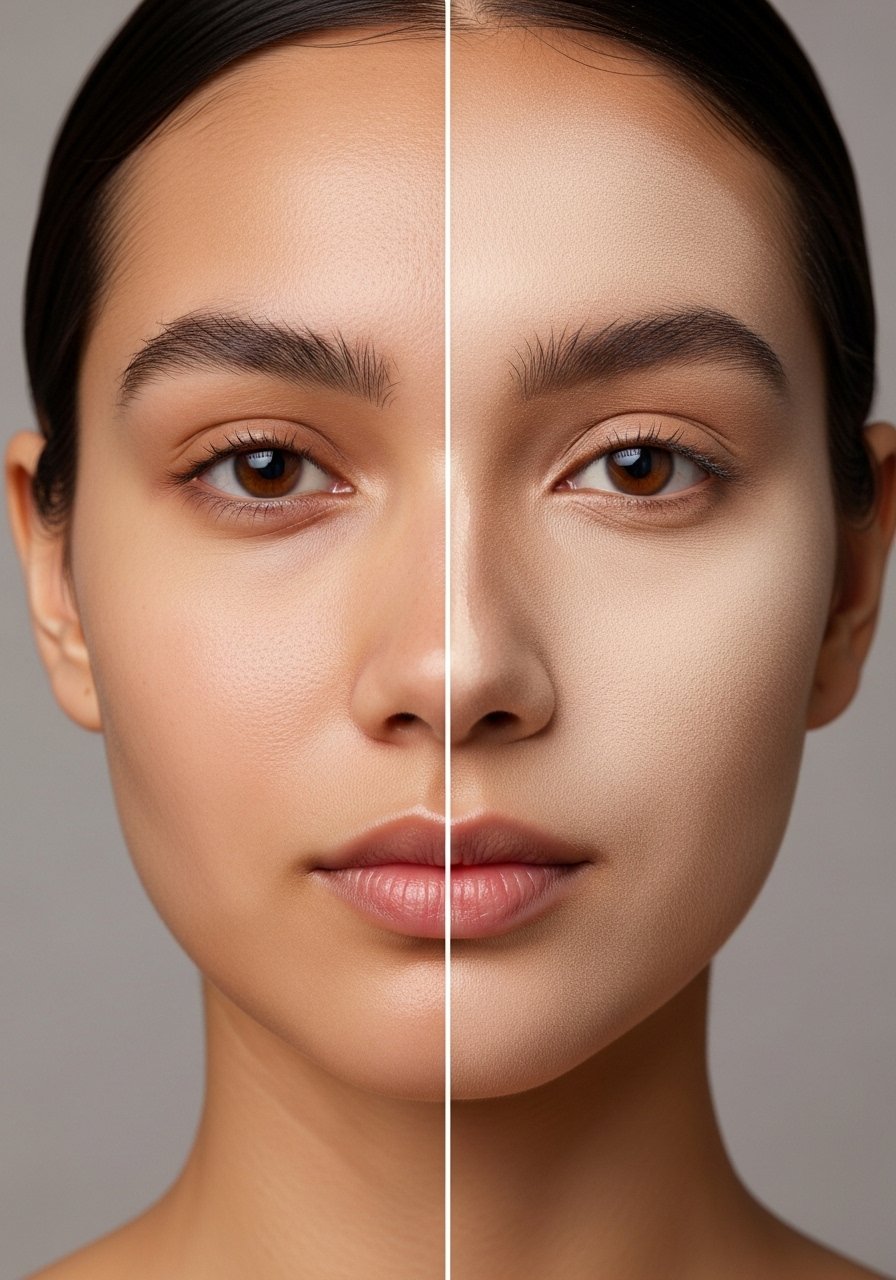
I kept putting full-coverage foundation on the skin that still felt tacky from moisturizer. Photos looked flat, my nose oxidized, and by lunchtime the whole thing migrated. It took swapping one step and timing it by 90 seconds to stop looking like I had painted a mask. That click happened on a packed morning when I only had a mirror and a bus ride to judge results.
If you want a weekday face that survives coffee, humidity, and a quick Zoom, this list is for you. These tips lean realistic glam, with mostly drugstore to midrange finds and a few splurges. Most take under five minutes once you get the sequence, and they work for oily, dry, and combination skin when you read the small print about undertones and primers. After six weeks of testing this routine I tightened the steps to what actually matters.
1. Start With A Clean, Slightly Damp Canvas

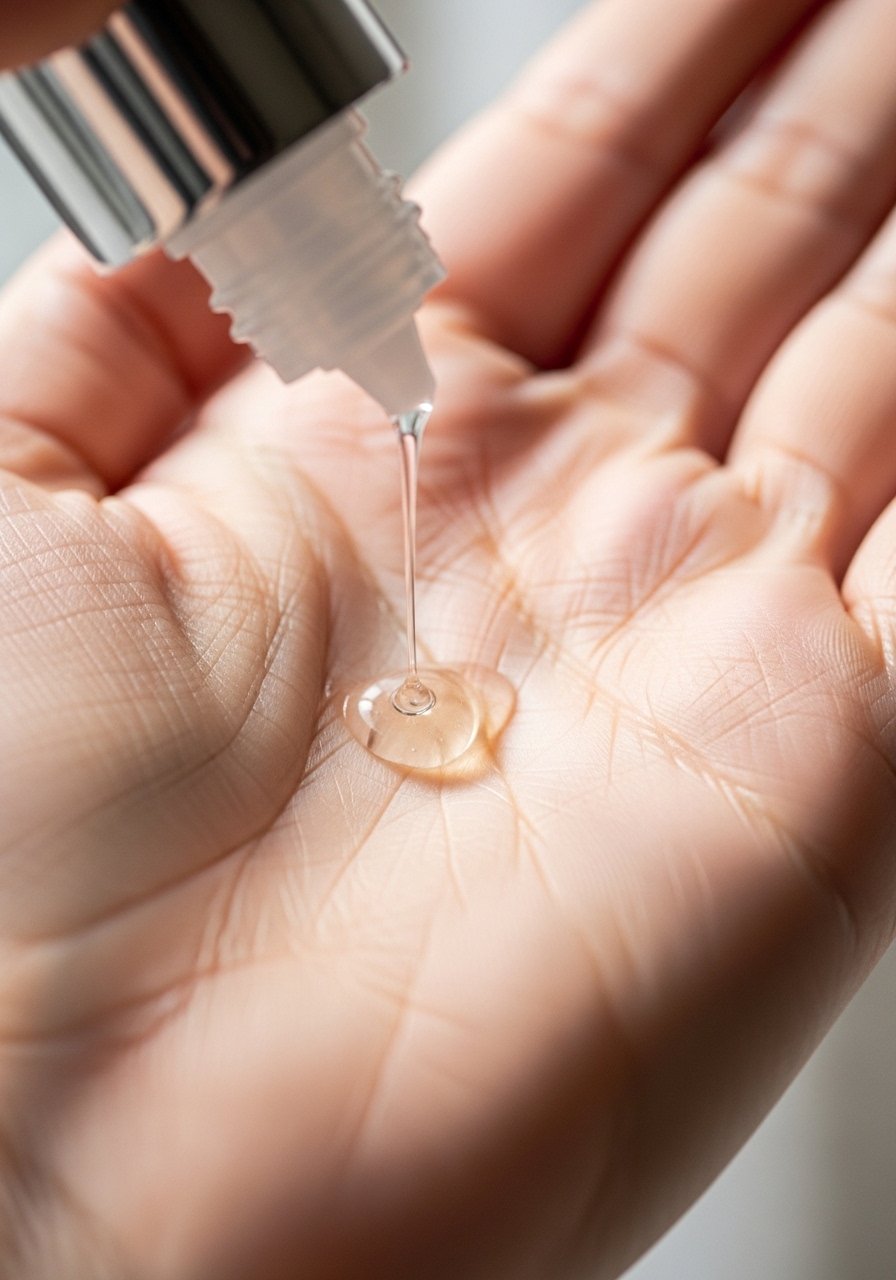
I rinse my face with warm water, pat a damp microfiber towel, then apply a serum that sinks in within 60 to 90 seconds. Damp skin helps water-based primers bind foundation instead of repelling it. For dry skin try a pump of a hyaluronic serum and wait exactly 90 seconds before primer. Pair with a pack of microfiber face cloths for quick, consistent drying.
Mistake to Avoid: Rubbing moisturizer until your skin is glossy. Press, then wait 60 to 90 seconds so layers settle.
2. Use 0.5 Pump Per Face Zone, Not One Blob
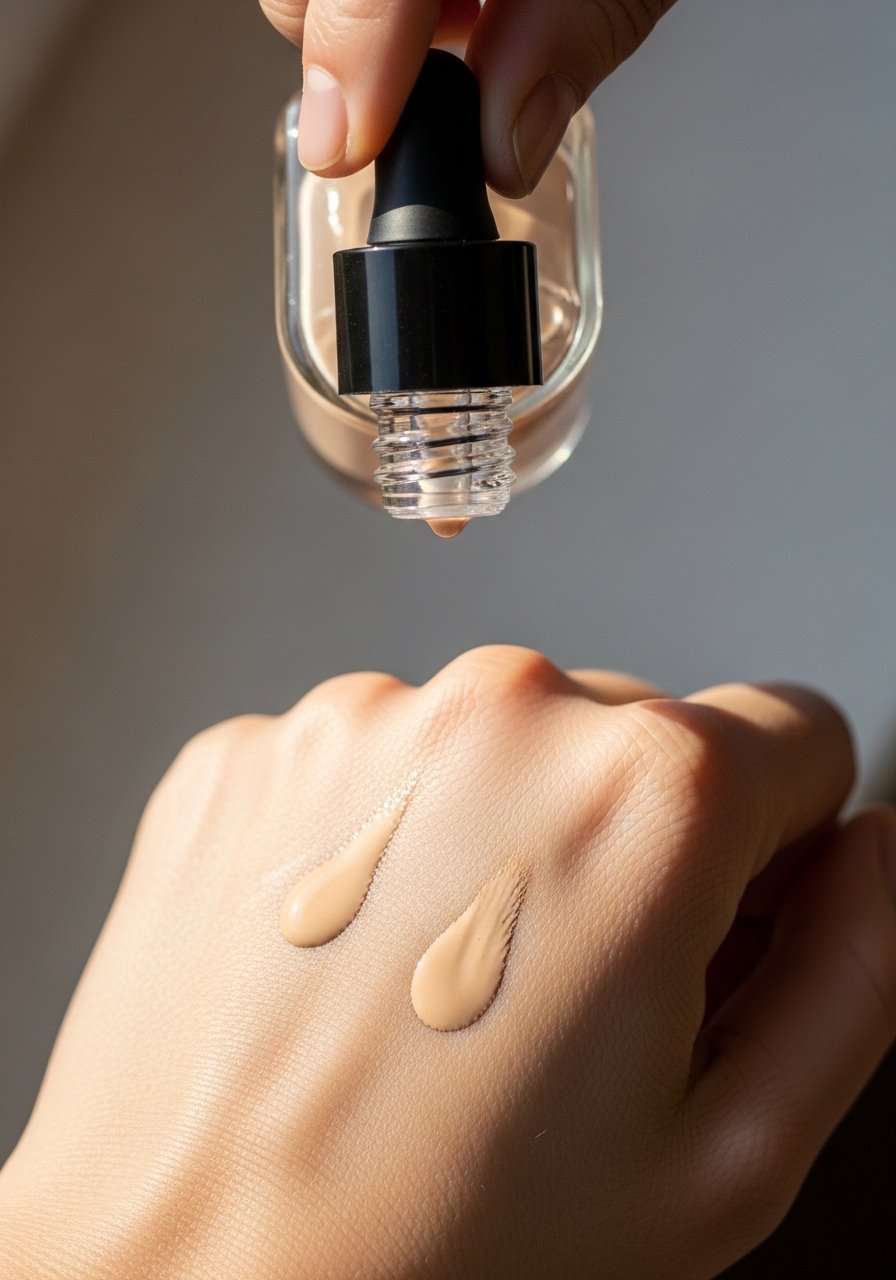
I stopped squeezing the whole bottle onto the back of my hand. Measure by zones: 0.5 pump for forehead, 0.5 for each cheek, 0.5 for nose and chin total. It gives even coverage without excess that creases in laugh lines. I count pumps out loud when I first learned this. Try a lightweight liquid foundation if you are testing ratios.
Mistake to Avoid: Smearing a single large dollop across your face. Dot and press for even payoff.
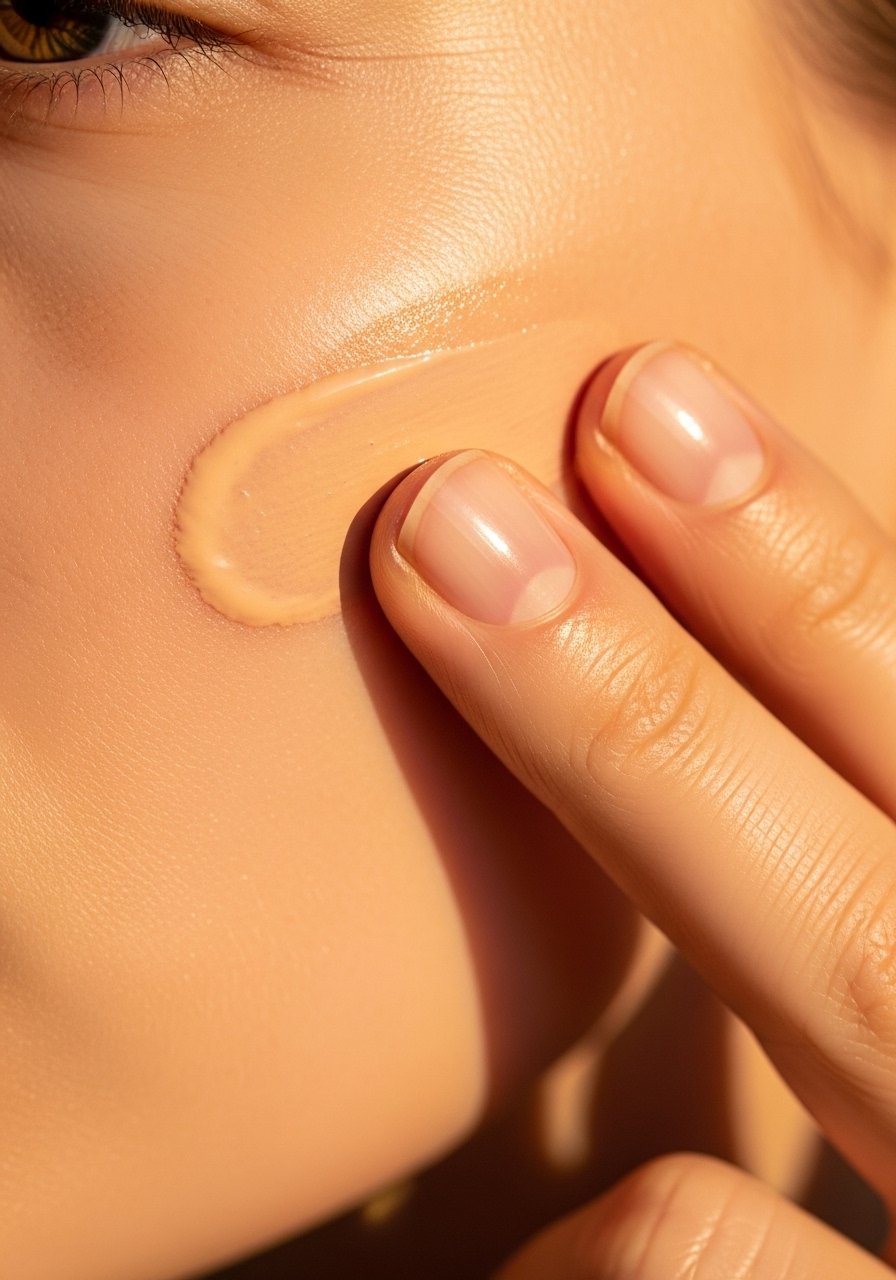
3. Warm The Product Between Fingers For Better Sheer Coverage
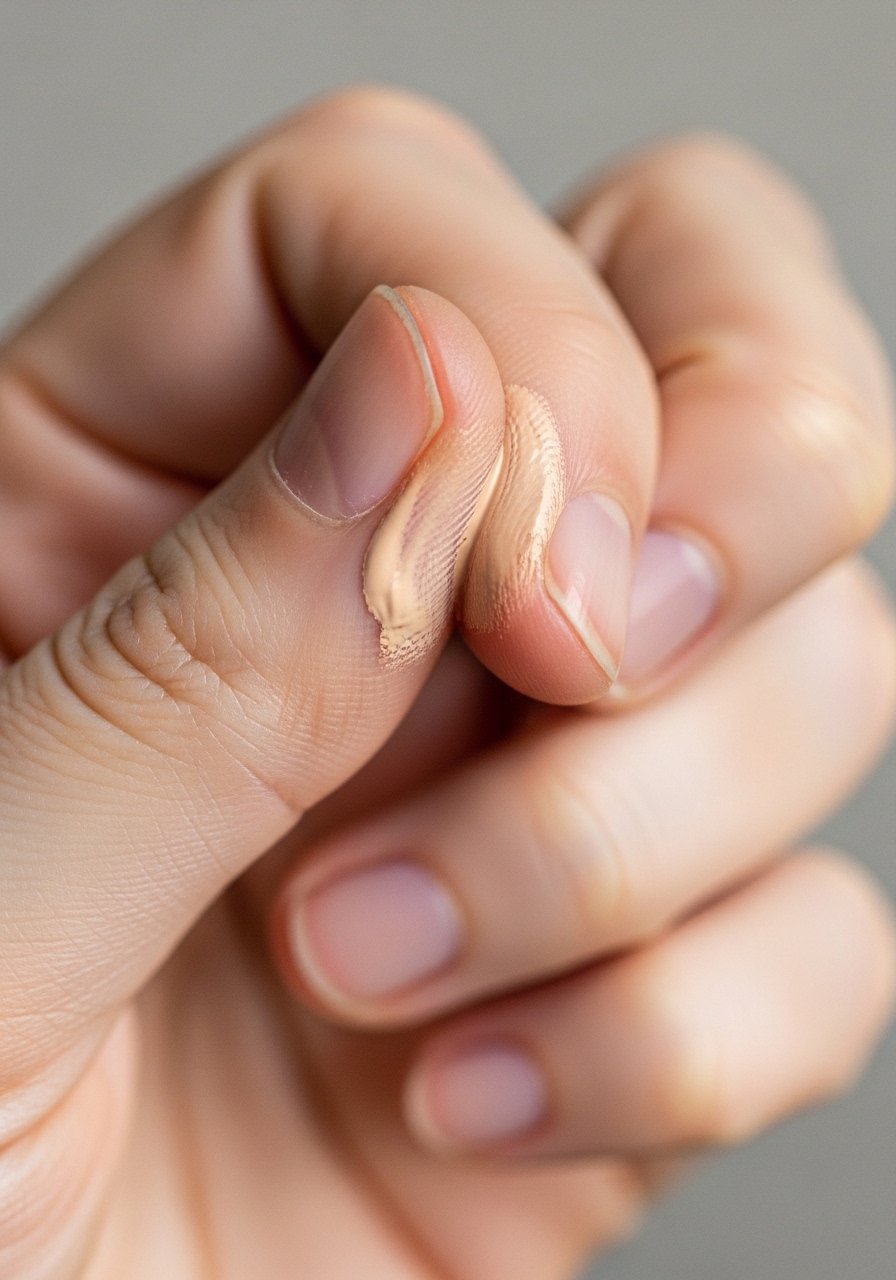
Warming foundation on your fingers for 5 to 8 seconds sheers it and helps it sit into skin texture instead of floating on top. This is gold for combination and dry skin. For oilier types, warm just 2 to 3 seconds and use a light tap with a sponge. I like using a silicone makeup spatula to scoop precise amounts.
Mistake to Avoid: Applying straight from the pump when the product is cold. Warm it to make it blendable.
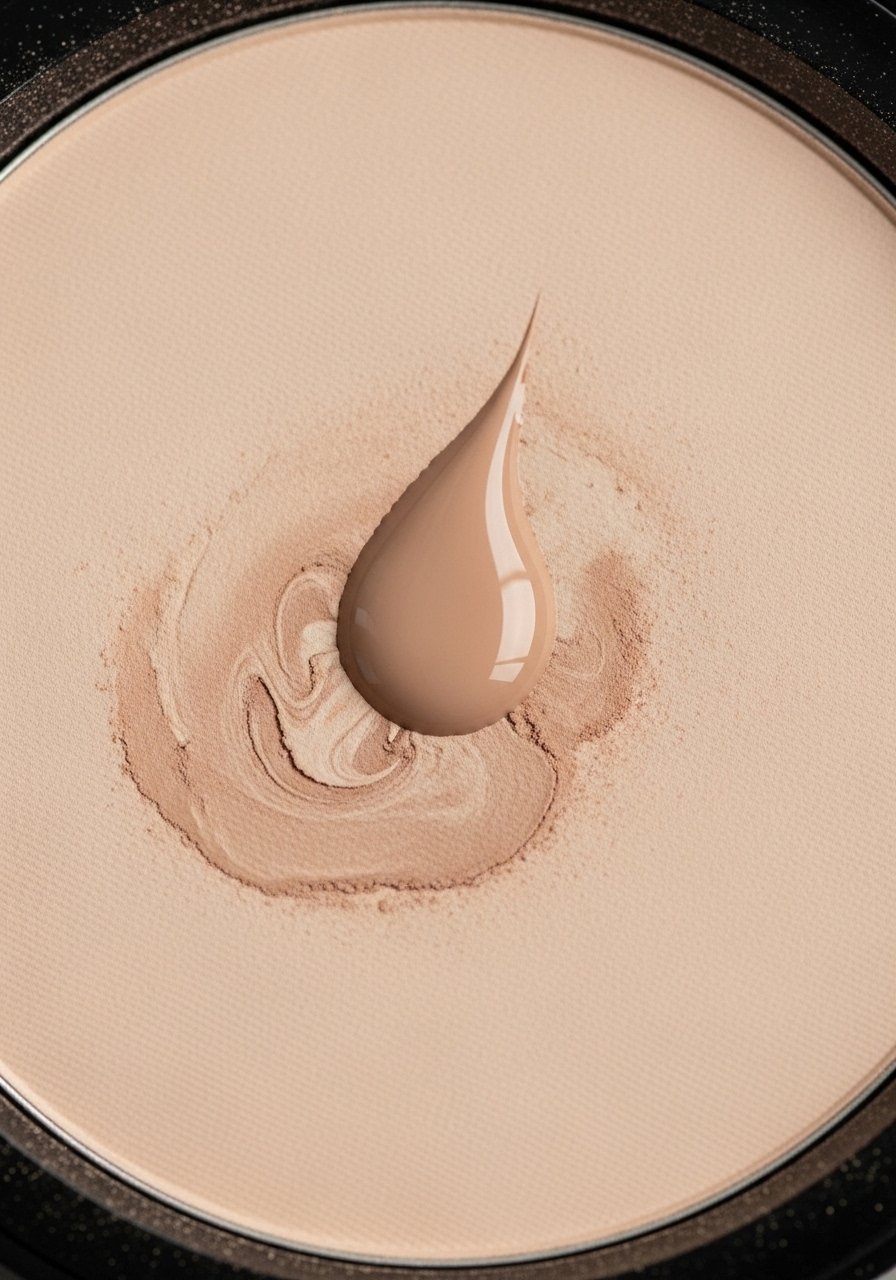
4. Mix A Drop Of Moisturizer For A Natural Finish
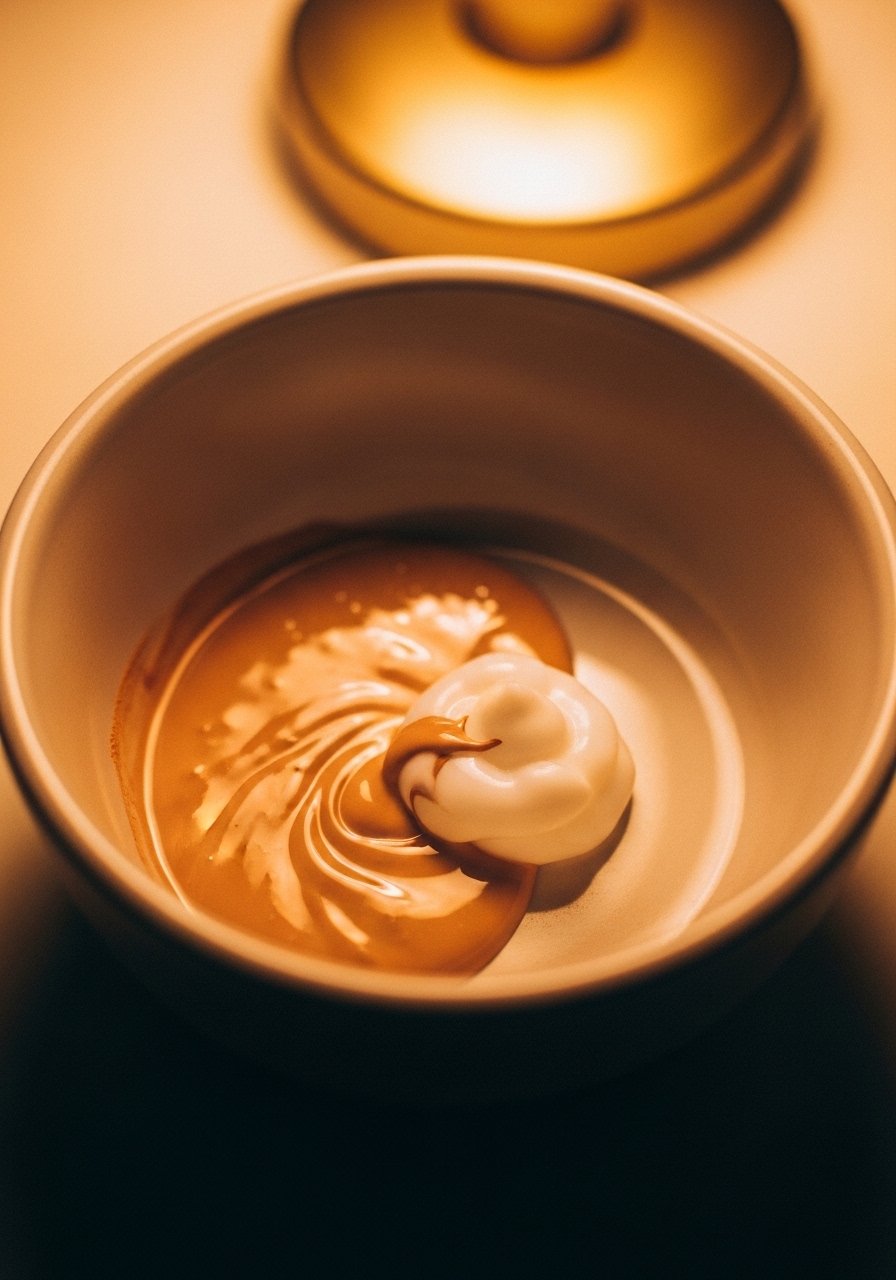
If your skin reads flat in photos, mix one drop of your moisturizer per 1 pump of foundation to create a skin-like finish. Ratio I use is 1:1 for dry days, 2:1 foundation to moisturizer for normal days. It thins foundation for a dewy but non-greasy look. Try a simple hydrating cream if you need travel-friendly mixing.
Mistake to Avoid: Using too much moisturizer and losing coverage. Stick to the 1:1 or 2:1 guide.
5. Prime Only Where You Need It
I use two primers, a mattifying one from forehead to nose and a hydrating one on cheeks. Priming only trouble zones keeps skin breathable and stops makeup from separating. Use a pea-size amount of each and blend outward. For silicone-based smoothing try a pore-filling primer.
Mistake to Avoid: Slathering primer everywhere which can create a slick base that foundation slides on.
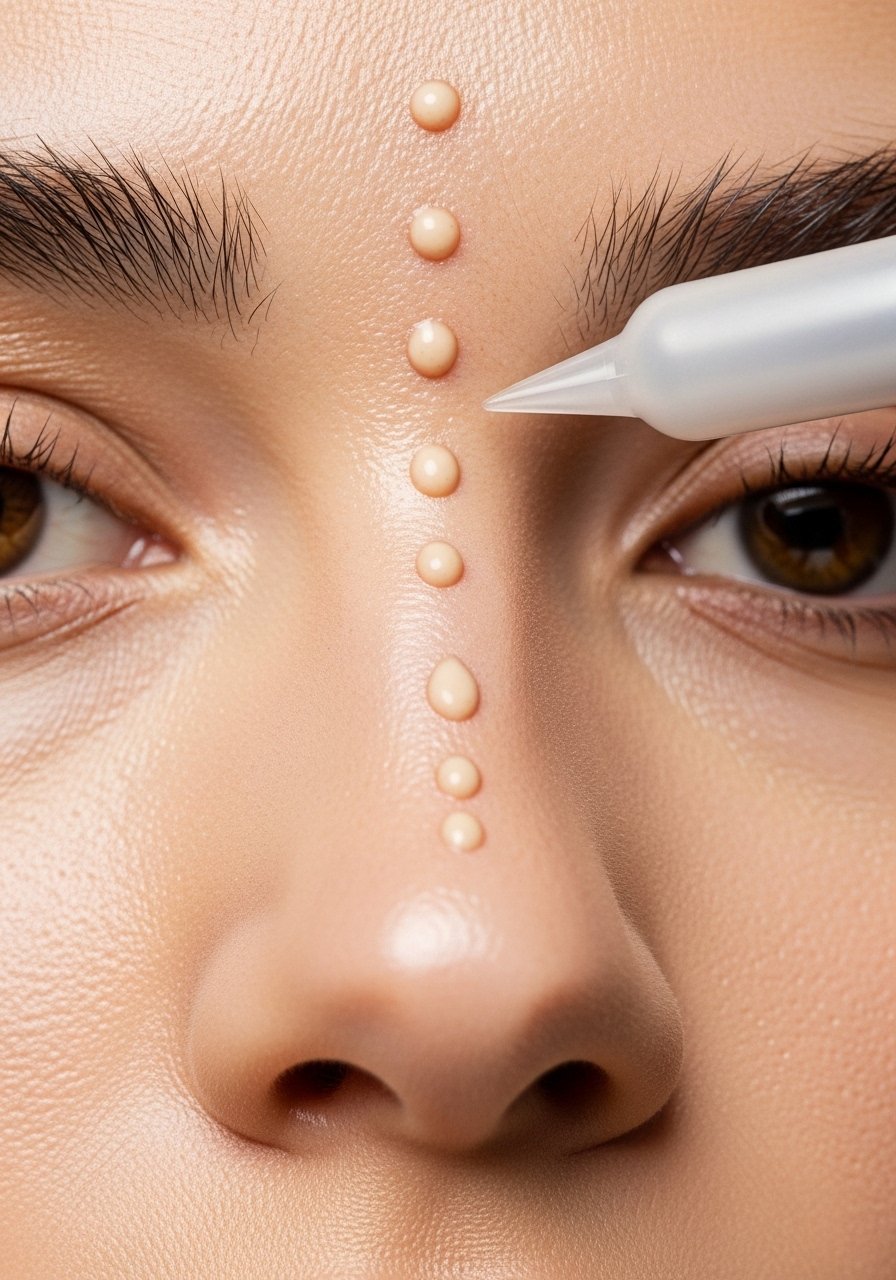
6. Dot Foundation, Then Use Upward Strokes On the Jaw
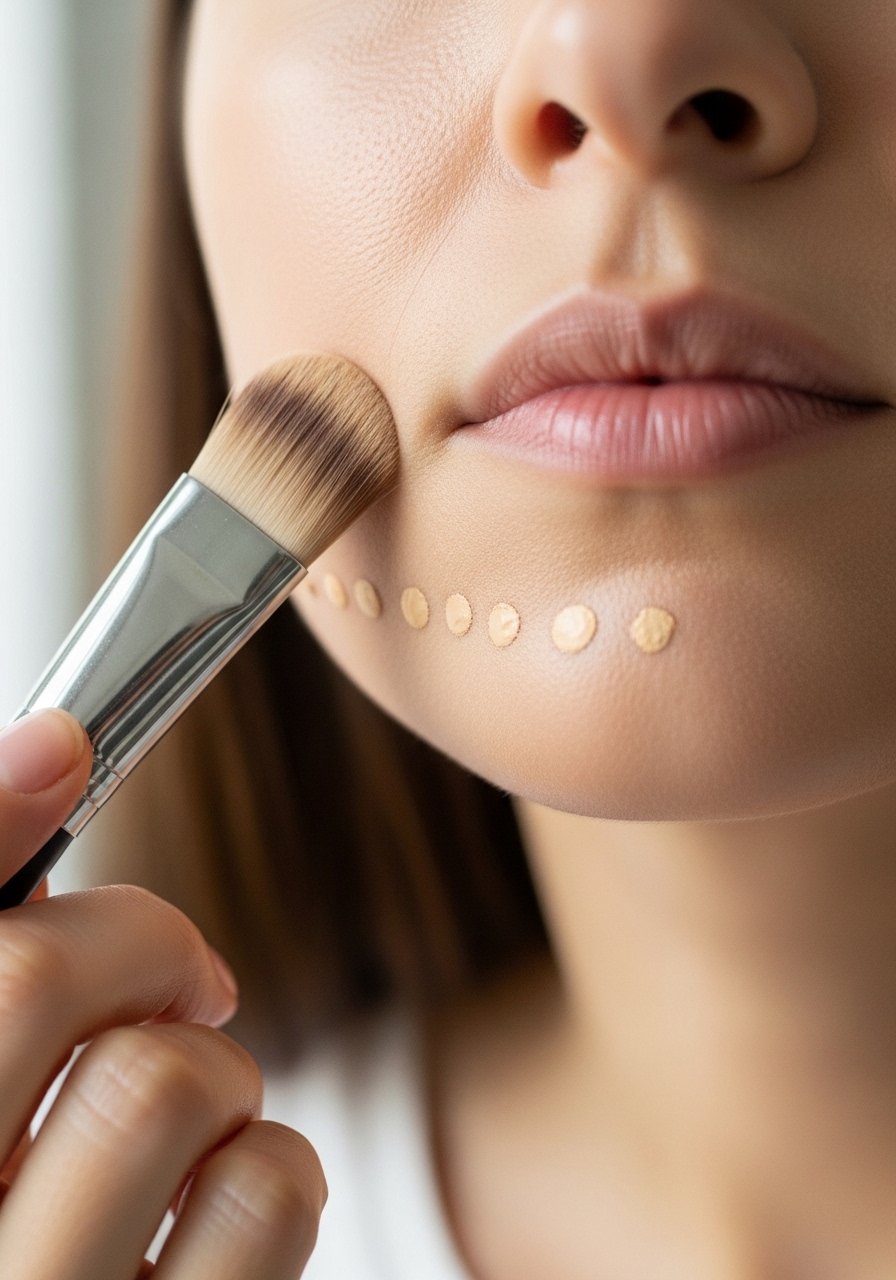
Dot foundation in five points and start blending in upward strokes along the jaw. That small motion lifts the face visually and prevents foundation lines at the hairline. For quick blending use a dense foundation brush.
Mistake to Avoid: Blending only inward which concentrates product and makes the face look heavier.
7. Press With A Damp Sponge For Skin-Like Finish
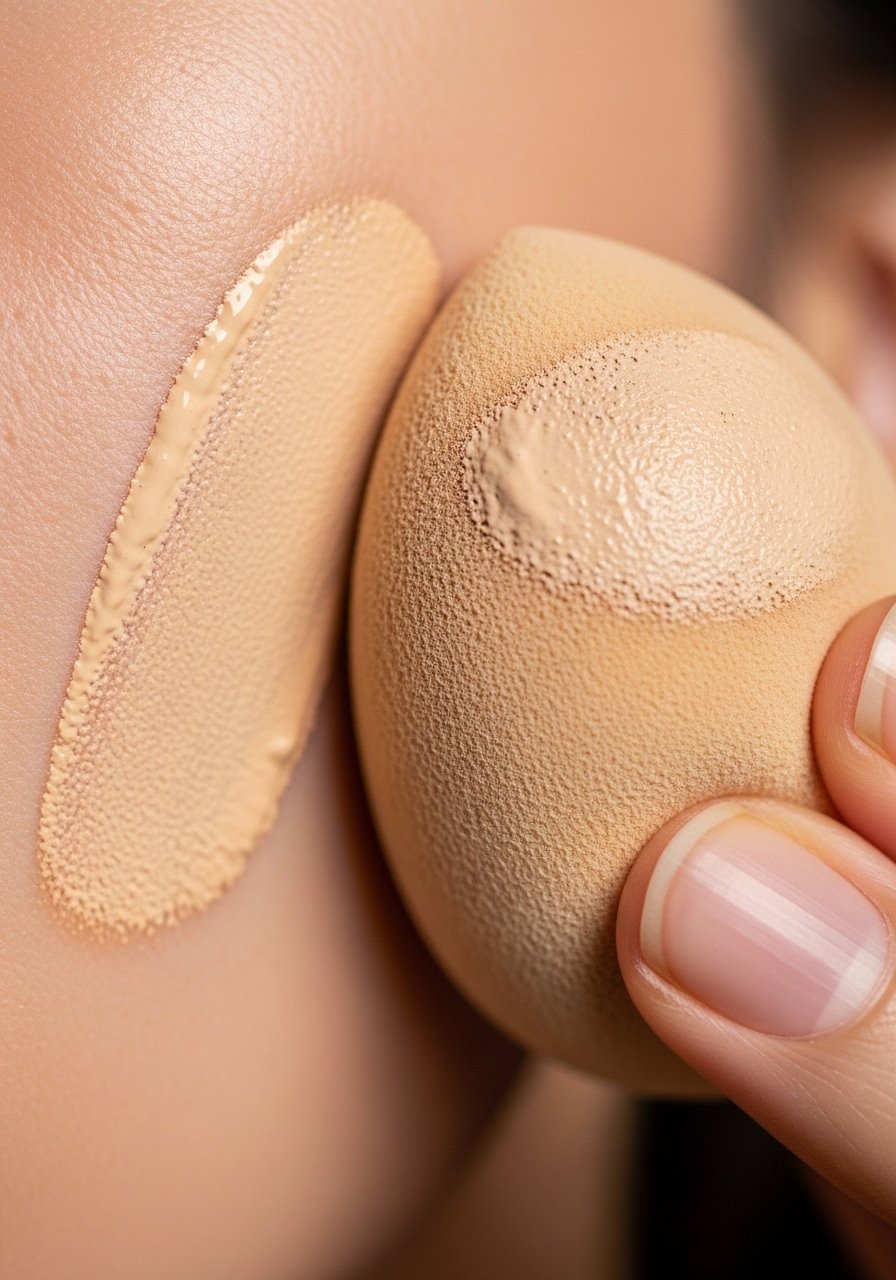
For the softest finish I press a damp beauty sponge into the skin instead of rubbing. Pressing removes streaks and melds liquids into the skin. Squeeze the sponge until just damp, not dripping. My favorite affordable tool is a classic teardrop sponge.
Mistake to Avoid: Using a dry sponge which soaks product and gives patchy coverage.
8. Spot Conceal Then Blend, Not the Other Way Around
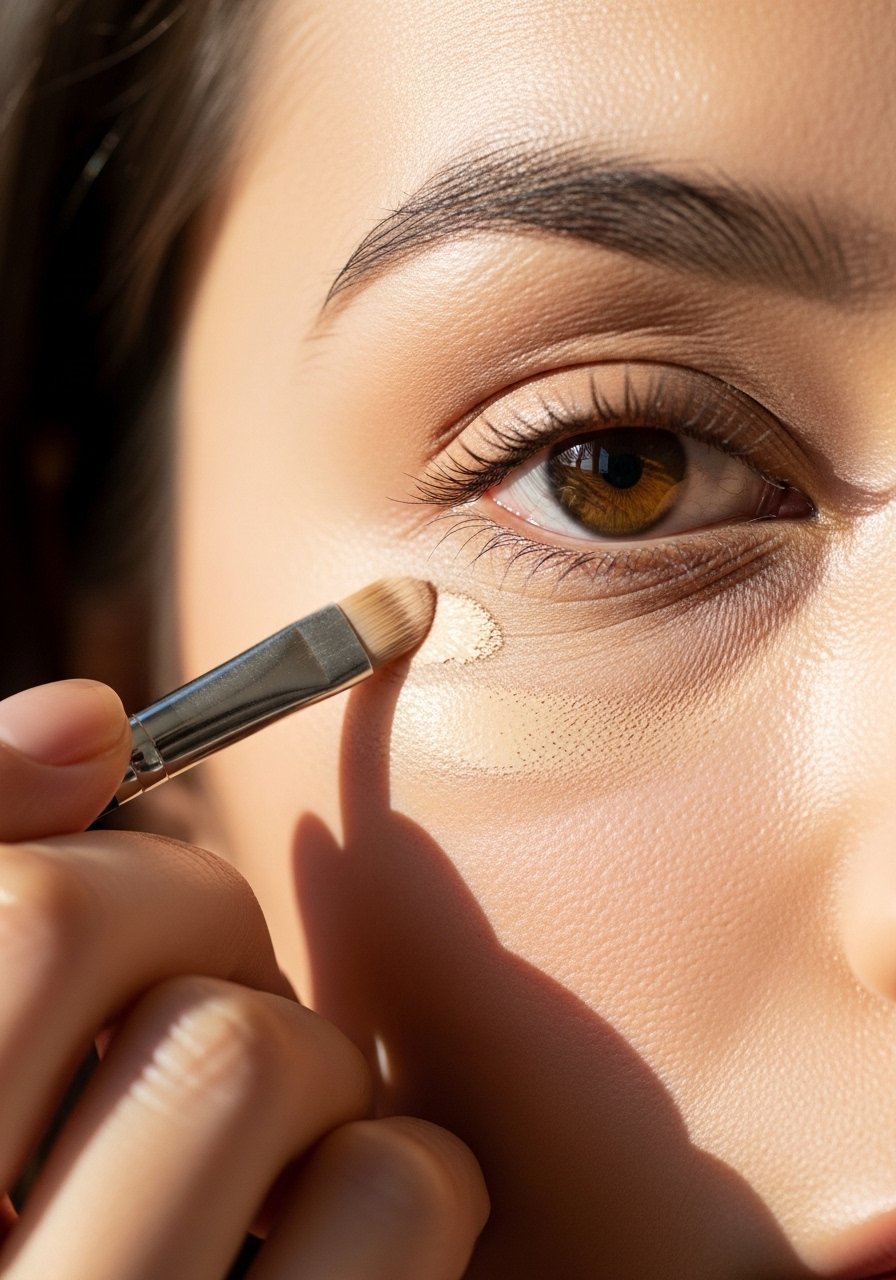
I tap concealer only where I need coverage, then lightly tap the edges with the same damp sponge used for foundation. This keeps concealer from piling into lines. Use a concealer one shade lighter under the eye and match skin tone elsewhere. Try a creamy stick concealer for quick spots.
Mistake to Avoid: Applying too much all over under-eye area which creases by hour two.
9. Use Translucent Powder Where You Smile Most
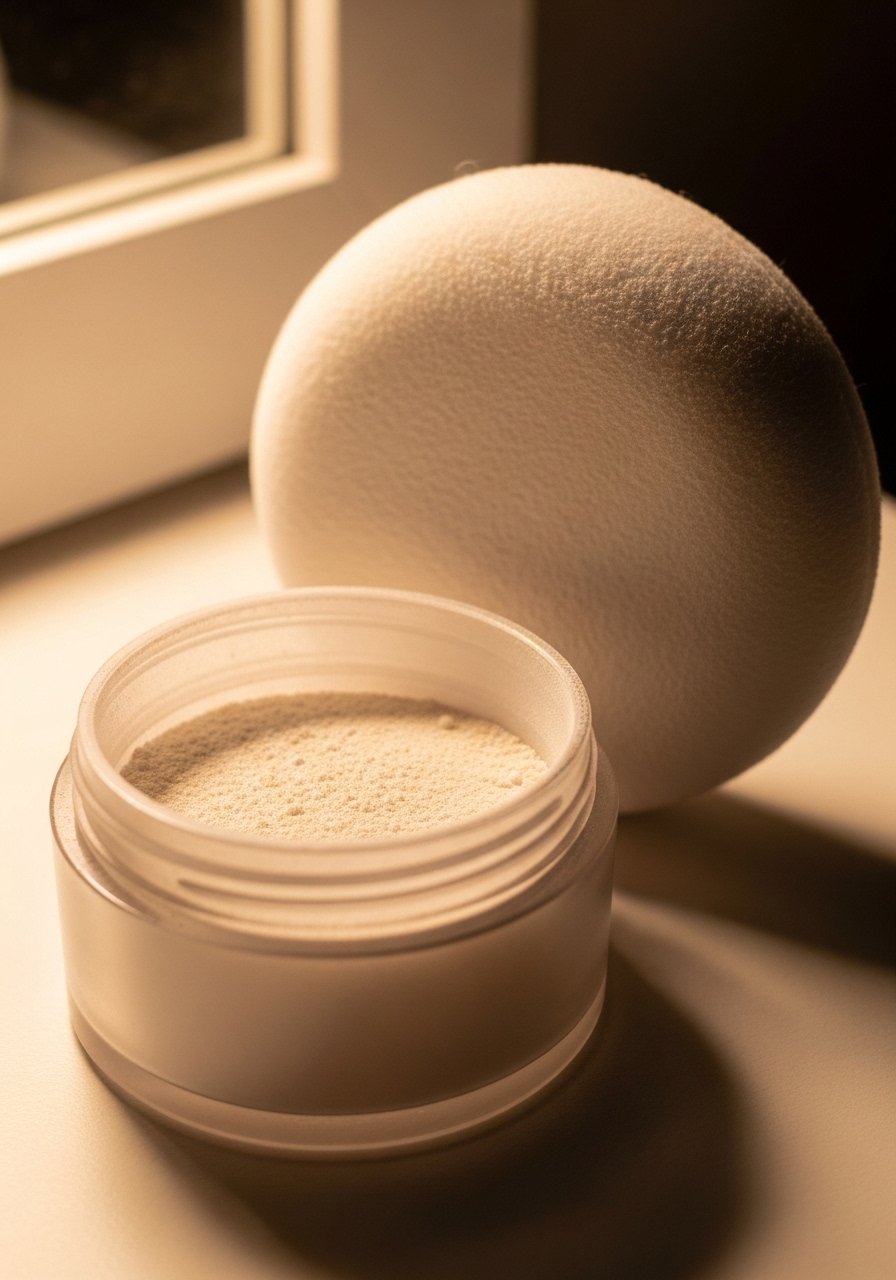
Set the center of the face and the smile lines only. I dip a small, fluffy brush into translucent powder and sweep lightly across nose, under-eye, and mouth corners. One thin layer prevents creasing and stops flashback. A small jar of fine-milled translucent setting powder is worth keeping in your kit.
Mistake to Avoid: Baking the entire face which can look cakey in movement.
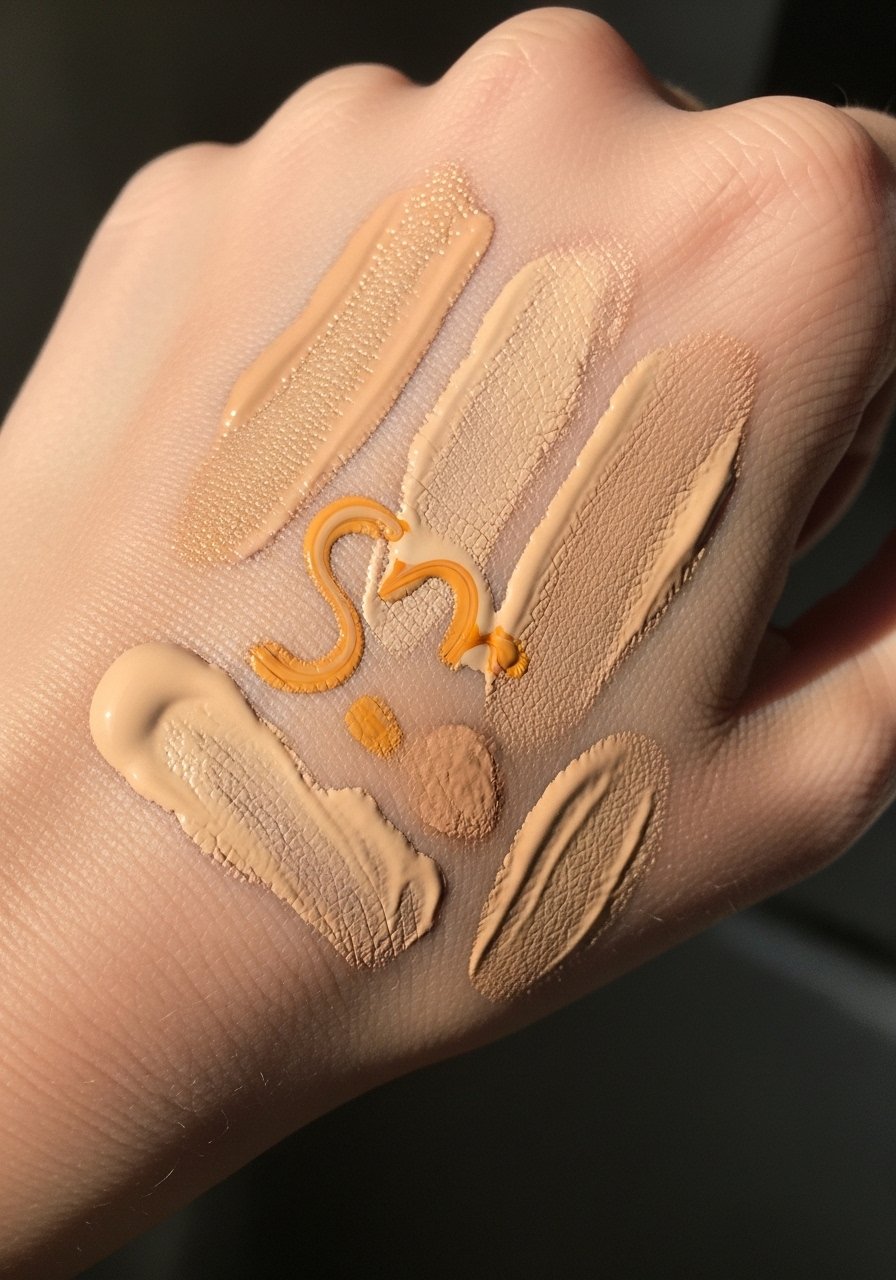
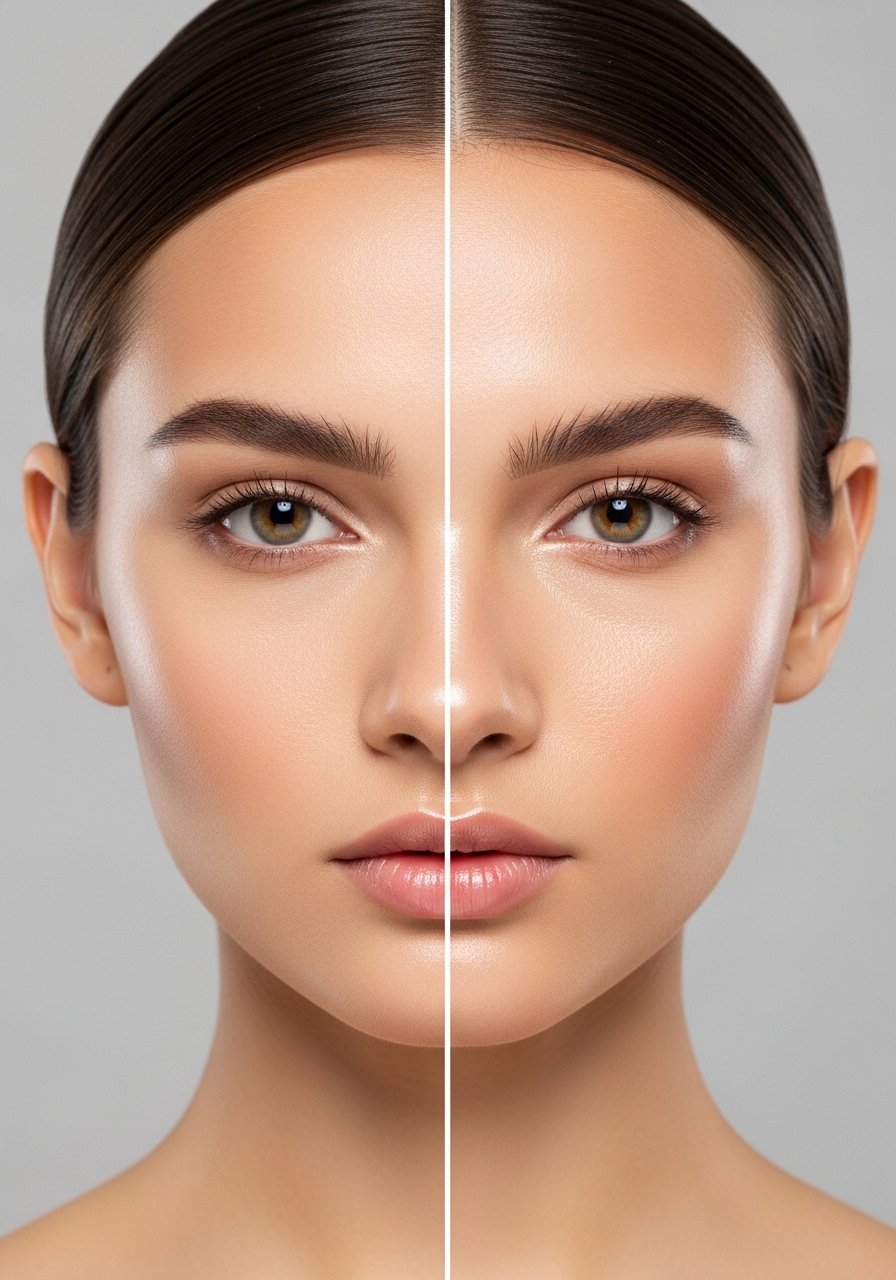
10. Match Undertone With One Warm And One Neutral Shade
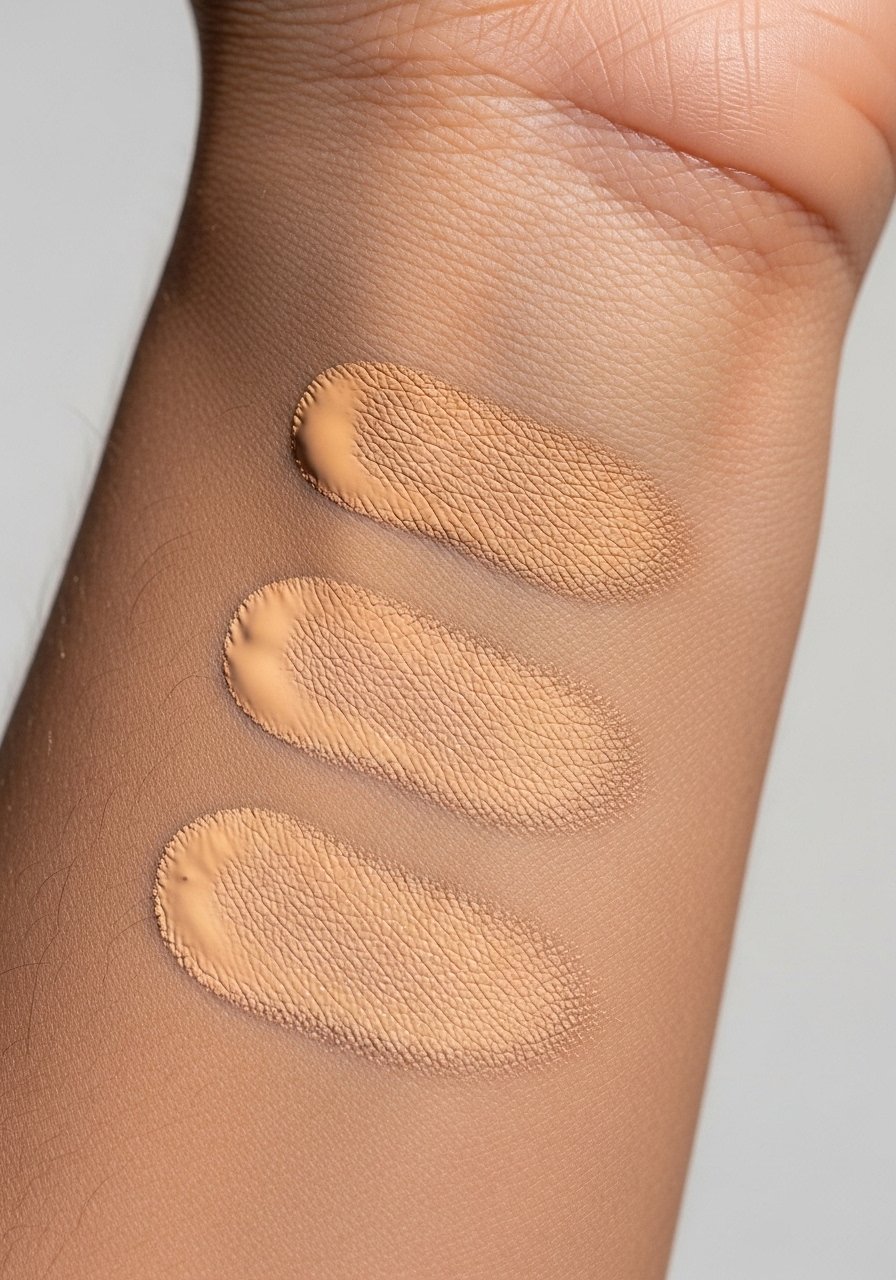
Match undertone by swatching two shades: one warm, one neutral, along the jawline. Observe in natural light after 10 minutes to allow for slight oxidation. If they both disappear at different angles pick the one that blends at the cheekbone. I test with a foundation sample set before committing.
Mistake to Avoid: Matching on the wrist alone which often misleads undertone choice.
11. Warmth At The Center, Cool At The Perimeter
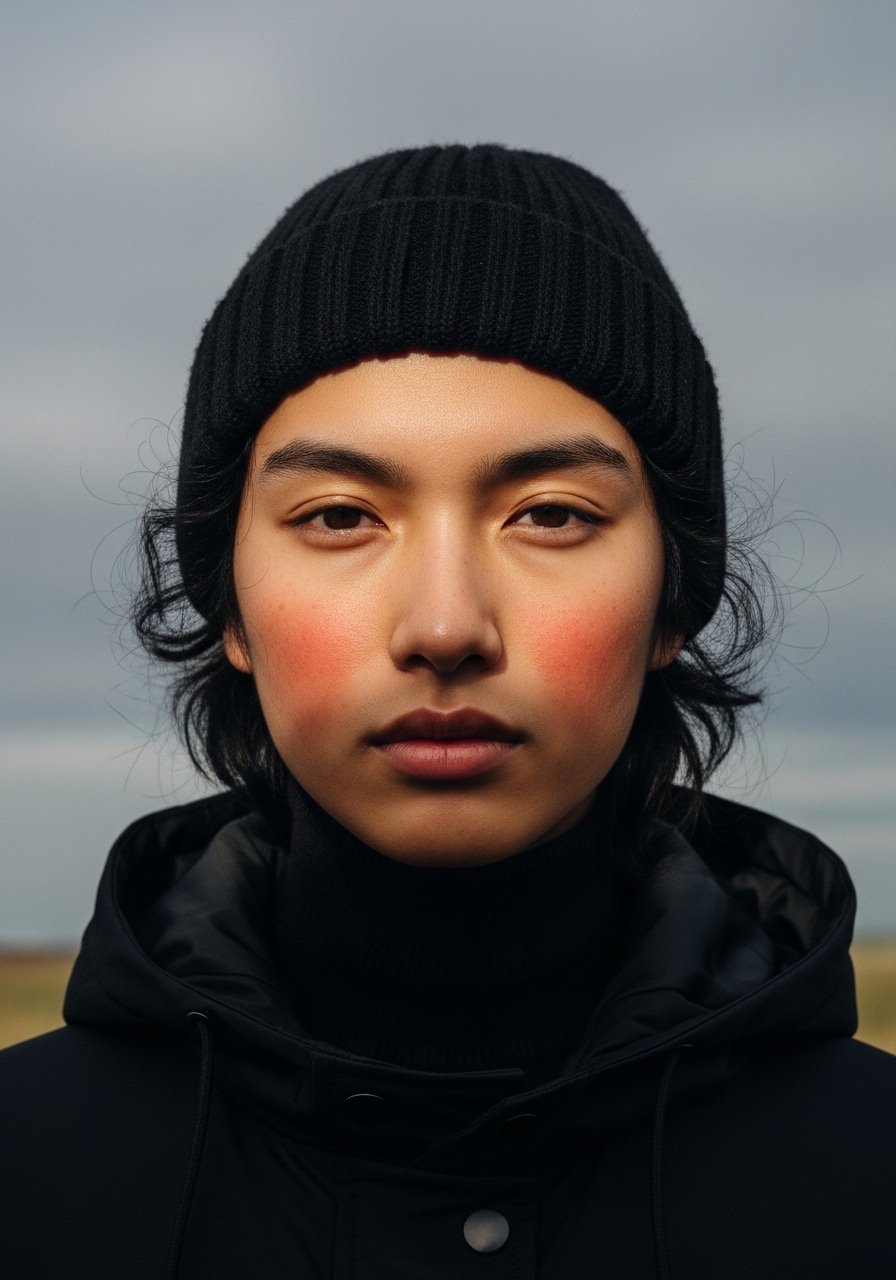
If you want dimension without contouring, apply a slightly warmer, sheer tint to the apple of the cheek and a neutral base elsewhere. It mimics natural blood flow and looks more flattering in photos. Use a cream tint like a warm cream gel blush.
Mistake to Avoid: Applying full-face warm tones that read overly orange in flash.
12. Use A Small Brush For Nose And Under-Eye
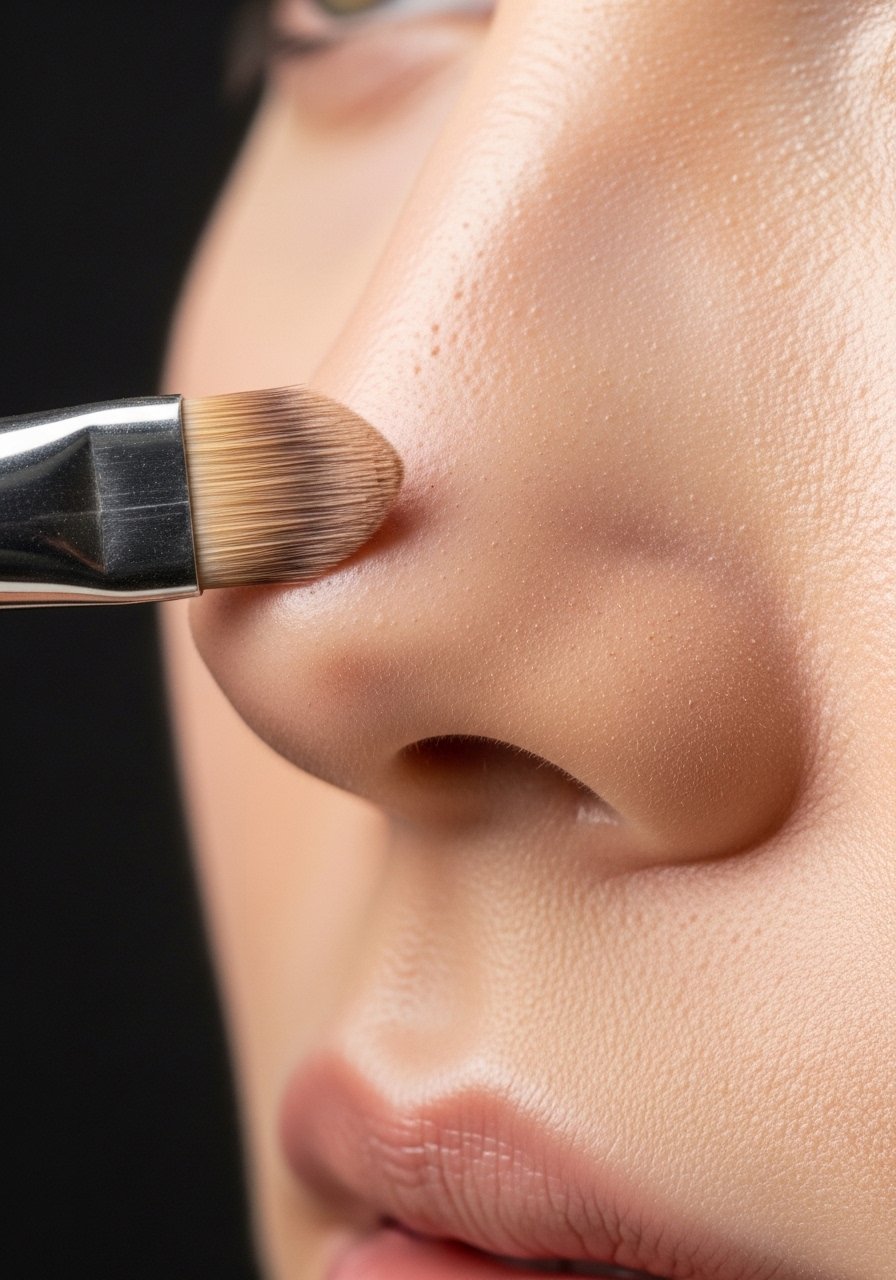
The nose and under-eye need precise blending. A small tapered brush lets you press product into the contours without wiping away coverage. For product control try a small tapered foundation brush.
Mistake to Avoid: Dragging a large brush which moves product and causes streaks.
13. Temper Full Coverage With A Mist, Not With Oil
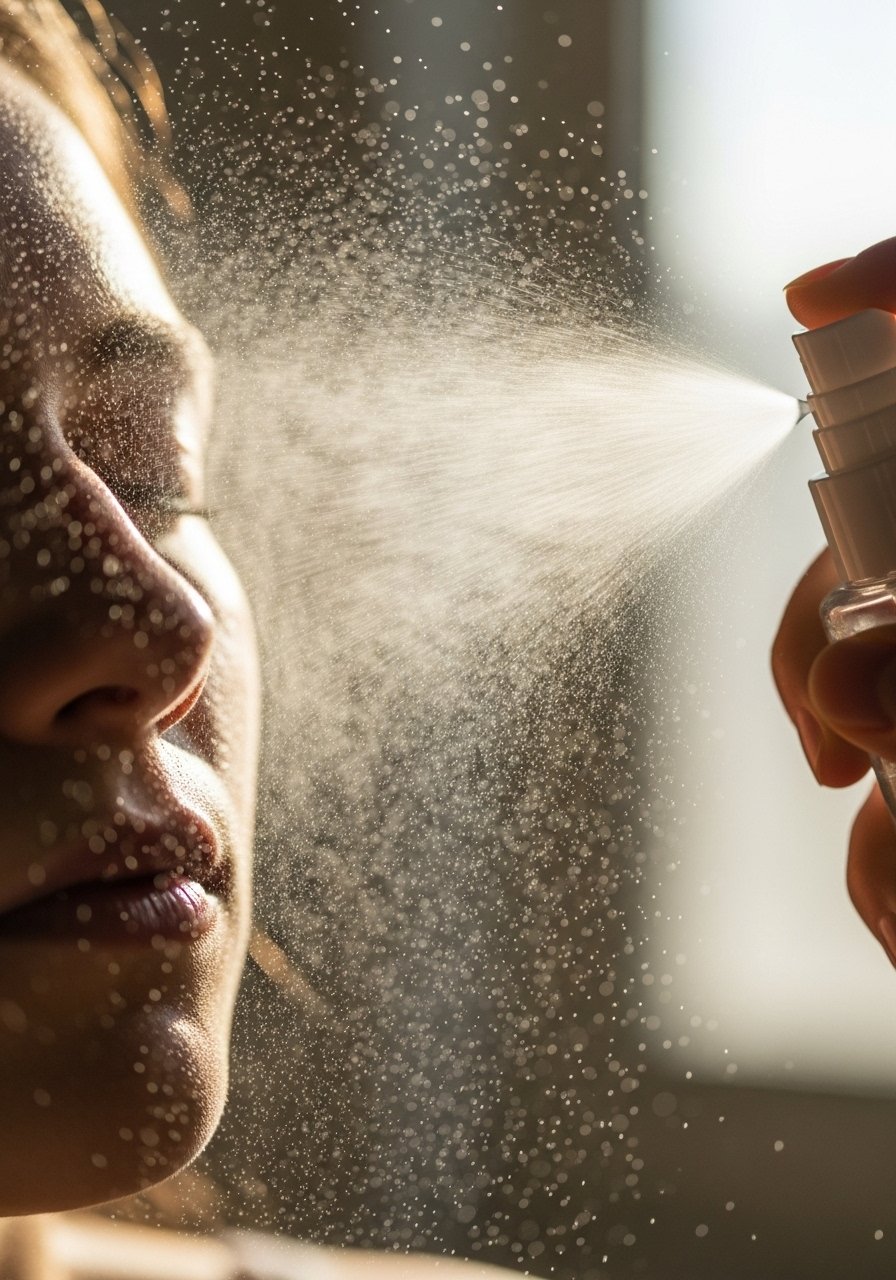
If full coverage reads flat, spritz a hydrating setting mist from arm’s length to pull the finish together. Aim for two short sprays. Oil will break the makeup and make it slide. I carry a travel mist sprayer to revive skin midday.
Mistake to Avoid: Using facial oil over foundation to add glow which separates the base.
14. Swap Powder For Tinted Balm On Dry Days
On dry or cold days I skip full-face powder. A thin sweep of tinted balm across high points keeps skin alive. Use a small amount with fingers for a skin-touch finish. Try a tinted balm stick.
Mistake to Avoid: Powdering dry skin which emphasizes texture and flakes.
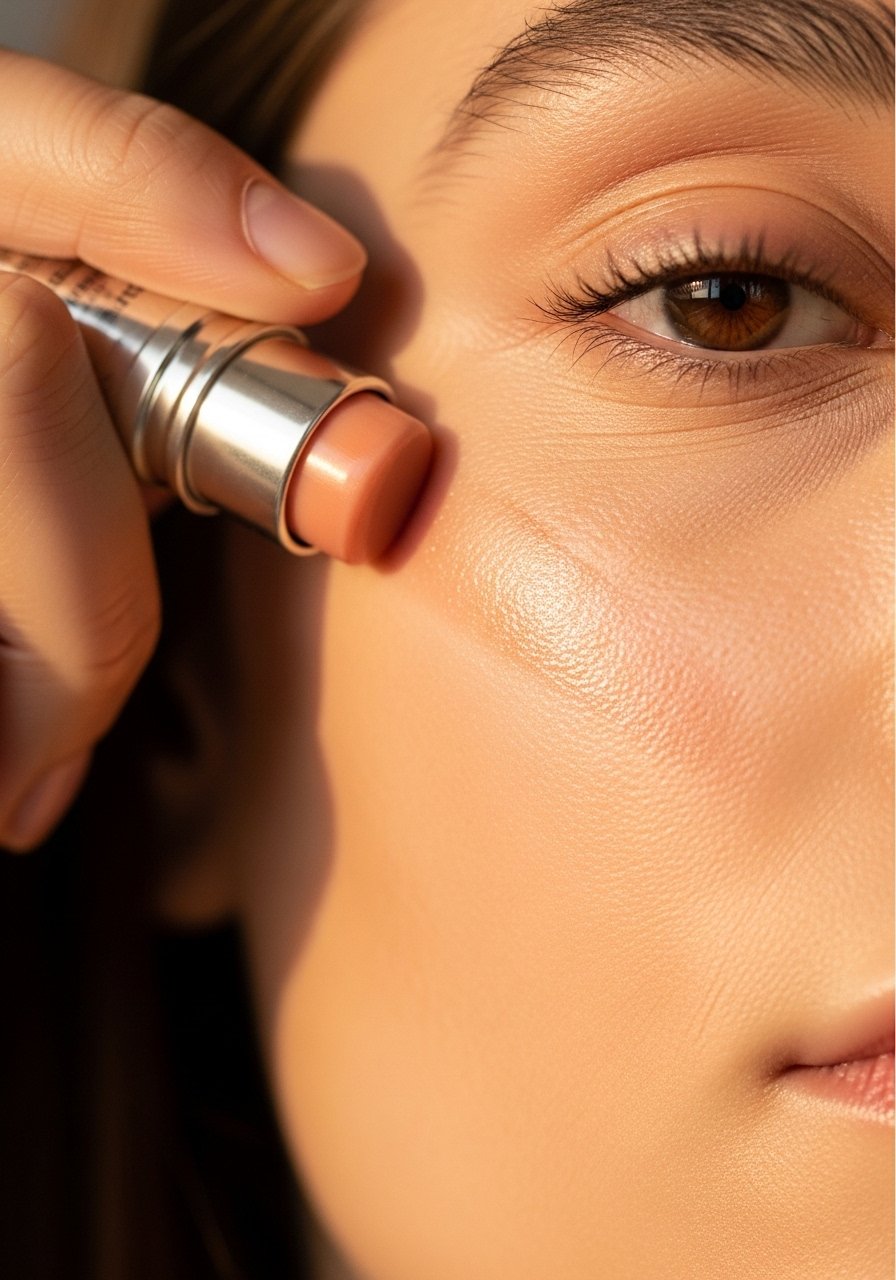
15. Match Foundation Temperature To Skin
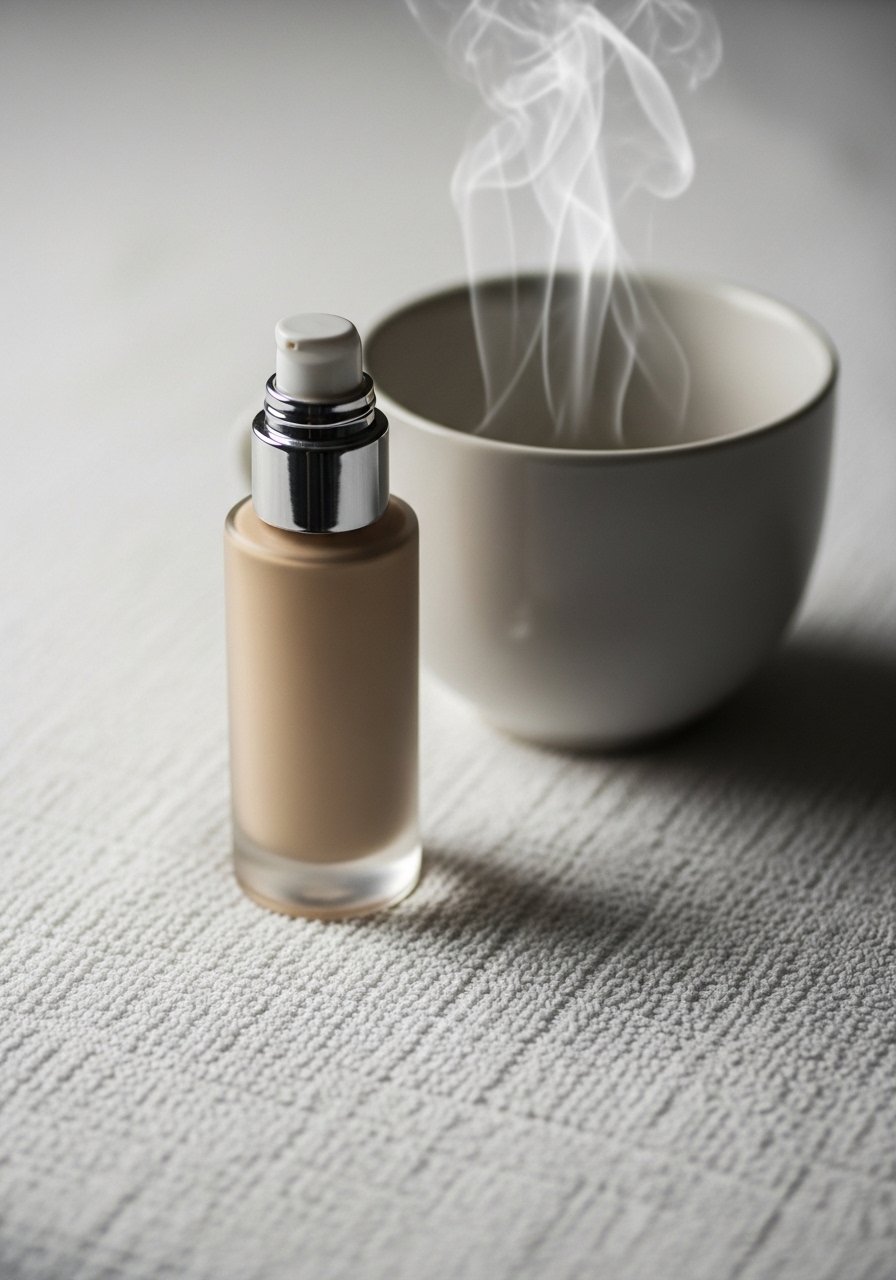
If your foundation sits oddly, warm the dispensing nozzle or keep it near your morning routine so it reaches room temperature. Cold products can separate on skins that are warm from a hot shower. I place pumps upright on the counter for five minutes before use. For travel, grab a small warming pouch.
Mistake to Avoid: Applying foundation straight from a cold bottle which can feel clumpy.
16. Use A Serum Primer For Mature Texture
For skin with visible texture I apply a thin serum primer and let it sink two minutes, then use a lightweight foundation. The key detail is a two-minute wait, not instant layering. Pick a smoothing serum primer with peptides if you want a subtle hold.
Mistake to Avoid: Skipping the wait and trapping primer under foundation which pills.
17. Thin Full-Coverage With A Drop Of Sunscreen
Sunscreen can be mixed into full-coverage foundation at a 3:1 foundation to sunscreen ratio for daily wear. It reduces mask-like opacity and strengthens SPF distribution. Mix on the back of your hand, do not pre-mix in the bottle. I use a lightweight facial sunscreen.
Mistake to Avoid: Applying too much sunscreen under heavy foundation which pills and slides.
18. Use A Sheer Powder For Flash Photography
If you know there will be flash photography, apply a very light layer of finely milled translucent powder to the T-zone. Flash can exaggerate sheen and catch excess oil. A fan brush makes this subtle. I like a fine translucent travel powder.
Mistake to Avoid: Using thick, reflective powders that create flash white cast.
19. Reapply With A Sponge, Not Fingers, Midday
For midday touch-ups, skip reapplying foundation with fingers. Press a dab of product with a damp sponge to only the problem area. It avoids building up around the mouth and nose. Keep a mini damp sponge set in your bag for that reason.
Mistake to Avoid: Rubbing product in which drags old layers and creates patchiness.
20. Try A Powder-To-Liquid Hybrid For Humid Days
A powder-to-liquid hybrid gives longevity in humidity. Use a small flat paddle brush to press the hybrid into oily zones only. The powder component grabs oil while the liquid keeps the skin looking like skin. Test a hybrid foundation compact on the back of your hand first.
Mistake to Avoid: Applying a full-face hybrid which can dry overly matte and look flat.
21. Use Color Correcting Sparingly, One Spot At A Time

Peach correctors work wonders on blue under-eye shadows, but use them only where needed. Dot, blend, then foundation. The tiny detail that helps is using a 1:2 corrector to concealer ratio for stubborn darkness. Try a small corrector palette.
Mistake to Avoid: Over-correcting the whole under-eye area which looks muddy in photos.
22. Use A Light Hand With SPF-Infused Tints
Tinted SPFs are great, but layered with thick foundations they can pill. Use one or the other, or thin the foundation with a moisturizer. I use tinted SPF alone for quick errands and reserve foundation for meetings. Grab a sheer tinted SPF for running out the door.
Mistake to Avoid: Layering heavy foundation over thick tinted sunscreen which flakes.
23. Blend Neck, Ears, And Hairline For Cohesion
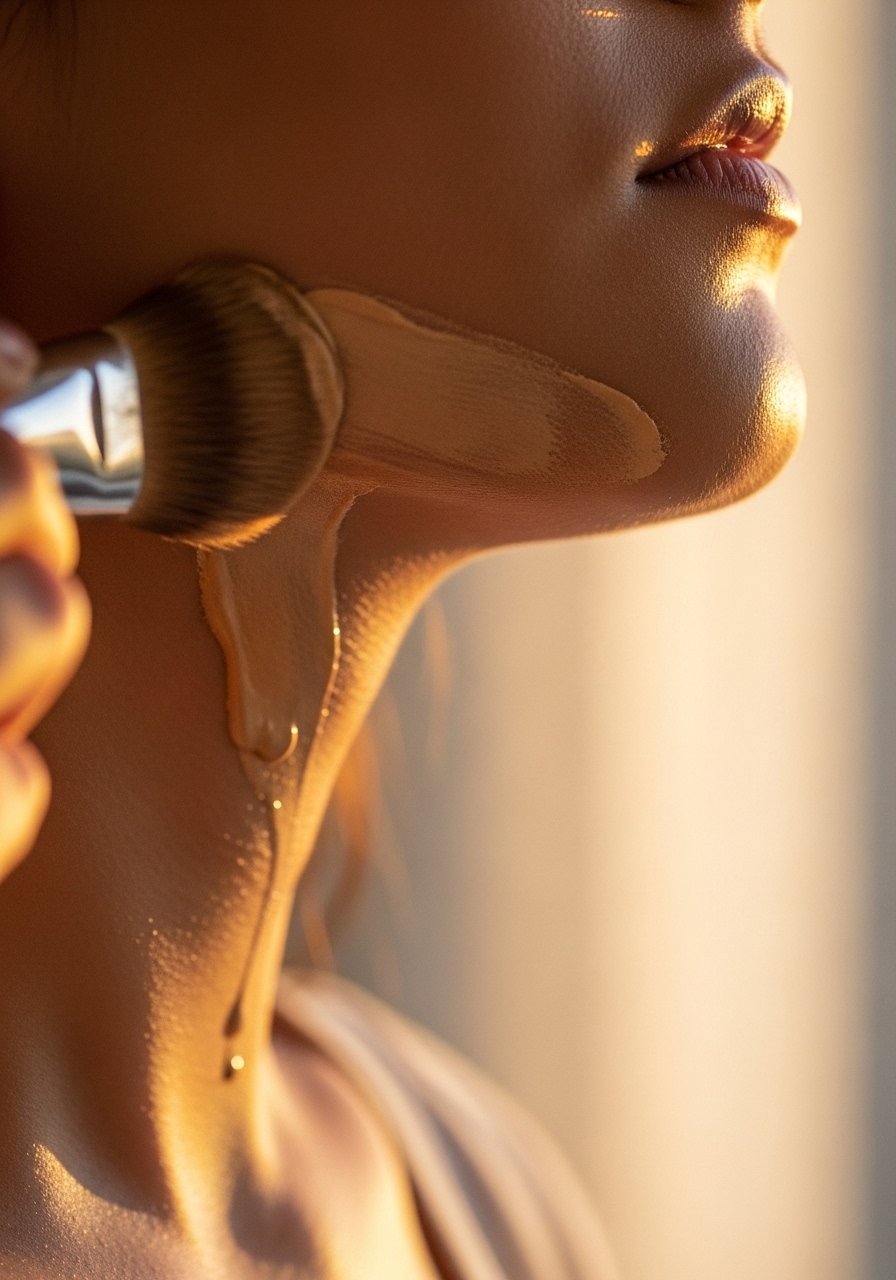
I sweep leftover product down the neck and lightly into the hairline to prevent the mask effect. Even a light 0.25 pump rubbed down the neck prevents a stark line. Use a wide, soft brush like a face powder brush for this.
Mistake to Avoid: Leaving the jawline stark which photographs as a floating face.
24. Suck In Your Cheeks For Cheek Placement
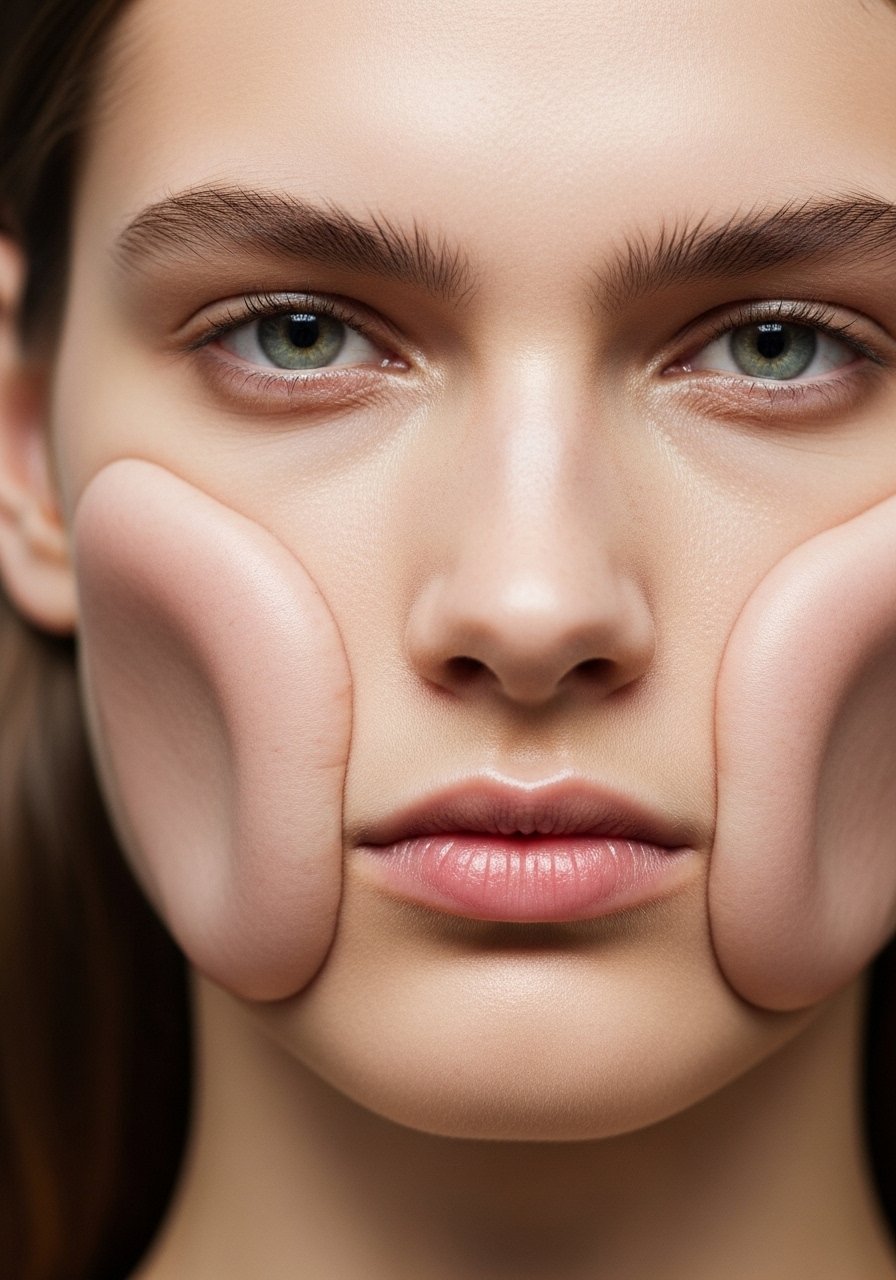
To place blush and contour so it looks like natural shadow, suck your cheeks in and mark the hollow. That geometric guide beats guessing. I use a soft matte contour applied with a small angled brush. Try a travel angled contour brush.
Mistake to Avoid: Applying contour too low which shortens the face.
25. Set With A Light Spray Then Wait Five Minutes Before Touching
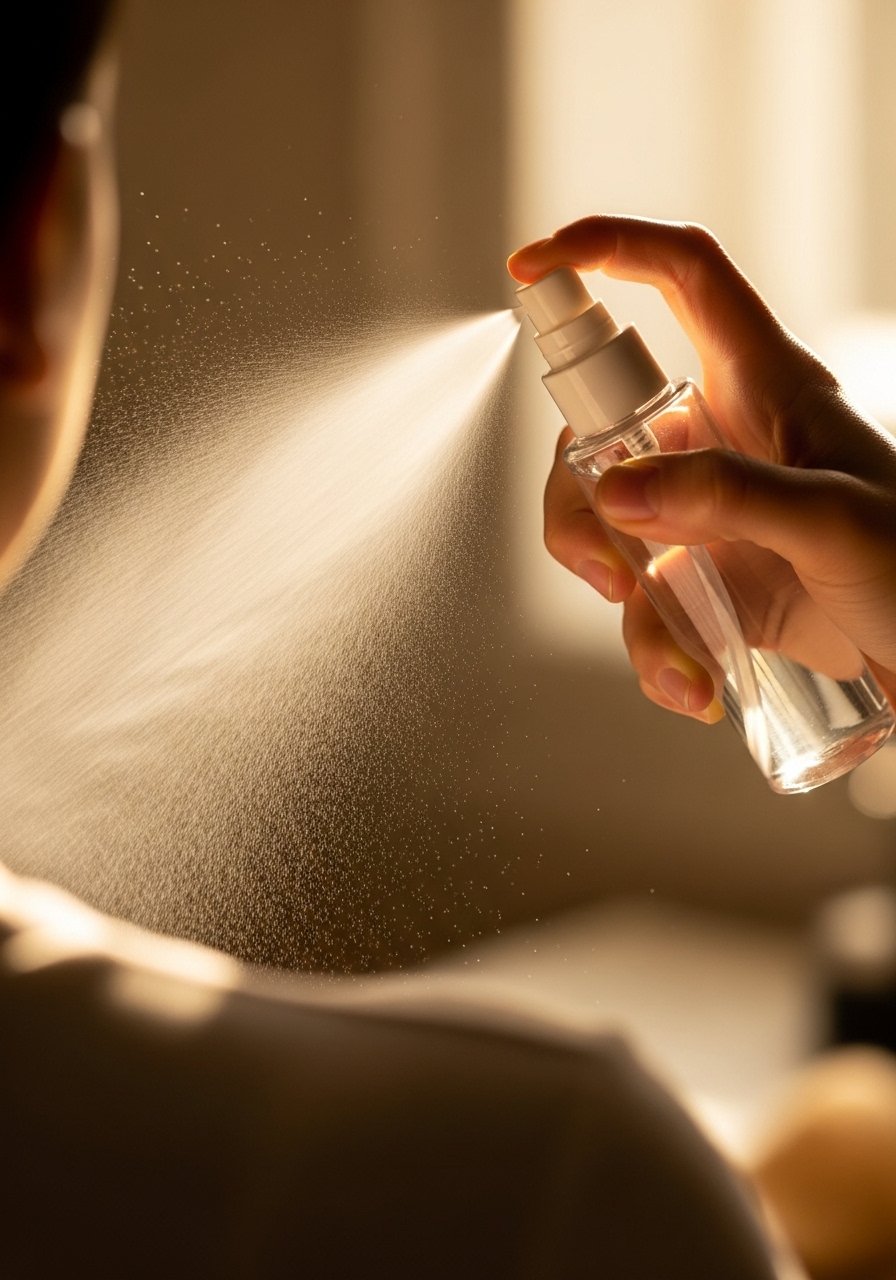
After applying makeup, a single light mist from arm’s length unifies layers. Wait five minutes before touching or dressing to let it set. It reduces transfer and keeps finish even. I use a long-lasting setting mist for this step.
Mistake to Avoid: Rushing to press powder over damp setting mist which causes clumping.
26. Use A Soft Matte In The Center, Dewy On The Perimeter
Matte centers control oil while a dewy perimeter keeps the face lit. Apply a mattifying powder just on the T-zone and swipe a luminous balm around cheeks and temples. Use a small pack of luminous balm sticks.
Mistake to Avoid: Going matte everywhere which can read flat on camera.
27. Rotate Your Tools Every 3 Months For Hygiene
Old sponges and brushes harbor oils and bacteria that change finish and clog pores. Replace sponges every three months and deep-clean brushes weekly. A brush-cleaning mat and gentle soap help. I stock a silicone brush cleaning mat.
Mistake to Avoid: Waiting until tools look dirty. Replace on schedule to maintain finish.
28. Photograph Test In Two Lights Before A Big Event

Before a big event take two quick photos, one in daylight and one under warm indoor light. I adjust color match and powder amounts based on the images. It catches oxidation and flash problems before you leave. For quick fixes, keep a compact powder and a travel sponge in your bag.
Mistake to Avoid: Skipping a photo check and wondering why makeup looks different in pictures.
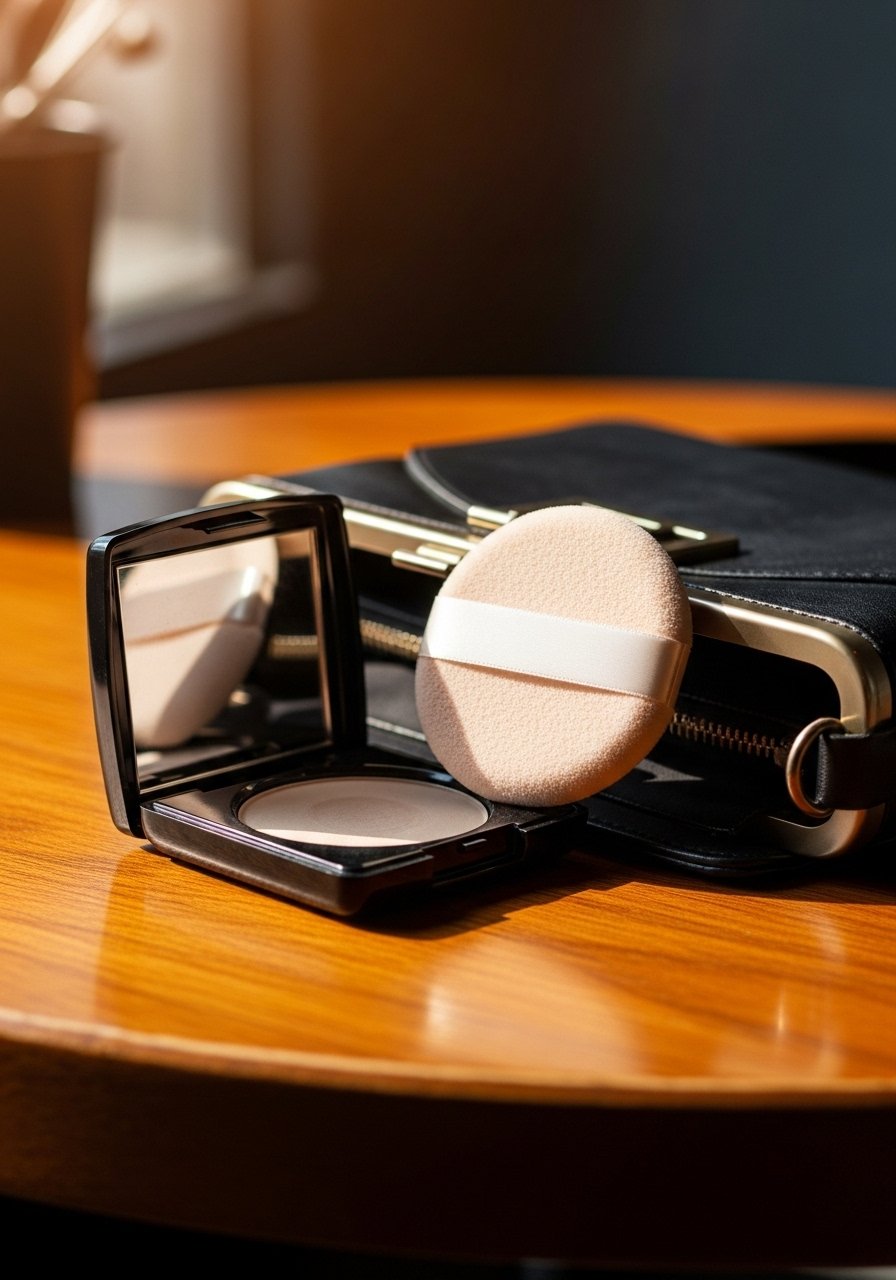
Your Makeup Kit
Base / Primers
- Honestly the most used primer in my routine is a pea-sized pore-blurring primer (~$12-25), it keeps the T-zone under control.
- A hydrating serum primer (~$18-35), for dry or mature skin, press and wait two minutes before foundation.
Tools
- Teardrop makeup sponge, 4-pack (~$8-14). Works damp for pressing.
- Dense flat-topped foundation brush (~$10-22) for fuller coverage days.
- Mini damp sponges for touch-ups (~$6-12).
Color & Finish
- Translucent setting powder fine-milled (~$8-20).
- Tinted balm stick (~$10-20) for glow.
- Cream blush in warm rose (~$8-18).
Extras
- Travel setting mist 2oz (~$6-15).
- Silicone brush cleaning mat (~$6-12).
- Small angled contour brush (~$6-14).
- Fine corrector palette mini (~$8-18).
- Travel compact powder with mirror (~$8-20).
Makeup Tips That Actually Help
Thin coats beat one thick coat every time. Three light layers of lightweight liquid foundation look smoother and last longer than one heavy layer. Try building slowly.
Grab a pack of microfiber face cloths for $8. They cut drying time and make foundation sit better after cleansing.
Observation first: If your foundation separates near the nostrils, blot once and press a damp sponge with a tiny amount of product into the area rather than piling product.
Contrast-first: Many people powder their eyes and forget the under-eye. Sweep a small creased brush under the inner corner to avoid cakey buildup.
A quick fix: keep a travel setting mist in your bag for five-second refreshes that remove powder dustiness.
Most people spend somewhere between $500 and $800 when they finally commit to refreshing a room.
