
I kept choosing delicate, tiny forget-me-not tattoos because the photos looked so precise, and then they blurred into a soft blue-gray blur after a year. The moment that clicked was when an artist suggested a slightly bolder central pistil and denser dot shading around the petals. It kept the flower readable from a distance and still felt delicate close up. After a few touch-ups and a better aftercare routine I stopped waking up worrying the lines would melt into my skin.
These nine black-and-white ideas are for someone who wants botanical detail that reads for years, not just in a photo. They range from quick one-session pieces to multi-hour ribcage work. Expect modest budgets for small placements and higher time and cost when you want textured shading. I tested aftercare across five shops I have visited and learned which techniques actually keep fine work legible. If you need a tattoo that is coverable for work, pay attention to the placement notes in each idea.
1. Inner Wrist Single-Stem, Fine Line With Bold Center
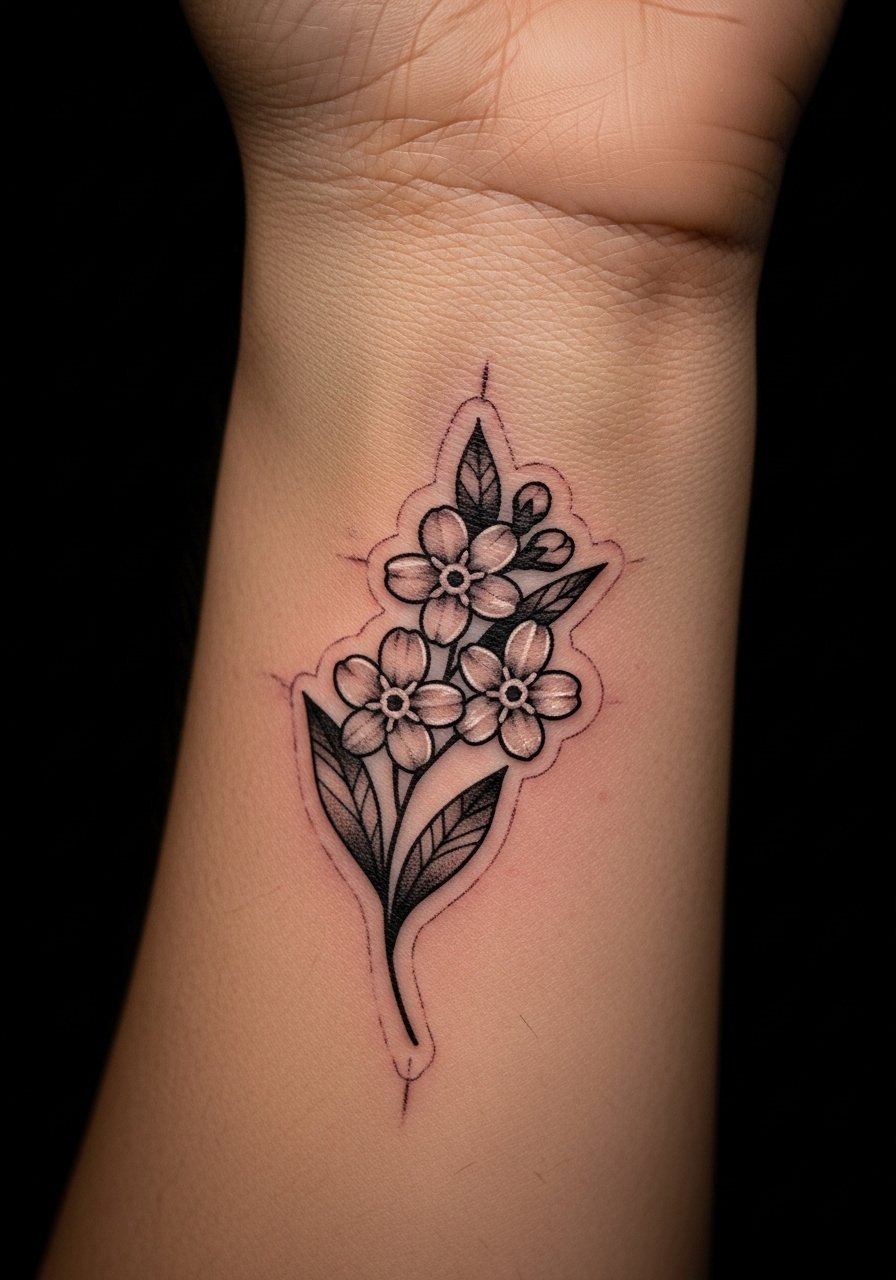
A single-stem on the inner wrist reads as an intimate piece and fits neatly into one short session. What makes it work is a tiny increase in central line weight for the flower center, with the petals outlined in a 3RL needle and a few 3-dot stipples to suggest texture. The result is readable at a glance and subtle when you rotate your wrist. Ideal for first-timers and anyone who wants something coverable. Budget is low to moderate and healing is straightforward when you use a gentle unscented soap and a thin layer of tattoo aftercare balm during the first two weeks.
Mistake to Avoid: Going too thin on every line, which leads to early feathering and loss of petal shape.
2. Behind-the-Ear Micro Cluster, Work-Friendly and Hidden
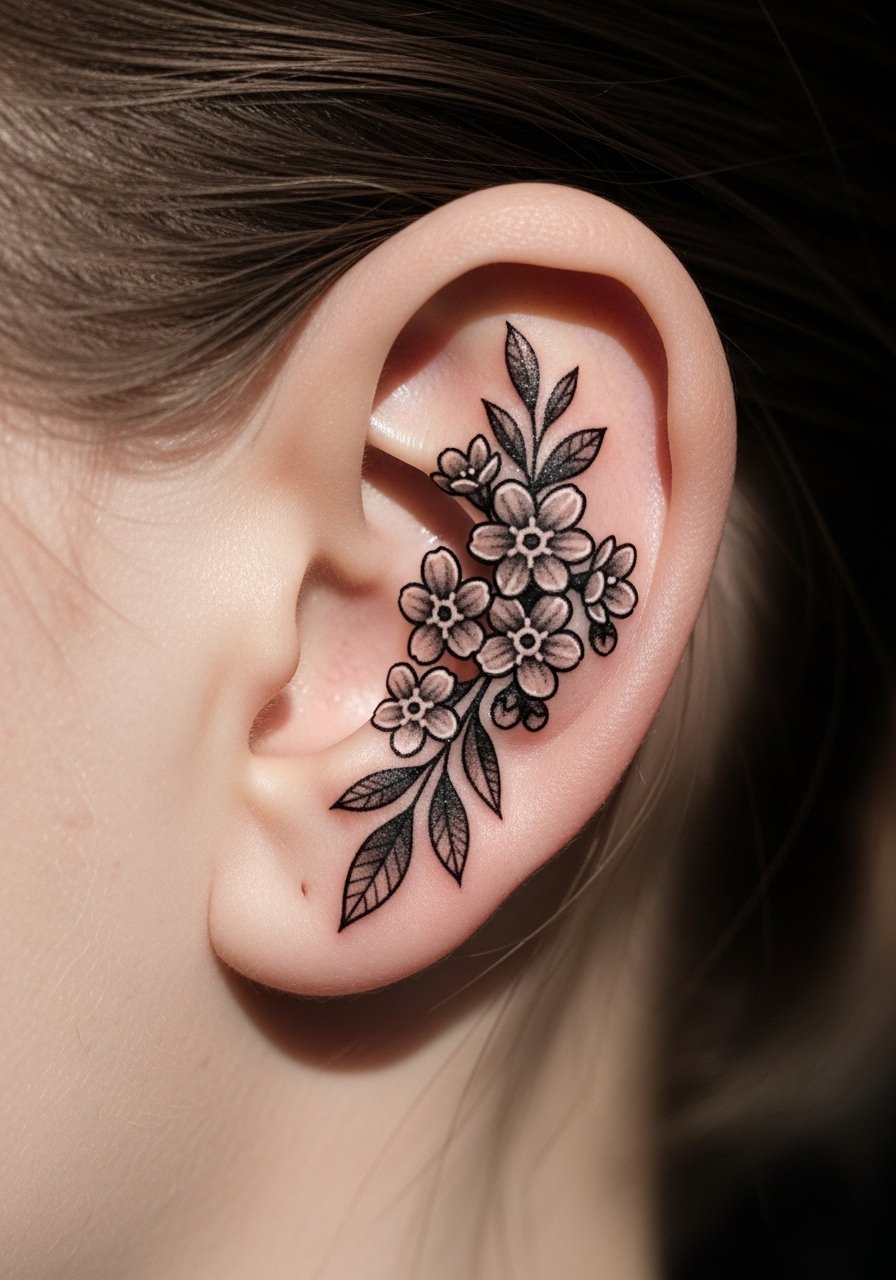
This placement hides easily for conservative workplaces and still feels personal. The visual trick is to use slightly varied petal lengths and a tiny dot cluster in the flower center so the tiny design keeps contrast as skin settles. It feels modern and quiet, good for someone who wants a storage-friendly spot. Healing is quick but watch friction from hair and collars. Bring a one-session budget and ask your artist to avoid single-pin liners for all edges. Pack a small tube of gentle unscented soap for cleaning during the first week.
Mistake to Avoid: Letting hair rub the area during healing, which can lift scabs and blur detail.
3. Forearm Wrap, Linear Stems With Stipple Shading
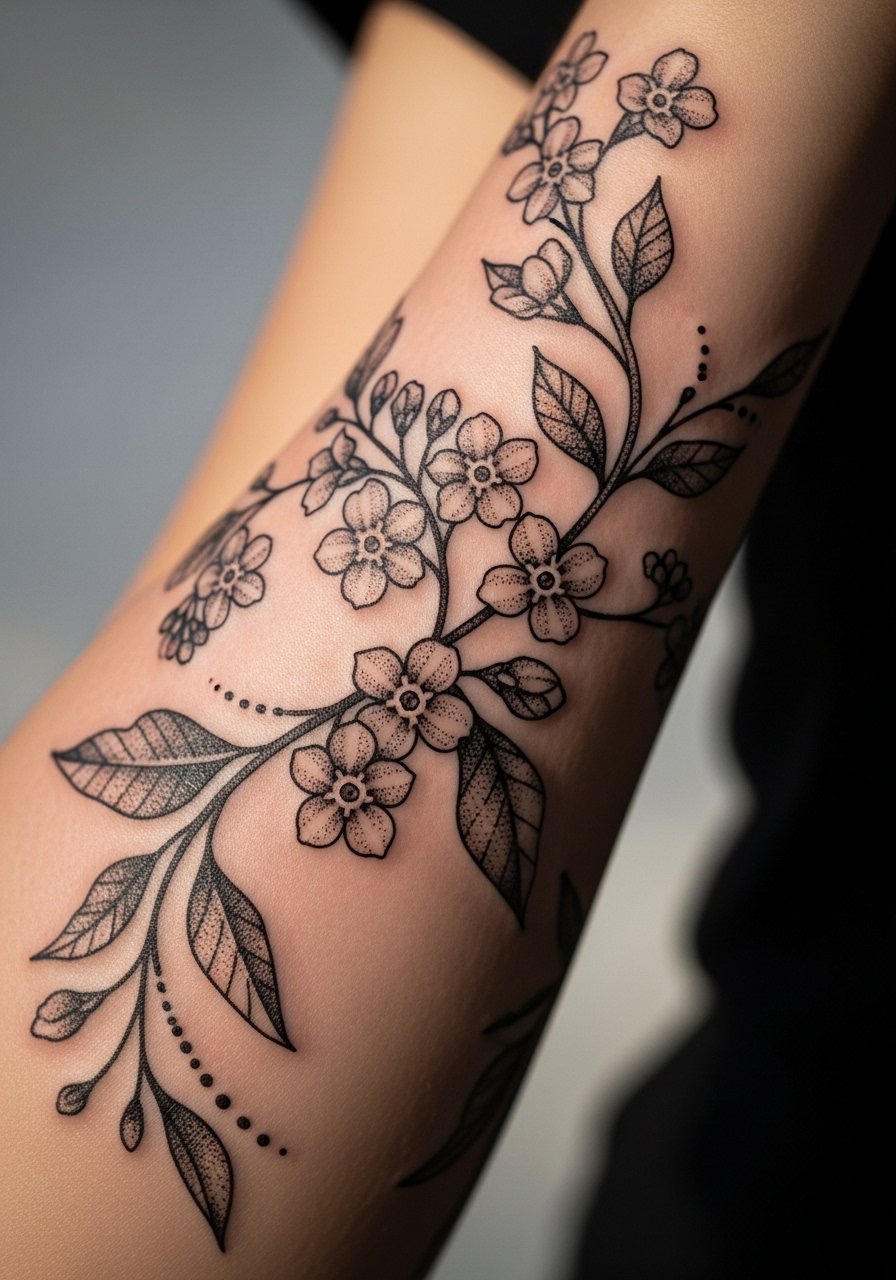
A forearm wrap lets you tell a small botanical story while keeping the design readable from different angles. The thing that saves detail is micro-stippling in 1-2mm clusters to build up shadow instead of heavy black fills. This approach ages more gracefully because stipple fades softly. It has a slightly higher session time, expect one to two hours. It looks intentional, lived-in, and pairs well with sleeve clothing. If you want to prep at home, bring a black tattoo ink option suggestion to your consultation so the artist can match your tone.
Mistake to Avoid: Asking for solid black fills for shading, which can create muddy patches as the ink spreads over time.
4. Ankle Accent, Negative Space Petal Highlights
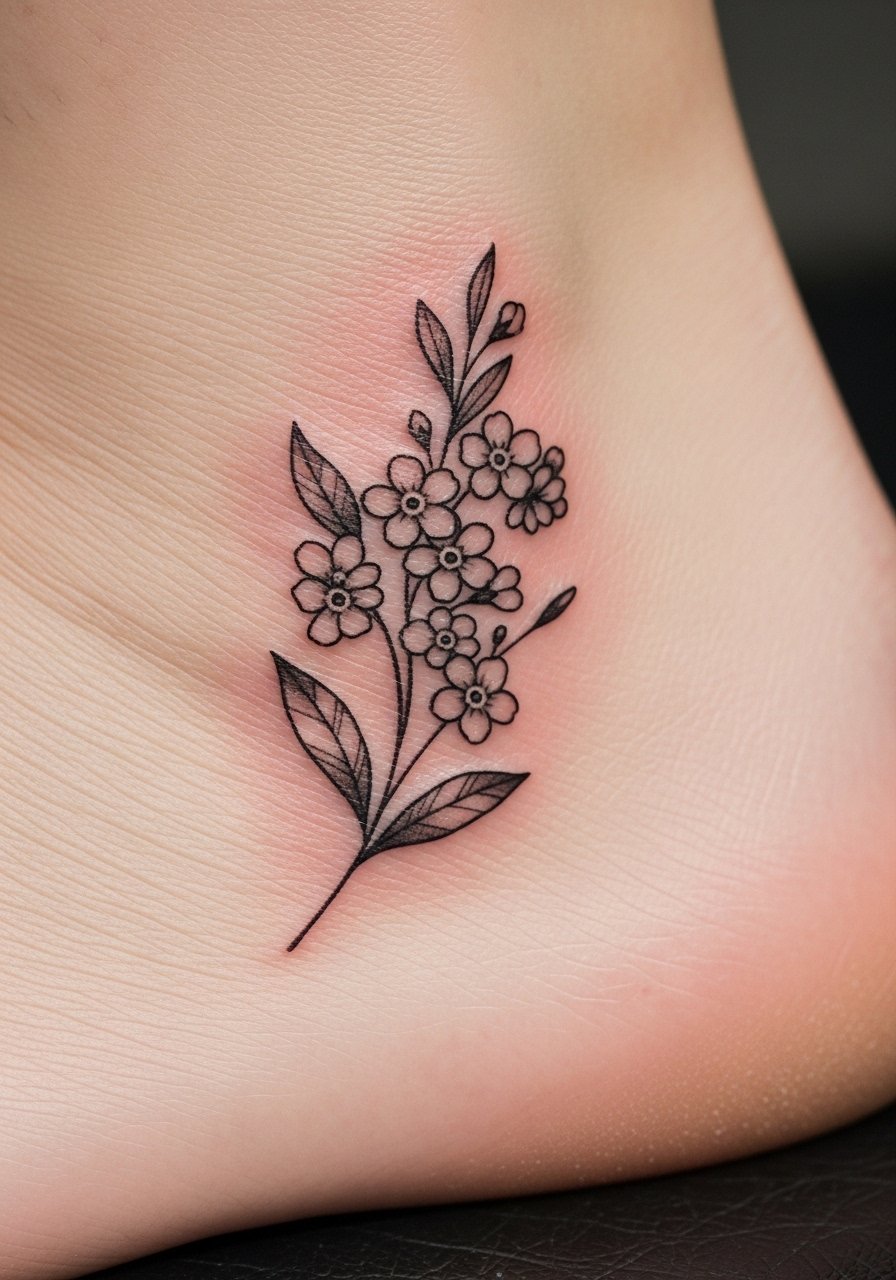
An ankle placement reads well with shoes and looks delicate on warm-weather days. Using negative space between petal tips makes the petals read brighter without needing white ink. The trick is to plan negative gaps that are at least 2mm so they do not close up during healing. This is low budget and a short session. It is ideal for someone who wants seasonal visibility. For aftercare I prefer a thin, breathable adhesive bandage the first night and then daily gentle cleansing with a mild fragrance-free soap.
Mistake to Avoid: Requesting micro white highlights that eight times out of ten will not show once completely healed.
5. Clavicle Bloom, Slightly Bold Lines for Clothing Contrast
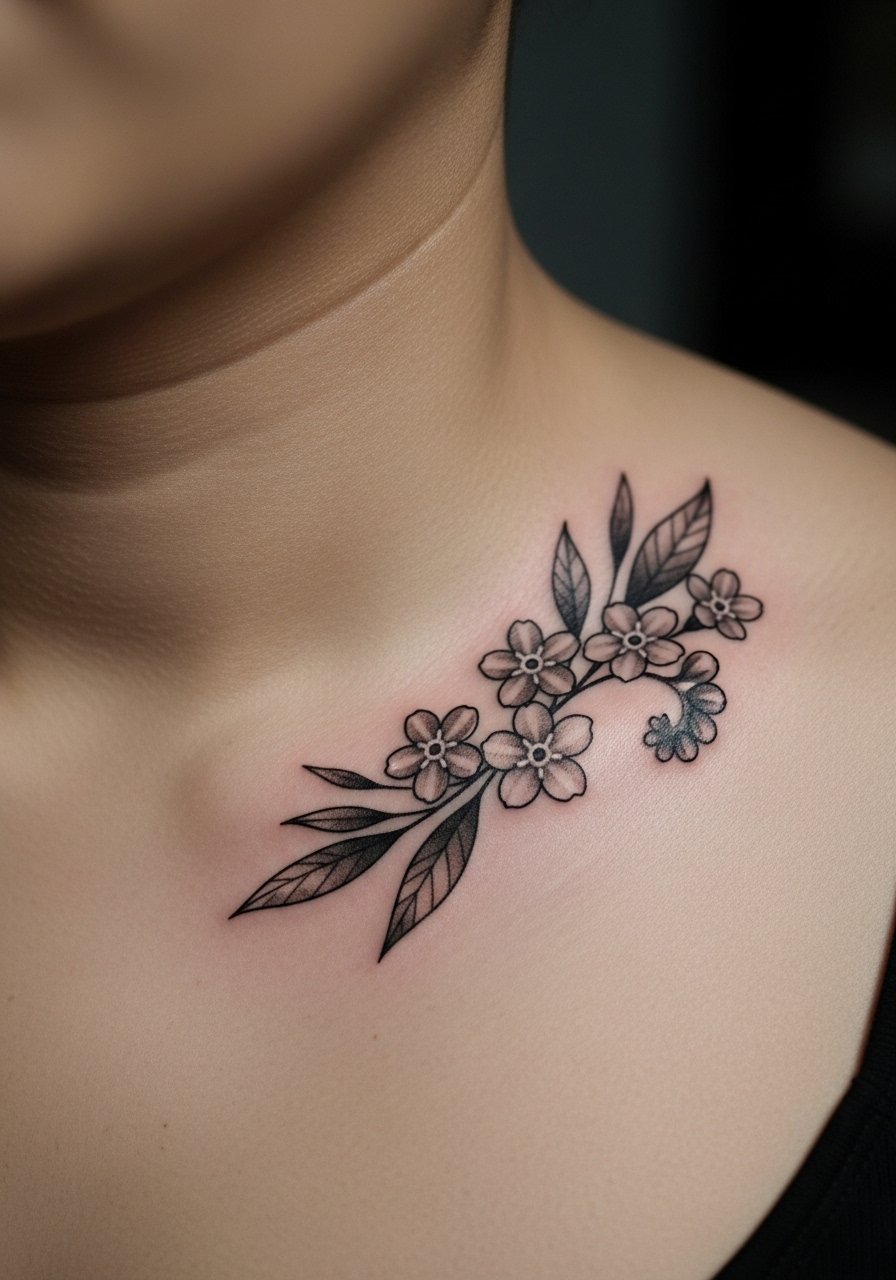
A clavicle placement is visible with low-neck tops and conveys intention. Because the skin here moves when you breathe, slightly bolder pistil lines and a 3RL outline help the petals stay distinct. The feeling is elegant and a little rebellious. Budget is moderate and this placement tolerates a two-hour session if you want additional stems. Use a mineral sunscreen after the initial healing for color preservation and keep long necklaces from rubbing until fully healed. I often bring a recommendation for broad spectrum SPF to clients after their session.
Mistake to Avoid: Choosing ultra-fine hairline outlines for a clavicle piece, which can disappear as the skin moves.
6. Side of Finger, Micro Tattoo With Contrast Tricks
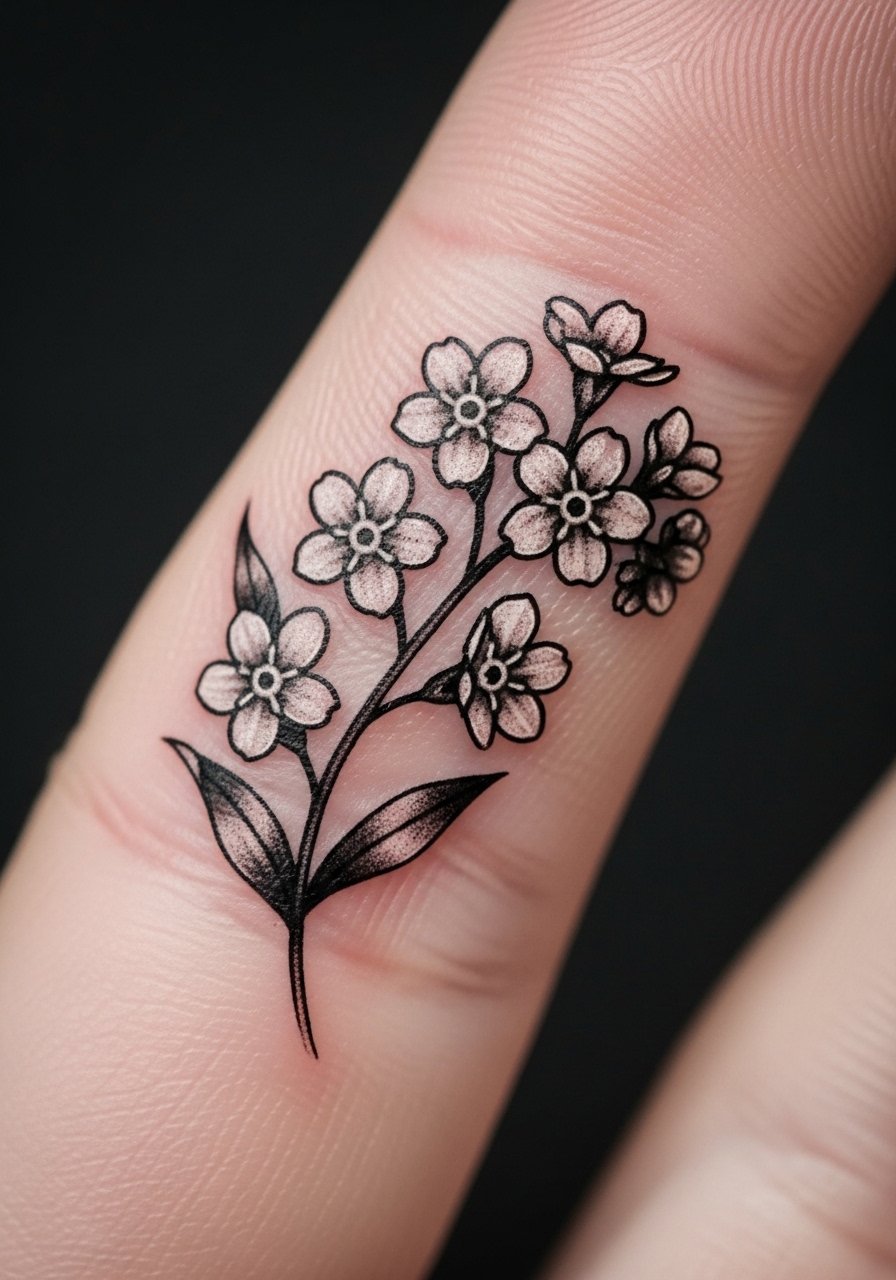
Finger tattoos fade faster, so plan for contrast upfront. A tiny central dot cluster with thicker central lines and open petal gaps helps the design stay legible as the top layers of ink migrate. Expect touch-ups. This is a high-maintenance small piece suited to someone who accepts a short lifespan or plans on periodic refreshes. Keep aftercare minimal and dry. For the first week, protect the area with a breathable tattoo healing bandage when you need to use your hands heavily.
Mistake to Avoid: Demanding an ultra-detailed micro design without planning for future touch-ups.
7. Ribcage Bouquet, Textured Black-and-Gray Work
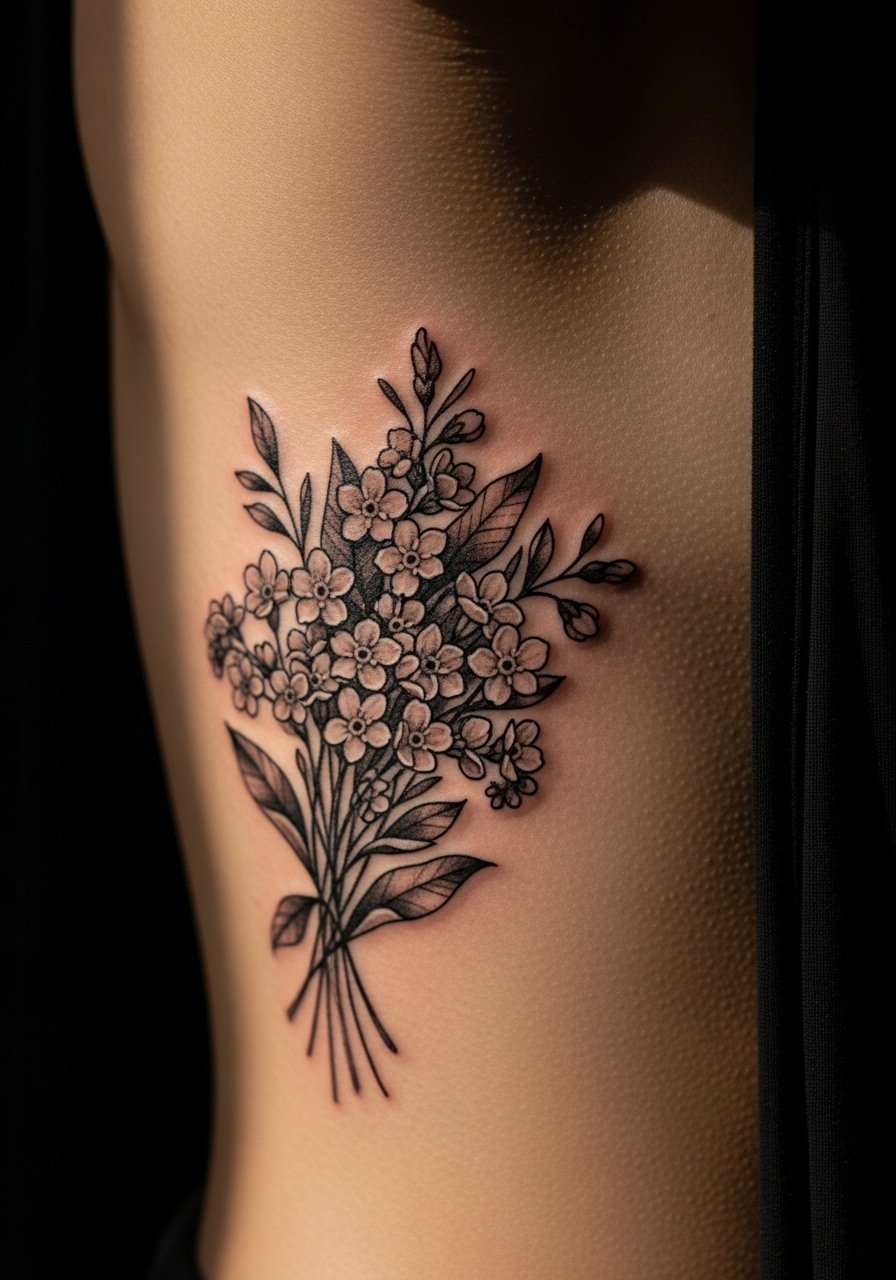
Rib pieces give room for contrast and texture. For a bouquet that ages well, mix fine lines with layered stippling and a soft gray wash under the petals. The key technical detail is working in increments of 15 to 20 minutes for shading passes so skin does not overwork. This is a medium to advanced commitment in terms of pain and time. Expect a longer session and higher cost. I usually recommend a soothing aftercare balm and loose clothing for recovery.
Mistake to Avoid: Asking for dense black washes across the ribcage, which can scar and flatten the texture.
If any of these options have you ready to actually pick something, here are the specific items I keep recommending after all these sessions.
Tattoo Session To-Aftercare Essentials
Preparation items
- Tattoo stencil paper (~$8-15). Bring this if you have a custom sketch you want transferred for the consult.
- Disposable nitrile gloves (~$10-18). Useful for clean touch-ups at home if you have to handle dressing changes.
Healing and daily care
- Tattoo aftercare balm (~$8-20). A thin layer keeps the scab pliable and reduces itching.
- Gentle unscented soap (~$5-12). For daily cleansing during the first two weeks.
- Breathable healing bandage (~$10-20). Good for the first night or heavy-friction days.
- Broad spectrum SPF (~$10-25). Use after full healing to protect lines and contrast.
Post-Tattoo Care Habits I Actually Use
Let it dry for the first hour, then gently wash. I learned that blotting dry with a clean towel instead of rubbing prevents lifted scabs and keeps lines crisp. Gentle unscented soap is what I use during that first week.
Grab tattoo aftercare balm and apply a rice-grain amount twice a day for the first five to seven days. Too much balm equals clogged pores and extended healing.
Curate your clothing for the first ten days, not just the first night. Avoid tight straps rubbing the area. A loose shirt or slip-on shoe prevents scab disturbance.
If you plan a finger or hand piece, accept the reality of touch-ups. Book the touch-up when you book the original session, it saves time and often money.
When choosing an artist, bring reference photos shot straight on and in good light. Artists want to see scale and contrast so they can advise line weight changes that will last.