
I kept ending photo shoots with a forehead shine and a cakey chin, even though my skin felt supple in the mirror. It took one makeup artist telling me to stop powdering everything and start layering dew, for the whole thing to click. After swapping one heavy step for a thinning trick, my skin looked like skin again, not a mask in every frame.
These tips lean quiet glam and weekday-friendly. Most items are under $30, with a few splurges around $40 to $60. The approaches fit dry, combination, and normal skin, with a quick note for oily types where relevant. Expect ten to twenty minutes to put most looks together, less once you practice the layer order.
1. Hydrating Primer, Lightly Committed

A hydrating primer sets the tone. Use a nickel-size amount on damp skin, press it into the T-zone and cheeks, and you get a soft, even base that keeps foundation from clinging to dry patches. For dry skins it smooths, for combo it tames texture without adding weight. Try a hydrating primer and let it sink for 30 seconds before anything else. Pair with the hydrator in idea 2 for long wear.
Mistake to Avoid: Rubbing primer in like lotion, which shears off product and creates patchy coverage.
2. Mix Foundation With Two Drops of Facial Oil
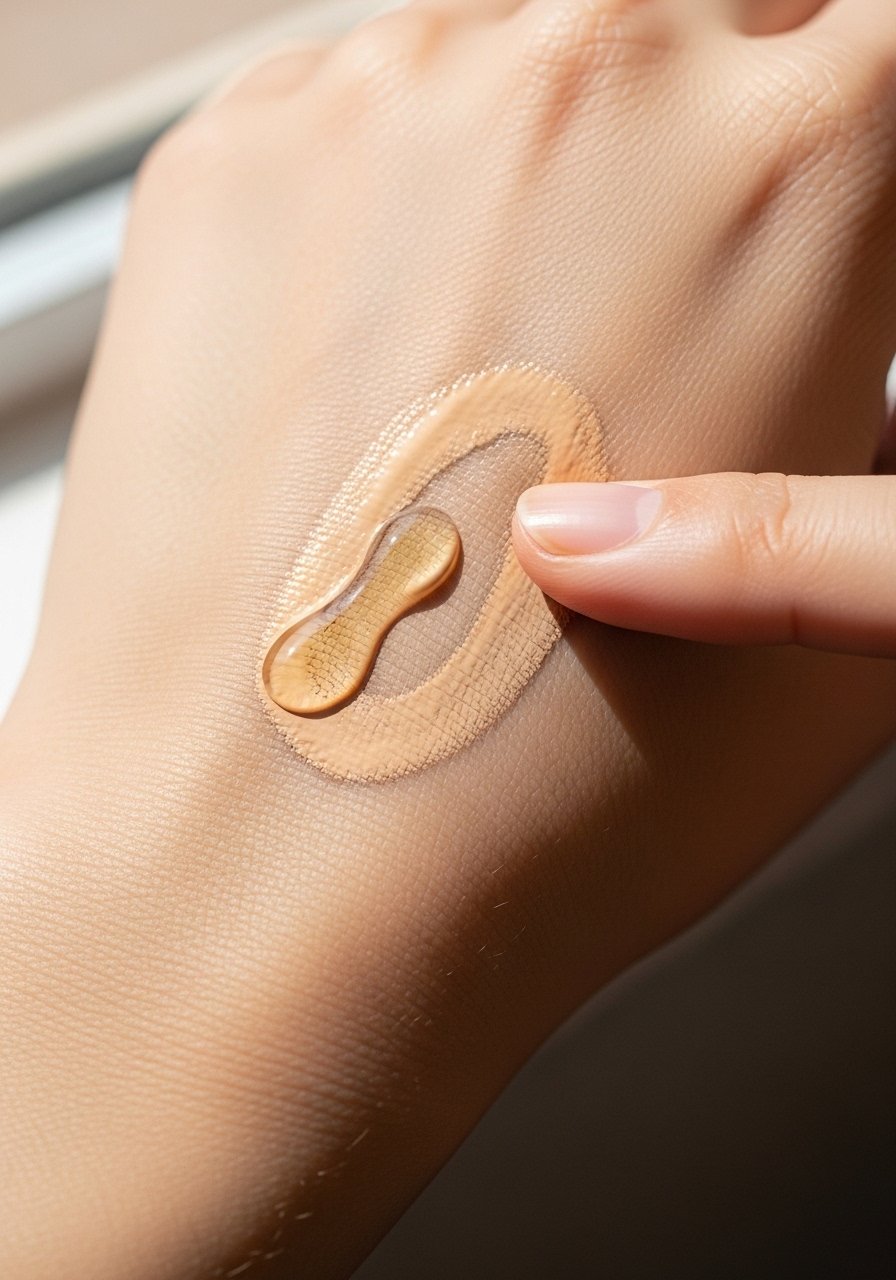
Mixing a light facial oil into your foundation at a 10 to 1 ratio softens finish and adds slip, so camera light reads skin not powder. I use two drops per pump on days my skin needs bounce. Works for dry and normal skin, and for oily types try a mattifying primer under the mix. Use a lightweight facial oil and test a 1:1 trial in photos before a full face.
Mistake to Avoid: Overdoing oil so the base separates on the skin mid-day.
3. Cream Blush Layered Over Sheer Base
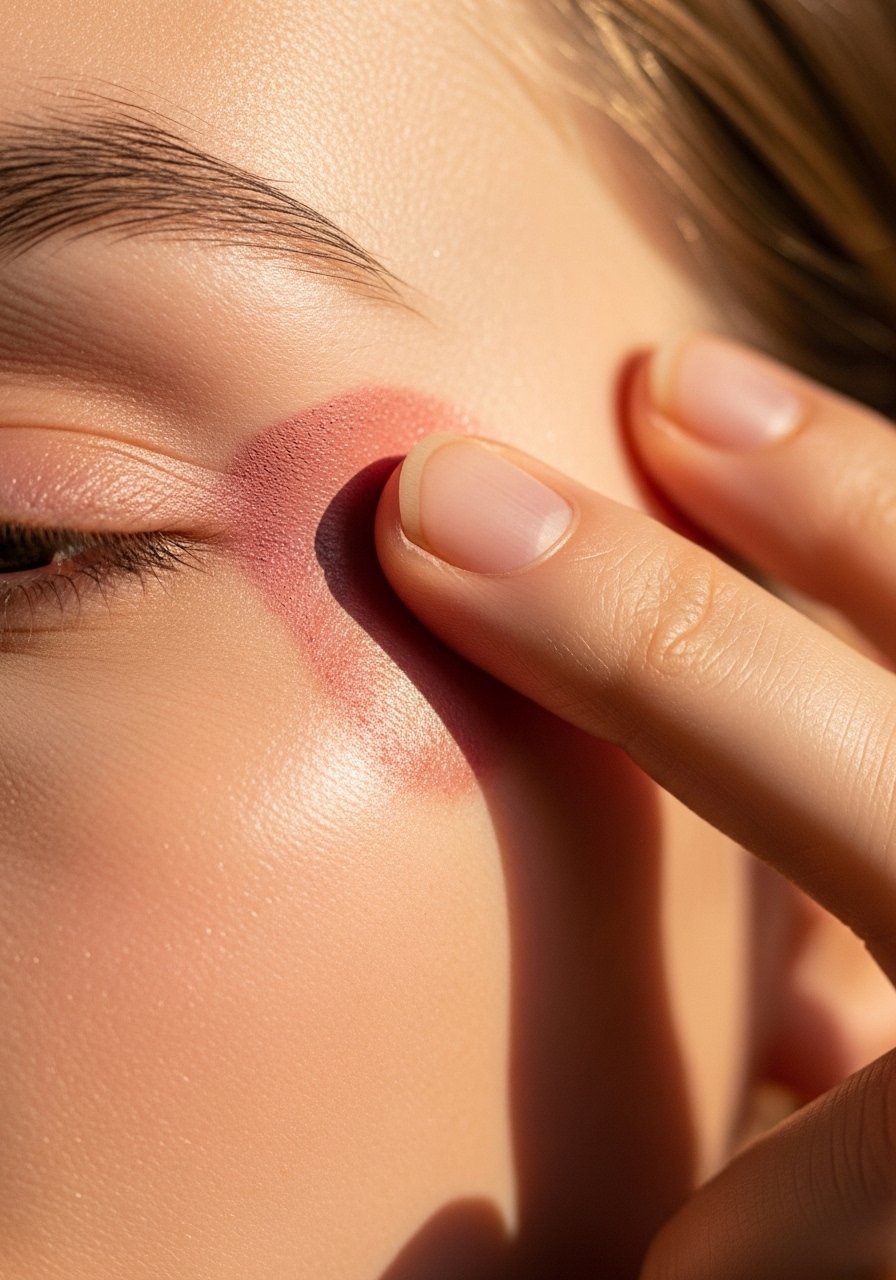
Cream blush sits on skin instead of in it, which creates that dewy pop. Apply a small dot to the high cheek then blend upward toward the temple with fingertips. It pairs best with a sheer, skin-like foundation for that "lit-from-within" feel. I use a warm cream blush in one to two taps. For cool undertones pick a neutral-pink shade and keep layers thin.
Mistake to Avoid: Applying blush in a circle on the apples makes the face look flushed instead of lit.
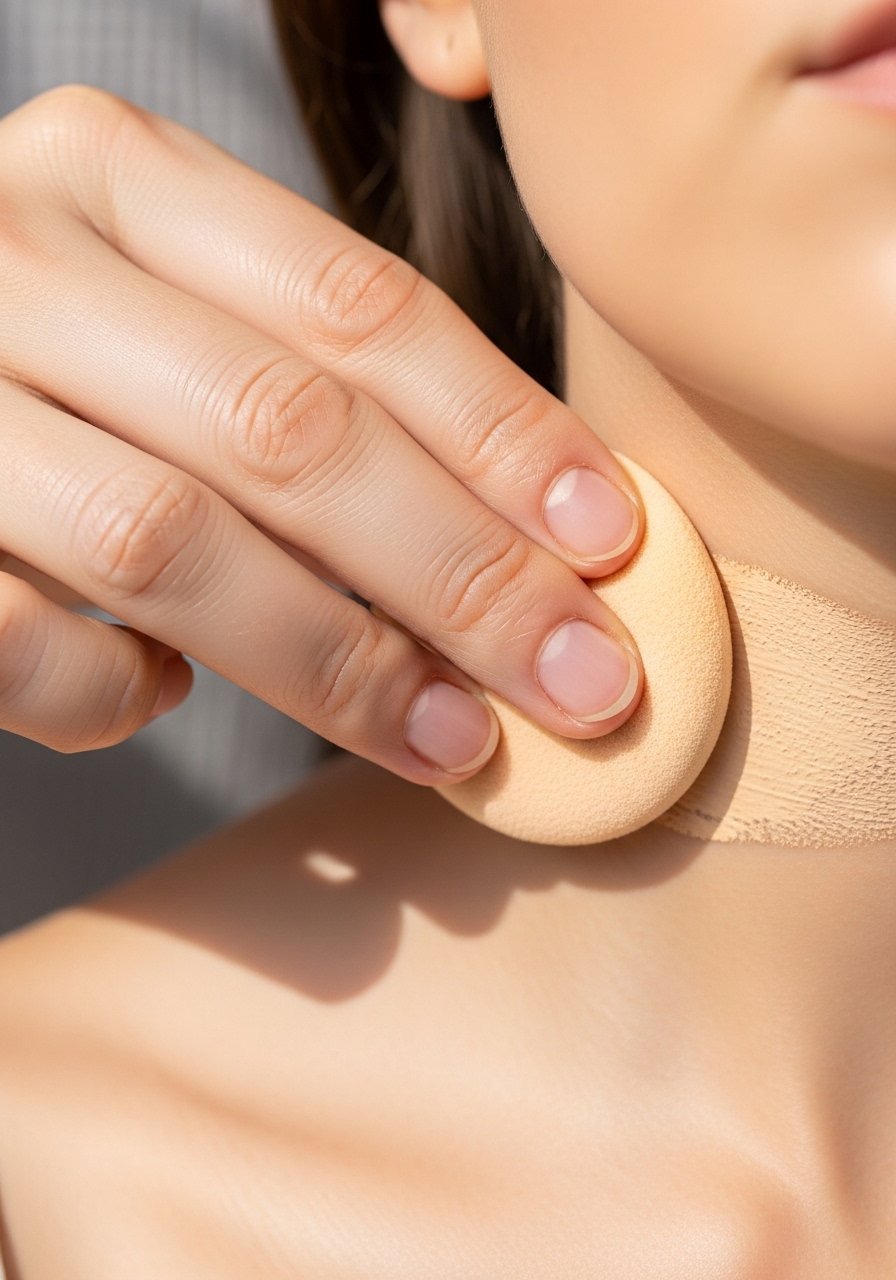
4. Damp Sponge Stippling for Natural Finish
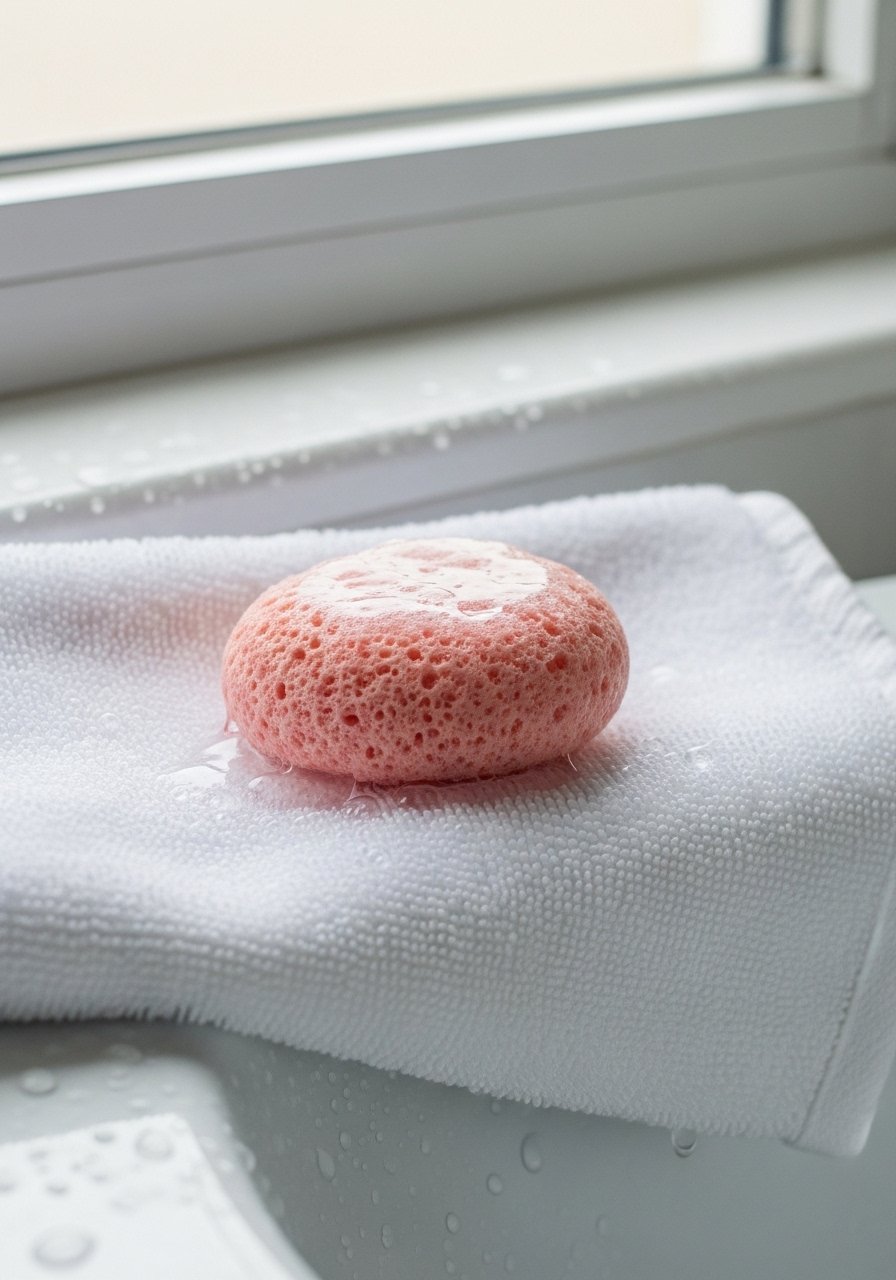
A damp sponge pounces product into the skin, it avoids drag and leaves tiny reflections. Wring until springy, load a small amount of foundation, then stipple in layers for a dewy, even look. This works across skin types though oily skins should use blotting later. I tested this routine across four skin types and saw less caking in photos. Try a latex-free blending sponge.
Mistake to Avoid: Rubbing in with a dry sponge which causes streaks and clinging.
5. Thin, Transparent Concealer in a Triangle
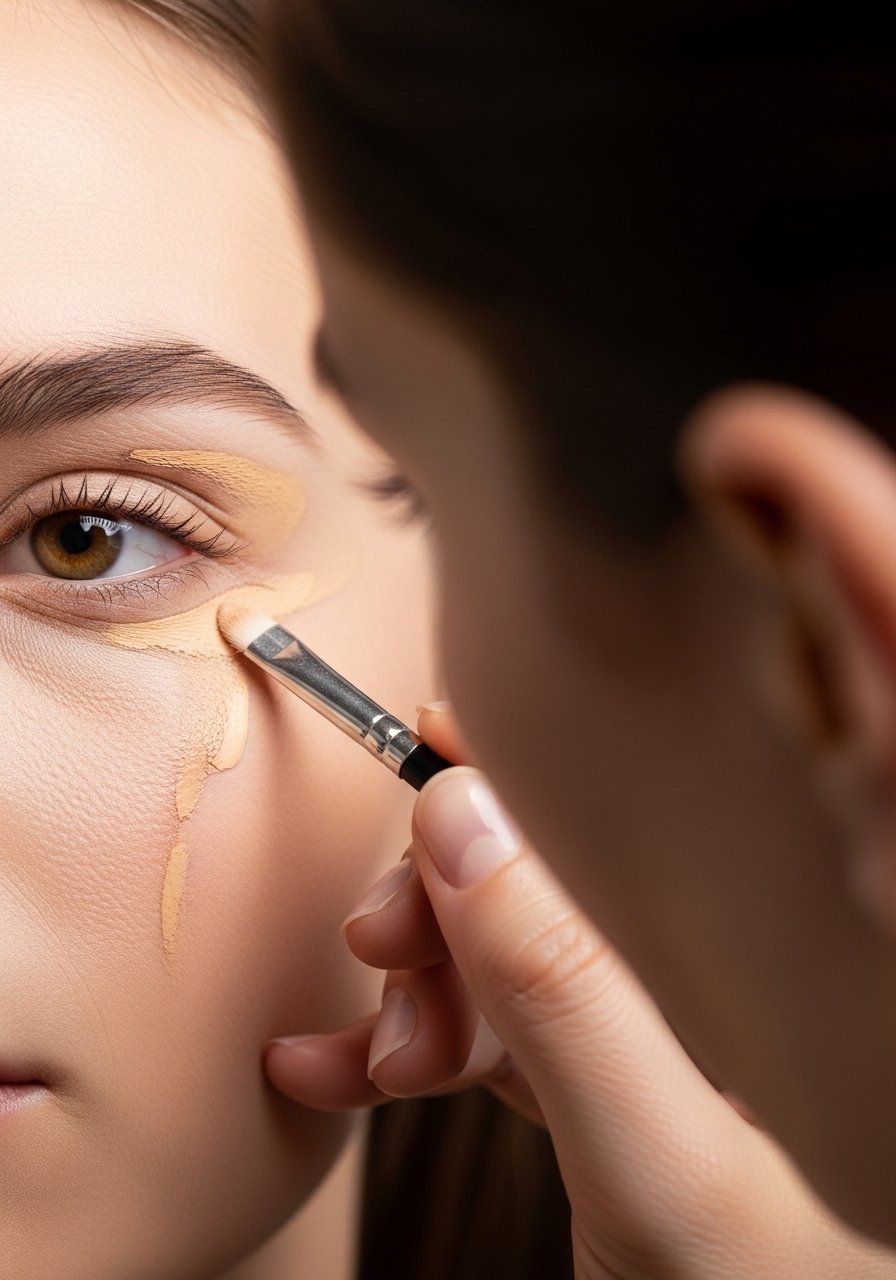
Apply concealer in a thin triangle under the eye, not a dot. That triangular shape catches light naturally and blends into the cheek without looking piled on. Use a lightweight formula and only a half pump across both eyes for most people. I use a luminous concealer and pat with a damp sponge for the softest finish. Works well for fair to medium tones; deeper tones should blend with a small brush.
Mistake to Avoid: Applying too much product directly under the eye which creases mid-day.
6. Layer a Water-Based Setting Spray Between Steps
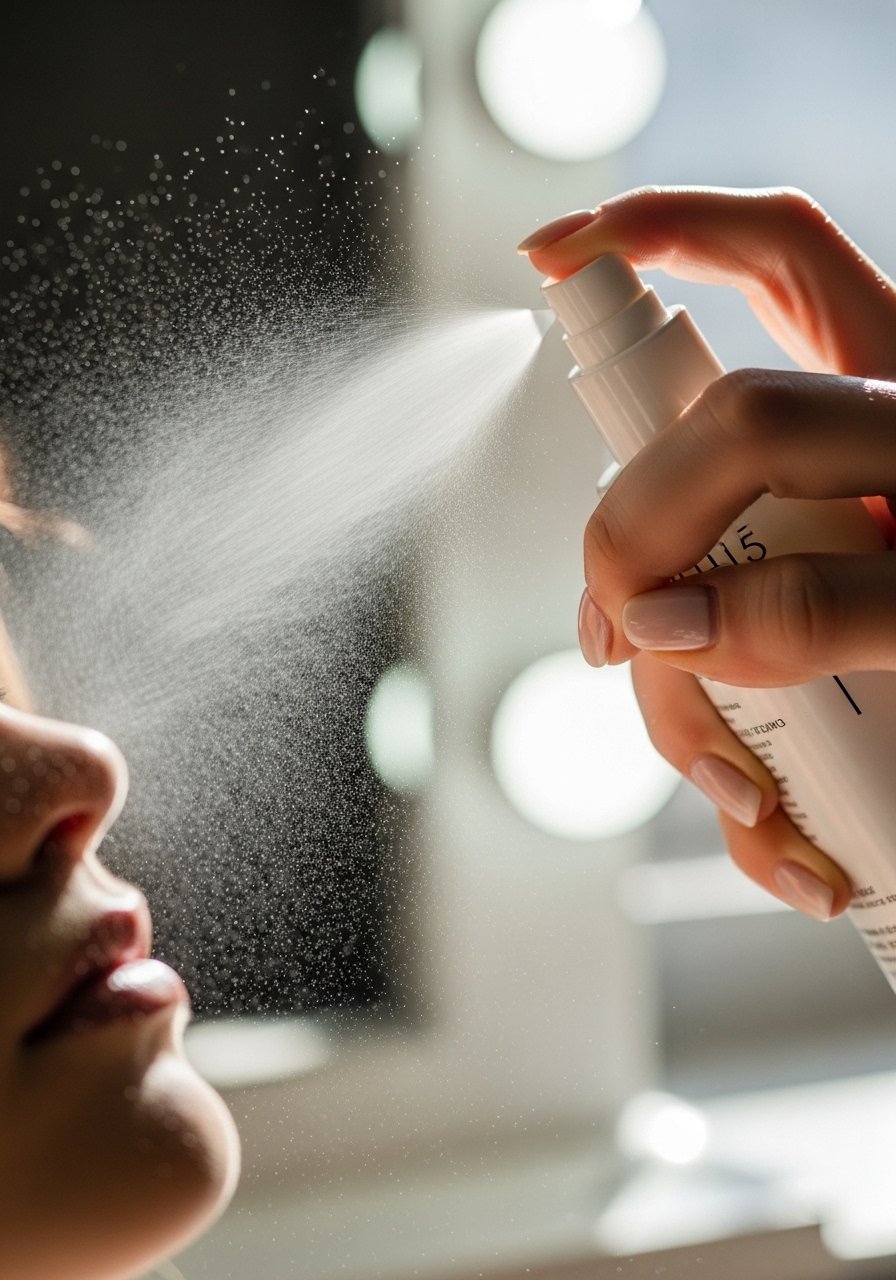
A quick mist between base layers melts everything together. Spritz once after primer, once after foundation. It keeps powders from sitting on top and preserves a natural sheen. Use a water-based spray with glycerin for longevity, one to two spritzes per layer. I recommend a facial setting mist and blend with a sponge after the second mist.
Mistake to Avoid: Spraying after heavy powdering which can cause pilling.
7. Liquid Highlighter on the High Points
A tiny dot of liquid highlighter mixed with your cream blush or layered on top lifts the look. Dab a rice-grain sized amount on upper cheekbone, brow arch, and cupids bow. For oily skin, dilute with moisturizer first. I use a pearl liquid highlighter and blend quickly so it reads skin, not glitter.
Mistake to Avoid: Applying highlighter in a thick line which catches flash and looks shiny.
8. Use Sheer Powder Only Where You Need It
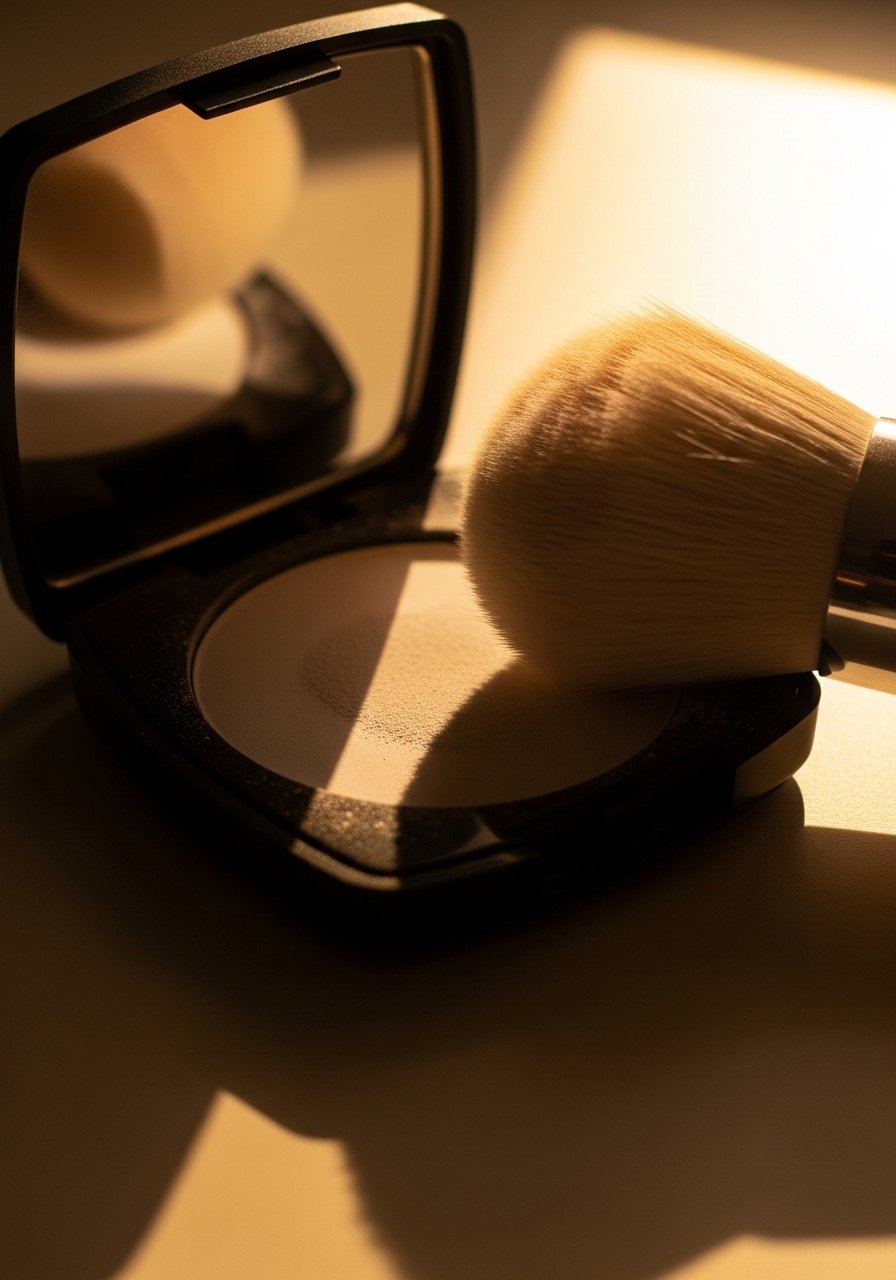
Instead of all-over powder, apply translucent powder only to the nasal fold and chin if you need it. Press with a small brush rather than sweeping to keep luminosity elsewhere. A tiny 1/8 teaspoon in the brush will do the area, not the face. For combo and oily skin this is the compromise between glow and longevity. Try a translucent finishing powder.
Mistake to Avoid: Powdering the whole face which kills dew and looks flat in photos.
9. Warm Cream Products with Body Heat
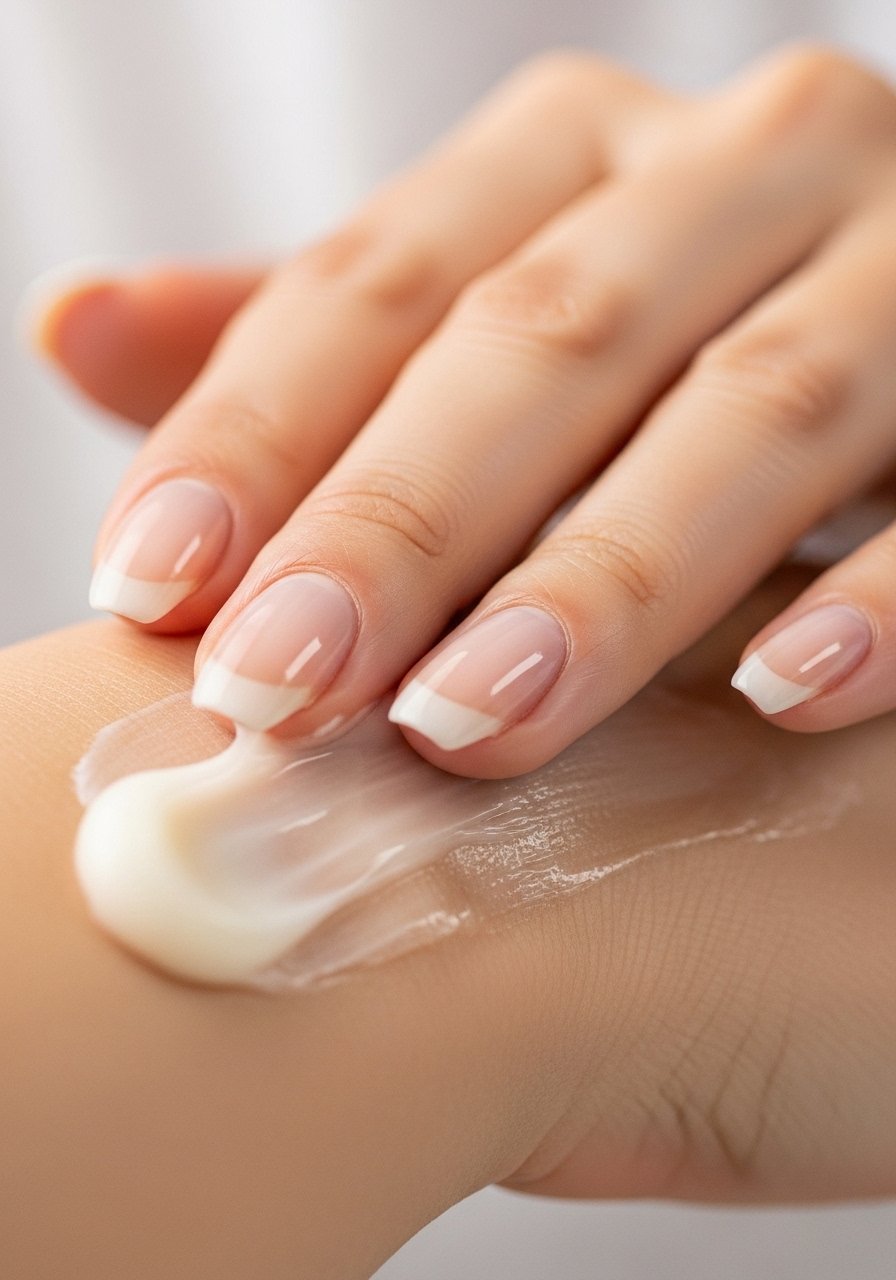
Warming creams and balms on your fingers before applying melts them into skin more evenly. Put product on the back of the hand, rub for five seconds, then press into the face. That small mechanical step prevents patchiness and spreads product thinner, which is crucial for mature or dry skin. Use a cream stick highlighter.
Mistake to Avoid: Applying cold product from the tube straight to the skin, which resists blending.
10. Micro-Glow on Lips with Balm + Sheer Tint
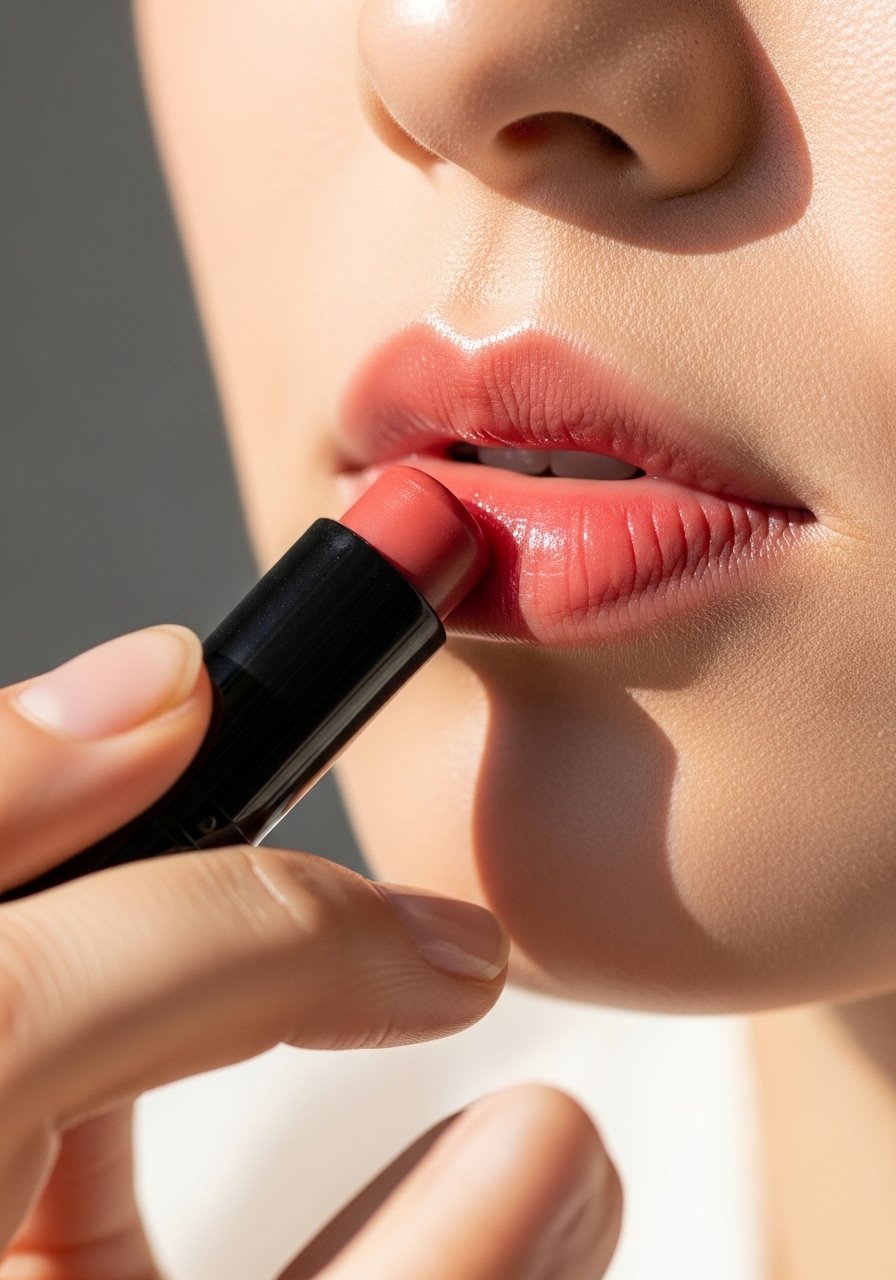
A tinted balm, blotted once, gives lips a hydrated look that reads youthful. Swipe balm, press with tissue, then tap a sheer tint in the center for depth. This method keeps shine controlled for camera close-ups. For sensitive lips pick fragrance-free formulas. I like a sheer tinted lip balm.
Mistake to Avoid: Rubbing lip color around, which builds up pigment and looks heavy.
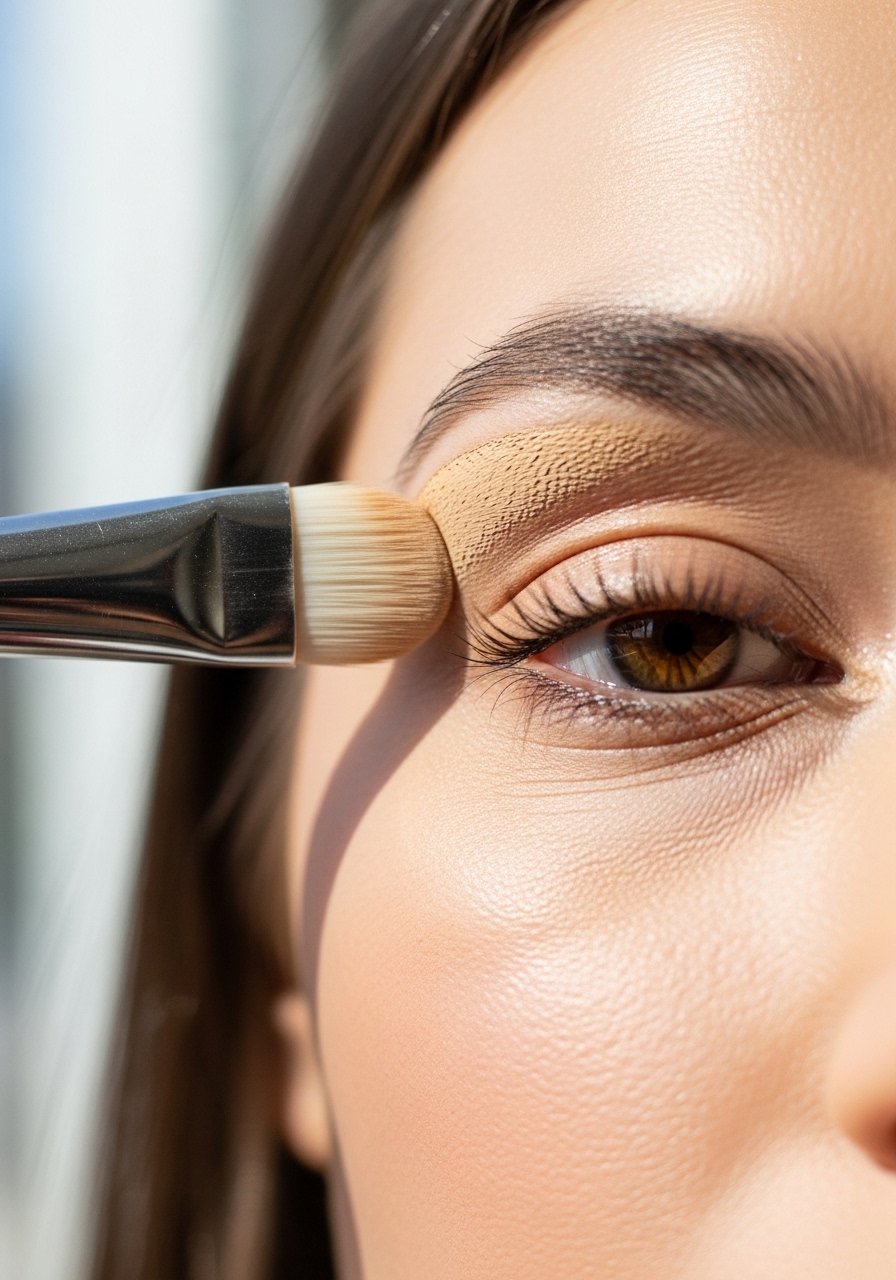
11. Cream Eyeshadow as a Soft Highlight

A neutral cream shadow on the lid and inner corner brightens without glitter. Tap onto the lid with a fingertip, then blend the edge with a brush. Use warm or neutral tones depending on undertone guidance. For oily lids a light primer under the cream keeps it from migrating. Try a neutral cream shadow.
Mistake to Avoid: Swiping with a brush only, which shears off product and leaves uneven patches.
12. Thin, Sheer Brow Gel to Lift the Face
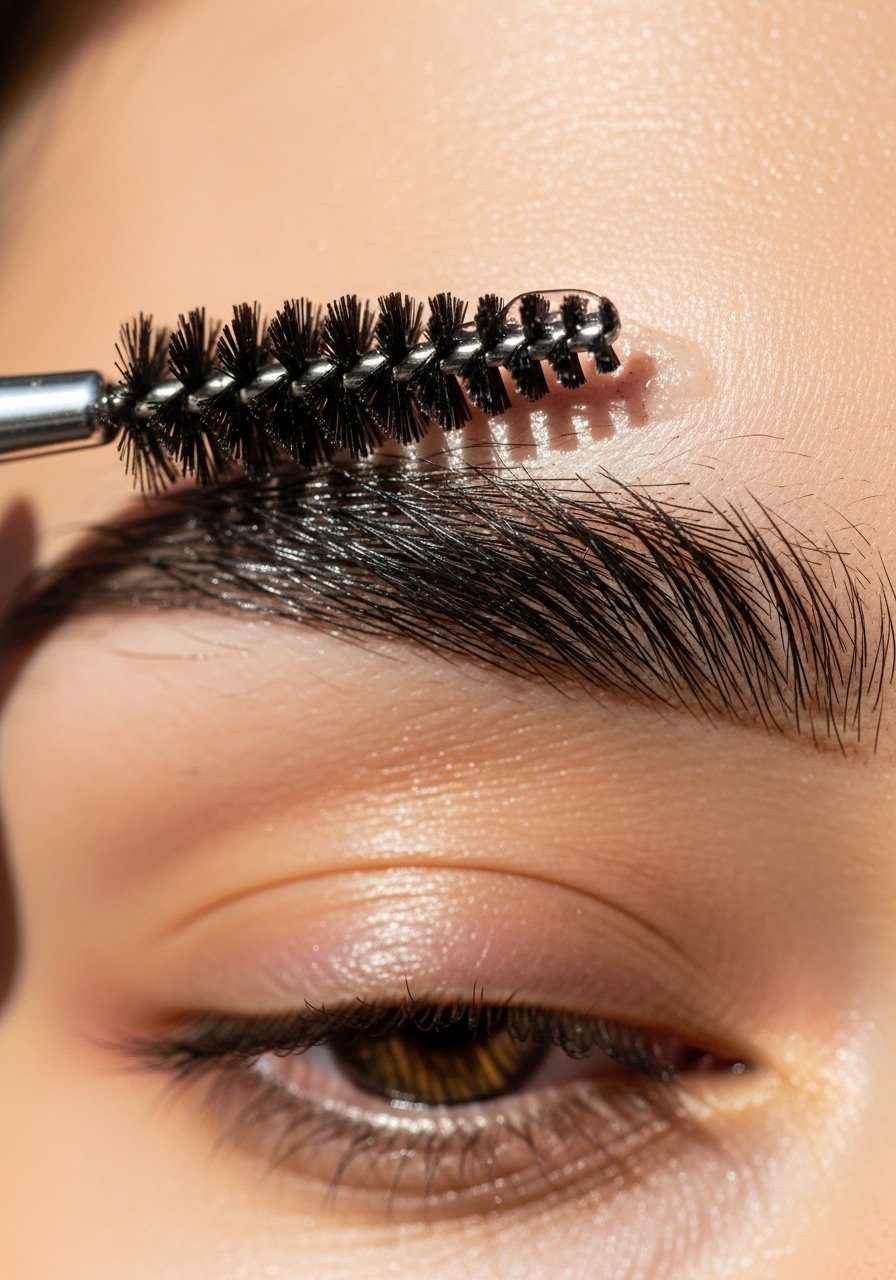
Brushed-up brows open the face and read well in photos. Use a clear or lightly tinted gel, brush upward, then flick the tail for structure. For sparse brows use a pencil to dot tiny hairs then gel through. I use a clear eyebrow gel and keep strokes short and upward.
Mistake to Avoid: Overfilling brows with heavy strokes that look drawn-on in photos.
13. Glow-Boosting Skin Tint Over SPF
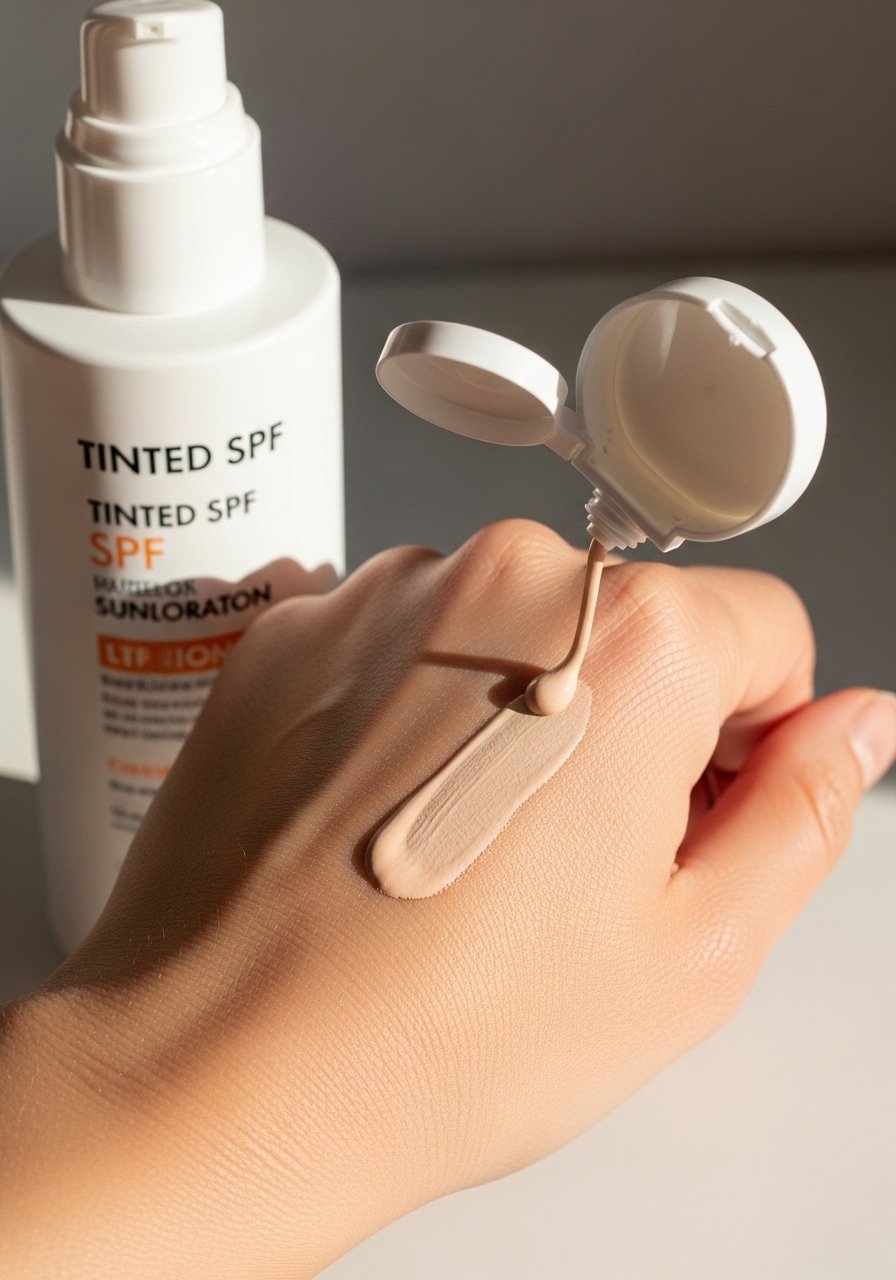
Swap heavy foundation for a skin tint with SPF when you want to look like skin rather than cover it. Apply in thin layers, focusing on redness and blending outward. This is the celebrity trick for natural red carpet makeup when the camera wants skin, not canvas. Choose a tint suited to undertone and test in daylight. I reach for a tinted mineral SPF.
Mistake to Avoid: Mixing full-coverage foundation with SPF, which can pill and separate.
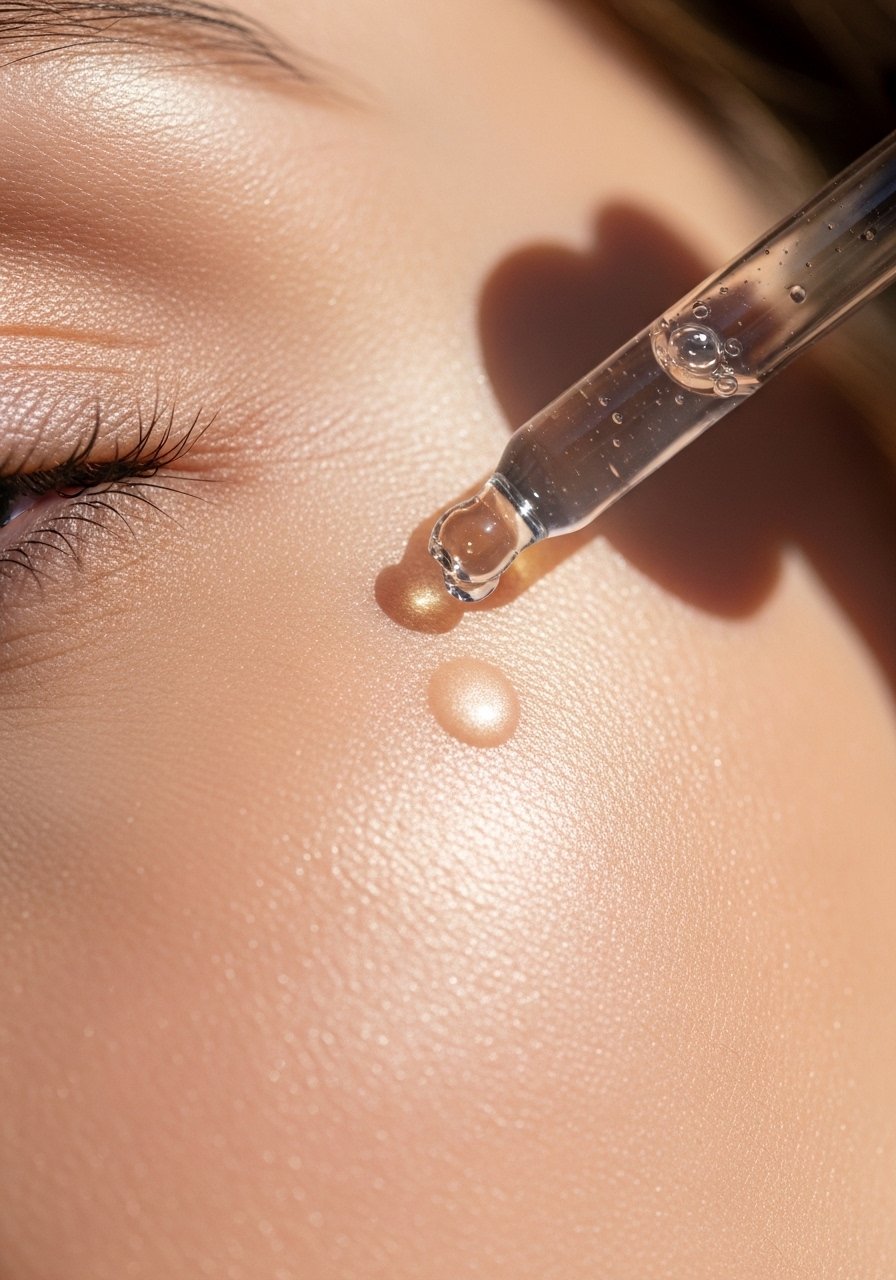
14. Add One Drop of Hyaluronic Serum Pre-Makeup
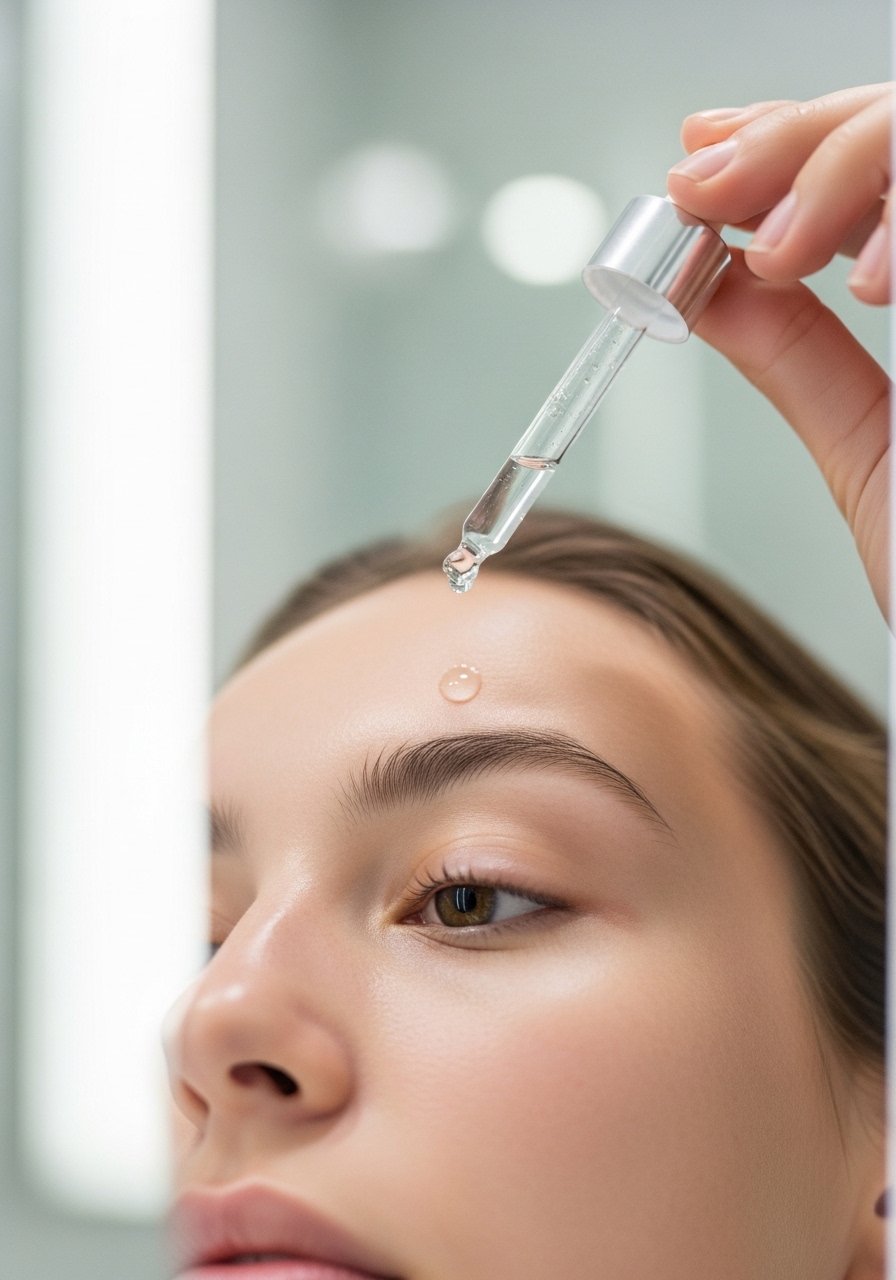
One drop of hyaluronic serum pressed into damp skin right after cleansing traps water and plumps texture before primer. It is subtle but keeps makeup from settling into fine lines. For oilier skin use a gel-based serum and skip extra oil. Try a lightweight hyaluronic serum and let it set for thirty seconds.
Mistake to Avoid: Using too much serum so the primer slips off and your base feels unstable.
15. Backlight Your Cheeks With a Concealer Glow
Apply a smidge of concealer above the cheekbone, not below, to catch overhead light in photography. This tiny reflector tricks the eye into seeing a lifted, dewy plane. Use a concealer one shade lighter than foundation, blend quickly. Works on all skin types but test for flashback in photos. A multiuse brightening concealer works well.
Mistake to Avoid: Under the cheek placement that creates a heavy block of light and looks unnatural.
16. Use a Silk-Like Primer for Photos
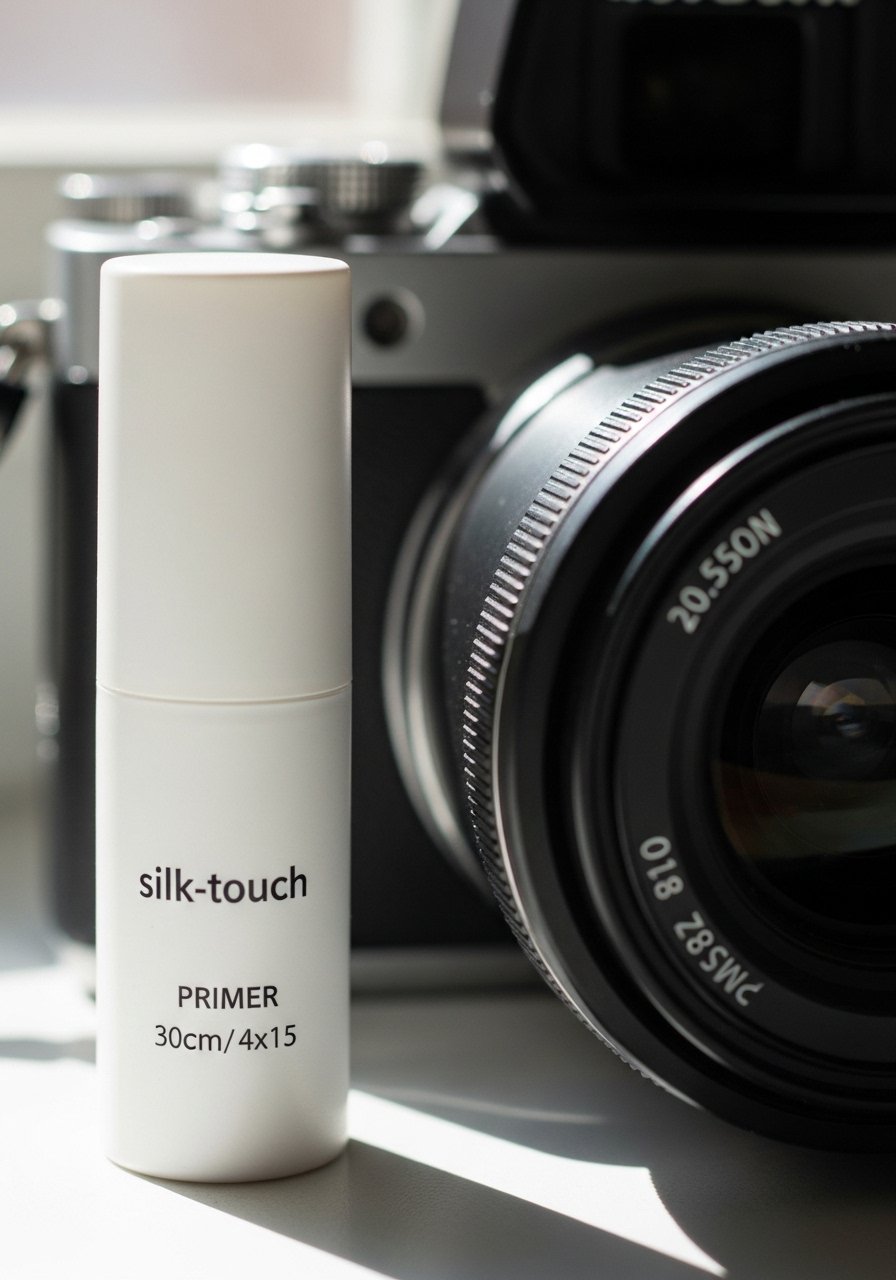
Silk-texture primers scatter light softly without adding shine. A pea-size amount across the forehead and cheeks gives a photogenic base. It is especially useful for texture-prone skin because it smooths without silicone drag. I keep a silk-finish primer in my kit for evening shoots.
Mistake to Avoid: Overapplying and wiping away skin detail which makes expression look flat.
17. Brighten Under Eyes With Color Correcting, Sparingly
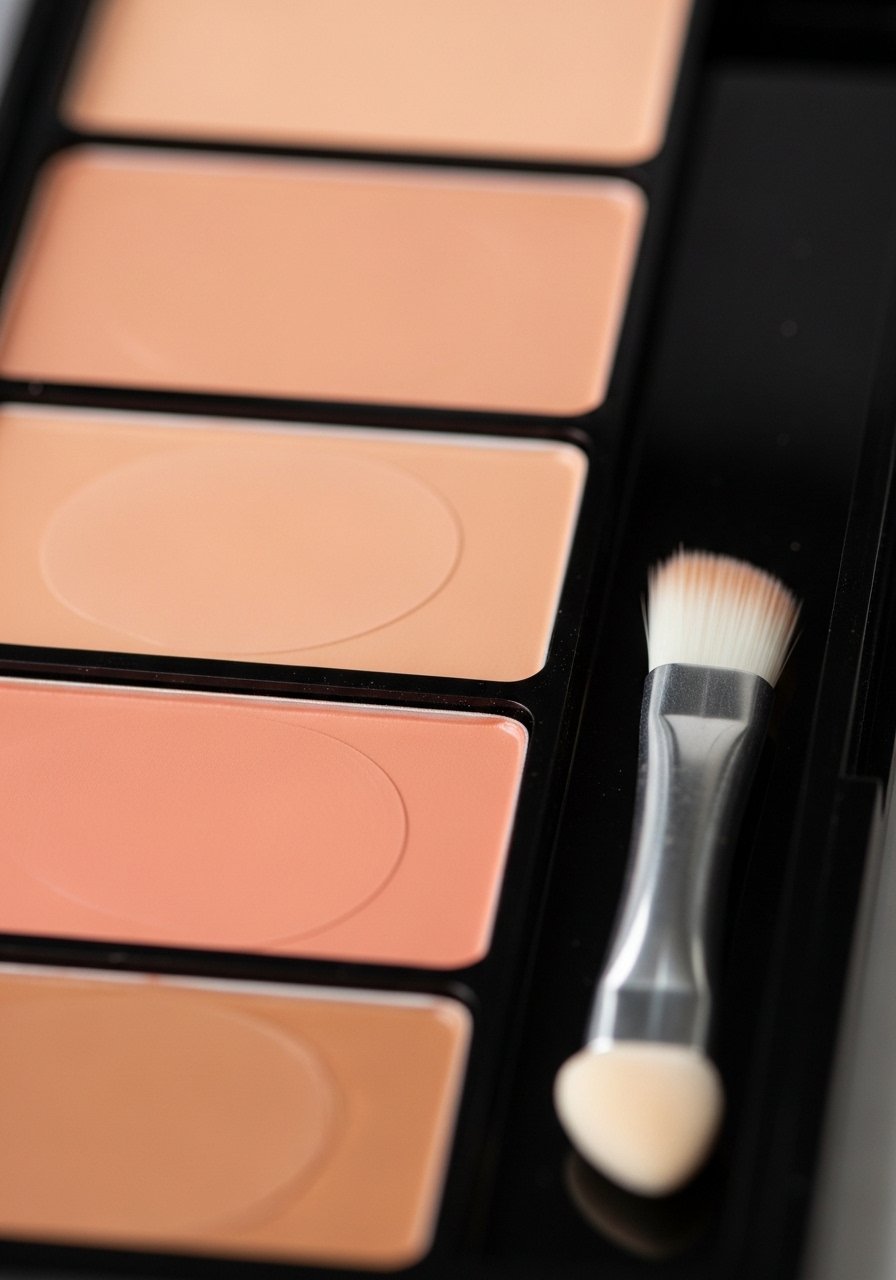
Peach or salmon color correctors neutralize blue shadows. Use a thin wash, blend, then add your regular concealer. One to two tiny dots per eye is enough. For deeper complexions choose terra-cotta tones. Try a peach color corrector and test in natural light.
Mistake to Avoid: Applying a thick layer of corrector that peeks through and looks orange on camera.
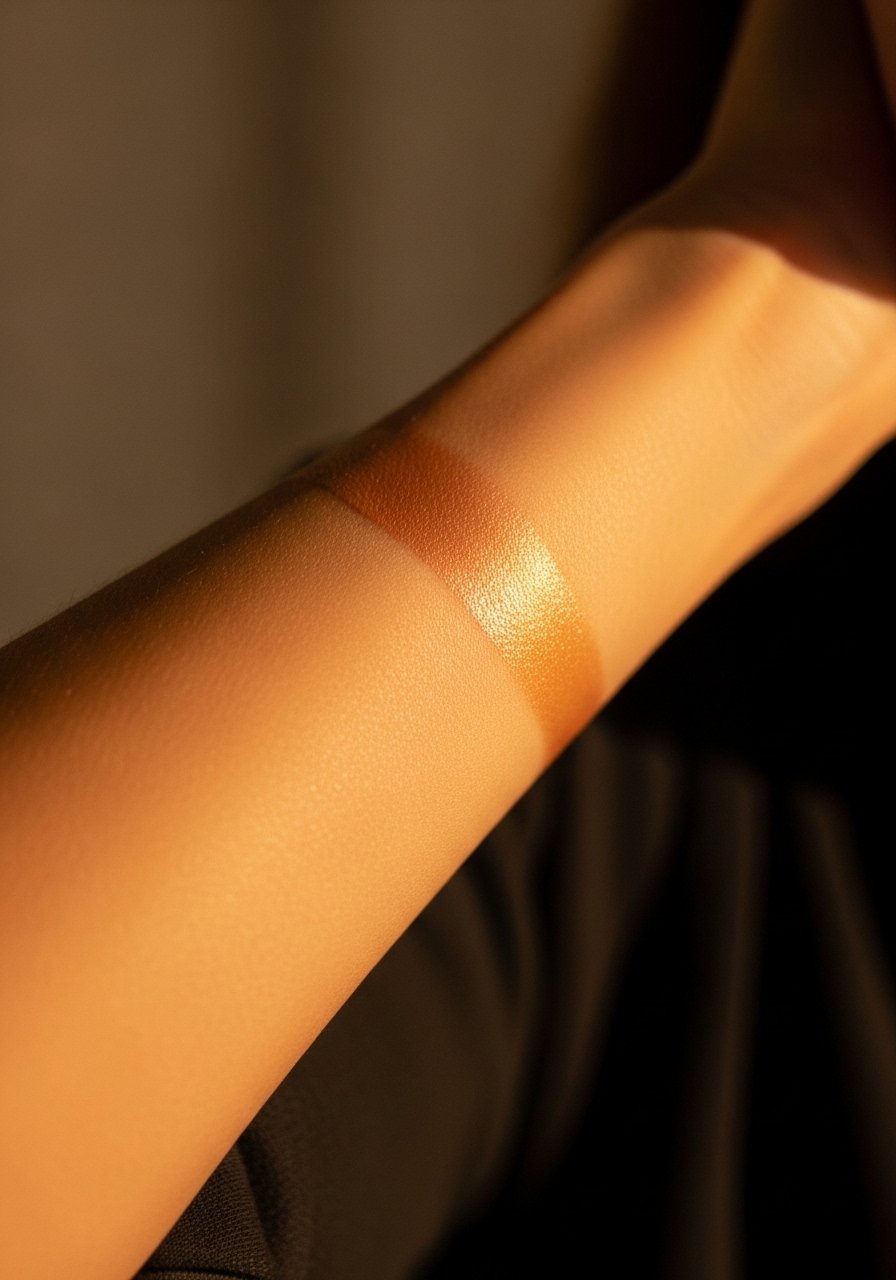
18. Press Barely-There Bronzer Into Warm Spots

Use a warm, finely milled bronzer pressed into cheek hollows and the temple for subtle warmth. Pressing maintains finish, sweeping looks dusty. Keep the brush motion short and controlled. This is the step that stops a pale face from reading washed out in photos. I use a warm pressed bronzer and apply with a dense brush.
Mistake to Avoid: Bronzers that are too powdery which sit on top and call attention in flash.
19. Spotlight Inner Eye With a Cream Pearl
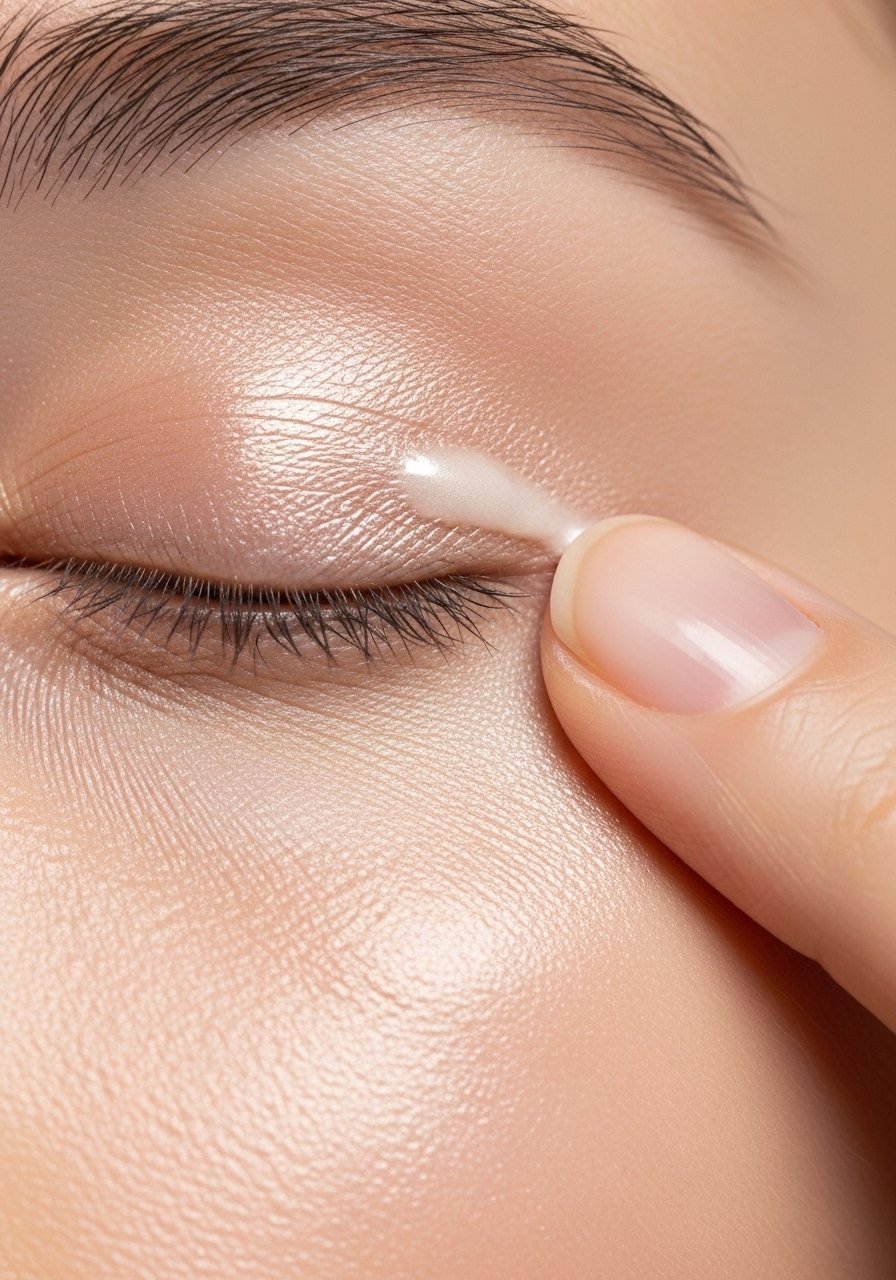
A dab of cream pearl in the inner corner reflects light in a subtle way. Use a little, then blend the edge so it does not read as a dot. This opens the eye without shimmer overload. For sensitive eyes pick ophthalmologist-tested formulas. A small pearl cream illuminator lasts all day when layered over a thin powder.
Mistake to Avoid: Using chunky glitter which can irritate and photograph poorly.
20. Blot With Rice Paper, Then Reactivate With Mist
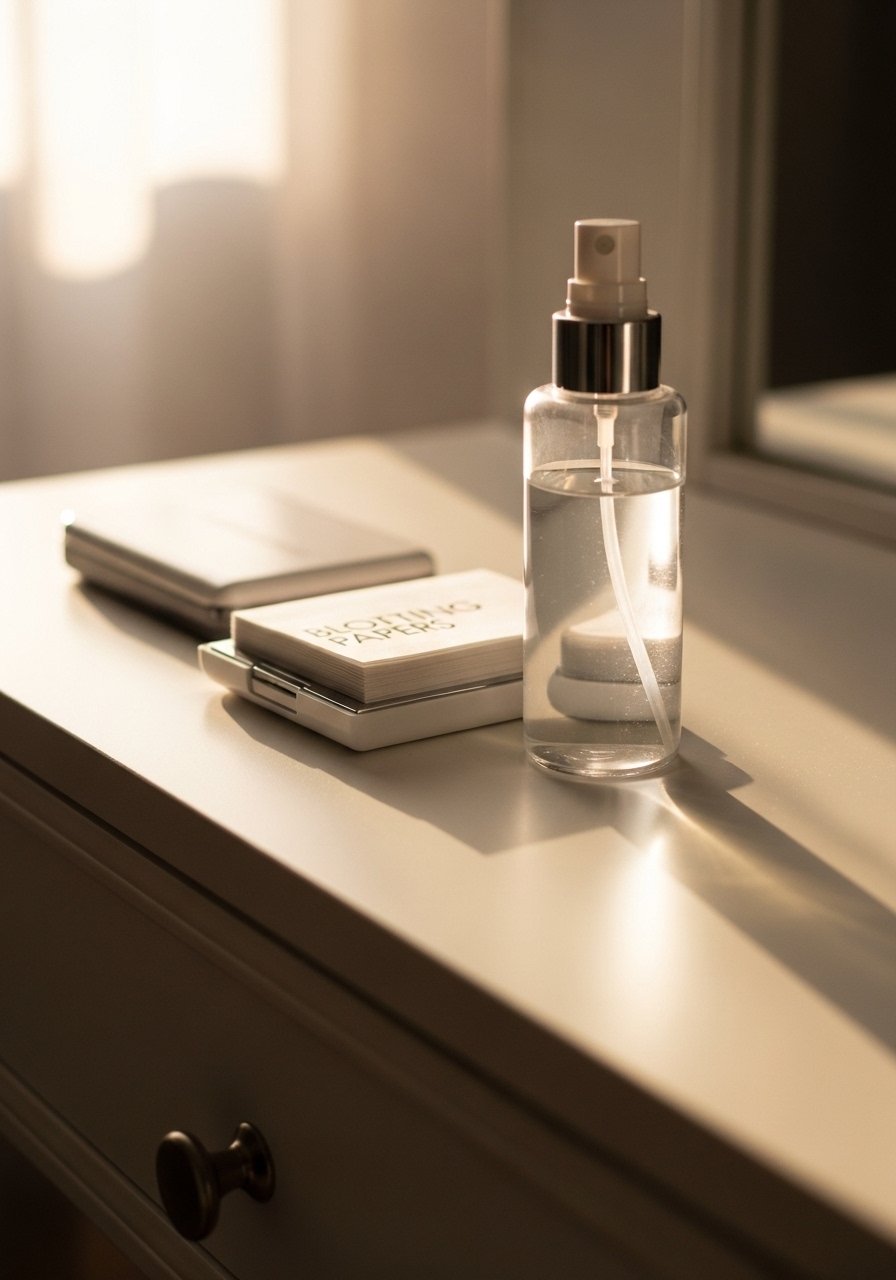
For midday touch-ups blot with rice paper to remove shine, do not powder immediately. After blotting, reactivate skin with a single mist to restore dew without heaviness. That two-step method stops the cake-and-powder look. Keep a pack of blotting papers and a mini mist in your bag.
Mistake to Avoid: Powdering straight after blotting which leaves a chalky patch.
21. Match Neck and Chest With Thinned Foundation
Extend a thin wash of thinned foundation or tint down the neck and chest to avoid the "masked head" effect. Use one pump diluted with moisturizer at a 3:1 ratio and blend quickly. This keeps the look cohesive, especially for off-shoulder gowns or low necklines. For deeper tones use pigment-rich tints. A small bottle of a skin tint does the trick.
Mistake to Avoid: Stopping foundation at the jawline which creates a stark contrast.
22. Powder Only Your Smile Lines for Long Wear

If concealer creases at the laugh line, lightly press translucent powder just there. Keep the rest of the face shine-friendly. Using a micro brush with a pinch of powder avoids stiffness. This suits mature or expressive faces that crease easily. Try a travel translucent micro powder.
Mistake to Avoid: Powdering across the entire face to fix one spot, which kills skin texture.
23. Use a Dewy Bronzing Balm on Collarbone
For editorial photos, swipe a small amount of bronzing balm across collarbones and shoulders for continuity with face glow. Blend with fingers and set with a tiny mist. It photographs as skin, not product. Use on event looks or summer shoots. I reach for a dewy bronzing balm in warm tones.
Mistake to Avoid: Using sparkly body products that catch light like glitter and read harshly on camera.
24. Night Prep: Moisture-First, Then Lightweight Retinol
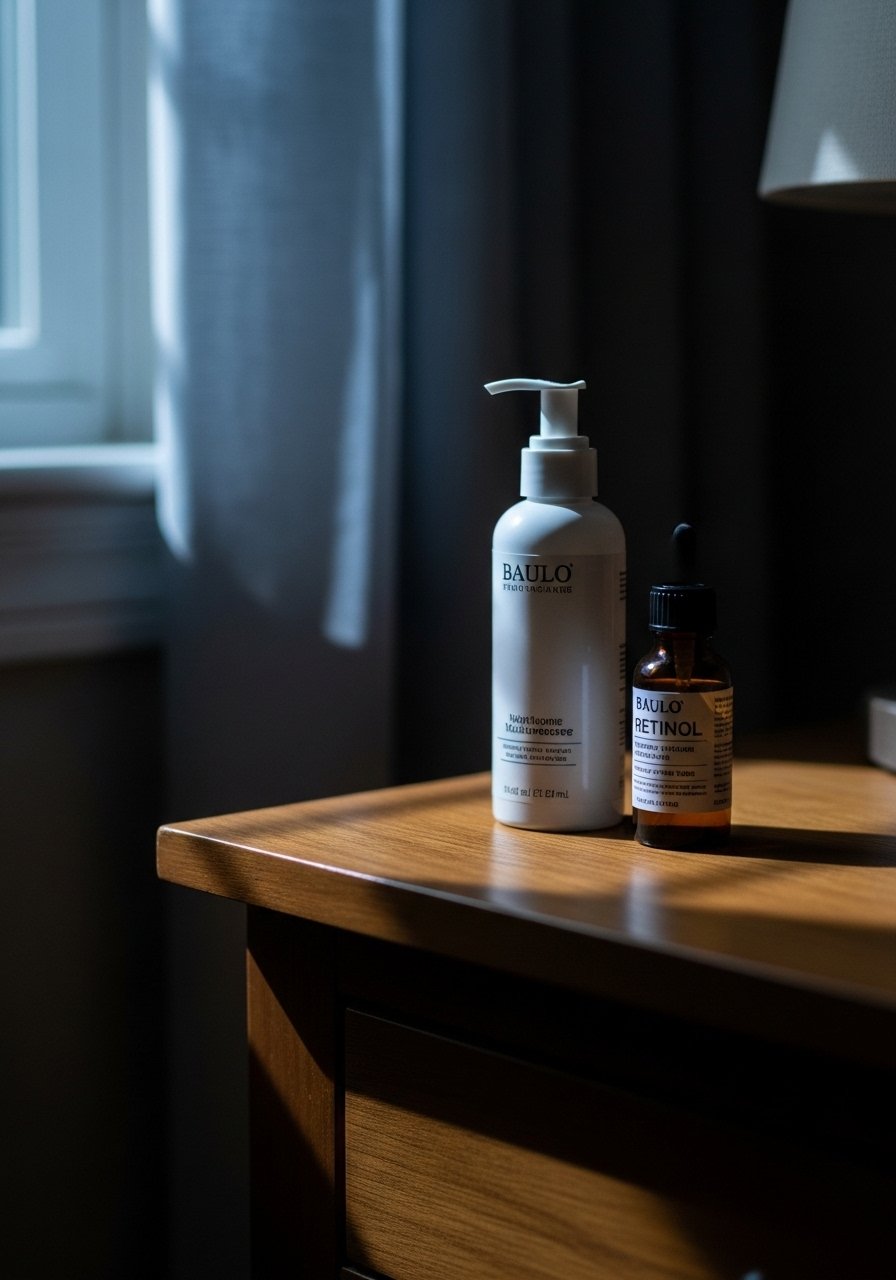
For skin that looks dewy naturally, start nights with a moisture base, then add a low-strength retinol two to three nights a week. Apply moisturizer first so retinol layers without irritation. I tested this routine after six weeks of testing this routine and saw smoother texture without compromised glow. For sensitive skin choose an encapsulated retinol and always follow with SPF in the morning. A gentle retinol serum works well.
Mistake to Avoid: Applying retinol on bone-dry skin which increases irritation and peeling.
Your Makeup Kit
Base / Skincare
- Honestly the best starter step. A lightweight hyaluronic serum (~$12-25). Use before primer for instant plump.
- For long days, a steady hydrator. A hydrating primer (~$18-36). Works under creams and tints.
Color / Cheeks - For cream application, I like a warm cream blush stick (~$10-22). Blend with fingers.
- For a subtle sheen, a pearl liquid highlighter (~$12-30).
Tools / Finish - A latex-free blending sponge (~$6-12) for stippling.
- Rice blotting papers, pack of 50 (~$5-10) for touch-ups.
- A travel setting mist (~$8-16) for reactivation.
- A small cream eyeshadow duo (~$10-22) for lids and inner corner.
- A silk-finish primer sample size (~$12-25) for camera days.
- A warm pressed bronzer compact (~$14-30).
- A clear eyebrow gel (~$6-12).
- A gentle retinol serum (~$20-45) for evening use.
- A tinted mineral SPF (~$18-35) to stay protected and glowy.
Makeup Tips That Actually Help
Thin coats beat one thick coat every time. Three thin passes of foundation blended with a damp sponge will look smoother and last longer than a single heavy layer. I like a latex-free beauty sponge for this.
Load your bronzer brush lightly. Too much pigment lands on camera as a patch. A small dense bronzer brush gives control.
Skip the all-over powder after midday blot. Instead, blot with rice blotting papers then mist. It keeps glow without the cake.
If you need to warm creams, rub them between your palms for five seconds before applying. A small cream stick highlighter melts better this way.
Carry a mini mist for travel. A single spritz reactivates dewy products and reduces the urge to powder. A travel-size hydrating mist fits in any bag.
