
I kept shrinking script until my forearm looked like a line of punctuation, then the artist gently tilted my arm and said, "Breathe and let the letters sit." That small pause changed how the text flowed, and for once the piece read like something meant to be worn, not tacked on.
These ideas focus on dark, readable lettering for forearms, from quick flash pieces to single-needle commissions, and they aim for longevity over flash. Expect a mix of coverable and work-visible placements, sessions that run from a half hour to three hours, and aftercare that matters. I picked these approaches after visiting five shops across the city, so you get choices that suit tight budgets and custom appointments alike.
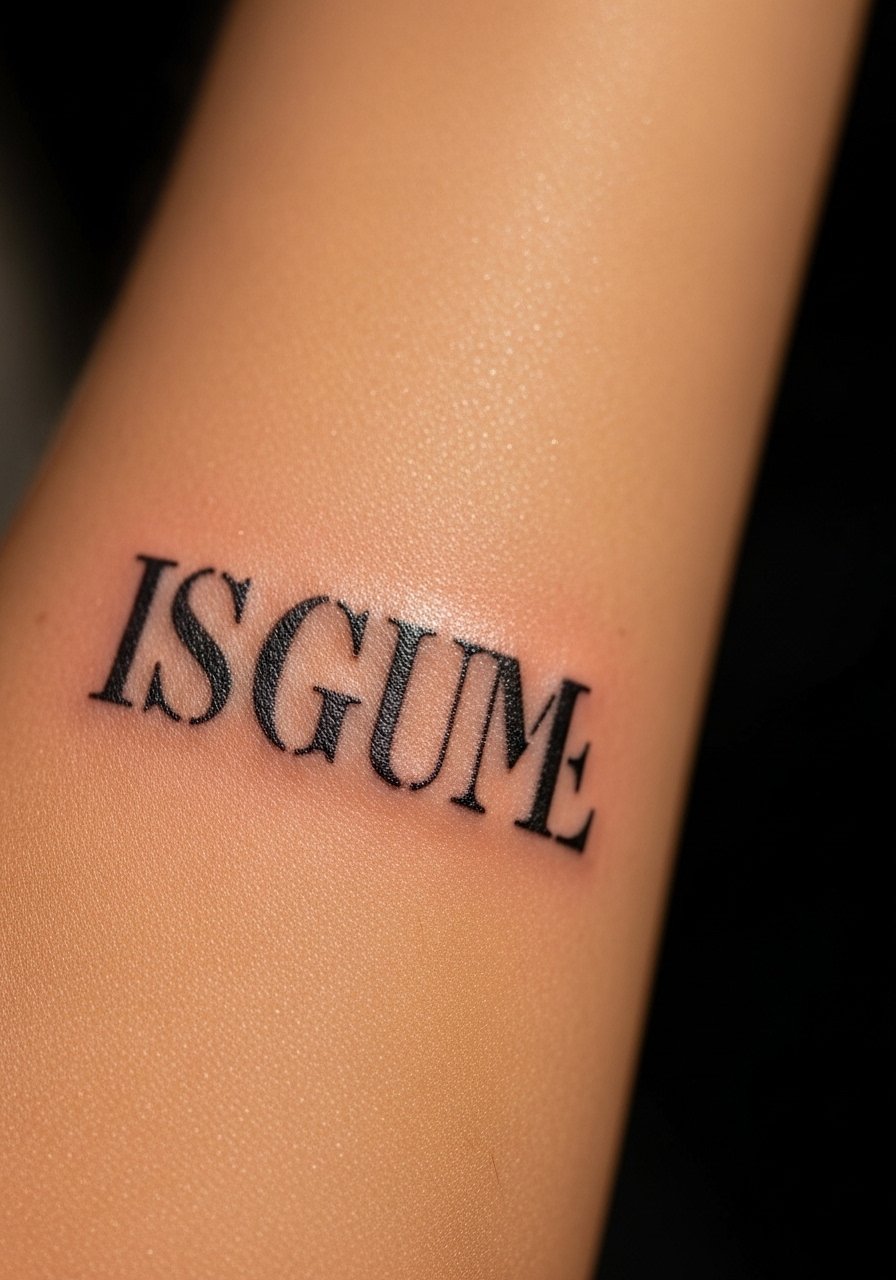
1. Bold Gothic Script With Tight Kerning
A thick Gothic script reads from a distance and ages predictably, because the heavier strokes retain pigment better over time. It creates a grounded, almost architectural feel, best for people who want a visible statement. Expect one to two sessions for a mid-length phrase, and budget for a longer sitting if you want crisp fills. Pair this with a soothing tattoo balm after the first wash to keep the black rich while it heals. Watch for line weight around 0.8 to 1.0 millimeters for longevity.
Style/Technique: Bold Gothic Script
Pain Level: 5/10
Session Time: 1 to 2 hours
Best For: Outer forearm, visible statements
Mistake to Avoid: Crowding letters too close so the fills blur together as they heal.
2. Single-Needle Fine Script, Healed Elegance
Single-needle lettering looks delicate while healed because the lines sit shallow and crisp. It creates a refined, personal vibe and suits smaller phrases or signatures for people who prefer subtlety. This is a low-budget friendly option if you book a short session. Ask your artist for 0.25 to 0.35 millimeter line work and expect slight touch-ups later. Use a fragrance-free gentle soap for the first two weeks to avoid irritation.
Style/Technique: Single-Needle Script
Pain Level: 4/10
Session Time: 30 minutes to 1 hour
Best For: Inner forearm, subtle visible ink
Mistake to Avoid: Choosing lines too thin without planning for potential touch-ups.
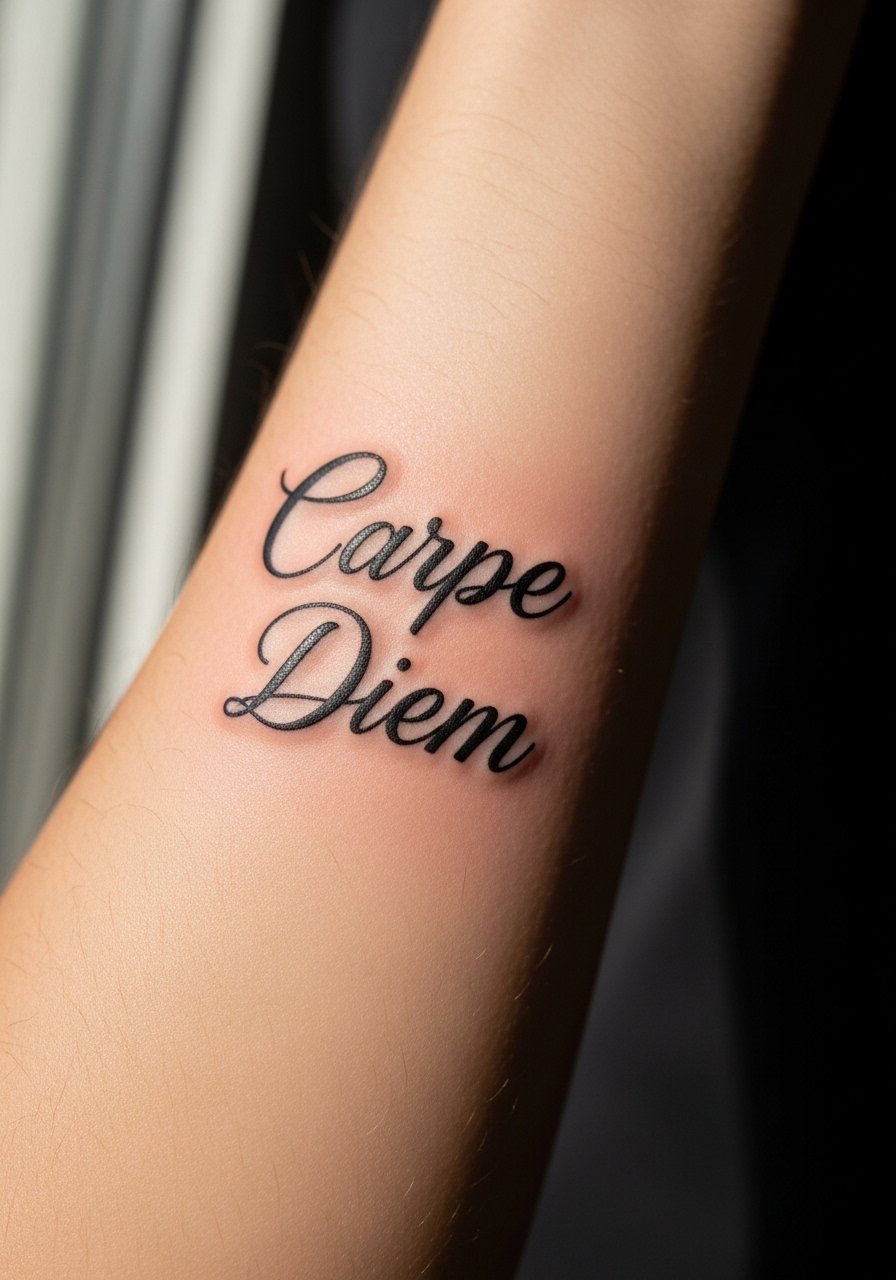
3. Brushstroke Calligraphy That Breathes
Brushstroke lettering mimics ink on paper, with variable stroke widths that give movement. It feels organic and suits creative hands or writers. Because the strokes vary, ask for 0.5 mm peak strokes and a softer hand on hairline connections to avoid blowout. This style pairs well with a lightweight tattoo-specific ointment during the first three days to keep bold blacks from drying into flakes.
Style/Technique: Brushstroke Calligraphy
Pain Level: 5/10
Session Time: 1 to 1.5 hours
Best For: Outer forearm, artistic wrists
Mistake to Avoid: Asking for extreme contrast without accounting for natural skin texture, which can soften tiny details.
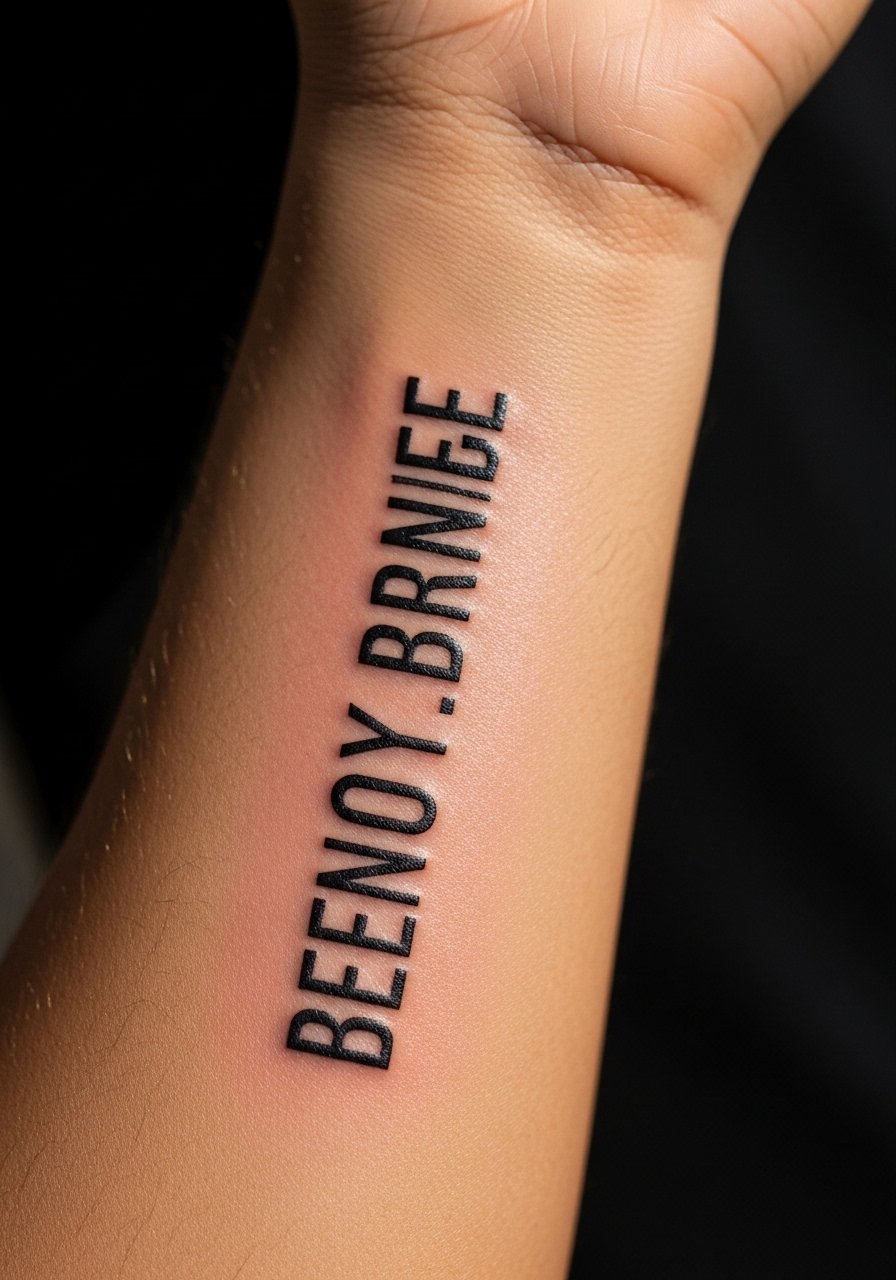
4. Typewriter Monospace For A Vintage Note

Monospace, typewriter lettering gives a nostalgic, stamped look that reads cleanly from arm movement. It works well if you want a phrase that feels archival. Lines sit at uniform thickness, around 0.6 mm, which helps letters age at the same rate. This is an easy flash-shop request, and a small aftercare kit will keep the blacks consistent while the piece settles.
Style/Technique: Monospace Typewriter
Pain Level: 4/10
Session Time: 45 minutes to 1.5 hours
Best For: Outer forearm, coverable with long sleeves
Mistake to Avoid: Picking tight tracking that becomes illegible as lines soften.
5. Micro Lettering Band, Hidden Impact

A micro band encircling the forearm reads like jewelry and sits nicely under sleeves. It creates a private, understated result for someone who wants ink that reveals itself. Single-needle work often suits this and typically needs a calm, experienced hand. Keep follow-up touch-ups in mind since letters under 1.5 cm can feather without proper spacing. I recommend a soft cotton wrap for gentle protection after the first day.
Style/Technique: Micro Lettering Band
Pain Level: 3/10
Session Time: 30 to 60 minutes
Best For: Inner forearm, work-visible but subtle
Mistake to Avoid: Making letters too tiny to read once healed.
6. Vertical Stacked Words Along the Radius
Stacking words vertically uses the forearm length to create flow from wrist to elbow. It feels personal and cinematic, and it is a smart choice if you want to avoid wrapping. Use consistent cap height so the eye reads the piece naturally, and plan for 1.0 mm primary strokes with tapered hairlines. A lightweight unscented moisturizer applied after the scab phase keeps contrast clean.
Style/Technique: Vertical Stacked Lettering
Pain Level: 4/10
Session Time: 1 to 2 hours
Best For: Inner radius, elongated phrases
Mistake to Avoid: Ignoring arm curvature so letters lean oddly when the wrist moves.
7. Negative Space Lettering That Ages Softly

Negative space lettering uses solid black backgrounds to let bare skin form the letters. It reads bold from afar but breathes close up. It requires an artist comfortable with heavy fills and 2.0 mm contrast edges to avoid patchiness. This style suits someone who wants dramatic visual weight without color. Add a dedicated silicone-free healing balm to your kit to prevent shine that masks the negative cut.
Style/Technique: Negative Space Lettering
Pain Level: 6/10
Session Time: 1.5 to 3 hours
Best For: Outer forearm, statement pieces
Mistake to Avoid: Letting fills stay patchy during the session and hoping layering will fix it later.
If any of these ideas have you ready to actually try something, here are the practical items I reach for before and after a forearm session.
Forearm Tattoo Essentials To Buy
Aftercare:
- Tattoo balm (~$10-18). A small jar keeps the ink soft and reduces flaking.
- Fragrance-free soap (~$6-12). Gentle cleansing without irritation.
Protection & Supplies:
- Cotton wraps (~$8-15). For light barrier after the first wash.
- Tattoo aftercare kit (~$15-25). Handy for travel days.
Stencil & Prep:
- Stencil transfer paper (~$12-20). Useful if you plan custom placements.
- Disposable razors (~$6-12). For clean prep before a session.
Comfort:
- Stretchy forearm sleeve (~$10-18). Keeps the area protected during healing.
- Unscented moisturizer (~$8-20). For long-term skin health around the piece.
8. Block Letter Blackwork For Bold Readability

Block blackwork letters are graphic and easy to read with time. They resist blurring because of ample negative space around each glyph. This suits someone who wants high visibility and low fuss. Expect a heavier session for consistent fills. A soft aftercare balm helps the large blacks settle without drying into flaky layers.
Style/Technique: Block Blackwork Letters
Pain Level: 5/10
Session Time: 1 to 2.5 hours
Best For: Outer forearm, bold statements
Mistake to Avoid: Cutting corners on fill density so blacks end up patchy after healing.
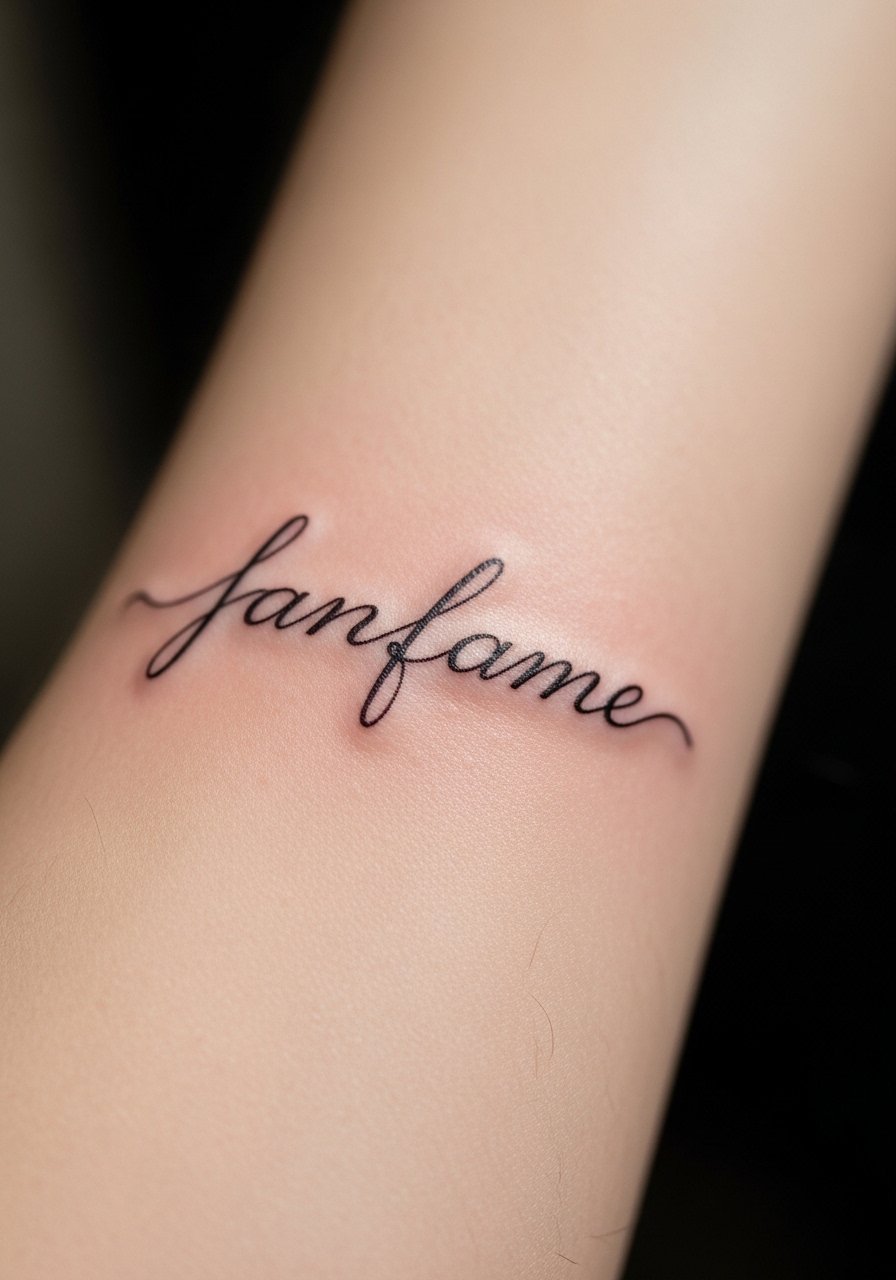
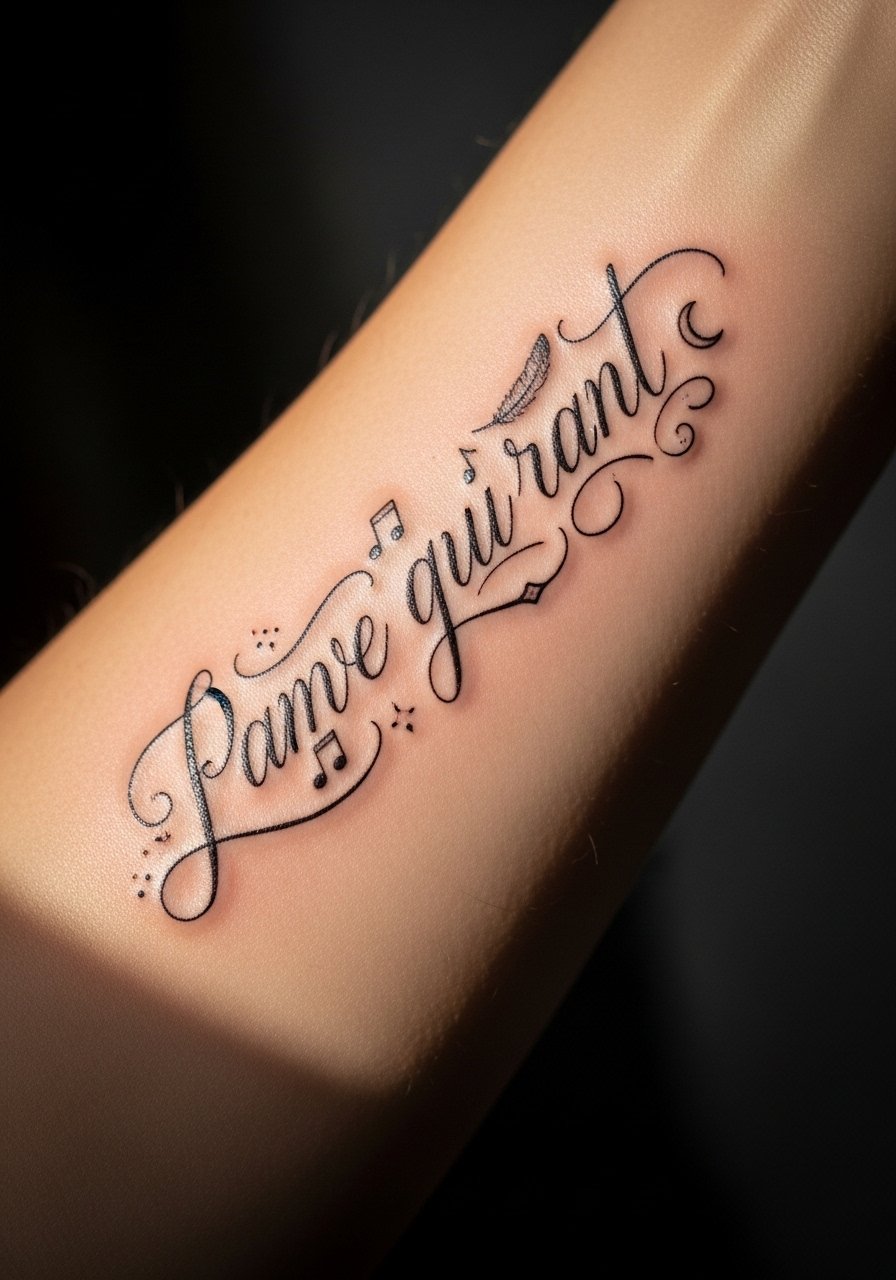
9. Cursive With Flourish Ends, Wrist Accent

Cursive with graceful flourishes softens the forearm and reads like handwriting. It creates an intimate, feminine or poetic vibe depending on letter choice. Keep flourishes proportionate so they do not snag on clothing as they age. A small tube of fragrance-free lotion keeps edges smooth once scabs fall away.
Style/Technique: Flourished Cursive
Pain Level: 4/10
Session Time: 45 minutes to 1.5 hours
Best For: Inner wrist to forearm, personal phrases
Mistake to Avoid: Overdoing flourishes that collapse into one shape as lines soften.
10. Mixed-Weight Modern Serif For Contrast
Combining thin hairlines with heavier stems creates readable contrast and a modern feel. It works for people who want a design that reads both close-up and at distance. Ask for 0.3 mm hairlines and 1.0 mm stems for a balanced look. Keep a silicone-free salve on hand during the second week of healing to preserve texture.
Style/Technique: Mixed-Weight Serif
Pain Level: 5/10
Session Time: 1 to 2 hours
Best For: Outer forearm, readable but refined
Mistake to Avoid: Making hairlines too thin to survive natural skin movement.
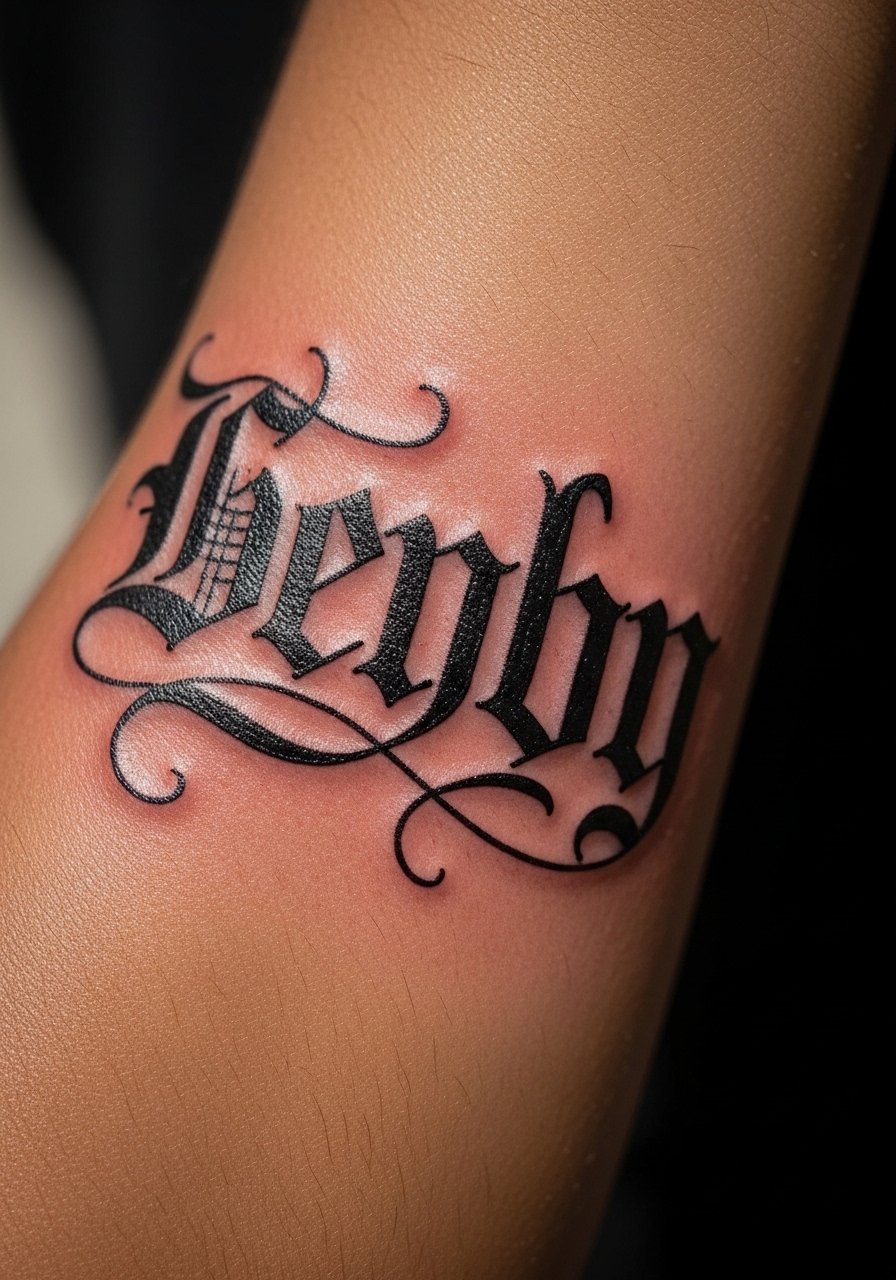
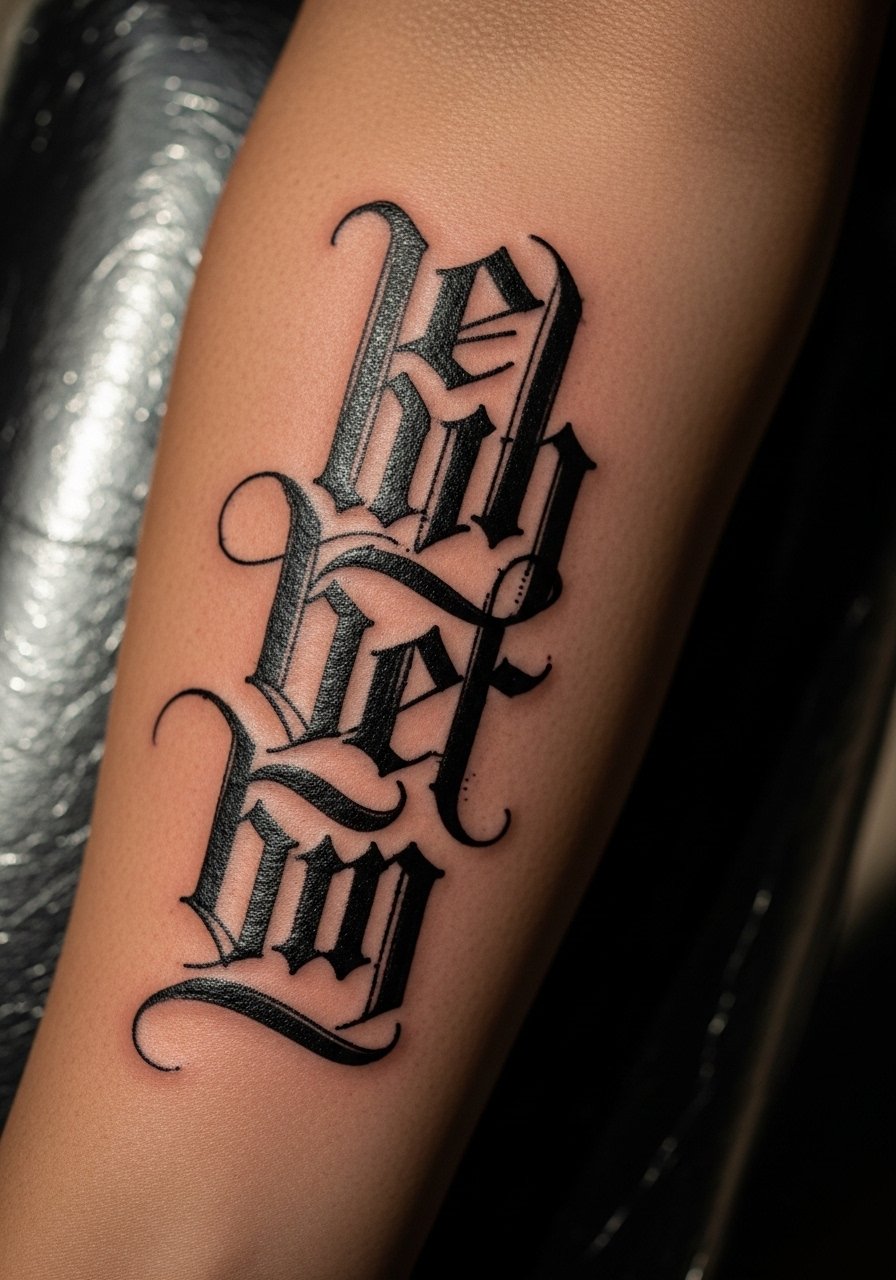
11. Old-English Band For A Classic Edge
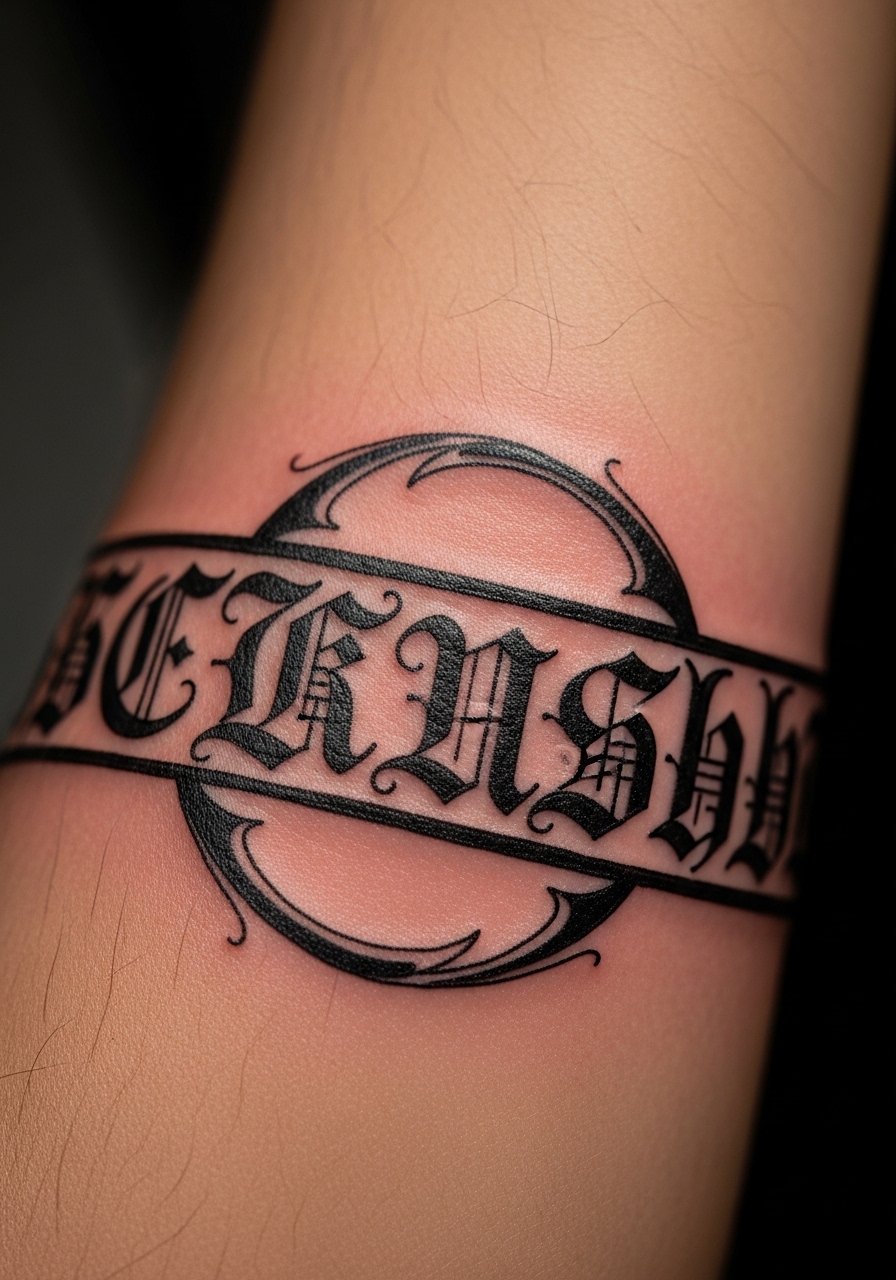
Old-English lettering reads dense and heritage-rich, giving weight to a short phrase or name. It ages well if the negative counters are generous. Expect more time for crisp serifs and plan for deeper fills. A post-session moisturizer helps the edges keep their shape while the skin settles.
Style/Technique: Old-English Band
Pain Level: 6/10
Session Time: 1.5 to 3 hours
Best For: Outer forearm, bold personal markers
Mistake to Avoid: Letting counters be too tight, which leads to loss of clarity.
12. Minimal Lowercase Line For Quiet Statements
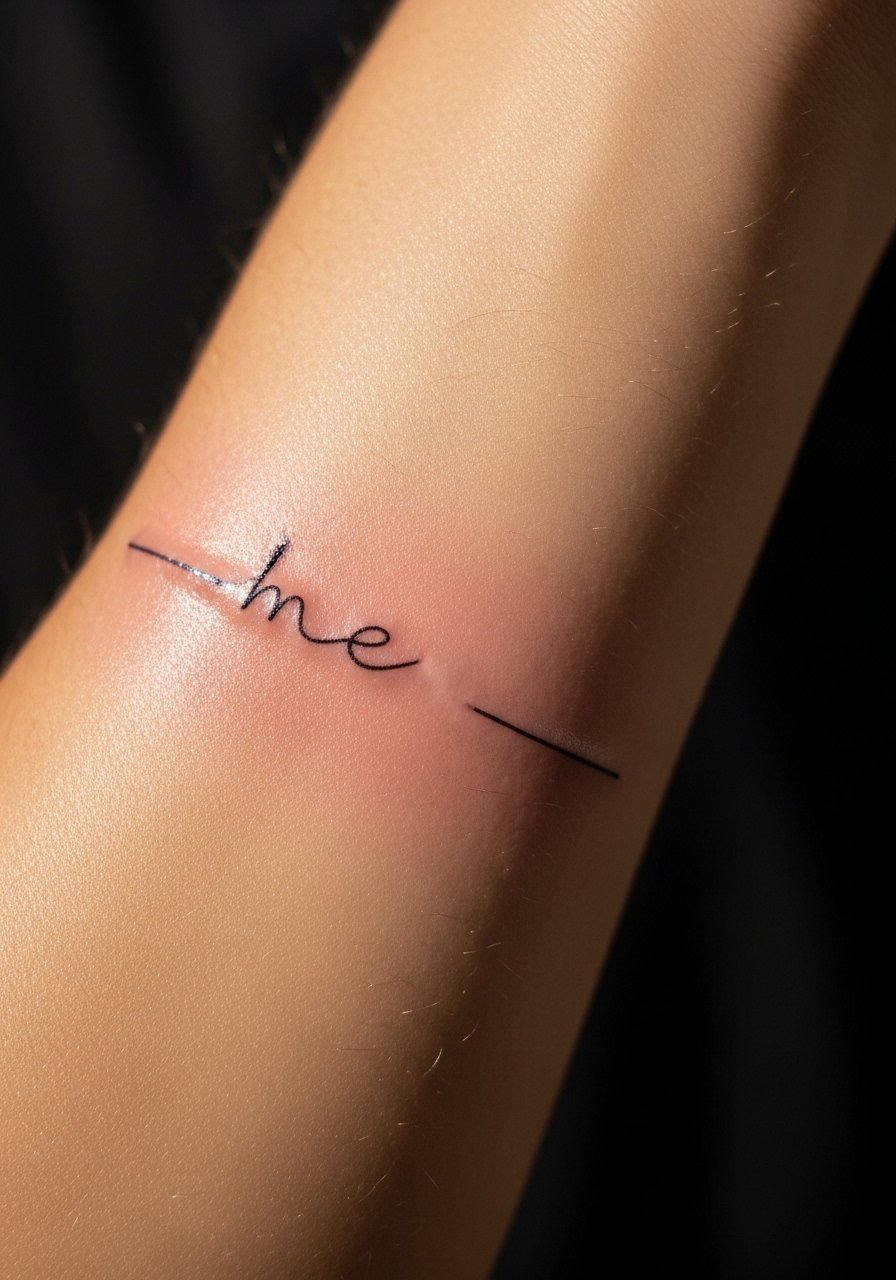
Lowercase minimal scripts read intimate and low profile, perfect for someone prioritizing subtlety. They are budget friendly and often fit into short bookings. Keep letters spaced to about 2 to 3 millimeters for clarity and use a mild aftercare cream if the skin becomes dry.
Style/Technique: Minimal Lowercase Script
Pain Level: 3/10
Session Time: 20 to 45 minutes
Best For: Inner forearm, discreet phrases
Mistake to Avoid: Crowding words to the point they become a single shape.
13. Coordinates Or Dates In Clean Numerals
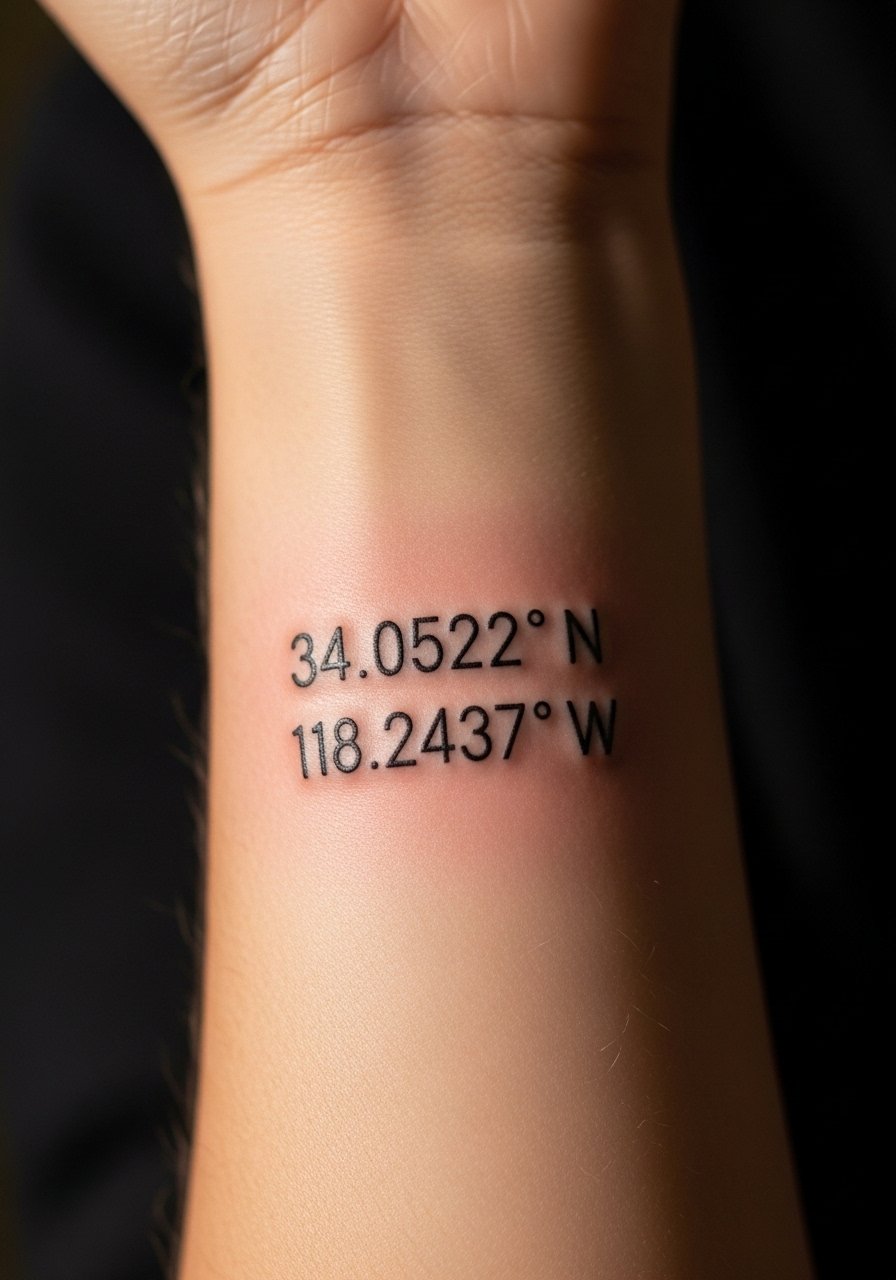
Coordinates or dates in a straightforward numeric font become personal map points that read across movements. This approach suits someone who wants meaning without flourish. Use consistent digit height and 0.6 mm stroke weight so numbers remain legible for years. A small sterile dressing pack can be handy the first night.
Style/Technique: Numeric Clean Line
Pain Level: 2/10
Session Time: 15 to 45 minutes
Best For: Inner forearm, symbolic marks
Mistake to Avoid: Letting digits sit too close so they blur together after healing.
14. Stenciled Serif With Slight Distress
A stenciled serif with intentional micro-distress gives a worn look that ages into authenticity. It reads like an old stamp and suits someone who likes an industrial or vintage feel. Ask your artist to plan for tiny breaks that mimic wear, and expect to request lighter touch-ups in year one. Keep a tube of gentle healing ointment nearby for the first five days.
Style/Technique: Stenciled Distressed Serif
Pain Level: 4/10
Session Time: 30 to 90 minutes
Best For: Outer forearm, textured aesthetic lovers
Mistake to Avoid: Over-distressing during the session so the piece looks unfinished.
15. Script Wrapped With Small Icon Accents
Add tiny icons like a single star or line break between words to give breathing room and personality. The icons act as visual anchors that stop the eye and let the phrase land. This is great for people who want lettering plus a hint of imagery. Plan for icons at least 3 to 4 millimeters across so they don't disappear. Use a small precision salve during spot healing.
Style/Technique: Script With Icon Accents
Pain Level: 3/10
Session Time: 30 minutes to 1.5 hours
Best For: Inner or outer forearm, personalized combos
Mistake to Avoid: Adding icons so small they vanish into the letters as the skin settles.
Forearm Lettering Habits That Actually Help
Set realistic session length. Long sessions make crisp lines harder to hold. Book 45 to 90 minutes for most pieces, then plan a touch-up if the artist suggests it. Also bring a reusable water bottle to stay hydrated.
Grab fragrance-free soap and use it gently for the first two weeks. Harsh scrubbing or scented products cause extra scabbing and patchy pigment.
Thin layers of balm beat heavy slathering. Use a fingertip of tattoo balm two to three times a day rather than thick coatings that trap moisture.
Keep sun exposure minimal once healed. Try a lightweight forearm sleeve or a broad-brim hat on bright days and reapply an SPF product focused on the surrounding skin.
Sleep position matters. If you sleep with your arm under you, shift for the first three nights or use a cotton wrap to avoid rubbing and raised scabs.
Check in with your artist for a six to twelve month touch-up. Small refreshes maintain crispness without changing the piece.
