
I kept trying to photocopy a salon photo and ended up with flat, dull chestnut that looked washed out on camera. The moment I stopped trying to match every highlight in the picture and instead measured contrast and placement, things finally worked. One small rule changed everything, and it is simple enough to do at home or ask your stylist to copy exactly.
This list is for anyone who wants chestnut warmth with dimension, not a high-maintenance bleach job. Expect a mix of salon moves and easy at-home upkeep, budget options for under $25 and salon-friendly products for touchups, and techniques that work across four hair textures I have styled. If you are low-maintenance, favor ideas with softer grow-out and color-depositing upkeep. If you like weekend salon sessions, there are bolder options too.
1. Face-Framing Babylights, Soft and Tiny
Tiny, closely spaced babylights catch the sun without looking striped. The trick is one to two levels lighter than your base and slices about 1/8 inch thick, placed every 3 to 4 sections so the effect reads natural in photos. It brightens the face, keeps weight off fine hair, and suits straight or softly waved textures. For at-home maintenance, a glossing treatment after three weeks keeps the highlights warm. I use a small sectioning clip and a delicate highlight brush like a pointed tail comb for precise slices, and a clear gloss like a color gloss treatment for mid-month refresh.
Mistake to Avoid: Slicing pieces too thick, which turns babylights into chunky foils that age badly as they grow out.
2. Root-Smudged Chestnut With Honey Peekaboo
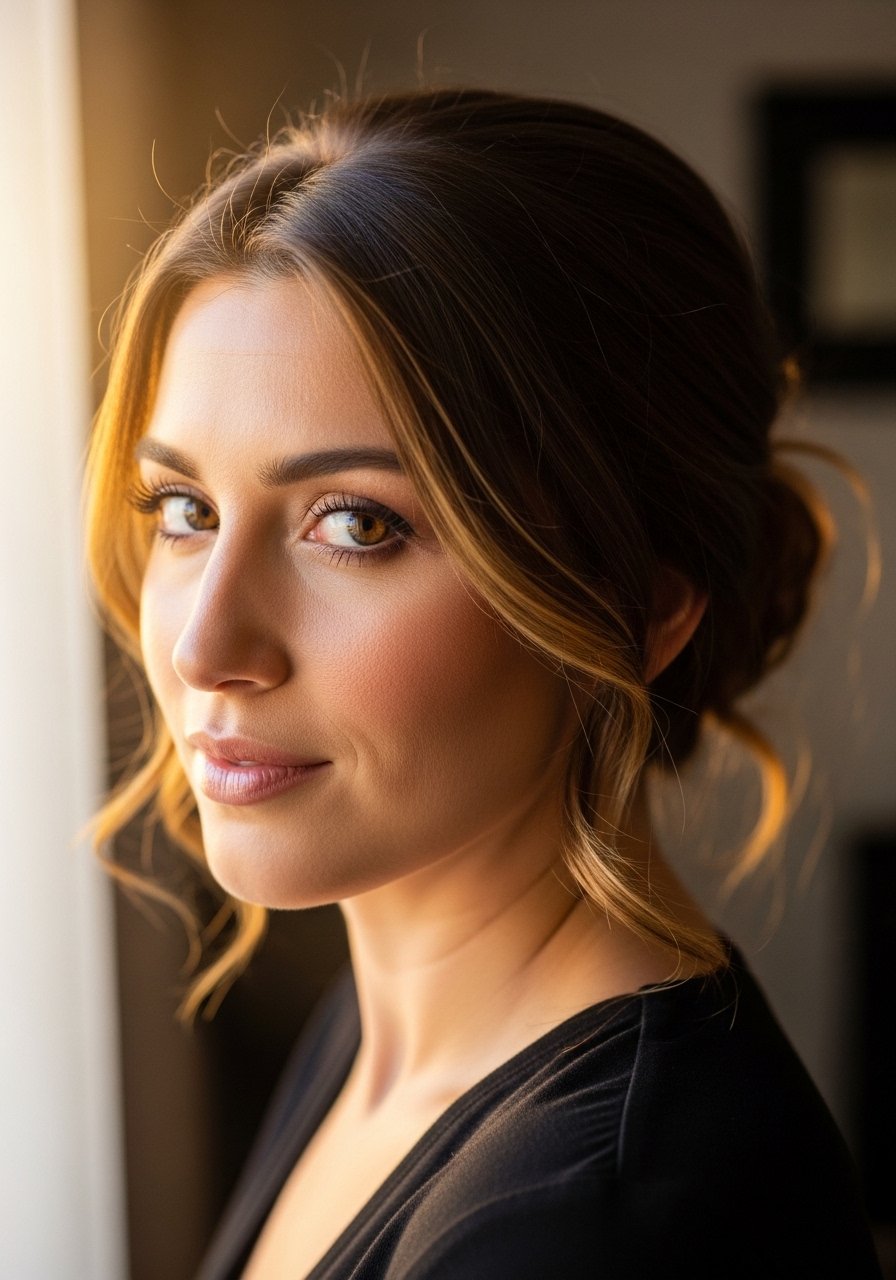
Root smudging means you keep a soft, lived-in root while adding warmer honey streaks underneath. Place the highlights starting 0.5 to 1 inch from the root so the regrowth line is forgiving. This is low-maintenance and excellent if you have some natural gray or prefer longer intervals between touchups. Use a demi-permanent color or a color-depositing mask on the underneath panels for gentler processing. For at-home blending between salon visits try a root touch-up powder and a weekly color-depositing conditioner to keep the peekaboo tones visible.
Mistake to Avoid: Highlighting the very root line, which creates a harsh contrast and shows every centimeter of regrowth.
3. Sun-Kissed Balayage for Wavy Hair
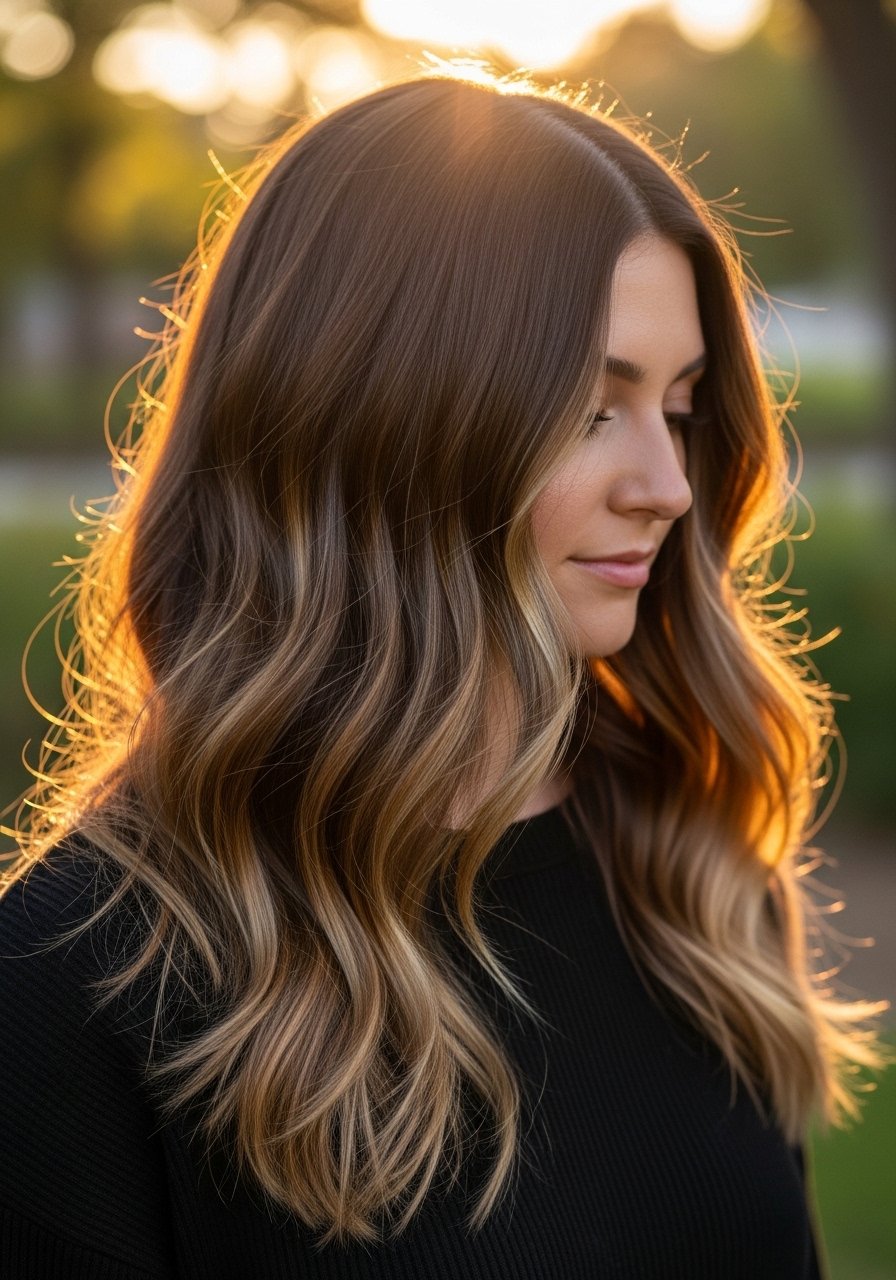
Balayage works with waves because the paint follows the hair’s natural bend. Paint strokes should be staggered, about 1/2 inch apart, and focused on the mid-lengths and ends so the lift reads gradual. For porosity, test one strand first, because porous sections take color faster. The result is soft, lived-in brightness that looks like an actual summer fade. Salon gloss at the end tames brass in a single pass. I keep a travel-size color-safe hair mask on hand for weekly deep conditioning to keep the painted pieces from drying.
Mistake to Avoid: Painting every section the same amount, which flattens dimension and makes balayage look flat in photos.
4. Copper Underlights for a Hidden Pop
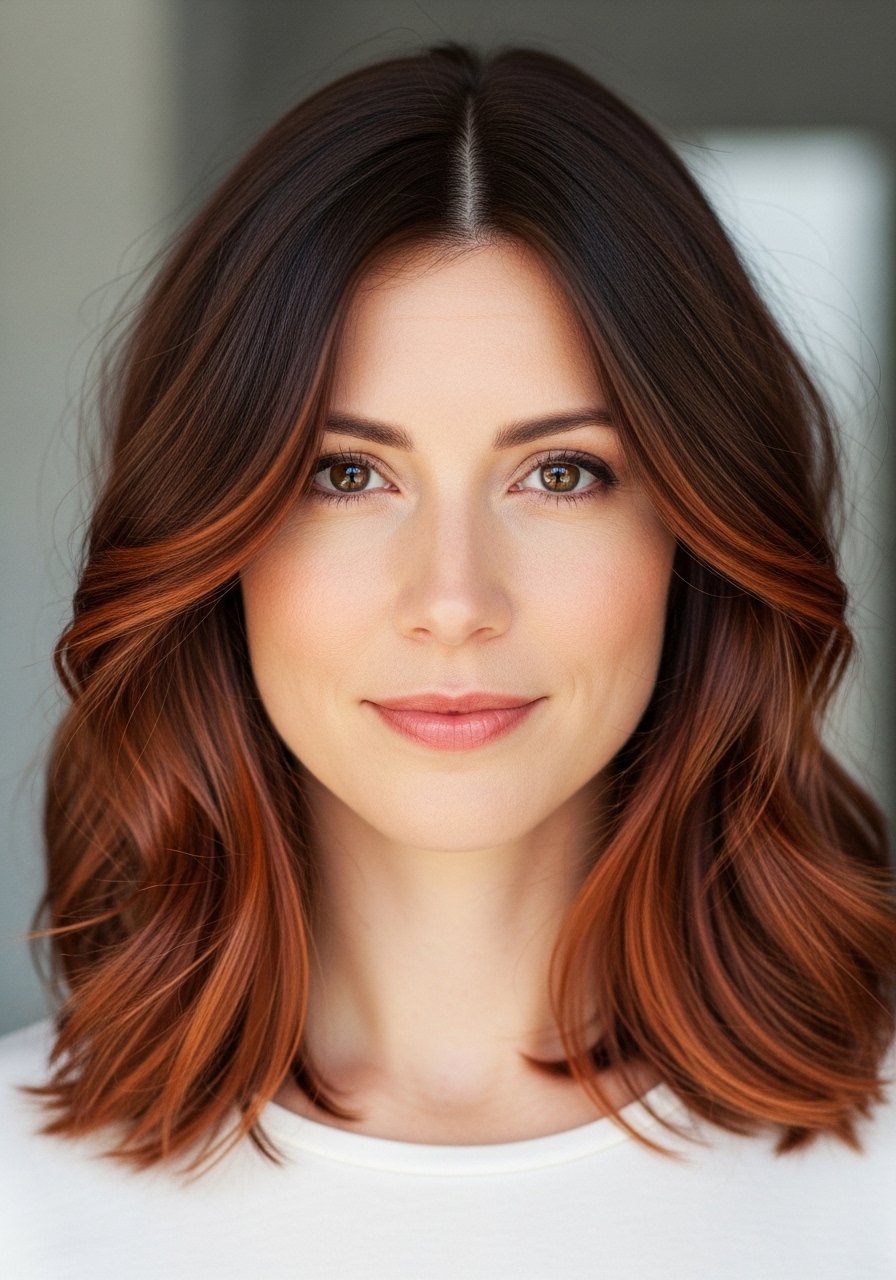
Underlights give you a pop that only shows when you move. Keep them to about 20 to 30 percent of the underside so they remain playful without dominating. Use a semi-permanent deposit to avoid too much lift, and place the brightest pieces toward the front underside for an unexpected flash in sunlight. This is a mid-budget move that suits anyone who likes a bold detail but wants easy wash-out options. Maintain with a sulfate-free shampoo and a color-depositing conditioner to avoid fading. Try a copper color-depositing mask for quick at-home boosts.
Mistake to Avoid: Putting bright color on the top layers, which makes the effect permanent and high maintenance.
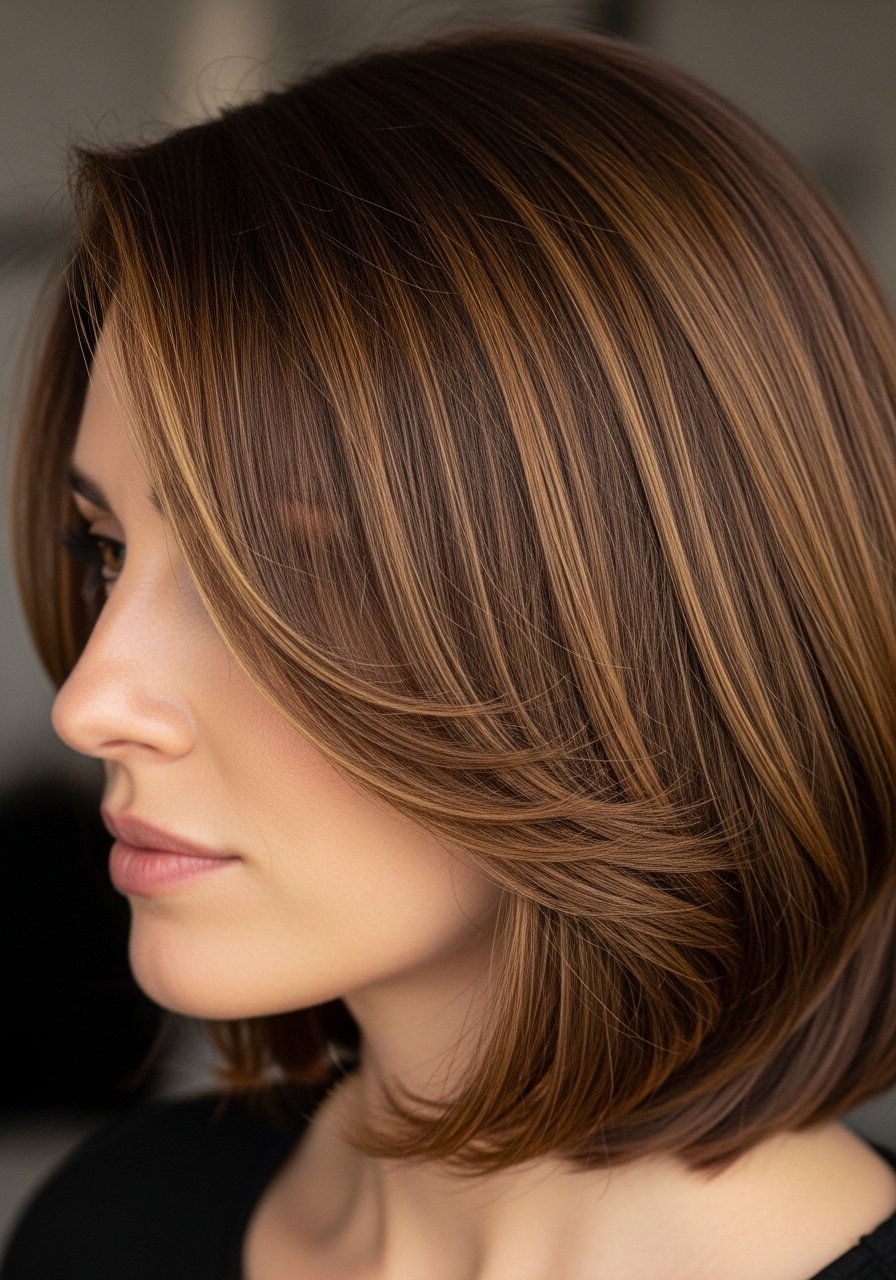
5. Chocolate Base With Warm Caramel Babylights for Fine Hair
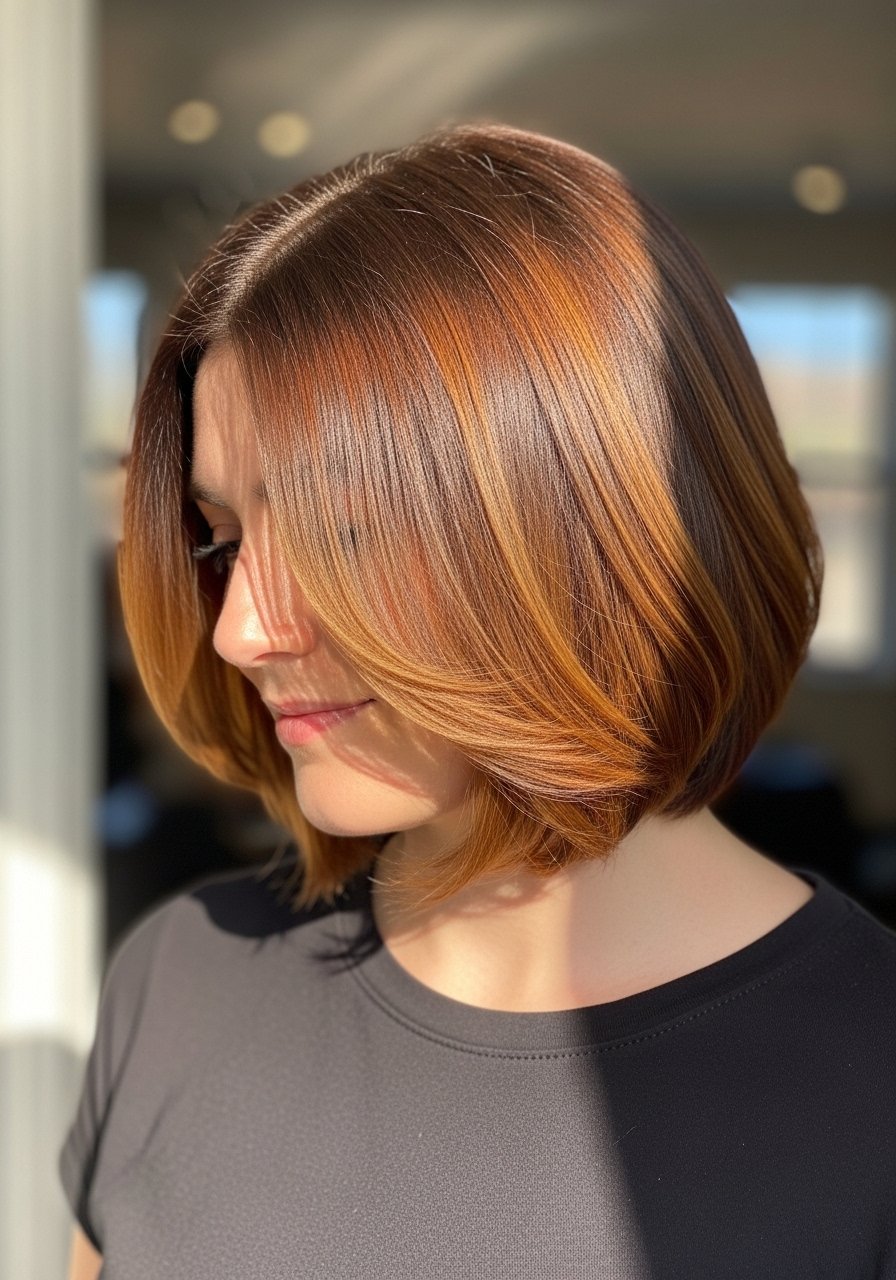
When hair is fine, less is more. Keep the base a true chocolate chestnut and add caramel babylights only on mid-lengths and ends, using thin slices at a 20 percent surface coverage. That adds dimension without thinning the look or creating banding. It reads natural on camera and gives the illusion of density. I often leave the front pieces a touch lighter to catch attention. Use a lightweight leave-in with heat protection before styling. My go-to is a lightweight thermal protect spray that does not weigh hair down.
Mistake to Avoid: Highlighting too close to the scalp on fine hair, which can make strands look sparse at the root.
6. Lived-In Melt for Curly Hair
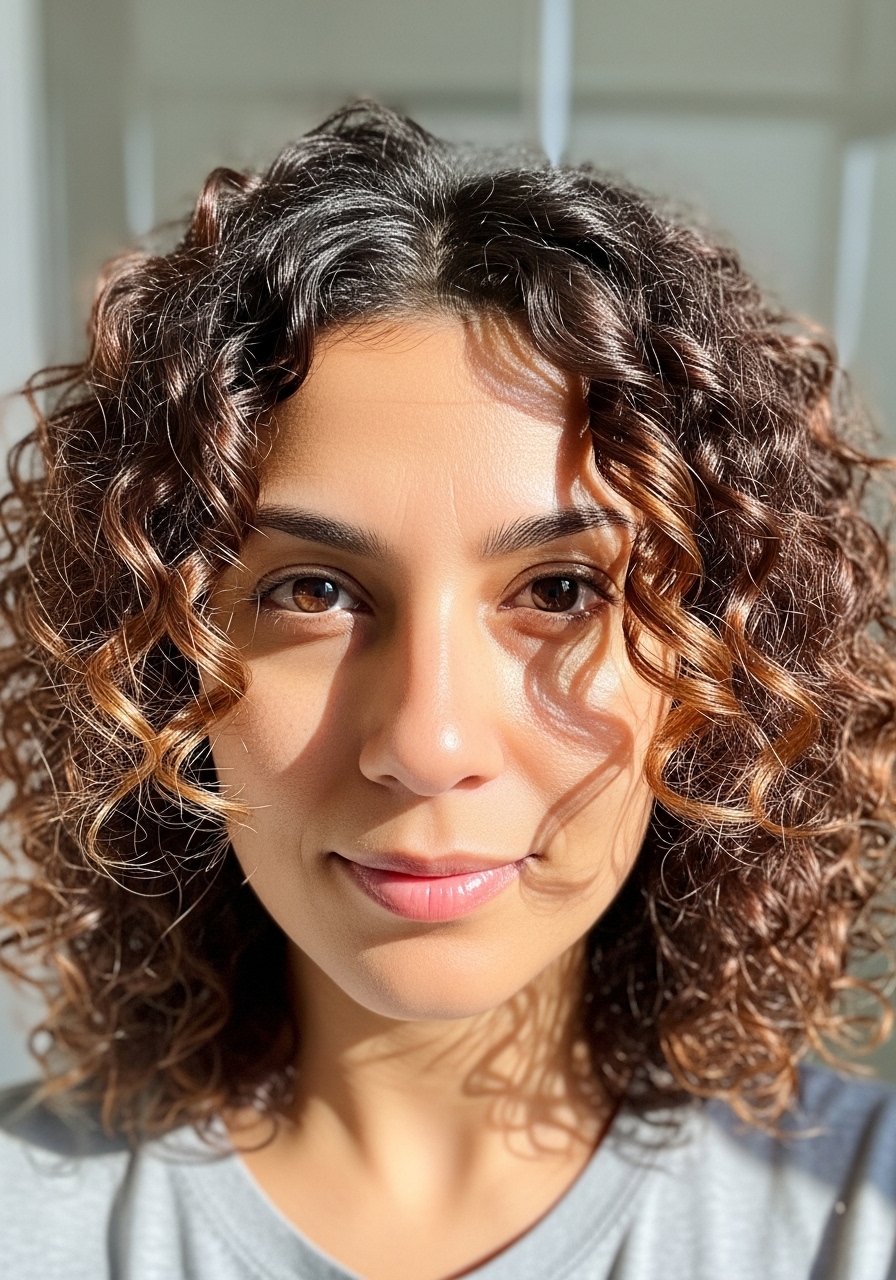
Curly hair needs highlights that respect curl clumps, not straight sections. Place color on the outer faces of curl clumps and avoid saturating the entire strand. Use a demi-permanent formula for three to seven minutes on a strand test to see lift without over-drying. For porous curls, reduce processing time by 30 percent. The result is a multi-dimensional curl pattern that reads warm and natural. I prefer a leave-in oil and a weekly protein-light mask to keep textured pieces defined. A microfiber towel and a wide-tooth comb like a detangling wide-tooth comb save the curl pattern at wash day.
Mistake to Avoid: Painting highlights through the entire curl, which breaks the curl pattern and causes frizz.
7. High-Contrast Chestnut With Blonde Face Frame
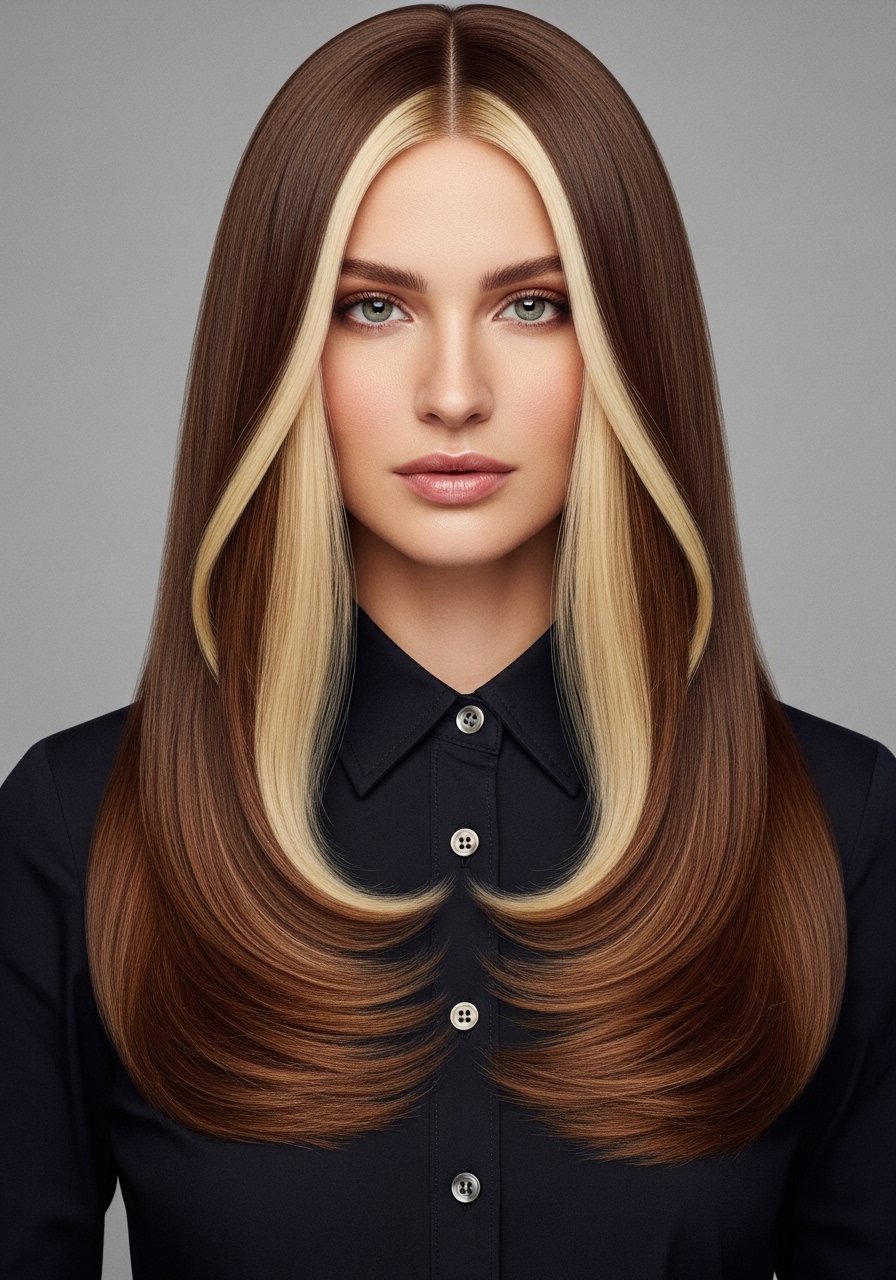
A high-contrast face frame lifts facial features and photographs with punch. Go one extra level lighter on the pieces closest to the face and blend the edges by feathering 1/4 inch back into the base. Expect more maintenance because the contrast shows regrowth faster. Use a purple-toning shampoo occasionally if the lighter pieces trend warm. This is a good move if you want a statement without full-head bleaching. Between salon visits, a root touch-up product helps bridge the gap. I use a small amount of a purple color-depositing shampoo once every two weeks.
Mistake to Avoid: Leaving a hard line between the face frame and the base, which reads harsh as the color grows out.
If any of these ideas have you ready to try something, here are the products worth picking up.
Chestnut Highlight Essentials
Tools & Application:
- Pointed tail comb (~$8-12). Precise sections make tiny babylights possible.
- Sectioning hair clips (~$10). Cheap and essential for neat painting.
Color Care:
- Color-depositing conditioner (~$15-25). Bridges salon visits and refreshes tone.
- Color gloss treatment (~$20-30). Adds shine and tones brass quickly.
- Purple toning shampoo (~$10-20). Use sparingly on lighter pieces.
Styling & Finish:
- Lightweight thermal protect spray (~$12-18). Protects painted ends when you style.
- Wide-tooth detangling comb (~$6-12). Gentle on textured and fine hair.
Keeping Chestnut Highlights Alive
Bold insight first: Thin glosses keep color bright without lifting it. A clear or warm-toned color gloss treatment applied for 10 minutes every 3 to 6 weeks keeps tone even and adds shine.
Grab a microfiber hair towel for about $12. Drying gently cuts frizz and prevents brass from showing on highlighted ends.
Curly and porous hair absorbs more pigment. Use a strand test and shorten processing time by roughly 30 percent on porous sections. I learned this the hard way when highlights on my curly side took noticeably faster.
Most people overuse clarifying shampoo. If you must, dilute it with water and use it only on the scalp. Pair with a nourishing color-safe mask to restore moisture to highlighted lengths.
