
Pins promised a single photo that would translate straight to my hair. Real life gave flat, brassy color and a dye job that read muddy by week two. I started screenshotting chestnut brown looks I actually wanted to live in, then figured out the few small moves that make those screenshots real on my head, not just in my saved folder.
These ideas are not salon-only, pricey, or high-maintenance. They are realistic chestnut brown looks you can ask for, try at home, or maintain between appointments, aimed at medium budgets and styles that work across straight, wavy, and curly textures.
1. Low-Commitment Glaze for Instant Warmth
A glossing glaze is the easiest cheat for flat color, and it works because it sits on the hair cuticle, adding reflectivity and a tone shift without lifting. For an at-home touch, mix one part clear gloss with two parts warm chestnut demi-permanent, leave on for 10 minutes, rinse, and you get that screen-ready sheen. It suits anyone who wants color correction without commitment, and it takes a single 20-minute session every 4 to 6 weeks. I used this across four hair textures I have styled and it smoothed porosity differences.
Mistake to Avoid: Leaving the glaze on too long, which can pull warmer than intended.
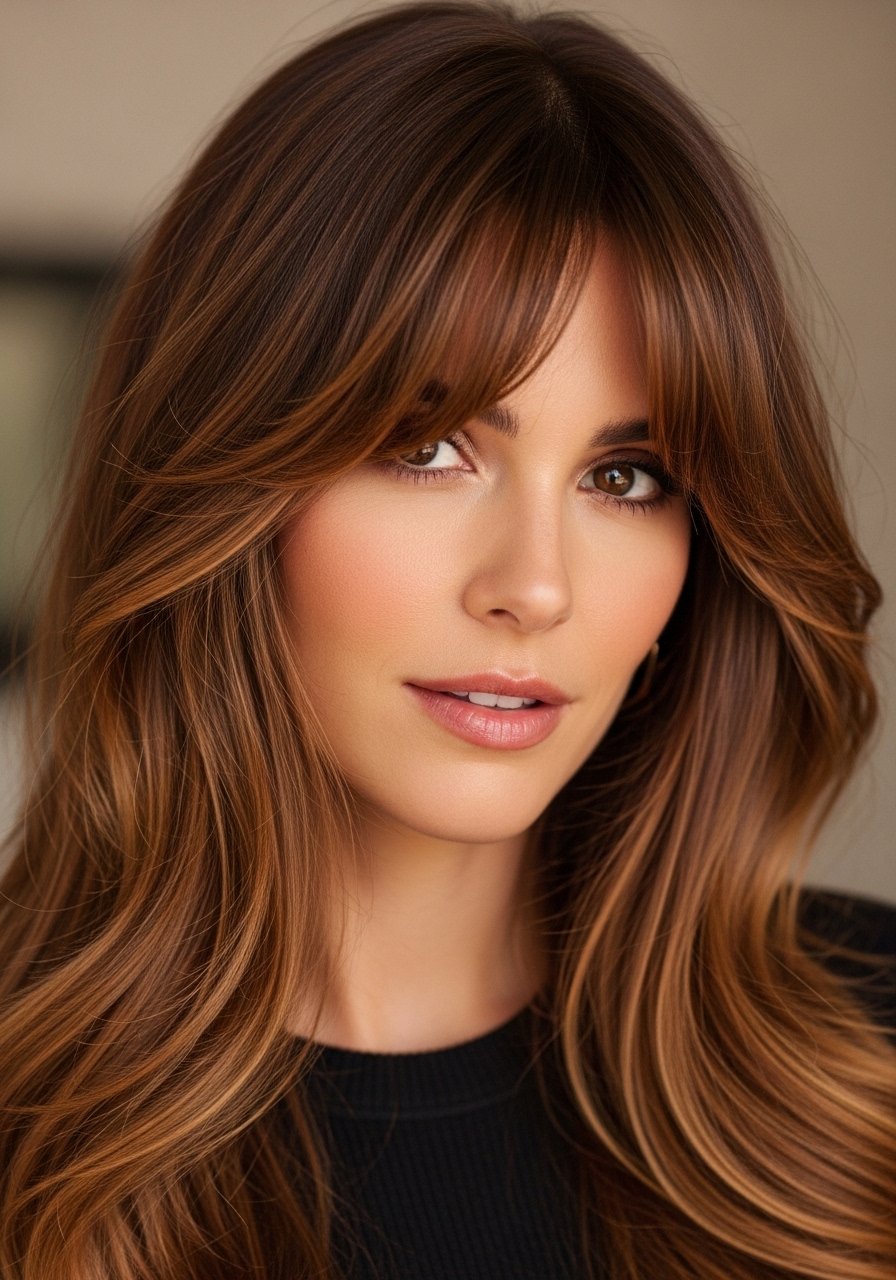
2. Face-Framing Copper Ribbons
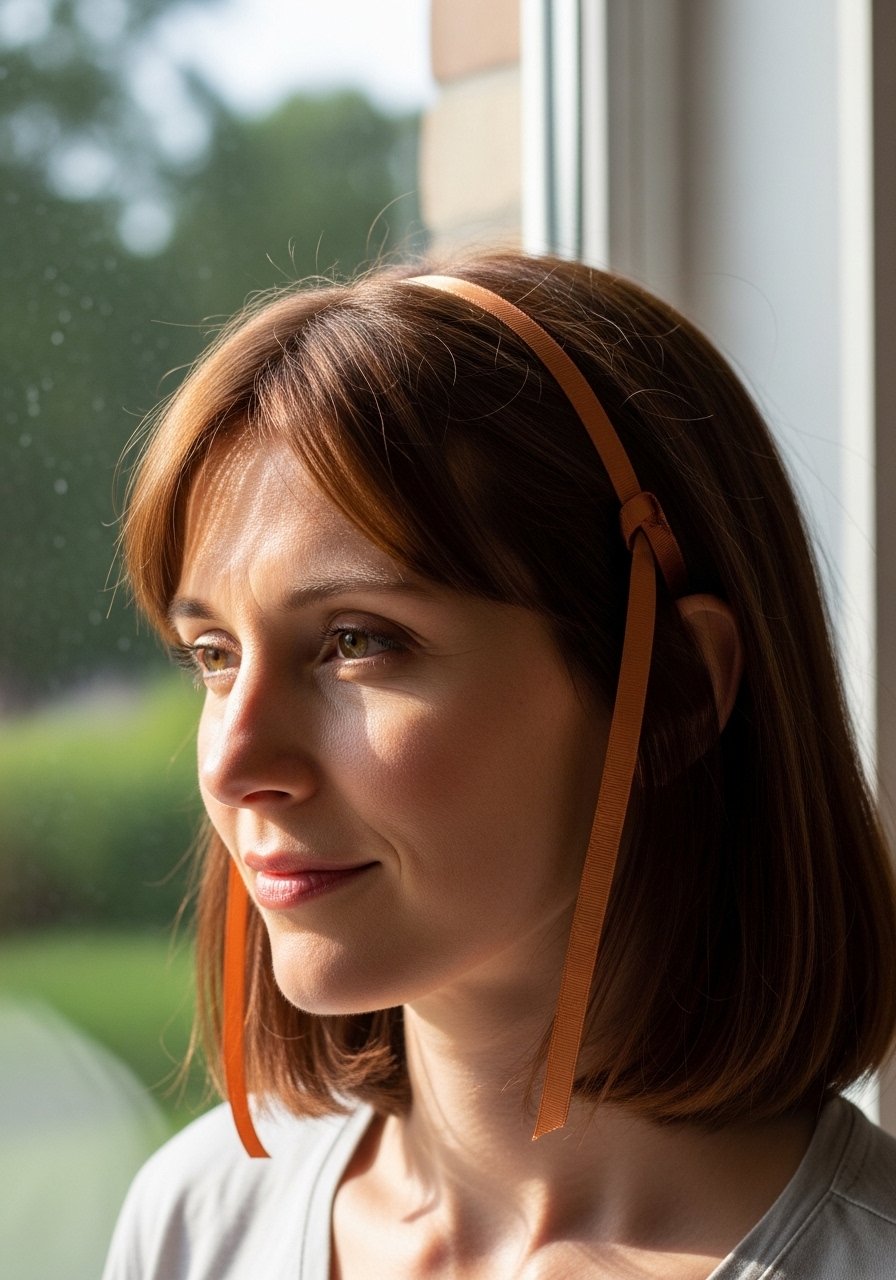
Thin, warm ribbons around the face add movement and flattering contrast, especially for skin tones that look tired with uniform brown. Ask for 1/8-inch slices painted freehand and blended downward for a natural melt. It creates a lived-in glow and is low maintenance because slices blur into the base as they grow. This is a great short-session option for folks who want the effect without a full highlight appointment. Budget friendly if you ask for partial placement only.
Mistake to Avoid: Requesting chunky highlights, which read dated and demand constant toning.
3. Root Shadow That Hides Grow-Out
A root shadow uses a slightly deeper chestnut at the root to prevent the stark line when hair grows. The trick is a 1:3 blending ratio, painting the shadow 1 inch from the part and feathering down. It gives depth and extends time between touch-ups, so the entire color looks intentional at 6 to 8 weeks. This is ideal for busy people who hate frequent salon trips. Pair with a color-safe sulfate-free shampoo to protect the shadow.
Mistake to Avoid: Going too warm at the root, which creates an obvious band as it grows.
4. Subtle Babylights for Soft Dimension
Babylights are ultra-fine highlights that mimic natural sun-kissed bits. Ask for foils spaced tighter at the front and looser toward the back for a natural fall-off. Visually it reads like healthy depth with hints of warmth rather than full-on blonde. Timewise it is a longer appointment but the payoff is low upkeep, about 12 to 16 weeks between refreshes. Works well on medium to thick hair and looks especially good on layered cuts.
Mistake to Avoid: Asking for full-face highlights only, which can look overly framed and theatrical.
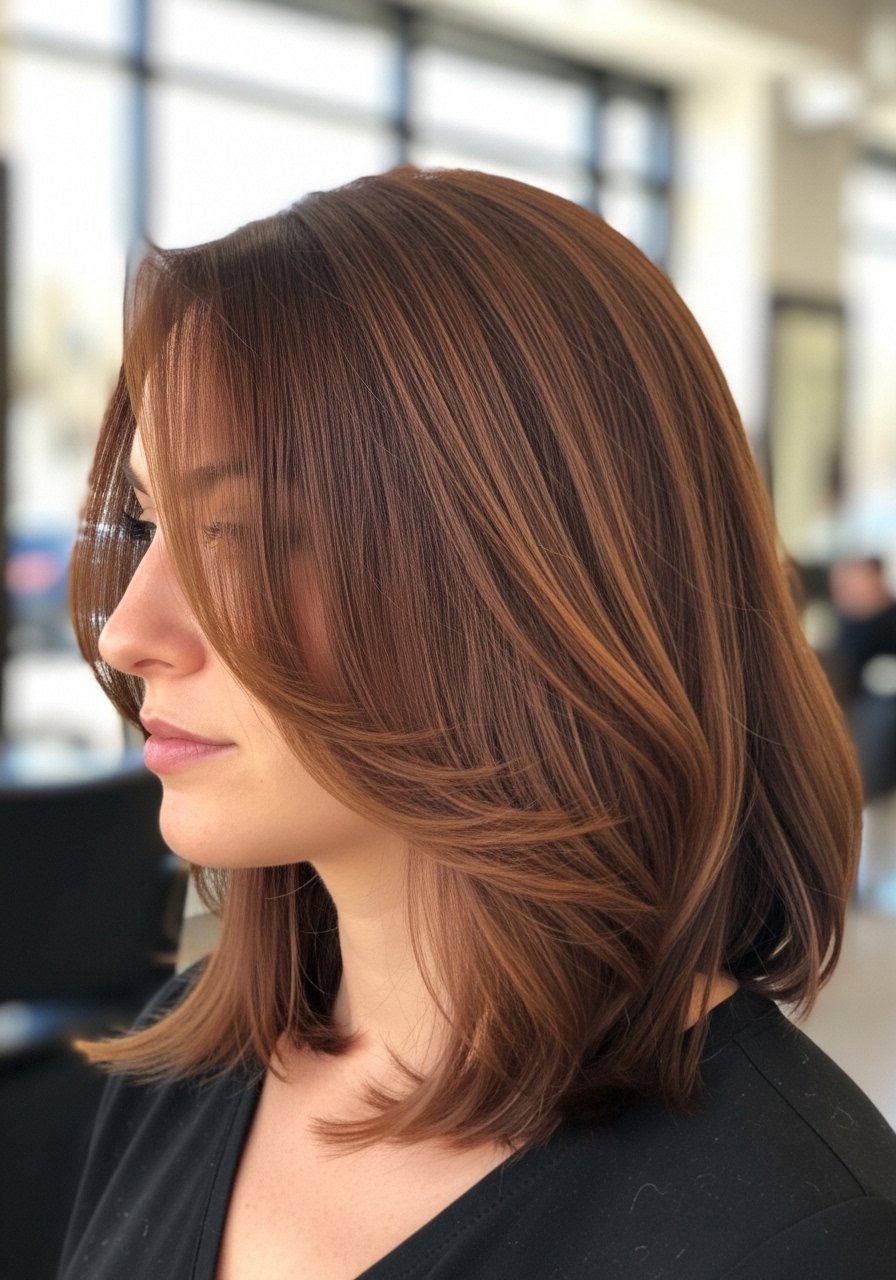
5. Chestnut Bob with Warm Gloss Finish
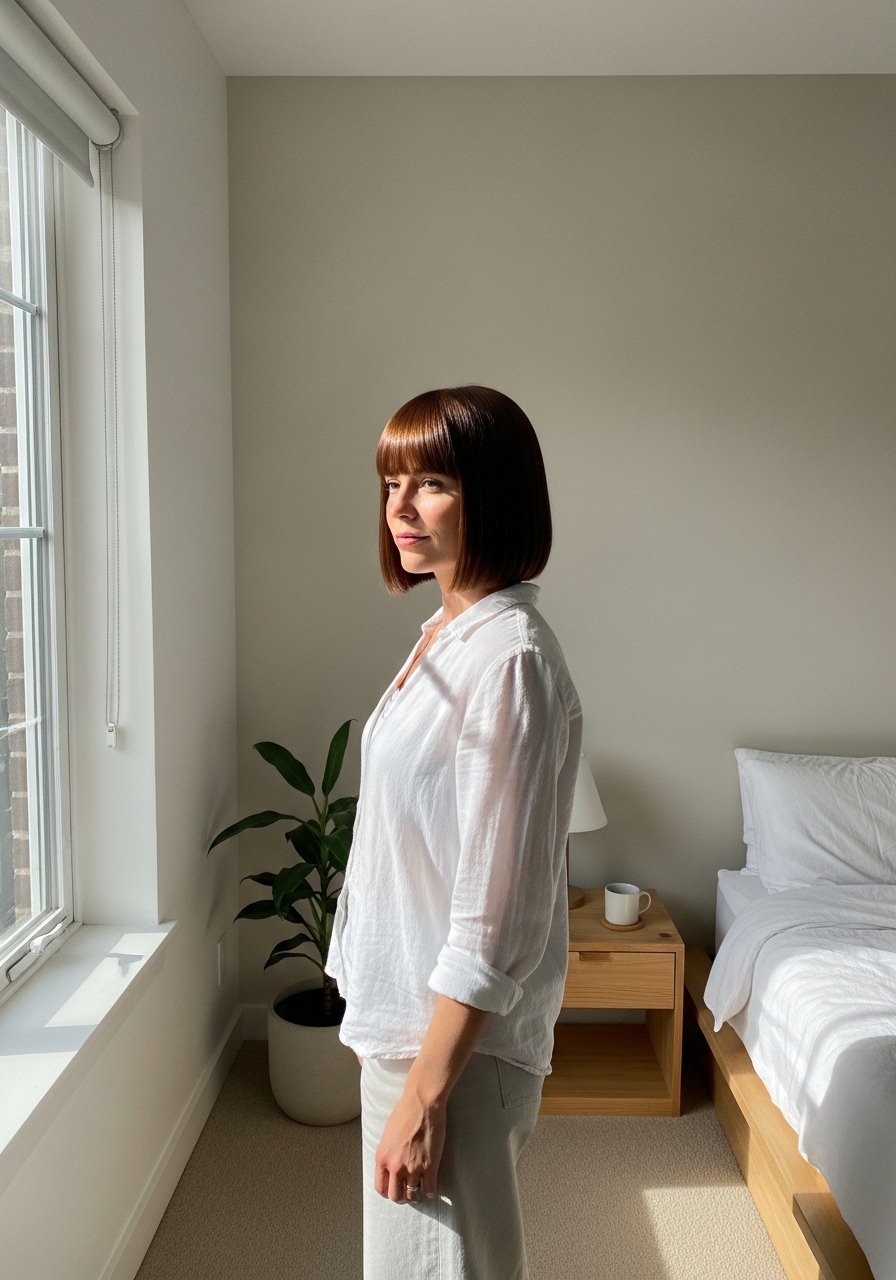
A blunt bob in a rich chestnut brown feels modern and clean. The gloss finish is the secret for that polished screenshot vibe. Keep the bob one to two inches longer in front for a flattering angle on most faces. This suits anyone who wants a tidy, low-fuss silhouette and a color that reads as one-tone but with optical shine. For home touch-ups, a color-depositing conditioner used weekly keeps the tone even.
Mistake to Avoid: Skipping the trim by six months, which ruins the bob's shape and makes the color look sloppy.
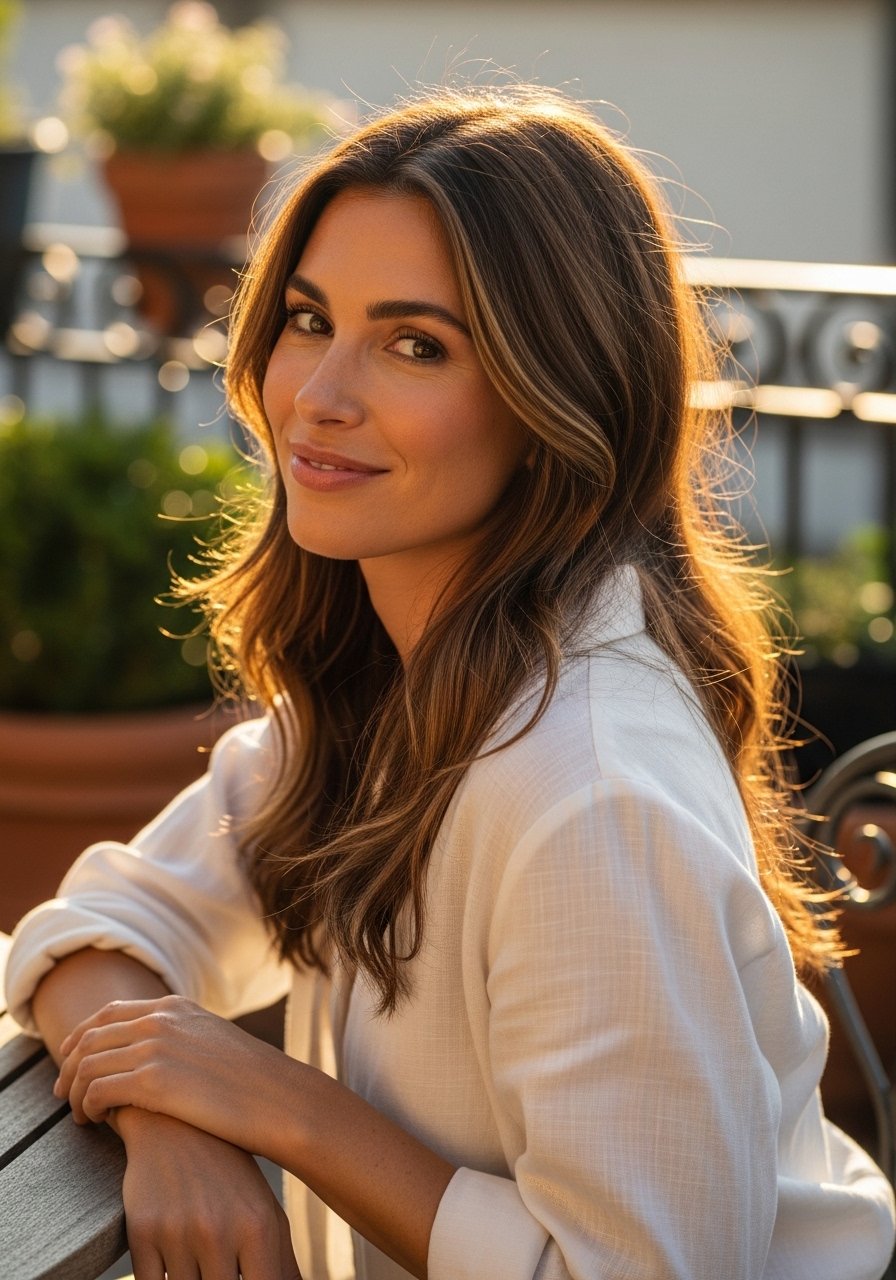
6. Warm Balayage for Lifted Movement

Balayage gives natural lift without obvious regrowth lines. For chestnut, request warm caramel placement that starts two inches from the root and a 30 percent lightening target to avoid brass. The result is sunlit movement and a lower-commitment refresh schedule. It fits people who like a lived-in look and can tolerate occasional toning at home. I recommend a glaze after lightening to neutralize any unwanted yellow within the first two weeks.
Mistake to Avoid: Choosing too light a lift, which produces unwanted orange tones on certain bases.
7. Copper Dip-Dye for Subtle Contrast
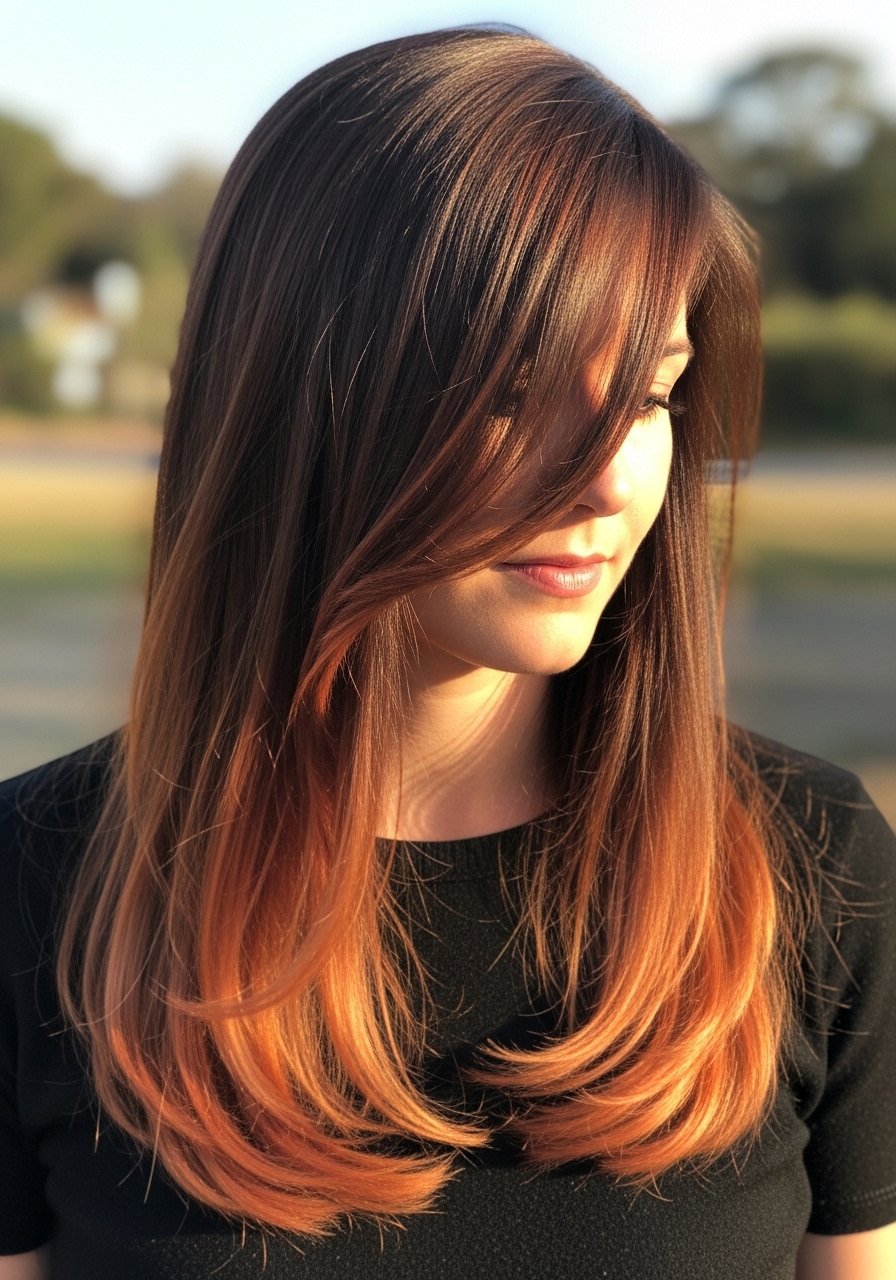
A copper dip-dye seals ends with warmth without touching the roots. The technique is to paint color on the last 3 to 4 inches with a feathered soft edge. Visual result is playful without being high-maintenance, and it suits mid-lengths to long hair. It is a good option for people who want some color experimentation but plan regular trims. Use a glossing mask once a week to keep the copper from fading.
Mistake to Avoid: Applying dip color too high, which makes regrowth obvious and uneven.
If any of these ideas have you ready to actually try something, here is everything worth picking up.
Chestnut Color Starter Kit
Coloring Basics:
- Color-depositing conditioner (~$12-20), for weekly tone refreshes.
- Clear hair gloss (~$18-28), adds shine after lightening.
- Developer brush and bowl (~$8-15), essential for even application.
Styling & Care:
- Sulfate-free shampoo (~$10-18), protects color.
- Protein and moisture hair mask (~$15-30), use every two weeks.
- Heat protectant spray (~$9-20), if you blow-dry or flat iron.
Tools:
- Wide-tooth comb (~$6-12), for wet detangling without breakage.
- Glossing serum (~$12-25), for that final reflective sheen.
- Microfiber towel (~$8-15), reduces frizz and minimizes damage.
8. Short Shag with Chestnut Depth
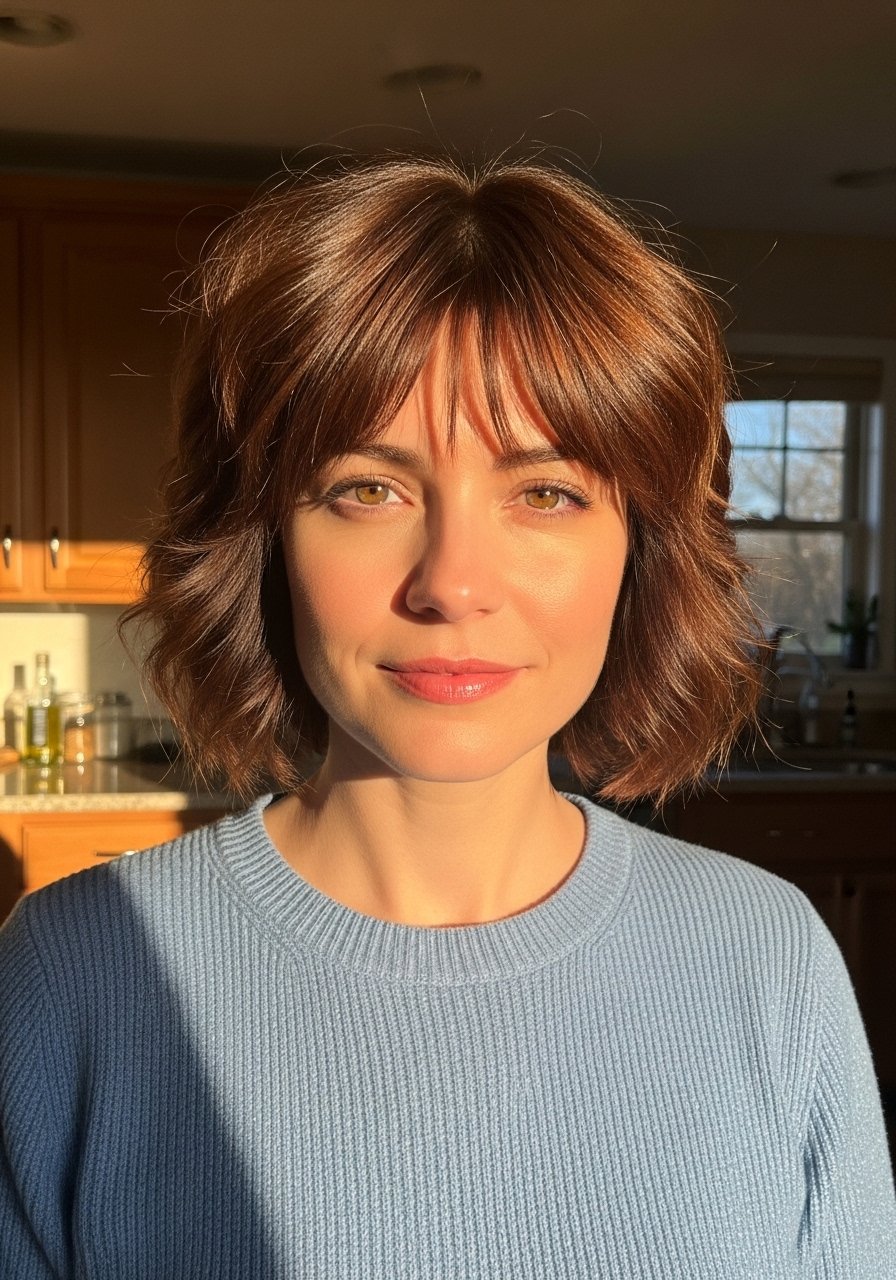
The shag haircut benefits chestnut brown because layers create pockets for color to play. Ask for disconnected layers at the crown and softer texture at the ends. Visually this reads as effortless movement and works well for fine to medium hair to add perceived volume. It is low styling time, just a quick scrunch with a texturizing cream. Budget friendly because it grows out neatly, needing trims only every 10 to 12 weeks.
Mistake to Avoid: Over-texturizing at the ends, which makes the shape look wispy instead of intentional.
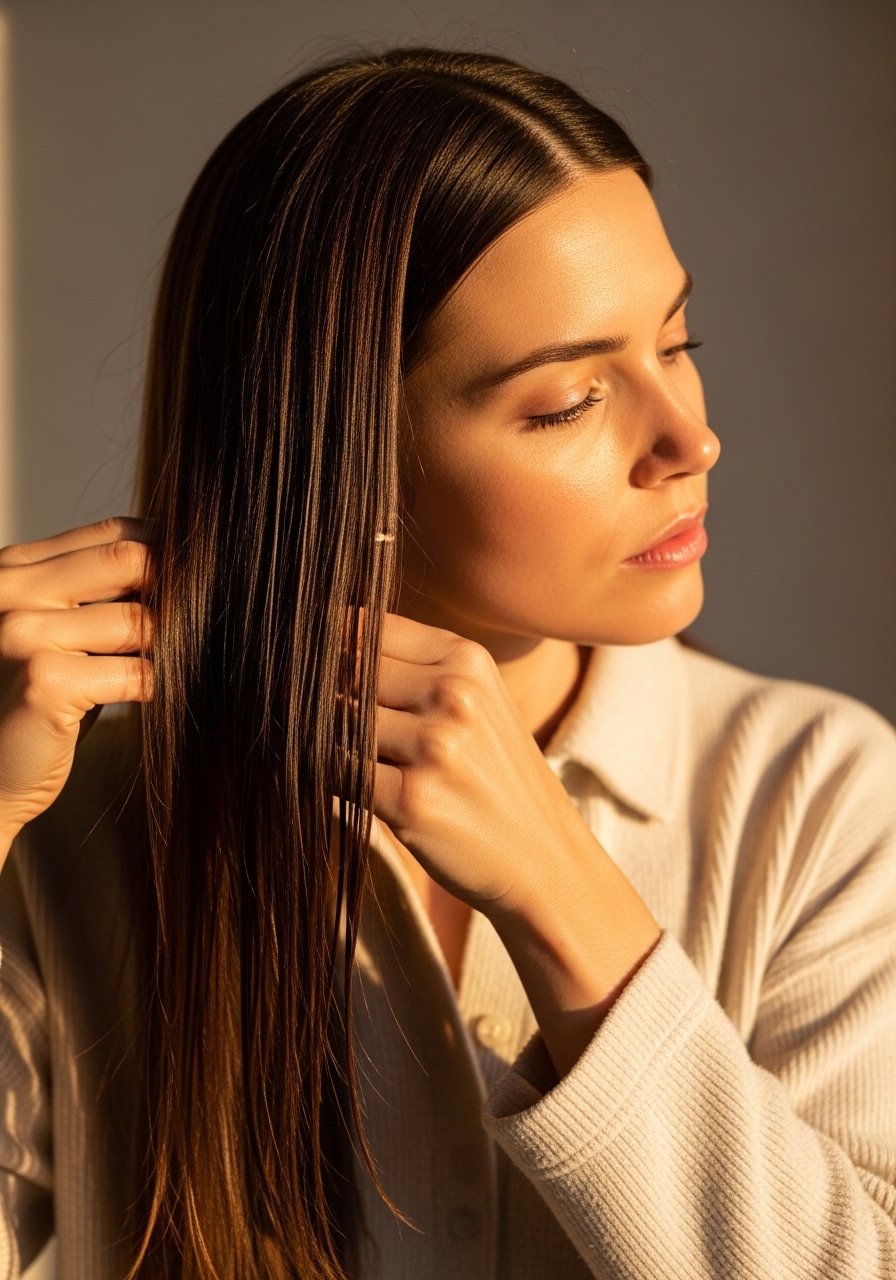
9. Heat-Free S-Waves for Soft Chestnut Texture

For a soft wavy look without heat, braid damp hair in two to four loose braids and sleep on a microfiber turban. The next morning undo and finger-comb, finishing with a weightless sea salt mist. This method preserves color better than daily hot tools and gives a lived-in, screenshot-worthy wave. It works on wavy to straight textures and is a gentle option for fragile hair.
Mistake to Avoid: Sleeping on cotton with wet hair, which creates frizz and flattens the wave pattern.
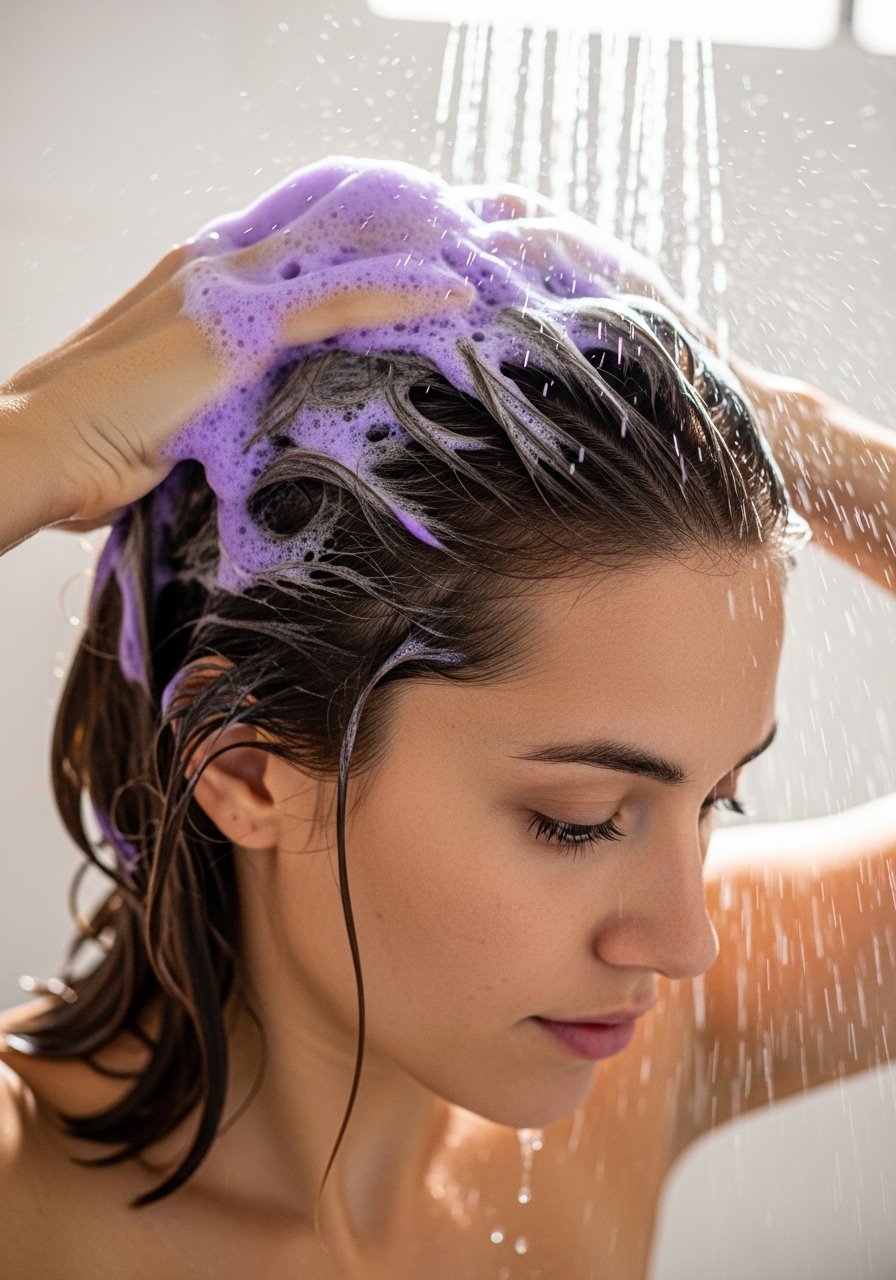
10. Deep Chestnut for Cool Undertones
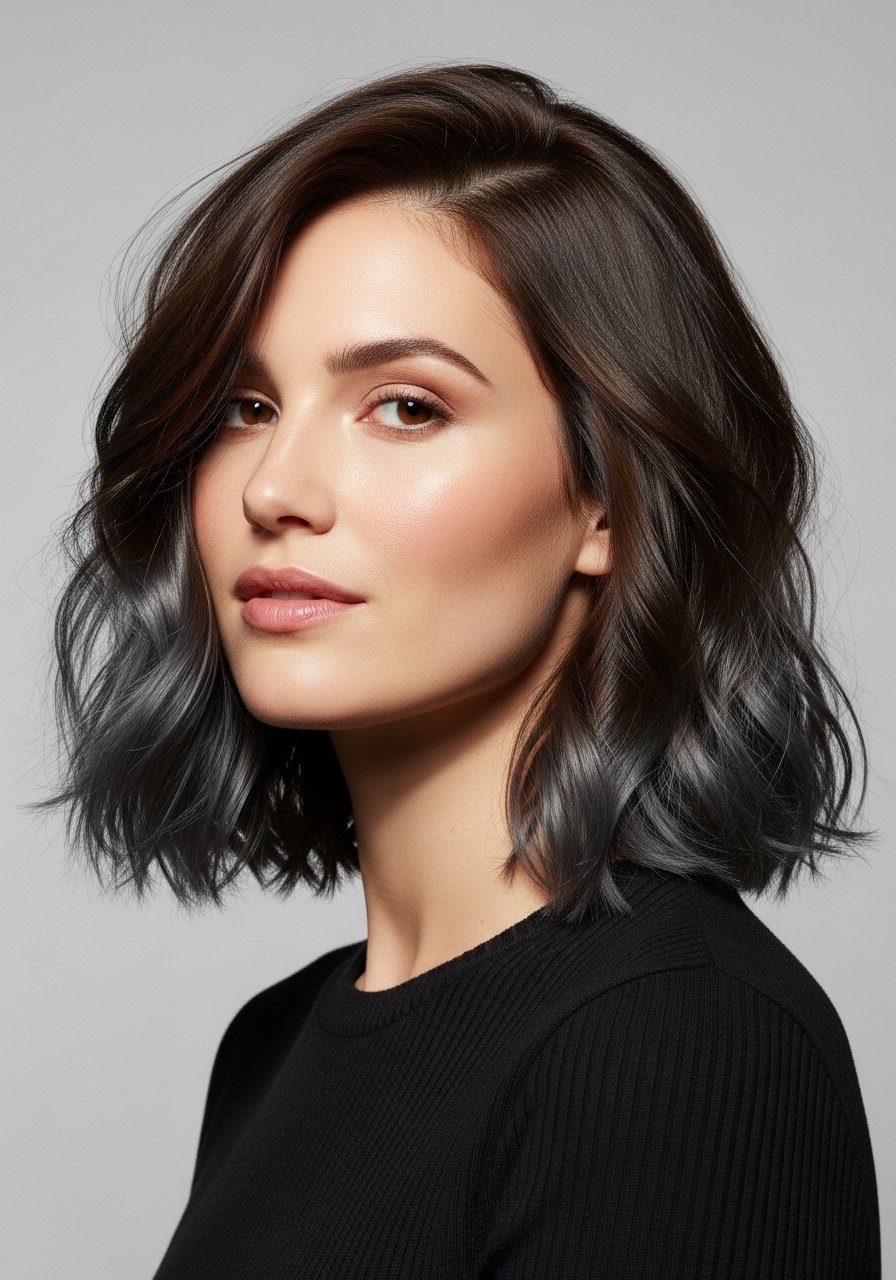
Deep chestnut with cool undertones can be the fix for those who look washed out in warm browns. Ask for a neutral to slightly cool base and avoid warm glazing. The visual result is richer depth that complements fair to medium cool complexions. It requires a purple-tinted weekly conditioner if brassiness appears. This option is for someone willing to maintain color tone rather than chase warmth.
Mistake to Avoid: Adding warm glosses after a cool dye, which defeats the undertone choice.
11. Curtain Bangs with Soft Warm Highlights
Curtain bangs framed with subtle warm highlights lift the face and make brown hair look fresher. Keep the bangs longer at the sides and slightly graduated into the layers. The highlights should be very fine, painted with a 1:4 placement so they peek through without screaming contrast. Time investment is moderate, bangs need a trim every 6 to 8 weeks to maintain the frame.
Mistake to Avoid: Cutting bangs too short, which ages the look and exposes grown-out roots.
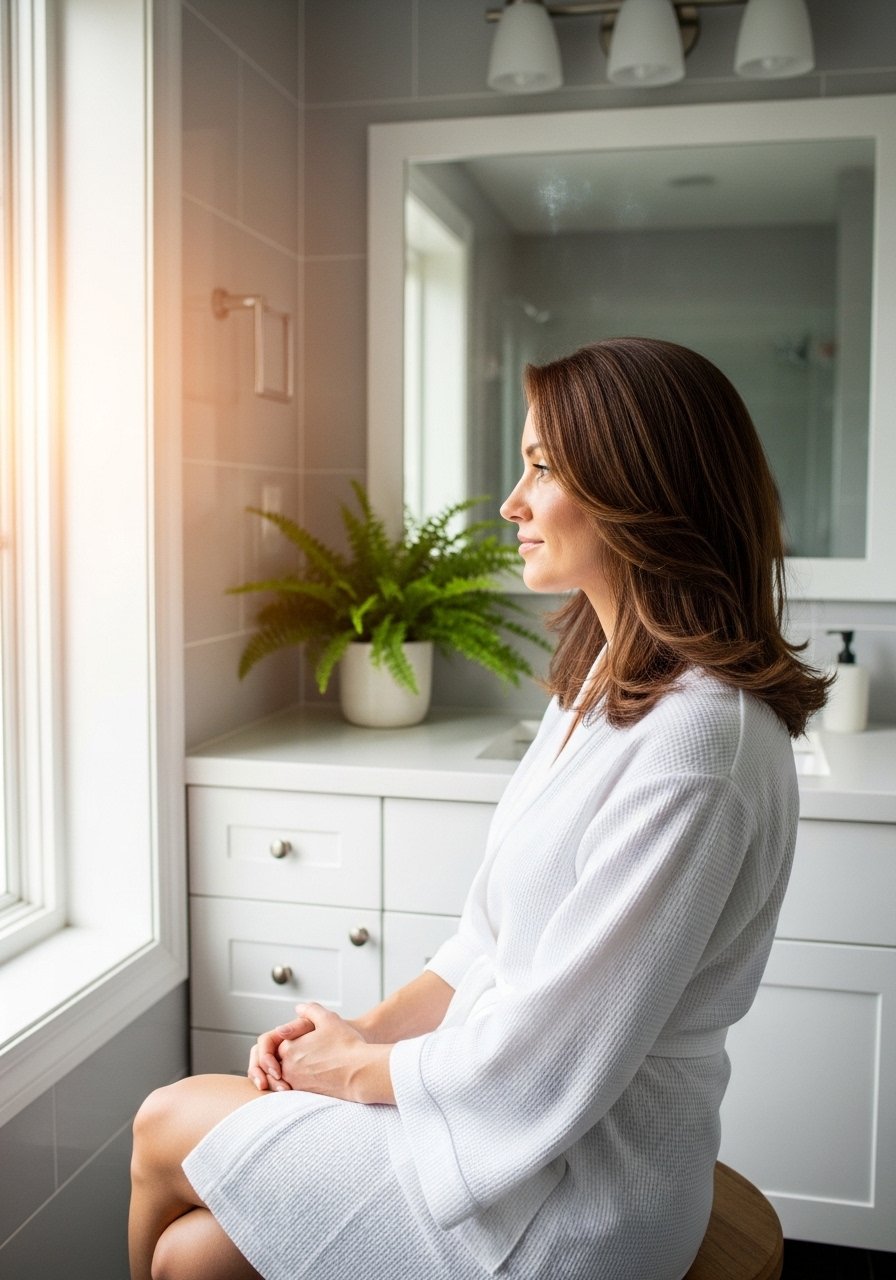
12. Porosity-Matched Moisture Plan
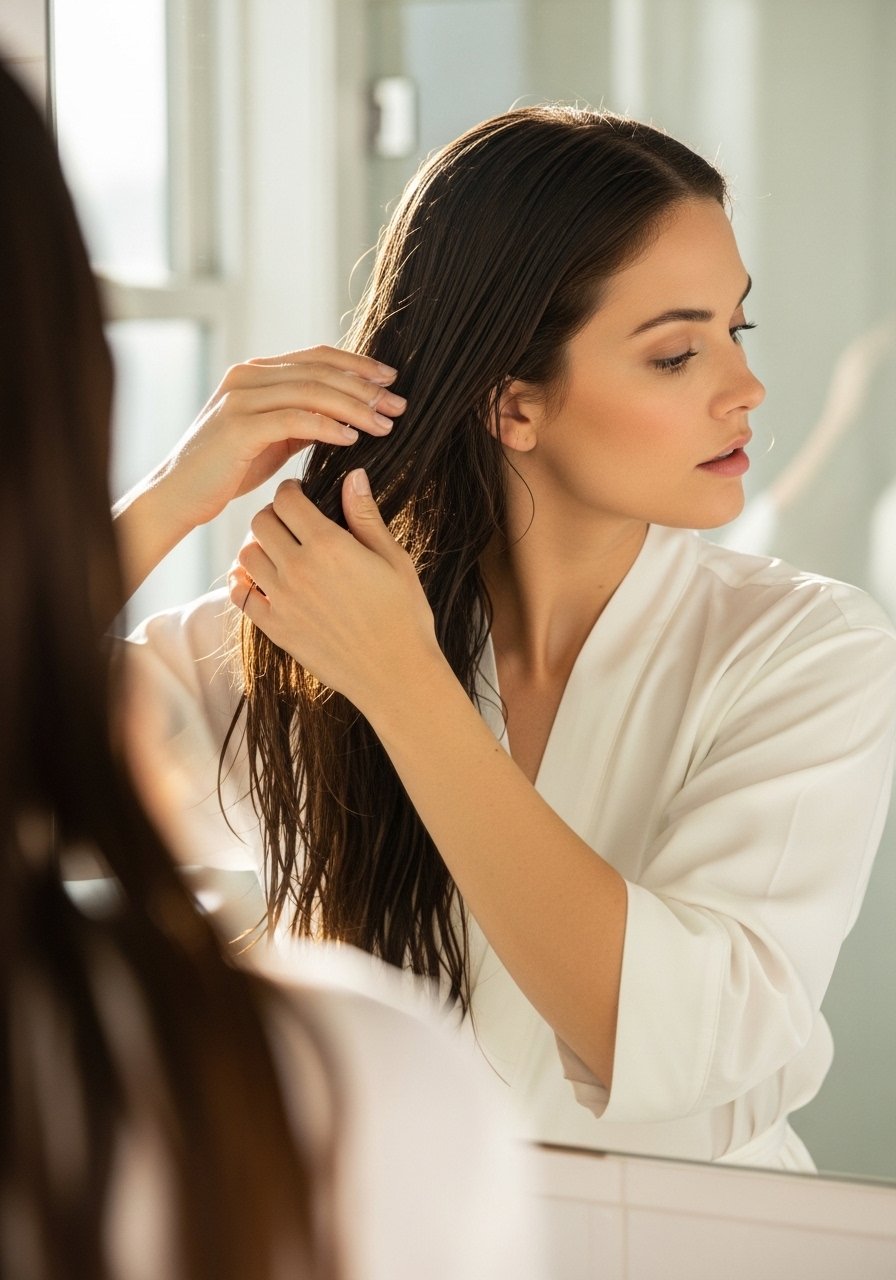
Porosity matters for chestnut tones because high-porosity hair drinks color and fades faster. Test by putting a strand in water; it should sink slowly. For high porosity, add a weekly protein treatment and seal with an oil. For low porosity, use heat with treatments to open the cuticle. This plan keeps color even and avoids patchy fading. It is a small diagnostic that saves money on touch-ups in the long run.
Mistake to Avoid: Using heavy oils on low porosity hair, which creates buildup and dullness.
13. Toning Shampoo Ritual for Slow Fade
A toning shampoo used once every 10 days prevents unwanted brassy notes in warm chestnut and balances color after lightening. Use it as a 3 to 5 minute treatment, not a daily wash. It controls warmth without stripping the base shade. This is a cheap maintenance ritual that stretches salon time and keeps screenshots accurate between visits.
Mistake to Avoid: Leaving toning shampoo on overnight, which can over-neutralize and create odd ashy hues.
14. Glossing Mask for Weekend Refresh
A weekly glossing mask gives a quick reflection boost and hides split-end texture. Apply a small amount from mid-lengths to ends, leave 8 to 12 minutes, then rinse. It smooths cuticles and temporarily deepens tone, making photos read richer. Great for anyone prepping for an event or saving a salon trip. Pair with the clear gloss from the starter kit for a stronger sheen.
Mistake to Avoid: Applying mask to the scalp, which can weigh hair down and make roots greasy.
15. Tinted Dry Shampoo for Color Lift Between Washes
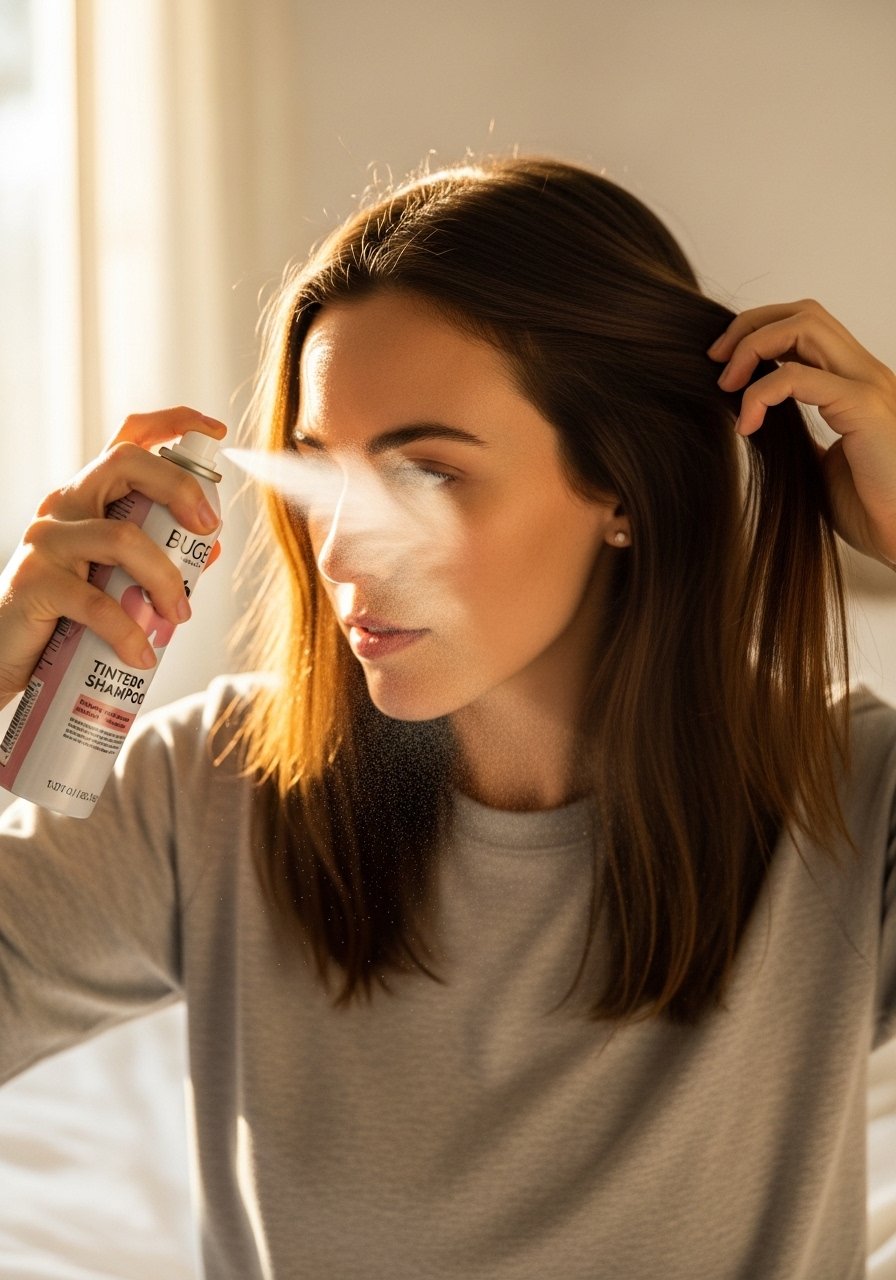
Tinted dry shampoo is a color-saving multitasker. It absorbs oil, adds volume, and slightly refreshes root color when you choose the right shade match. Use a light hand and blend with fingertips. It is a quick fix for second-day hair and keeps chestnut tones from appearing flat on camera. This is a small investment that changes how long your color looks fresh.
Mistake to Avoid: Spraying too close and creating visible speckles; always spray 8 to 10 inches away.
Keeping Chestnut Shine Alive
Thin coats beat one thick coat every time. For color-refresh masks and glosses, apply light layers and let each sit the recommended time. A light layer of clear gloss repeated twice looks smoother than one heavy coat.
Grab a microfiber hair towel for about $10. It reduces friction, so your chestnut retains shine and fades slower than when you rub with regular cotton.
Curly and coily textures respond best to leave-in creams and oil seals at the ends, not heavy water-based sprays. I tested this approach across four hair textures and found oils applied by rake method prevent patchy absorption. Try a lightweight argan oil to seal without weighing down waves.
Most people skip a quick root shadow when coloring at home, then hate the grow-out. Keep a small color-depositing root touch-up on hand for emergencies that do not require a full appointment.
Use heat protectant every time you use hot tools. A cheap bottle of heat protectant spray prevents tone change from damage and maintains that screenshot-ready chestnut longer.
