
I nearly gave up on a narrow rental bathroom until a single thrifted tray, sanded and sealed, stopped toothbrushes from rolling into the sink. That tiny change made the whole sink area read intentional instead of temporary. These are the kinds of updates here, low cost and renter-friendly, meant to look like you spent more time than you actually did, and doable with basic tools on a weekend.
These ideas lean budget to mid-range and fit renters or homeowners who do not want a demo. I tested several in three rentals and kept the methods that did not punch new holes or require permanent plumbing moves. Expect projects that take 30 minutes to a Saturday, a few that need one afternoon of sanding, and many that use peel-and-stick or tension hardware so you can remove them when it is time to move.
1. Narrow Floating Tray Shelf With Catchall
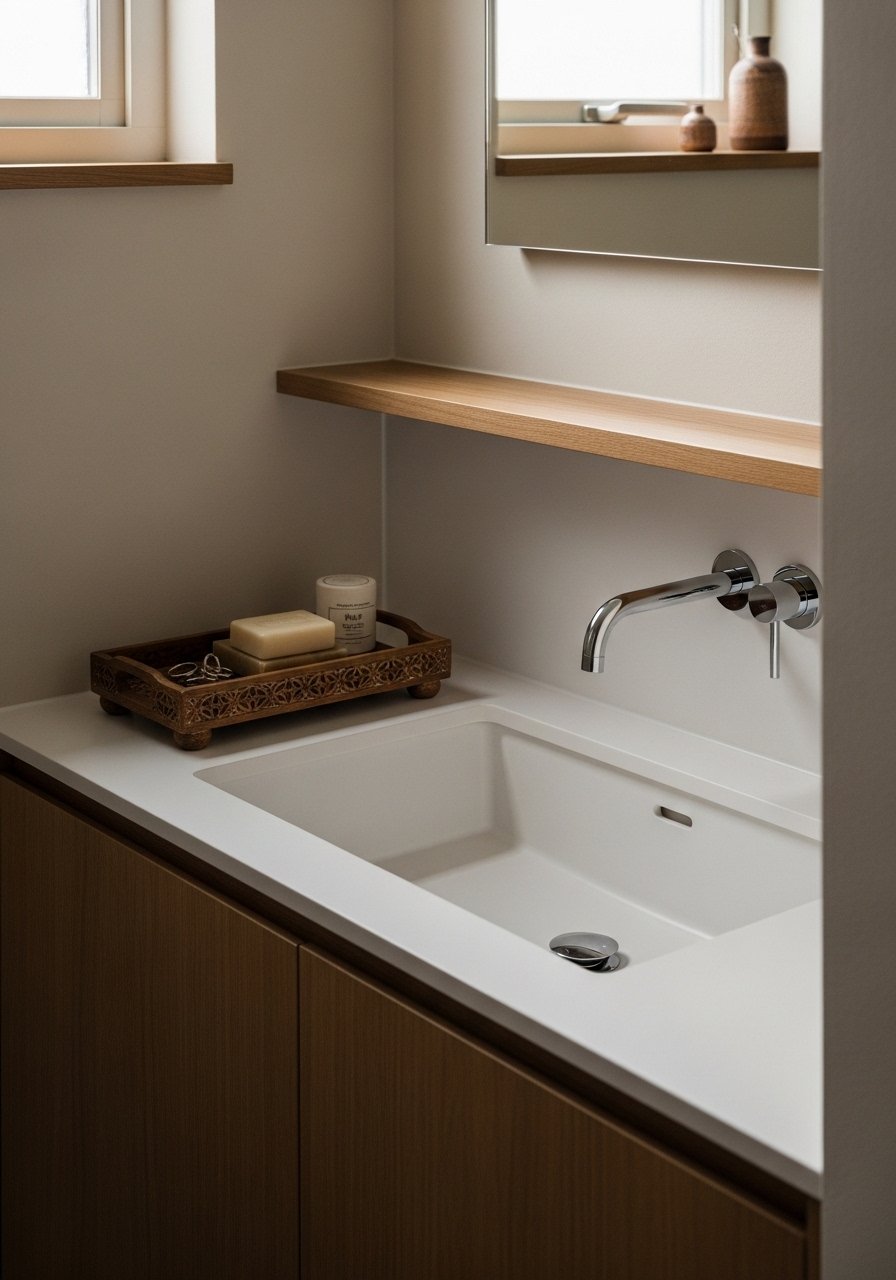
A 24-inch floating shelf gives the sink a landing strip without crowding the room. Use a reclaimed board, sand to 120 grit, and seal with two thin coats of water-based polyurethane, wiping between coats. Mount the bracket at 57 inches from the floor so the shelf sits at eye level in most homes. I anchor mine with two metal brackets and add a shallow thrifted tray to corral items so the counters look tidy. This feels polished, works for small bathrooms, and takes one afternoon. For tools grab a simple floating shelf bracket set and a small wood finishing brush.
Mistake to Avoid: Rushing the seal coat, which leaves the shelf blotchy and prone to water rings.
2. Peel-and-Stick Tile Backsplash That Reads Custom
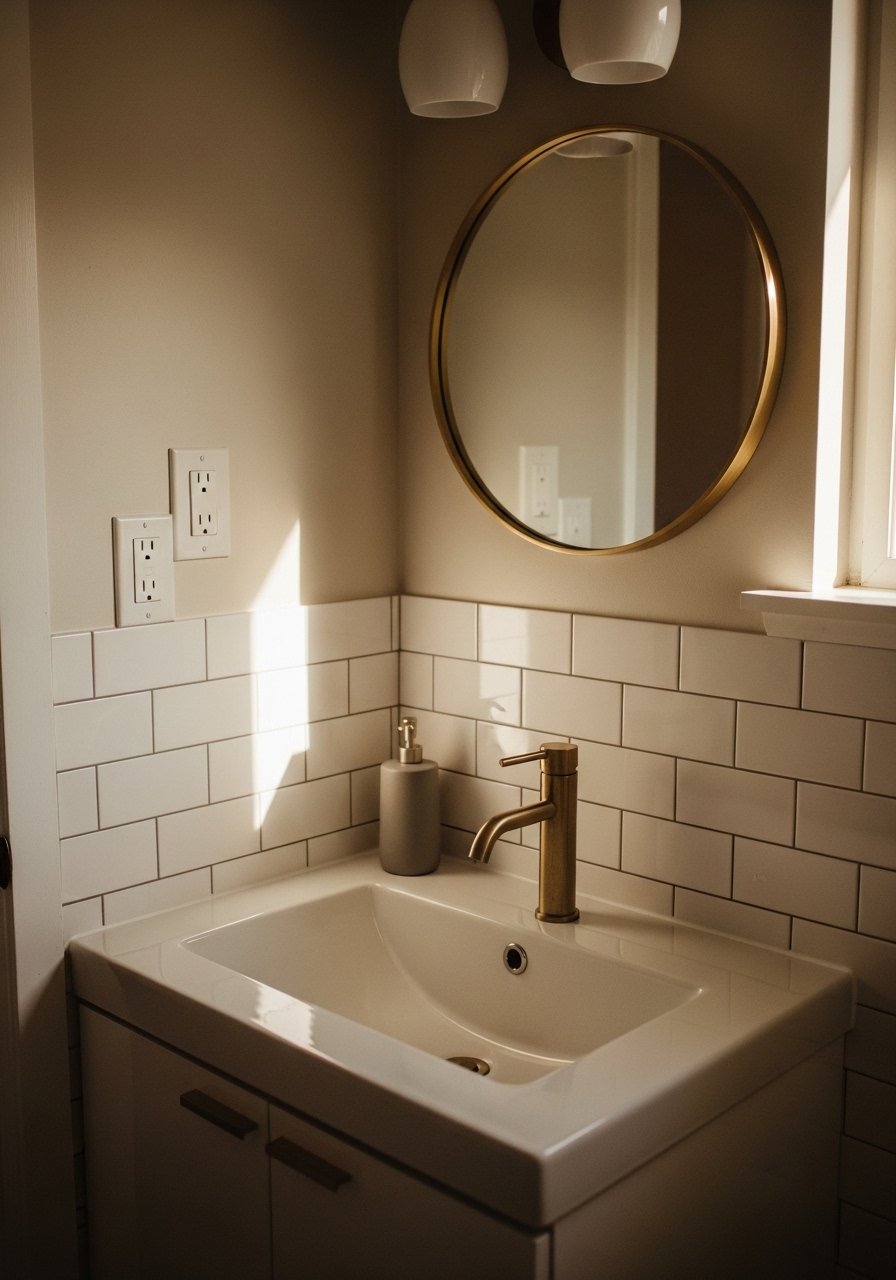
Peel-and-stick tile can read like a remount if you keep grout lines honest. Plan 2 to 3 rows behind the sink, and space tiles with a consistent 1/8 inch gap to mimic real grout. Warm brass or matte black trim hides imperfect edges. Use a plastic tile roller to press seams and a caulked edge where the backsplash meets counters. This is renter-friendly, low skill, and takes under two hours for a small area. I used this method in two tiny bathrooms before settling on the pattern. Try peel-and-stick subway tiles and a plastic tile roller.
Mistake to Avoid: Applying tiles to a greasy surface, which causes peeling after a few weeks.
3. Thrifted Mirror Frame Makeover

Upcycling a plain mirror is a single change with big visual impact. Rip moulding into four pieces for a thin frame, sand edges, and glue with construction adhesive. Paint the frame in a flat satin and seal the inside edge with clear silicone so steam does not creep in. Hang the mirror with two D-ring hangers spaced 16 inches apart to stabilize it. This suits renters when you use removable hanging hardware rated for the mirror weight. I scored three mirrors under $15 and reframed them all. Use picture frame moulding and removable wall hooks.
Mistake to Avoid: Gluing the frame without accounting for bathroom humidity, which lifts paint at seams.
4. Low-Build Faux Marble Countertop With Paint Kit
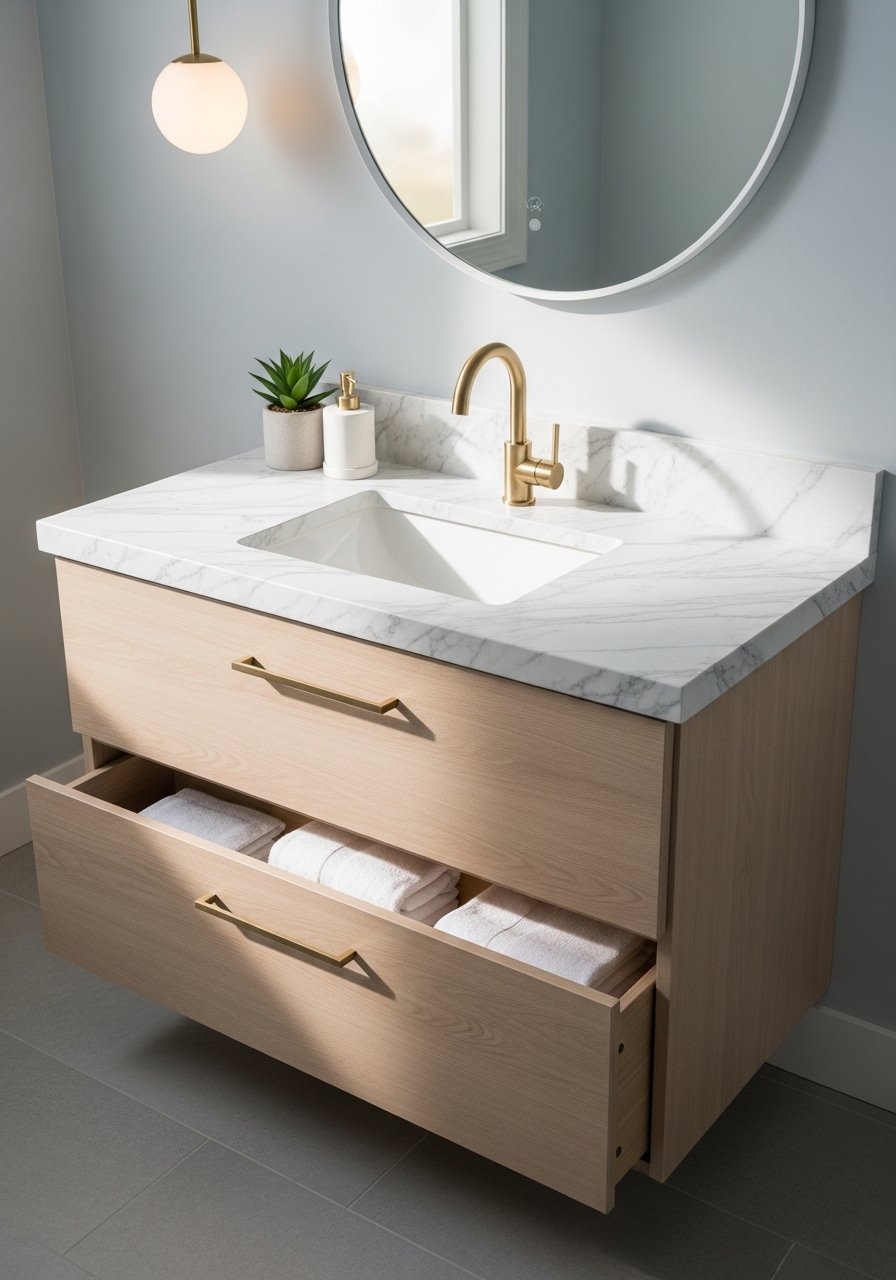
If a laminate countertop feels dated, a faux-marble paint kit makes it feel new for under a hundred dollars. Lightly scuff the surface with 220-grit, wipe with a tack cloth, prime, then layer two thin glazes. Use a feathered brush to suggest veins, working in 20-inch sections so the paint stays wet for blending. Finish with two thin layers of water-resistant topcoat, waiting four hours between coats. This is not a permanent replacement, but visually it reads upscale and is perfect for rentals where you cannot swap counters. Try a countertop paint kit and a fine feathering brush.
Mistake to Avoid: Using thick puddles of glaze that dry streaky instead of blending.
5. Tension Rod Shelving for Instant Storage

Tension rods convert dead vertical space into shelves without drilling. Pair two rods 12 inches apart then hook rustproof baskets to create tiers for rolled towels and toiletries. Measure the gap and subtract 1/8 inch for a snug fit. This is ideal for renters and small spaces because it is removable and modular. Use vinyl-coated rods in wet areas and wipe them monthly to prevent rust. For a pet household, avoid low-hanging baskets that curious pets can knock. I used this in an apartment that had no usable shelf space and it lasted until move day. Grab a shower tension rod and rustproof hanging baskets.
Mistake to Avoid: Overtightening the rod and cracking tile or wearing the paint finish.
6. Mason Jar Vanity Storage On a Reclaimed Board

A row of jar cups mounted to a stained board organizes makeup brushes and toothbrushes and adds texture. Drill lids to the board with a 1 1/8 inch hole punch and screw the lids down. Use clear silicone around the lid to guard against steam. This project is cheap, portable, and kid-friendly when jars are mounted high. For a small-space alternative use three small jars instead of a long board. I like mason jars because they are easy to swap and clean. Pick up mason jars and a hole saw kit.
Mistake to Avoid: Skipping the silicone seal, which lets moisture rot the board over time.
7. Waterproof Resin Prints for Steamy Bathrooms

Want art but worry about steam and splatter. Turn prints into waterproof pieces by sealing them in a thin layer of clear epoxy resin on a lightweight panel. Keep pours to about 1/8 inch per coat and allow full cure between layers. Mount with removable picture-hanging strips rated for the panel weight so you can take them down when you move. This gives you real artwork that withstands humidity, and it avoids framing with glass that fogs. I tested this method across two tiny bathrooms and the prints stayed crisp. Use clear epoxy resin and removable picture strips.
Mistake to Avoid: Pouring thick resin all at once, which traps heat and causes bubbles.
If any of these projects has you ready to shop, here are the items I actually reach for most often.
Bathroom Refresh Essentials To Buy
Textiles & Soft Goods:
- Cotton waffle hand towels (~$12-20). Soft, dries fast, and hides water marks.
- Small woven bath mat (~$20-40). Swap colors per season.
Tools & Hardware:
- Floating shelf bracket set (~$15-30). For sturdy, no-visible-bracket shelves.
- Plastic tile roller (~$8-12). Presses peel-and-stick tiles evenly.
- Clear epoxy resin (~$25-60). For waterproofing prints and sealing surfaces.
Organizers:
- Rustproof hanging baskets (~$12-25). Use on rods or hooks.
- Removable wall hooks and strips (~$8-20). For renters and lightweight frames.
Small-Bathroom Survival Tips
Use shallow trays to corral daily items. A narrow bamboo vanity tray keeps counters tidy and cheap trays visually anchor the space.
Grab a set of peel-and-stick sample tiles before committing to a pattern. Laying one row shows how the light will read the finish without buying a full box.
Keep a small microfiber hand towel by the sink. It dries fast and prevents water rings on faux finishes after you seal them.
When hanging art, set the center at 57 to 60 inches from the floor. That rule keeps pieces feeling intentional even in narrow bathrooms.
If you want a fast greenery fix, use a small air plant kit. They tolerate humidity and take up almost no surface area.
