
I kept peeling off gel the morning after I finished my first at-home baby blue mani, and it took a tech who works at a salon downtown to point out I was sealing the edge wrong. Once I started capping the free edge, thinning my coats, and wiping the inhibition layer clean, the color stopped bubbling and the shine lasted. That exact small change turned a habit of liftoff into a mani that actually survived soup nights and keyboard marathons.
This list is for people doing gel at home on a budget, and for salon regulars who want fresh takes. I tested these looks on short, medium, and long nails so you know which ones scale, and I kept the tools practical not boutique-only. Most people getting their nails done these days are asking for gel, not acrylic. Expect simple cures and mostly two-coat finishes, plan 30 to 45 minutes at home, and skip anything that needs specialty training unless you like practice runs.
1. Clean Classic Glossy Baby Blue
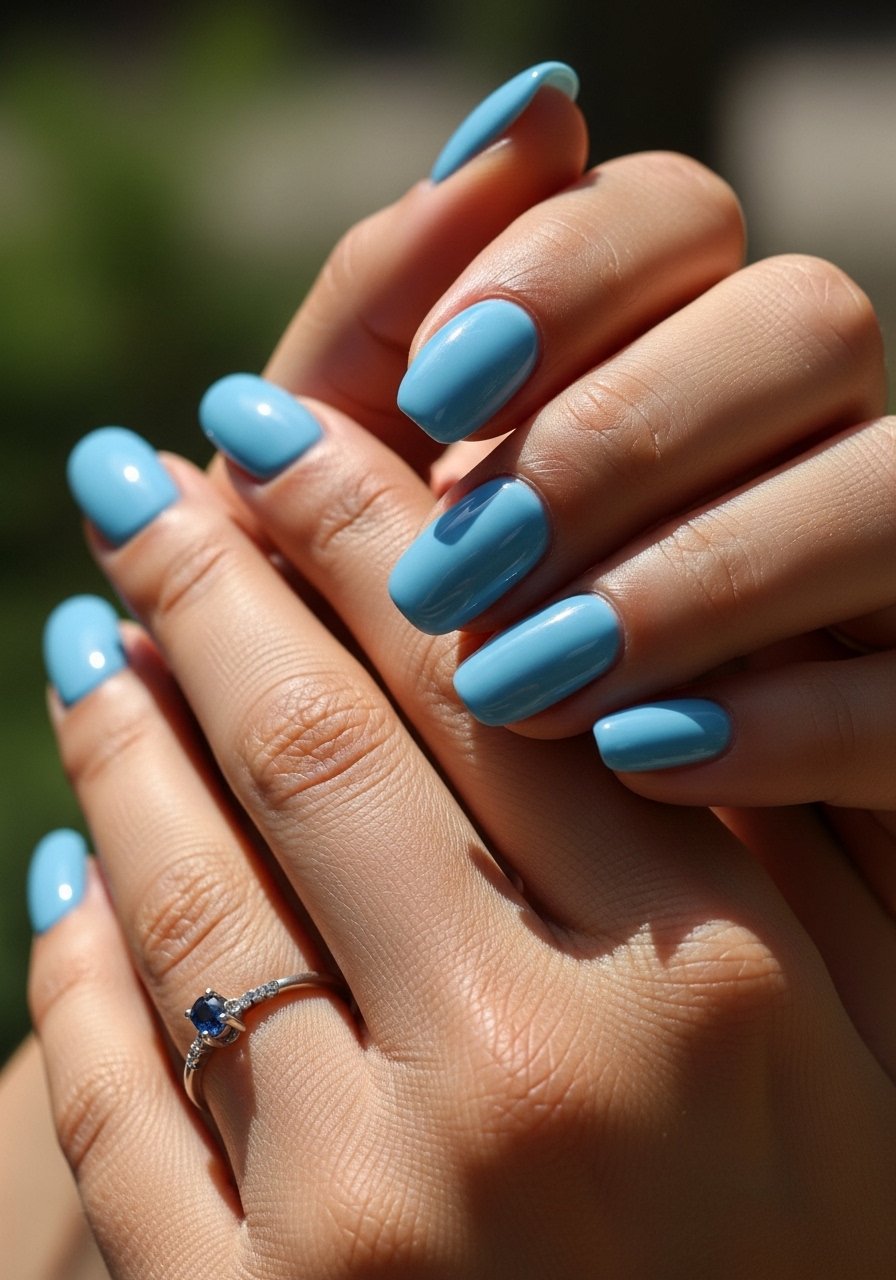
I learned that opaque baby blue reads best with two thin layers, not one thick blob. Apply a thin base, 30-second cure, then a thin color coat, 30 to 45 seconds cure, wipe the tack, repeat. The result looks polished and wearable for weekday life or a weekend brunch. This suits short to medium nails and beginners because it hides small filing mistakes and chips less than complicated art. Try pairing a reliable base like a peel-stop base gel with a glossy top coat for long wear. Thin coats also reduce cure heat and uneven texture.
Mistake to Avoid: Smearing one thick layer and hoping it levels during the cure.
2. Sheer Milky Baby Blue Wash
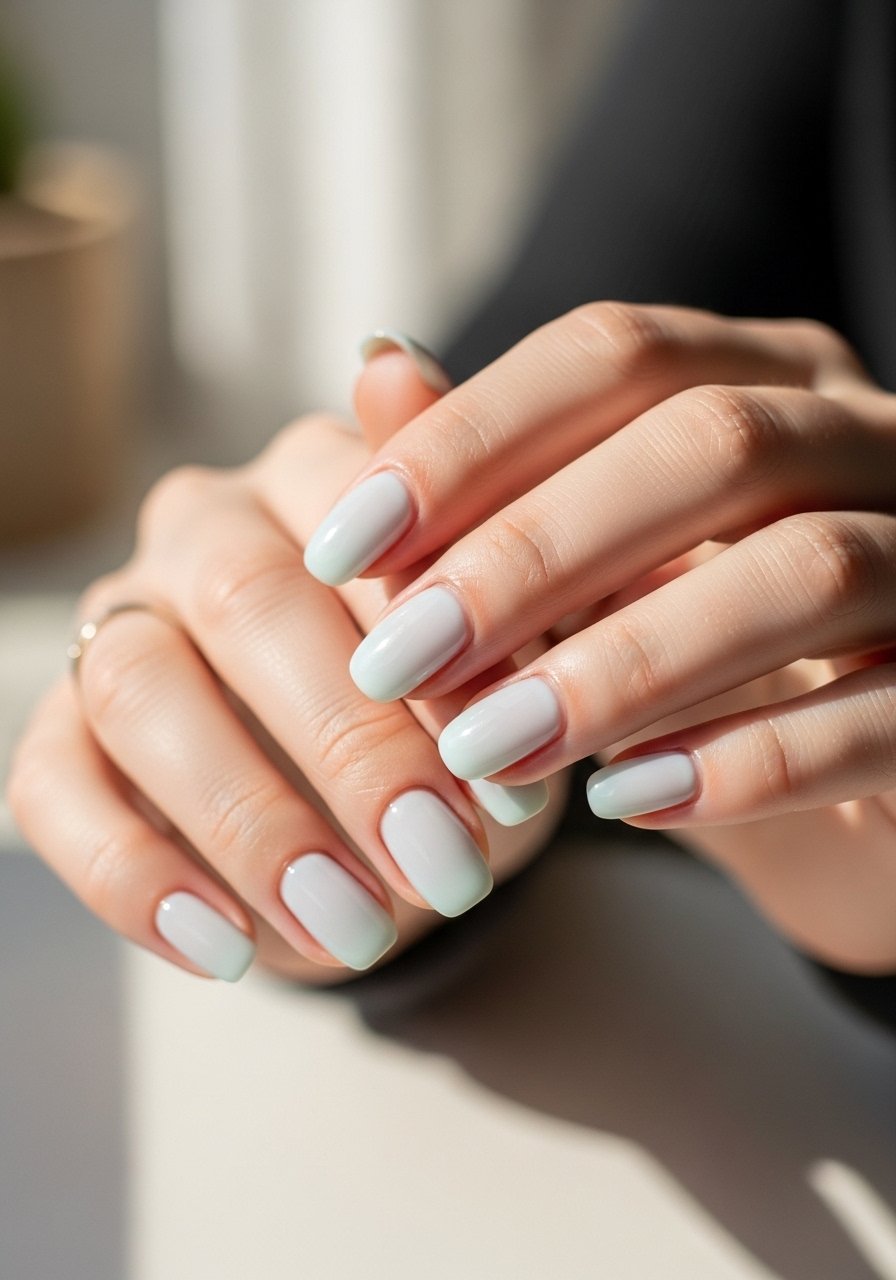
If the opaque look feels heavy, a milky wash softens the shade into something wearable for work. Mix two parts sheer base, one part pigmented baby blue on a mixing palette, then apply two thin coats, curing between each. The extra sheer base keeps brush strokes soft and the finish looks translucent like a glass bead, which suits medium-length nails and those who prefer subtle color. I used a clear builder gel to thin without losing adhesion. It takes a few extra seconds to mix but the final gradient is creamier than buying a single sheer polish.
Mistake to Avoid: Applying the pigmented color straight from the bottle and expecting a milky, brush-stroke free finish.
3. Modern Baby Blue French Tip

Strip the classic white tip for a modern pastel version. Paint a natural nude base, cure, then use a thin brush to paint crisp baby blue tips, capping the edge each time. For steadier lines on long nails, use a soft gel brush and rest your hand on the table. This look reads elegant and playful for events and weekend wear. A fast LED lamp helps cure tiny strokes without distortion. I like finishing with a gel quick-finish top coat so the tips do not chip. It requires an intermediate hand but the visual payoff is very clean.
Mistake to Avoid: Cutting the cap at the free edge, which causes the tip to lift within days.
4. Baby Blue Clouds Accent
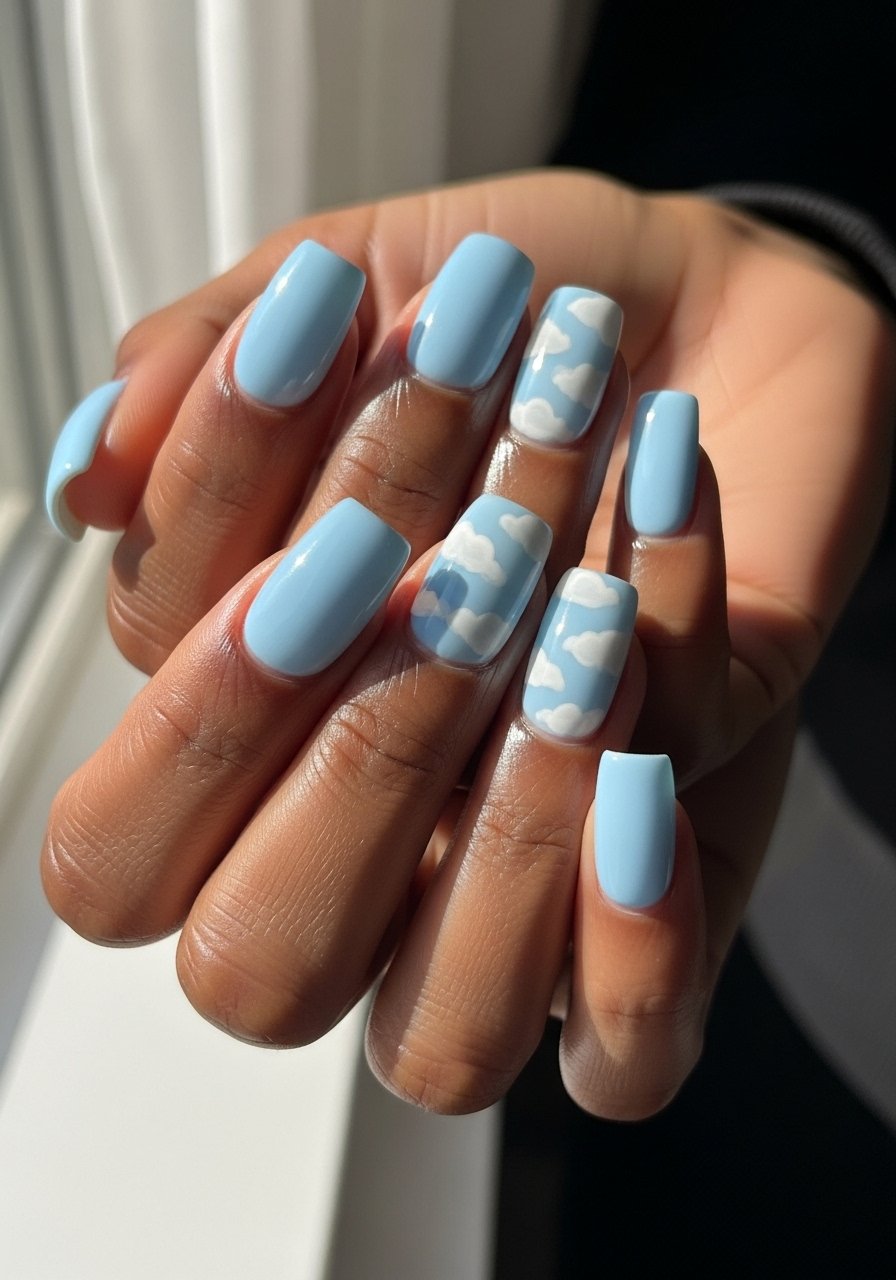
Cloud nails feel deliberately relaxed instead of precious. Paint a thin baby blue base, cure, then use a dotting tool and a tiny brush to pull soft white shapes and barely blended edges. The clouds look best on medium to long nails where there is room to play. I keep the cloud opacity low by diluting white gel with a drop of clear base, which prevents the shapes from looking pasted on. Finish with a satin or glossy top coat depending on whether you want a lived-in or polished vibe. Try a fine dotting tool set for consistent shapes.
Mistake to Avoid: Using full-strength white and overpainting, which makes clouds appear chalky and flat.
5. Matte Baby Blue with Gloss Accent
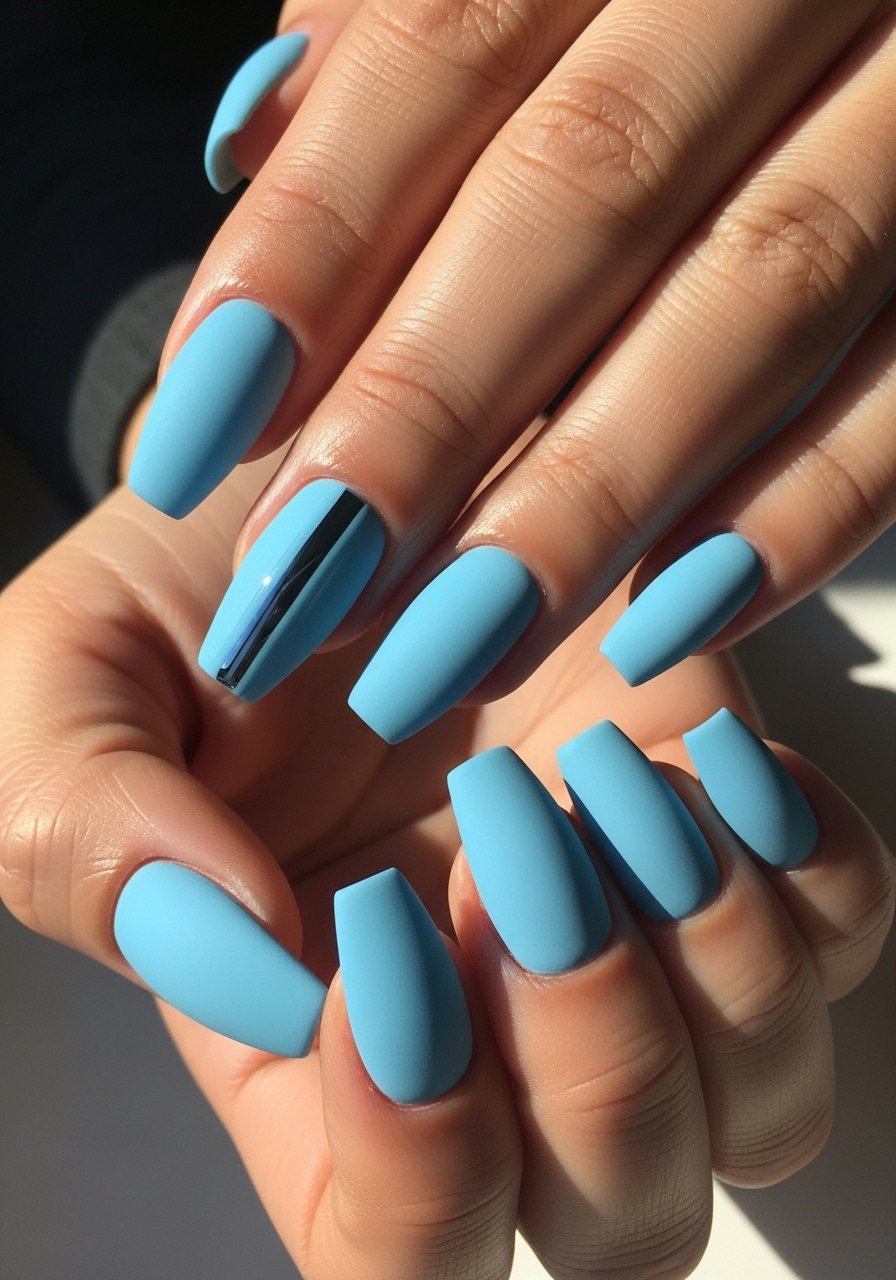
The contrast of matte and glossy gives baby blue an edge. Apply two thin coats of matte gel and cure, then on one accent nail add a glossy stripe or crescent and cure again. The mix feels modern and is forgiving on medium-length hands. A matte finish hides tiny dents while the glossy accent reads intentional. Use a matte top gel and a clear gloss for the accent. Matte gels can look patchy if applied too thickly, so thin coats are still the rule here.
Mistake to Avoid: Applying matte top coat over glossy accent before curing the accent, which dulls the difference.
6. Glitter-Fade Baby Blue Ombre
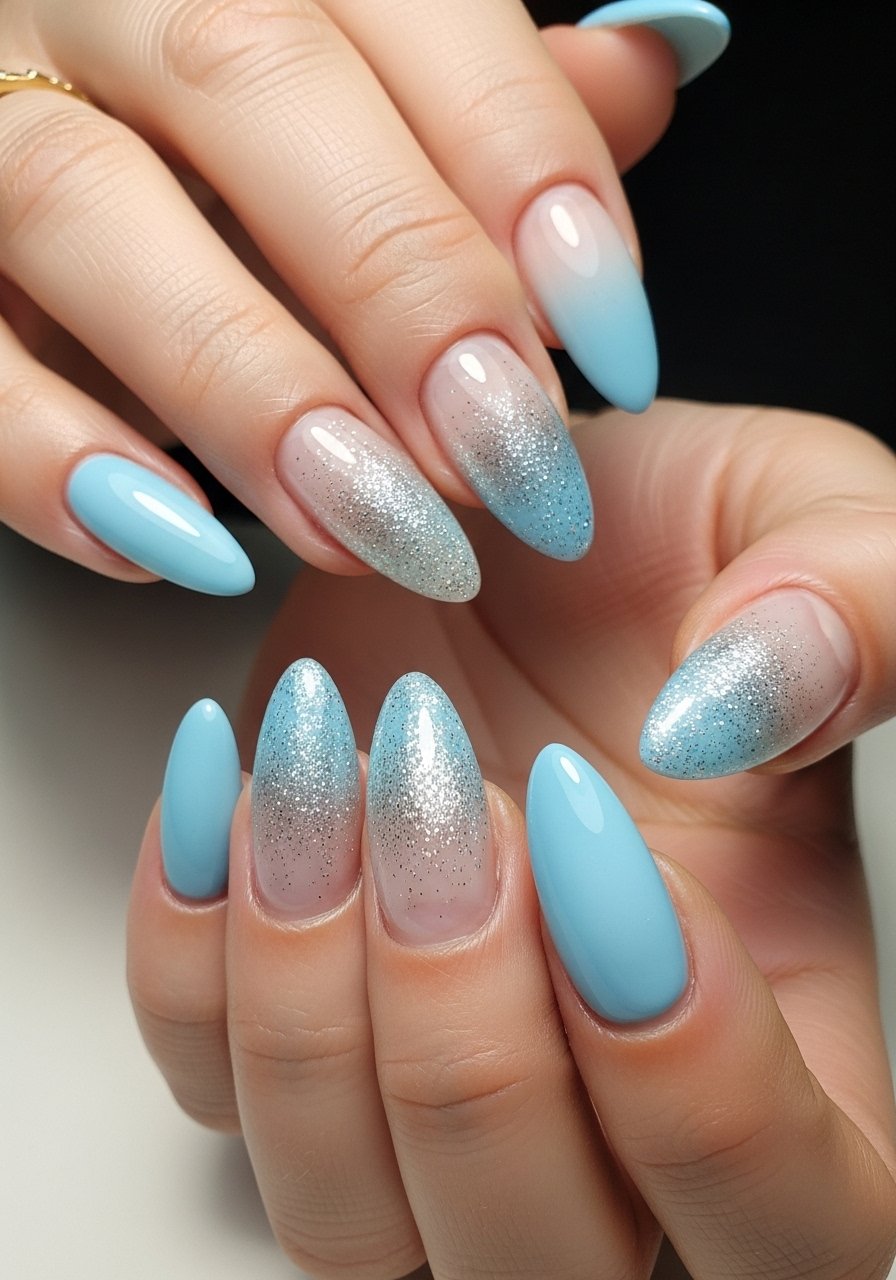
A glitter fade adds party without full glitter maintenance. Paint baby blue at the cuticle, cure, then sponge a blend of baby blue and clear toward the tip and press fine silver glitter into the wet layer before final curing. The technique looks luxe on long nails and photographs beautifully. I used a fine cosmetic sponge and a jar of micro-glitter to control density. The subtle glitter carries the color into evening plans without committing to full sparkle every day.
Mistake to Avoid: Dumping loose glitter onto a tack-free surface, which makes adhesion uneven and fall-out messy.
7. Textured Pearl Baby Blue
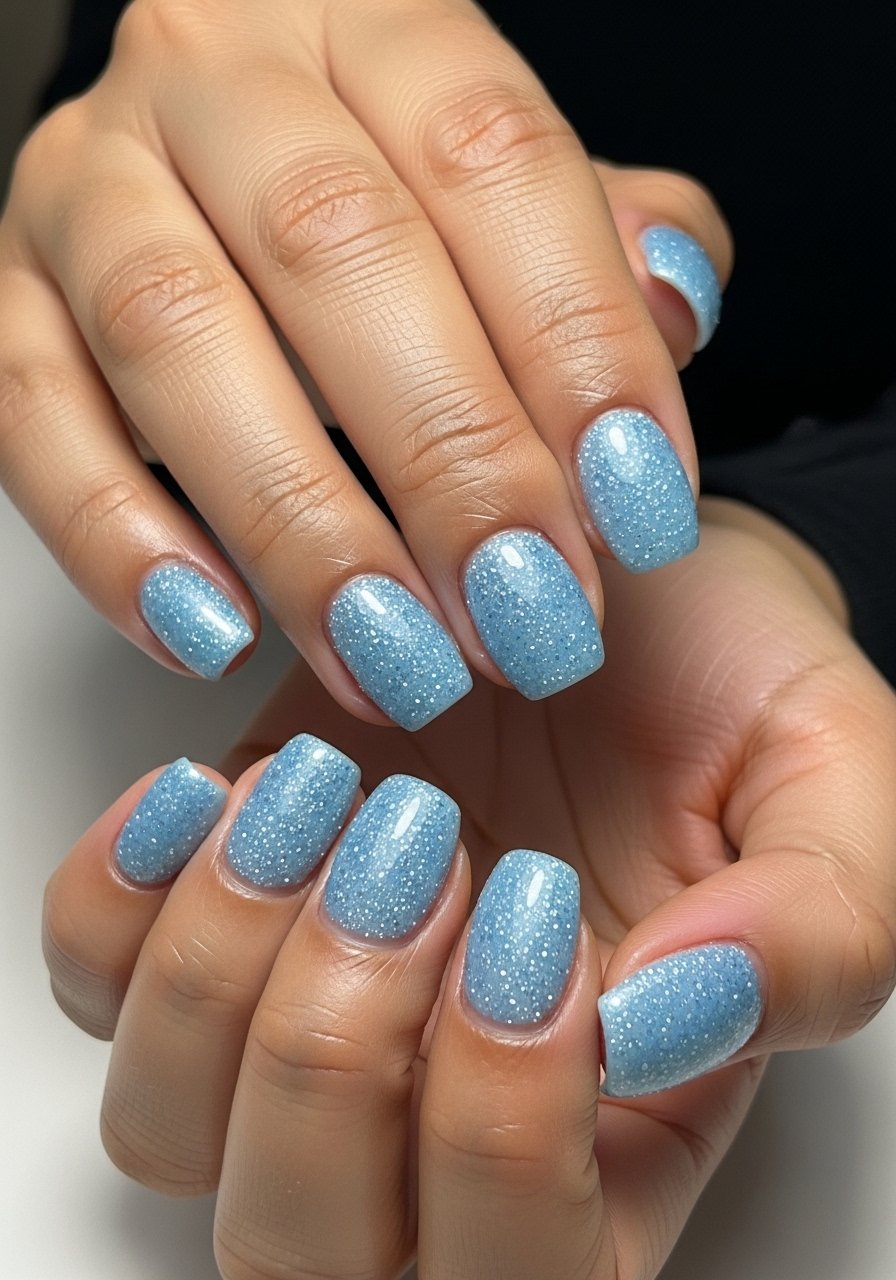
Texture is a fresh way to wear baby blue and it holds up well on short nails. Apply baby blue gel, cure, then sprinkle micro-pearls onto the tacky layer and press gently, curing again to set. The pearls create small points of catch which feel tactile and interesting without being fragile like large embellishments. This look is quick to do at home if you use a micro-pearls mix and a thin top coat around the edges. Keep the application light so the pearls do not create bulk at the free edge.
Mistake to Avoid: Piling too many beads near the tip, which causes early snagging and lifting.
If any of these setups have you ready to try something new, here are the tools I actually reach for.
Baby Blue Gel Kit Essentials
Base & Bonding
- Peel-stop base gel (~$8-18), for better adhesion and less edge lifting.
- Nail primer (~$6-12), a thin wipe-on before base for oily nails.
Color & Finish
- Baby blue gel polish (~$6-15), pick one opaque and one sheer.
- High-shine top coat (~$8-16) for glossy manis.
Tools
- LED nail lamp (~$20-45), 48W if you want faster cures.
- Fine dotting tool set (~$5-10) for clouds and accents.
- Micro-pearls mix (~$5-12) for texture.
Baby Blue Mani Habits
Thin coats beat one thick coat every time. Three thin layers of a baby blue gel polish cure more evenly and resist lifting more than a single thick application.
Grab an LED nail lamp with adjustable timer. The timer and wattage make a real difference for varied polish formulas and reduce cured heat spikes.
Curved smile lines and French tips hold edge better when you cap the free edge after every coat. A thin gel brush helps paint crisp tips without flooding the cuticle line.
Most people getting their nails done these days are asking for gel, not acrylic. Keep a bottle of isopropyl alcohol wipes nearby to wipe the inhibition layer clean and stop sticky grit collecting.
If your nails feel too thick, remove one color layer and switch to two thinner coats next time, and consider a gentle gel remover kit for safe at-home removal.
