
I kept choosing the tiniest daisy, thinking smaller meant subtler, until three years later it blurred into a smudge and I had to cover it. That repeated mistake taught me two things. First, scale matters for arm tattoos. Second, the way a design sits on muscle and bone changes how it ages. The ideas below are the ones I wish I had tried first.
These ideas are for people who want an arm tattoo that reads like personal jewelry, not a temporary trend. Most are beginner-friendly in cost and session time, and they work across coverable inner forearms to more visible outer placements. I pulled these from designs I sketched and from conversations across five shops I have visited, so you get what I learned about sizing, line weight, and aftercare.
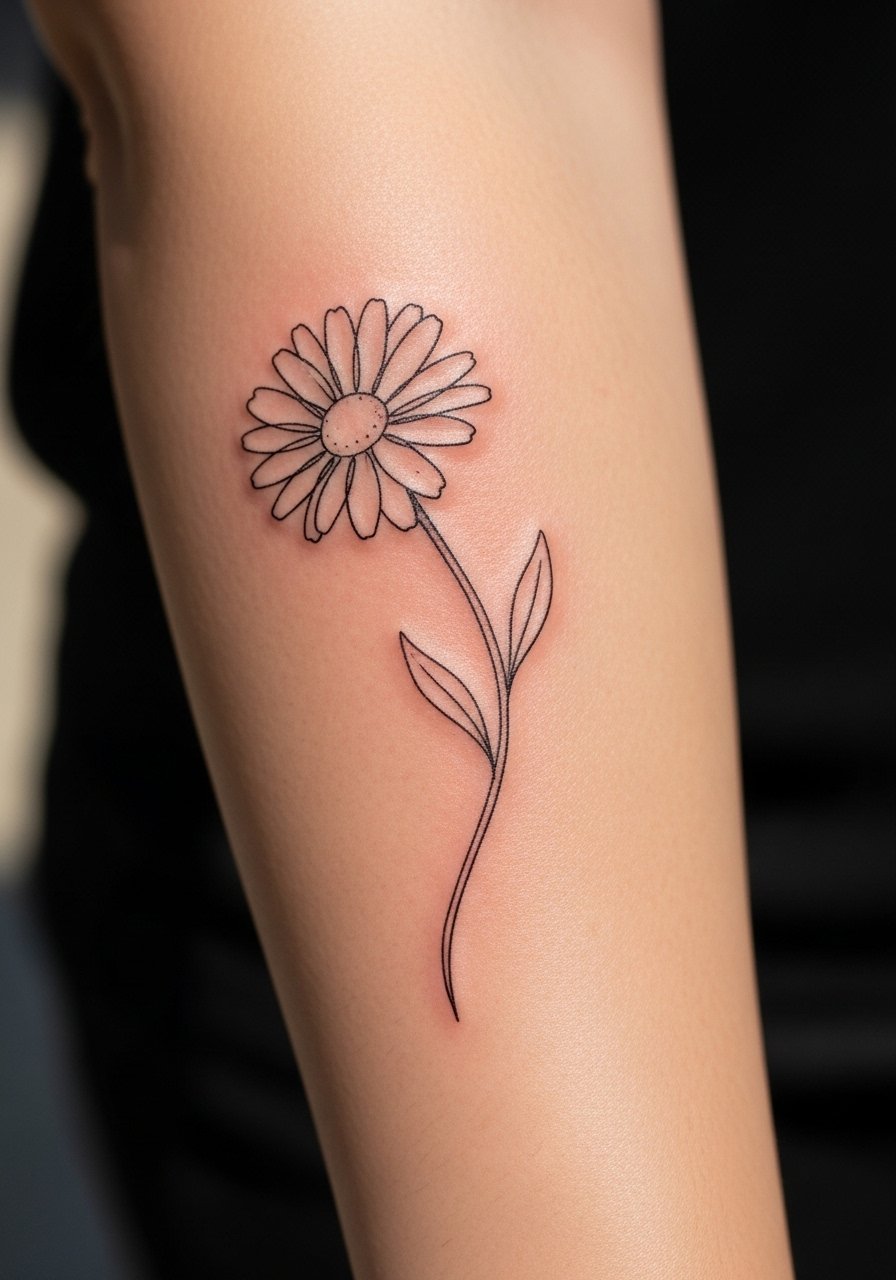
1. Single Daisy on Outer Forearm
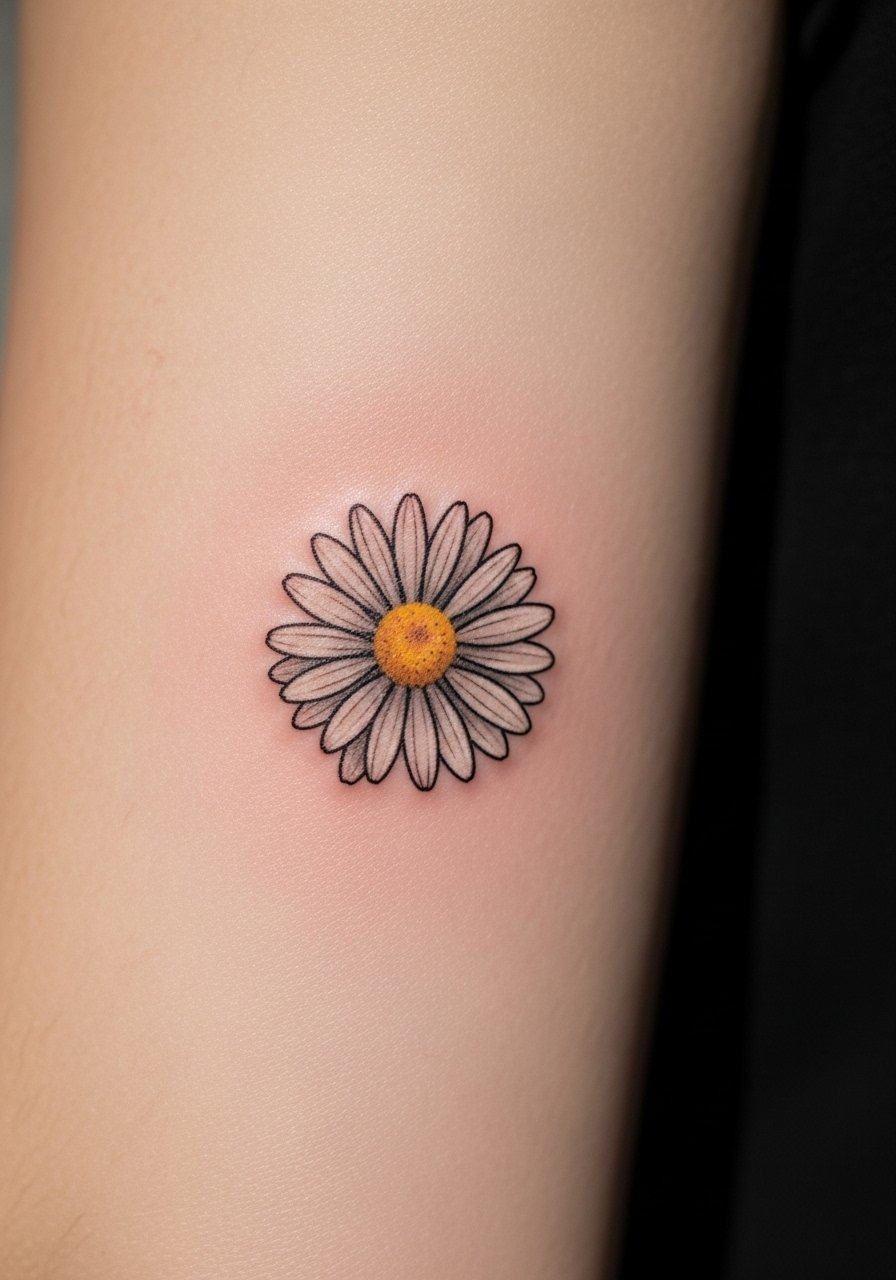
A single daisy sits best about 1.5 to 2.2 centimeters across on the outer forearm, so petals keep shape over time. Visually it reads like a small charm and is easy to cover with long sleeves at work. This style fits someone who wants low maintenance and low pain, one short session. Bring a stencil and use a fragrance-free aftercare option while healing. I often ask artists to use 0.3 millimeter line weight on stems with light dot shading at 10 to 15 percent density for longevity. Try a fragrance-free tattoo ointment during the first week.
Mistake to Avoid: Choosing a daisy head smaller than 1.2 centimeters, which will blur faster.
Style/Technique: Minimal Linework
Pain Level: 3/10
Session Time: 30 minutes to 1 hour
Best For: Outer forearm, first-timers
2. Sweet Pea Vine That Wraps the Wrist

A thin sweet pea vine that wraps around the wrist uses motion for effect. Make the vine length about 12 to 15 centimeters so leaves breathe and the design does not look crowded when your wrist bends. This creates a soft, wearable feel, and suits people who want something visible but delicate. Ask for slightly thicker outlines on outer edges so the design does not dissipate with time. Pack a tattoo aftercare soap for gentle cleaning while it heals.
Mistake to Avoid: Letting the artist keep all lines ultra-fine, which can fade on high-motion areas.
Style/Technique: Fine-Line Botanical
Pain Level: 4/10
Session Time: 45 minutes to 1.5 hours
Best For: Wrist and lower forearm, visible but subtle
3. Daisy Chain Band, Negative Space
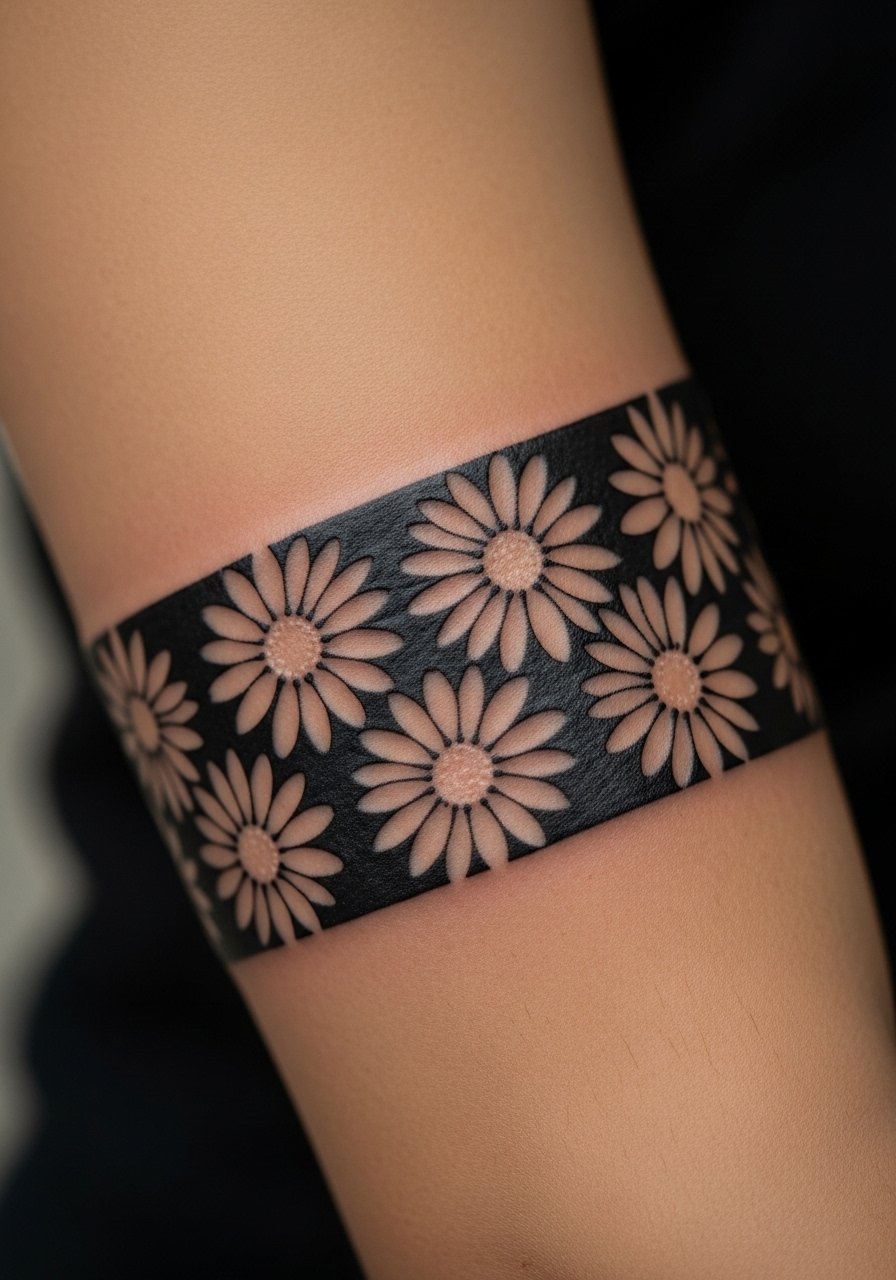
A negative-space band uses skin as petal highlights. Place each daisy about 2 centimeters apart so the chain reads at a glance. This works for someone who wants a ring-like look on the arm without ink covering the entire band. It ages cleanly because negative space avoids heavy saturation. If you want an at-home preview, trace your wrist and mark 10 small circles spaced evenly to mimic the scale. Consider a transfer stencil paper to fine-tune spacing.
Mistake to Avoid: Crowding daisies too tightly, which blurs into a solid line.
Style/Technique: Negative Space Band
Pain Level: 3/10
Session Time: 45 minutes to 1 hour
Best For: Mid-forearm band, coverable with sleeves
4. Watercolor Daisy Splash
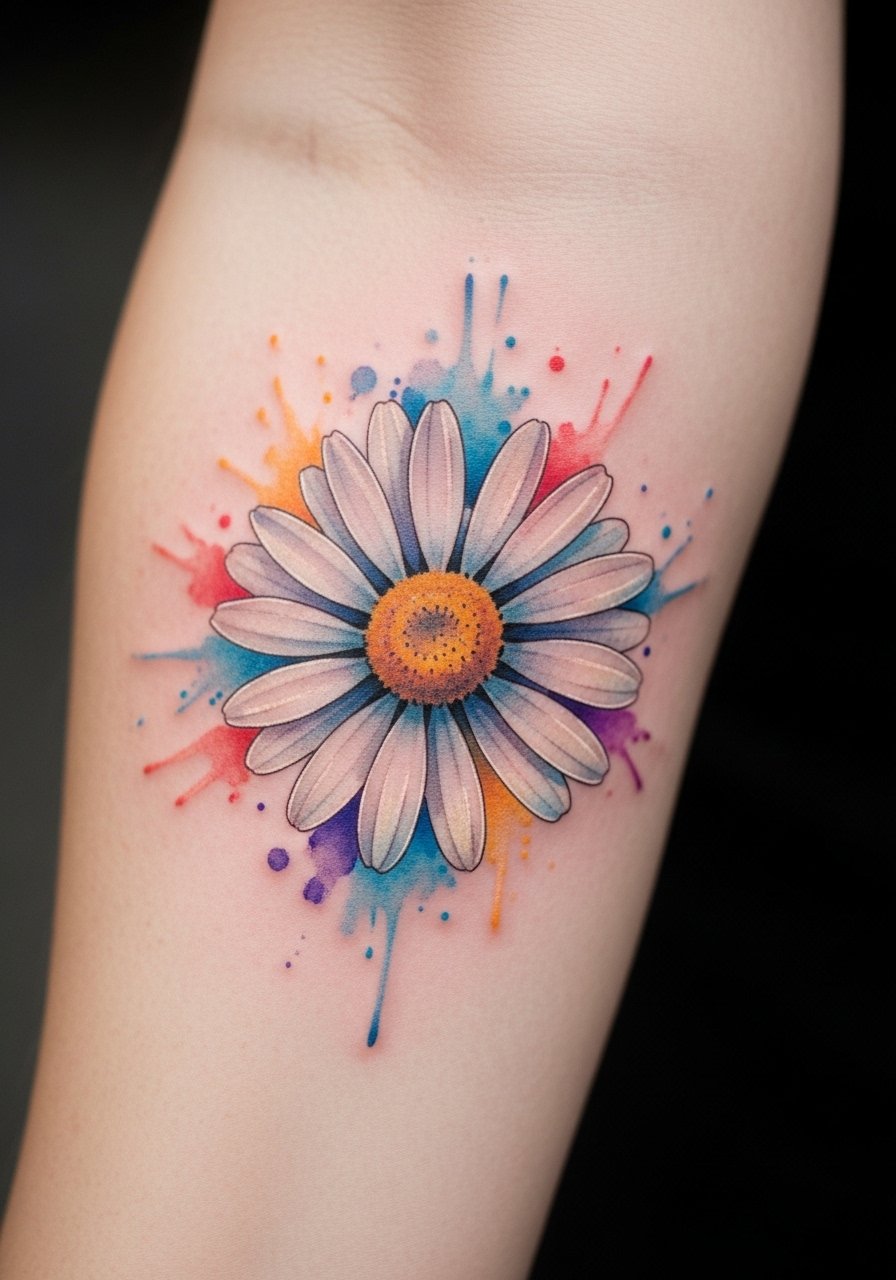
Watercolor daisy tattoos use soft color bleeds behind a strong outline. The trick is to keep the watercolor area slightly smaller than the outer line so the color looks like a soft shadow rather than an uncontained stain. This idea gives you that painterly vibe without heavy color packing, so touchups may be needed after a year or two. Choose a black outline of medium thickness and a vegan black tattoo ink set for cooler aging.
Mistake to Avoid: Allowing color to be packed right to the edge of thin outlines, which muddies the design.
Style/Technique: Watercolor with Outline
Pain Level: 4/10
Session Time: 1 to 2 hours
Best For: Inner forearm, artistic looks
5. Micro Realism Daisy Petal Detail
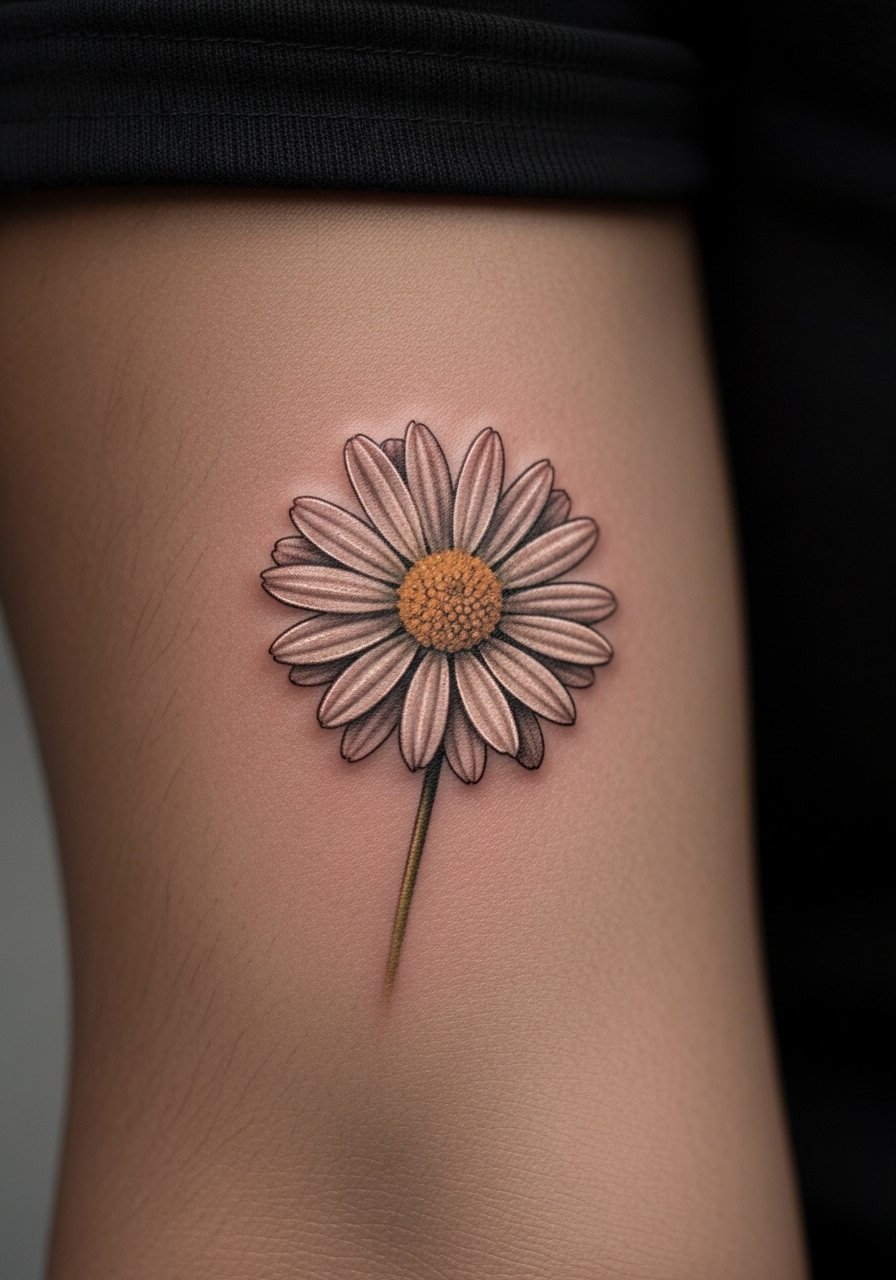
Micro realism focuses on tiny petal veins and a shaded center. For this to translate on an arm, keep the daisy head between 2 and 3 centimeters, and ask for micro stippling instead of solid fill in the center. The result reads textured in photos and in person, ideal for someone who wants detailed work without a big commitment. Since this is detail-heavy, plan for a skilled artist and a slightly longer session. Pack a sensitive-skin healing balm to soothe the area.
Mistake to Avoid: Requesting a 1 cm micro realism piece, which loses all fine detail quickly.
Style/Technique: Micro Realism
Pain Level: 5/10
Session Time: 1.5 to 2.5 hours
Best For: Upper forearm, detail-oriented collectors
6. Single-Line Continuous Daisy, Flowing with Muscles
A continuous single-line daisy uses one unbroken line to form petals and stem. It looks elegant when the line follows muscle curves, so placement matters. Ask your artist to map the line over your arm while you flex so the flow feels intentional. This style suits someone who likes modern minimalism and low session time. Use a hypoallergenic bandage after the first day if you need light protection.
Mistake to Avoid: Placing the continuous line across a joint where stretching will distort the flow.
Style/Technique: Continuous Line
Pain Level: 3/10
Session Time: 30 minutes to 1 hour
Best For: Inner forearm, minimalist tastes
7. Vintage Botanical Illustration Daisy

An engraved vintage style uses cross-hatching and layered linework to mimic an old botanical print. Scale this at 3 to 4 centimeters to keep hatch marks visible. It creates a timeless look that reads like a small plate illustration on your skin. This suits someone who values classic aesthetics and plans for occasional touchups to maintain crisp hatching. Bring a photo reference and consider asking the artist to use lines no thinner than 0.35 millimeters for better longevity. I recommend a black fine-line needle set for the technique.
Mistake to Avoid: Picking a tiny size that loses hatch detail and reads as a gray blotch.
Style/Technique: Engraved Botanical
Pain Level: 5/10
Session Time: 1 to 2 hours
Best For: Outer forearm, classic collectors
If any of these ideas have you ready to shop before booking time, here are the items I reach for most.
Arm Tattoo Aftercare Picks
Aftercare Essentials:
- Fragrance-free tattoo ointment (~$8-18). Gentle and keeps scabs supple, especially in the first 72 hours.
- Tattoo aftercare soap (~$7-15). Mild, non-scented cleanser for twice-daily washes.
- Sensitive-skin healing balm (~$10-20). Use after the first wash to lock moisture.
Tools & Prep:
- Transfer stencil paper (~$8-15). Test placement at home before the appointment.
- Hypoallergenic bandages (~$6-12). For sleeping or if you need short-term coverage.
- Tattoo sunscreen (~$10-18). Protect healed work from UV fade.
Extras:
- Black fine-line needle set (~$12-25). If you are commissioning custom work from a private artist who sources parts.
- Disposable razors for prep (~$5-10). Trim only, do not shave aggressively before your appointment.
8. Calendar Date with Daisy Accent
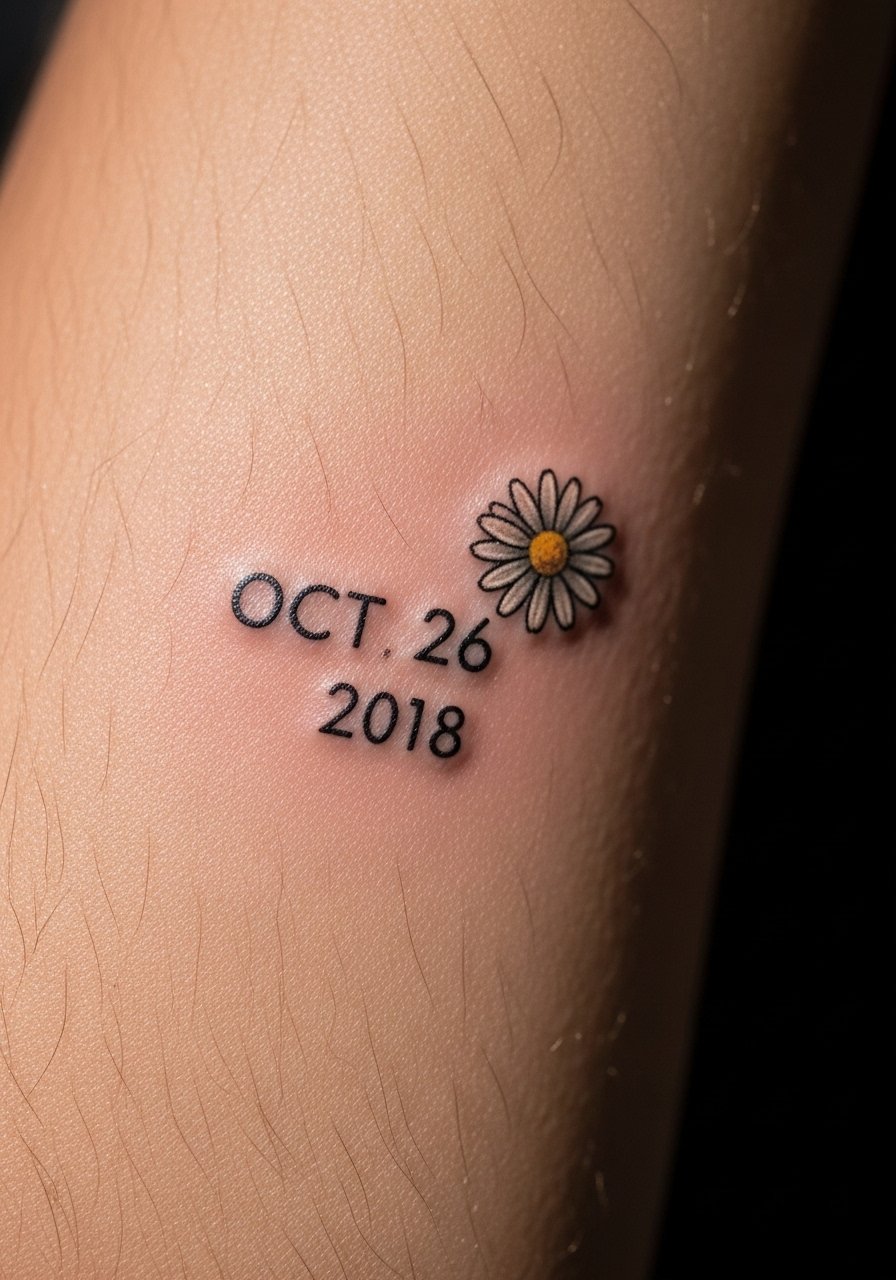
A tiny date with a daisy accent combines meaning and motif. Keep numerals thin and the daisy head about 1.7 centimeters to balance legibility and charm. This idea solves the "I want personal meaning but not a full portrait" problem, and it is simple for cover at interviews. If you want to include a loved one’s name, keep script minimal so it ages with less blur. Use a fragrance-free tattoo ointment for the first week.
Mistake to Avoid: Picking ornate script that becomes unreadable after slight fading.
Style/Technique: Minimal Date with Accent
Pain Level: 2/10
Session Time: 20 to 45 minutes
Best For: Inner forearm, commemorative pieces
9. Bold Silhouette Daisy for Upper Arm
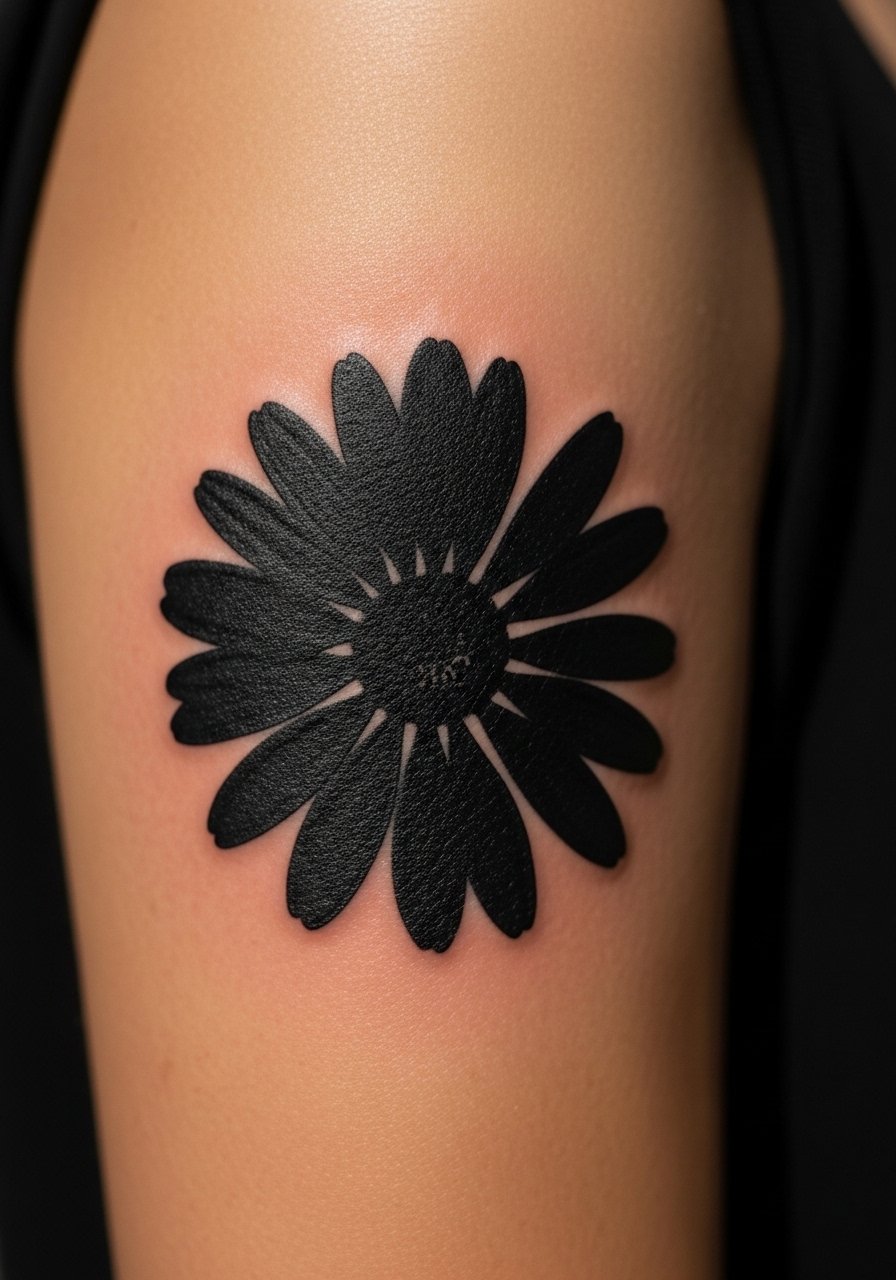
A solid silhouette daisy uses clean black shapes rather than lines and is great for people worried about fine-line fading. Make the silhouette 4 to 6 centimeters if you want a clear graphic read. This choice suits someone who wants a statement that still breathes on the arm. Solid black ages predictably and can be retouched easily. Consider a black vegan tattoo ink for crisp coverage.
Mistake to Avoid: Choosing a silhouette too small, which looks like a smudge from a distance.
Style/Technique: Graphic Silhouette
Pain Level: 4/10
Session Time: 1 to 2 hours
Best For: Outer upper arm, bold looks
10. Crescent Moon Cradling a Sweet Pea
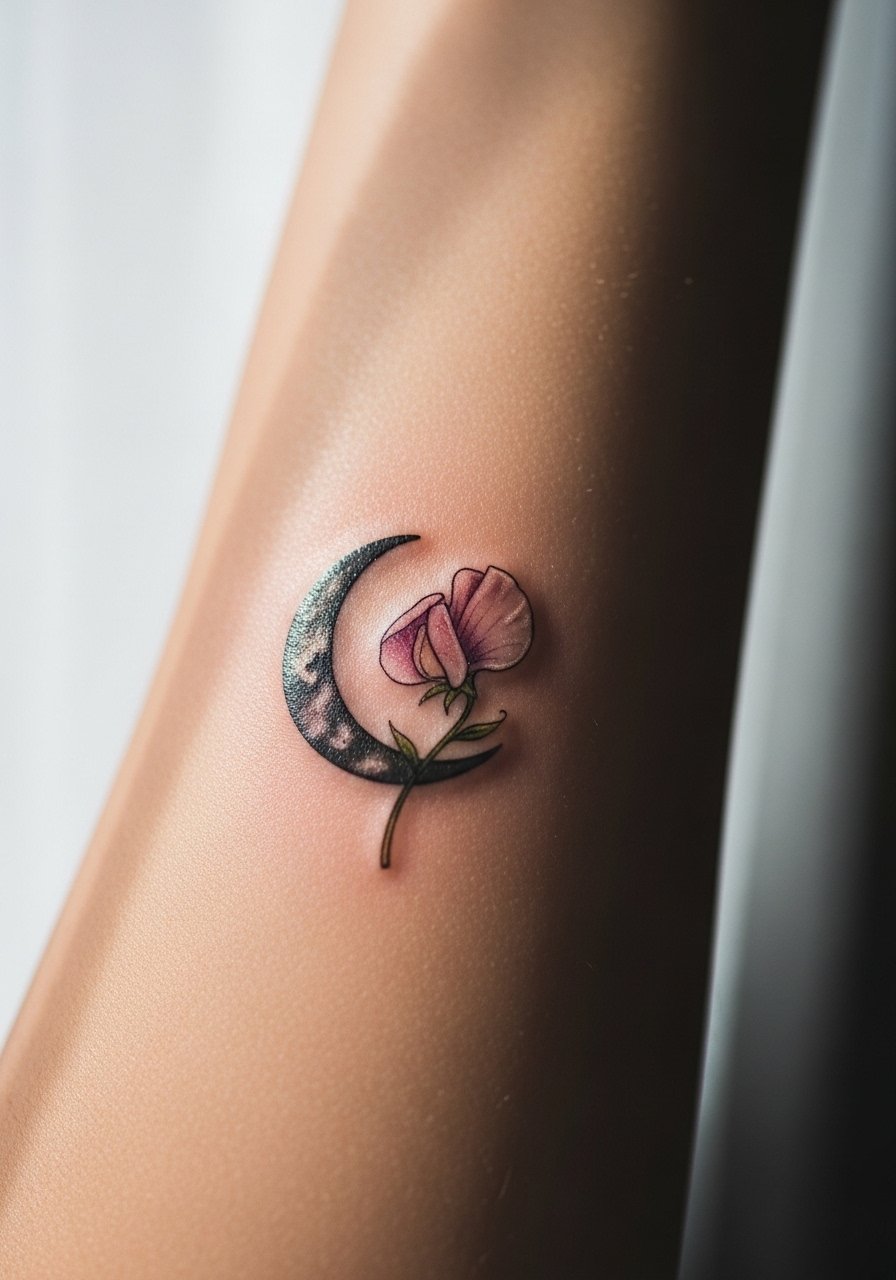
Pairing a crescent moon with a small sweet pea creates a poetic composition. Place the moon curve so it frames the flower rather than overlaps it. This solves the "I want symbolism with florals" frustration while keeping a compact footprint. The composition reads well in photos and fits people who prefer symbolic, slightly mystical motifs. Pack a tattoo sunscreen for after healing.
Mistake to Avoid: Overlapping the moon and flower too tightly, which flattens the composition.
Style/Technique: Small Symbolic Composition
Pain Level: 3/10
Session Time: 30 minutes to 1 hour
Best For: Inner forearm, symbolic pieces
11. Geometric Daisy Mandala Accent

A geometric mandala nods to daisies through petal repetition inside a circle. Keep the mandala 3 to 5 centimeters to preserve radial symmetry. This idea appeals to people who like balance and pattern rather than literal flowers. Ask for thicker outer rings to protect the mandala from early softening. Consider a medical-grade surgical tape if you need to protect the area during active days.
Mistake to Avoid: Making the mandala too small, which loses symmetry and becomes a blur.
Style/Technique: Geometric Mandala
Pain Level: 4/10
Session Time: 1 to 2 hours
Best For: Mid-forearm, pattern lovers
12. Daisy Outline Paired with Script Name

Pairing a simple daisy outline with a small script name balances imagery and text. Keep the script short and the daisy about 1.8 to 2 centimeters. This works well for commemorative tattoos or initials and keeps the overall piece tidy. Opt for a bracketed placement so the text does not sit on a high-motion area like the inner wrist. Use a sensitive-skin healing balm during the peeled phase.
Mistake to Avoid: Placing script across a fold where letters will stretch and blur.
Style/Technique: Script plus Outline
Pain Level: 3/10
Session Time: 30 minutes to 1 hour
Best For: Inner forearm, commemorative work
13. Sleeve-Friendly Sweet Pea Bouquet
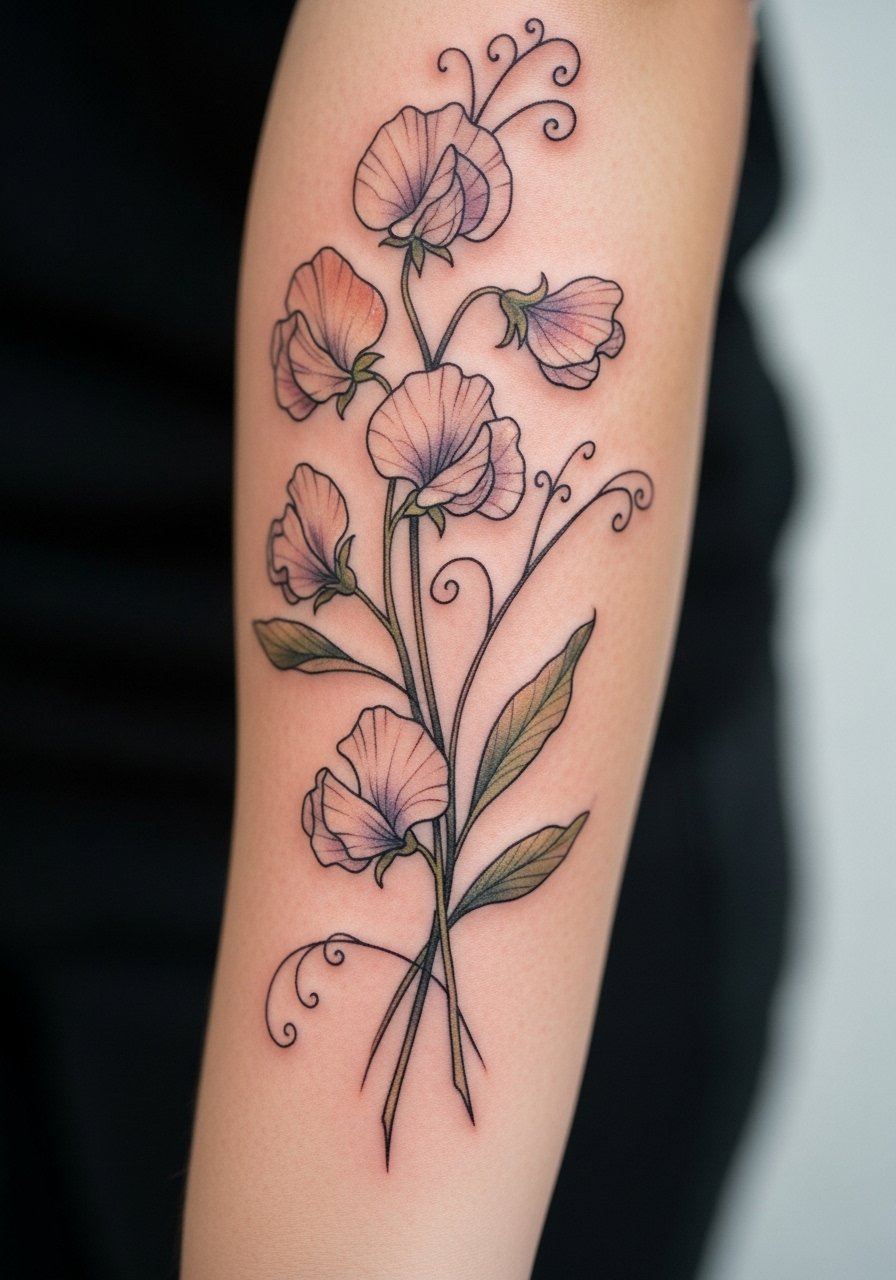
A bouquet built to scale for sleeve work begins with a base cluster about 6 to 8 centimeters wide and trailing elements spaced 2 to 3 centimeters apart. This lets you expand into a half or full sleeve later without redoing core elements. It suits someone planning future work and who wants a cohesive botanical flow that ages well. Discuss future color plans with your artist and use a fragrance-free tattoo ointment for longer sessions.
Mistake to Avoid: Starting a sleeve with elements too tiny to integrate with future pieces.
Style/Technique: Sleeve-Ready Bouquet
Pain Level: 6/10
Session Time: 2 to 5 hours per session
Best For: Forearm to sleeve, future expansion
Arm Tattoo Care Shortcuts
Thin coats beat one thick coat every time. After washing, apply three thin layers of fragrance-free tattoo ointment instead of one heavy smear to avoid clogged pores during healing.
Grab transfer stencil paper so you can tape a mock placement on your arm at home. Seeing the scale on your skin avoids awkward half-inch shifts at appointment time.
If most people pick placements over joints, they regret it later because movement softens lines. Ask an artist to map designs while you flex, then bring a hypoallergenic bandage for the first night if the area rubs during sleep.
Start with black-only outlines for small botanicals. Black ages more predictably and is easier to touch up than faded color. Keep a small tube of tattoo aftercare soap on hand to gently clean during the first two weeks.
If you plan a sleeve later, size the first pieces at 3 to 6 centimeters so they can be joined. A small black fine-line needle set helps artists keep consistent line weight across sessions.
