
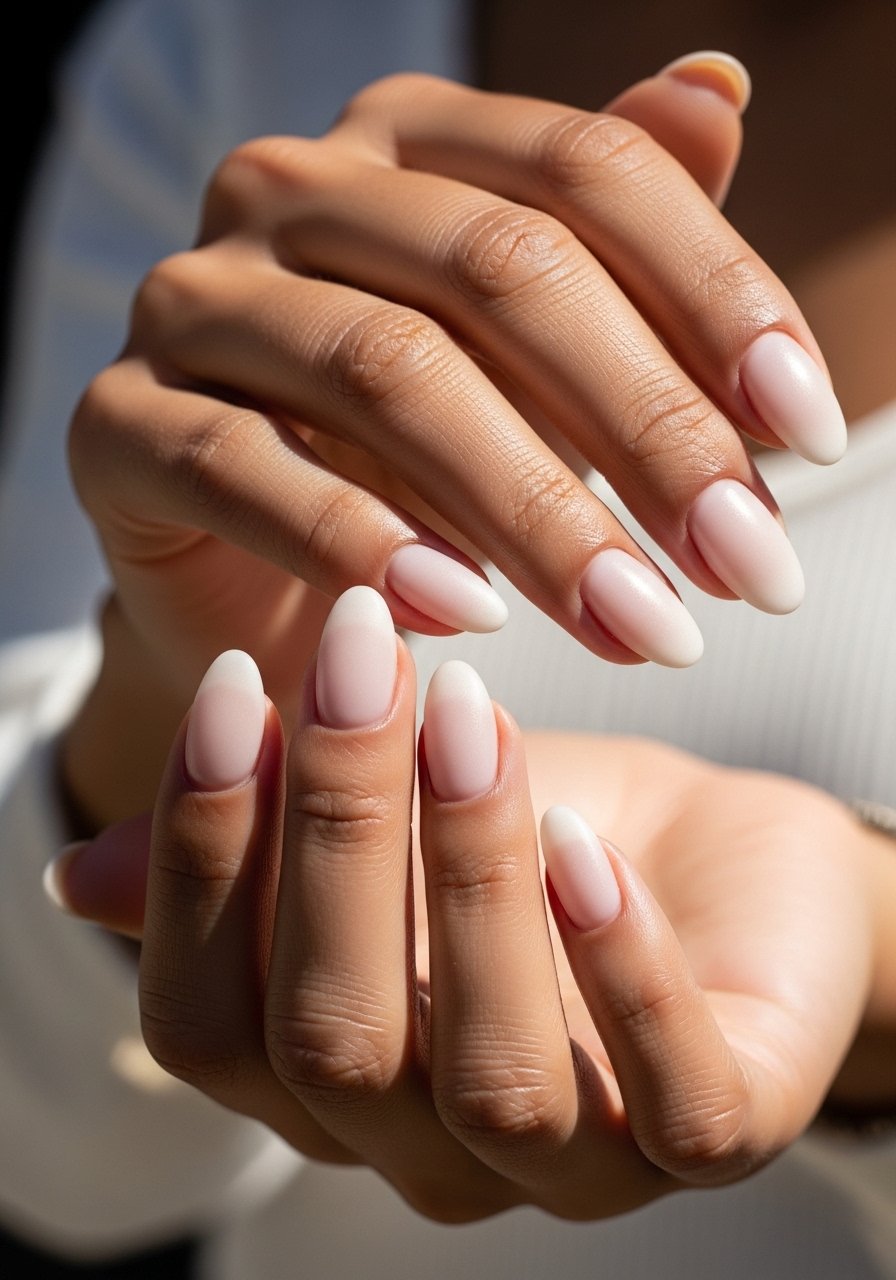
I kept filing my almond tips too pointy, thinking sharp equals chic, until one manicure split on the subway and I accepted that rounded is the whole point. The day I reshaped one hand to a soft almond, the polish sat smoother and chips slowed. I learned to stop forcing length and work with the natural nail crown, which is the secret most people skip when trying almond looks at home.
These eleven ideas are simple, achievable at home, and mostly beginner friendly. Expect short sessions, $10 to $35 per key product, and a bit of patience for thin coats. I tested variations across short and medium lengths and a tech who works at a salon downtown showed me one quick shaping shortcut that I kept. If you want low-fuss almond looks that last a week or more, these are the ones to try.
1. Soft Nude Almond With Gold Flakes
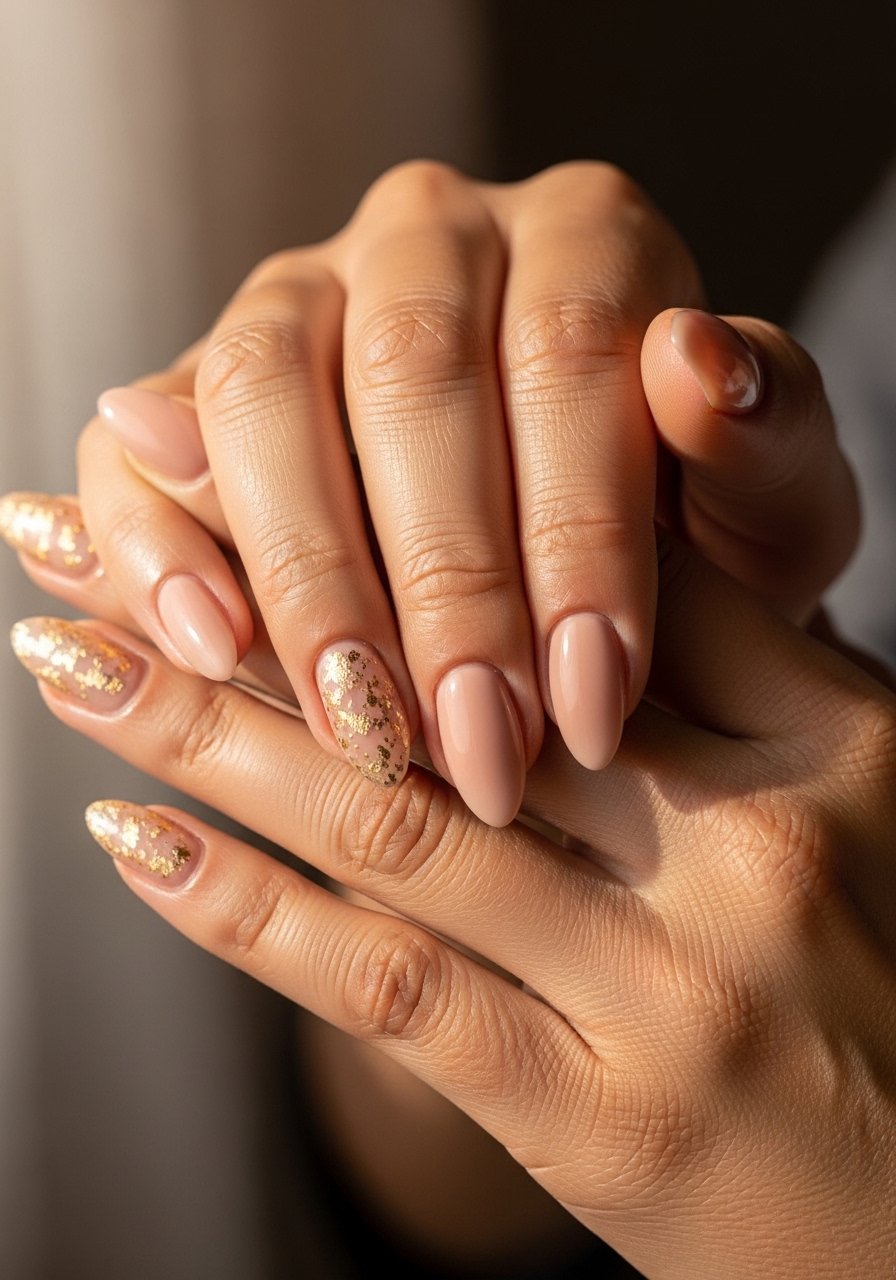
Start with two thin coats of a warm nude, waiting 45 seconds between layers so they level instead of pooling. Add tiny irregular gold foil near the cuticle on one or two nails, pressing the foil down with a gentle fingertip and sealing with a glossy top coat. Visually it reads elevated but still wearable, the kind of mani that dresses up jeans. Fits medium-length nails, beginner friendly, and takes about 25 minutes total.
Style/Vibe: Subtle luxe
Best For: Medium length, office to weekend
Skill: Beginner
Mistake to Avoid: Rushing foil placement so it overlaps the cuticle and peels off.
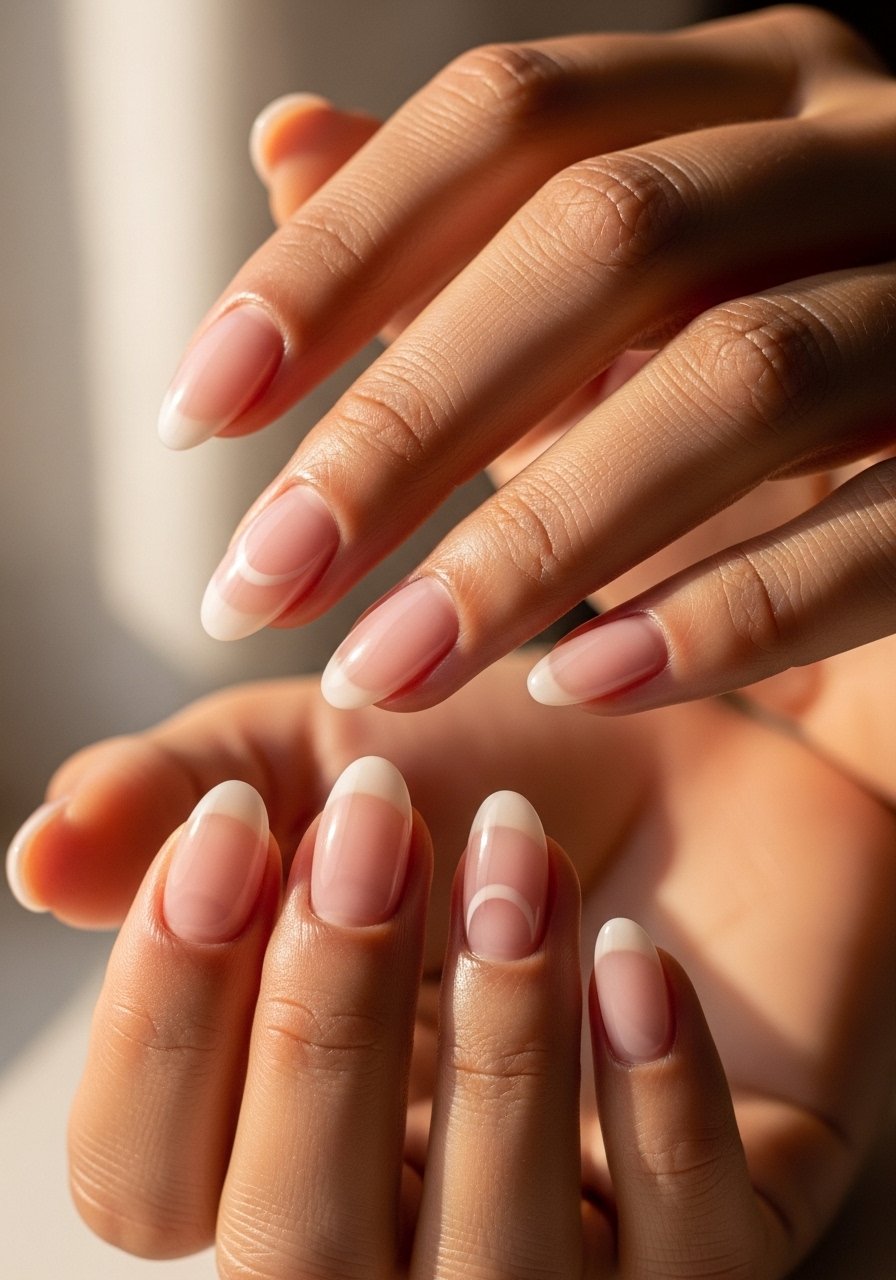
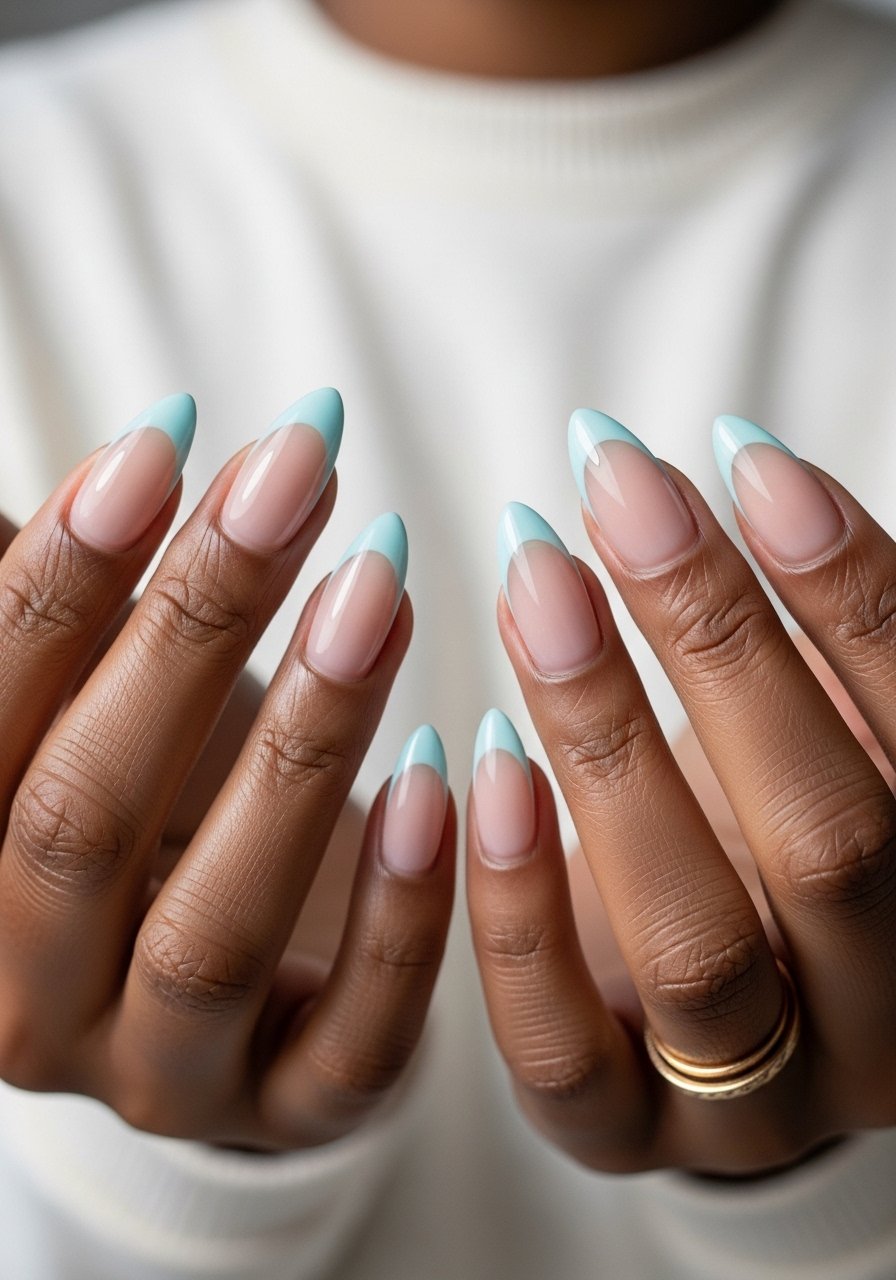
2. Short Almond French Tip
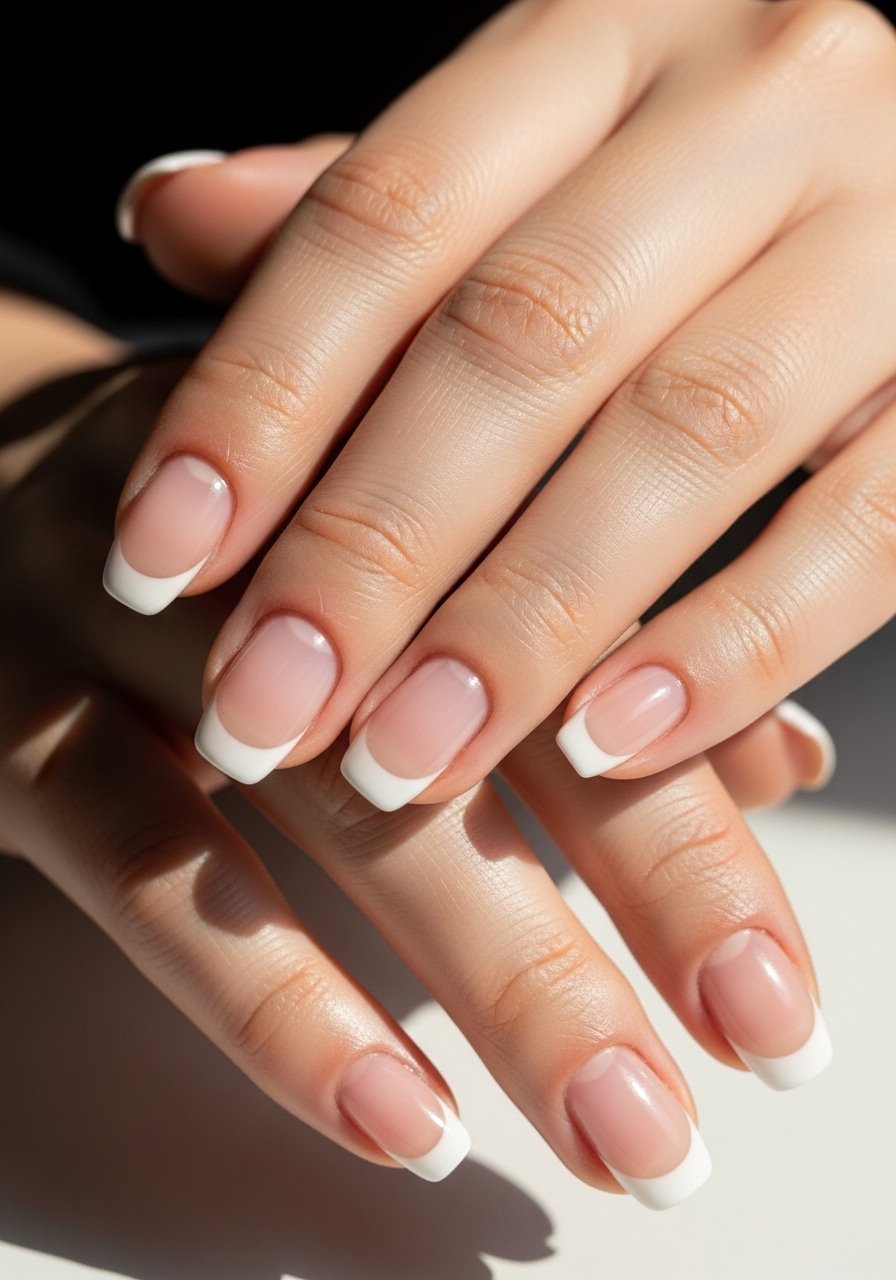
The trick is a thin translucent base and a careful 2 mm white tip, not a wide band. Use a small flat brush and paint the tip in one steady stroke, then clean the line with a tiny amount of acetone on a brush. This makes short nails look elongated without needing extra length. Budget friendly and quick, you can finish in 20 minutes with regular polish or 15 minutes with gel cured 30 seconds per side under an LED lamp.
Style/Vibe: Clean classic
Best For: Short nails, neat everyday wear
Skill: Beginner
Mistake to Avoid: Painting the white tip too thick, which makes nails look shorter.
3. Sheer Pink Stain Finish
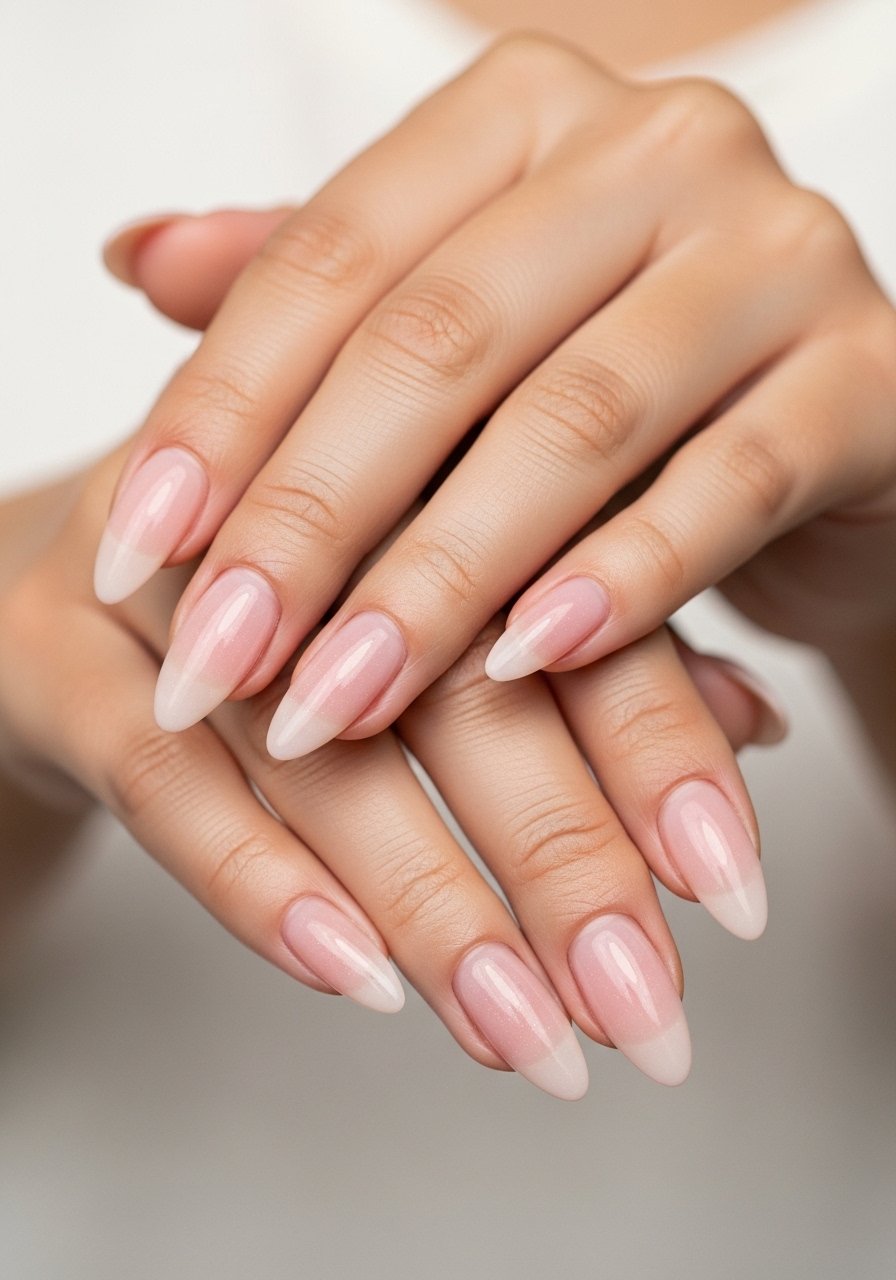
Think of this as tinted glass for nails. Two translucent layers of stain polish in a 1:1 ratio of pigment to clear base gives that soaked-in effect. The result reads natural and bright without obvious polish lines. It is perfect for weddings or when you want color but not drama. Use a non-yellowing top coat to keep the pink true and expect about 30 minutes total including dry time between thin coats.
Style/Vibe: Fresh natural
Best For: Long nails, formal and casual
Skill: Beginner
Mistake to Avoid: Applying one thick coat that streaks instead of two thin even layers.
4. Single-Stripe Metallic Accent

A single narrow stripe creates a modern focal point. Use a straight-edge striping brush and metallic polish, aim for 0.5 mm width, and steady your hand by resting your pinky on the table. This is low-material and high-impact, great for someone who wants a detail without full nail art. Pairs well with matte or gloss backgrounds and takes under 10 minutes once you have a steady line technique.
Style/Vibe: Minimal modern
Best For: Medium length, statement without fuss
Skill: Intermediate
Mistake to Avoid: Wobbling the brush by holding it too high off the table.
5. Matte Velvet Almond
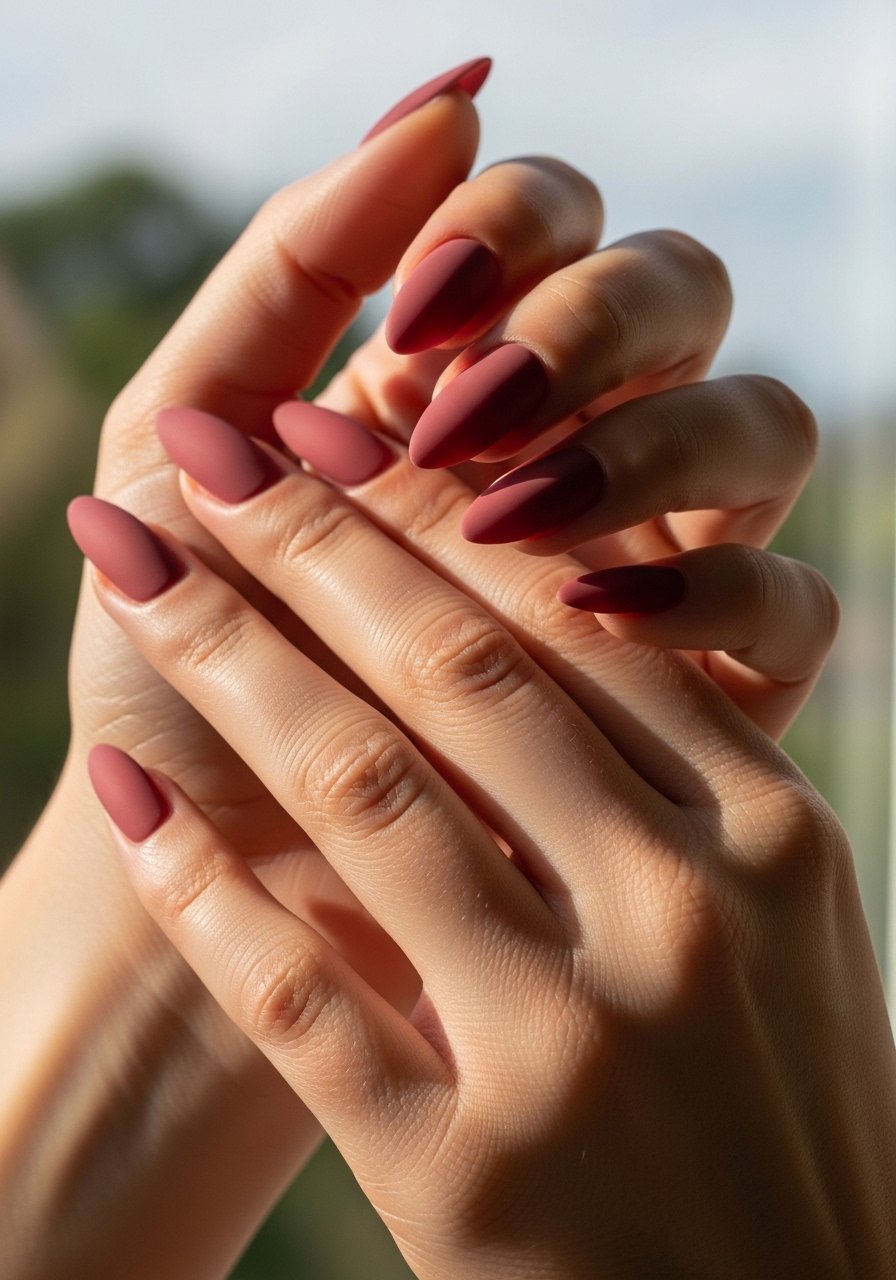
Matte converts any polish into a soft, lived-in finish. Apply two thin color coats, cure or dry fully, then swipe one even coat of matte top coat. For a velvet look, buff the top coat slightly after it dries with a soft buffing pad, 5 to 8 gentle passes, and re-seal the edge with a thin gloss layer if you want tip protection. This is great for colder months and pairs with rings or leather jackets.
Style/Vibe: Soft edge
Best For: Long nails, fall to winter wear
Skill: Beginner
Mistake to Avoid: Rubbing matte while it is tacky and leaving shiny streaks.
6. Nude Ombre Almond
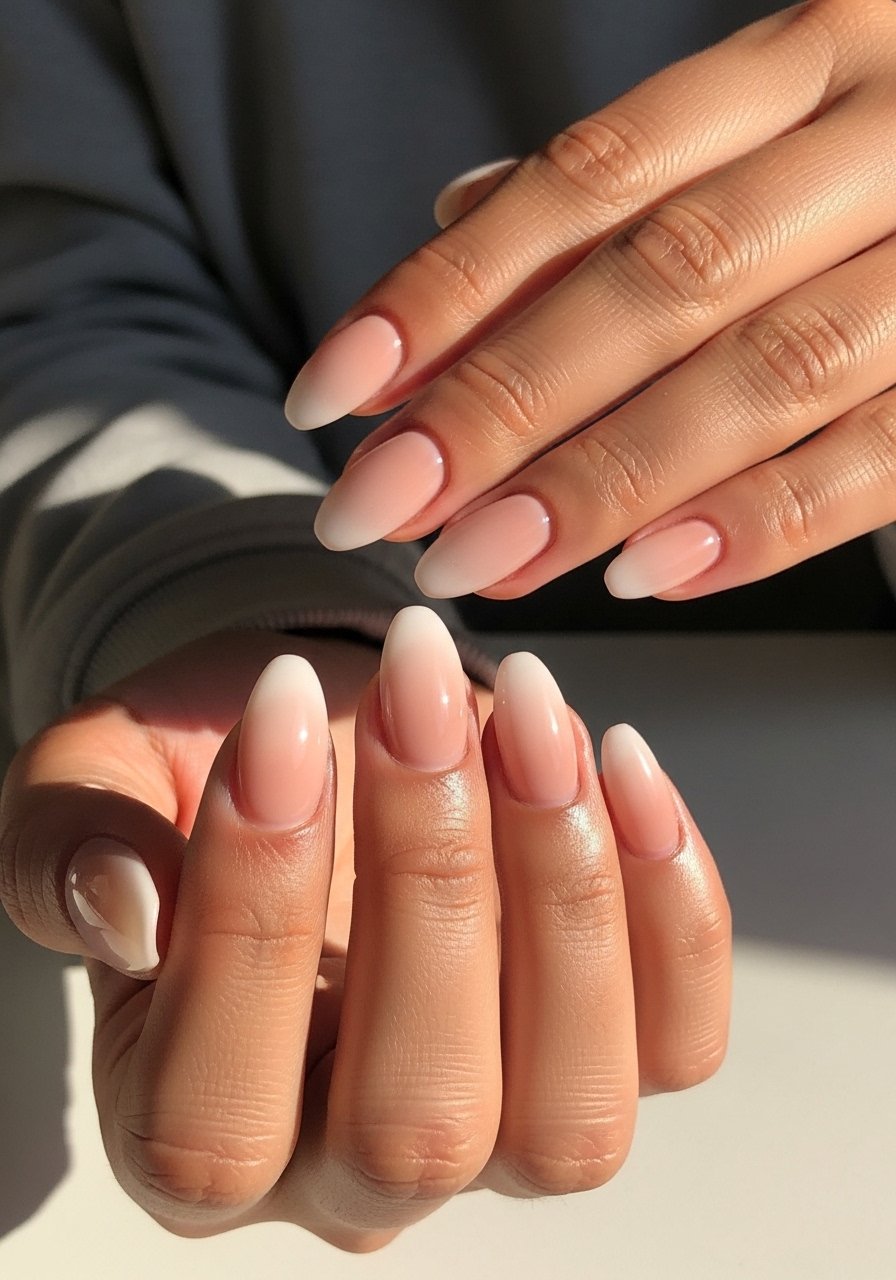
Use a small sponge to dab two thin gradients, blending color A to color B with 3 to 4 quick taps until seamless. Keep polish dilution light by wiping the sponge between taps so colors layer without becoming gloopy. This gradient creates length and a soft transition that still reads natural, making it ideal for people who want more interest without patterns. Allow at least 60 seconds between sponge layers to avoid dragging.
Style/Vibe: Soft gradient
Best For: Medium length, polished casual
Skill: Intermediate
Mistake to Avoid: Overloading the sponge so the ombre looks blotchy.
7. Negative Space Minimal Almond
Negative space keeps the almond shape front and center. Paint a sheer color while leaving a curved crescent at the cuticle bare. Use a 2 mm sticker guide if you need help keeping that curve even. It reads modern and light on the nails, perfect for short lengths or when you want a low-maintenance look that chips less obviously. Prep with a thin ridge-filling base so the bare crescent stays smooth.
Style/Vibe: Graphic subtle
Best For: Short nails, low-maintenance looks
Skill: Beginner
Mistake to Avoid: Skipping base smoothing which makes the negative space look uneven.
If any of these ideas have you ready to try something, here are the products I actually reach for.
Almond Mani Essentials
Tools:
- nail file (~$4-10). A 180/240 file balances shaping and smoothing.
- cuticle pusher (~$6-12). Metal for control, use gently.
Polish & Finishes:
- peel-off base coat (~$8-15). Handy for glitters and foils.
- matte top coat (~$7-13). One coat after color for that velvet look.
- quick-dry top coat (~$6-14). Thin layers help prevent smudging.
Extras:
- gold nail foil (~$5-12) for accents.
- thin striping brush (~$4-9) for metallic lines.
8. Sport-Proof Satin Almond
If you use your hands a lot, satin finish plus a strong top coat is your friend. Apply two color coats, cure or air dry fully, then apply a layer of a durable satin top coat. For extra protection, wrap the tip with a final thin edge of top coat. This combo resists chips from typing or gym grips and reads neat without glossy flash. Skill level is beginner and total time is about 25 minutes.
Style/Vibe: Durable satin
Best For: Short nails, active lifestyles
Skill: Beginner
Mistake to Avoid: Skipping the tip-wrap that seals edges and prevents early chipping.
9. Tiny Floral Accent On One Nail
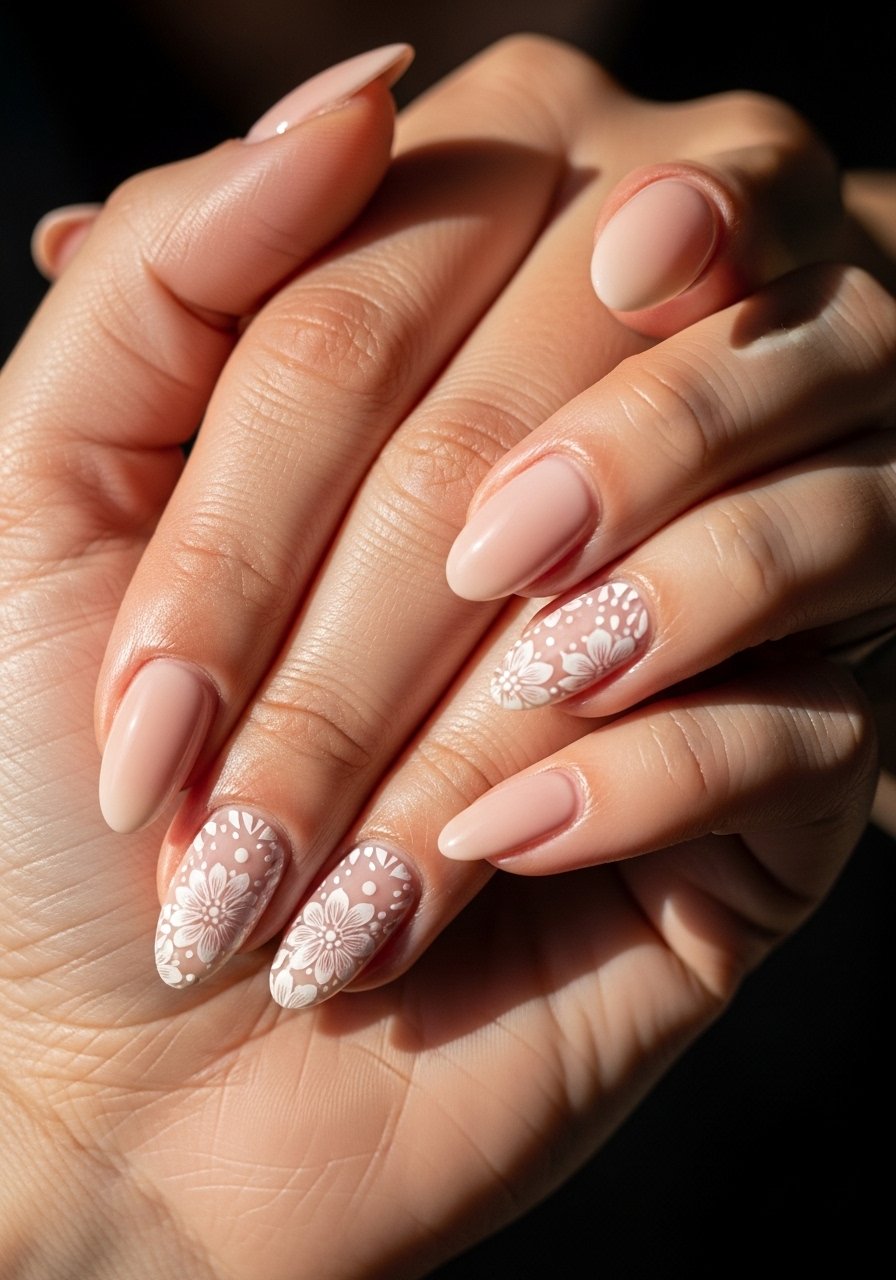
A small floral on one nail feels intentional, not busy. Use micro decals or a dotting tool to place five tiny petals about 2 to 3 mm in diameter. Keep the rest of the hand a muted color to let the floral read crisp. It is a gentle way to add personality and is easy for beginners using stickers. Seal with two thin top coat layers so the decal does not lift.
Style/Vibe: Petite charm
Best For: Medium length, casual wear
Skill: Beginner
Mistake to Avoid: Leaving air under the decal which causes it to peel.
10. Two-Tone Gloss Tip
Split the tip into two colors by painting a diagonal or curved line across the tip, keeping each color in a thin coat. The contrast creates modern geometry while still being wearable. Use tape for crisp lines if freehand is shaky. This look is friendly to medium length nails and works well with a quick-dry top coat cured or air-dried for durability.
Style/Vibe: Graphic gloss
Best For: Medium length, playful styling
Skill: Intermediate
Mistake to Avoid: Applying too much polish at once which causes color bleed between sections.
11. Clear Gel With Micro-Glitter
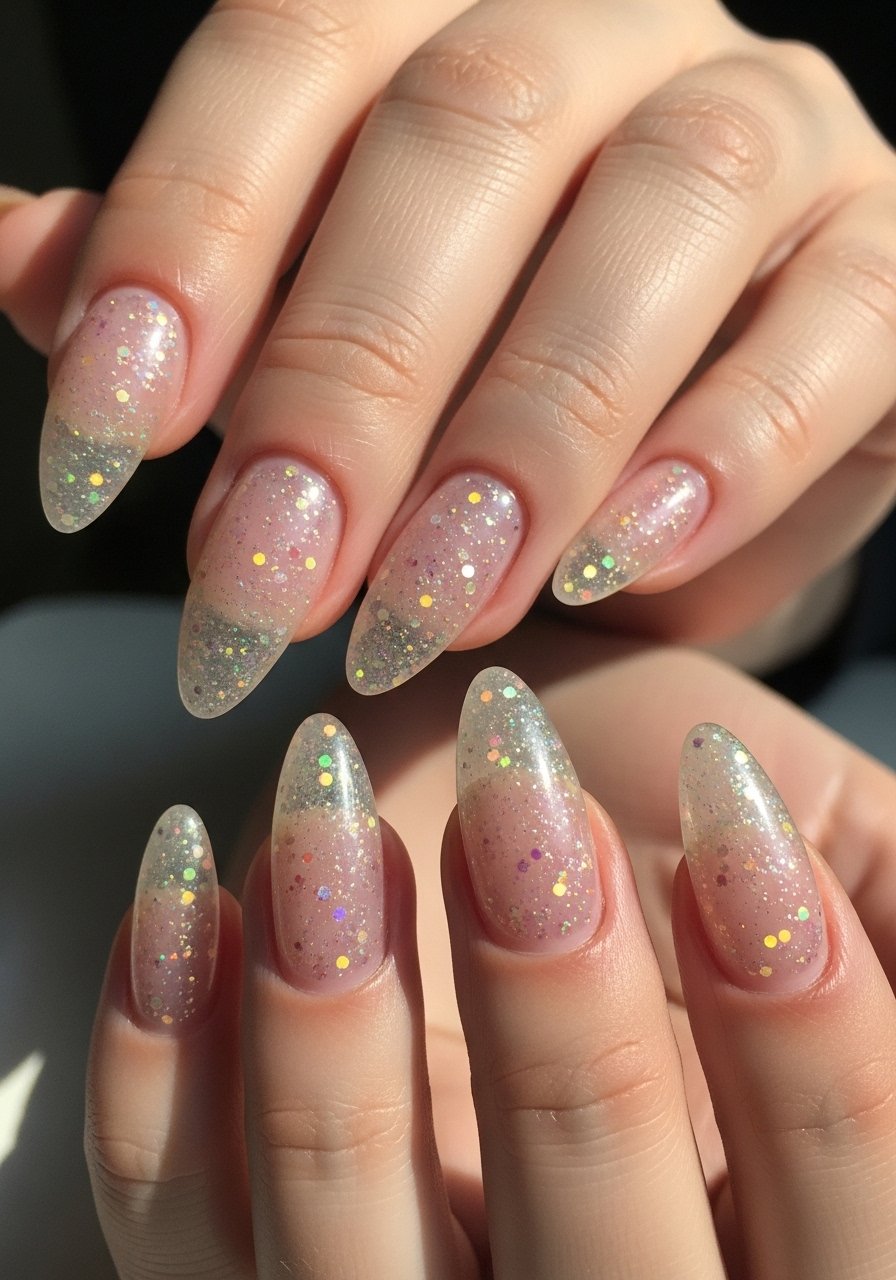
Use a clear builder gel to extend a tiny bit of length or reinforce the natural nail, then sprinkle micro-glitter into the uncured gel and LED cure 30 seconds. The result is glassy, light-catching, and surprisingly low maintenance. It feels light because the glitter is fine and embedded, not layered on. This requires a basic LED lamp and a gentle file to shape after curing, so plan for one salon-style session or a 40-minute at-home session.
Style/Vibe: Subtle sparkle
Best For: Long nails, special events or subtle glam
Skill: Intermediate
Mistake to Avoid: Overloading glitter so the surface becomes rough and needs excessive buffing.
At-Home Almond Finishing Tricks
Thin coats beat one thick coat every time. Three thin layers of quick-dry top coat look smoother and last longer than one gloopy layer.
Grab cuticle oil for daily use. Rubbing in a drop each night keeps the surrounding skin soft and makes polishes sit cleaner at the base.
If you are shaping almonds at home, file in one direction with a 180 grit file. A 180 grit nail file prevents tiny fractures and helps keep a smooth curve.
Curled or lifted foil almost always means the base coat was still tacky. Use a peel-off base coat under foils when you want the option of easy removal.
Most people push cuticles too hard. Use a soft cuticle pusher gently and stop when you feel resistance to avoid thinning the nail bed.
