
I used to stare at my closet and feel stuck, like everything needed a little something but I did not know what. After playing with belts, mixing metals, and clipping scarves where they were never meant to live, I learned that accessorizing is less about rules and more about one clear decision: pick an anchor and build around how it makes you feel. That shifted outfits from bland to confident fast.
A few simple tricks cover weekend coffee runs, weekday meetings, and random date nights without breaking the bank. This guide focuses on mixing scale, color, and texture so accessories read intentional, not accidental. I’ll share quick hacks I picked up testing 100 outfits over two seasons, plus practical product picks that helped me feel put-together in under five minutes.
What You'll Need
Clothing Basics:
- white-tee (~$10-30)
- tailored-blazer (~$40-120)
Layering Pieces:
- lightweight-scarf (~$12-40)
- classic-belt (~$15-50)
Accessories:
- gold-hoop-earrings (~$8-30)
- layered-necklace-set (~$12-45)
- ankle-boots (~$40-150)
- statement-sunglasses (~$20-100)
Step 1: Choose one anchor piece and commit
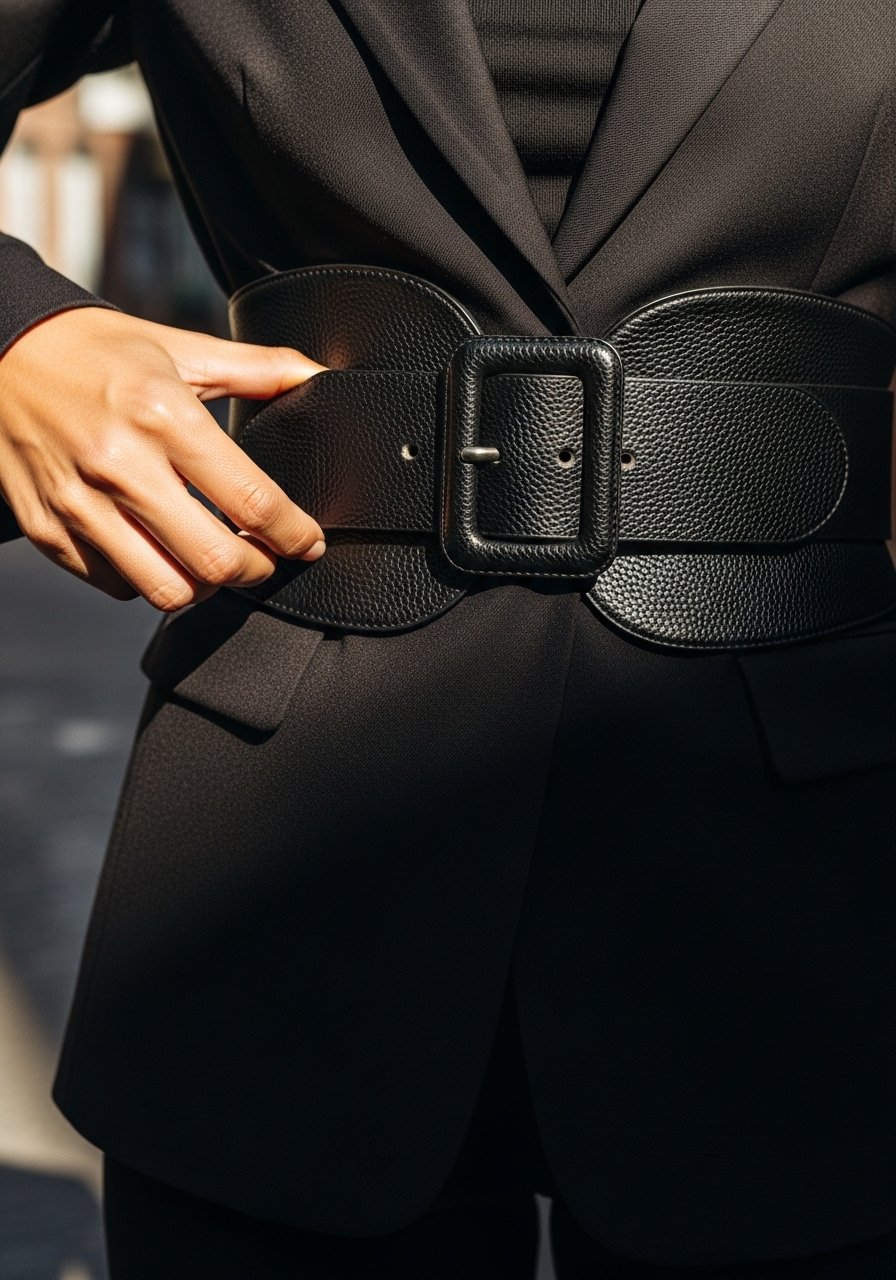
Pick one item to carry the personality, like a bold bag, chunky belt, or statement necklace. I personally learned to stop layering a dozen things and instead pick an anchor, then whisper supporting pieces. For a floral dress I once used a structured leather bag and thin gold hoops, and suddenly the outfit felt intentional. Anchors help you decide scale and color, so everything else either supports or provides contrast. Try a classic-belt with a slim blazer to add shape instantly.
Mistake to Avoid: Adding multiple statement items that fight for attention
Step 2: Think in visual weight, not numbers
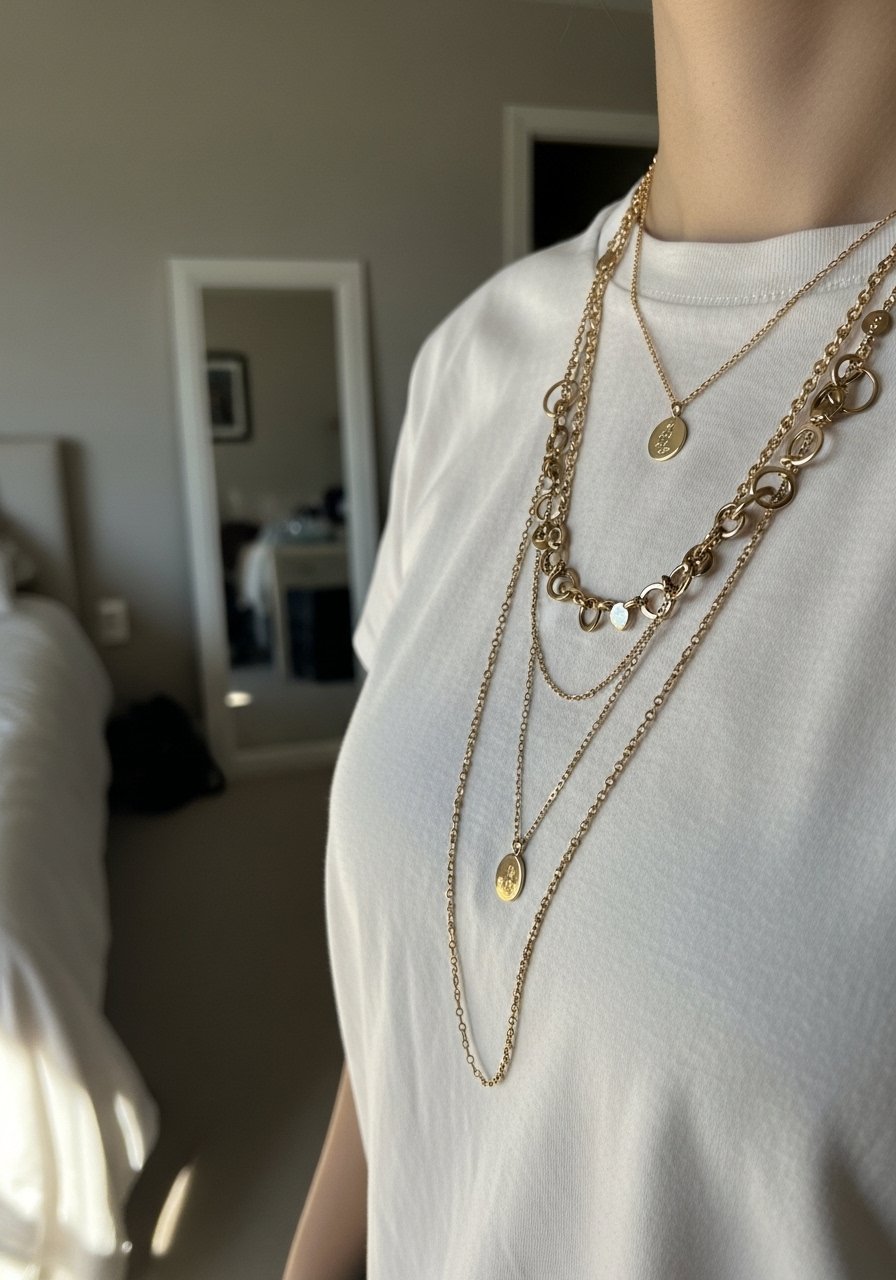
Accessories have weight: chunky boots read heavy, delicate chains read light. Pair them so the outfit feels balanced. I like a heavy shoe with a simple long necklace to create vertical flow. Once I paired massive platforms with tiny studs and it looked off; switching to a longer chain fixed the proportion. Use a layered-necklace-set to add varying lengths without clutter.
Mistake to Avoid: Stacking many small items that disappear next to a heavy shoe or coat
Step 3: Limit your metal story
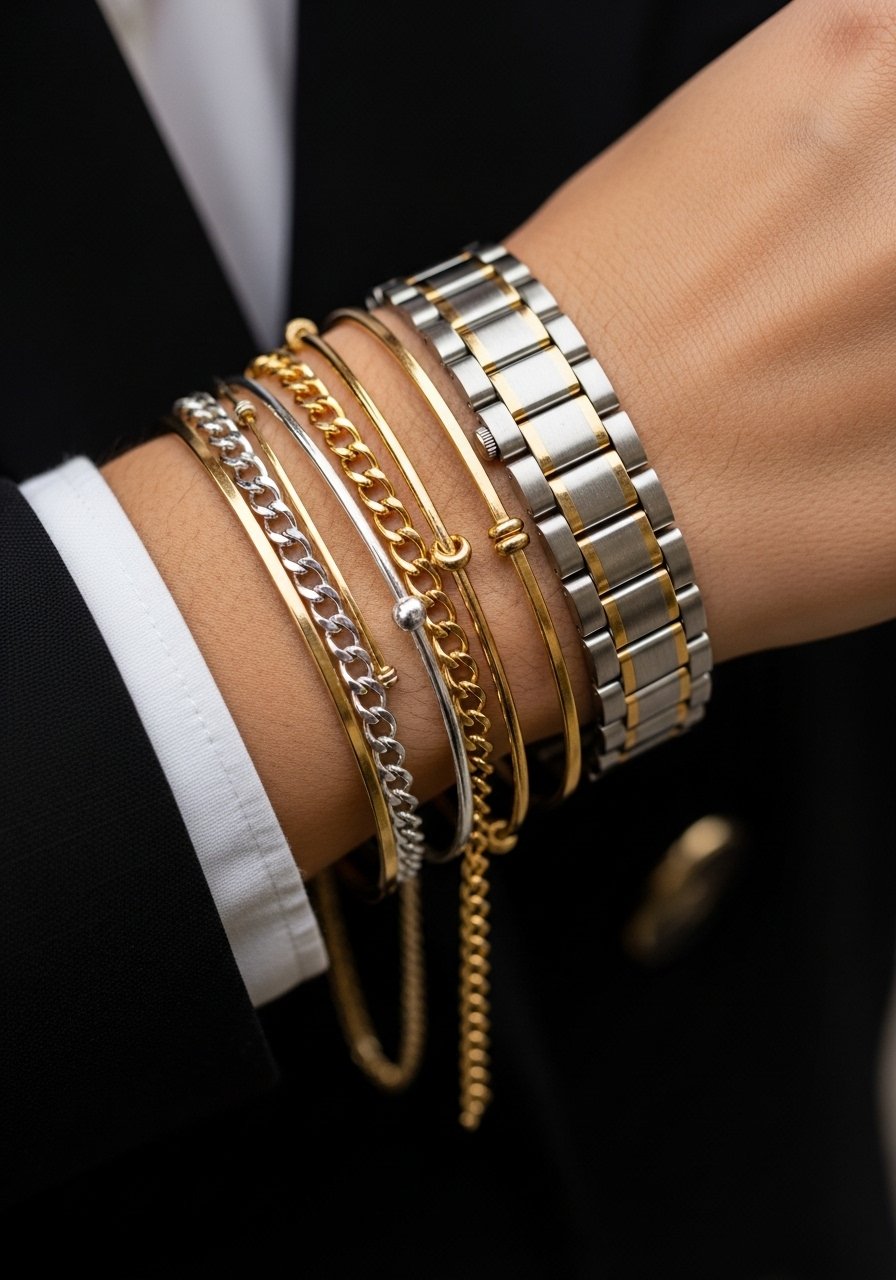
I used to mismatch metals and it read amateur. Then I experimented: either stick to one metal or use two intentionally. I noticed about 60% of my best outfit photos had either all-warm or all-cool tones, and that consistent metal choice makes images and in-person looks feel cohesive. If you want contrast, pick one dominant metal and add a small second metal as a deliberate accent, like a silver ring with gold hoops.
Mistake to Avoid: Randomly mixing three or more metals without a balancing element
Step 4: Use shoes and belts as punctuation marks
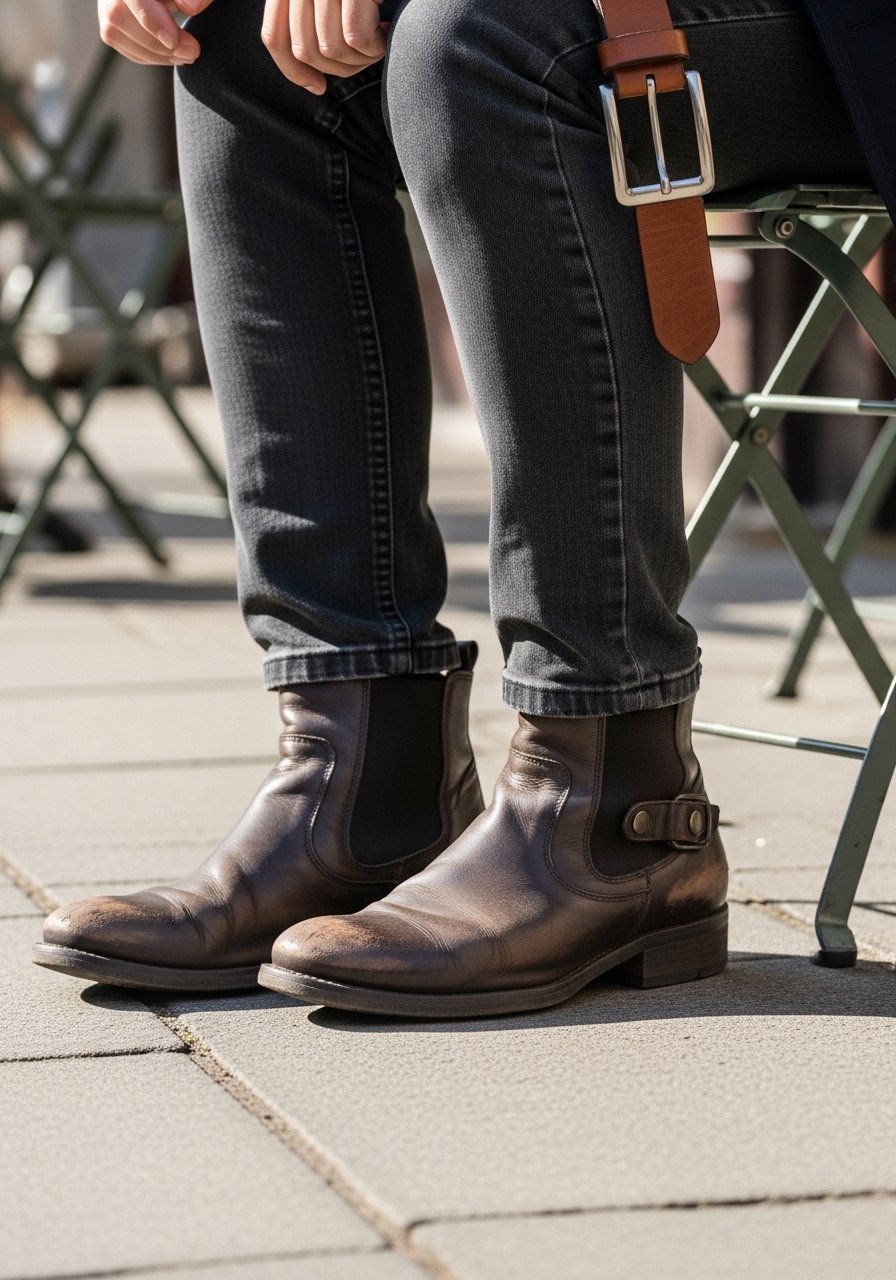
Treat shoes and belts like punctuation: they tell the outfit’s tone. I learned that a casual tee with ankle boots and a cropped blazer moves from lazy to composed. In my wardrobe, shoes get commented on first, about 70% of the time when I post outfit pics, so I use them to set the mood. Swap sneakers for boots or add a classic-belt to turn casual into crisp.
Mistake to Avoid: Choosing delicate flats with a very heavy top that then feels unbalanced
Step 5: Reimagine scarves and pins for unexpected placement
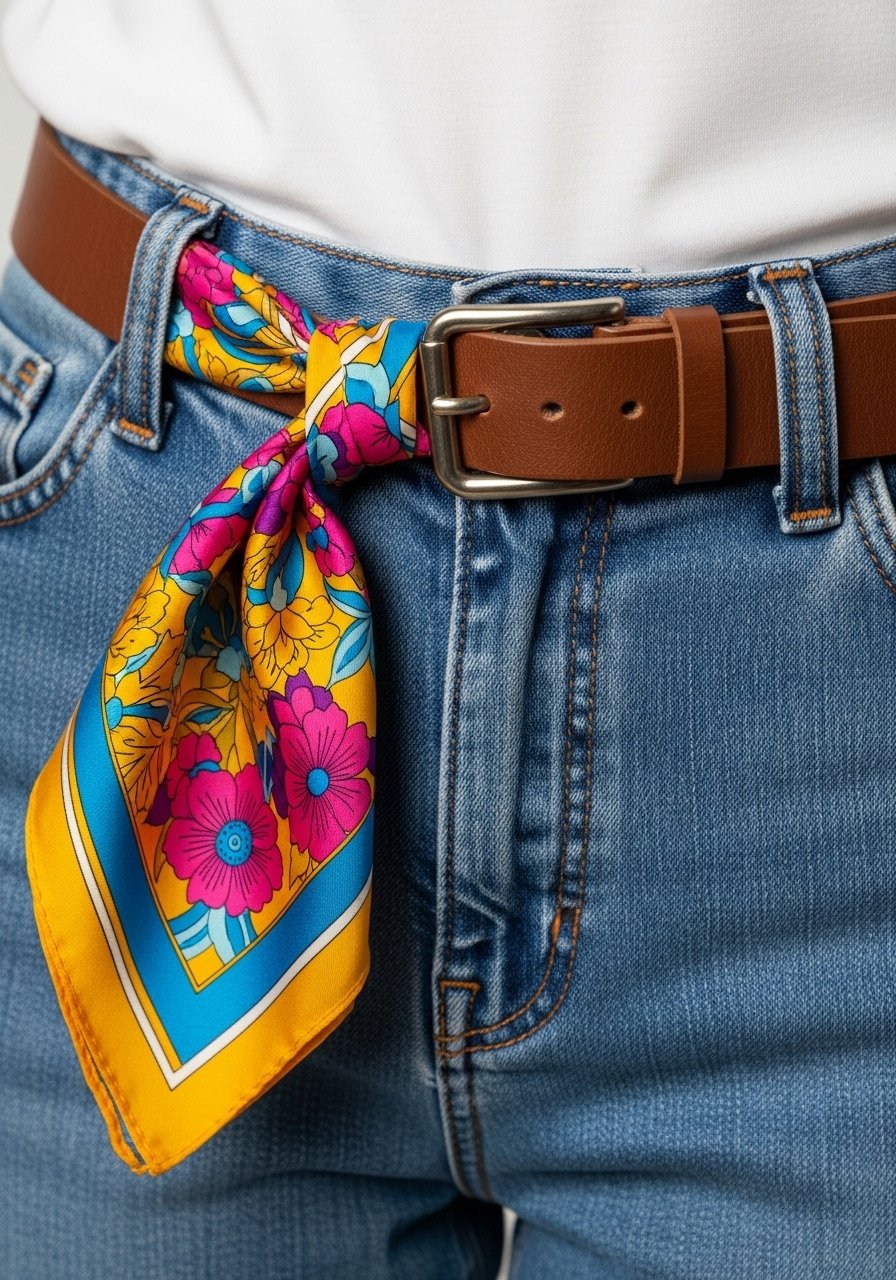
Scarves and brooches are underrated. I once clipped a brooch to my bag strap and it made the same outfit look new three times in a week. Try tying a lightweight-scarf through a belt loop or using a small brooch to cinch a cardigan at the waist. These are fresh ideas most people skip, and they make simple pieces act like custom edits.
Mistake to Avoid: Folding a scarf the same way every time, which makes it predictable
Step 6: Add movement and texture last
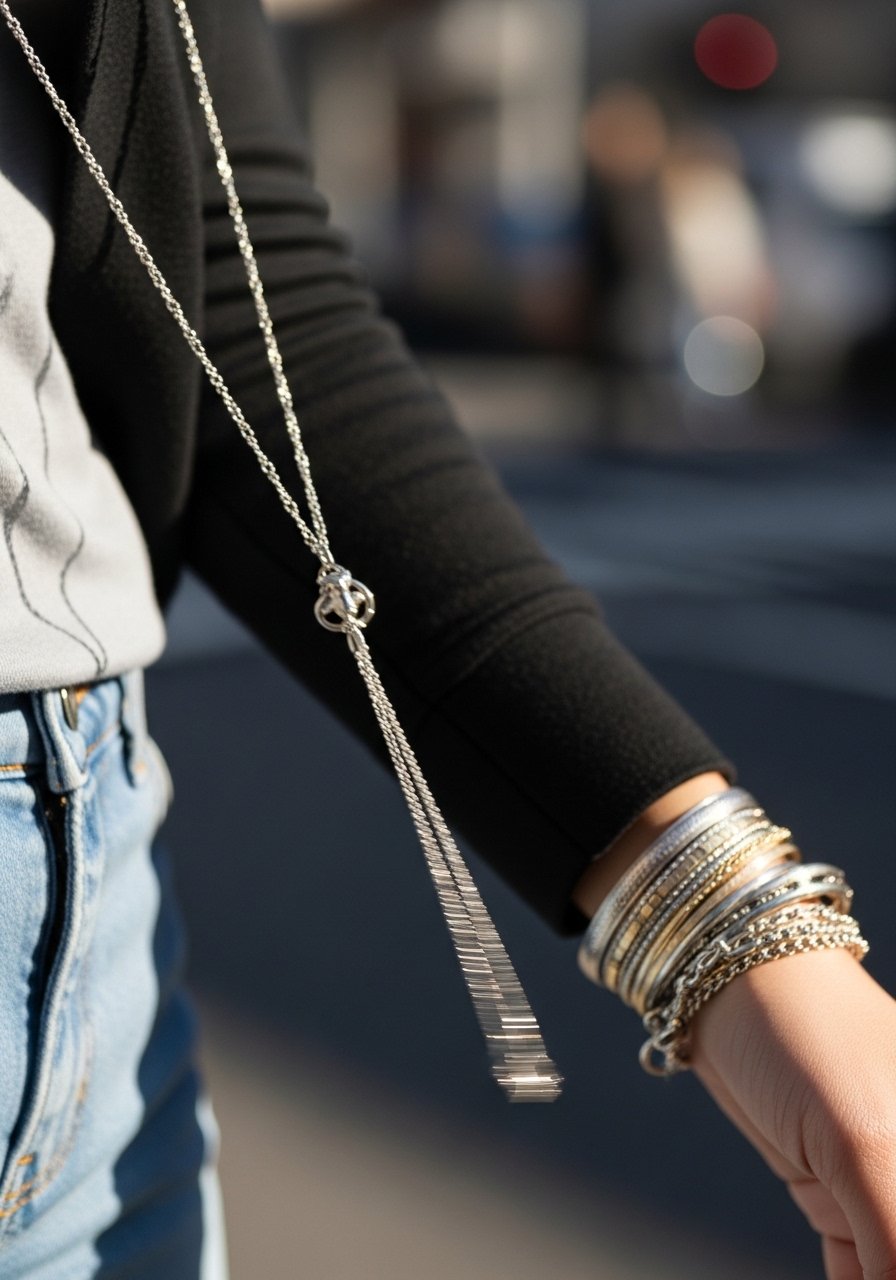
Finish with things that move: a long pendant, a flowing scarf, or a chain-link bag strap. Movement makes an outfit feel alive and photographed better. I noticed outfits with a bit of motion read more polished in pictures and on the street, so I tuck a long necklace under a jacket or let a scarf trail. Mix textures too, like leather with satin, or matte metal with glossy beads to keep it interesting.
Mistake to Avoid: Relying only on color or pattern, without adding textural contrast
Fashion Tips
Scale test: Step back and take a quick photo to check proportion, then swap one piece if it feels heavy. Try ankle-boots to see how posture and line change.
Repeat a color: Pick a color from your print and repeat it in shoes or a bag to look pulled together, use statement-sunglasses to echo tones.
Two-metal trick: If you want mixed metals, make one metal dominant and scatter the other sparingly, a small tip that keeps looks cohesive.
Brooch reset: Use a brooch to tighten a loose lapel or pin a scarf at the shoulder for instant tailoring without sewing.
Double-belt hack: Layer a thin chain belt over a leather belt to add texture without bulk, works great with midi dresses.
Swap one thing: On rushed mornings swap one accessory only, like adding hoops or switching to a structured bag, that one change upgrades the whole outfit.
Night to day: Turn daytime casual into evening ready by changing shoes and adding a single statement piece such as gold-hoop-earrings
Own The Look
You will get faster the more you play, I promise. My final tip is to pick three go-to combos and tweak one element each time, you end up creating dozens of outfits without buying more. Be bold with placement, not quantity, and trust a single anchor to guide your choices. Keep practicing, and soon accessorizing will feel effortless and uniquely yours.
