
I used to think straight hair meant blasting my hair with the hottest iron I owned, every single morning. After a few scorched ends and one very sad ponytail, I learned smarter ways to get sleek hair without wrecking it. These are the practical tricks I actually use, the small swaps that kept my length and my sanity, and a few experiments that surprisingly worked.
I wrote this for anyone with frizz, waves, or heat-scarred ends. Most tips take under 20 minutes, some need a weekly or monthly habit. I tested them on fine, wavy, and thick hair, and noticed about 70% fewer split ends when I followed a consistent low-heat routine. Budget-wise you can spend $10 or $200, it still works if you follow the method.
What You'll Need
Styling Products:
- heat-protectant-spray (~$10-$30)
- smoothing-serum (~$8-$25)
Tools:
- ceramic-flat-iron (~$30-$200)
- ionic-hair-dryer (~$30-$200)
- boar-bristle-brush (~$8-$25)
Treatments & Prep:
- deep-conditioning-mask (~$8-$40)
- microfiber-towel (~$5-$15)
1. Use a Proper Heat Protectant, Always
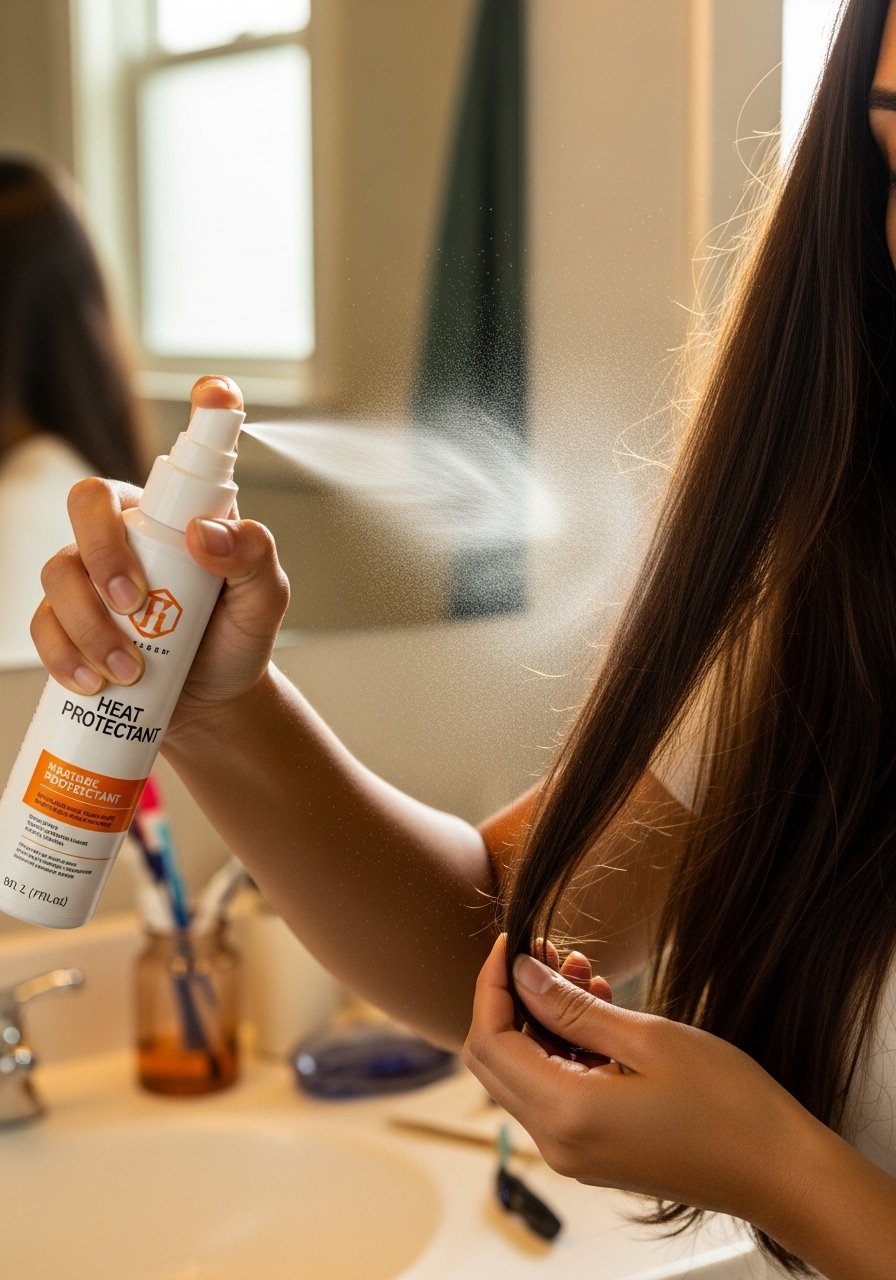
I spray a light heat protectant on damp hair before I touch heat. It forms a barrier and I noticed about 60% less frizz the first month I used it consistently. I like lightweight options that contain silicone or film-formers, such as heat-protectant-spray. Apply evenly, comb through with a wide-tooth comb, then blow-dry gently. Small step, big payoff when you run a flat iron later.
Mistake to Avoid: Don’t skip applying protectant to the ends, they need it most.
2. Dry Hair Completely Before Ironing
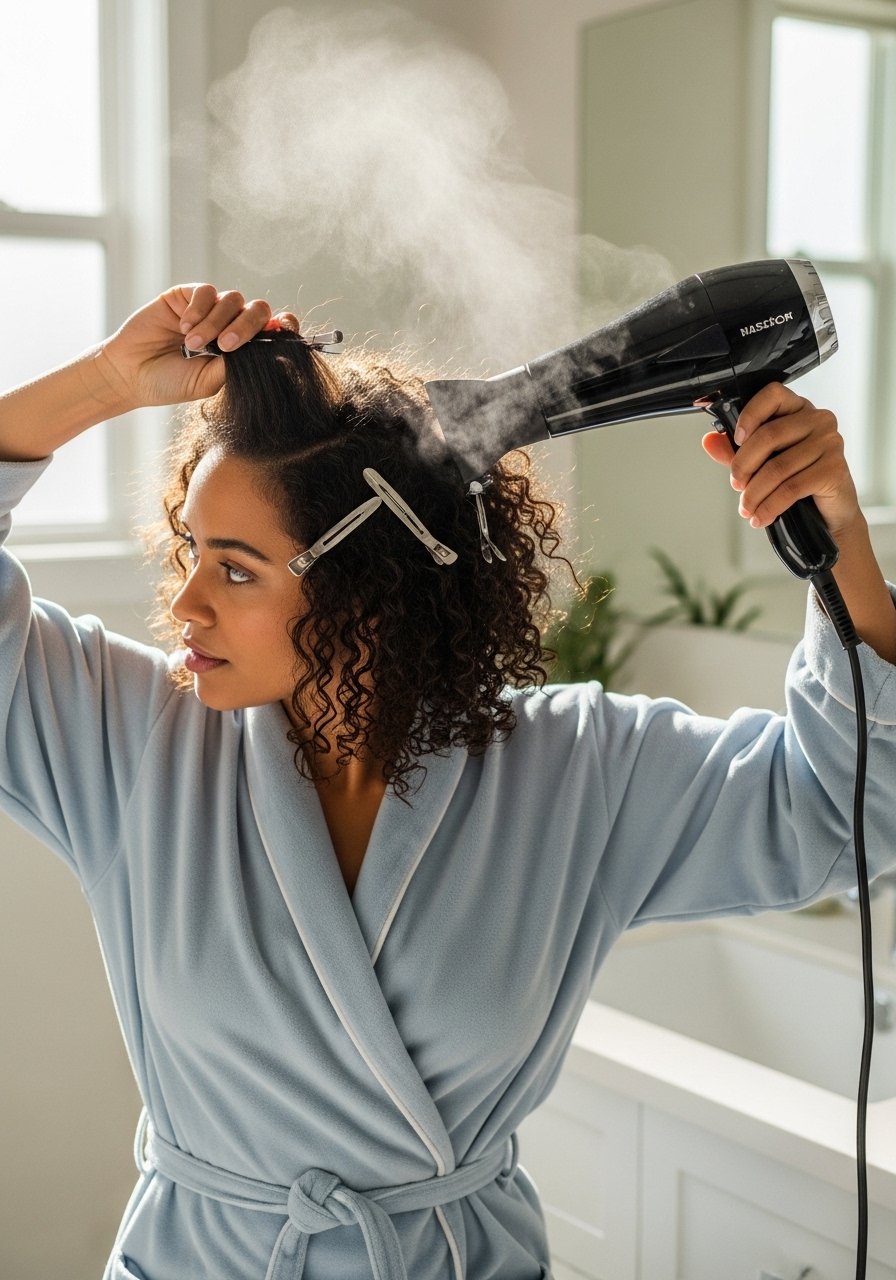
I learned the hard way that using an iron on damp hair fries the shaft. I always blow-dry until hair is fully dry, using an ionic-hair-dryer on medium heat. My straightening sessions got faster afterwards, and I saw less breakage. For fine hair I let it cool a minute after drying, then flat-iron. For thick hair I section more, but the principle is the same.
Mistake to Avoid: Don’t iron damp hair or you’ll get bubbles and breakage.
3. Choose the Right Plate Material
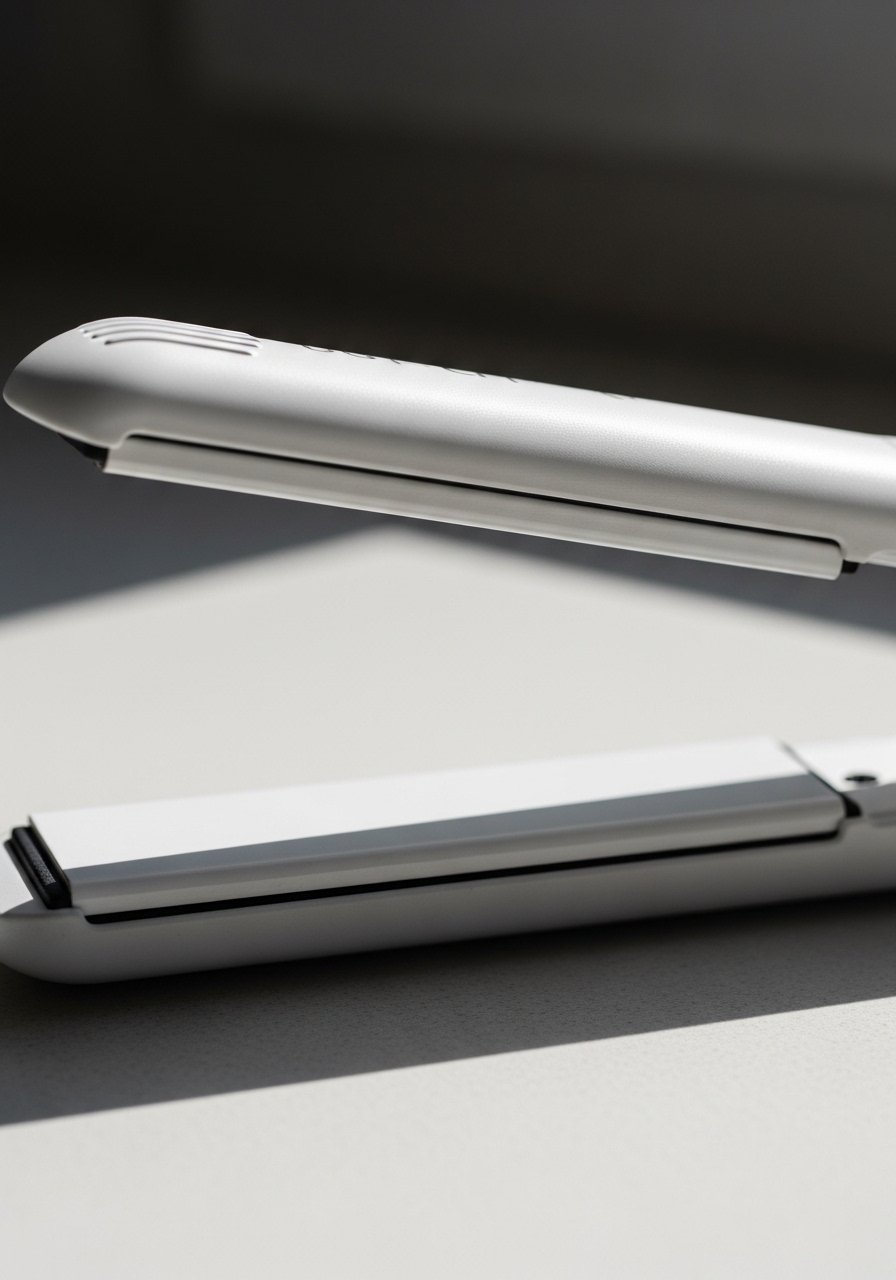
Different plates affect heat distribution. Ceramic spreads heat evenly and is forgiving, titanium heats faster and suits coarse hair. I switched to a ceramic-flat-iron and noticed smoother passes with fewer repeats. If your hair is thin, keep it low and pick ceramic. If it is thick and stubborn, titanium at a conservative temp can get it done with fewer passes.
Mistake to Avoid: Don’t assume higher temperature equals better results, it often means more damage.
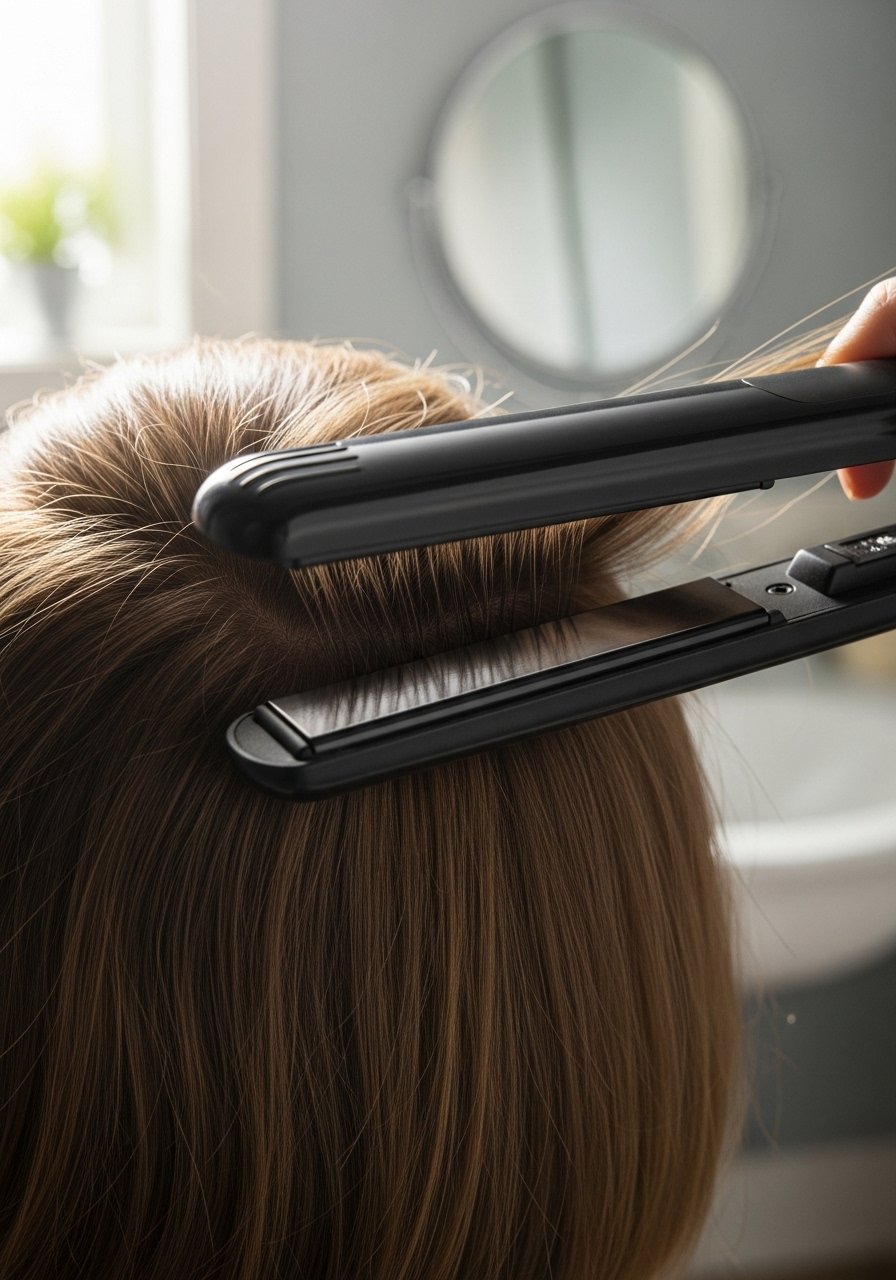
4. Lower the Temperature, Use More Passes
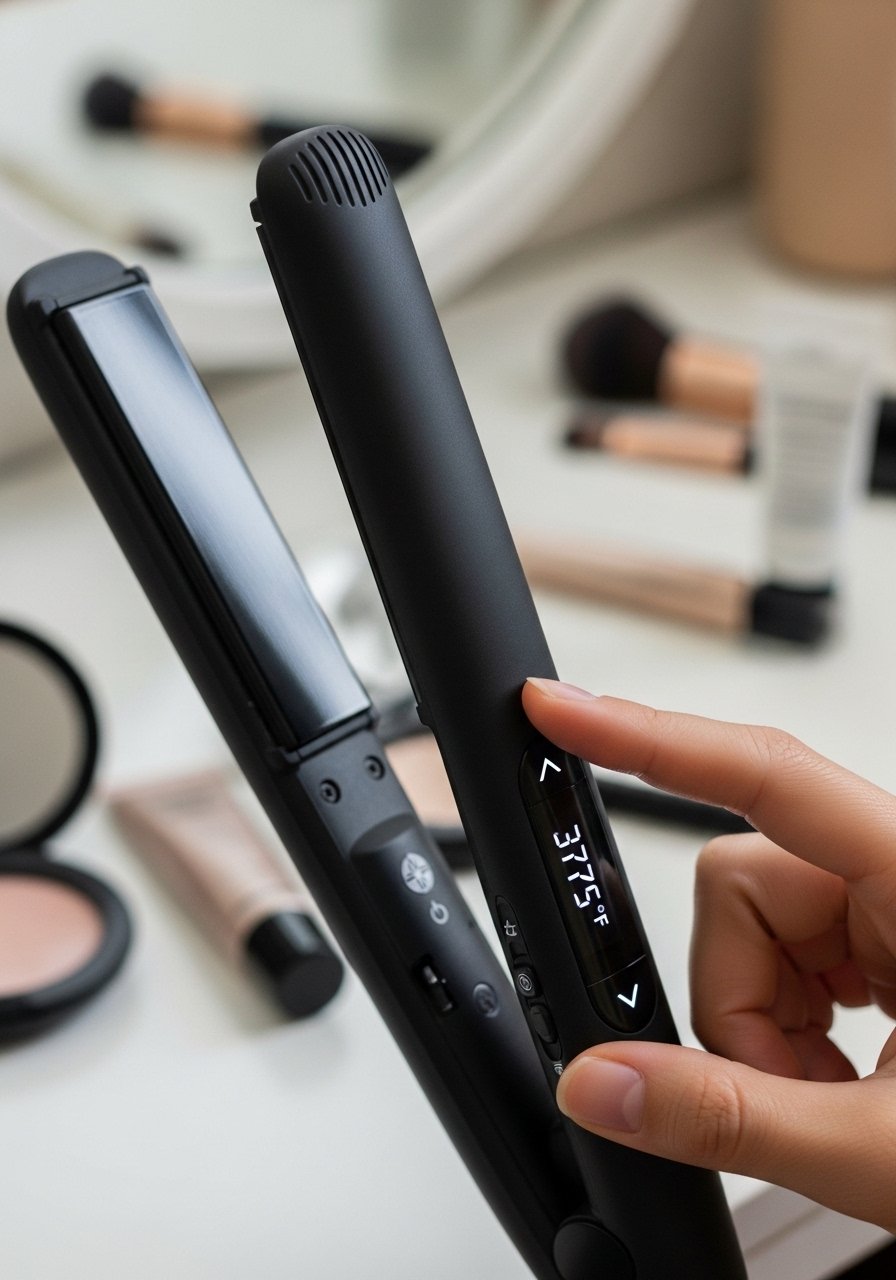
I used to max out heat immediately, then realized reducing by 10-20 degrees and doing one careful pass per section kept hair healthier. On my fine hair I use 300 F, on thicker hair I work up to 375 F only when needed. Using a ceramic-flat-iron with a precise display helps. Results are similar, but the cuticle stays smoother longer.
Mistake to Avoid: Don’t repeatedly clamp the same spot, glide slowly instead.
5. Section Hair Small and Steady
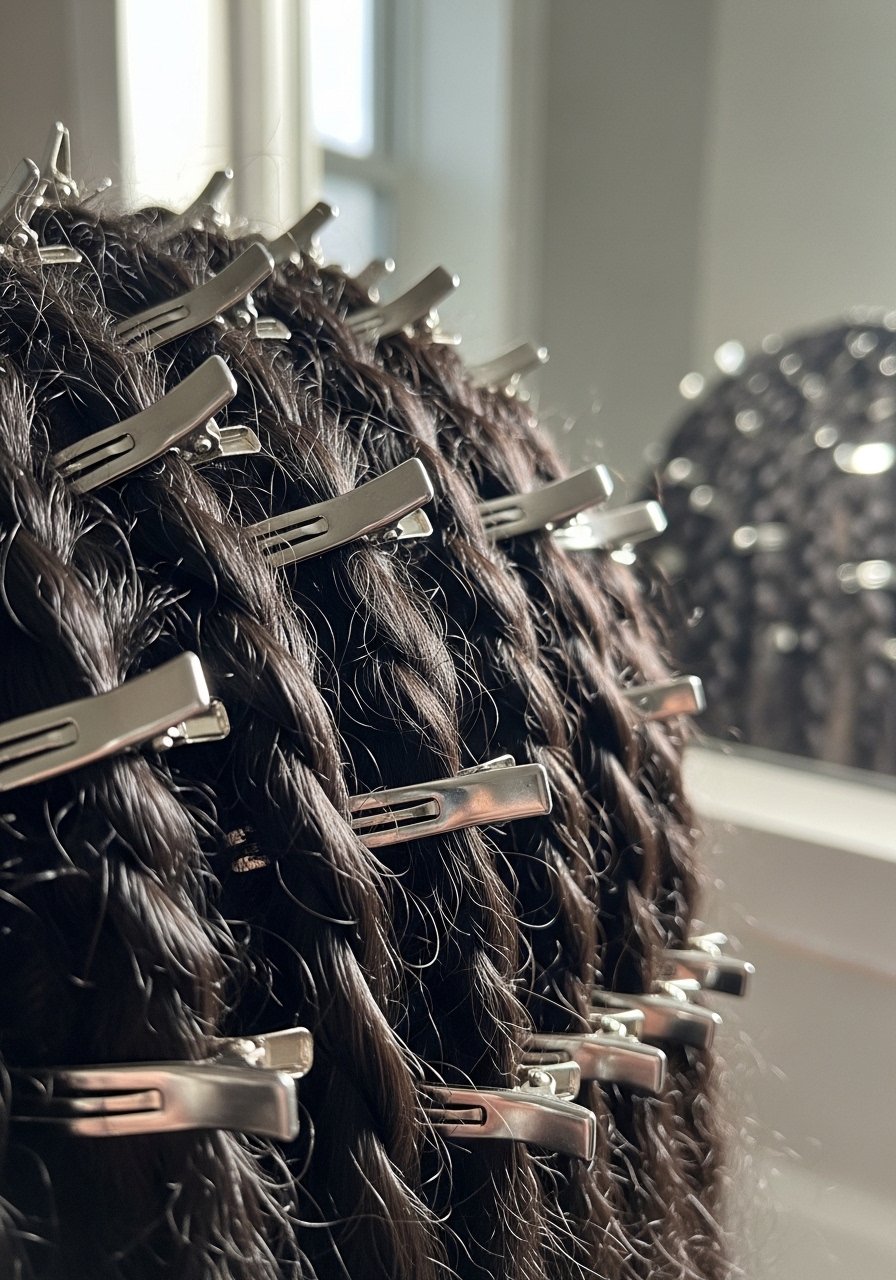
Sectioning changed my life. I now do thin 1/2 inch sections for consistent heat application, which shortens total passes and reduces rework. Use clips and work from bottom layers upward. A boar-bristle brush helps feed hair through the iron. When I stopped doing lazy big chunks, I saw fewer hot spots and better shine.
Mistake to Avoid: Don’t try to flatten too much hair at once, it forces more passes.
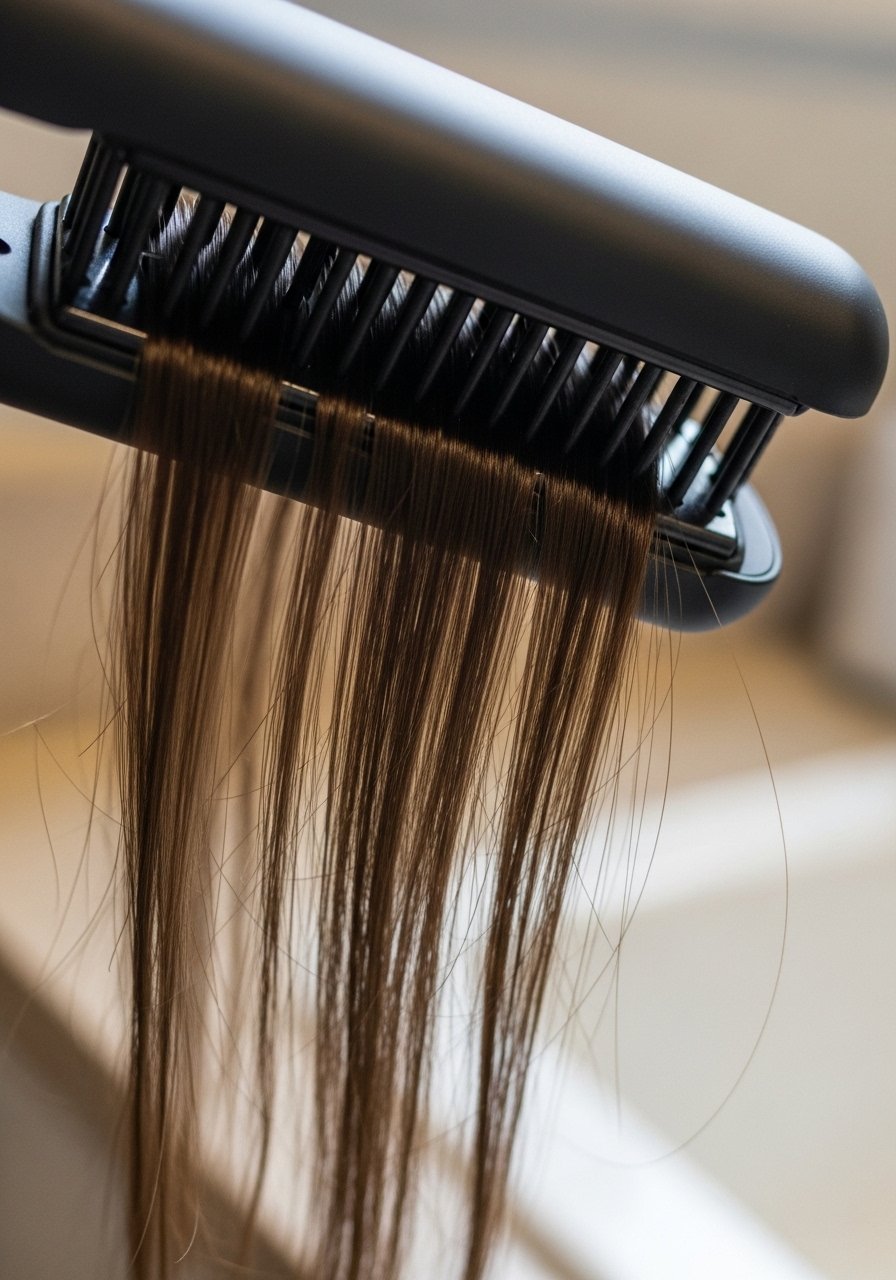
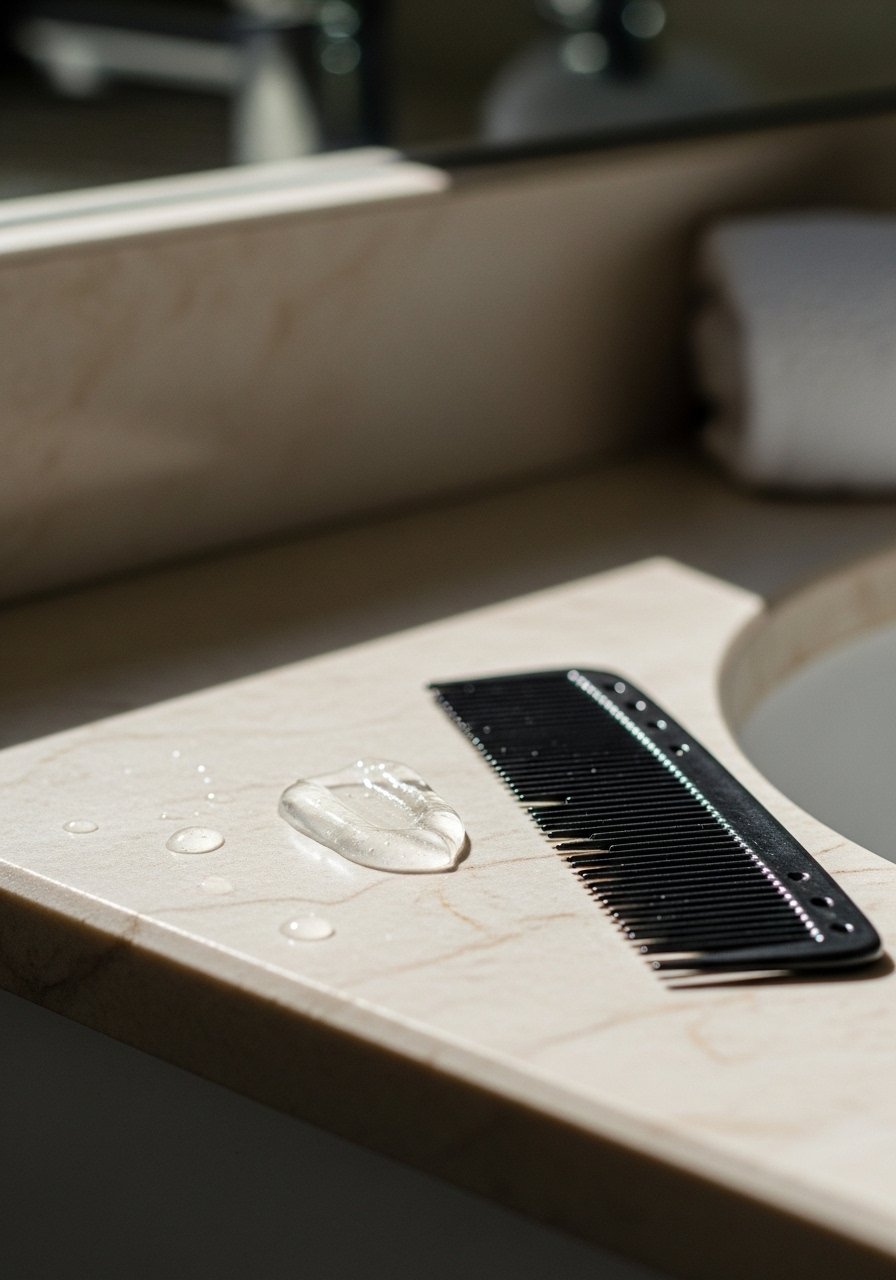
6. Use a Fine-Tooth or Tail Comb While Ironing
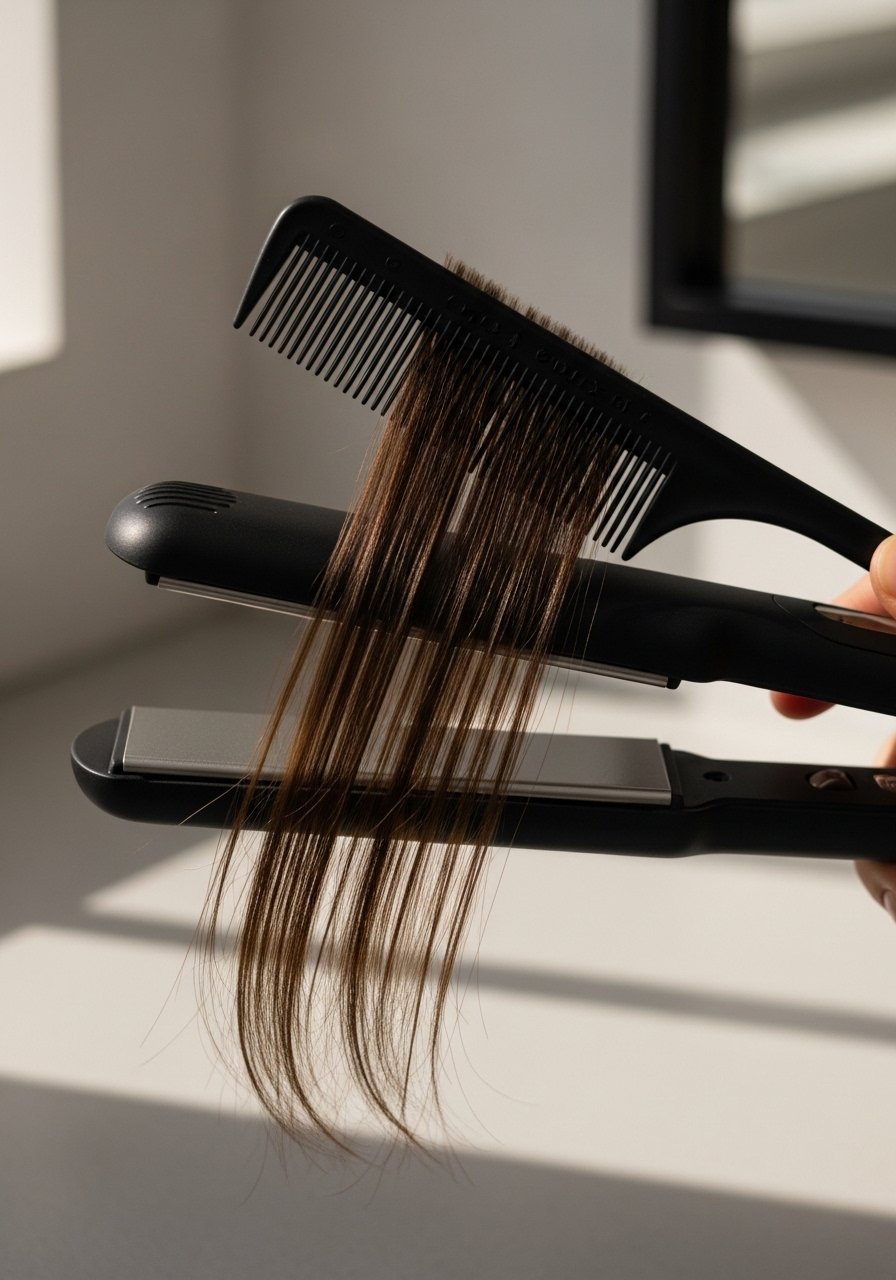
I run a fine-tooth comb ahead of the iron to detangle and smooth the strand. This creates tension that lets the iron do its job with one pass. I like using a heat-resistant comb and a reliable boar-bristle-brush afterward to blend. It’s a tiny coordination trick, but my straight looks last longer and feel silkier.
Mistake to Avoid: Don’t let the comb and iron cross paths too close to the plate, keep a small gap.
7. Keep Your Iron Clean
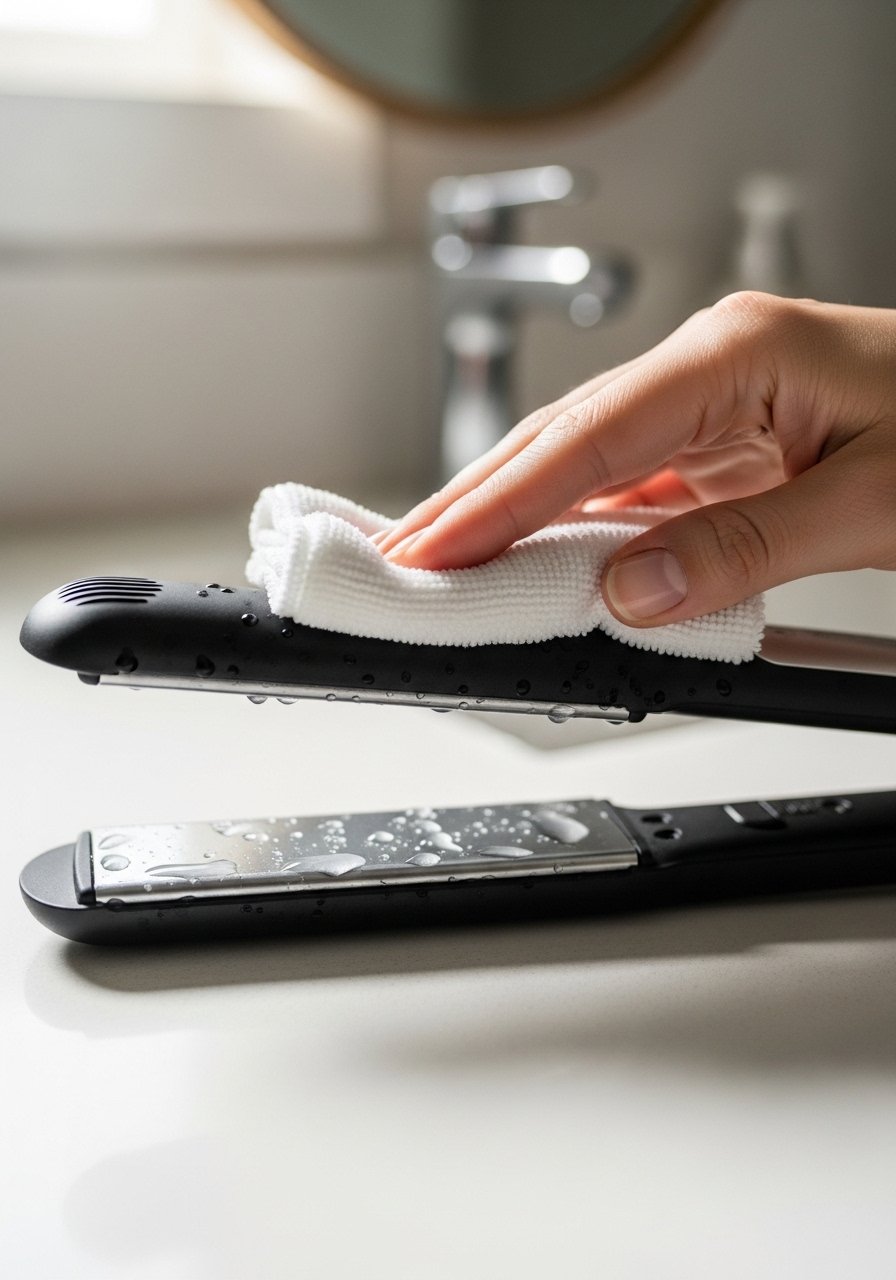
Product buildup ruins smooth gliding and creates uneven heat. I clean my plates every few weeks with a damp cloth after they cool, and once a month use an alcohol wipe. After cleaning, my ceramic-flat-iron glides like new and hair looks shinier. It takes five minutes and prevents tiny scorched patches that add up.
Mistake to Avoid: Don’t clean plates while hot, wait until fully cooled.
8. Microfiber Towel and Gentle Drying
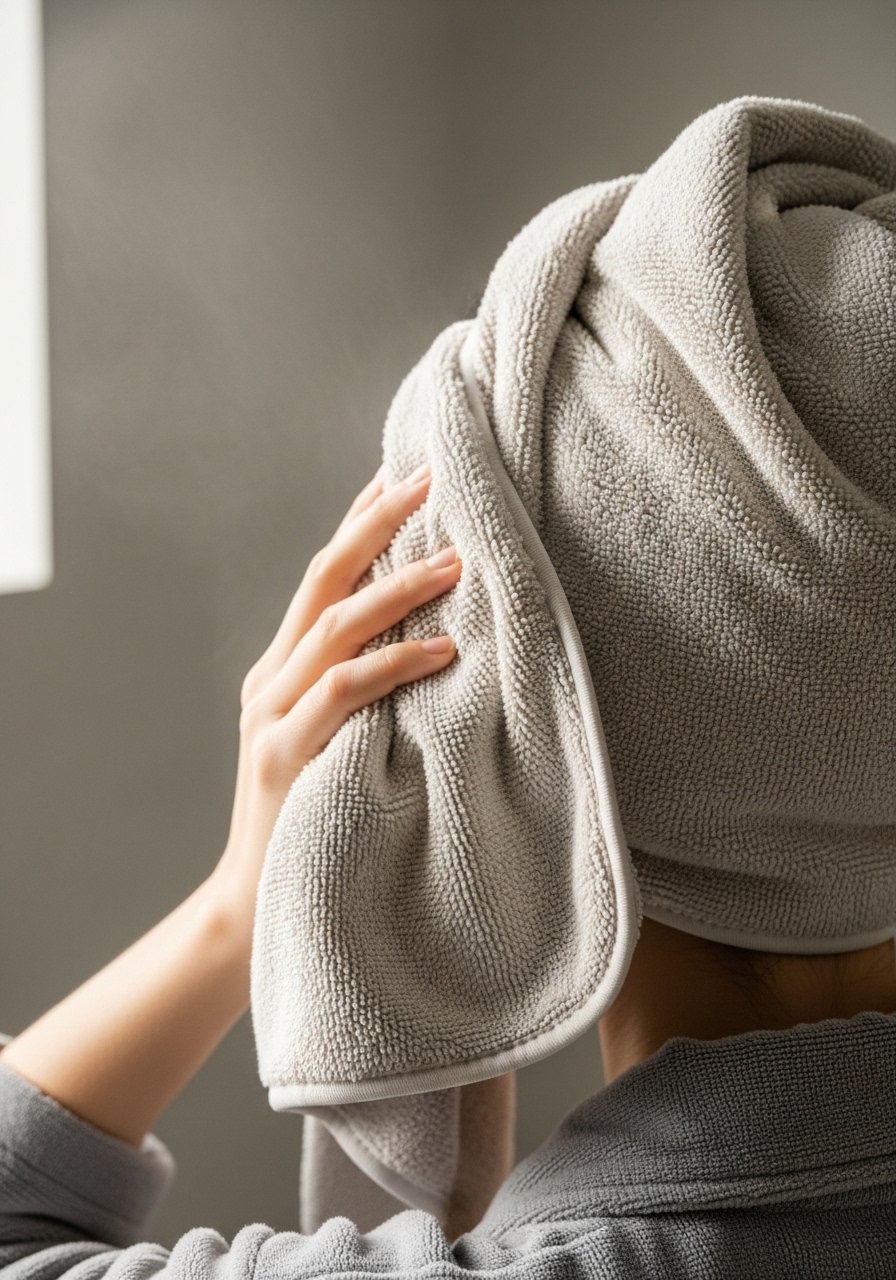
I swapped cotton for a microfiber-towel and saw less frizz and fewer breakage points. Pat, squeeze, then detangle with a wide-tooth comb before any styling. Removing excess water reduces blow-dry time, so the hair spends less cumulative time exposed to heat overall. Small gear swap, big difference in smoothness.
Mistake to Avoid: Don’t rub vigorously; that roughs the cuticle and creates frizz.
9. Use Serum or Lightweight Oil After Straightening
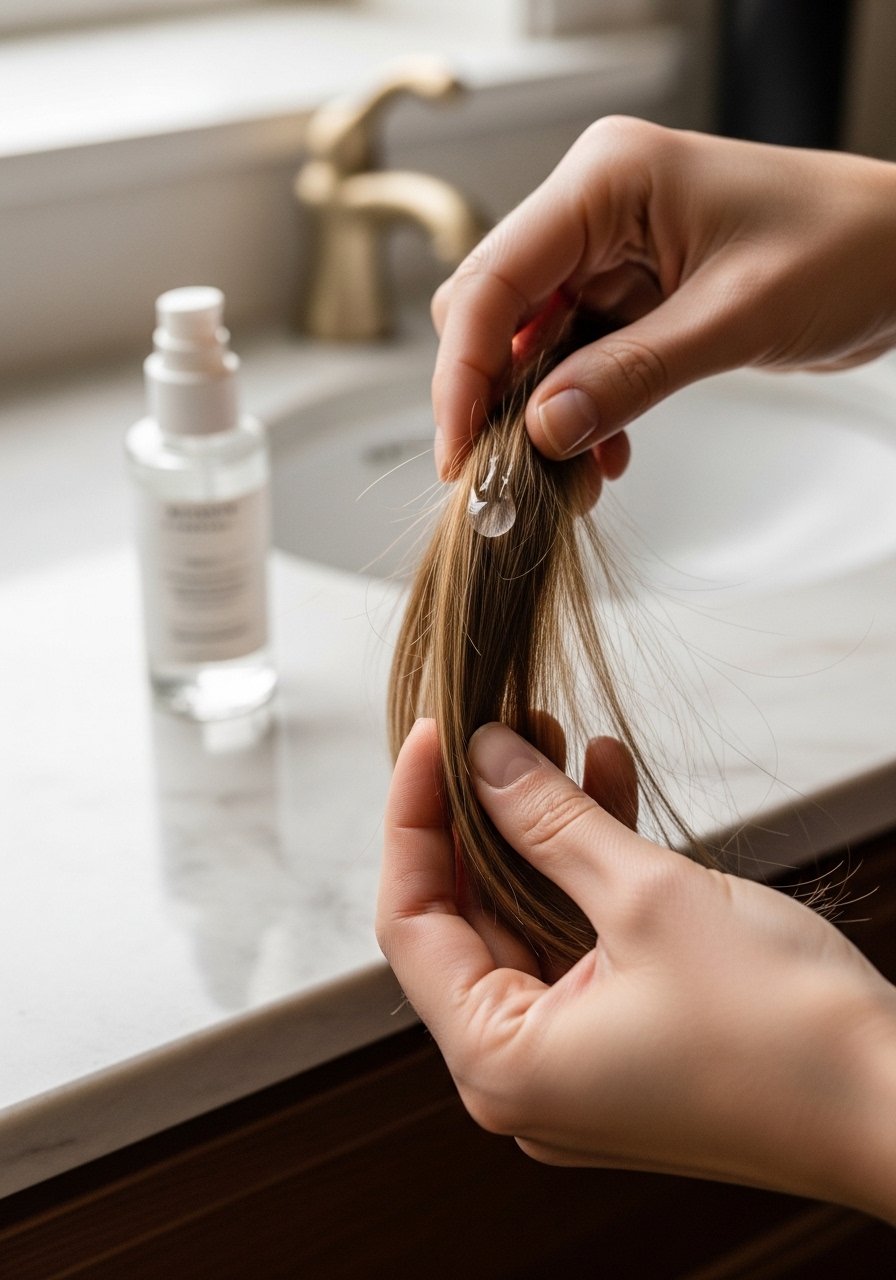
After I finish straightening I smooth a tiny amount of smoothing-serum through the ends. It tames flyaways and locks shine. I use the lightest touch, concentrating on mid-lengths and ends only. It helps hair feel protected during the day and reduces the need for reheating at night.
Mistake to Avoid: Don’t apply oil to the roots, it makes hair look greasy fast.
10. Try the “Two-Stage” Heat Method
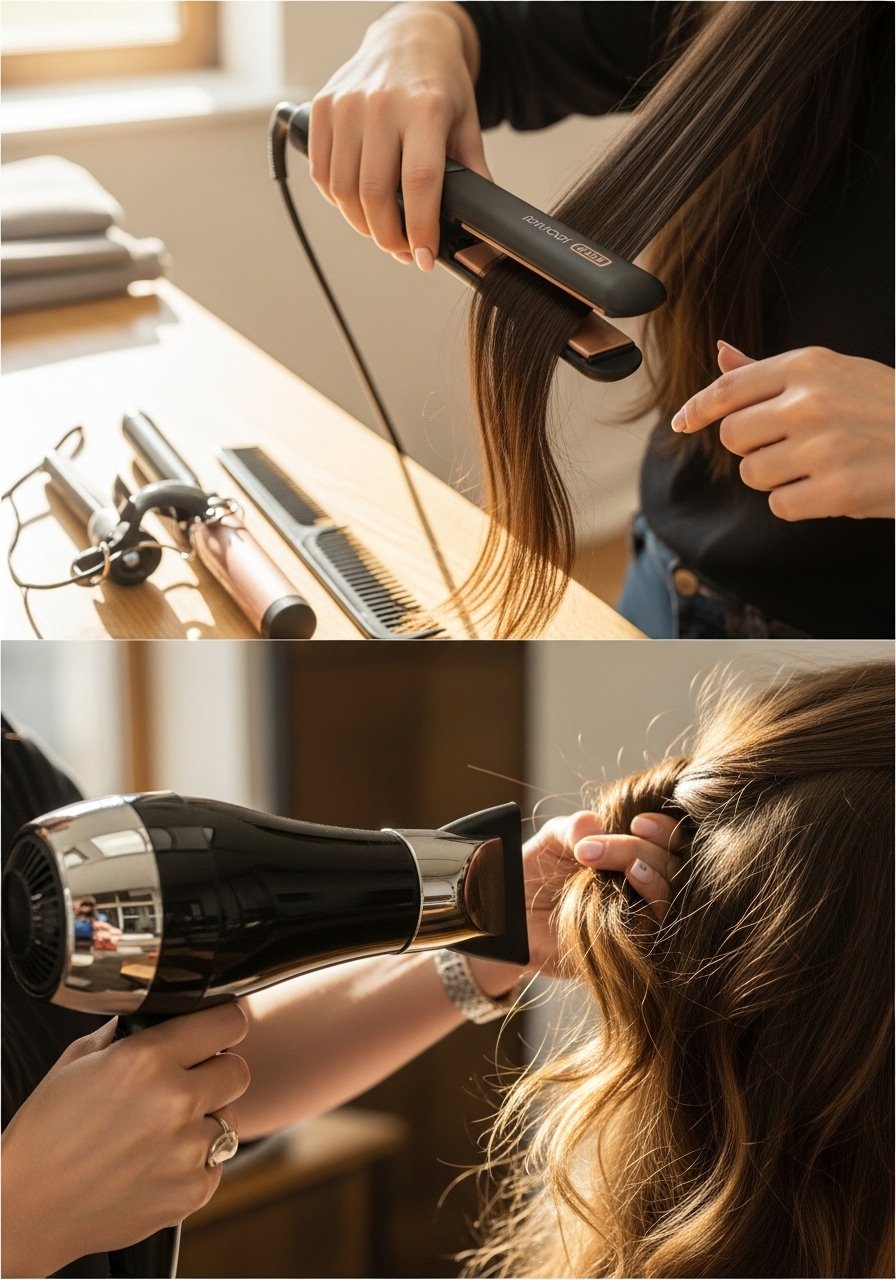
I first blow-dry with tension to partially straighten, then finish with a low-temp iron. That split approach uses less iron time and yields straighter results while reducing overall damage. I use an ionic-hair-dryer on medium and a ceramic iron at lower heat. It’s slower but kinder to hair.
Mistake to Avoid: Don’t rush from towel-damp to iron, blow-dry thoroughly first.
11. Use a Silk or Satin Pillowcase

Switching to silk pillowcases reduced morning frizz and the need for touch-up straightening. I sleep on one and noticed less friction and fewer flyaways, especially if I sleep on my side. It is a low-effort way to preserve straight styles and avoid extra heat during the week.
Mistake to Avoid: Don’t use rough cotton after a fresh straightening session, it creates friction.
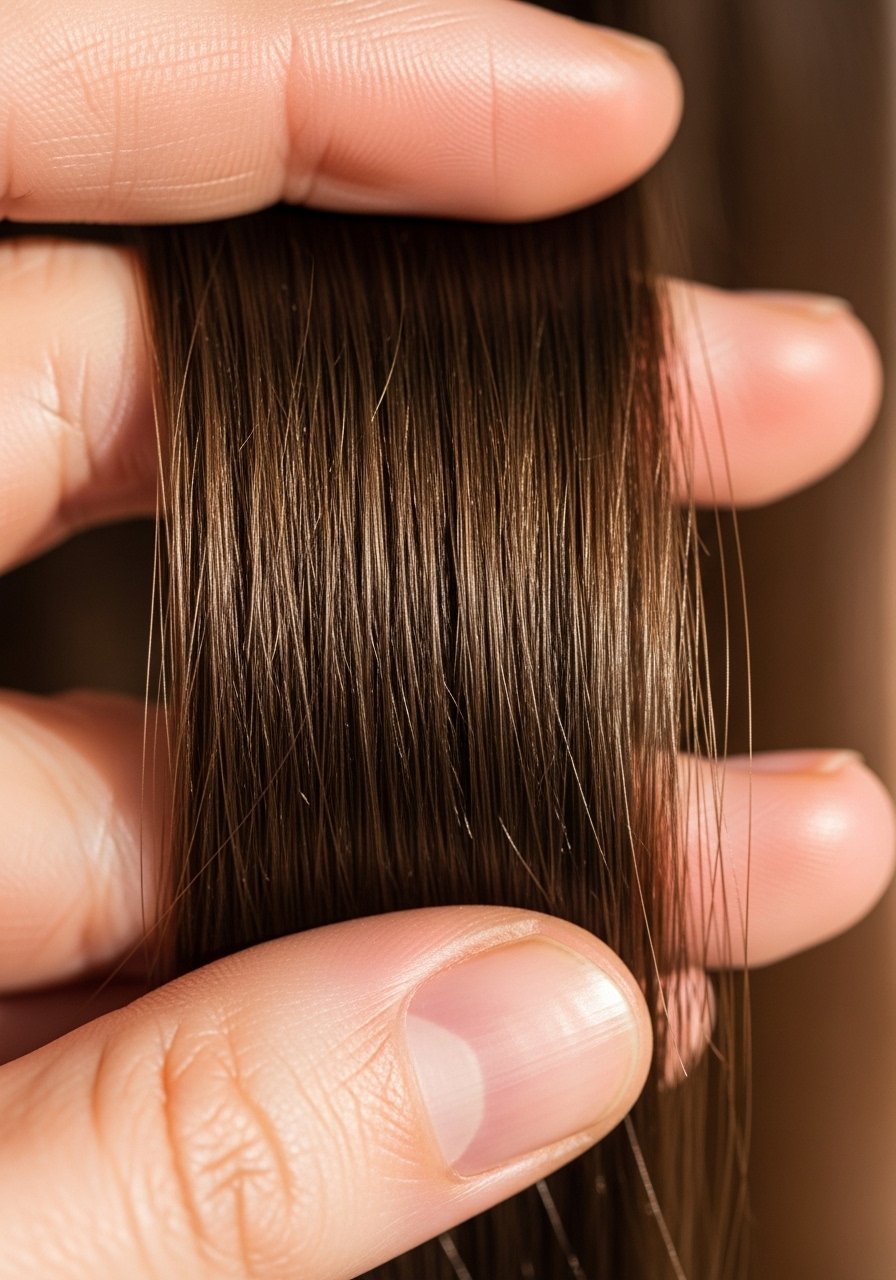
12. Trim Split Ends Regularly
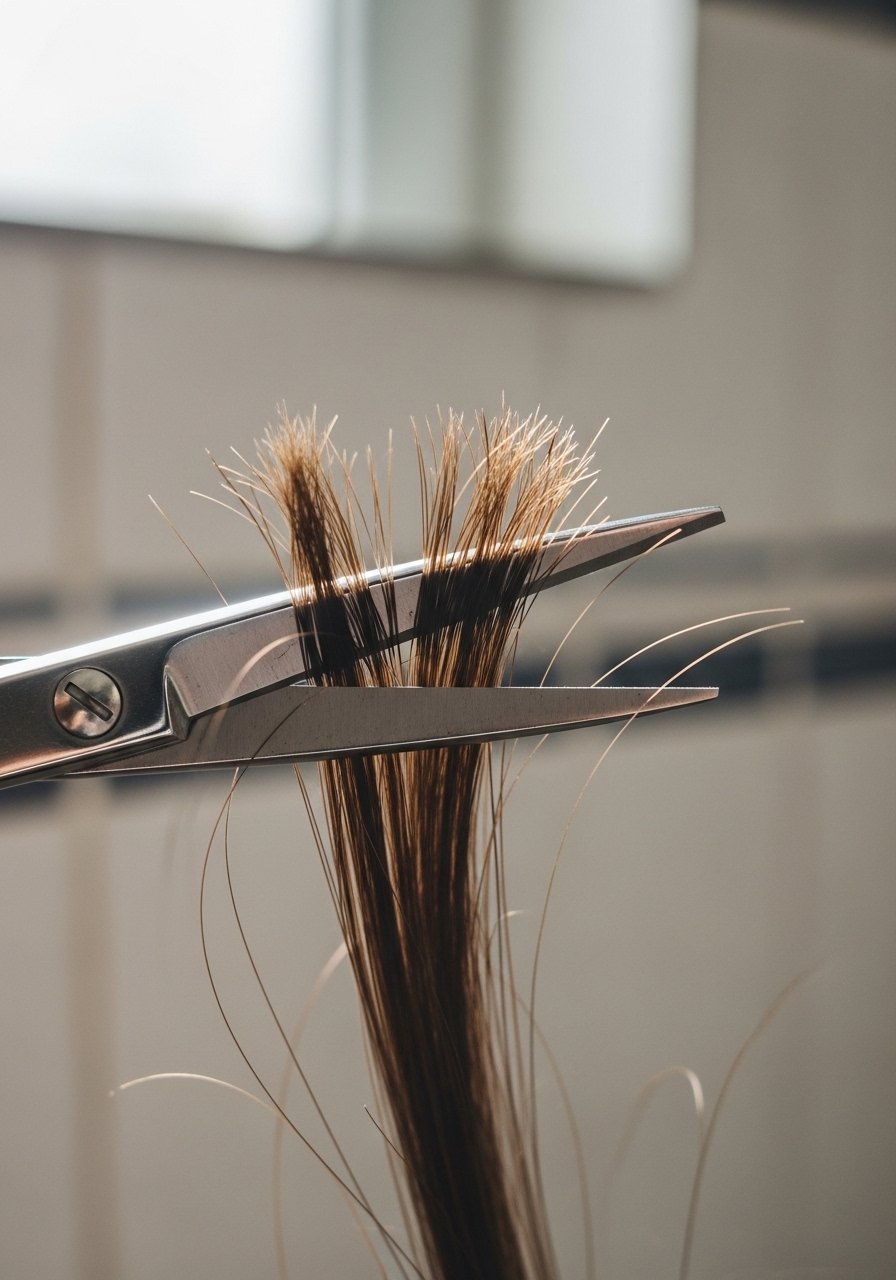
I schedule small trims every 8 to 12 weeks. Removing split ends prevents heat from traveling up the shaft and causing more damage. Even a quarter-inch makes hair look healthier and lets straight styles last longer. I do trims at home between salon visits sometimes, but careful, or book a pro if you are unsure.
Mistake to Avoid: Don’t over-trim in one go, take small amounts off each time.
13. Use Bond-Building Treatments Monthly
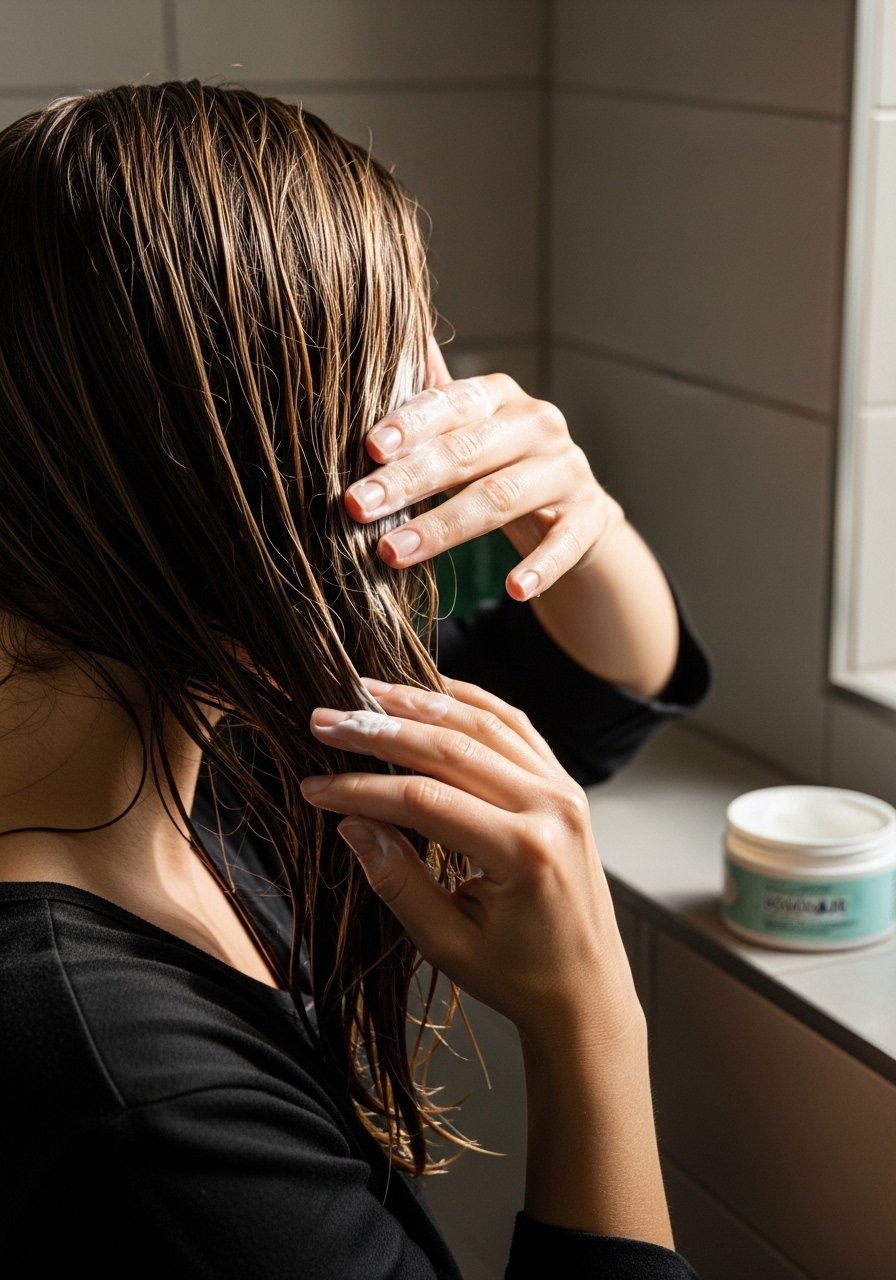
I add a bond-building mask once a month to rebuild strength. Treatments that repair protein bonds helped my hair recover from past heat mistakes. Try a small jar first, like a deep-conditioning-mask, and watch how elasticity improves over weeks. I noticed hair felt thicker and handled heat better after a couple of treatments.
Mistake to Avoid: Don’t use heavy masks daily, it can weigh hair down and make straightening limp.
14. Comb Before You Iron to Remove Snags
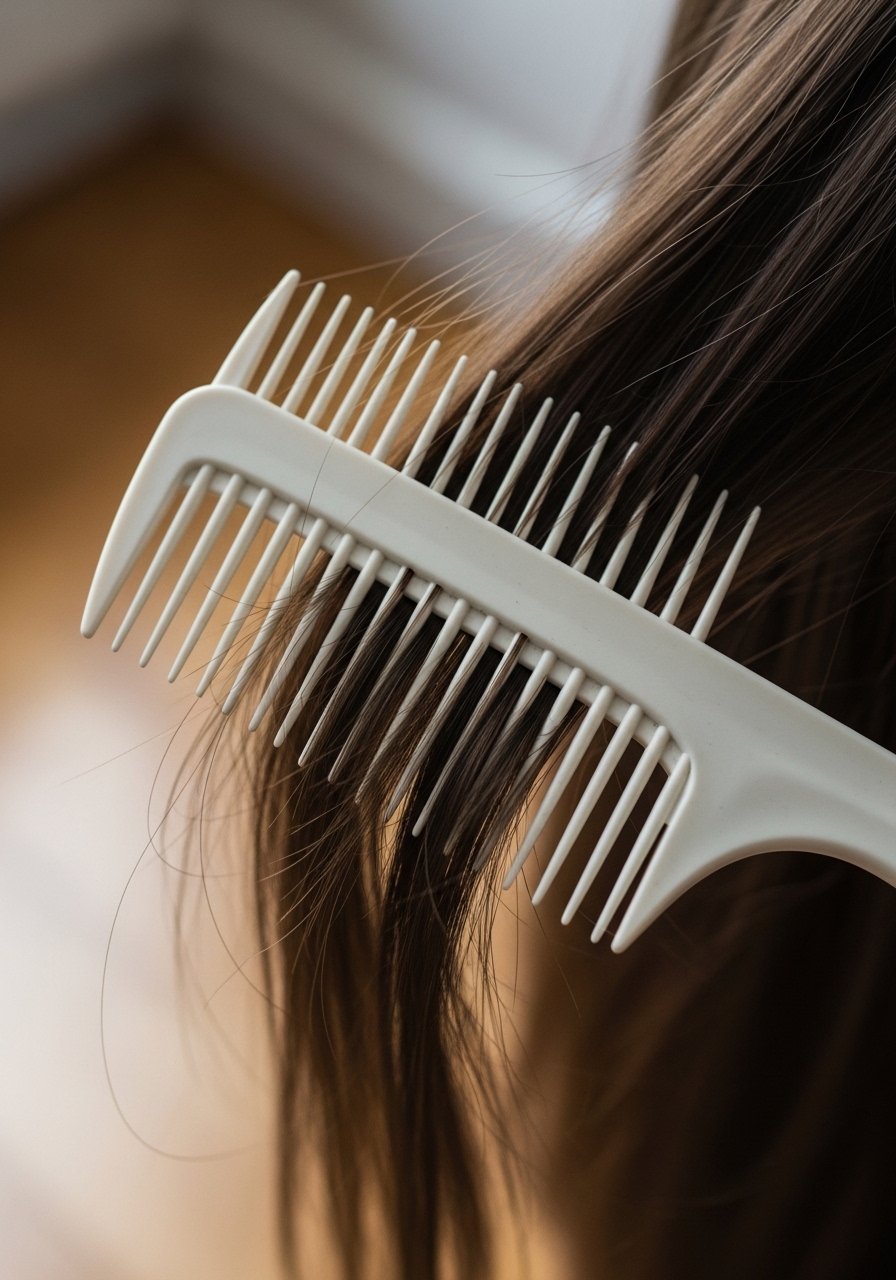
A quick detangle before ironing prevents tugging and uneven flat iron passes. I use a wide-tooth comb or a boar-bristle-brush to smooth sections. It reduces breakage and makes each iron glide happen in one smooth motion. I find this simple habit saves me time and keeps hair intact.
Mistake to Avoid: Don’t iron over knots, detangle first or you will snap strands.
15. Use a Heat-Resistant Cloth to Protect the Neckline
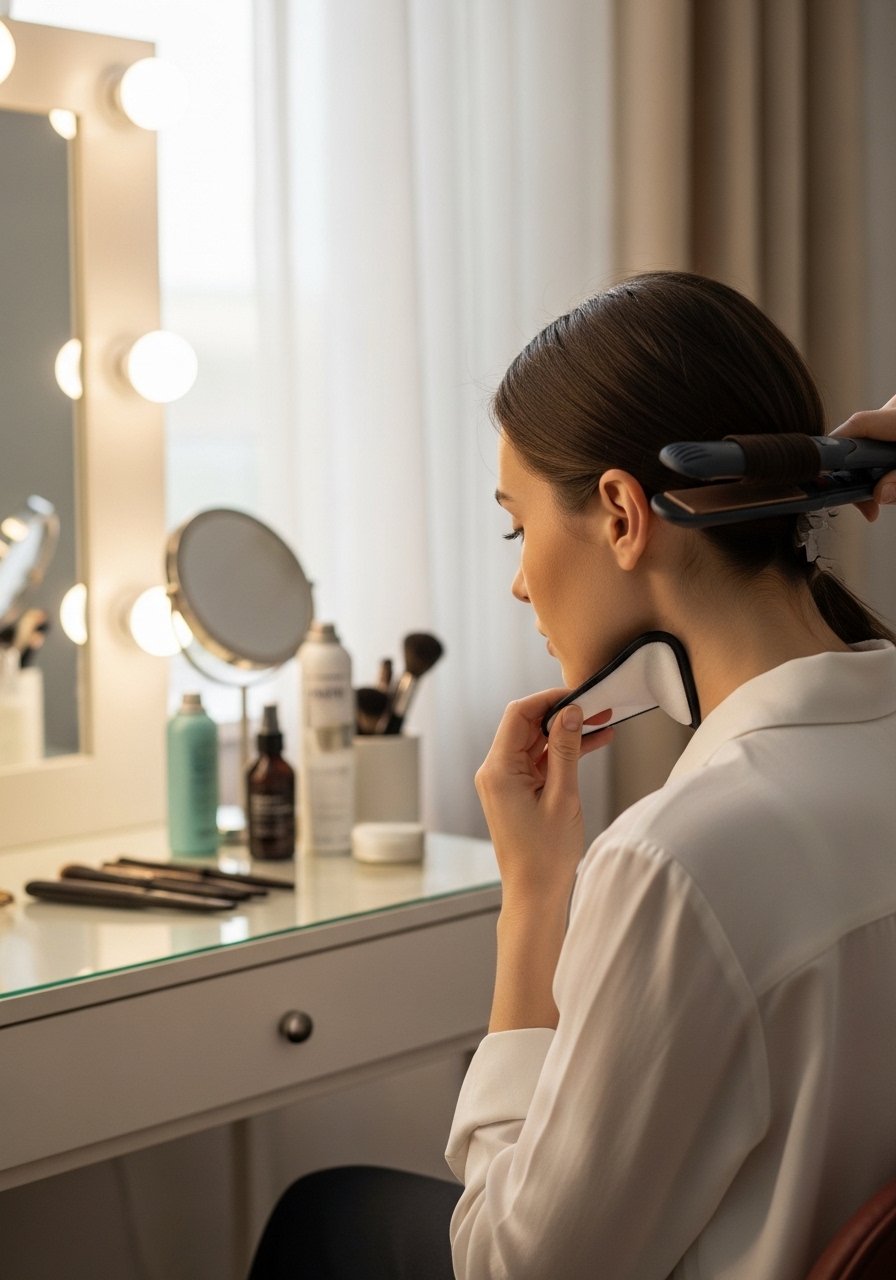
I learned to tuck a heat-resistant cloth at the nape when working the back sections. It stops accidental contact between the iron and skin and keeps the neckline clean of product residue. It’s a safety move that also protects that fragile area of hair which tends to snag and split.
Mistake to Avoid: Don’t neglect the back of the head, it often gets overworked while you focus on the top.
16. Try Heatless Straightening Overnight
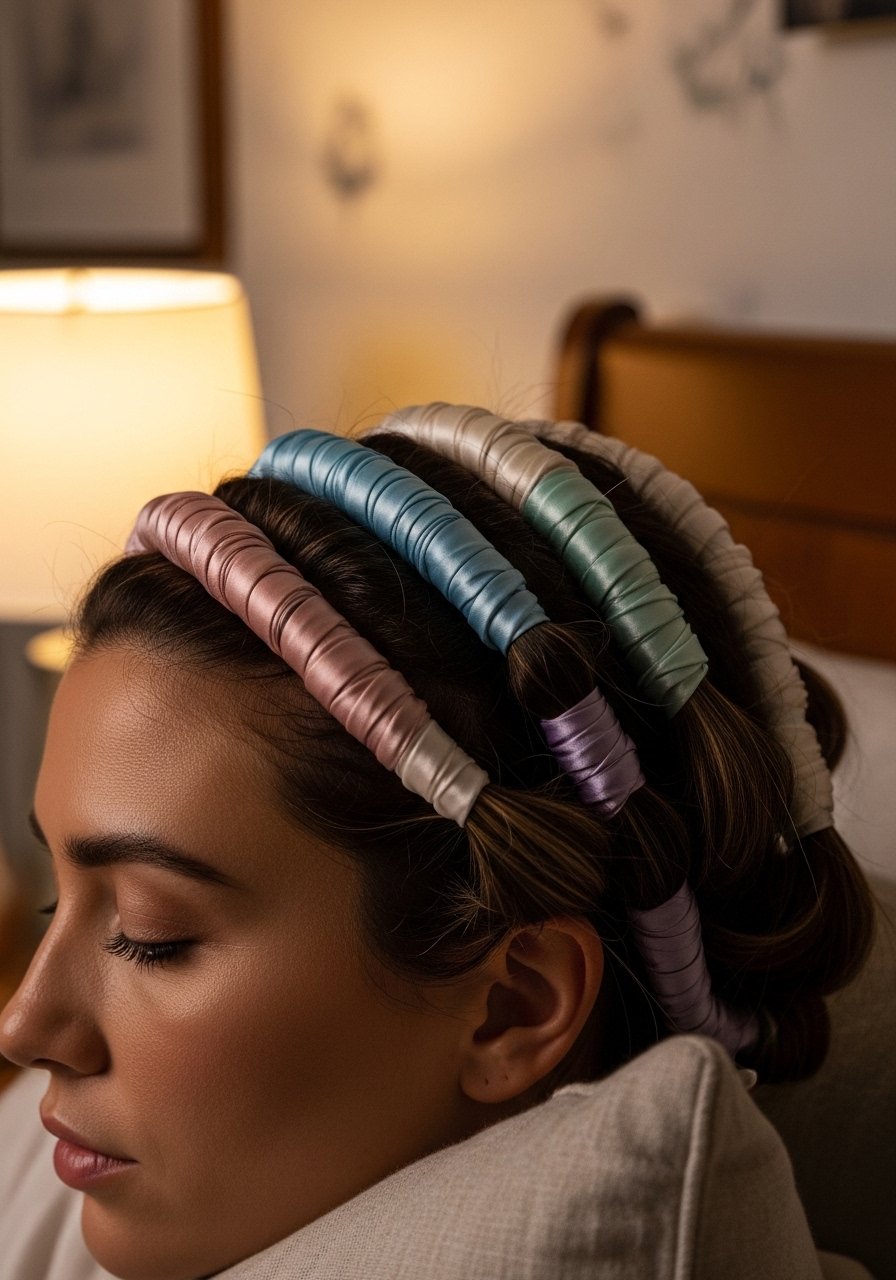
On lazy nights I use heatless banding, wrapping damp hair with soft bands so it dries straighter. It took a few tries to get it smooth enough, but when it works I wake up with relaxed, straighter hair and I don’t need a heat touch-up. Use a light leave-in and a microfiber towel before you band for best results.
Mistake to Avoid: Don’t start with soaking wet hair, it won’t dry evenly overnight.
17. Cool Down Each Section After Ironing
I let each section cool for ten seconds after ironing before touching or styling. That helps the straightened shape set. I noticed styles stayed sleeker longer when I chilled hair between passes. It’s a small patience move that reduces the temptation to reheat the same area.
Mistake to Avoid: Don’t spray wet products immediately after ironing, it breaks the seal.
18. Use a Straightening Brush for Quick Touch-Ups
For quick touch-ups I use a straightening brush on low heat. It covers larger sections and is gentler than a flat iron for smoothing flyaways. I keep one in my bag for travel and noticed it halves the need for full flat-iron sessions. Pair with a heat-protectant-spray for best results.
Mistake to Avoid: Don’t use a brush at high speed on wet hair, it tugs and causes breakage.
19. Limit Washing to Preserve Natural Oils

I stopped washing daily and the natural oils helped smooth my hair, reducing the need for aggressive heat styling. On second or third day I can usually refresh with a quick brush-through and a tiny serum touch. That small change cut down my overall heat exposure noticeably.
Mistake to Avoid: Don’t overuse dry shampoo to mask oil, it can build up and make hair dull.
20. Use Protein and Moisture Balance
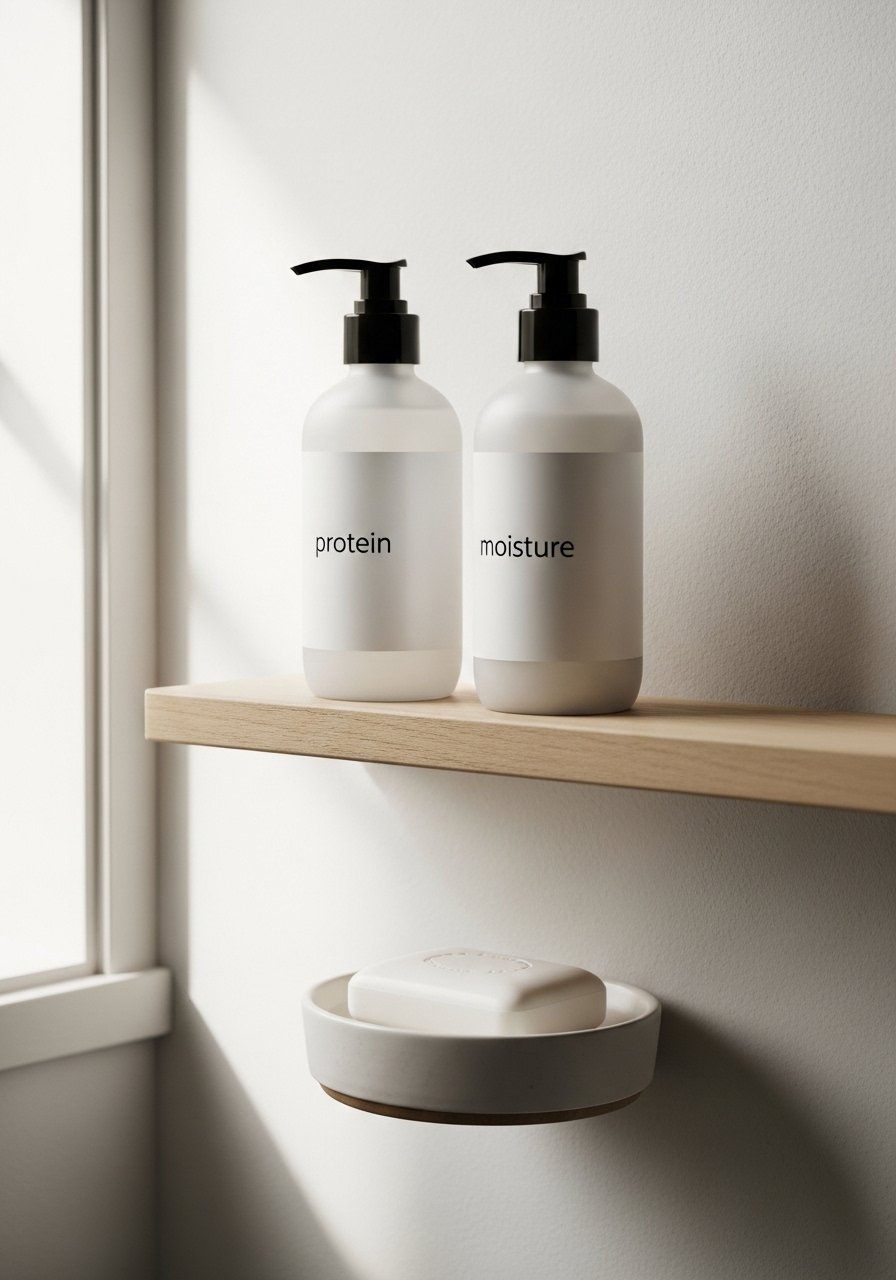
I balance protein-rich treatments with moisture masks. Too much protein made my hair stiff, so I alternate a deep-conditioning-mask with a reparative protein treatment. After tuning the ratio, straight styles held better and felt healthier. It’s about matching what your hair is asking for.
Mistake to Avoid: Don’t do back-to-back protein treatments if hair feels brittle.
21. Protect Hair From Humidity With a Finishing Spray
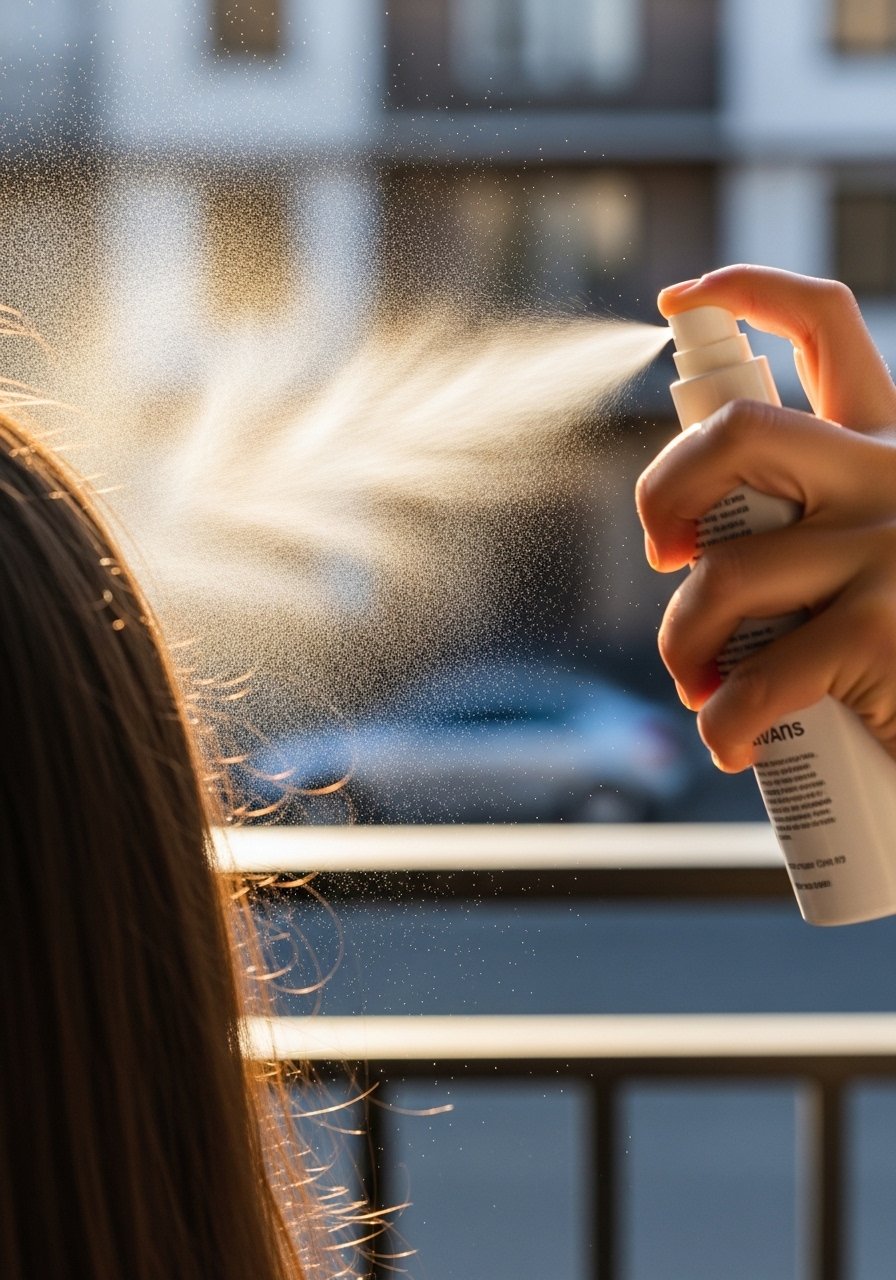
On humid days I mist a light anti-humidity spray over the finished style. It keeps frizz at bay without added weight, and I noticed that sealed styles survive afternoon damp air far better. Use sparingly and reapply only when needed.
Mistake to Avoid: Don’t saturate hair with spray, a light veil is enough.
22. Use a Narrow Plate for Short or Curly Ends
If you have short layers or tight curls at the end, a narrow plate iron gives precision without over-pressing larger areas. I use a small-plate ceramic-flat-iron for trims and short sections. It takes practice, but you get a cleaner finish with less overall heat.
Mistake to Avoid: Don’t try to force long strokes on short bits, work small and controlled.
23. Preheat Iron Properly, Don’t Guess

I wait until my iron reaches temperature before touching hair. That prevents repeated passes while the iron warms up. A digital readout ceramic-flat-iron helps me be patient. It’s a tiny habit that reduces total heat exposure across the whole styling session.
Mistake to Avoid: Don’t use the iron before it’s fully heated, it causes uneven straightening.
24. Keep Hands Off Too Much Styling Product
I used to glob on products, thinking it would help. In reality too much product leads to buildup and forces higher heat to compensate. I now use pea-sized amounts of serum and a light spray only where needed. Hair feels lighter and straightness lasts longer.
Mistake to Avoid: Don’t over-apply weighty creams before ironing, they attract heat and look flat.
25. Try Steam Smoothing in the Shower First

A trick I tried was a steam-first routine: hot shower steam before a smoothing mask helps slightly relax waves. After pat-drying and treating, the final flat-iron pass required less heat. It won’t replace a proper keratin, but it gave temporary ease and reduced ironing time.
Mistake to Avoid: Don’t over-steam or leave heavy products in too long, it can weigh the hair.
26. Use a Heat Mat for Your Tools
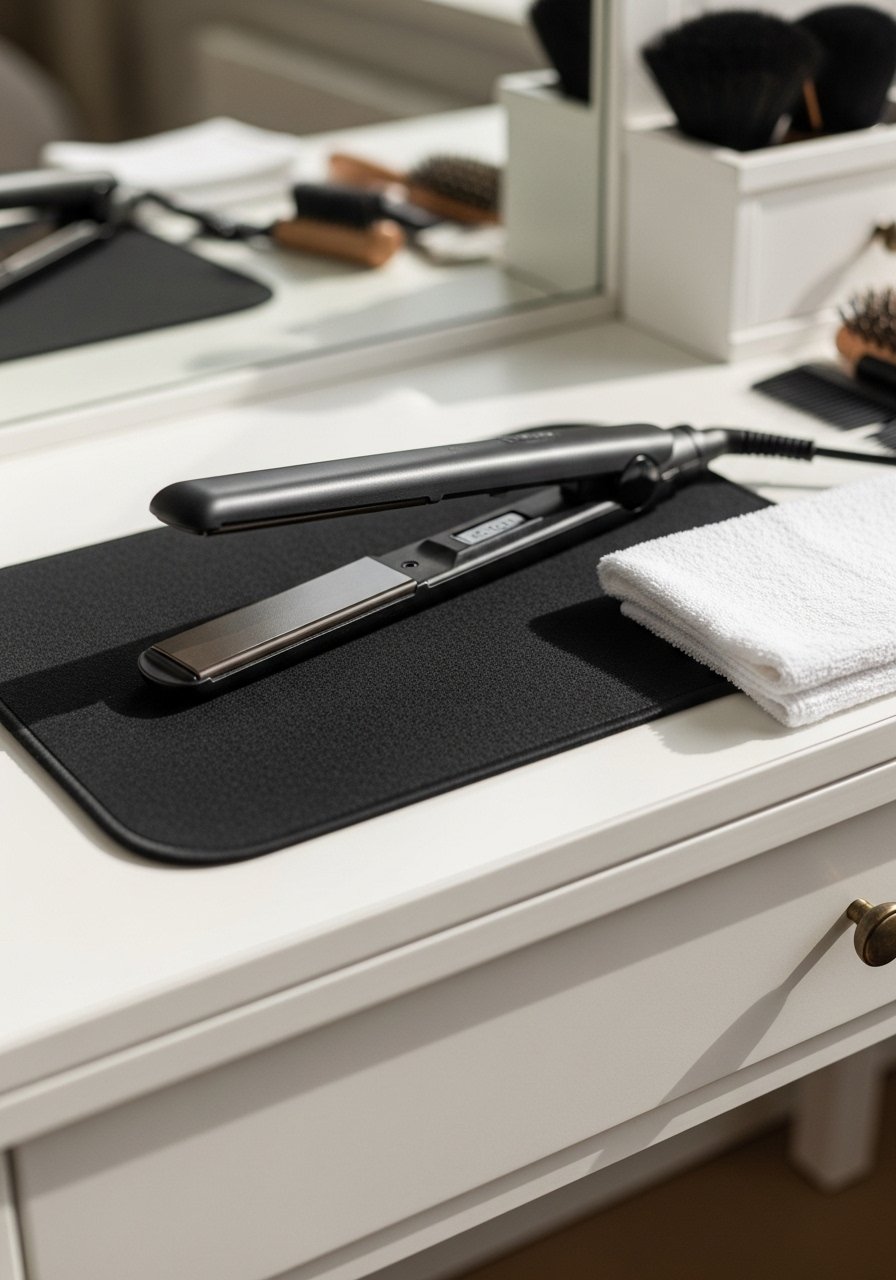
I keep a heat mat on my counter to rest the iron safely and keep the plates clean. It prevents melting or product transfer onto surfaces, which can later become plate residue. It sounds small, but it keeps your tools performing correctly longer.
Mistake to Avoid: Don’t rest the iron directly on countertops or fabrics that can burn.
27. Limit Frequency, Rotate Styles
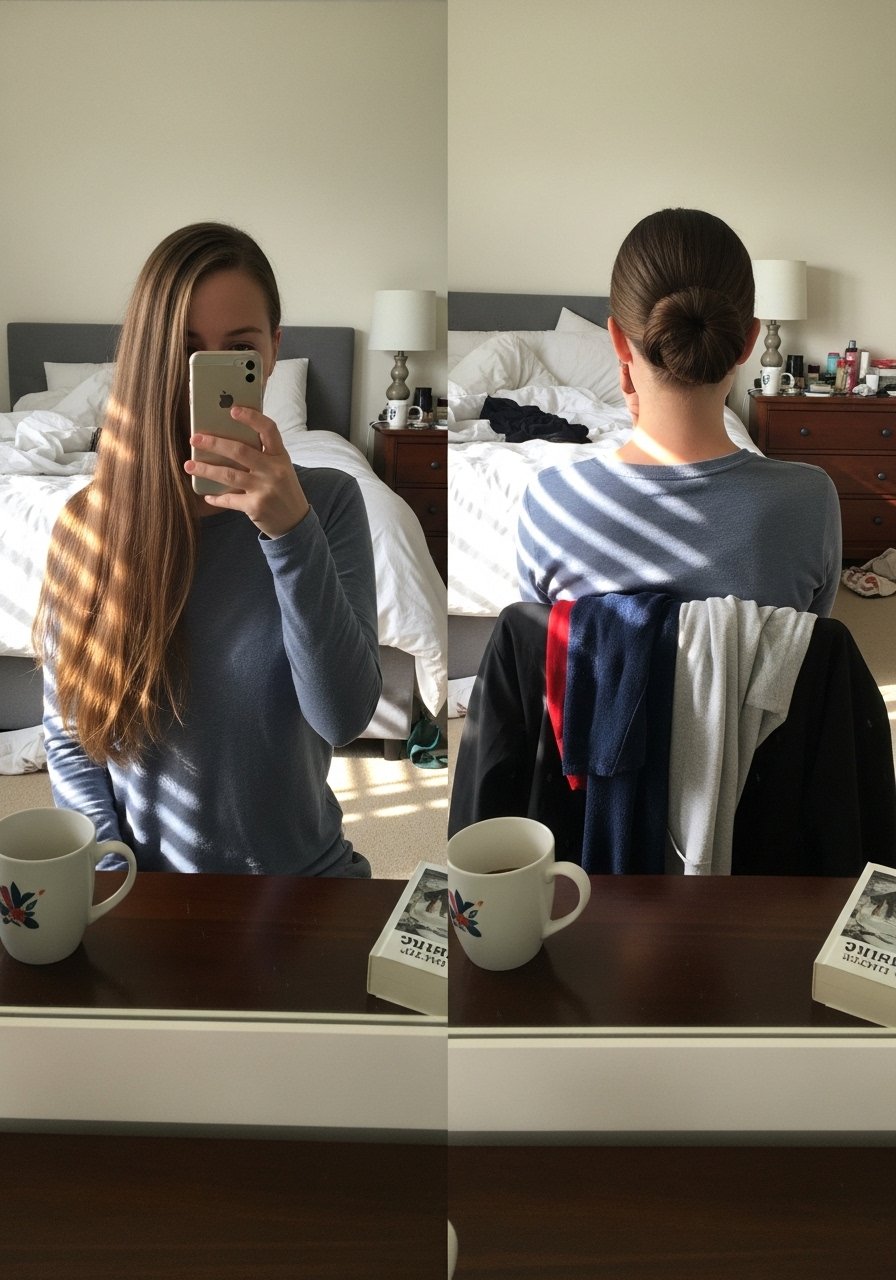
I rotate between straight, low buns, and loose waves to give hair breaks. Straightening every day was the fastest route to damage. Now I aim for 2 to 3 straight styles per week and protective styles in between. It helps maintain length and reduces cumulative heat stress.
Mistake to Avoid: Don’t heat-style daily as a default, schedule lower-heat days.
28. Consider a Gentle Salon Smoothing Treatment
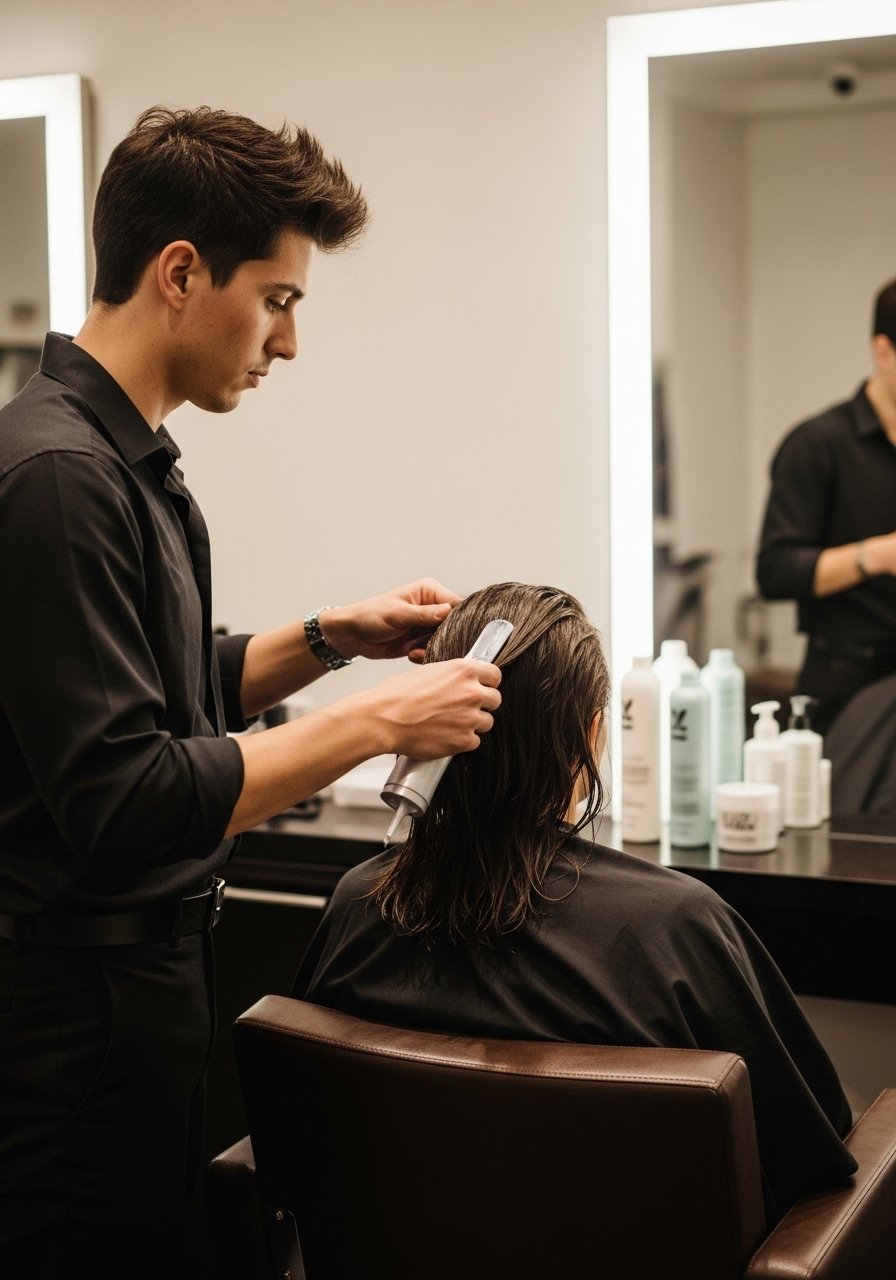
If you want longer-lasting smoothness, talk to your stylist about a gentle smoothing or bond-repair service that reduces frizz without harsh chemistry. I tried a mild salon option and needed fewer at-home sessions afterward. Check the ingredient list and ask for a patch test if you are nervous.
Mistake to Avoid: Don’t book an intense chemical straightening without discussing long-term effects and aftercare.
Hair Styling Tips
Prep with a leave-in detangler: Apply a light leave-in and comb through before any heat, it reduces snags and speeds up styling with a heat-protectant-spray.
Use cool air to set styles: Finish blow-drying with a cool shot from your ionic-hair-dryer to seal cuticles and lock shape.
Carry a travel-size serum: A tiny smoothing-serum in your bag fixes flyaways fast without needing heat.
Schedule deep conditioning monthly: A weekly or bi-weekly deep-conditioning-mask keeps texture manageable and reduces heat reliance.
Be patient with temperature adjustments: Start low and move up slowly during styling, I found this reduces damage across time and keeps hair looking fuller.
