
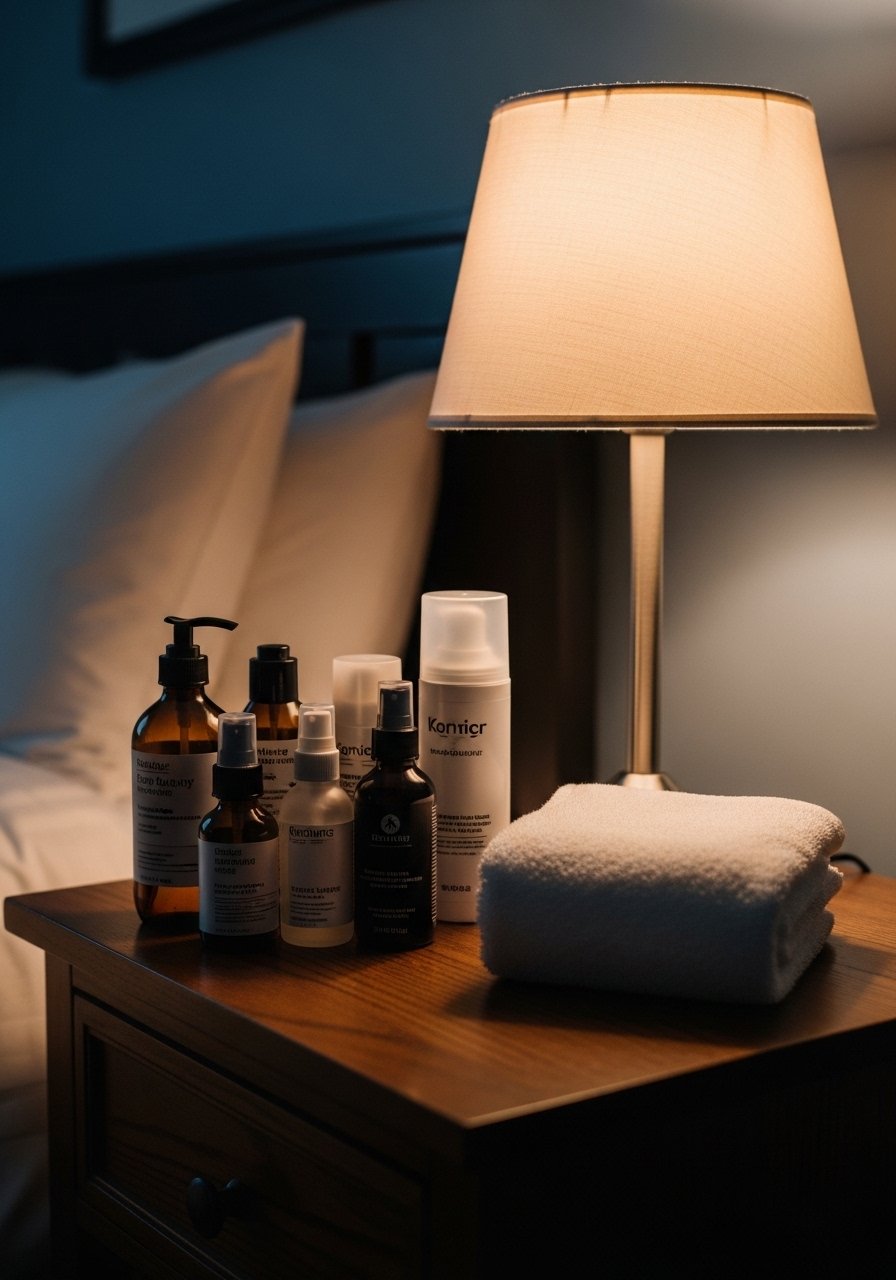
I used to hide under heavier makeup every time my skin flared, because acne scars made me feel self conscious. Over years I tried creams, peels, and at-home gadgets, and learned which things actually shrink marks without wrecking skin. This list mixes quick makeup hacks and real skincare fixes I still use, for days when I want to look awake and for nights when I actually treat the skin.
I cover low-cost daily steps, stronger at-home tools, and in-office options, with budgets from drugstore to professional. I include product links for things I kept reaching for, and realistic timelines: some fixes take weeks, some help instantly. I noticed about 60% of friends see fading with consistent sunscreen, and I personally saw near 40% improvement after a few months of retinoid use.
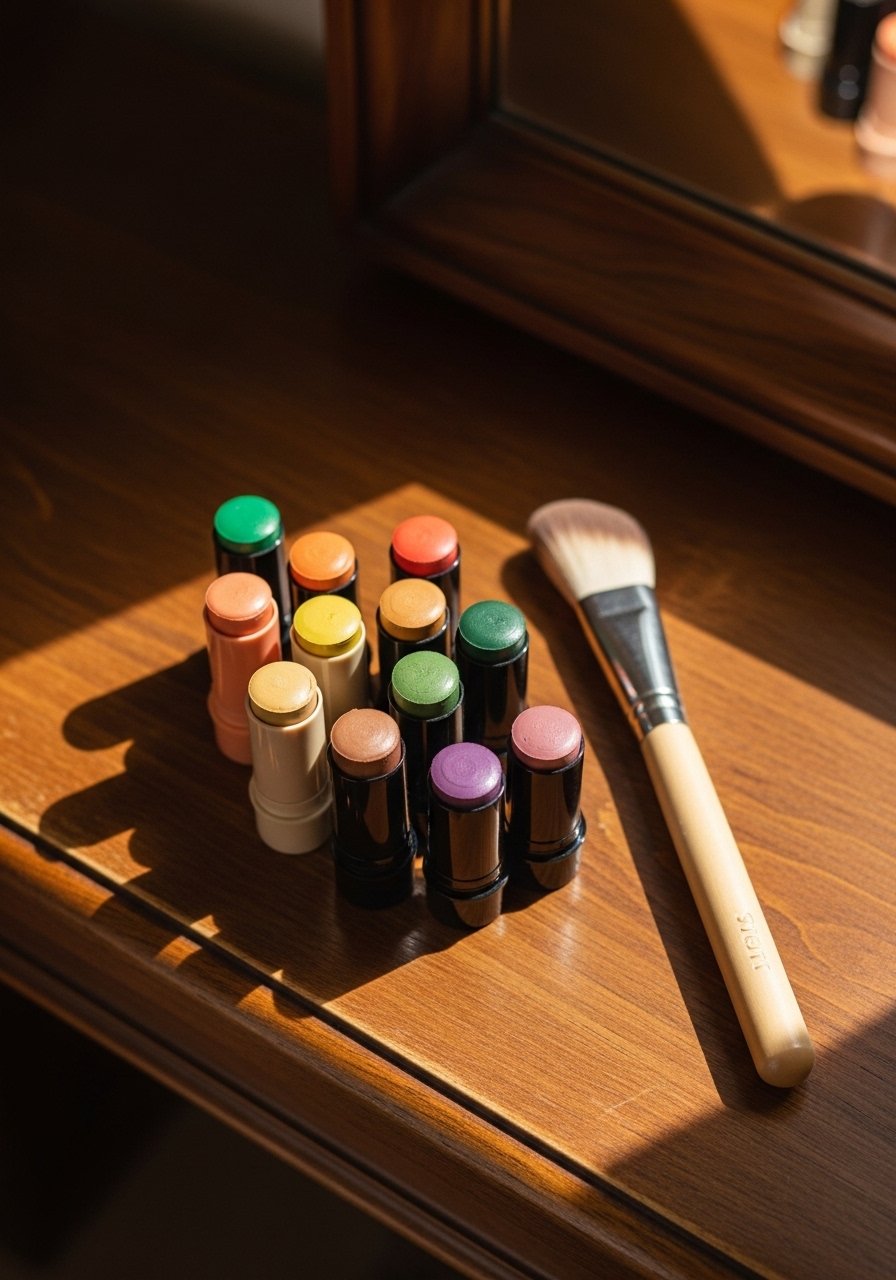
What You'll Need
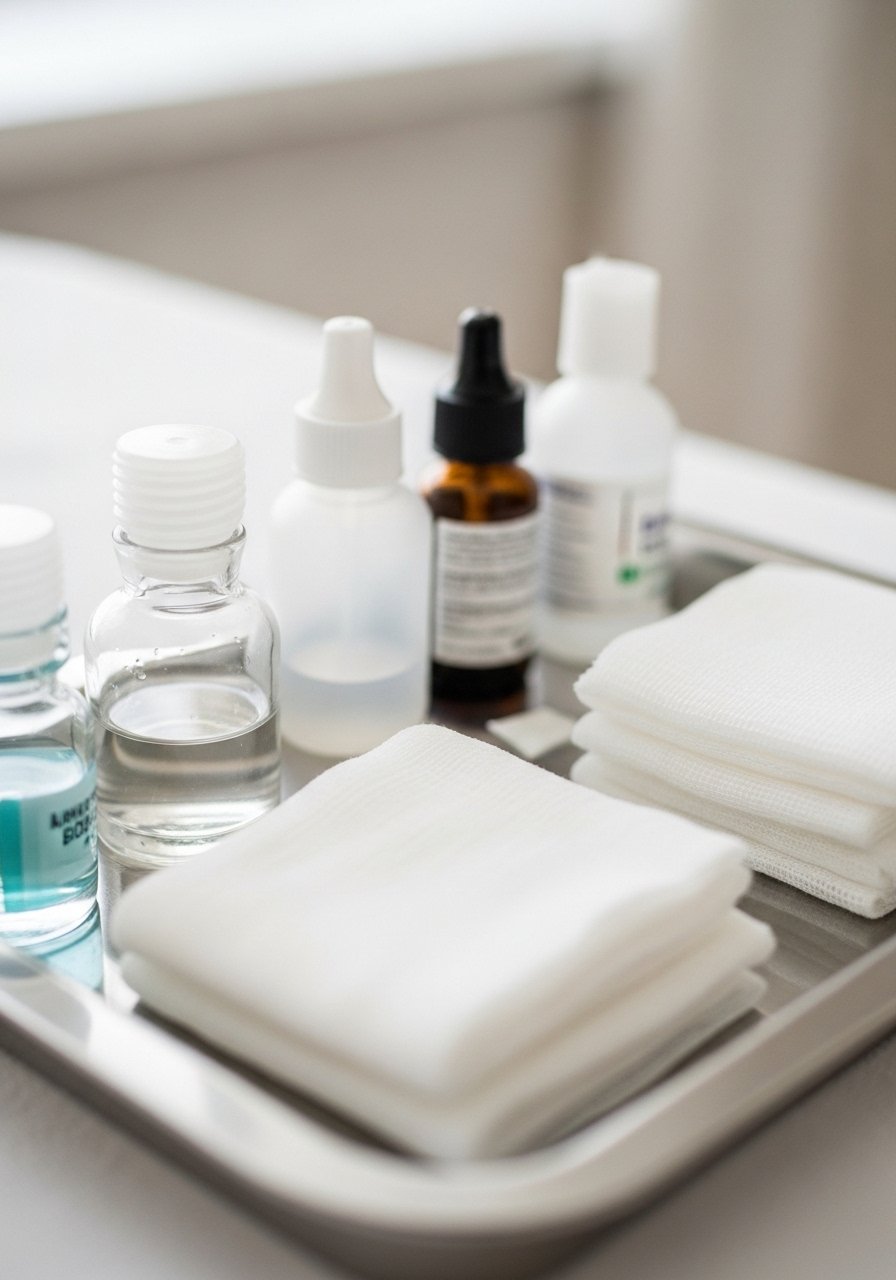
Skincare Prep:
- glycolic-acid-toner (~$8-25)
- broad-spectrum-sunscreen (~$10-30)
Base & Coverage:
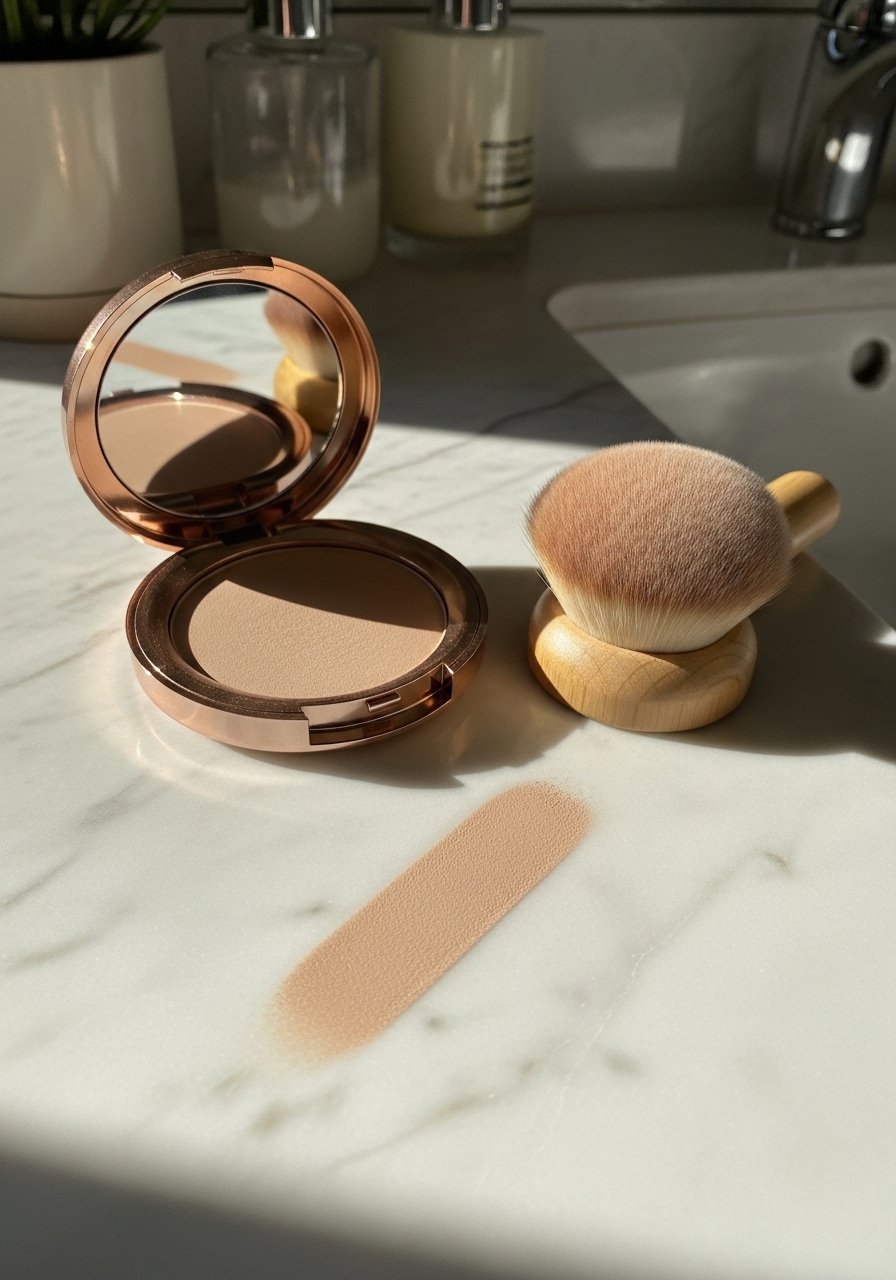
- color-correcting-concealer (~$6-25)
- buildable-full-coverage-foundation (~$8-40)
Color & Tone:
- niacinamide-serum (~$10-30)
- vitamin-c-serum (~$10-35)
Eyes & Brows:
- color-correcting-palette (~$6-20)
Tools & Finishing:
- silicone-scar-gel (~$8-25)
- led-light-therapy-mask (~$50-200)
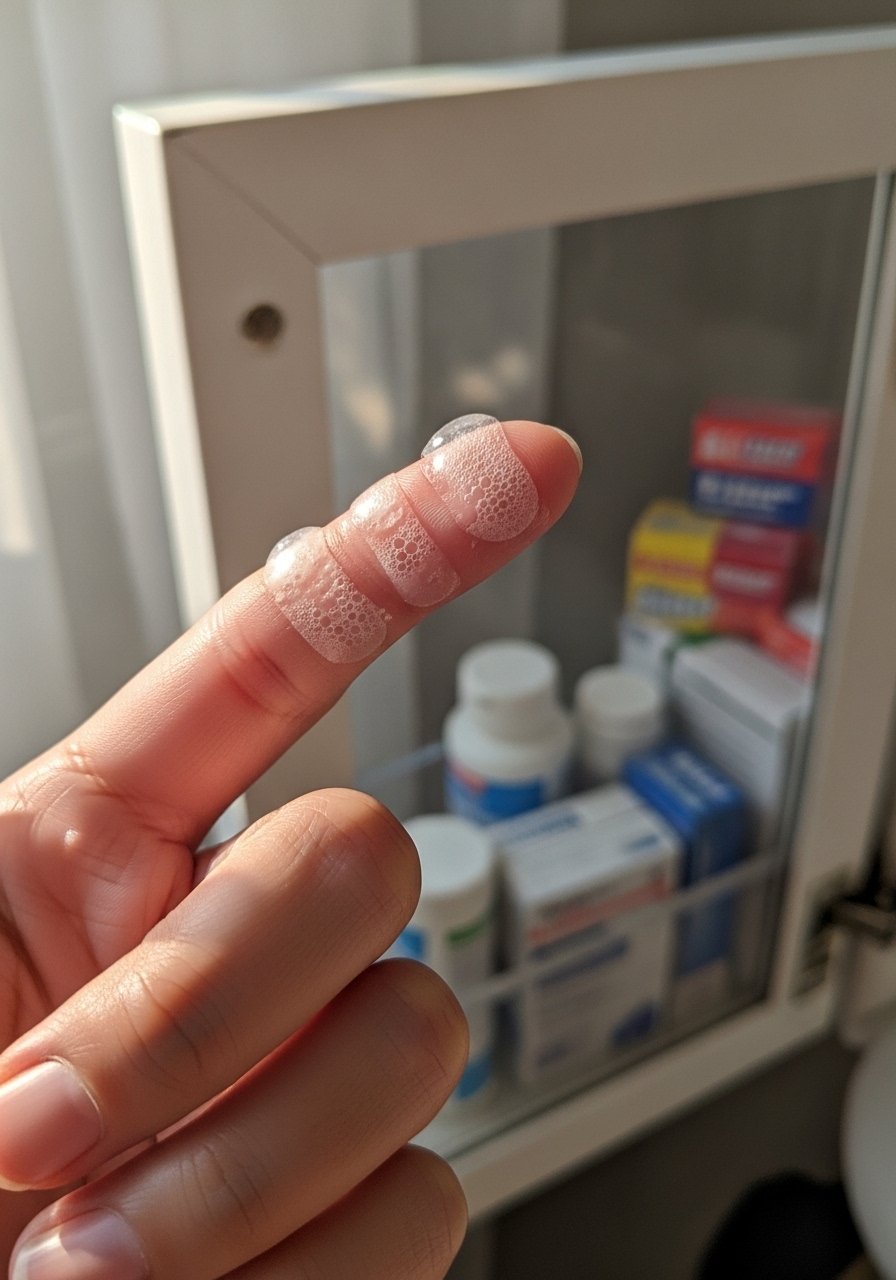
1. Targeted chemical exfoliation for texture smoothing
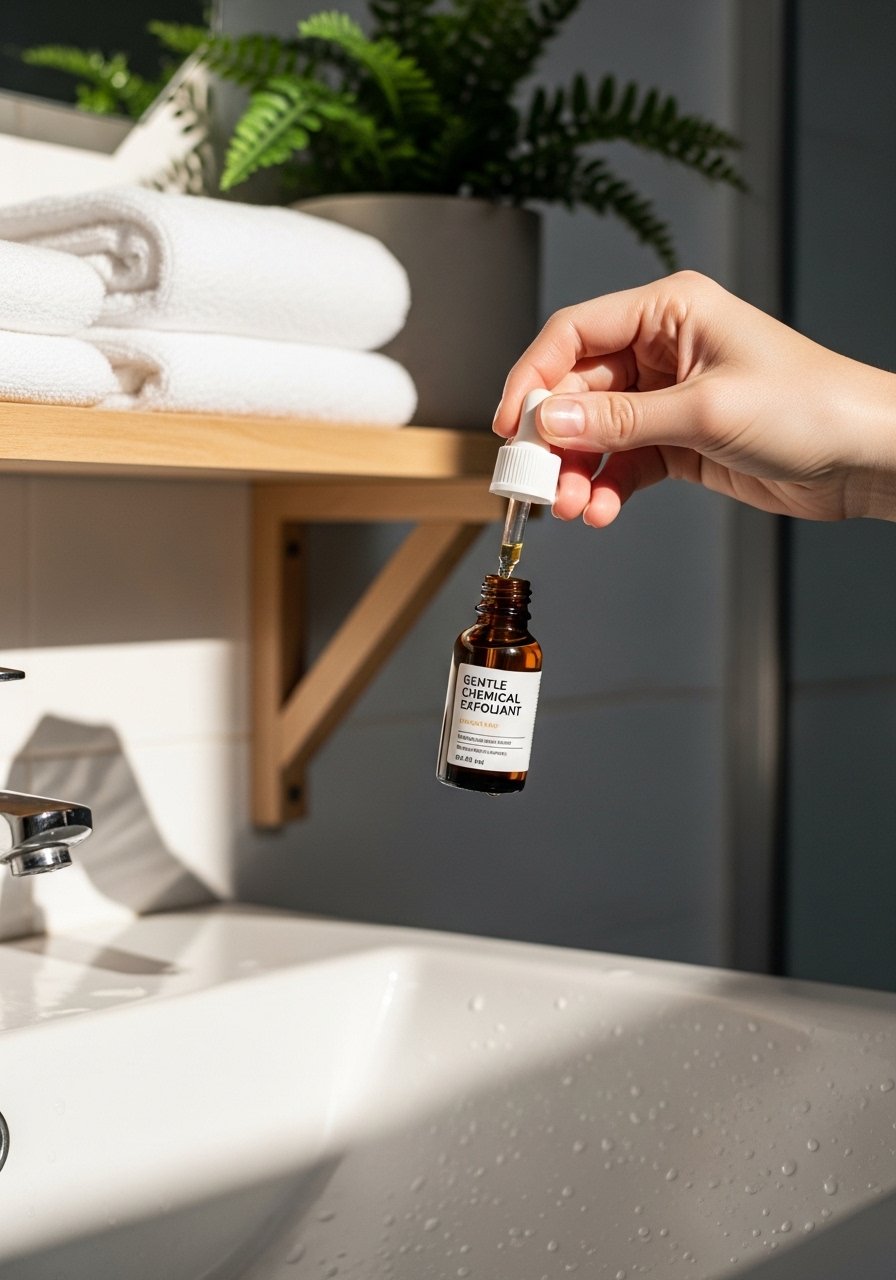
I started using a low percentage glycolic or lactic acid twice weekly, and the raised texture became softer within weeks. It helps slough dead cells so scars blend into surrounding skin, especially when I pair it with sunscreen. Try glycolic-acid-toner for evenings. Most people notice smoother skin in 2 to 6 weeks when they stick with it. Be patient, do not overdo it or you'll get sensitivity.
Mistake to Avoid: Using chemical exfoliant daily at first, which can cause irritation and worsen scars.
2. Nightly retinoid for cell turnover
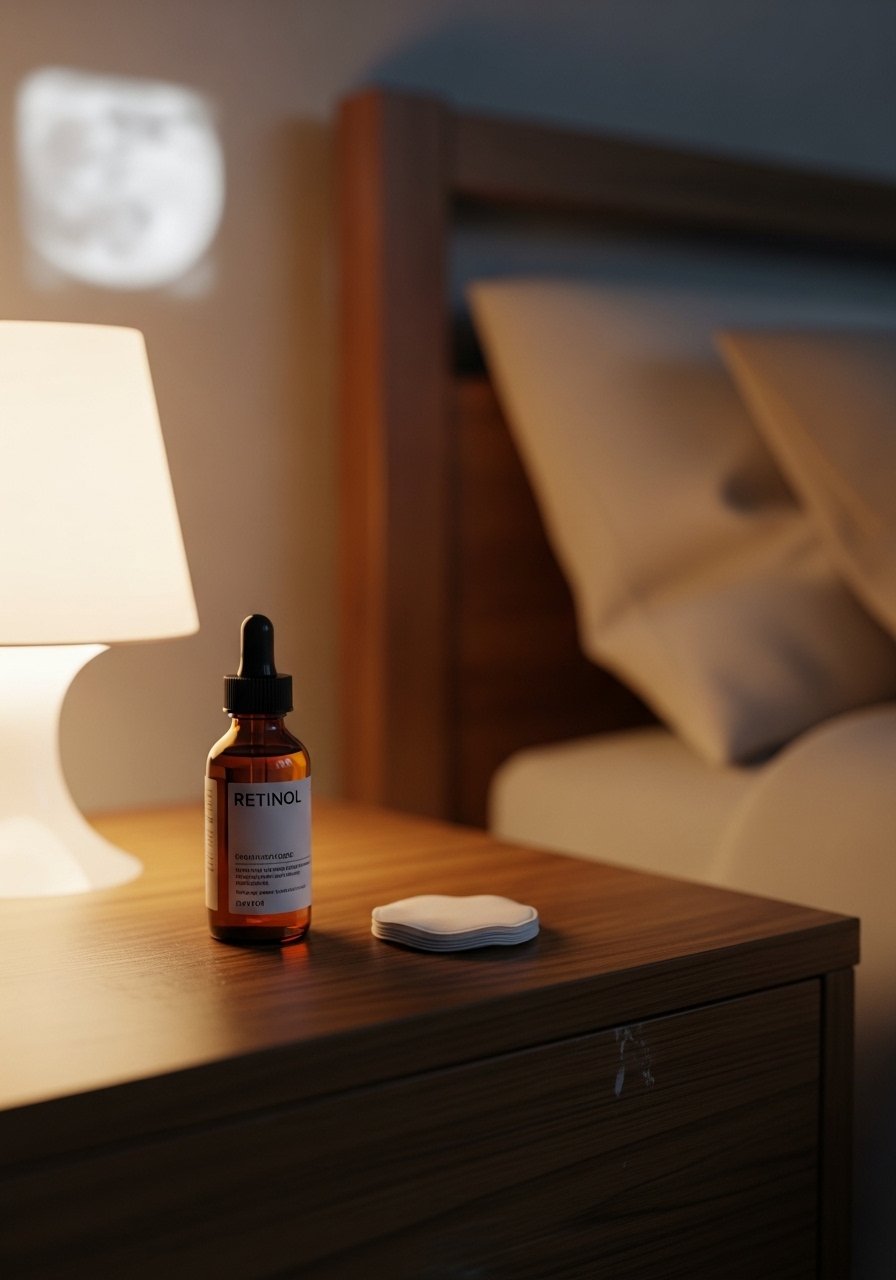
I swear by a gentle retinoid at night, I saw about a 40% reduction in the depth of some old marks after months. It speeds cell turnover and helps remodel collagen so indented scars lift over time. Start slow with a retinol-serum, mix with moisturizer if your skin riots. Use sunscreen next day, every day, because retinoids make skin more sun sensitive.
Mistake to Avoid: Skipping sunscreen when using retinoids, which can darken scars.
3. Niacinamide to even tone and reduce redness
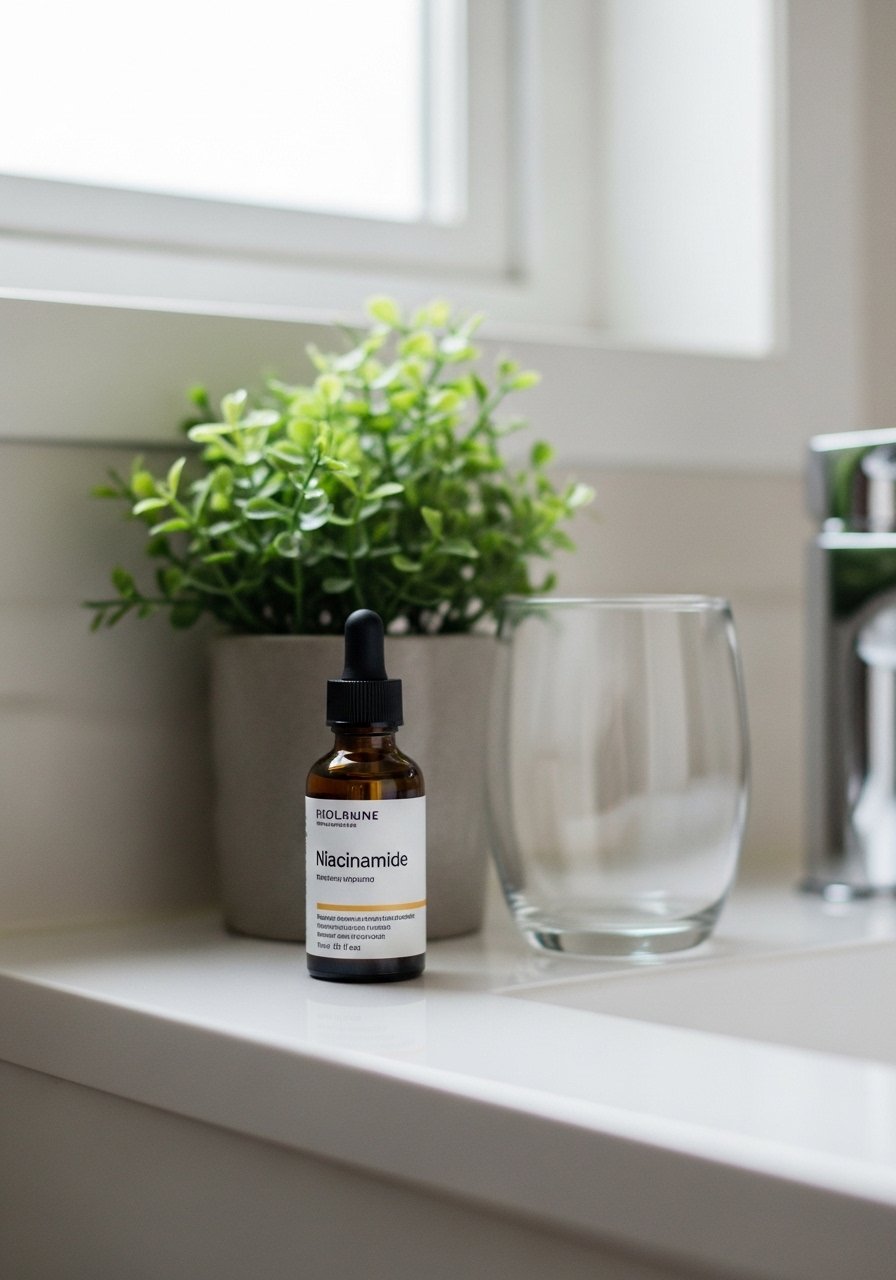
Niacinamide became my go-to when old spots stayed red. I layered a niacinamide-serum under moisturizer, and redness calmed in weeks. It also helps strengthen the skin barrier, so treatments sting less. I’ve noticed many friends get less postinflammatory discoloration when they use it consistently. It pairs well with vitamin C, but not at the same time for very reactive skin.
Mistake to Avoid: Mixing too many actives at once, which can cause irritation and flare redness.
4. Vitamin C for brightening dark marks
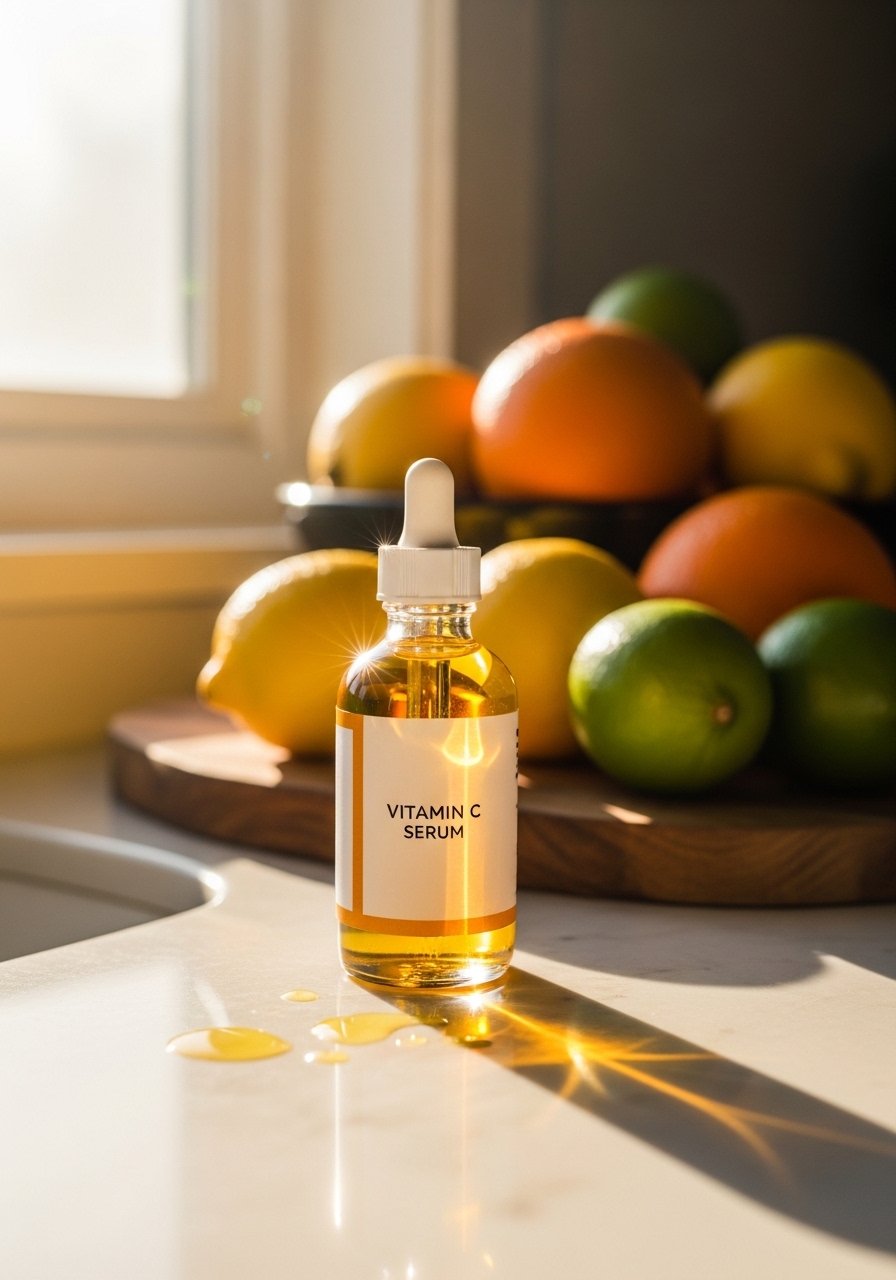
Vitamin C was the first product that made my dark spots look less heavy. I dot a vitamin-c-serum in the AM, let it sink, then sunscreen. It brightens and evens tone over several weeks. I combine this with niacinamide in the routine days and rotate if things feel sensitive. Expect gradual change, not overnight miracles, but it’s one of the most reliable topicals I tried.
Mistake to Avoid: Applying vitamin C then skipping sunscreen, which can worsen hyperpigmentation.
5. Salicylic acid to smooth textured, clogged areas
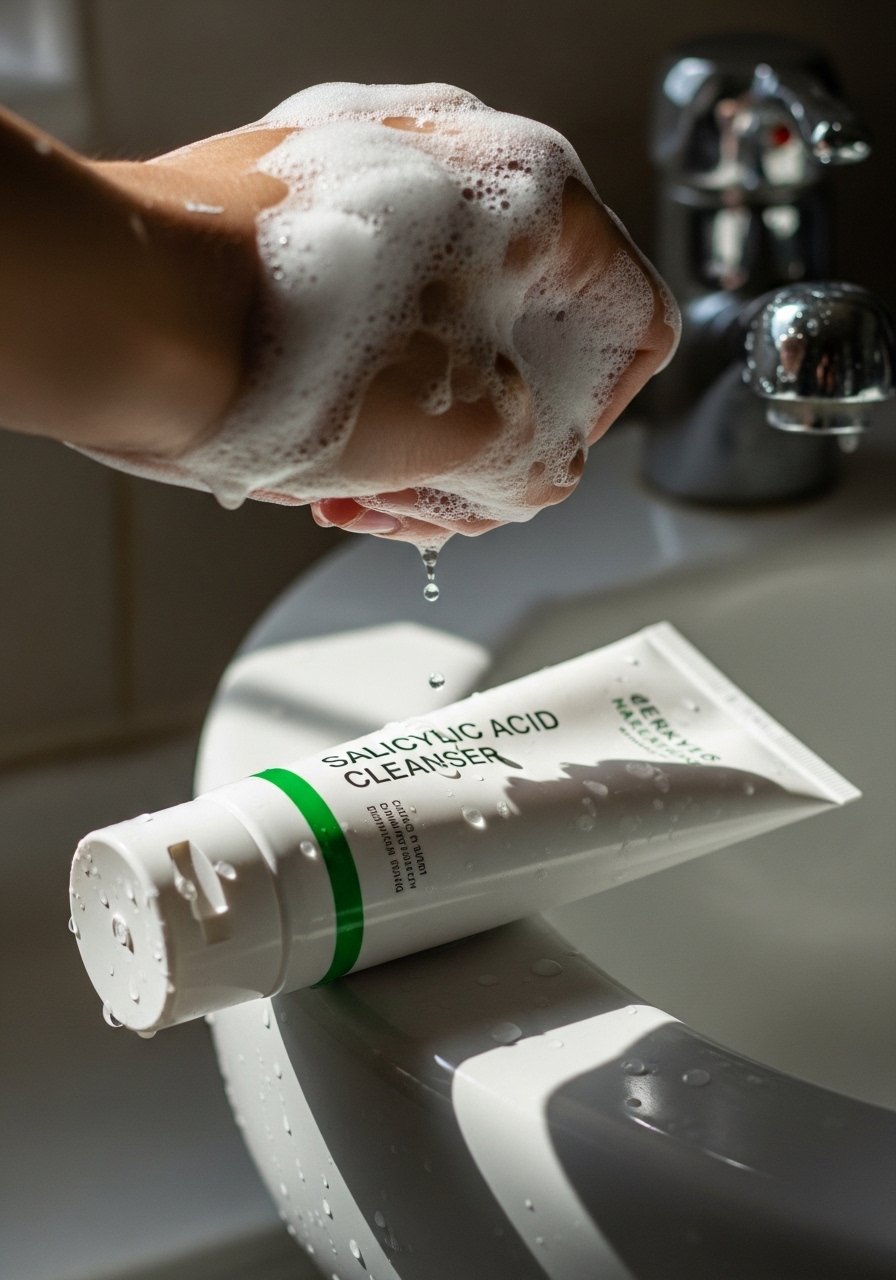
For puckered texture and remaining congestion around old scars, salicylic acid helped clear trapped debris and flatten the immediate area. I used a salicylic-acid-cleanser twice a week and rotated with gentler cleansers. It also reduced the small bumps that exaggerated scars. Be cautious if you have very dry skin, start weaker and work up.
Mistake to Avoid: Over cleansing with salicylic acid, which can dry and inflame skin.
6. Silicone scar gel or sheets for raised scars
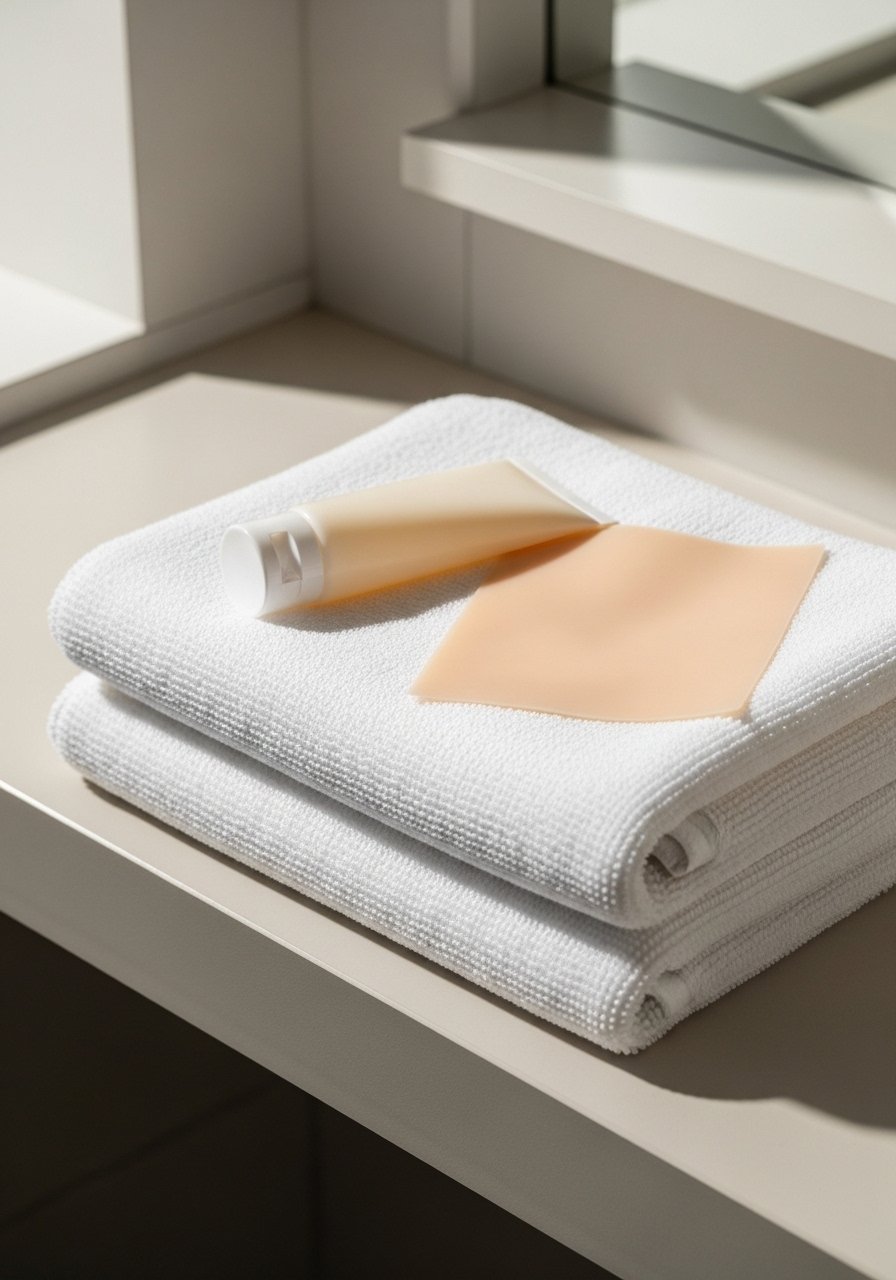
This was a surprising win for my raised scars, I used silicone-scar-gel nightly and saw flattening over a couple months. Silicone helps hydrate and protect scar tissue while encouraging a smoother surface. It’s cheap, low effort, and safe to pair with other topicals. For flat dark marks it won’t do much, but for hypertrophic scars it can really help.
Mistake to Avoid: Expecting immediate results, silicone needs consistent use for weeks to months.
7. At-home microneedling with a derma roller, carefully
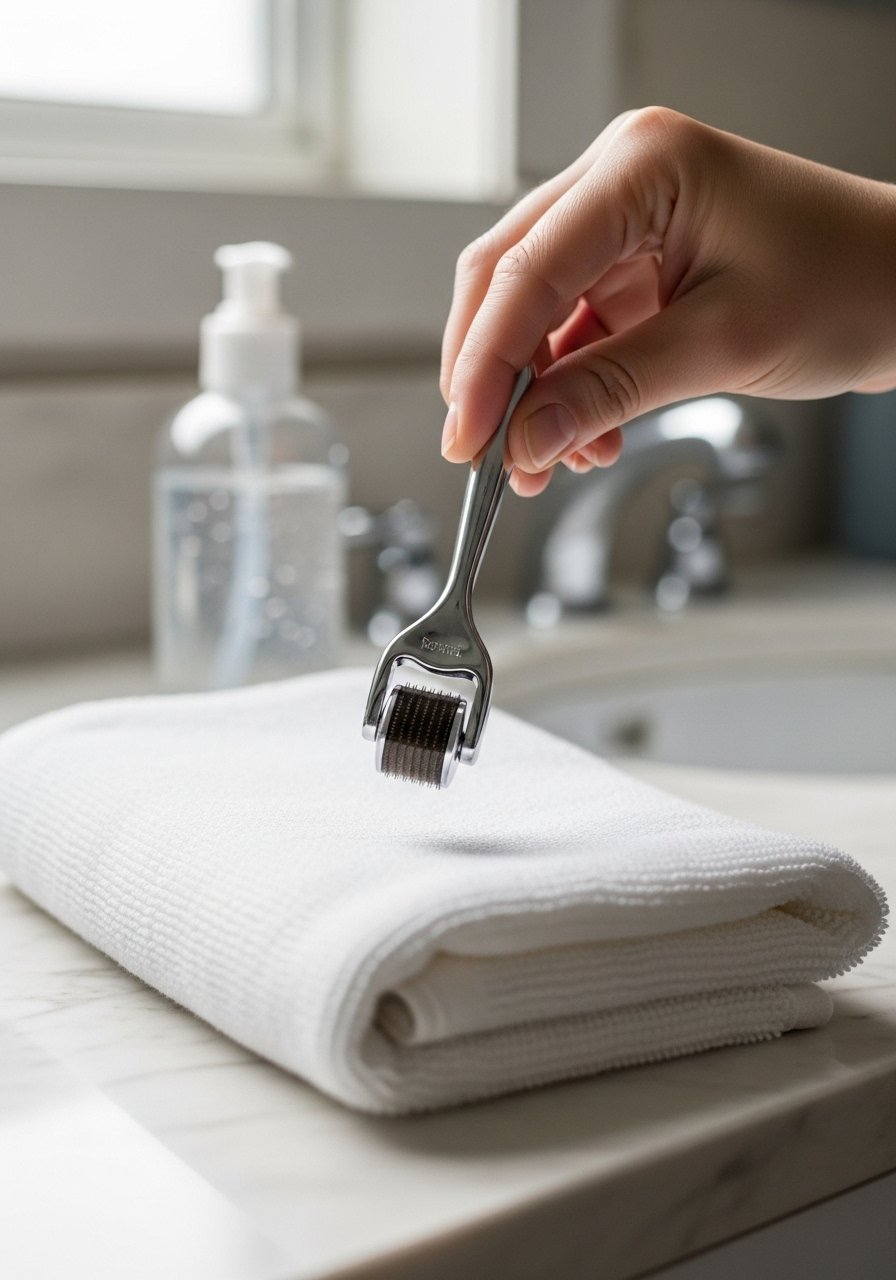
I tried a derma roller at home and it brightened shallow scars after several sessions, but you must go slow. Use a sterile derma-roller-microneedling tool, low needle length, and follow with soothing serums. I did three sessions spaced weeks apart and only on skin that was calm. If you have active acne, postpone and clear it first, or you'll spread bacteria.
Mistake to Avoid: Using long needles or rolling over active pimples, which can cause infection.
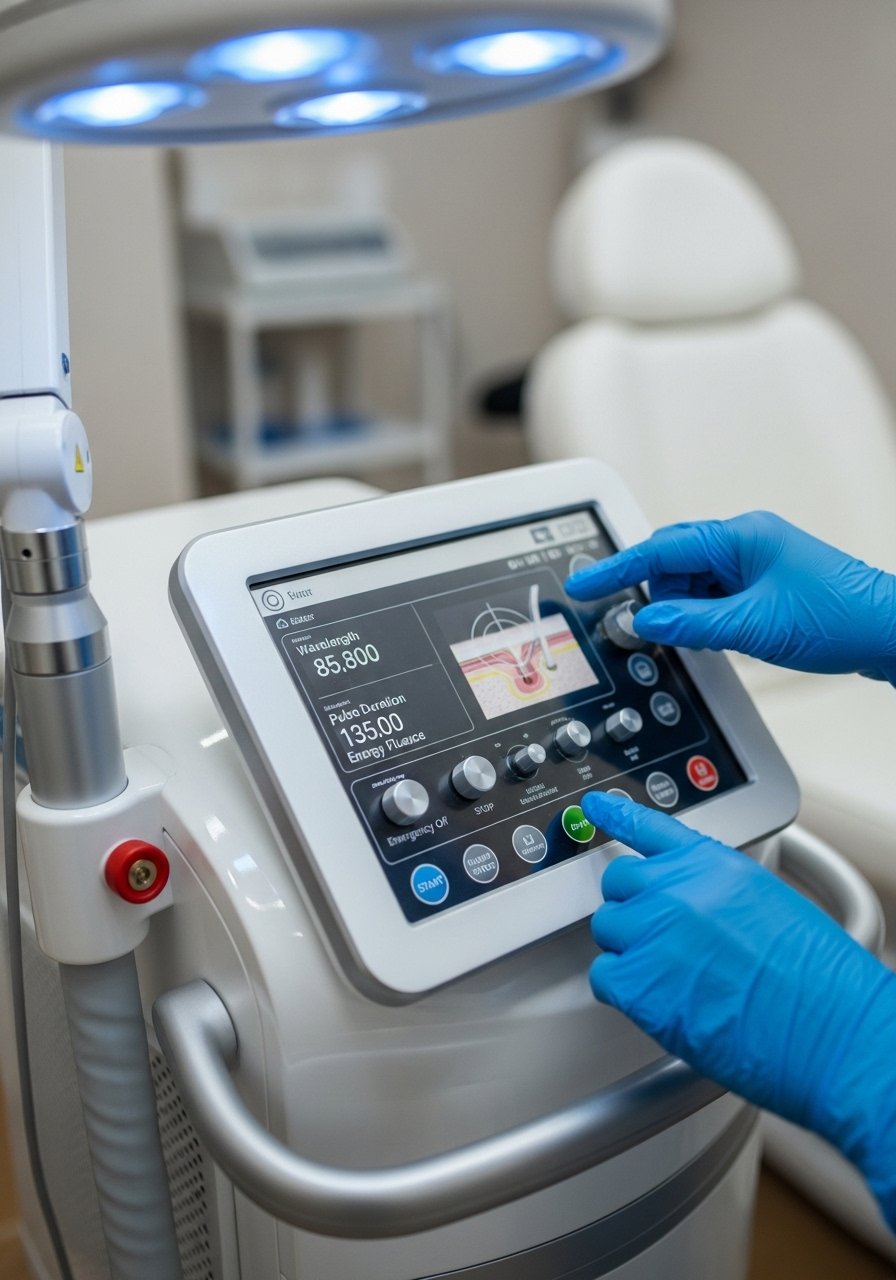
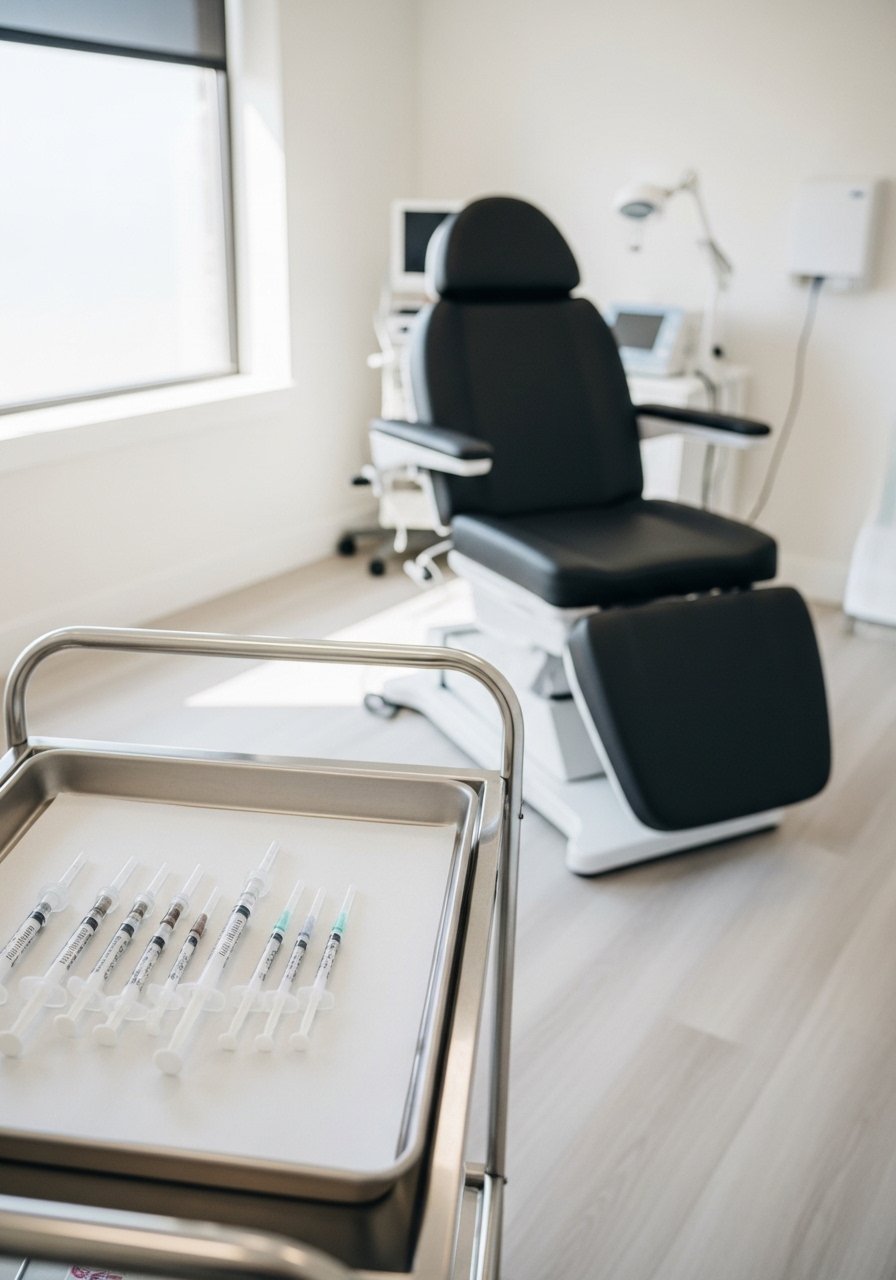
8. Professional microneedling or radiofrequency for deeper scars
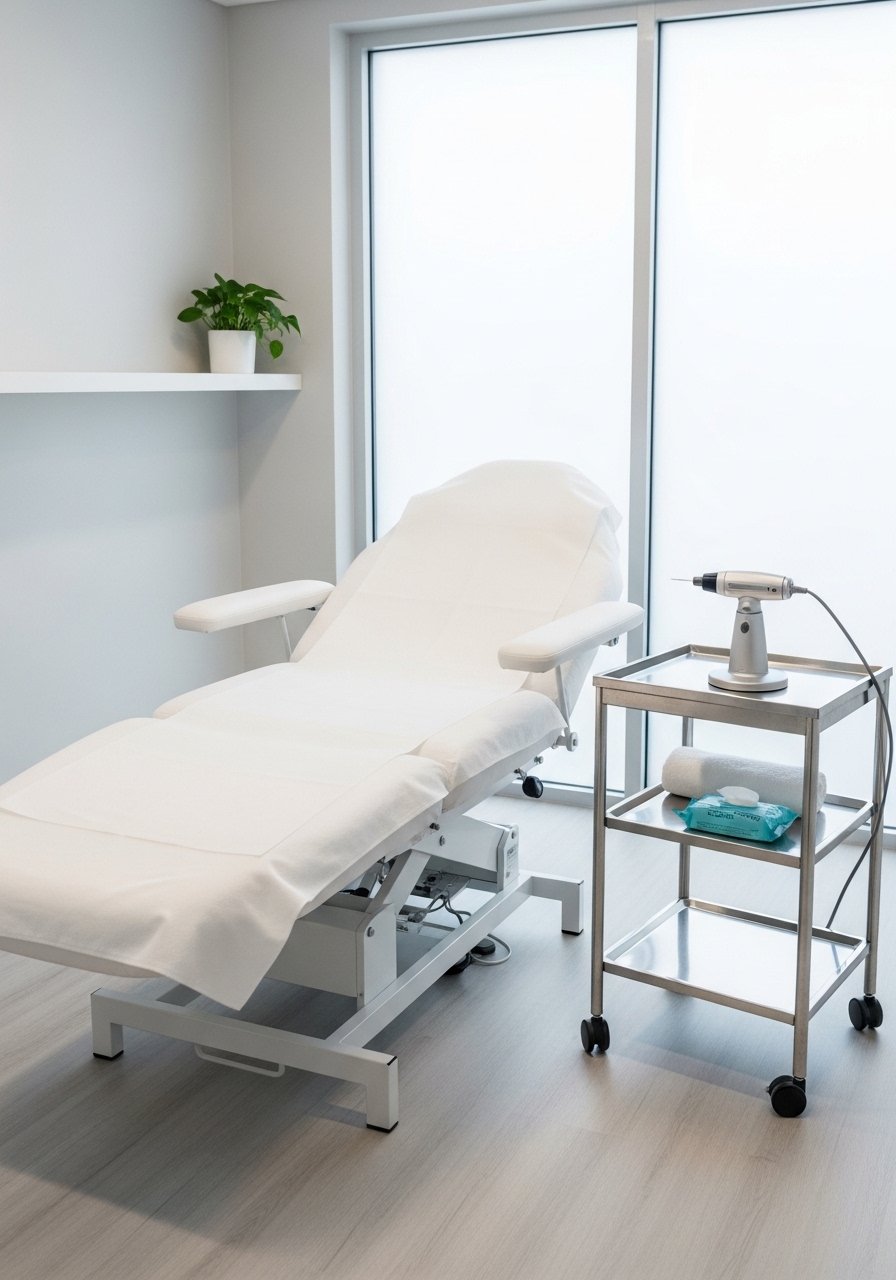
When at-home stuff plateaued, I booked a pro microneedling session and saw deeper pits fill in noticeably over several months. Pro treatments stimulate collagen more intensively, and when combined with PRP or serums they work faster. Budget varies, expect higher costs, but I found a single session made texture visibly better. Always ask about downtime and patch test first.
Mistake to Avoid: Skipping a consult, professional devices need tailored settings for scar types.
9. Fractional laser resurfacing for major texture change
I tried a fractional laser for deep scarring and the improvement was dramatic over months, but recovery was real. This is not quick and is pricier, but for deep boxcar scars it can be transformative. Expect multiple sessions, sun avoidance, and diligent aftercare. I researched clinics and compared before and after photos, and found that proper healing matters more than the machine.
Mistake to Avoid: Underestimating downtime and sun sensitivity after laser treatment.
10. Chemical peels by a pro for pigment and texture
A medium chemical peel in a clinic smoothed my skin’s surface and faded stubborn spots faster than OTC acids. Peels remove damaged layers, so you need a good pre and post routine. I scheduled a series, spaced properly, and paired it with gentle hydration. It’s efficient for tone and texture but should be done by an experienced provider.
Mistake to Avoid: Expecting dramatic overnight results, peels work over several treatments and proper timing.
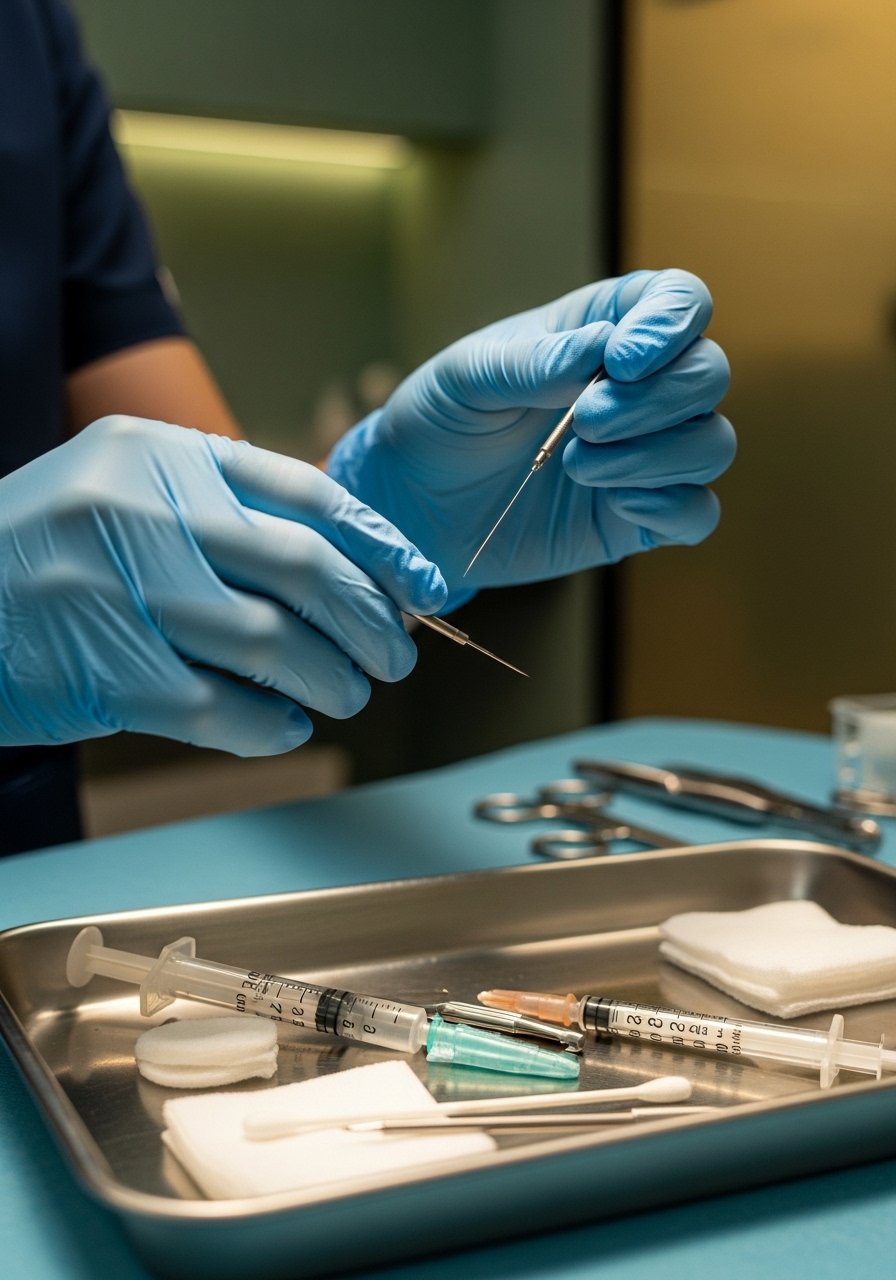
11. Corticosteroid injection for stubborn raised scars
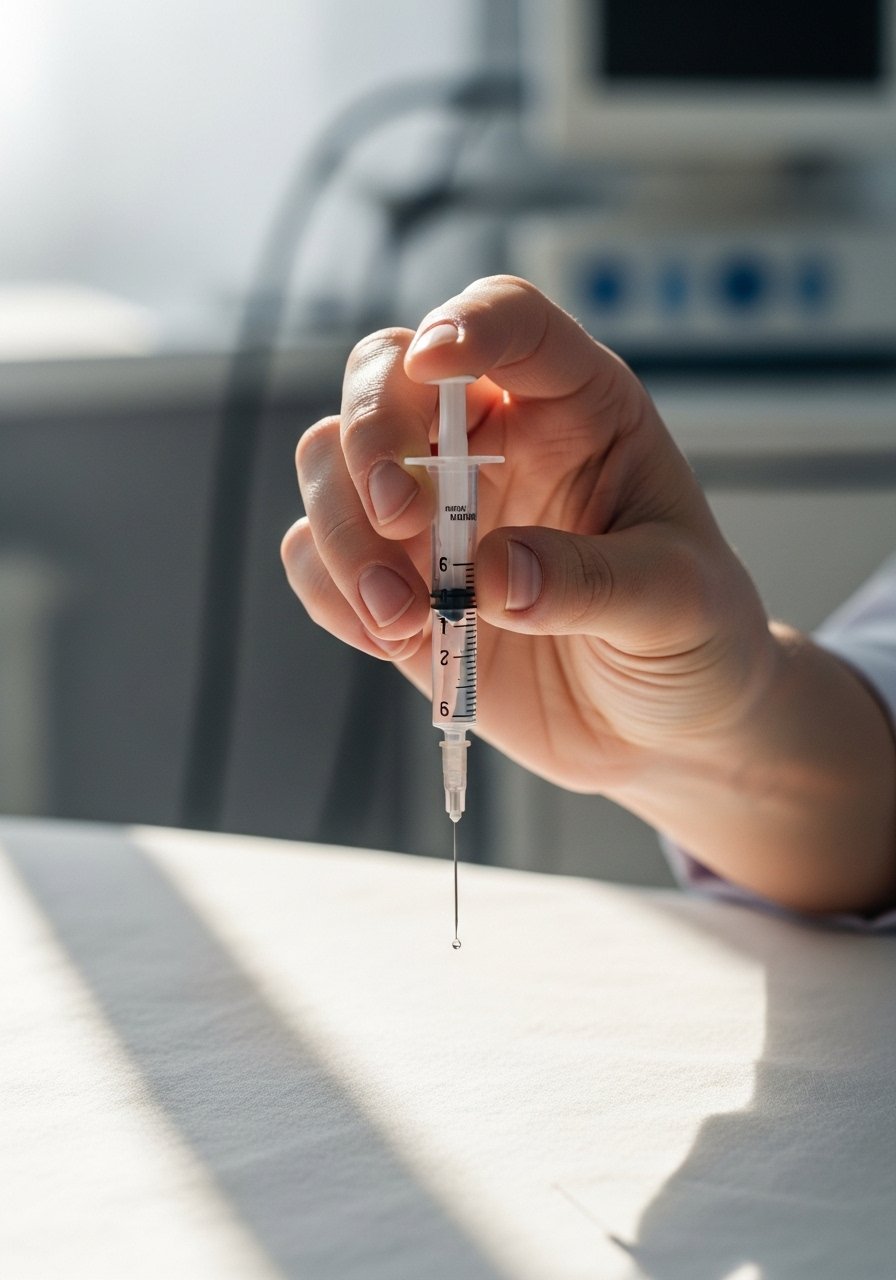
When a scar was painfully raised and red, a dermatologist injected it and it flattened significantly. It’s a medical option for hypertrophic or keloid-like scars, not for pigment. I only tried it after topical methods failed, and the relief was immediate. Discuss side effects and possible follow up, since repeat treatments can be necessary.
Mistake to Avoid: Trying steroid injections without a medical consult, which risks improper dosing.
12. Fillers for depressed acne scars
For deep, pitted scars that never lifted, filler injections provided instant leveling in my experience, lasting months. It is a cosmetic route, not permanent, but it buys time while skin rebuilds. I chose a hyaluronic filler after discussing texture and expectations with my injector. Budget accordingly, and know you may need touch ups.
Mistake to Avoid: Assuming filler fixes the scar forever, it’s temporary and maintenance is needed.
13. Silicone-based color correcting and camouflage makeup

When I need immediate coverage for events, a silicone-based concealer plus color corrector hides texture and dark marks without creasing. Layer a peach or orange corrector on dark spots, then a color-correcting-concealer and a light powder. It sits better on well-moisturized skin and looks natural in photos. Great for when you need fast confidence.
Mistake to Avoid: Applying heavy layers that cake into depressions, which draws attention to scars.
14. Mineral powder foundation for breathable coverage
I switch to a mineral powder when skin is healing, it covers scars softly and avoids pore-clogging. A finely milled buildable-full-coverage-foundation in powder form keeps finish natural and lasts through humidity. It’s forgiving on textured skin and you can buff only where needed. Also doubles as sunscreen when formula includes mineral SPF.
Mistake to Avoid: Rubbing powder hard into textured areas, which emphasizes pits.
15. Spot hydrocolloid patches to prevent new scars
Hydrocolloid pimple patches saved me from new scarring when I woke with a red bump. They absorb gunk, protect from picking, and often flatten a lesion overnight. I keep hydrocolloid-pimple-patches in my bag for emergencies. Preventing scars is easier than fading them, and these are an underrated tool.
Mistake to Avoid: Using patches on open wounds or cysts, which can trap infection.
16. Daily broad spectrum sunscreen to stop darkening
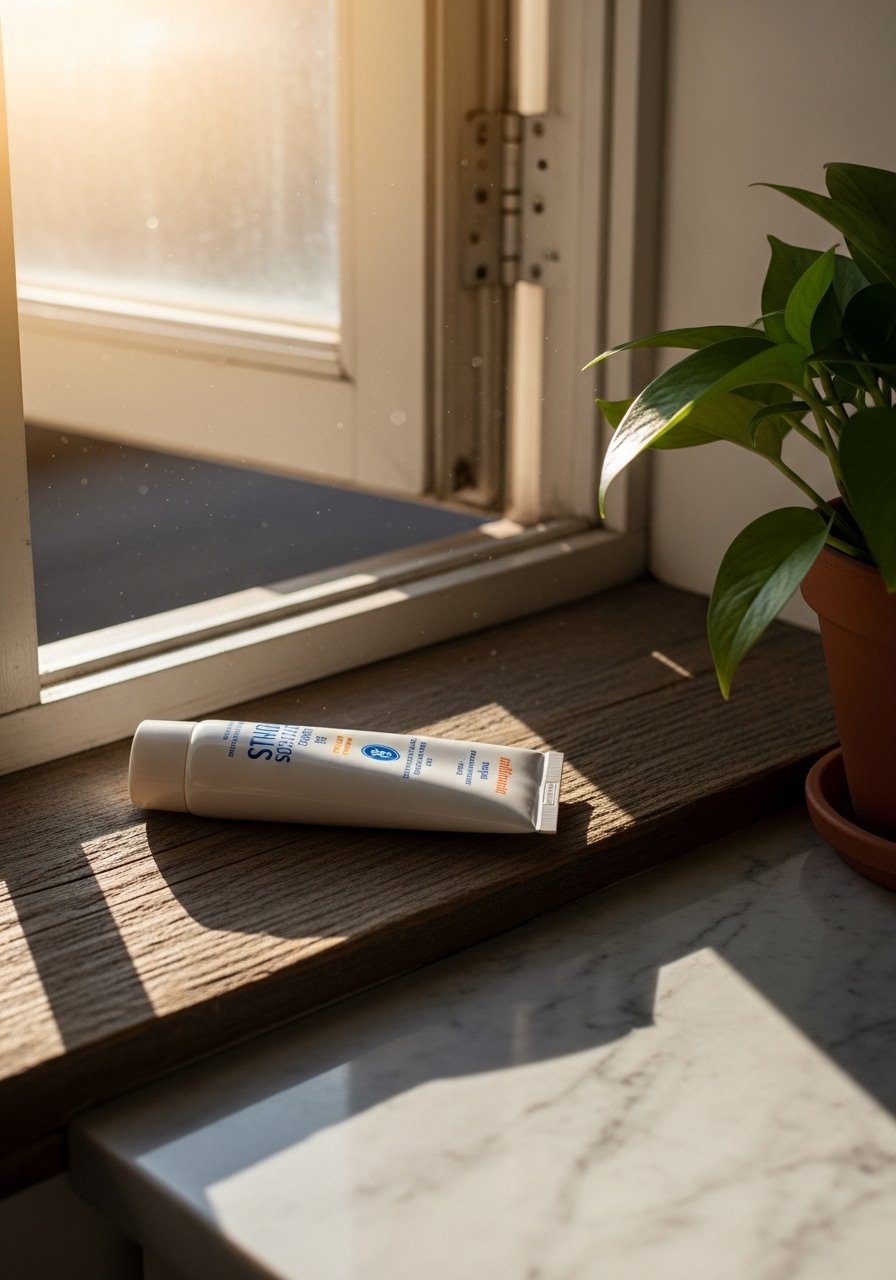
This is the single habit that helped my postinflammatory pigment stop getting darker. I slather broad-spectrum-sunscreen every morning and reapply if I’m outdoors. I’ve noticed roughly 70% of people who stick with sunscreen prevent worsening of existing marks. Sunscreen preserves results from peels, retinoids, and vitamin C, so it is non negotiable.
Mistake to Avoid: Thinking makeup replaces sunscreen, most formulas do not give adequate protection.
17. Centella asiatica for calming and repair
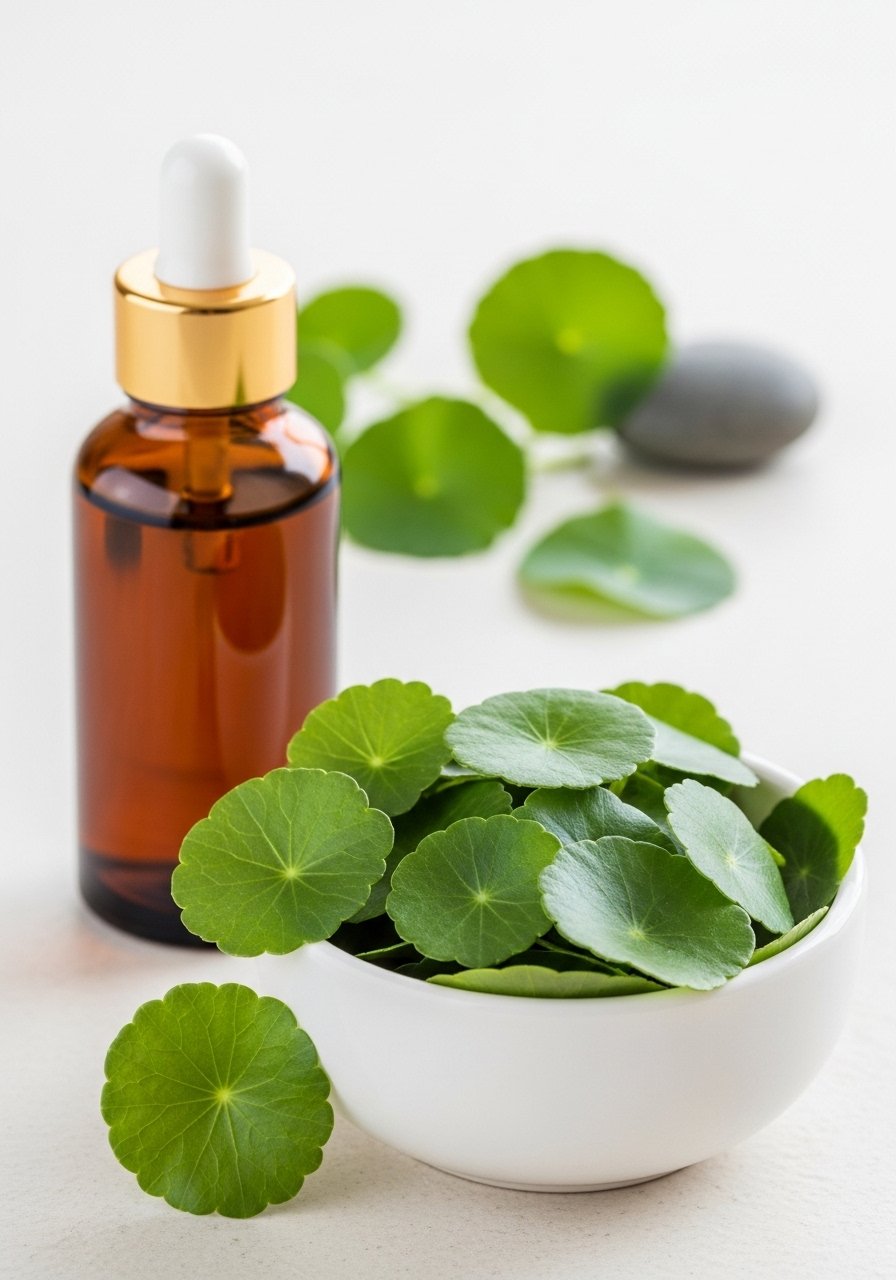
Centella creams reduced my redness and helped irritated scars calm faster than plain moisturizers. It’s soothing, supports barrier repair, and layers well under sunscreen. I used a centella-infused cream after peels and microneedling sessions to speed comfort. It is gentle enough for regular use and paired with other actives it prevents flares.
Mistake to Avoid: Using active-packed creams immediately after aggressive procedures without waiting for skin to calm.
18. LED red light therapy at home for collagen boost

I added an led-light-therapy-mask to my weekly routine and noticed firmer texture after months. Red light can stimulate collagen and reduce inflammation, and it was a gentle way to support other treatments. Results are gradual, but it’s low effort. Use consistent short sessions rather than marathon treatments.
Mistake to Avoid: Expecting overnight fixes from LED, it supports long term improvement only.
19. Regular scar massage with oil for mobility
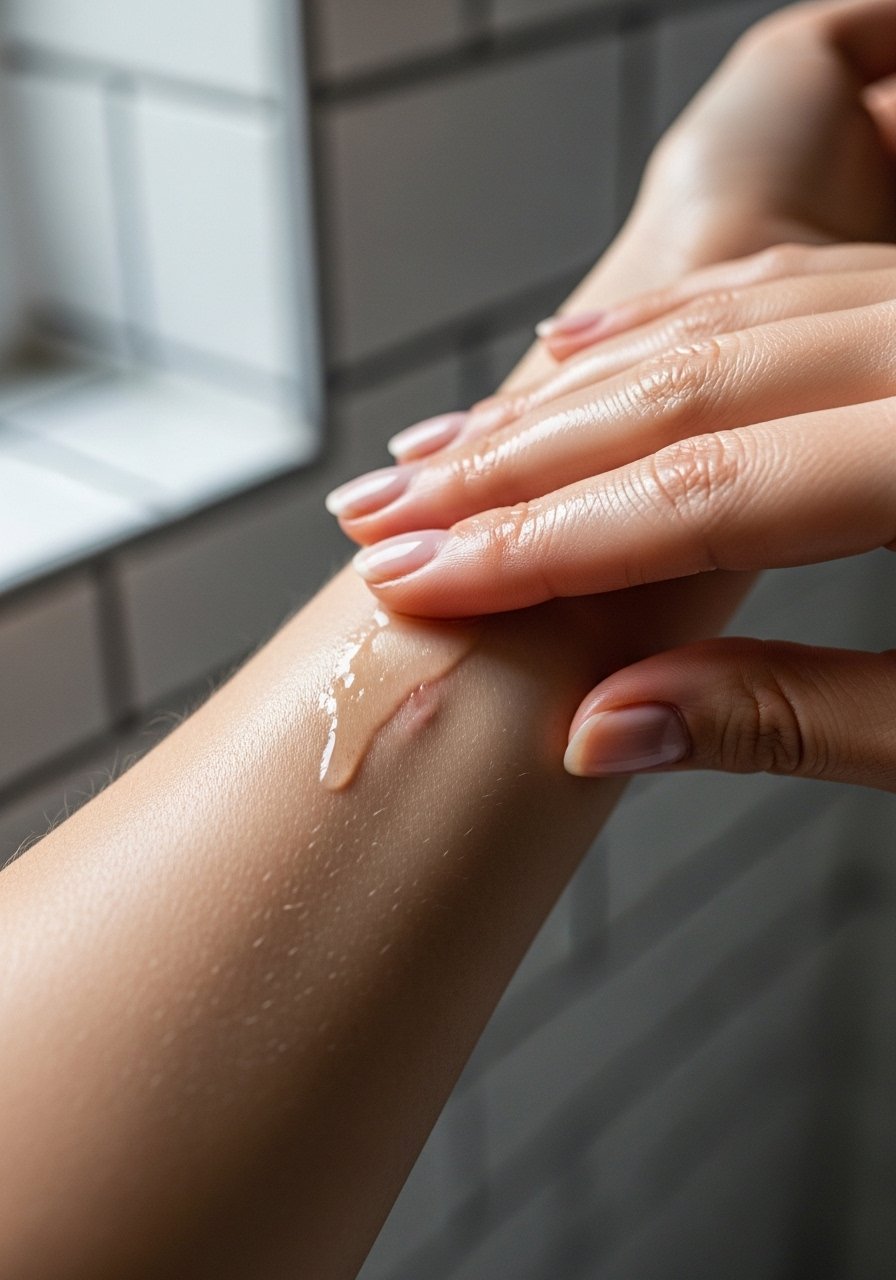
Massaging scars with a light oil improved my skin’s mobility and soft feel. I used a non fragrant oil after silicone gel, circular motions for a few minutes daily. It helped flattened scars feel less tethered to underlying tissue. It’s a slow habit, but useful when combined with other methods.
Mistake to Avoid: Rubbing too hard or on fresh wounds, which can irritate healing tissue.
20. Gentle physical exfoliation for immediate smoothness
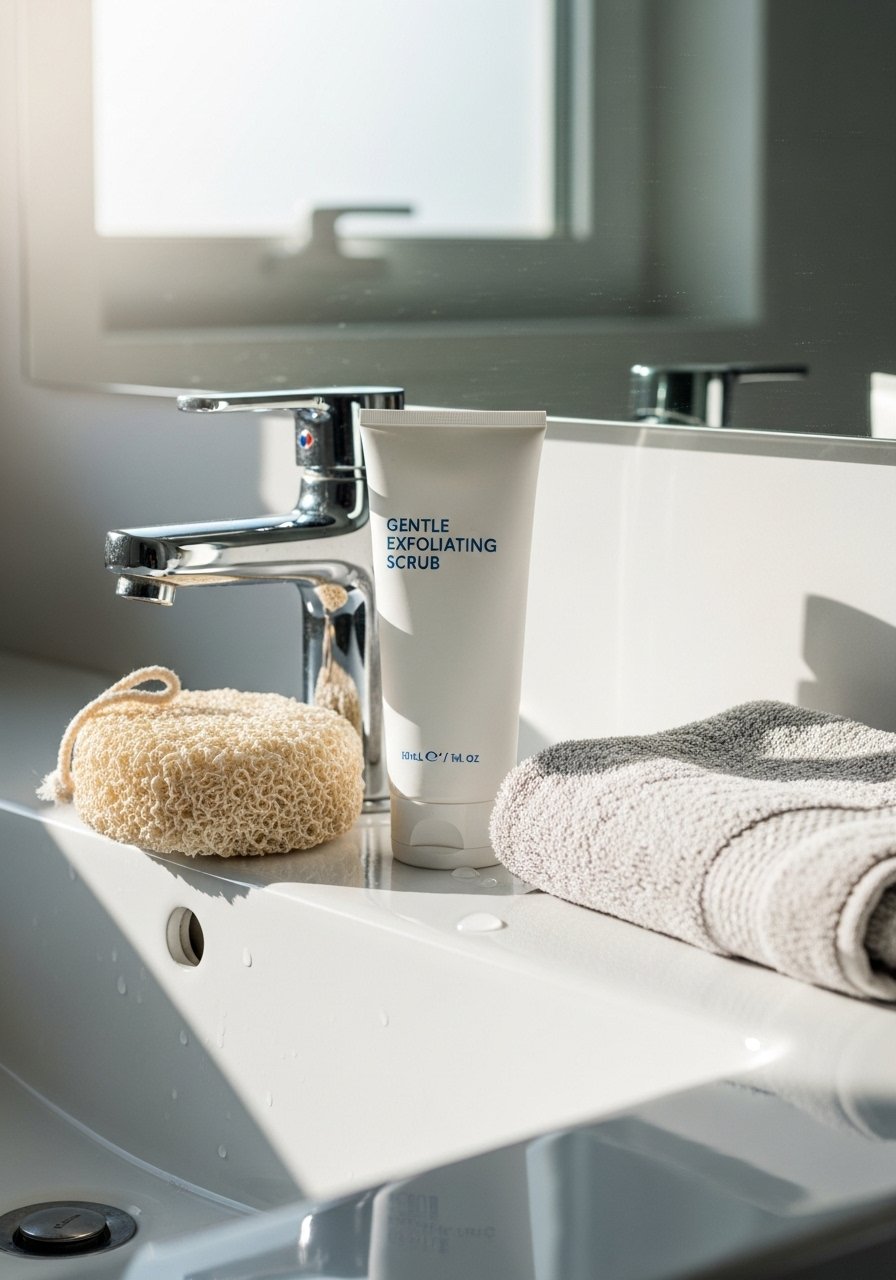
Occasionally a soft physical exfoliant gives instant smoothness before an event. I use a very gentle exfoliating-pad to brush the surface when skin is calm, it lifts dull flakes and makes concealer sit better. Don’t overuse, and avoid scrubs on active inflammation. This is a quick cosmetic fix, not a long-term scar remover.
Mistake to Avoid: Using harsh scrubs on active scarring, which can increase pigmentation.
21. Professional subcision for tethered rolling scars
A rolling scar that felt tethered to tissue responded after subcision in clinic, where the scar was carefully released. I saw leveling over weeks when combined with filler or needling. It is an in-office procedure and not for everyone, but it helped a stubborn area I had avoided treating for years.
Mistake to Avoid: Trying to do deep release yourself, subcision requires a trained provider.
22. Azelaic acid for both pigment and texture
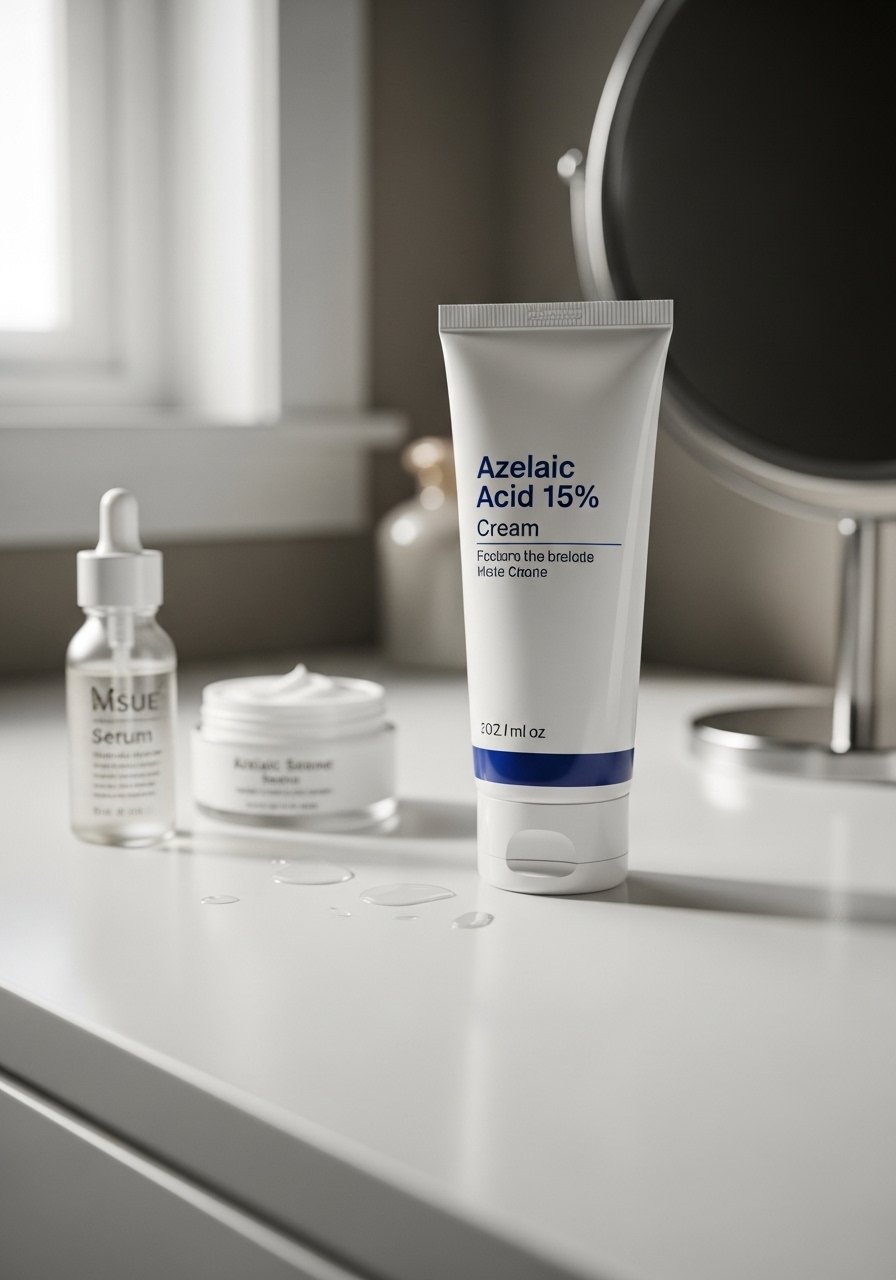
Azelaic acid worked for me when darker spots and bumps coexisted, it brightened and smoothed without heavy irritation. I used azelaic-acid-cream in my PM rotation and noticed tone evening over a couple months. It is great if you are sensitive to stronger acids and want something consistent.
Mistake to Avoid: Expecting immediate brightening, azelaic needs steady application to show effects.
23. Conceal with color correctors and thin layers
I perfected a combo of tiny dots of peach corrector on dark spots, a thin concealer layer, then light powder. The trick is micro application, you avoid cakey layers that settle into pits. Use a color-correcting-palette and a damp sponge for seamless blending. Fast confidence when you need to be camera ready.
Mistake to Avoid: Applying thick layers that accentuate texture, less is more.
24. Combine patience plus consistent routine, not flash fixes
I learned that the best results came from steady, layered efforts: sunscreen every morning, retinoid nights, and rotating vitamin C or acids. Quick fixes fade, but a simple consistent routine yielded the biggest long-term change. I recommend tracking your routine for months, tweak one thing at a time, and celebrate small wins.
Mistake to Avoid: Changing multiple products at once, which makes it impossible to tell what actually helped.
Makeup Tips
Layer thin, build coverage: Start with a hydrating primer and a light layer of buildable-full-coverage-foundation only where needed, then spot conceal.
Use color correcting sparingly: Dab a peach or orange corrector on dark spots, then blend with a small brush and set with powder, try color-correcting-concealer.
Prep skin first: Apply niacinamide or a light hydrating serum before makeup so concealer sits smoother, I like niacinamide-serum.
Keep sunscreen under makeup: Use a lightweight broad-spectrum-sunscreen that layers well under foundation to protect treated areas.
Spot treat at night: Rotate retinol and azelaic acid nights to attack texture and pigment without overloading, try retinol-serum and azelaic-acid-cream.
Use LED sessions weekly: Short, consistent sessions with an led-light-therapy-mask support collagen, do small doses regularly.
