
The Pinterest version had a clean grid, perfect spacing, and zero glare. My real living room had crooked frames, one lonely shelf, and a glaring lamp that made every print read as glare. It took one rainy afternoon, a tape measure, and ripping everything down to see the same wall work with low-cost swaps and a few compositional rules that actually survive daily life.
These nine ideas are practical, renter friendly, and aimed at people who like things that feel intentional without a contractor. Most of these projects take under two hours and run on basic tools or removable hardware. I tried these across three rentals, so a few tips are about what will not damage paint and what to skip if you have pets or small kids.
1. Woven Textile as Focal Art
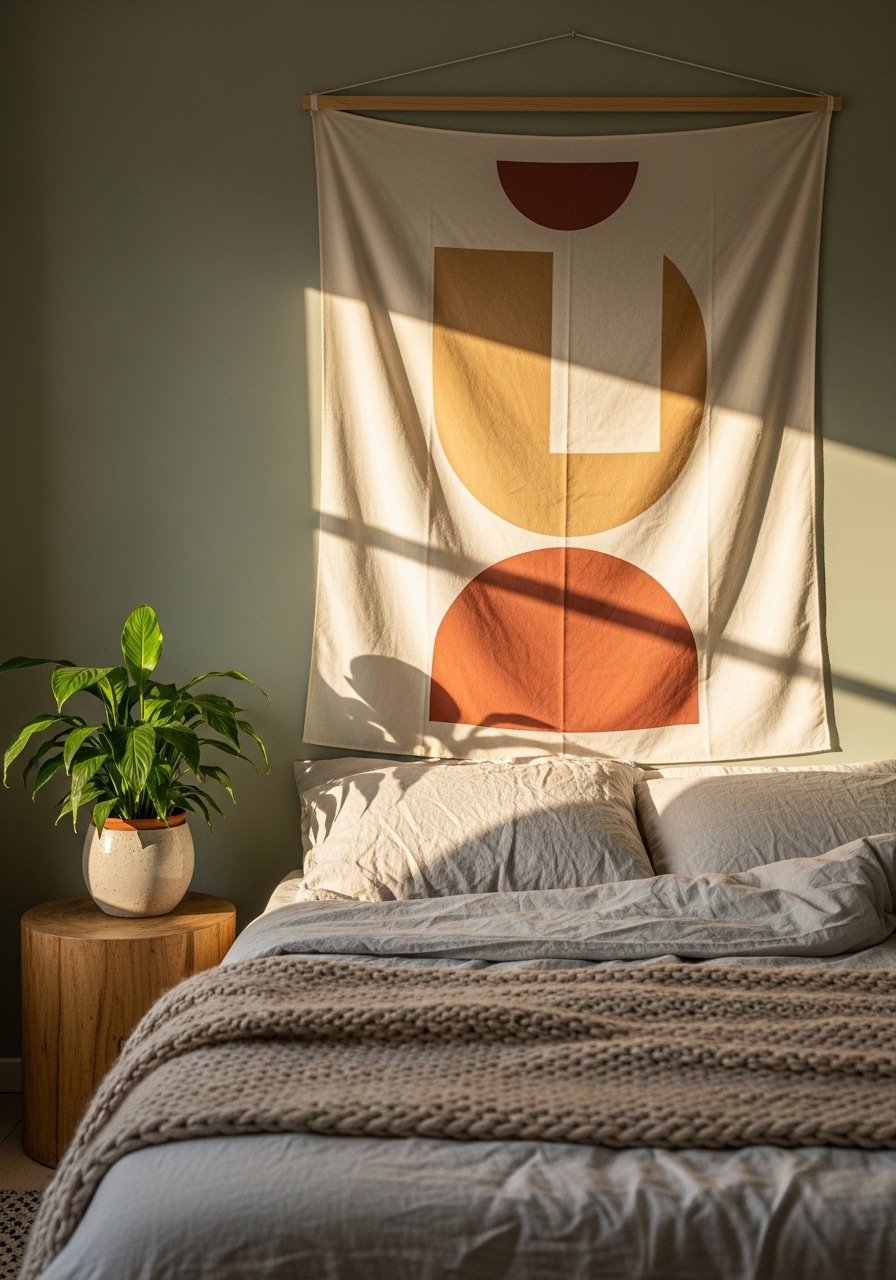
A large textile anchors a wall like a single oversized painting, and it hides uneven paint and small nail holes. Pick a cotton or woven tapestry and hang it on a wooden dowel about 2 to 3 inches wider than the textile for a neat edge. For a 48-inch wide piece, hang the center 57 inches from the floor so it reads at eye level seated or standing. I use cotton tapestry for budget rooms and a slim wood dowel curtain rod to keep it simple. Textiles also double as temporary acoustic panels if you add a thin layer of batting behind them for noisy apartments.
Mistake to Avoid: Hanging a small tapestry on a big wall and calling it a focal point.
2. Layered Gallery With a Unifying Color
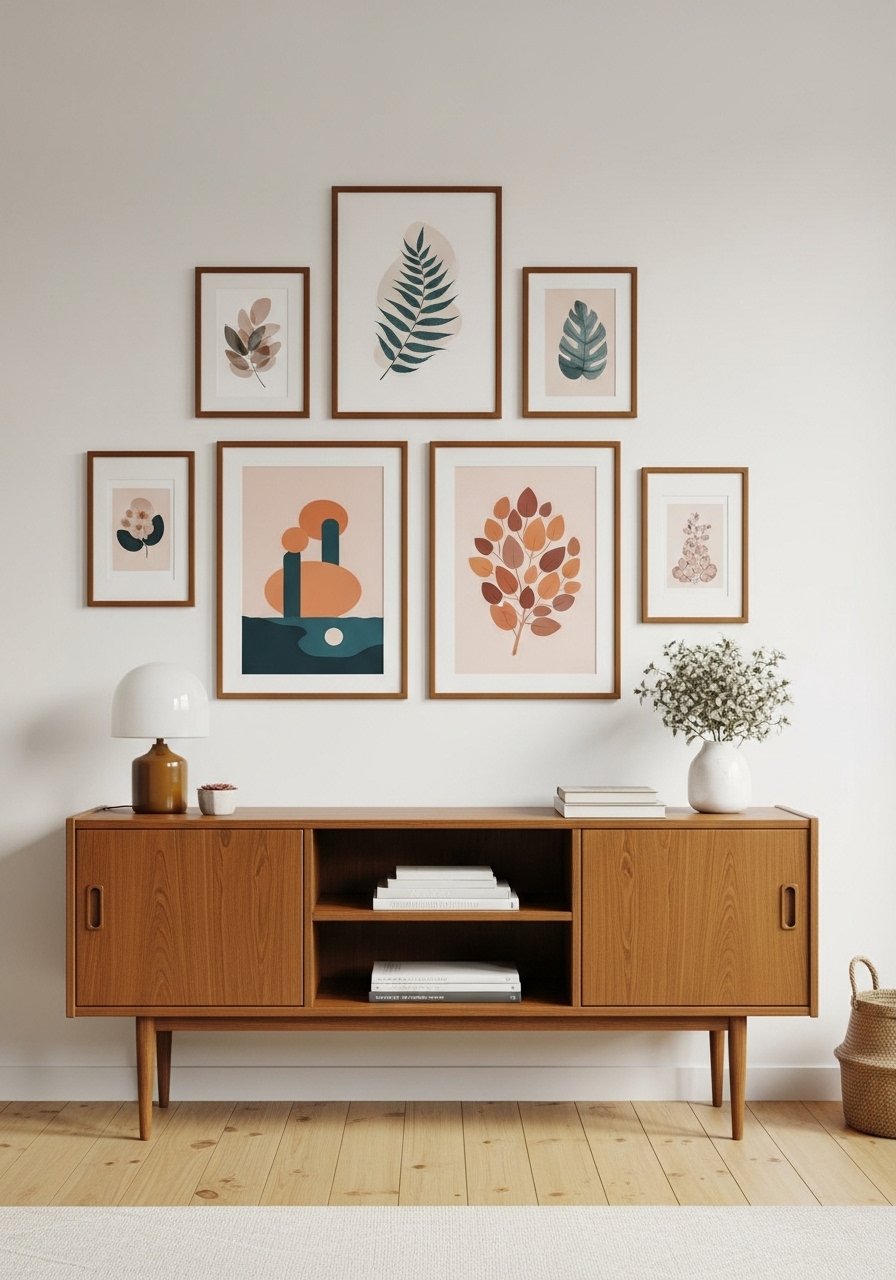
A gallery feels pulled together when one color repeats across different pieces. Pick a dominant tone, pull it from one print, and repeat it in two or three frames. Keep spacing tight, 2 to 3 inches between frames for small groups, and use larger spacing, about 4 to 6 inches, for a set that includes oversized art. For wall-to-art ratio, aim for artwork to take up about 60 to 75 percent of the wall width above a sofa. Use black picture frames and a picture hanging kit with two anchors for heavier pieces. The small detail that changes everything is consistent matting or a matching frame edge.
Mistake to Avoid: Using mixed sizes with zero repeated color or mat, which makes the layout feel random.
3. Floating Shelf Layers for Depth
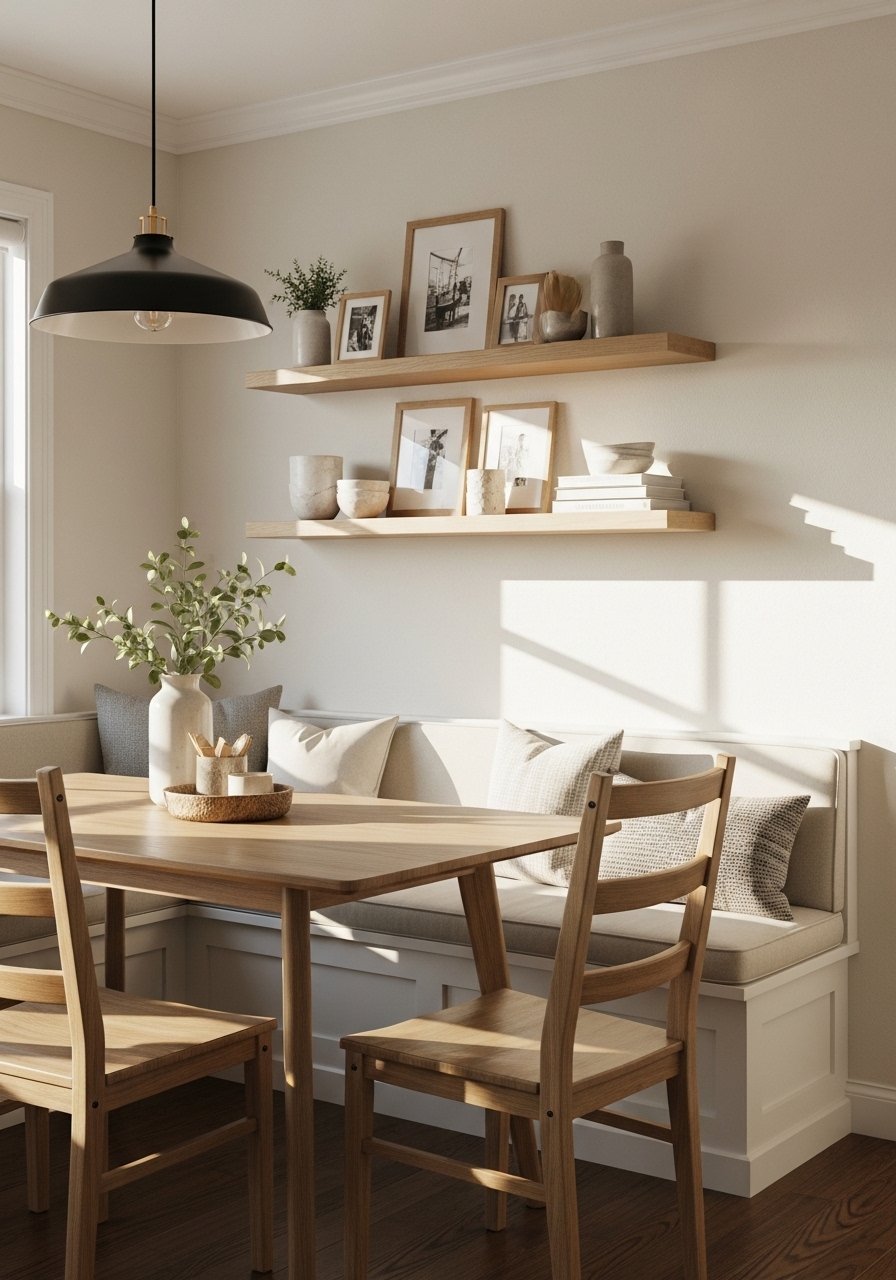
Floating shelves add dimension and allow easy rotation of objects. Choose shelf depths of 8 to 10 inches when you plan to display stacked books and pottery. Stagger shelves vertically by 10 to 12 inches to avoid a cluttered look and to create visual steps. I alternate a floating wood shelf with a small ceramic vase and one framed photo for balance. A quick trick is to place taller pieces toward the outside and smaller pieces near the center of the shelf to funnel the eye inward. Floating shelves are great for renters when anchored into studs or used with high-weight removable anchors.
Mistake to Avoid: Filling the whole shelf edge to edge so nothing reads; leave breathing room.
4. Oversized Mirror Opposite a Window
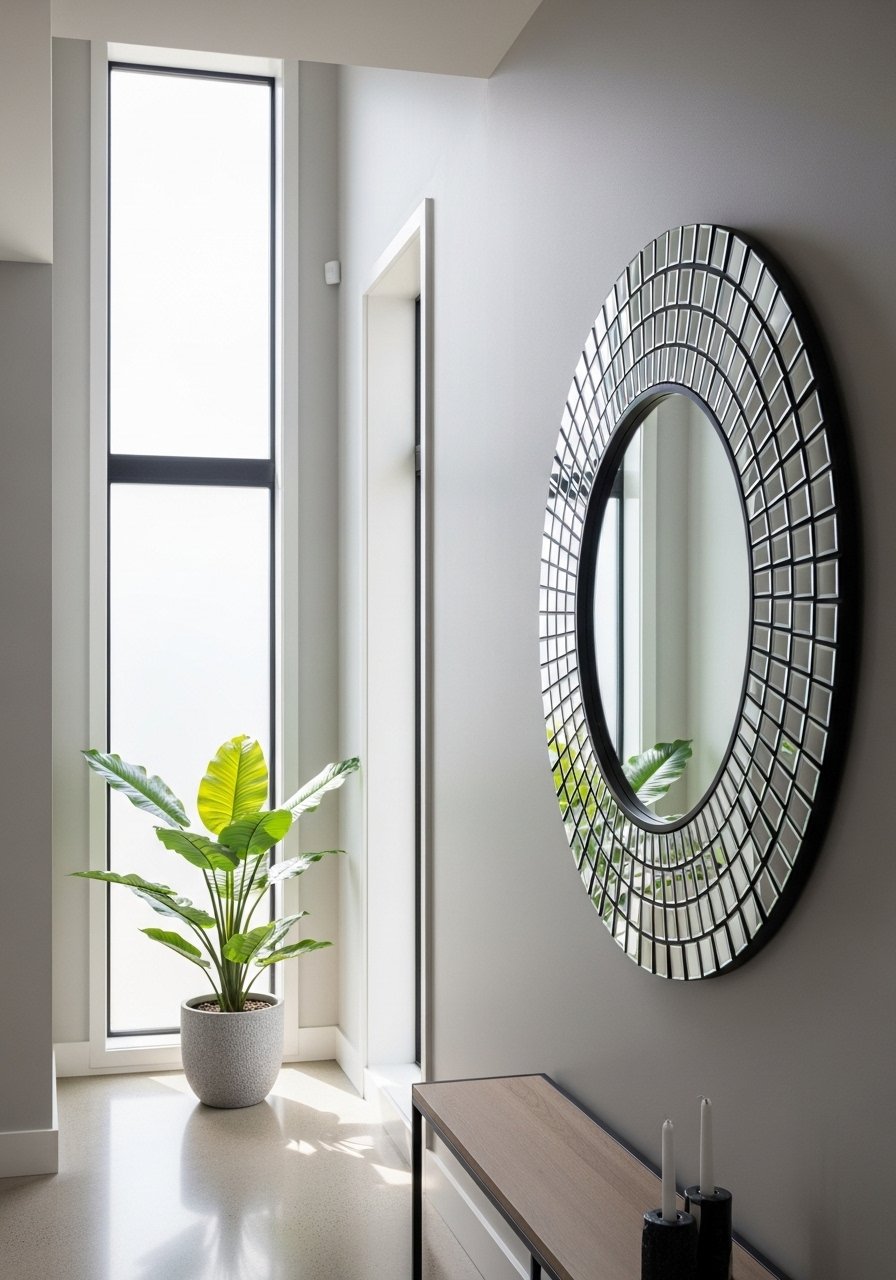
A single large mirror doubles light and makes a narrow room feel wider. Place the mirror opposite or adjacent to a natural light source, and leave about 2 inches between the mirror frame and any nearby trim. Round or oval mirrors soften rigid furniture lines and work in entryways as well as living rooms. I prefer a 30 to 36 inch diameter for most small living areas and use a round decorative mirror with a slim frame. Mirrors also act as a finishing piece that pulls together small groupings of art on an adjacent wall.
Mistake to Avoid: Hanging a mirror too high so it reflects ceiling fixtures instead of usable light.
5. Mounted Planters and Vertical Greenery

Living walls do more than look good, they add movement and scent. Use wall-mounted planters and stagger them vertically with 6 to 8 inches between pots for trailing varieties. Choose shallow planters for herbs or succulents and deeper ones for pothos or trailing philodendron. I use wall planters that come with integrated mounting hardware to avoid complicated installs. For renters, pick lightweight planters and use anchors rated for the combined weight of soil and plant. Rotate plants every few weeks so the light side does not get bare.
Mistake to Avoid: Putting heavy soil-filled pots on flimsy anchors that pull out of drywall.
6. Sculptural Wall Objects for 3D Interest
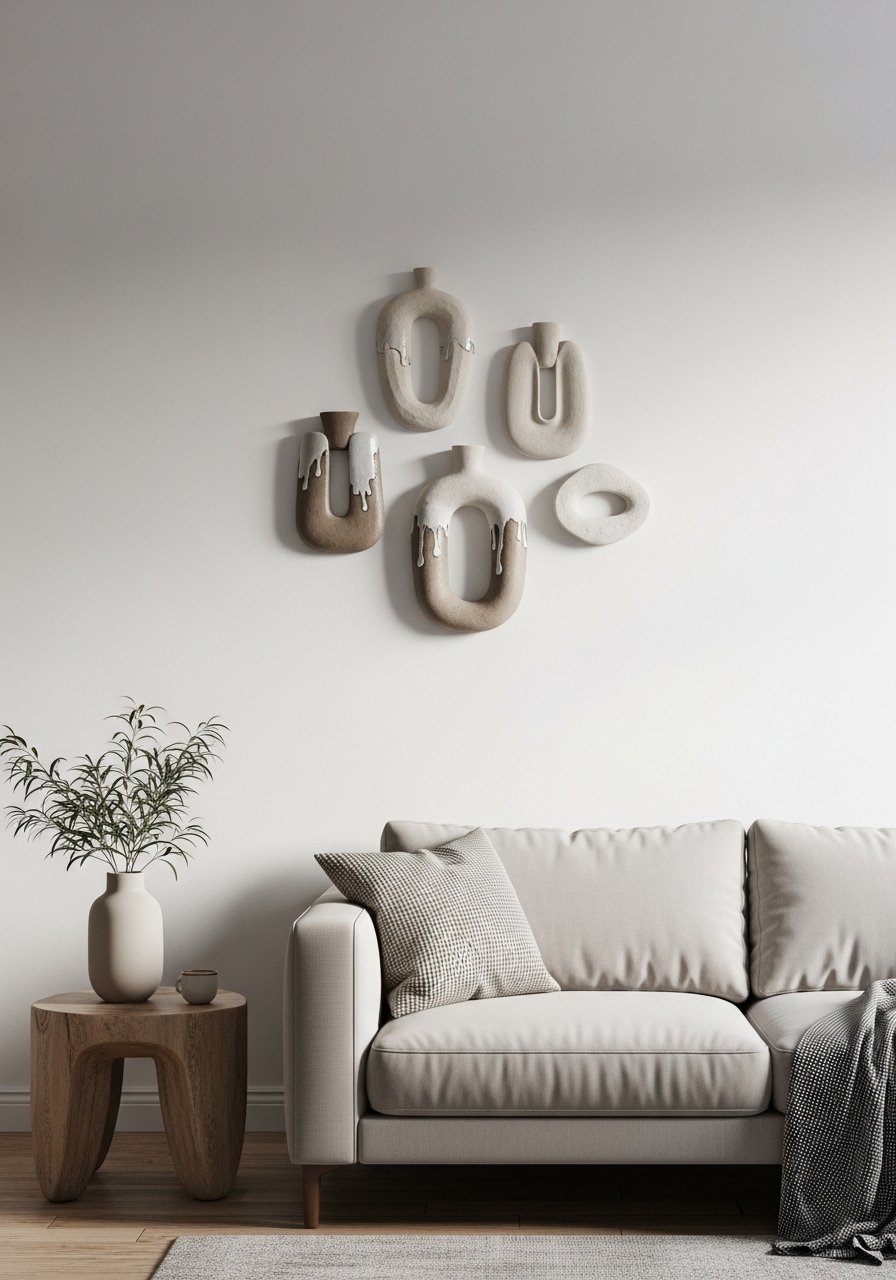
Three-dimensional objects break up flat art fatigue and cast subtle shadows that read differently through the day. Think metal sculptures, woven baskets, or ceramic reliefs. Aim for a shallow projection of 2 to 4 inches from the wall for safety in high-traffic spots. Group odd numbers, usually three or five pieces, and vary size by about a 2:1 ratio between the largest and smallest piece. I like to include a woven wall basket with a small metal accent for contrast. These pieces work well above consoles and narrow entryway ledges.
Mistake to Avoid: Placing deep, heavy sculptures where people brush past them and bump the art.
7. Plate or Object Ledge Display
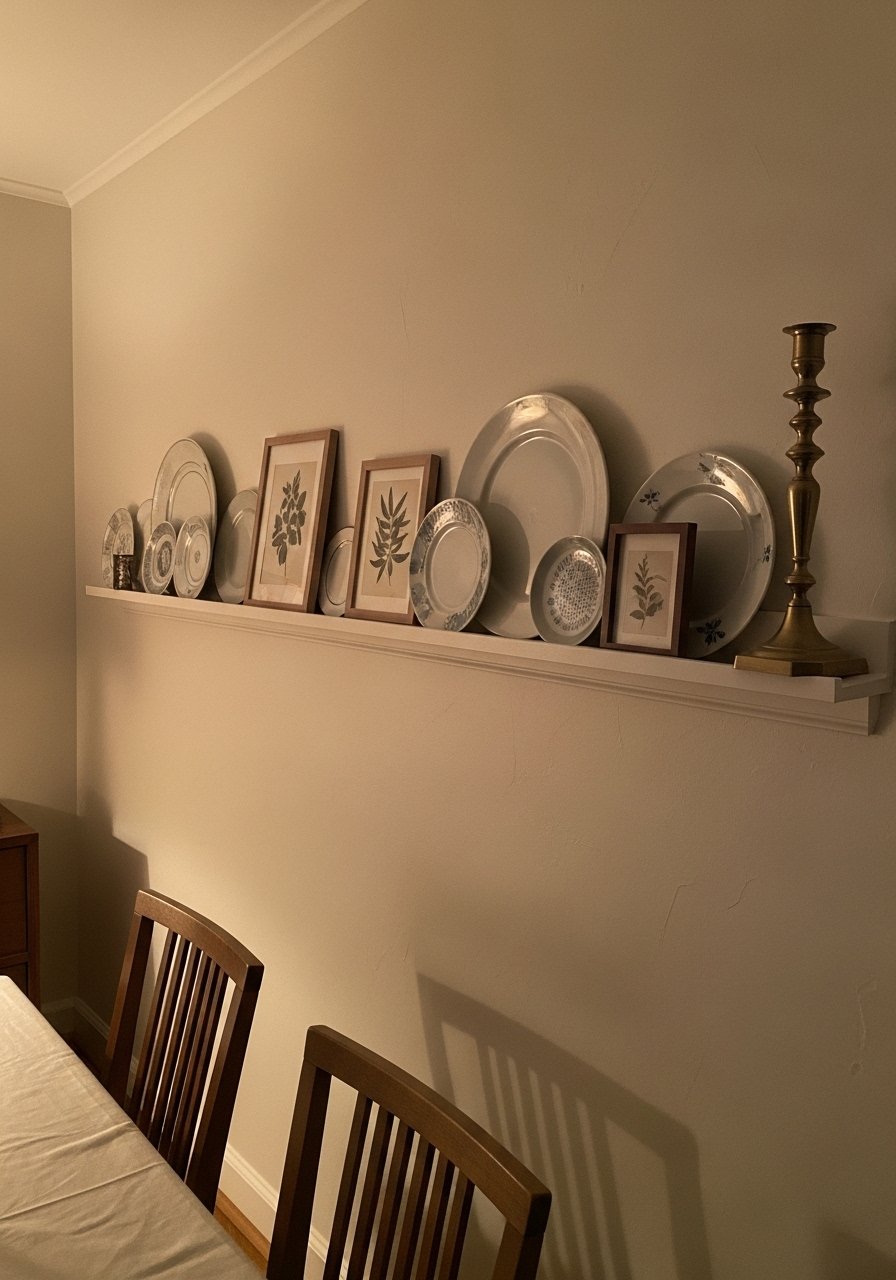
A thin picture ledge creates an ever-changing display for plates, platters, and small frames. Use a 2 to 3 inch high ledge with an inner lip about 1/2 inch to keep items secure. Arrange odd-numbered groupings and layer a tall plate in the back with smaller objects in front. For a unified look, repeat one finish such as matte white or warm brass across three items. I use a sturdy picture ledge shelf and flat non-slip pads under plates to prevent sliding. This is one of my go-to renter-friendly upgrades because it requires a single install for flexible styling.
Mistake to Avoid: Leaning heavy plates without supports so they tip forward when bumped.
If any of these ideas have you ready to shop, here are the pieces I reach for most.
Wall Styling Finds Worth Having
Hardware & Hanging
- picture hanging kit (~$10-20). Helps level frames and holds weight reliably.
- command picture hanging strips (~$8-15). For renters who cannot drill.
Shelves & Ledges
- floating wood shelf (~$25-60). Sturdy and simple styling.
- picture ledge shelf (~$20-40). Ideal for plates and rotating prints.
Textiles & Decor
- cotton tapestry (~$20-60). Instant texture for a large wall.
- woven wall basket (~$15-35). Mixes well with frames and mirrors.
Hanging Moves I Stopped Ignoring
Measure twice, mark once. Use a measuring tape with a level to mark center and edge points before drilling so your gallery does not end up lopsided.
Grab command picture hanging strips for lightweight frames. They save paint and are the difference between loose art and a tidy display in rentals.
Most people hang art too high above sofas. Aim for artwork center at 57 inches from the floor or keep 6 to 9 inches between the top of backless furniture and the bottom of the frame, then adjust for your ceiling height.
Use a soft cloth furniture-safe adhesive pad under small objects on shelves to stop slipping. It takes seconds and is better than rehanging after every knock.
