
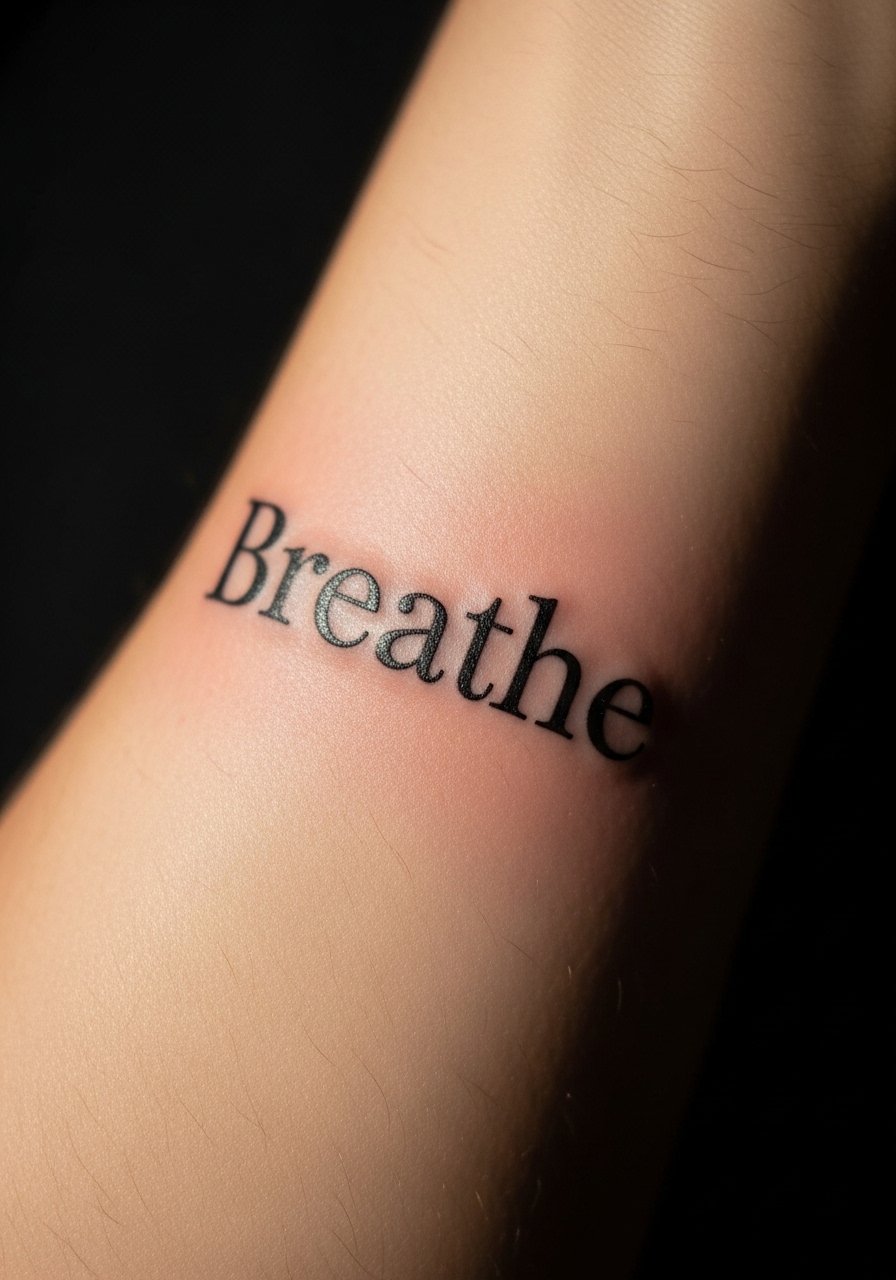
I kept shrinking the letters until the tattoo looked like a blur in photos, and only then did my artist stop me. The moment it clicked was not about picking a prettier font. It was about stroke width, spacing, and how skin heals differently than paper. After tracing a dozen references across artists and letting some pieces age for months, I started collecting the fonts that actually read well on skin, especially when the ink is meant to be dark and permanent.
These are practical font ideas for people who want bold, readable dark lettering that ages honestly. Expect a mix of low-cost stencil-friendly options and some that need an experienced artist. Most designs are work-visible but I include coverable choices too. If you want something quick to book, look for styles that use 3RL or 5RL needle groupings and plan for 1 to 3 hour sessions.
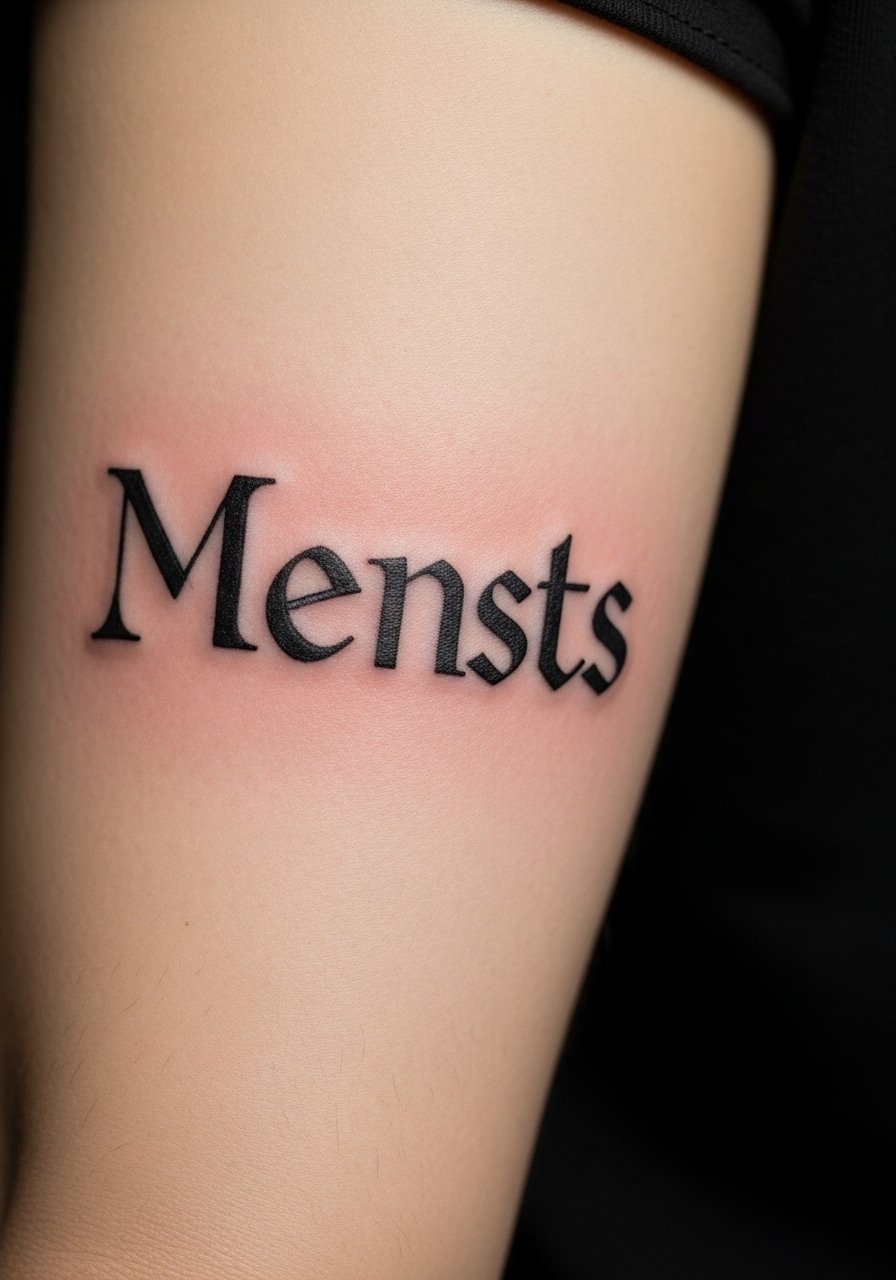
1. Classic Blackletter With Clean Counters

Blackletter reads heavy in photos because of tight counters and thick stems. The trick is keeping hairlines at least 0.5 millimeters so they do not fill in as the piece heals. This version softens the usual ornament so the dark fills stay dense but the thin parts survive, which creates that old-school weight without blurring. Ideal for chest, forearm, or shoulder, this works well on medium to large scales and benefits from a sterile black ink like sterile black tattoo ink for consistent saturation across sessions.
Style/Technique: Blackletter, bold counters
Pain Level: 4/10
Session Time: 1 to 2 hours
Best For: Forearm, chest, people who want work-visible text
Mistake to Avoid: Shrinking hairlines under 0.5 millimeters, which risks patchy healing and unreadable letters.
2. Micro-Sans For Finger And Side-Hand Placement
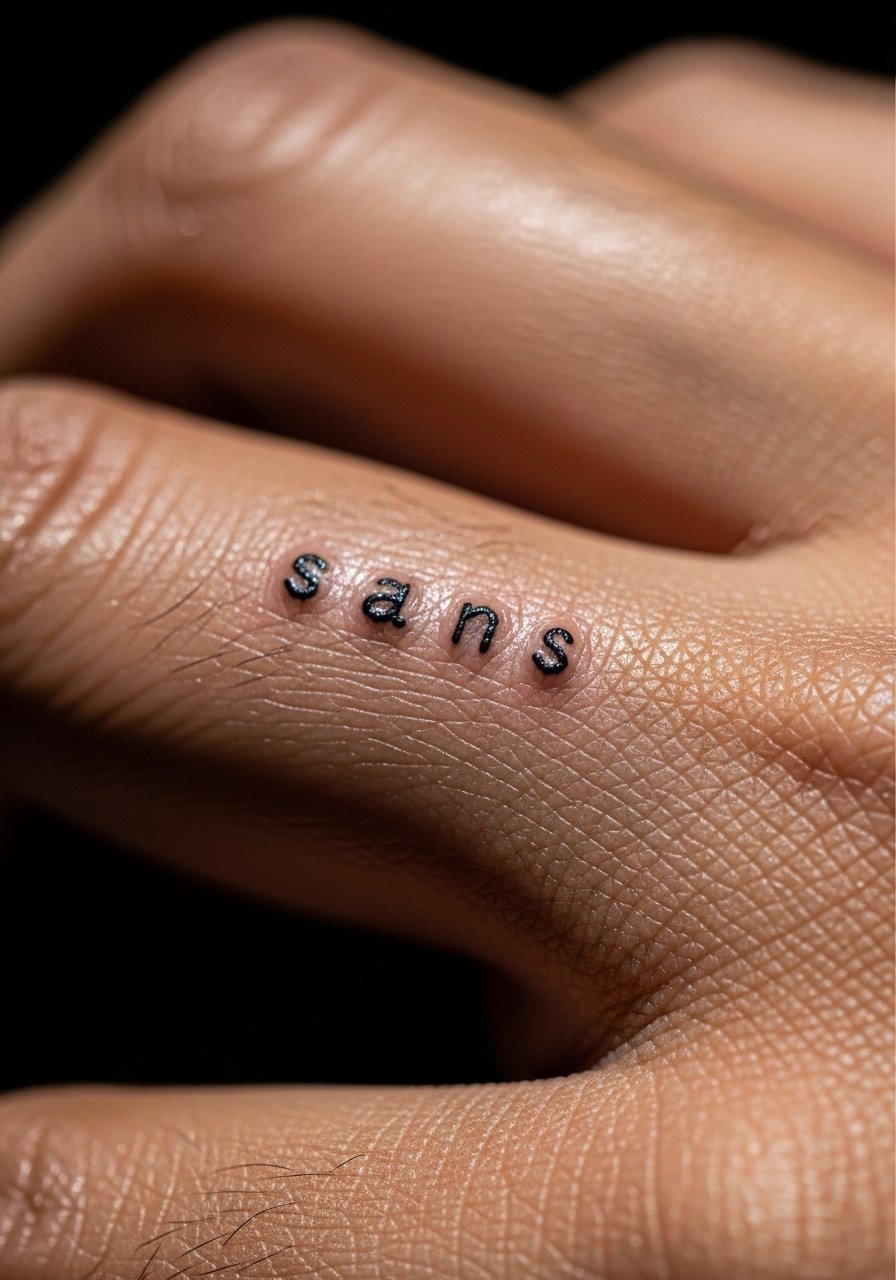
Finger tattoos demand compact letterforms and generous spacing. Micro-sans uses clean, simple strokes with slightly wider counters, so each character reads even after the inevitable spread. Keep x-height around 3 to 4 millimeters and space letters at 1.5 times the stroke width. For practice, trace on tattoo practice skin before committing. Across five shops I have visited, artists advised avoiding elaborate serifs here because they melt during healing.
Style/Technique: Micro sans, high legibility
Pain Level: 2/10
Session Time: 0.5 to 1 hour
Best For: Fingers, side-hand, coverable work
Mistake to Avoid: Using script or fine serifs on fingers, which will blur within weeks.
3. Condensed Typewriter Lettering For Band Tattoos
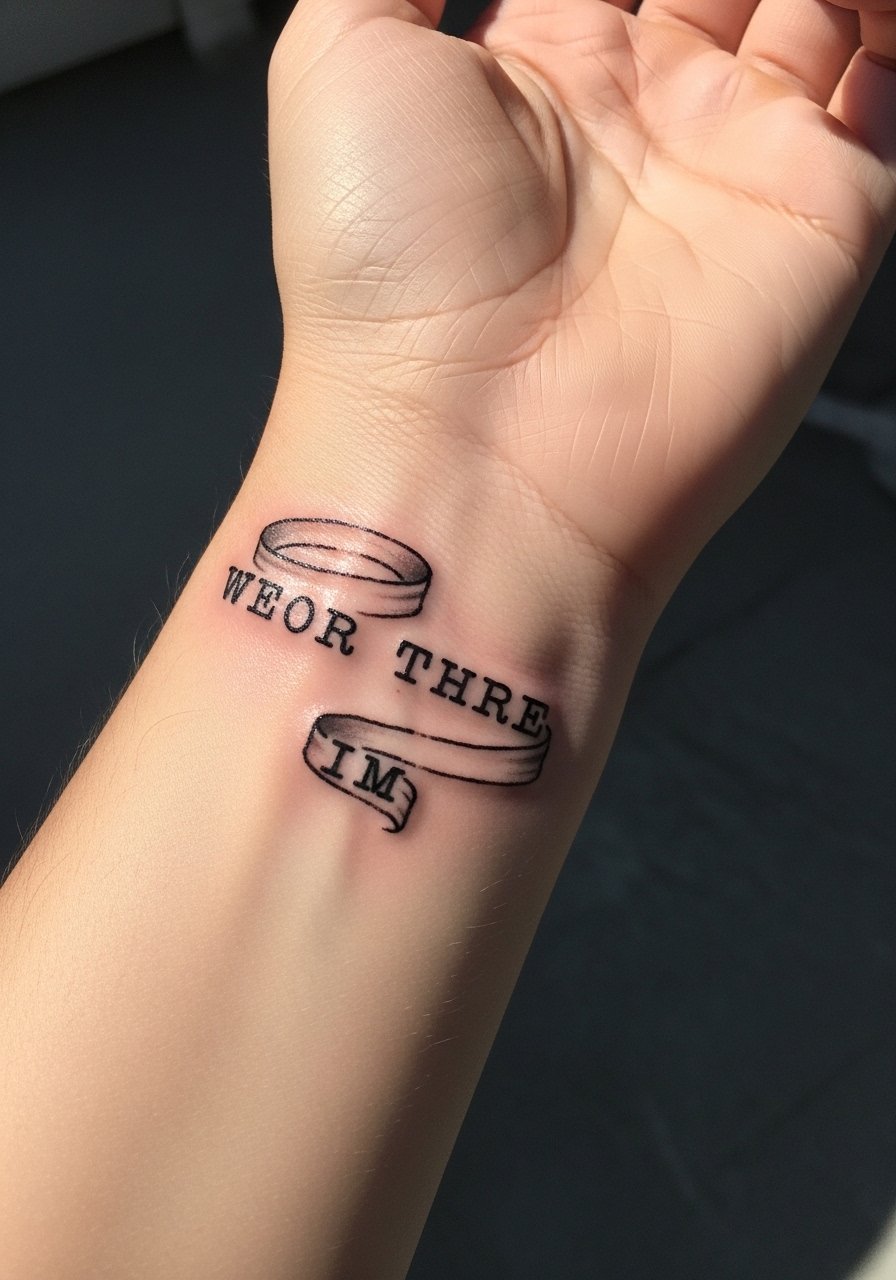
Condensed typewriter lettering looks intentional as a band because the monospaced feel gives rhythm. Use a slightly heavier stroke than the visual reference, around 0.6 to 0.8 millimeters, to keep edges crisp after healing. This style reads well from a distance and is forgiving for small-to-medium scale bands. Add a small stencil transfer and check placement on both sides of the wrist. For a crisp transfer, I use stencil transfer paper.
Style/Technique: Condensed monospaced lettering
Pain Level: 3/10
Session Time: 0.75 to 1.5 hours
Best For: Wrist bands, ankle bands, readable small text
Mistake to Avoid: Copying digital type at 100 percent scale without widening the strokes for skin.
4. Elegant Serif With Durable Hairlines
A refined serif can read luxurious on skin if the hairline contrast is controlled. Aim for a 3 to 6 millimeter cap height for inner forearm pieces and keep serifs short and blunt. This prevents the thin terminals from filling in. I often recommend 3RL for the fins and a single pass of a 5RL for the main stem to balance detail and saturation. Consider single-use 3RL needles for precision work.
Style/Technique: Serif lettering, balanced contrast
Pain Level: 4/10
Session Time: 1 to 2 hours
Best For: Inner forearm, visible but refined placements
Mistake to Avoid: Using high-contrast digital serifs with hairlines under 0.4 millimeters that will vanish.
5. Stacked Monospaced Blocks For Chest Panels
Stacked monospaced blocks work when you want a bold statement without ornament. Each line uses the same width, so alignment matters. Allow at least 4 to 6 millimeters between baselines to avoid merging as skin stretches. This style is forgiving for beginners booking short sessions and pairs well with heavier black ink. If you are trying this at home in reference form, look at practice stencil rolls before the appointment.
Style/Technique: Monospaced block lettering
Pain Level: 5/10
Session Time: 1 to 2 hours per panel
Best For: Chest, back panels, bold statements
Mistake to Avoid: Crowding baselines closer than 4 millimeters, which causes letters to join as the piece settles.
6. Negative Space Lettering For Subtle Contrast
Negative space lettering uses the skin as the letterform by tattooing the surrounding field dark. This makes letters pop without relying on thin strokes that blur. It works best on medium to large letters and benefits from a 10 to 20 percent lighter fill than solid blacks so the edges age cleaner. If your artist layers, ask for a test patch on practice skin and use a high-quality black ink like permanent black tattoo ink.
Style/Technique: Negative space lettering, contrast by surrounding fill
Pain Level: 4/10
Session Time: 1 to 2 hours
Best For: Inner bicep, thigh, people who want subtle readability
Mistake to Avoid: Trying negative space on very small scales where the surrounding fill becomes mud.
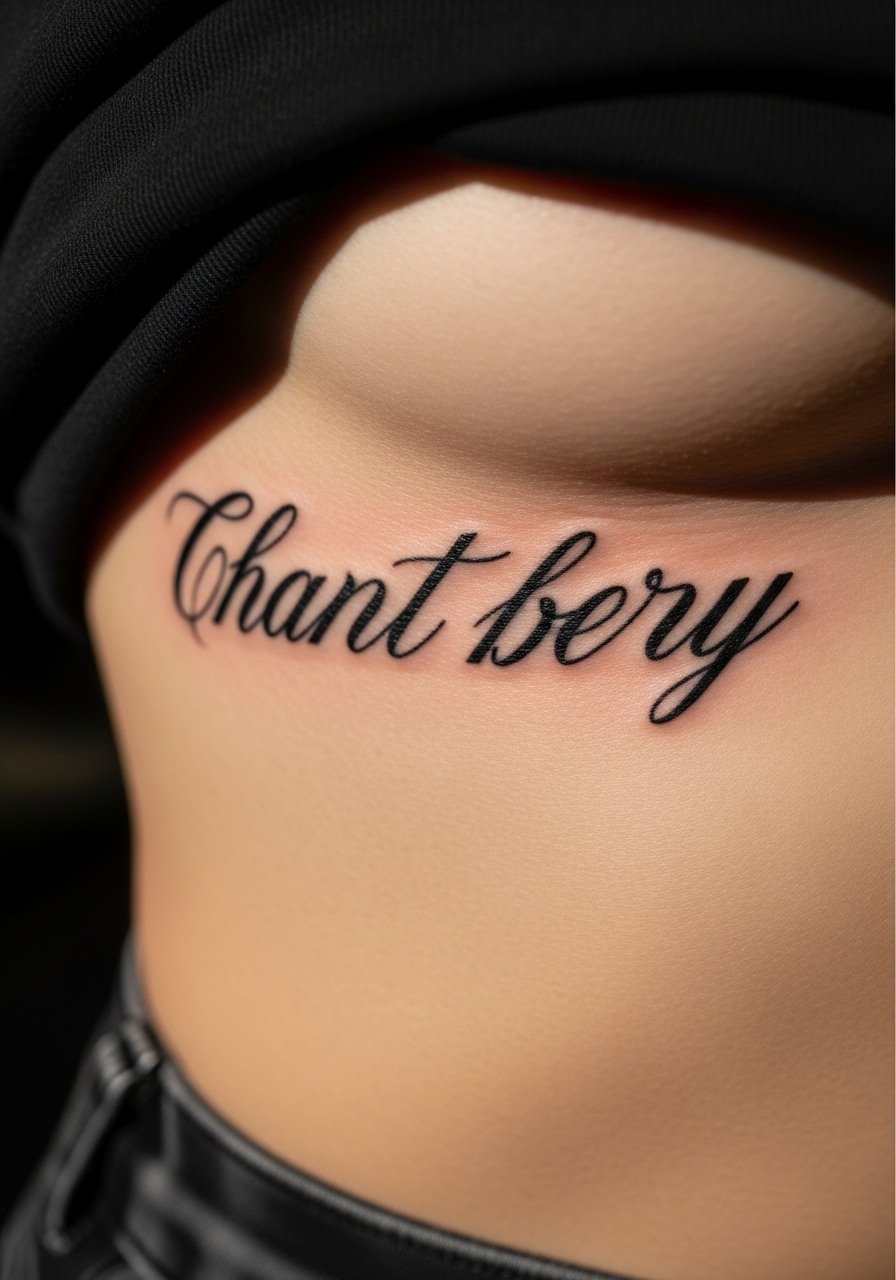
7. Brush Script With Intentional Weight Variation

Brush script looks lively because of thick-to-thin strokes, but on skin you need deliberate weight ratios. Keep thick stem widths at least twice the thin stroke so the contrast survives. Ask for slightly exaggerated downstrokes in the stencil stage so the piece reads like handwriting even after healing. For stencil fidelity use thermal stencil paper.
Style/Technique: Brush script, variable weight strokes
Pain Level: 3/10
Session Time: 0.75 to 1.5 hours
Best For: Collarbone, rib cage, visible flowing text
Mistake to Avoid: Reproducing delicate brush flicks at true size, which will disappear once healed.
If any of these styles have you saving references, here are the basic supplies and inks I actually use.
Dark Lettering Essentials
Inks:
- Sterile black tattoo ink (~$10-25). A stable black keeps fills even across sessions.
- Permanent black tattoo ink (~$12-30). Good for negative space fills.
Needles & Practice:
- Single-use 3RL needles (~$8-15). For crisp hairlines.
- Tattoo practice skin (~$15-25). Trace fonts at scale before booking.
Stencil & Transfer:
- Tattoo stencil transfer paper (~$8-12). Keeps placement exact.
- Thermal stencil paper (~$10-18). Cleaner transfers.
Aftercare:
- Tattoo aftercare ointment (~$8-18). Use as directed for the first week.
- Hypoallergenic bandages (~$6-12). Small strips for delicate placements.
8. Art Nouveau Lettering With Floral Terminals

Art Nouveau lettering adds soft botanical terminals to letterforms and works best larger so the ornament reads. Keep ornamental terminals wider than 1 millimeter and anchor them to a heavier stem so they do not vanish. This style ages like a small illustration, so expect a more organic softness over time. For fine detail, artists often use a mix of 3RL and 5RL needles. Consider a gentle numbing gel for sensitive placements like the inner thigh, such as topical numbing cream.
Style/Technique: Ornamental Art Nouveau lettering
Pain Level: 5/10
Session Time: 1.5 to 3 hours
Best For: Thigh, calf, larger placements
Mistake to Avoid: Shrinking floral terminals below 1 millimeter, which makes them disappear.
9. Small-Caps Roman For Bracelet Text

Small-caps Roman lettering reads refined when each cap height is consistent. Keep cap height at least 3 millimeters and balance letter spacing to create a bracelet effect. This style sits well on slender placements and reads clearly because the shapes are familiar and geometric. A crisp transfer helps preserve spacing. I recommend bringing a printed mockup to the session and asking for a single-pass fill for boldness.
Style/Technique: Small-caps Roman lettering
Pain Level: 3/10
Session Time: 0.5 to 1 hour
Best For: Wrist bracelet, ankle, subtle visible text
Mistake to Avoid: Letting cap heights vary, which makes the band look uneven in photos.
10. Micro-Serif For Coverable Work

Micro-serif lettering gives a touch of classic form while remaining small and coverable. Use short, blunt serifs and keep strokes thicker than they appear on paper. This keeps the piece readable after healing and makes it simple to conceal under hair or clothing. It is one of the competitor gaps I saw missing in many galleries, where small serif work gets overlooked but actually holds up well.
Style/Technique: Micro-serif, compact elegance
Pain Level: 2/10
Session Time: 0.25 to 0.75 hours
Best For: Behind ear, nape, coverable placements
Mistake to Avoid: Copying textbook serifs at true scale without expanding stroke width.
11. Dotwork Lettering For Textured Darkness
Dotwork lettering uses tightly packed dots to suggest darkness without a single solid fill. This creates texture and a lived-in feel as it matures. Space dots slightly wider than standard to avoid a muddy look after healing. Dotwork can be slower so expect longer sessions but less risk of blowout on softer areas. Try a practice patch with a single-use dot needle to see the effect.
Style/Technique: Dotwork lettering, textured fill
Pain Level: 4/10
Session Time: 1.5 to 3 hours
Best For: Upper back, thigh, textured panels
Mistake to Avoid: Packing dots too close, which merges into a solid blob after healing.
12. Hand-Drawn Chalkboard Script For Casual Pieces
Chalkboard script mimics hand lettering with slight inconsistencies that feel lived-in. For skin, exaggerate the downstrokes and keep the upstrokes thinner but not paper-thin. This approach suits casual placements and reads like handwriting from across a room. It is forgiving for first-time clients because the style benefits from minor imperfections. For clean lines use sterile black tattoo ink and a practiced artist.
Style/Technique: Hand-drawn script, informal rhythm
Pain Level: 3/10
Session Time: 0.75 to 1.5 hours
Best For: Forearm, shin, visible casual work
Mistake to Avoid: Trying to force mechanical precision; the charm is in slight irregularity.
13. Block Caps With Rounded Corners For Durability
Rounded-corner block caps read strong because the soft edge reduces the chance of sharp blowout. Increase corner radius compared to a digital reference and widen the stroke a touch to account for healing spread. This is a robust choice for people who want long-lasting legibility on active body parts like arms and calves. It pairs well with a bold black ink and a quick second pass for saturation.
Style/Technique: Block caps, rounded terminals
Pain Level: 4/10
Session Time: 1 to 2 hours
Best For: Arms, calves, high-abrasion areas
Mistake to Avoid: Recreating square digital corners without rounding, which can create harsh edges that thin over time.
14. Script With High Contrast Stems For Photo Depth
High-contrast script uses thick downstrokes and slender upstrokes to read dramatically in photos. For skin, push the ratio so downstrokes are at least double the width of upstrokes. This makes the script maintain character after slight spread. Rib placements are dramatic but may need multiple short sessions. A lightweight aftercare ointment works best in this area during the first week.
Style/Technique: High-contrast script, photographic depth
Pain Level: 6/10
Session Time: 1 to 3 hours
Best For: Rib, thigh, photo-focused placements
Mistake to Avoid: Keeping downstrokes too narrow, which flattens the script in pictures as the ink softens.
15. Industrial Stencil Font For Medical Or Functional Text
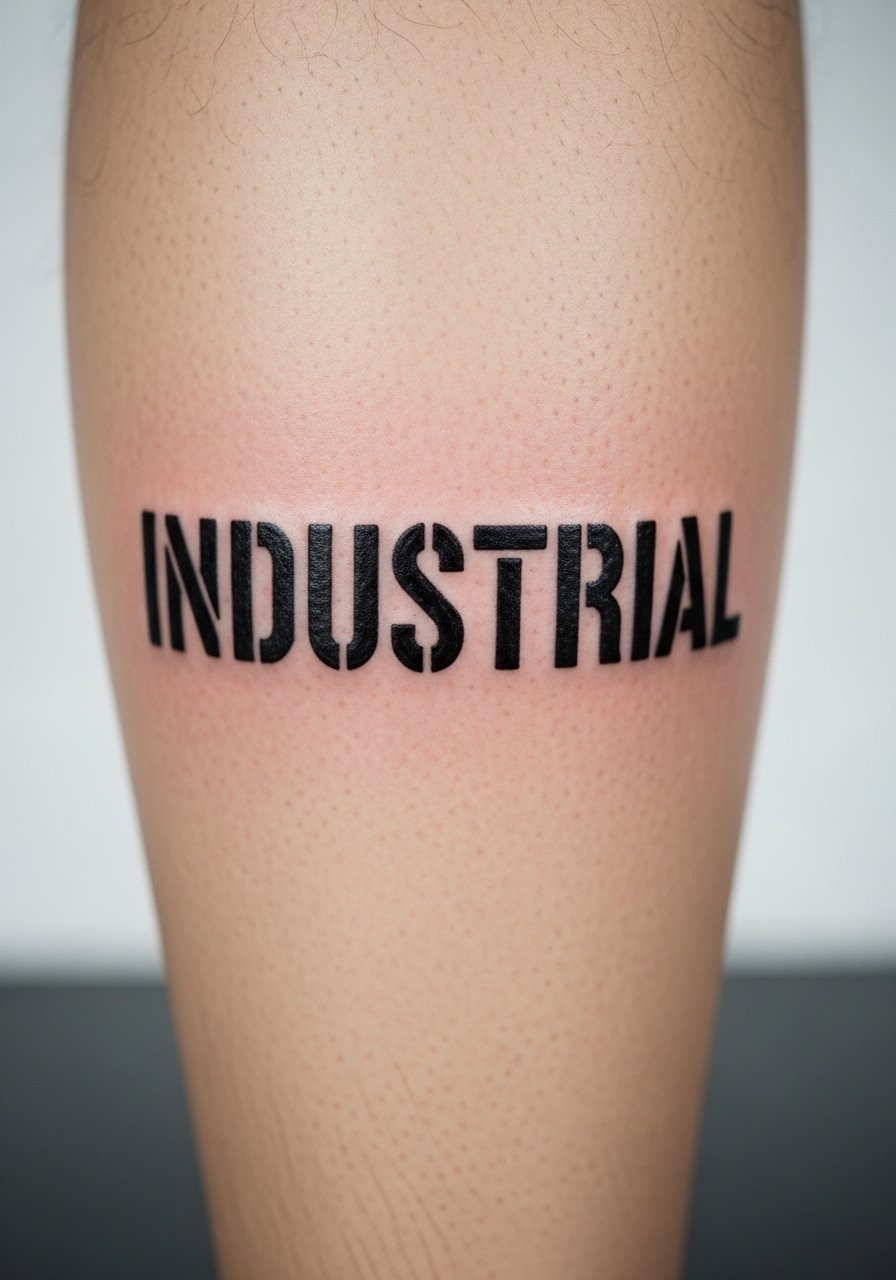
Stencil fonts with break points work well for utilitarian or industrial looks because the gaps keep letters distinct even at distance. Make the breaks intentional and at least 0.8 millimeters wide so they remain visible after healing. This is one of the gaps many portfolios miss, as people assume stencils are only for military tags when they can be strong design choices too. Useful for long text or functional labeling.
Style/Technique: Industrial stencil, intentional breaks
Pain Level: 3/10
Session Time: 0.75 to 1.5 hours
Best For: Calf, forearm, long text strips
Mistake to Avoid: Making stencil gaps too narrow so they close up as the skin recovers.
Lettering Aftercare Shortcuts
Thin coats beat one thick coat every time. After finishing the initial healing salves, apply a thin layer of tattoo aftercare ointment twice a day rather than slathering it on, which can trap moisture and slow healing.
Grab hypoallergenic bandages for the first night. Covering a fresh piece while you sleep prevents sheets from snagging scabs and reduces the chance of accidental damage.
Curved placements like wrists and ankles do best with shorter sessions and touch-ups rather than long single passes. Bring a printed mockup so the artist can tweak letter spacing on the spot. A thermal stencil paper transfer helps ensure the layout is exact.
Most artists recommend waiting at least six weeks before sun exposure. Use a high SPF once healed and a broad-spectrum sunscreen to keep dark lettering crisp in photos.
If you are nervous about placement, try a temporary version first. Application of a temporary tattoo decal paper lets you live with the lettering for a few days before booking, which often saves a future touch-up.
