
I used to paint milky white on my short nails in furious thick strokes and wonder why it looked clumpy in photos and peeled by the weekend. The fix was smaller changes, like one wetter brush stroke, a diluted white mix, and stopping before full opacity. Once I treated the milky look like a veil instead of a mask, short nails finally read modern and clean instead of costume-y.
These ideas are for people who wear short nails every day, work with minimal maintenance, and want a soft, modern white that reads polish-not-fake. Most looks here are beginner friendly, use mostly gel or regular polishes, and cost under $40 if you already own a basic base and top coat. Expect 10 to 20 minutes per set, with simple curing notes included when a gel step appears.
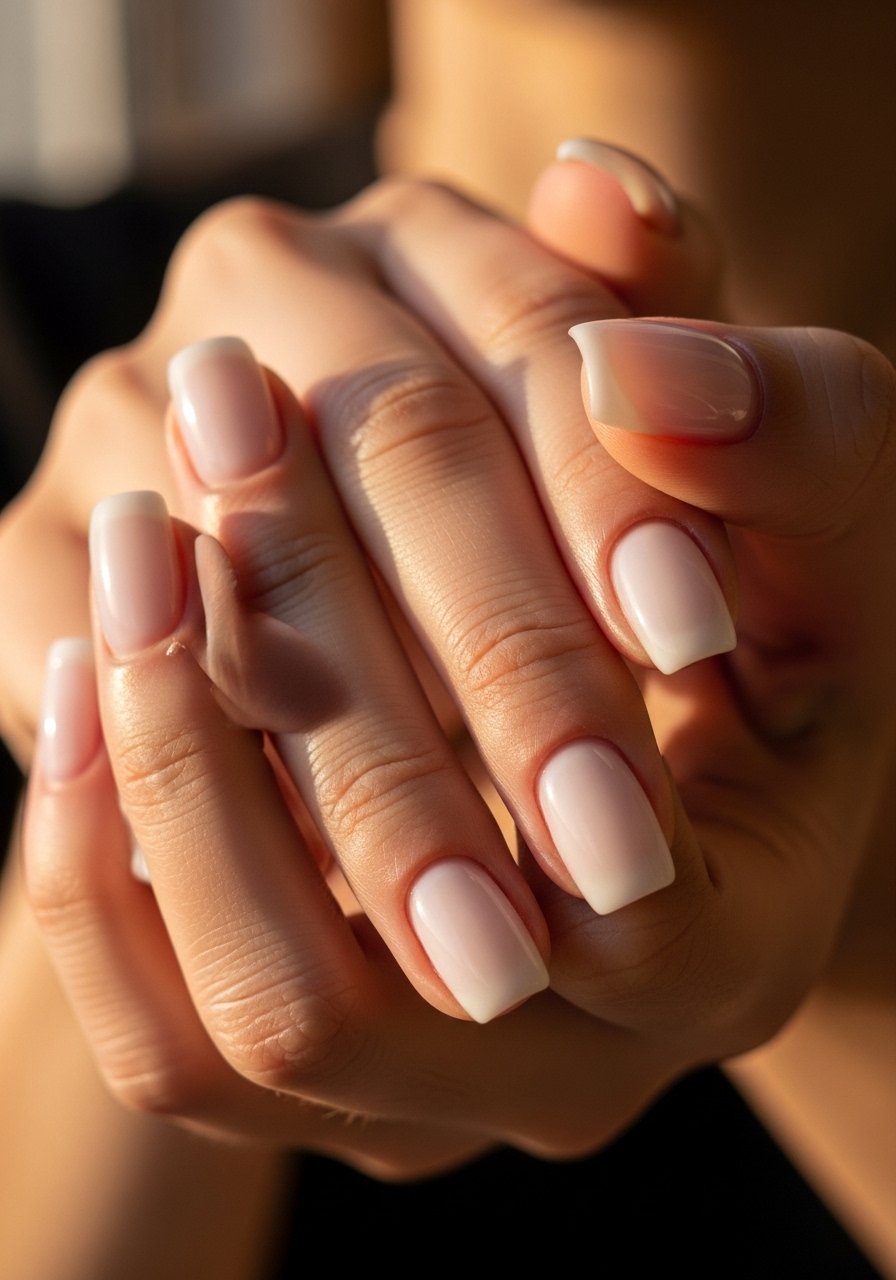
1. Sheer Milk With One Wet Stroke
Style/Vibe: Soft Sheer, Minimal
Best For: Short nails / everyday wear
Skill: Beginner
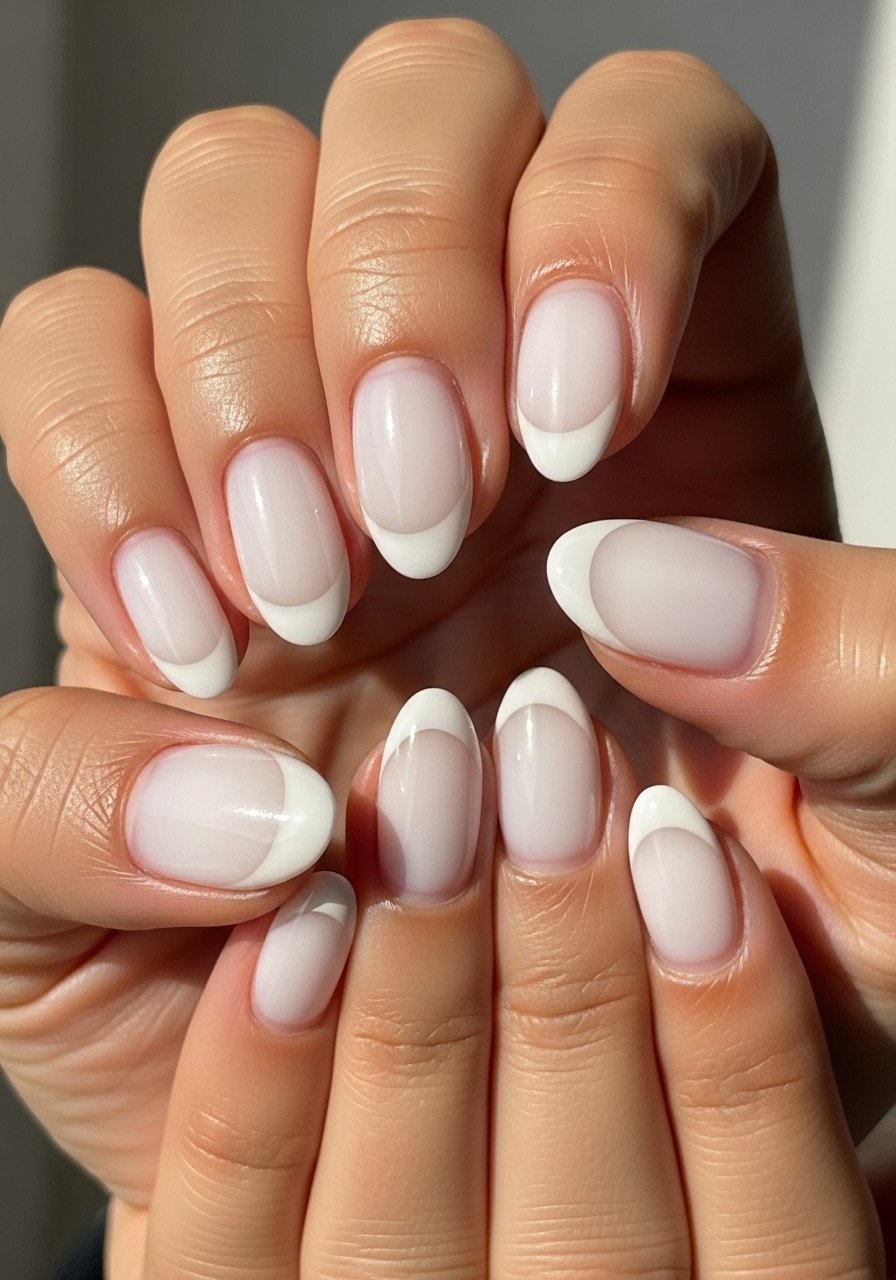
My go-to when I only have 10 minutes is one wet brush stroke per nail, working from cuticle to free edge and leaving about 1 mm of visible nail line. That slight gap keeps the milky effect translucent and fresher on short shapes. For polish I like using a sheer-white like the sheer-white nail polish layered in two thin coats. If you are gel-curing, aim for 10 seconds per coat under a 36W lamp to avoid hard edges. This gives a clean, soft finish that lasts.
Mistake to Avoid: Piling on thick coats to hide streaks, which causes bubbling and early chipping.
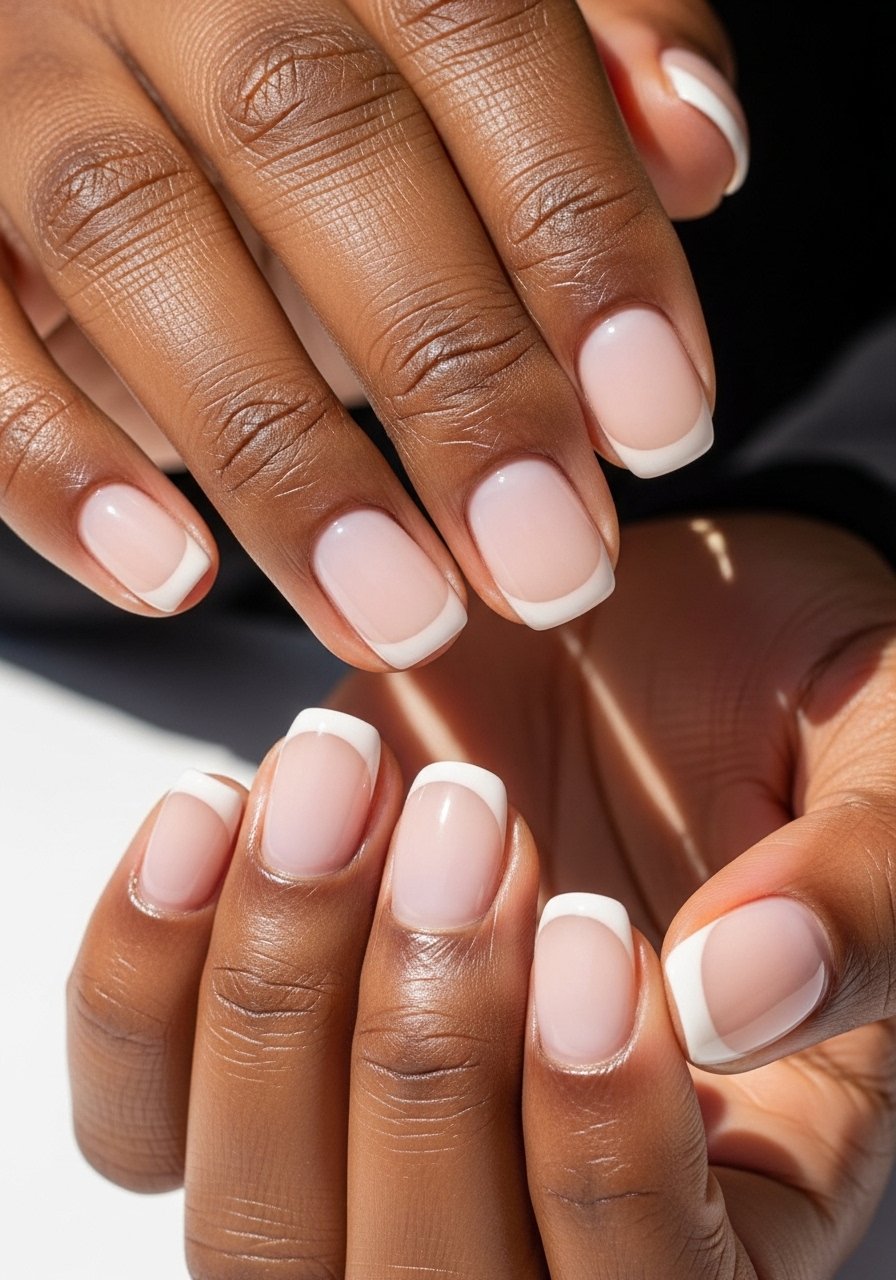
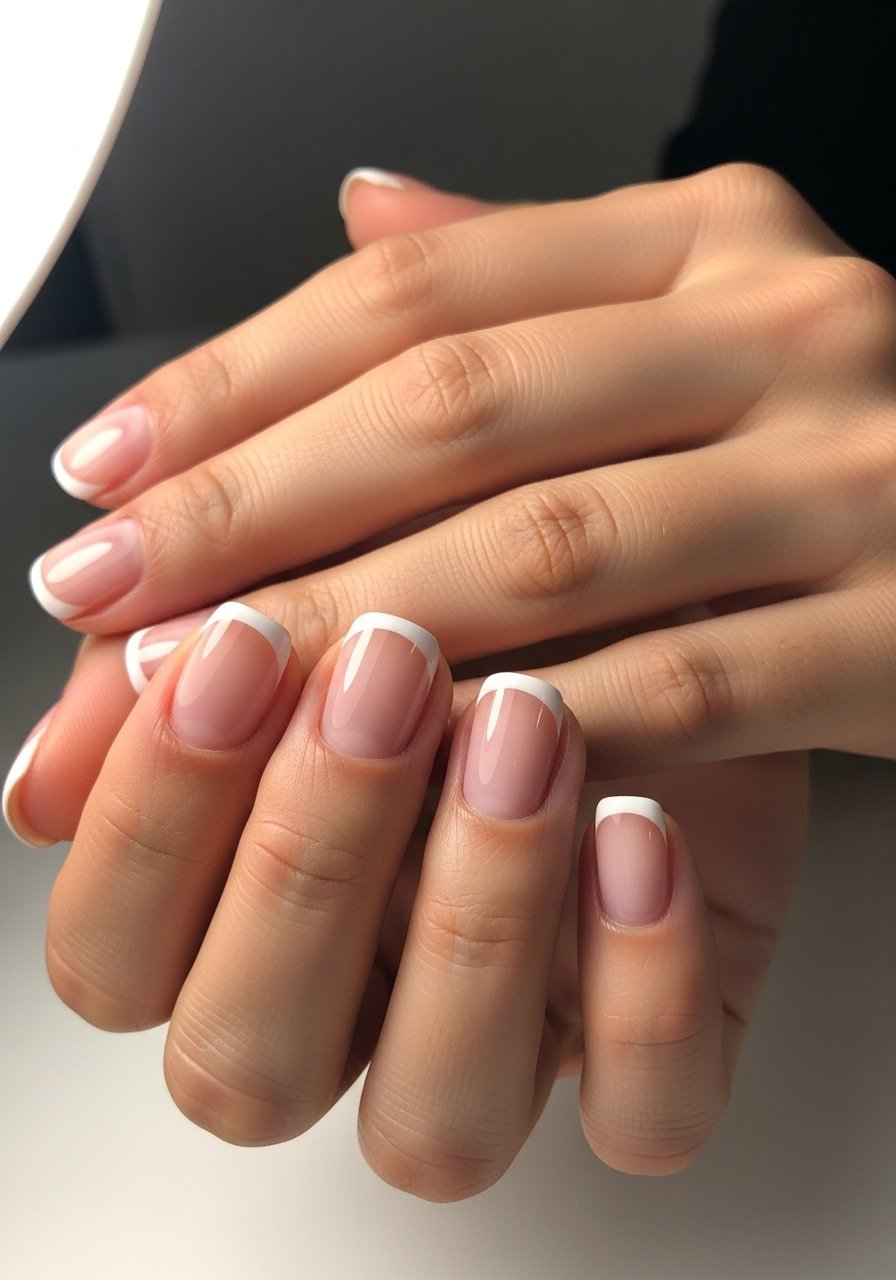
2. Blended Edge French, But Softer
Style/Vibe: Soft Tip, Modern Classic
Best For: Short nails / office wear
Skill: Intermediate
Instead of a stark white smile line, blend a tiny amount of opaque white into a clear top coat and swipe the free edge for a faded French. Use a 3:7 ratio white polish to clear top coat for a soft gradient that suits short nails. I like melting the edge with a small synthetic brush and finishing with a satin top coat like satin-finish top coat for a lived-in finish. Works with natural polish or thin gel layers.
Mistake to Avoid: Trying to paint a crisp white line on a short nail, which shortens the visible nail.
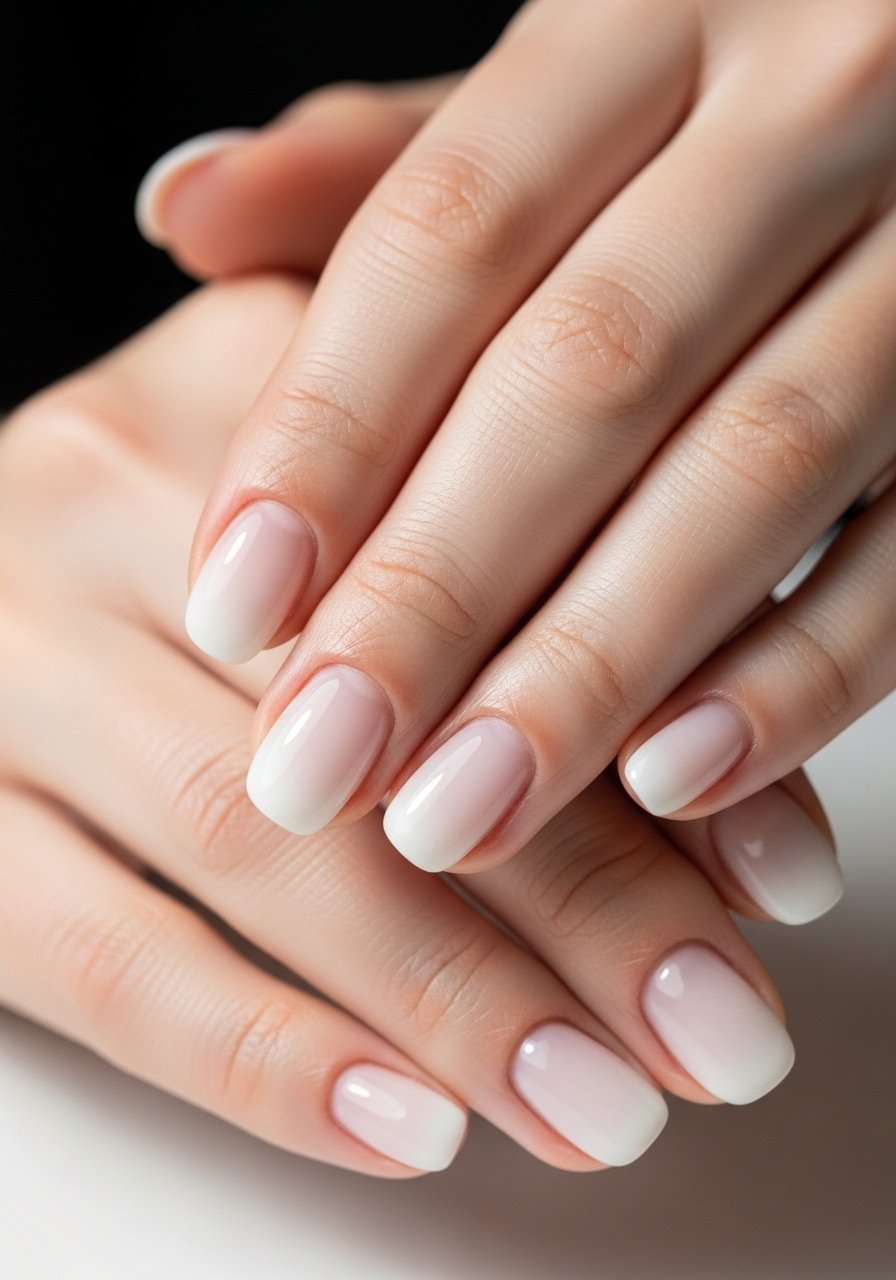
3. Milk Glass Ombre With Sponge Tap
Style/Vibe: Ombre Veil, Subtle Texture
Best For: Short nails / weekend upgrade
Skill: Intermediate
A makeup sponge gives a soft milky fade from cuticle outward. Dab a diluted white mix, roughly one part white to two parts clear base, and tap gently rather than swiping. That ratio keeps the opacity to a veil, which reads more elegant on short lengths. I use a flexible sponge and seal with a quick-dry top coat like quick-dry top coat to avoid lifting. It takes two thin passes and four minutes to perfect.
Mistake to Avoid: Rubbing the sponge harshly and creating streaky blotches instead of a smooth gradient.
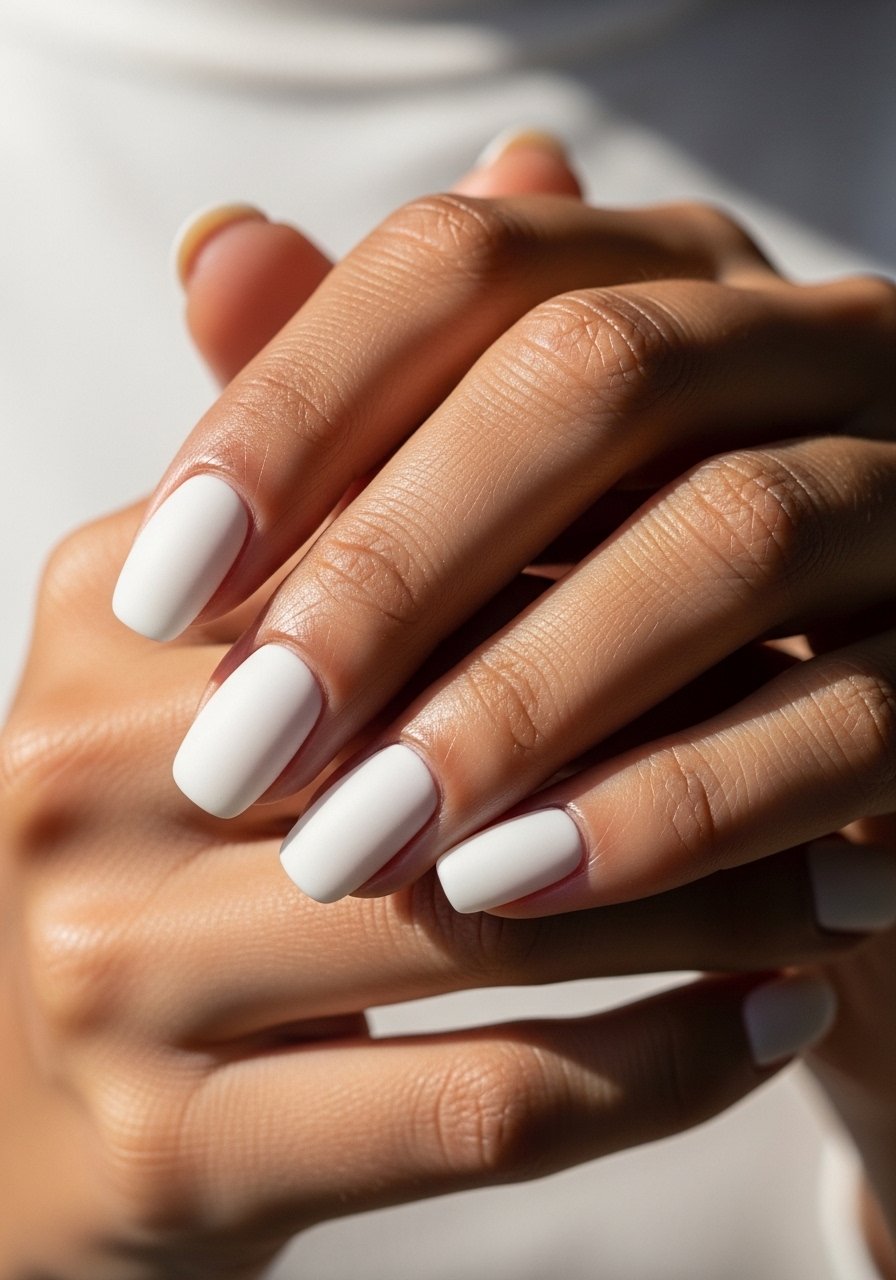
4. Satin Milky Matte Finish
Style/Vibe: Soft Matte, Modern Minimal
Best For: Short nails / low-gloss preference
Skill: Beginner
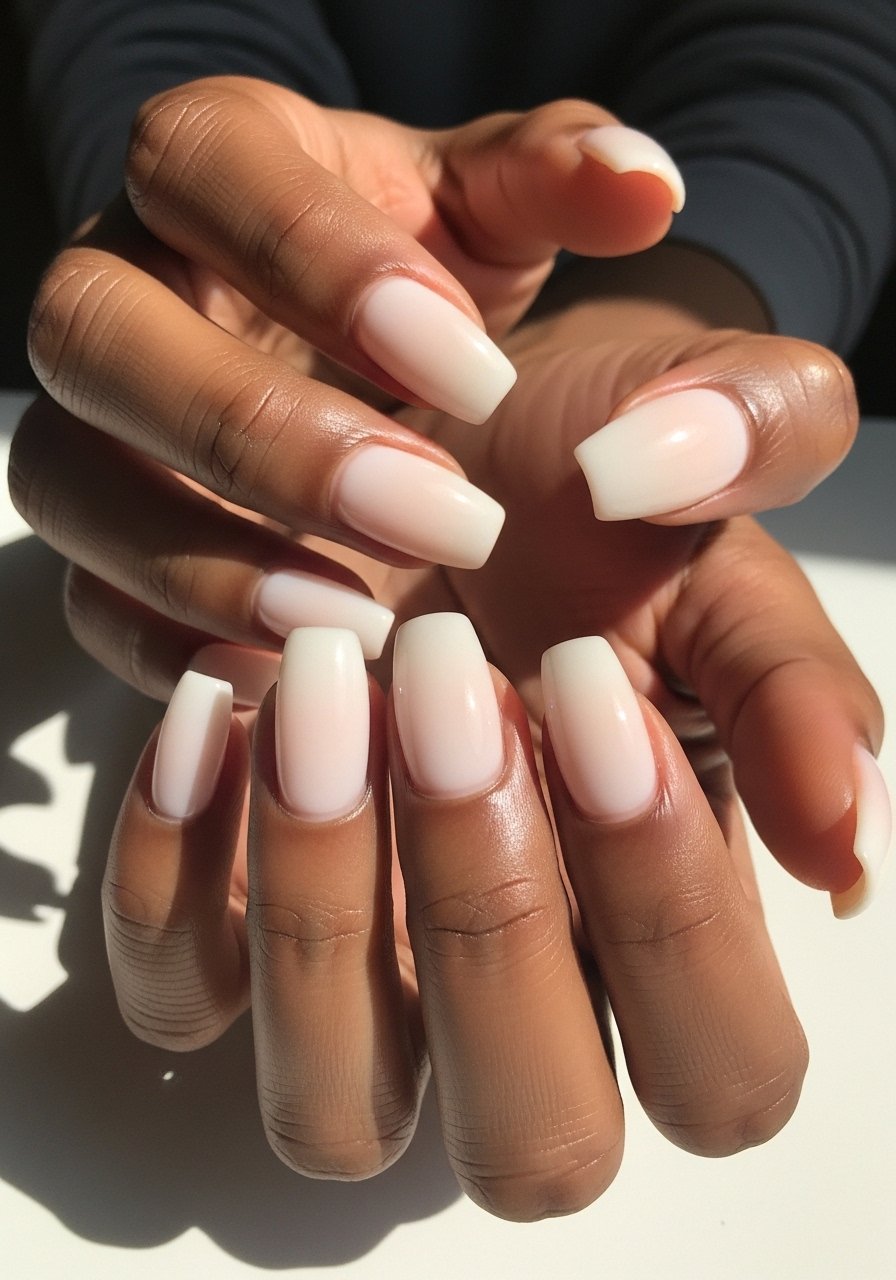
Swap the usual glossy top coat for a satin matte to soften the milky white into a pillowy look. Apply two thin coats of milky polish, cure or dry fully, then use a matte top coat like matte top coat. The matte hides small ridge texture on short nails and makes the color feel more intentional. This is an easy budget upgrade that reads higher end.
Mistake to Avoid: Using a matte top coat over slightly tacky polish, which traps fingerprints and dulls unevenly.
5. Tiny Negative-Space Crescent
Style/Vibe: Negative Space, Architectural
Best For: Short nails / date night
Skill: Intermediate
Keep most of the nail milky but leave a tiny crescent at the cuticle bare or filled with a sheer nude. Use a 0.5 mm striping brush or a dot of latex peel to protect the area. The contrast reads modern and keeps short nails from looking stubby. Pair with a thin clear base like peel-off liquid barrier for clean lines. This is one of the gaps many guides skip because it requires restraint and a steady hand.
Mistake to Avoid: Making the crescent too large, which shortens the visible nail and looks accidental.
6. Micro Glitter Fade At Free Edge
Style/Vibe: Subtle Sparkle, Night Out
Best For: Short nails / special occasions
Skill: Beginner
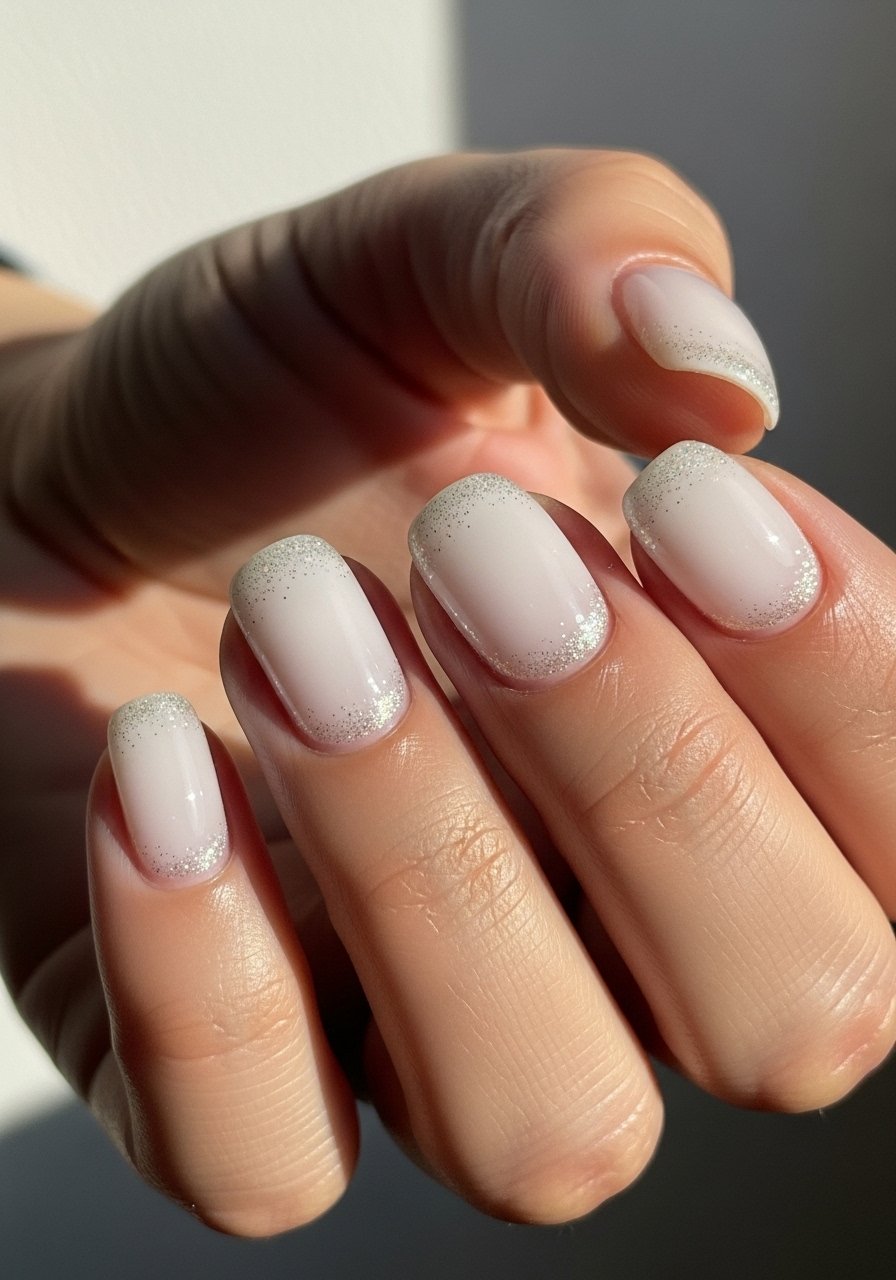
A dusting of micro glitter only at the free edge lifts a milky mani without distracting from short length. Mix a pinch of fine glitter into a drop of clear top coat and brush just along the tip, then seal. I use micro-fine glitter mix and two thin sealing layers. It creates a soft catch in light that photographs well without making nails look longer than they are.
Mistake to Avoid: Overloading glitter so the nail looks chunky instead of luminous.
7. Sheer White With Warm Undertone
Style/Vibe: Warm Sheer, Clean Look
Best For: Short nails / warm undertones
Skill: Beginner
Milky whites can feel cold on warm skin. Mix a single drop of warm nude or peach into your white polish to bring the color toward skin tone. A 1:40 drop-to-polish ratio keeps the milky quality while preventing obvious tinting. Try a warm-leaning sheer like warm-sheer nail polish. This is an easy trick I learned after realizing pure white read sterile on my hands.
Mistake to Avoid: Adding too much pigment trying to match skin, which removes the milky effect.
Before the rest, these are the products I reach for most when doing milky short nails.
Essentials for Milky Short Nails
Core Tools:
- Detail Nail Brush (~$6-12). Small synthetic brushes keep strokes precise.
- Flexible Makeup Sponge (~$5-10). Use for soft ombres and fades.
Base and Finish:
- Sheer White Nail Polish (~$8-15). The base milky shade to build from.
- Quick-Dry Top Coat (~$7-14). Seals thin layers without bubbling.
- Matte Top Coat (~$8-16). For the satin-matte finish option.
Extras:
- Peel-Off Liquid Barrier (~$7-12). Makes negative-space shapes clean.
- Micro-Fine Glitter Mix (~$6-10). For subtle tip sparkle.
- LED Lamp 36W (~$25-45). If you prefer gel longevity.
8. Milky Jelly With Tiny Foil Accent
Style/Vibe: Jelly Milky, Delicate Accent
Best For: Short nails / creative subtlety
Skill: Intermediate
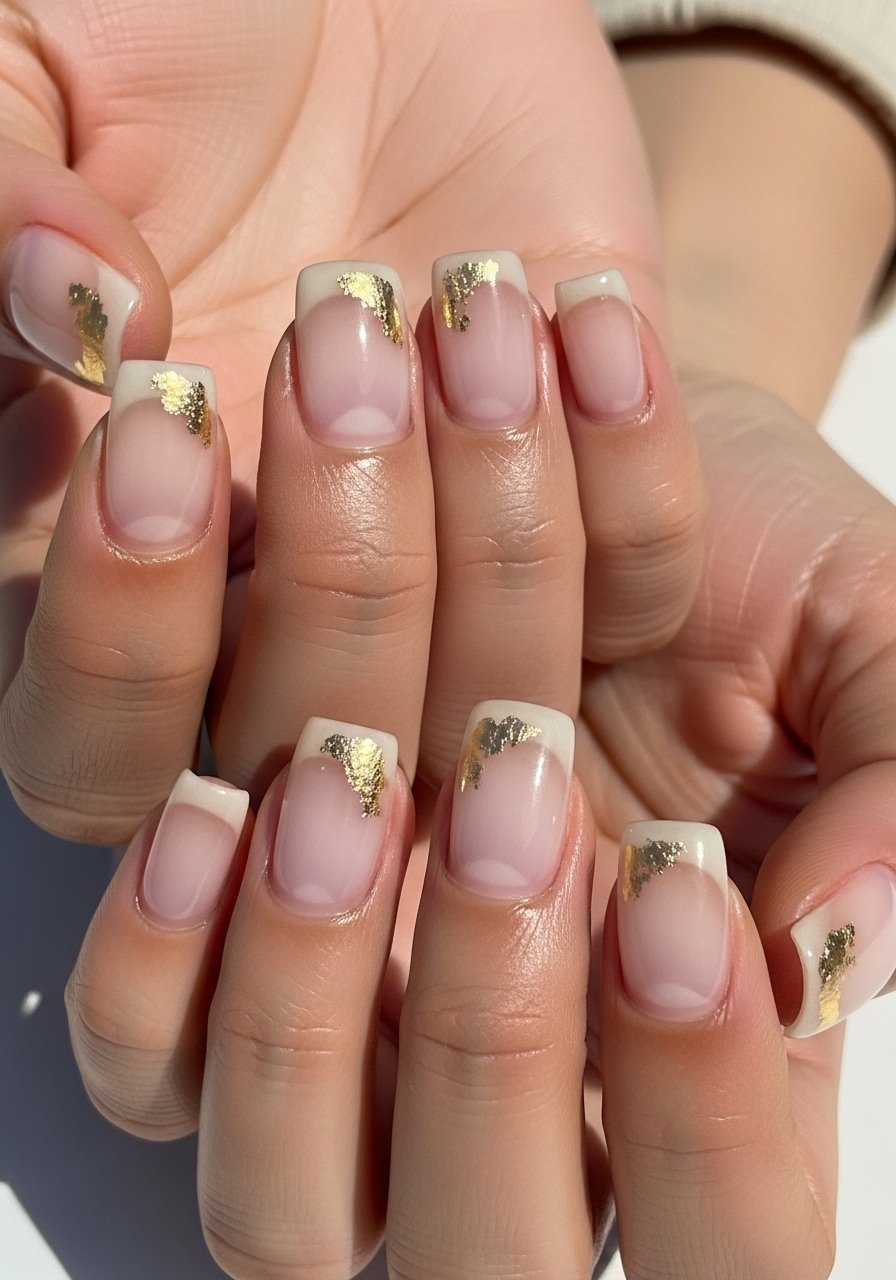
A jelly milky base reads wet and fresh. Mix a thin jelly base with one coat of sheer white to achieve that glassy translucence. Press a single gold foil flake onto the free edge and top with clear gel or top coat to lock it in. I use gold nail foil and a 20 second cure per gel layer to prevent bubbling. The foil should be a small accent, not a focal point.
Mistake to Avoid: Overusing foil which makes short nails look busy and heavy.
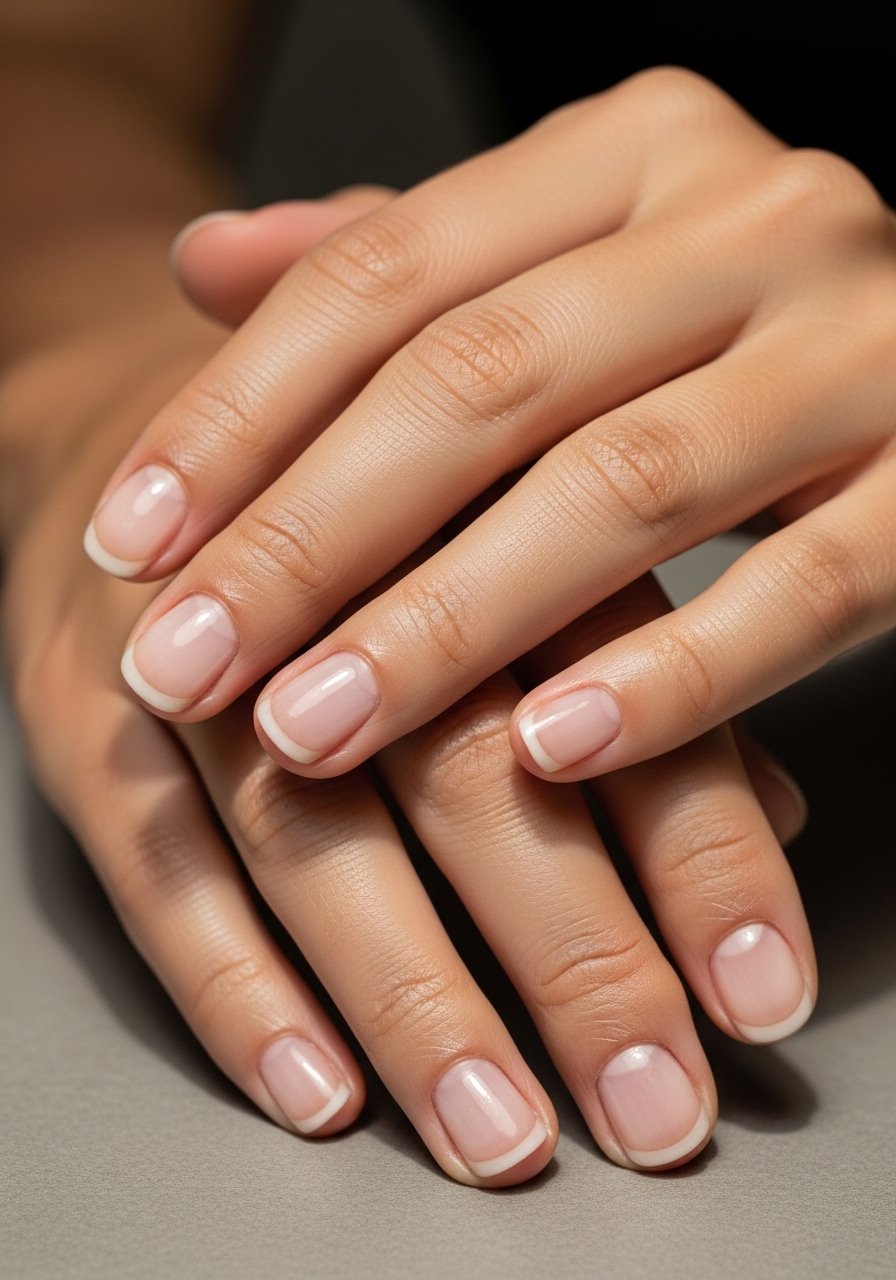
9. Micro French With Tiny Gap
Style/Vibe: Micro French, Polished Minimal
Best For: Short nails / interviews or formal days
Skill: Beginner
Paint a thin 1.5 mm white band at the tip and leave a 1 mm natural line at the cuticle. The two small gaps make the nail appear neat without extending visually. I use a steady hand and thin-stripe nail brush for the line. Two thin coats and a fast top coat make this quick to do before an event.
Mistake to Avoid: Making the white band wider than 2 mm, which shortens the nail visually.
10. Milky Marble Accent Nail
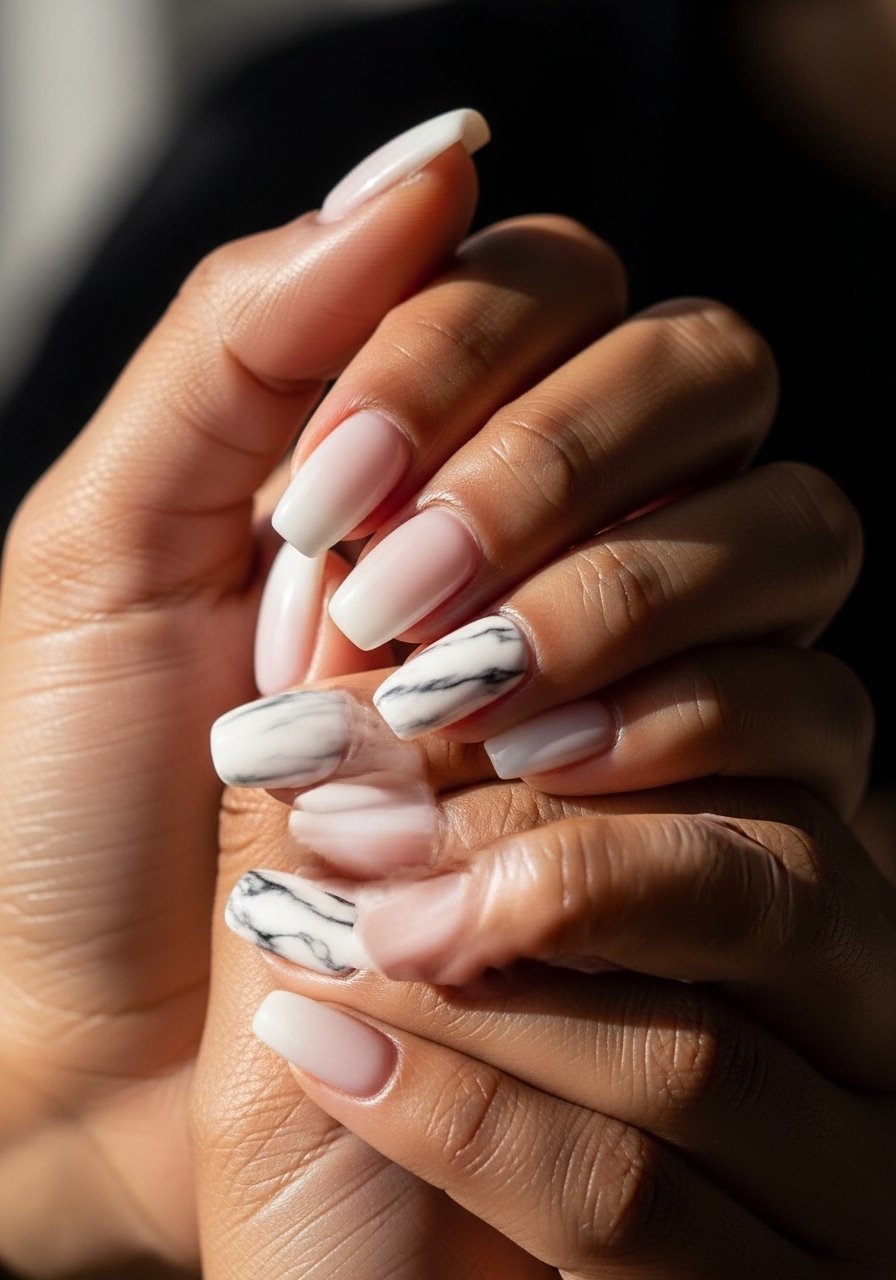
Style/Vibe: Marble Accent, Soft Contrast
Best For: Short nails / creative set
Skill: Intermediate
Keep three nails sheer milky and turn one into a soft marble using a drop of white and a drop of sheer nude on a wet surface. Drag a fine brush once to create a vein and seal with glossy top coat. Use a 1:3 white to nude ratio for delicate veins. I like adding a tiny amount of clear gel to float the veins for depth. This pairing gives visual interest without lengthening.
Mistake to Avoid: Overworking the marble so veins look thick and clumsy.
11. Polished Buffed Milk for Natural Look
Style/Vibe: Buffed Milk, Low-Polish Finish
Best For: Short nails / those avoiding polish look
Skill: Beginner
A fine buffer followed by one sheer milky coat yields a "polished but not polished" finish. Buff to remove shine, then apply a 90% clear 10% white dilute mix in two quick strokes. This is great for quick touch-ups and suits people who prefer a natural look and use no lamp. Seal with a thin glossy top coat if desired. It takes five minutes and minimal tools.
Mistake to Avoid: Aggressive buffing that thins the nail plate instead of smoothing it.
12. Tiny Accent Gems At Cuticle
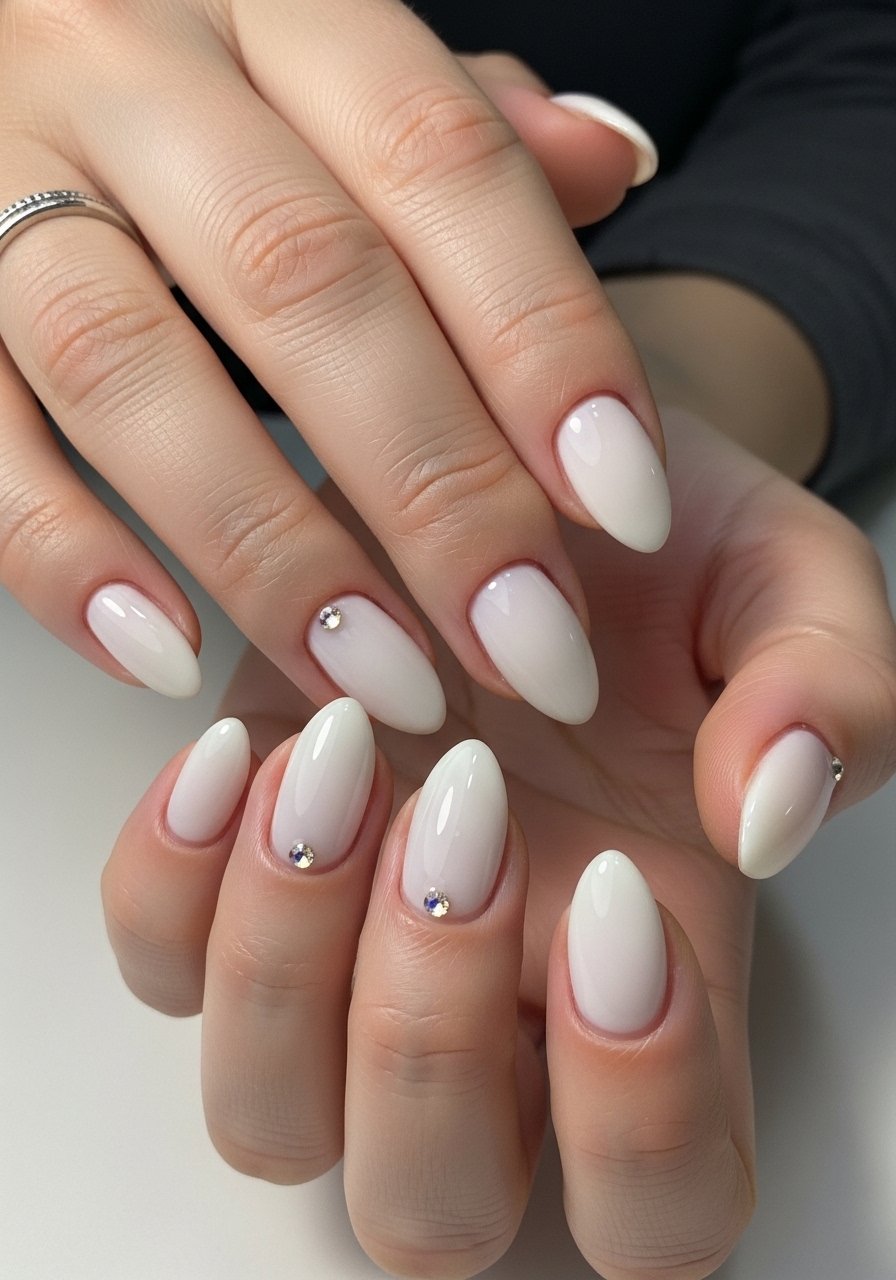
Style/Vibe: Understated Glam, Delicate Shine
Best For: Short nails / evening looks
Skill: Intermediate
A single micro gem at the cuticle on a milky base adds a focal point without making nails look longer. Use a small dab of gel or nail glue and press a 1.5 mm crystal, then cure or dry. I like using micro crystal rhinestones and a clear gel top coat to seal. This trick photographs beautifully and keeps short nails elegant rather than flashy.
Mistake to Avoid: Oversized gems that overwhelm the nail and pull at tips.
13. Two-Tone Milky With Thin Metallic Line
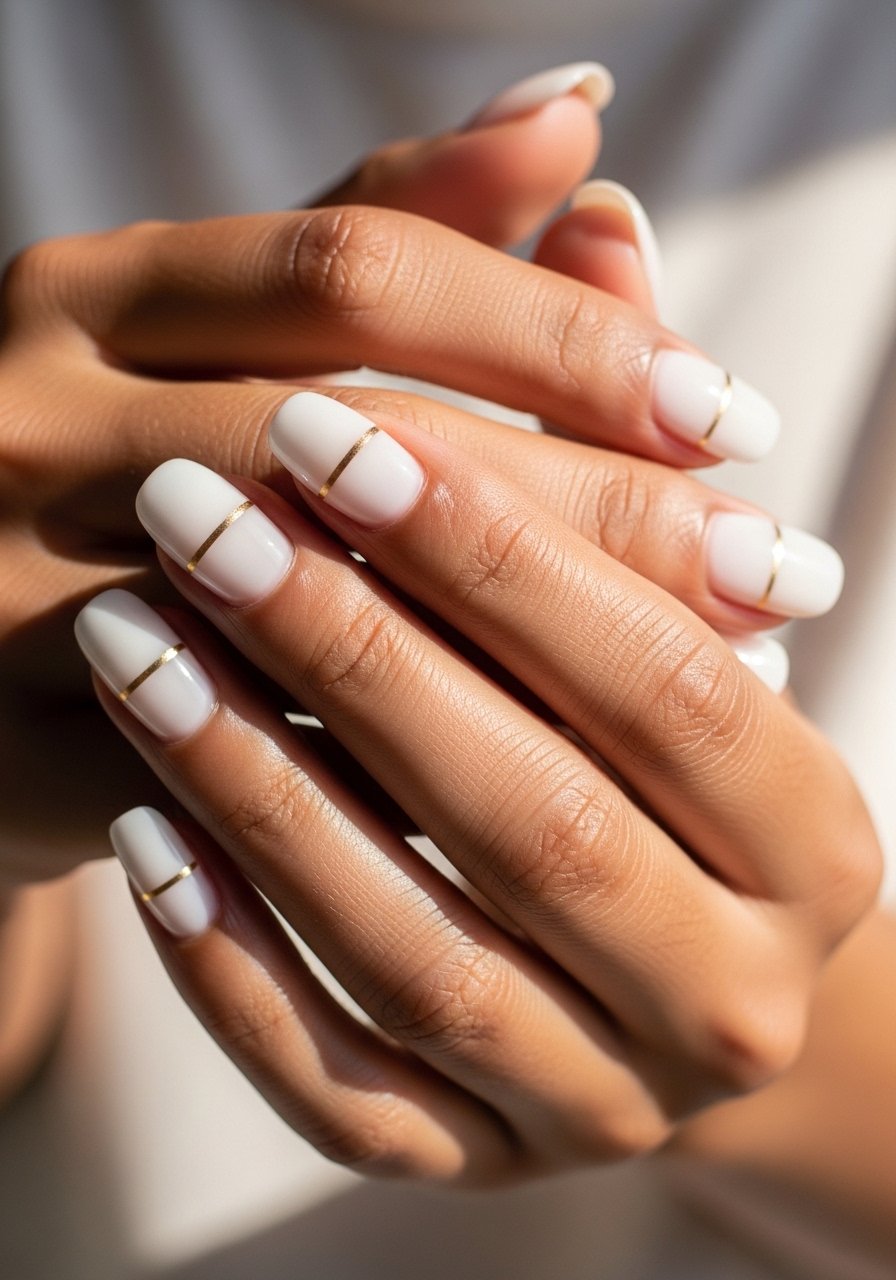
Style/Vibe: Two-Tone Minimal, Edgy Refined
Best For: Short nails / fashion-forward looks
Skill: Intermediate
Divide the nail visually by applying milky on the lower half and a slightly more opaque white on the tip, then finish with a 0.5 mm metallic striping line across the junction. Use a steady hand and gold striping tape and press flat before sealing with top coat. The metallic line reads crisp and modern and keeps short nails interesting without length illusion tricks.
Mistake to Avoid: Placing the metallic line too close to the cuticle which makes the nail top-heavy.
Short Nail Mani Helpers
Five quick tips that save a mani and fit in a phone photo.
Thin coats beat one thick coat every time. Three thin layers of quick-dry top coat look smoother and last longer than one heavy layer.
Grab nail glue pen for tiny repairs. A dab lets you fix a lifted edge in seconds and prevents bigger splits.
If you are doing gel at home, cure with an LED lamp 36W and stick to 10 to 20 seconds per thin coat. Overcuring thick layers makes edges lift later.
Most people file flat across the tip. A very slight softening of the corners with a 180-grit file stops snags, especially on short square shapes. Use a 180-grit nail file to finish edges.
Keep acetone and cotton balls for quick resets. One minute soak and a gentle push with an orange stick removes thin milky layers for a redo without damage. A small acetone soak jar saves polish remover spills.
