
I kept picking behind-ear designs that were too fussy, then hiding them under my hair and wondering why they blurred into a smudge. After a few touch-ups and asking questions across five shops I have visited, I learned small equals clarity behind the ear. That was the moment I started sketching tiny, simple pieces that read in photos and in real life, not just in a close-up under studio lights.
These are compact, low-budget, mostly one-session ideas that work whether your style is minimalist or a little cheeky. Size range is 0.5 to 1 inch for true "mini" clarity, and I note which designs will show at work and which you can cover with hair. Expect quick sessions, straightforward healing, and a few aftercare products you can grab online. If you want pieces that actually age well, read the sensitivity and healing notes for each idea.
1. Tiny Crescent Moon

Style/Technique: Fine line lunar
Pain Level: 3/10
Session Time: 0.25 to 0.5 hours
Best For: Coverable, casual or creative workplaces
A single thin crescent reads clearly even at 0.6 inch, because the negative space matters more than extra dots. It feels quiet and a little private when your hair is down, but when tucked behind the ear it becomes a small signature. Ask for a 0.5 mm needle grouping for crisp edges and plan for a touch-up if the lines are single hair-thin. Pair the look with a tiny stud to complement the curve, and use a fragrance-free soap during the first week to avoid flare-ups. I like to tell clients size, not detail, is the rule here.
Mistake to Avoid: Asking for extra shading in a 0.5 inch moon, which will blur during healing.
2. Mini Script Initial

Style/Technique: Micro script
Pain Level: 4/10
Session Time: 0.25 to 0.5 hours
Best For: Coverable, sentimental pieces
Handwritten initials work because letters with a 1:3 height-to-width ratio stay legible behind the ear. Request a simple, single-stroke cursive, not flourished calligraphy. I had one client bring a tiny handwritten note and we replicated the pen pressure digitally, then scaled it to 0.7 inch. Use a gentle healing ointment linked below and sleep on a silk pillowcase the first three nights to avoid snagging hair against the scab. This is a low-cost, low-time option for someone testing placement.
Mistake to Avoid: Insisting the line be as thin as a pen stroke, which will likely break up into dotty lines.
3. Micro Star Cluster
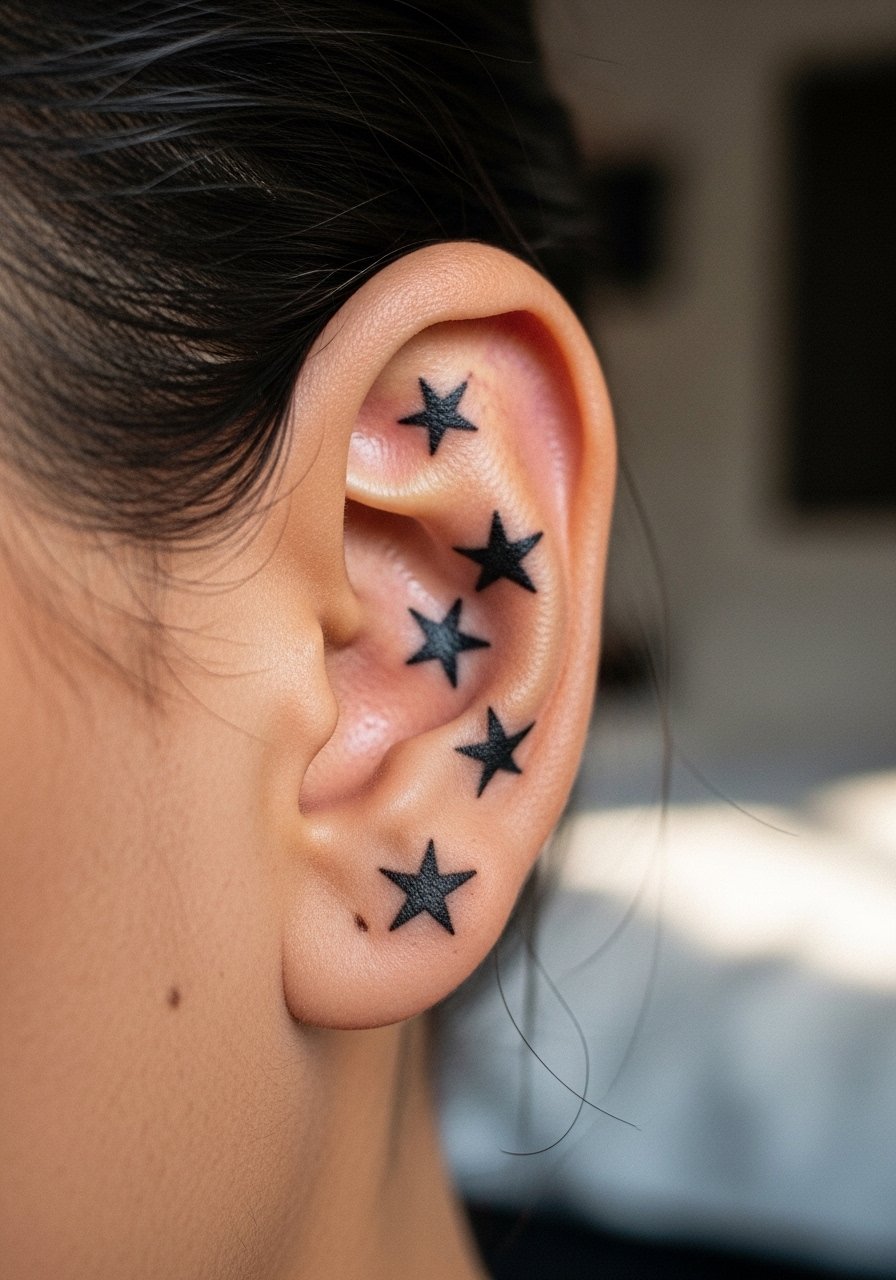
Style/Technique: Dot and star cluster
Pain Level: 2/10
Session Time: 0.25 to 0.5 hours
Best For: Coverable, playful accents
Three tiny stars spaced 4 to 6 mm apart read better than a single crowded cluster at this spot. The visual trick is spacing, not extra ink. I recommend spacing that keeps each star at least 2 mm in diameter so they age into tiny, readable points. This suits someone who wants a low-commitment accent that pairs with small hoop earrings. Budget wise, it is fast and cheap, and it heals predictably when you avoid heavy friction from collars or headphone bands.
Mistake to Avoid: Packing stars too close together so they heal into one blob.
4. Minimal Wave Line
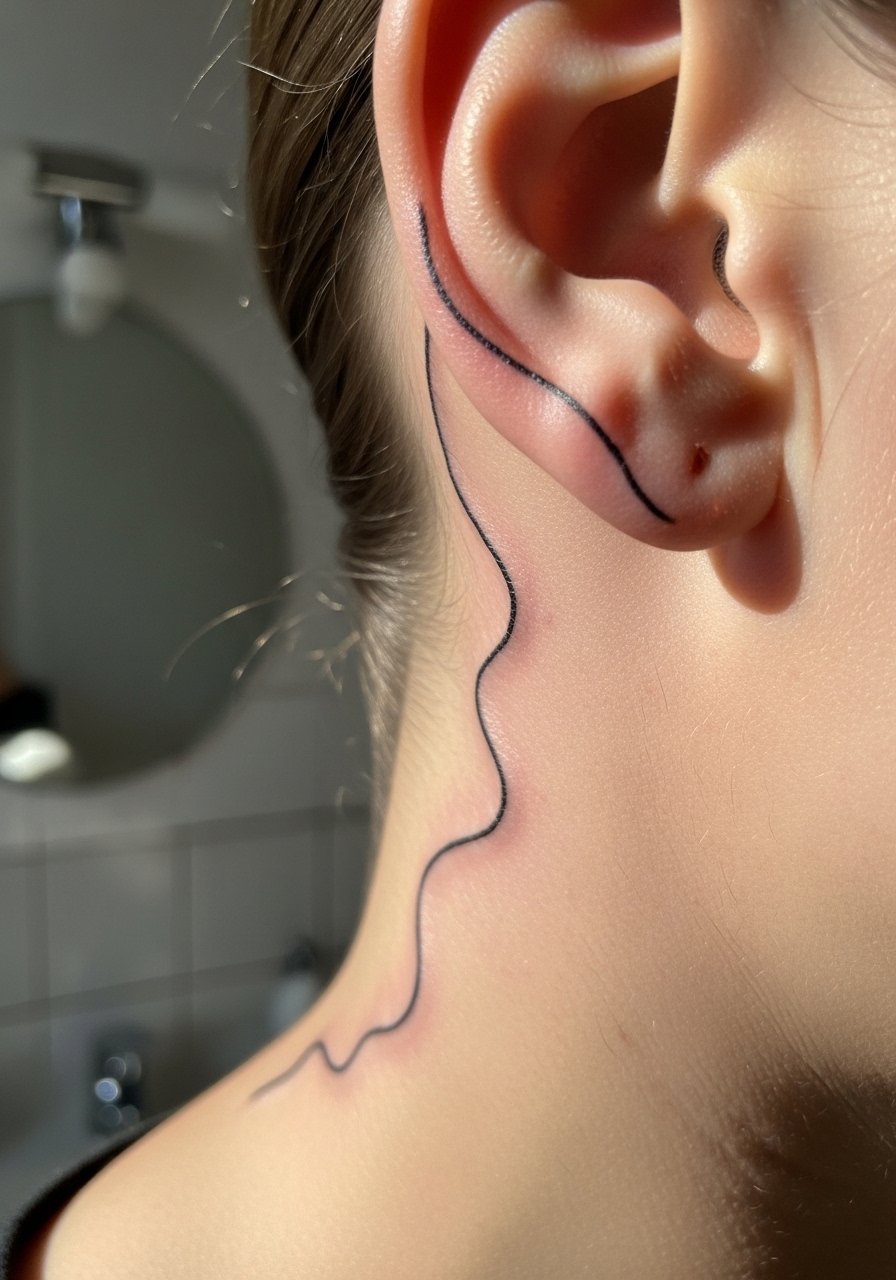
Style/Technique: Single-line wave
Pain Level: 2/10
Session Time: 0.25 hours
Best For: Work-coverable, beachy or subtle wardrobes
A single, 0.8 inch wavy line mimics hair movement and looks intentional with a tucked-back hairstyle. The trick is a steady, continuous stroke with no breaks, so ask for one pass rather than multiple overlapping strokes. If you swim, wait two weeks before chlorinated pools to lessen fading. I suggest pairing it visually with low-maintenance silver studs, not large dangling earrings, which create unnecessary motion against the scab.
Mistake to Avoid: Requesting multiple passes to "darken" the line, which causes blowout and loss of crispness.
5. Petite Botanical Leaf

Style/Technique: Single-line botanical
Pain Level: 3/10
Session Time: 0.3 to 0.5 hours
Best For: Coverable, nature-lovers and subtle aesthetics
A leaf outline at about 0.7 inch gives a delicate organic shape without dense shading, so it holds up over time. I recommend an open outline with 1 mm line weight so the leaf reads at a distance. This design ages well, since there is minimal saturation to migrate. Mention if you have sensitive skin so the artist uses lower ink volumes. For visible styling, tuck a strand behind the ear and let the leaf peek out like a small charm.
Mistake to Avoid: Adding inner shading to a 0.7 inch leaf, which will blur into a gray patch.
6. Tiny Anchor Symbol
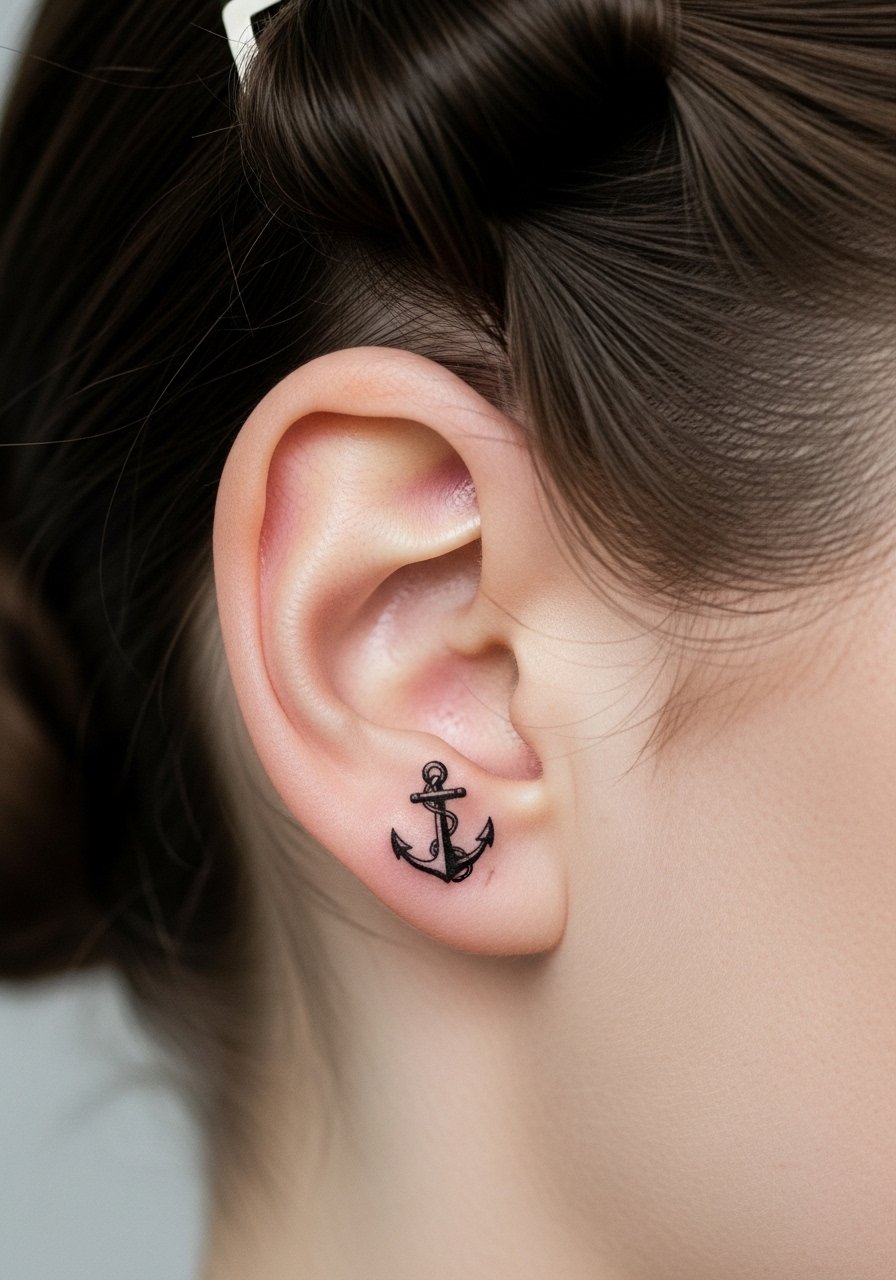
Style/Technique: Symbolic icon
Pain Level: 3/10
Session Time: 0.25 to 0.5 hours
Best For: Coverable, nautical or meaningful motifs
An anchor that is compact reads as a symbol rather than a drawing when scaled between 0.5 and 0.9 inch. Keep the flukes simple and avoid rope detail. I tell people the anchor looks balanced next to small piercings and it fits both genders. Budget friendly and fast to execute, pick a clean stencil and request minimal line intersections so the ink heals into clear shapes without gray bleeding.
Mistake to Avoid: Asking for rope texture in a tiny anchor, which clogs lines during healing.
7. Micro Geometric Triangle
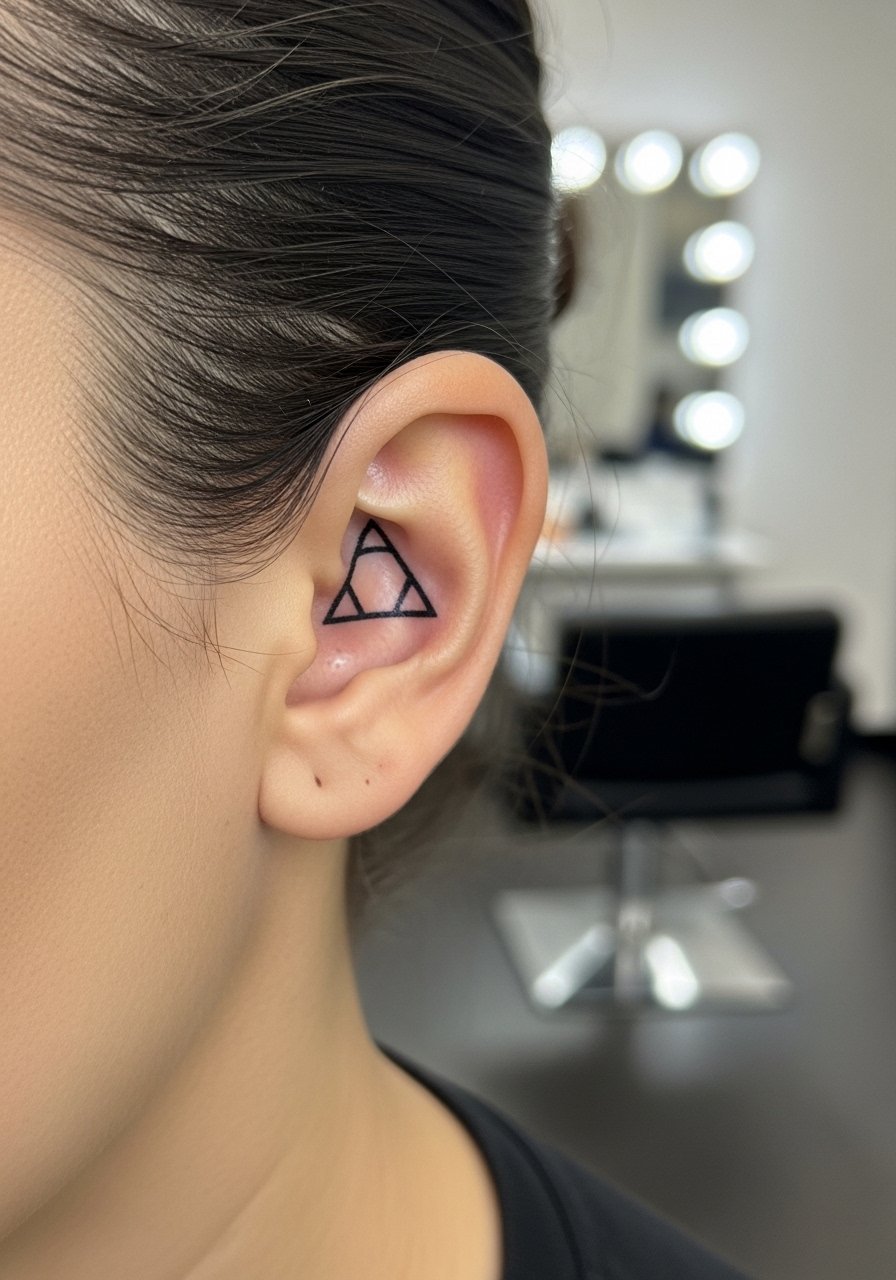
Style/Technique: Small geometric linework
Pain Level: 2/10
Session Time: 0.2 to 0.4 hours
Best For: Coverable, modern minimalist looks
A tiny solid or outlined triangle placed just behind the ear reads as intentional geometry and pairs well with short hair. For stability, request straight, single-pass lines and an outline thickness of about 0.7 mm. This is a good beginner choice because it requires minimal aftercare and touch-ups are uncommon. I like to recommend a clear, breathable bandage for the first 24 hours to keep pillowcases from rubbing.
Mistake to Avoid: Choosing a filled-in tiny triangle that will settle into a gray smudge.
If any of these ideas have you ready to try one, here are the practical things I actually reach for before and after a mini behind-ear session.
Behind-Ear Tattoo Essentials
Aftercare Basics:
- Fragrance-free antibacterial soap (~$6-12). Gentle cleansing for the first two weeks.
- Healing ointment (~$8-15). Use sparingly, three times a day for the first five days.
- Breathable adhesive bandages (~$6-12). One small strip keeps shirts and hair from rubbing the fresh ink.
Styling & Protection:
- Silk pillowcase (~$15-40). Cuts friction on healing nights.
- Sunscreen stick (~$8-18). Use after full healing to prevent sun fade.
- Small stud earrings (~$6-20). To pair with the new peek behind the ear.
Tools for Touch-Ups and Comfort:
- Compact mirror (~$6-12). Check healing progress without twisting your neck.
- Headphone ear pads (~$10-25). Soft pads reduce irritation if you must wear headphones.
- Travel-sized cooling gel packs (~$8-15). For swelling in the first 48 hours.
8. Single Dot Accent
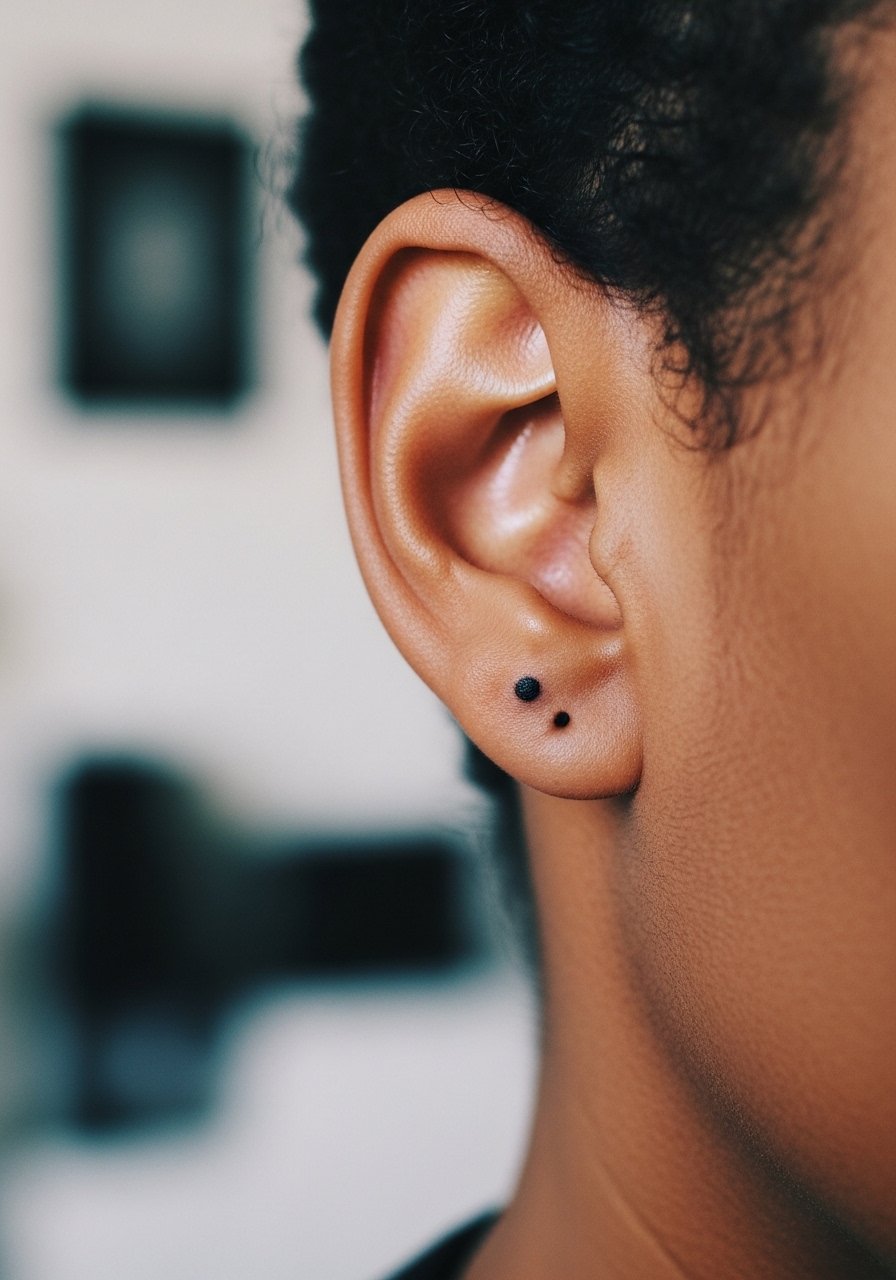
Style/Technique: Micro dot
Pain Level: 1/10
Session Time: 0.1 to 0.2 hours
Best For: Coverable, first-timers
A single 1.5 to 2 mm dot reads like a deliberate mole when placed just behind the ear. It is extremely low-maintenance because there is no line to blur. I advise against getting it exactly at the hairline where motion causes irritation. This is the cheapest option and a way to test how you feel about ink in that spot. It photographs small and understated, and it is easy to pair with a small chain necklace visually.
Mistake to Avoid: Placing the dot too close to the ear fold where constant moisture and rubbing affect healing.
9. Micro Heart Outline
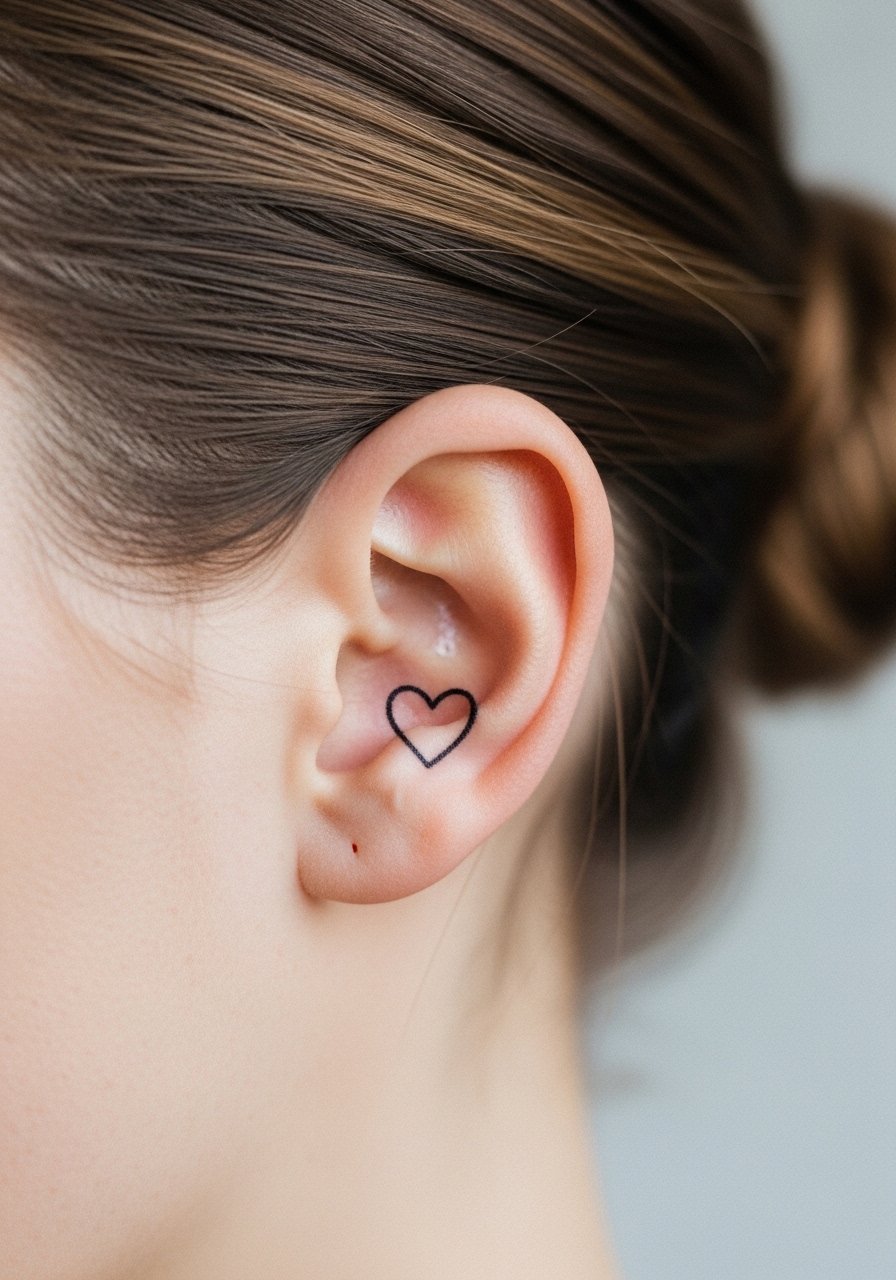
Style/Technique: Tiny outline
Pain Level: 2/10
Session Time: 0.2 to 0.4 hours
Best For: Coverable, romantic or whimsical tastes
A hollow heart about 0.6 inch wide feels playful without reading as juvenile. Ask for a slightly thicker line than you'd choose on the wrist, because behind-ear skin moves more. I recommend a simple open outline rather than filled-in color to prevent the shape from softening into an unrecognizable blob. For cost, it is quick and often under an hour in one session.
Mistake to Avoid: Requesting gradient shading inside the heart at mini scale, which will age poorly.
10. Tiny Lightning Bolt
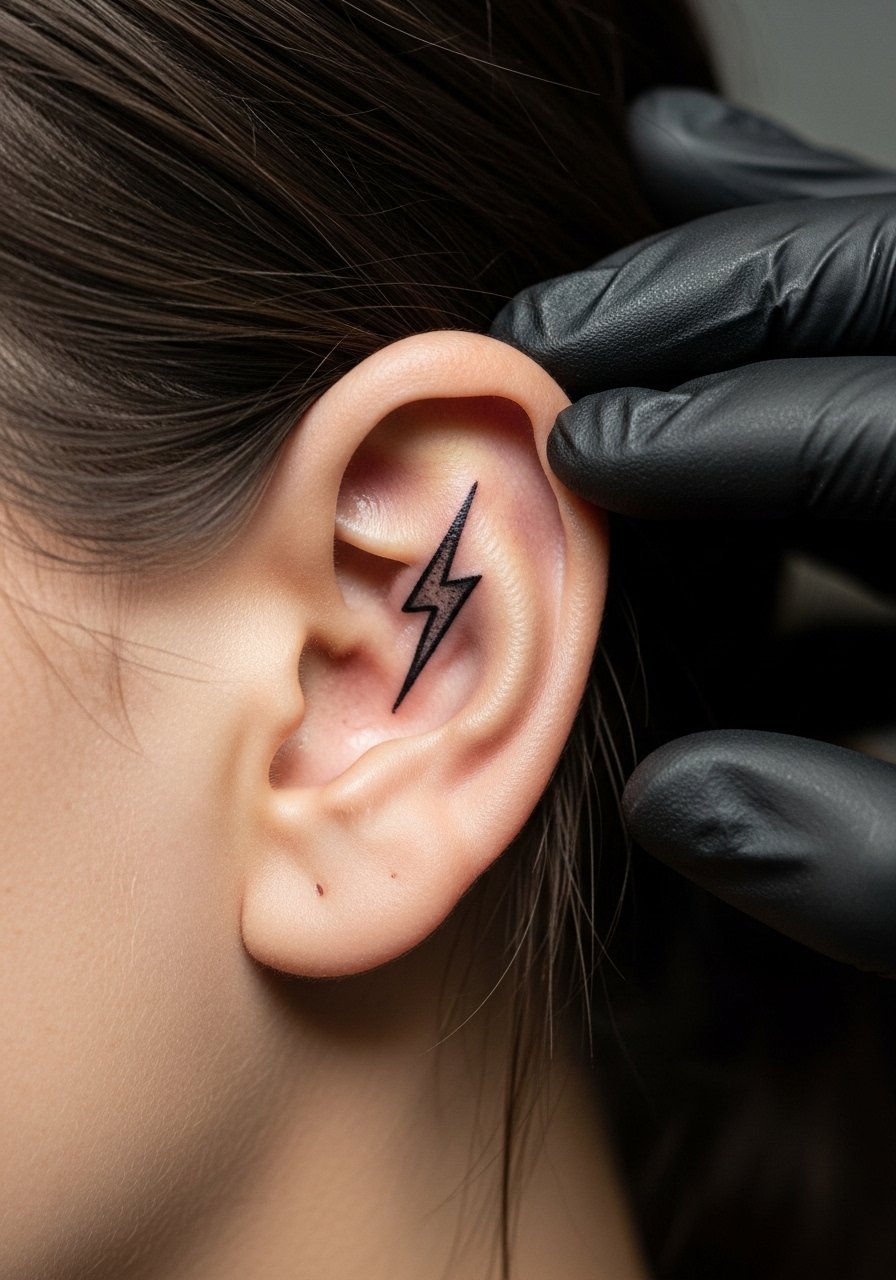
Style/Technique: Iconic micro symbol
Pain Level: 3/10
Session Time: 0.2 to 0.4 hours
Best For: Coverable, edgy accessories wearers
A small bolt works because its angular shape reads at a distance, even at 0.7 inch. The key is crisp corners and consistent line thickness. This design pairs well with short cropped hair or a pixie cut that leaves the ear exposed. If you exercise often, protect the area from sweat for the first 48 hours to avoid ink migration.
Mistake to Avoid: Asking for tapering lines that are too fine at the ends, which will disappear as the tattoo settles.
11. Micro Semicolon

Style/Technique: Symbol and micro punctuation
Pain Level: 1/10
Session Time: 0.1 to 0.3 hours
Best For: Coverable, meaningful symbol
A semicolon is tiny and deeply personal, and it sits discreetly behind the ear. Keep the dot and the comma balanced at around 2 mm for longevity. Because it is meaningful, ask the artist to preview the scale on tracing paper against your ear curve. Healing is straightforward if you avoid touching and apply a thin layer of ointment.
Mistake to Avoid: Choosing a semicolon smaller than 1.5 mm, which will likely fade into a tiny smudge.
12. Tiny Feather Stem
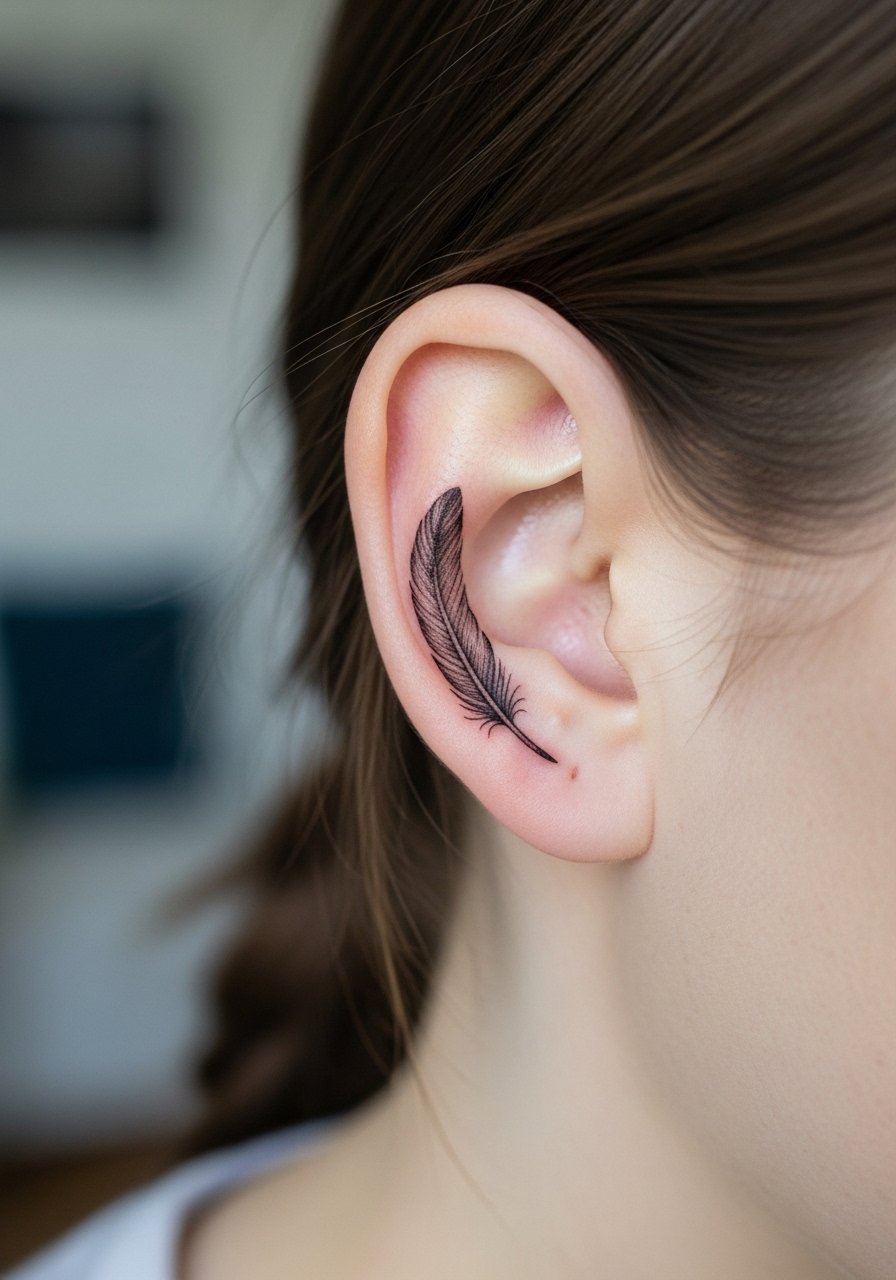
Style/Technique: Fine feather spine
Pain Level: 3/10
Session Time: 0.3 to 0.6 hours
Best For: Coverable, whimsical and feminine styles
A delicate feather spine with 3 or 4 barbs works best when the central stem is slightly thicker than the barbs. I ask artists to leave 1 to 1.5 mm between barbs to reduce merging during healing. It creates a light, almost illustrated look when seen from the side. Budget a short touch-up at 6 to 8 weeks for line consolidation if you want it darker.
Mistake to Avoid: Crowding barbs in a tiny feather, which removes the airy feel.
13. Micro Sunburst
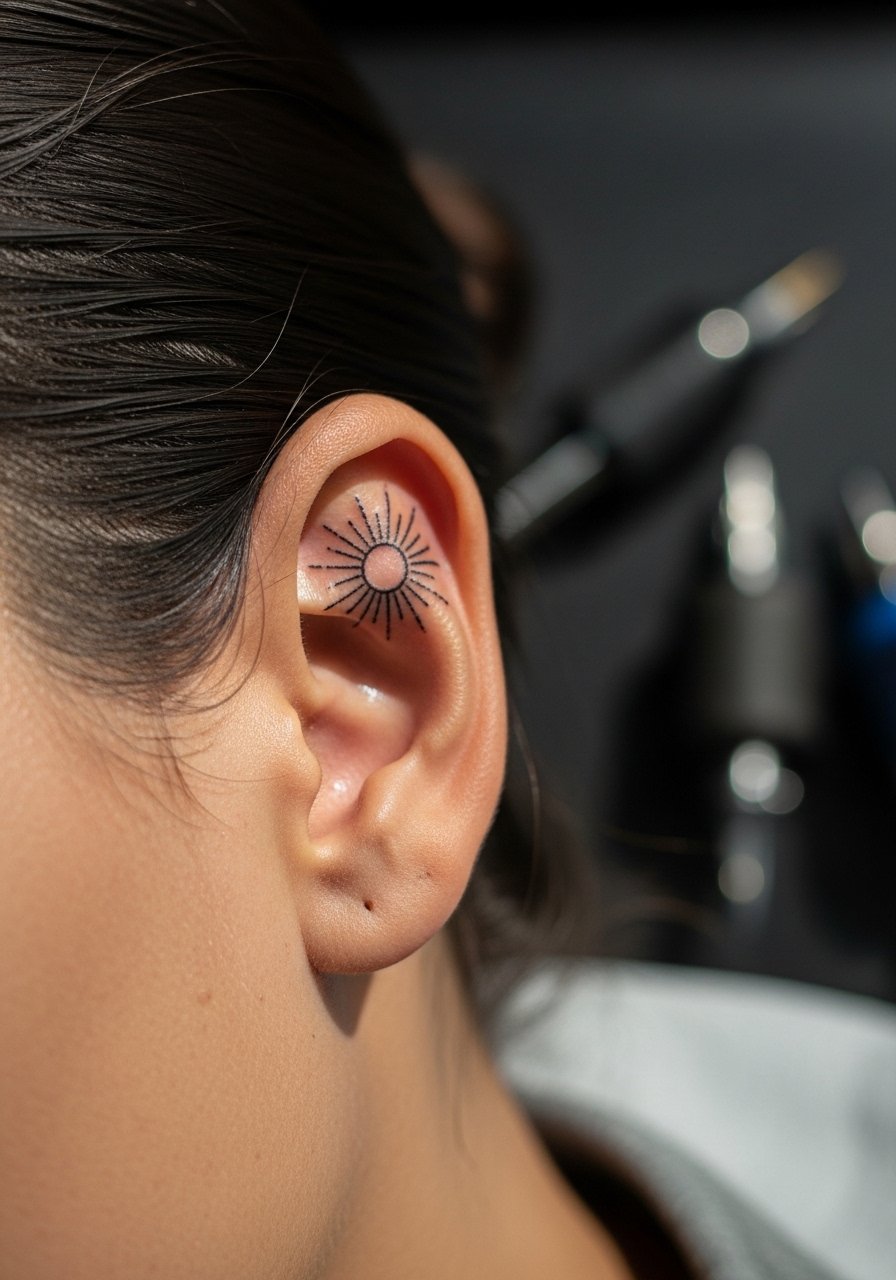
Style/Technique: Radiant micro icon
Pain Level: 3/10
Session Time: 0.3 to 0.5 hours
Best For: Coverable, optimistic or retro styling
A tiny sunburst with a central dot and 6 rays spaced evenly reads like a symbol rather than decoration. Keep rays short, about 2 to 3 mm, and avoid tiny filler dots between them. This design looks great with short pendants or layered necklaces that echo the radial shape. If you plan on sun exposure, use a high-SPF sunscreen stick after full healing to prevent loss of contrast.
Mistake to Avoid: Adding tiny dotwork between rays in a micro sunburst, which clogs the design over time.
Behind-Ear Healing Shortcuts
Bold tip: Thin layers, not thick slathering. After cleaning, apply a pea-sized amount of healing ointment. Too much traps moisture and invites scabbing.
Grab silk pillowcases. They cut friction and reduce scab disruption, which means fewer touch-ups.
Most people over-clean. One gentle wash in the morning and once at night is enough for the first week. Use fragrance-free soap to avoid irritation.
If you want the tattoo to be work-coverable, practice hair styling while it heals. Keep a compact mirror nearby so you can tuck hair the same way each day.
Avoid heavy earrings for two weeks. I use small stud earrings while healing to prevent extra motion and pulling.
