
I kept painting polka dots right at the cuticle, thinking they would look crisp. Instead they bled, looked crowded, and lasted two days. After one evening of swiping everything off and starting over, I learned to step back, scale the dots, and treat short nails like tiny canvases. That mistake is why nearly every design below starts with scale and spacing before color.
These ideas are built for short natural nails and people who want wearable nail art without salon-level time or cost. I tested many of these on my own nails and a tech who works at a salon downtown showed me a couple of finishing moves that actually stick. Most people getting their nails done these days are asking for gel, not acrylic. Expect beginner to intermediate skill, budget picks and one or two small splurge items worth keeping.
1. Tiny White Dots on Sheer Nude
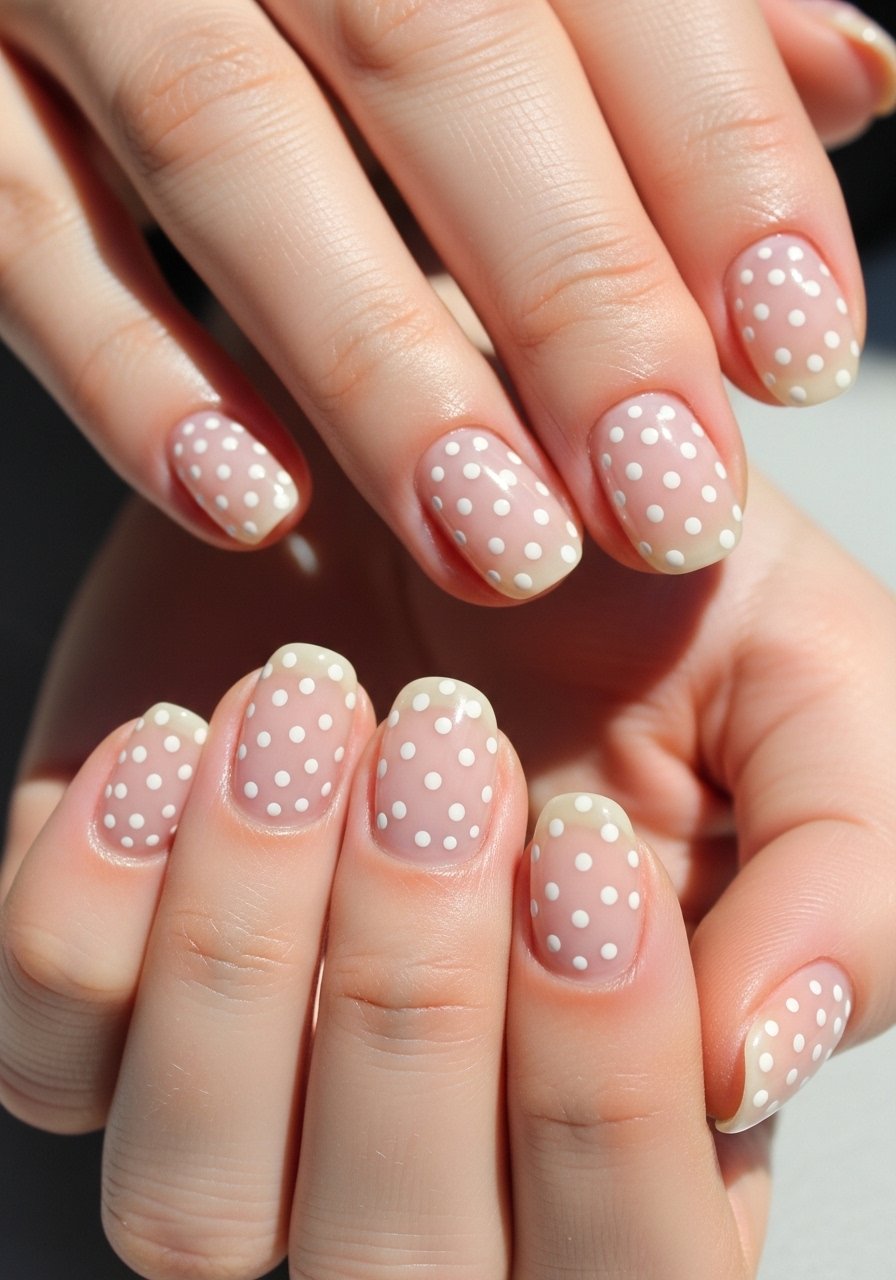
Start with two thin coats of a sheer nude base, each cured or dried 60 seconds apart. Use a 0.5mm to 1mm dot size for short nails so the design reads delicate instead of crowded. A basic dotting tool around $6 gives consistent tiny dots. What makes it work is negative space. It feels modern and neat, good for office days or weekend brunch, and takes about 20 minutes. If you use gel, cure each thin coat 30 to 60 seconds depending on lamp wattage.
Style/Vibe: Minimal, airy
Best For: Short nails, everyday wear
Skill: Beginner
Mistake to Avoid: Pressing too hard with the dotting tool, which makes teardrop dots instead of circles.
2. Polka Dot French Tip Swap
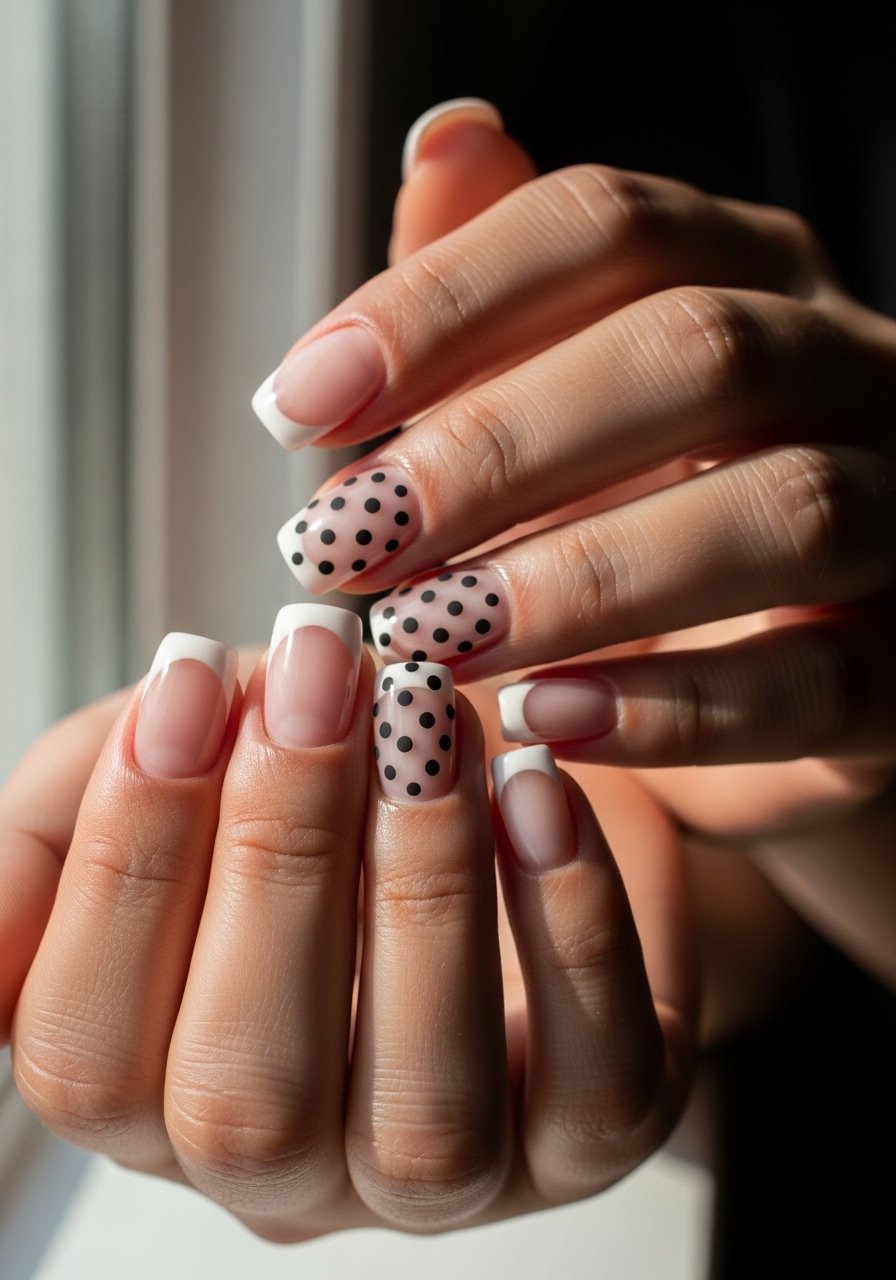
This is a French manicure that swaps the solid white line for a tidy row of dots, spaced using a 2:1 ratio of dot-to-gap to keep the tip readable on short lengths. Paint one thin white tip, then place 2mm black dots along the edge with a striping brush or fine dotting end. I like a striping brush set for the clean placement. The effect looks tailored, low-key, and lasts three to five days with a good top coat. Great for anyone who wants a subtle statement without length.
Style/Vibe: Clean, modern twist
Best For: Short nails, smart casual looks
Skill: Intermediate
Mistake to Avoid: Making dots the same size as the tip width, which visually shortens the nail.
3. Opposite-Color Dots for Bold Contrast
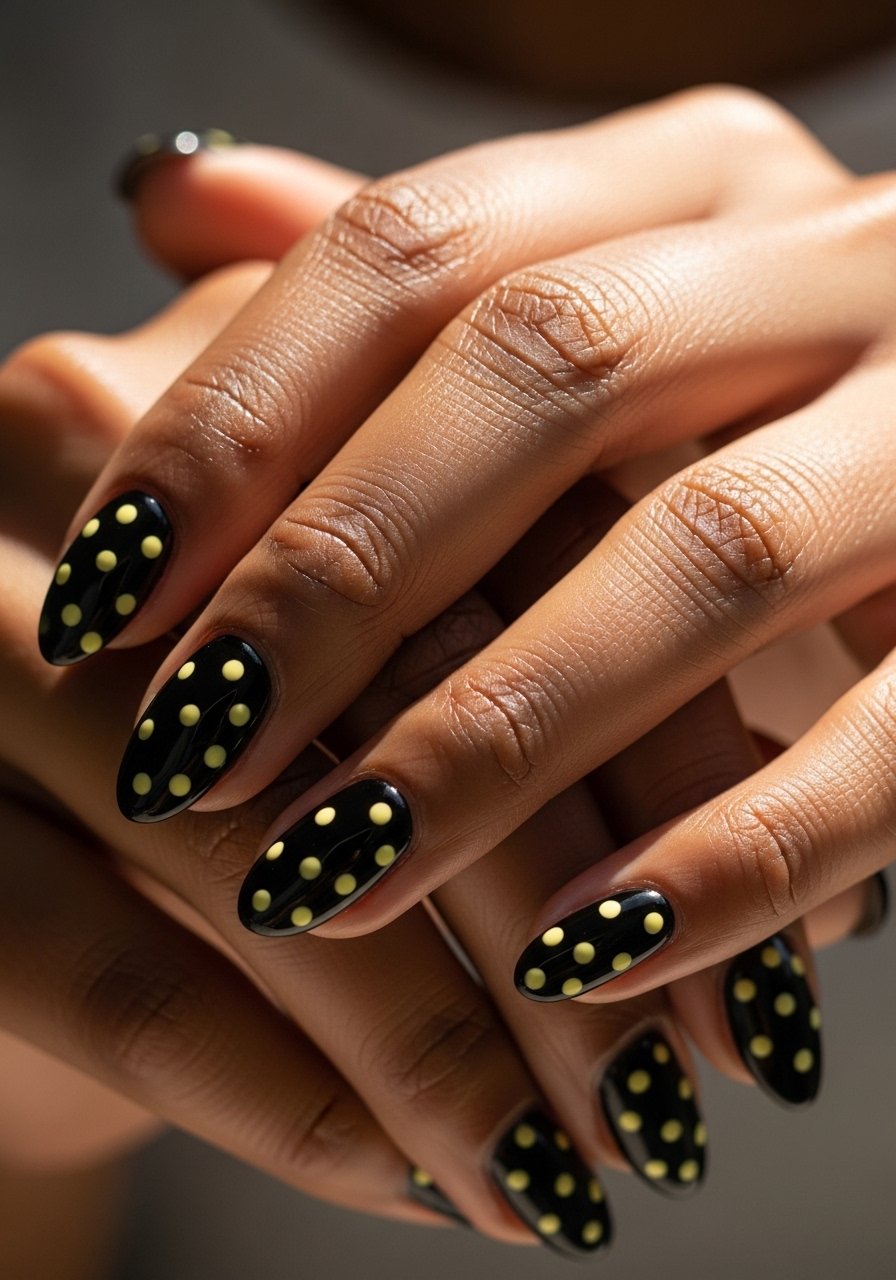
A dark base with bright dots reads graphic on short shapes because the contrast creates definition. Apply two thin coats of a pigmented base and wait 90 seconds before dotting so the polish doesn't drag. Use a 1.5mm dot size for short almond or rounded tips. Pair with a quick-dry top coat like a fast-dry top coat to seal. This look feels confident and night-out ready, but it is simple enough for weekend errands.
Style/Vibe: Bold, graphic
Best For: Short nails, evening or weekend
Skill: Beginner
Mistake to Avoid: Dotting on tacky polish, which pulls pigment and creates ragged edges.
4. Gradient Dots From Cuticle to Tip
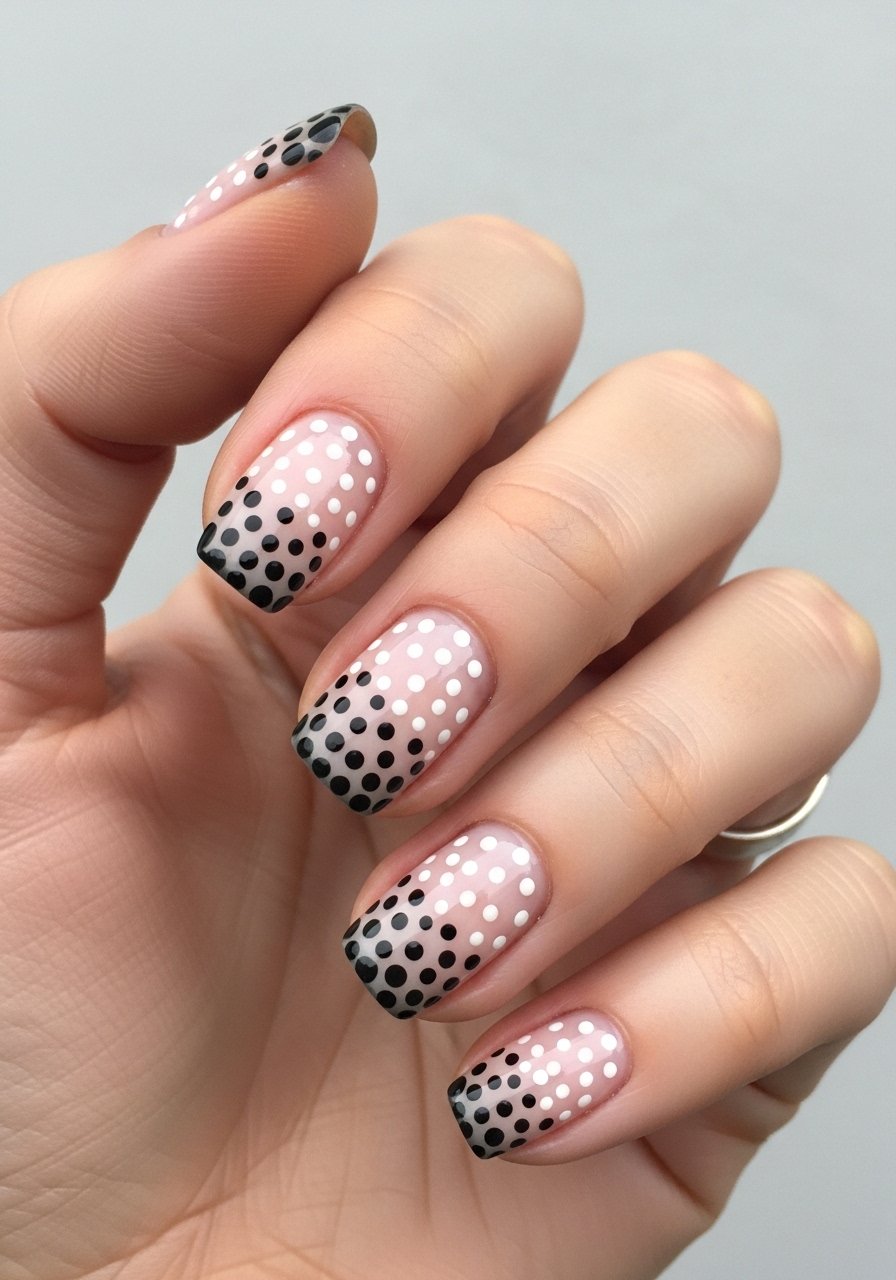
The trick is a size progression: 0.5mm near the cuticle, 1mm mid-nail, and 2mm at the tip. Lay down a base color, then work one nail at a time so dots don't smear. Use a nail art brush set for varied sizes. This creates movement and makes short nails appear longer because the eye travels along the gradient. It takes a little patience but reads high-end when finished.
Style/Vibe: Playful, elongating
Best For: Short nails, creative looks
Skill: Intermediate
Mistake to Avoid: Random sizing with no pattern, which makes the manicure look cluttered.
5. Metallic Micro Dots Over Matte
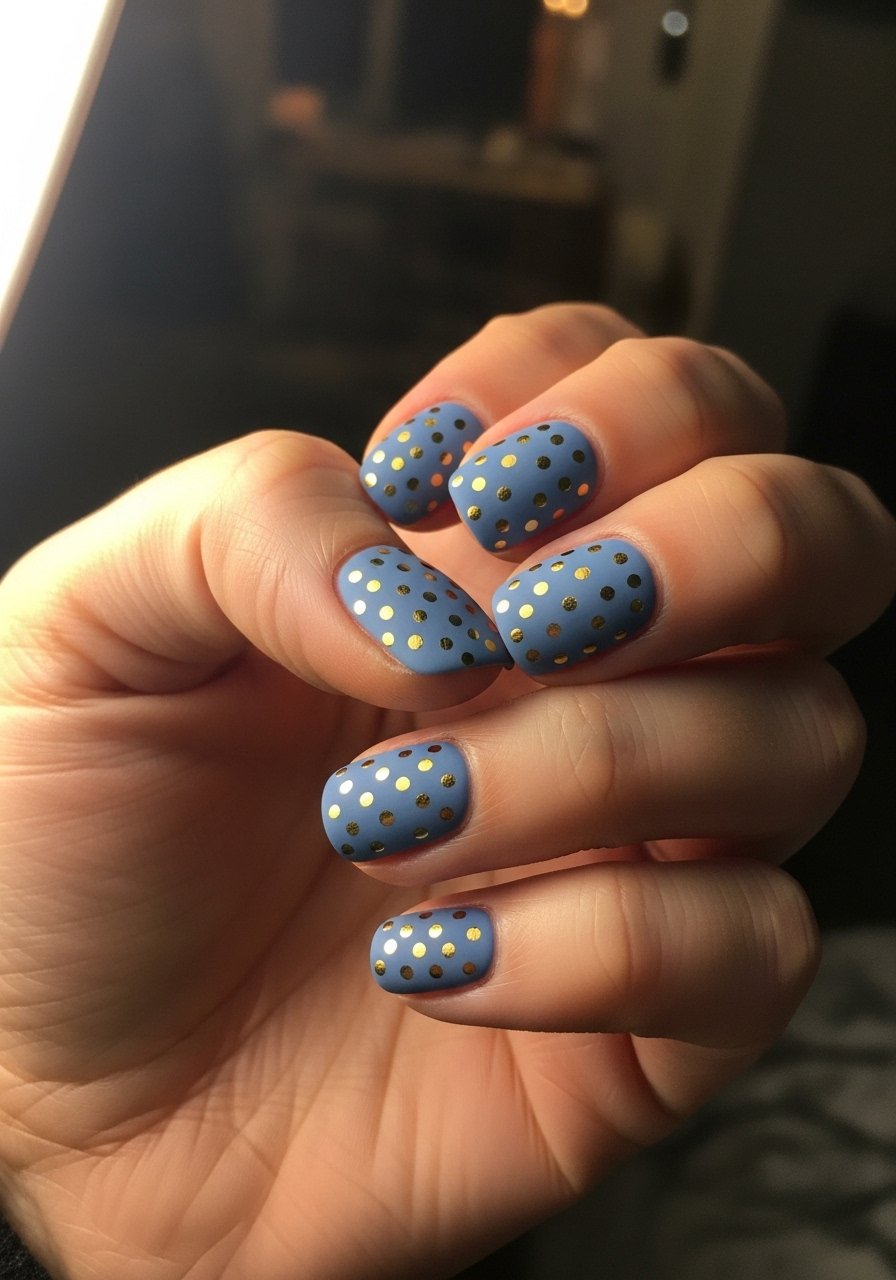
Matte finishes mute reflection and let metallic dots pop. Use a matte top coat after curing or drying the base, then place small metallic dots using a toothpick dipped into foil polish for 1mm accents. A little gold nail polish goes a long way. This works for anyone who wants a luxe feel on a budget. Matte also hides minor application bumps on short nails.
Style/Vibe: Modern, luxe-lite
Best For: Short nails, date nights or events
Skill: Beginner
Mistake to Avoid: Applying metallic before the matte is fully set, which causes smudging.
6. Negative-Space Polka Pattern
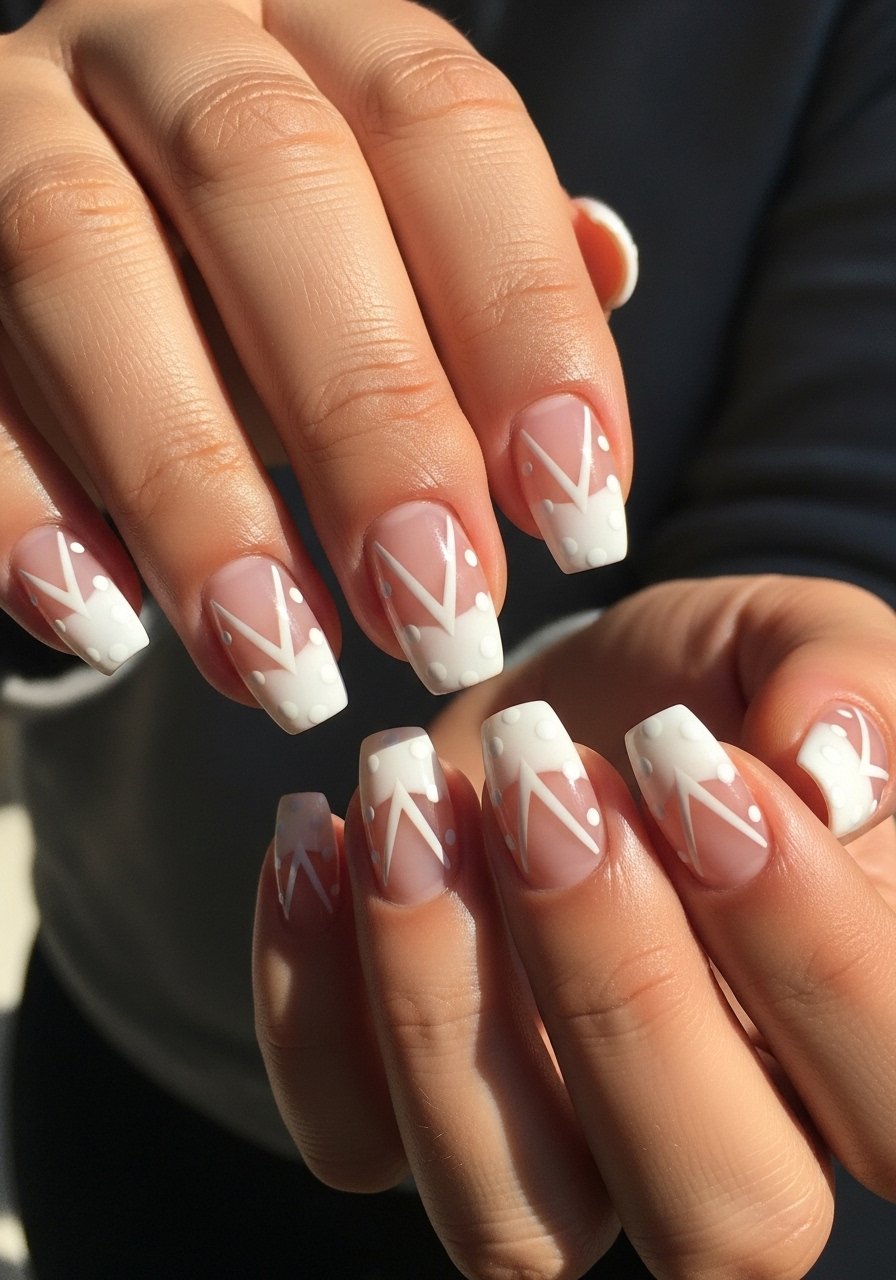
Negative-space designs keep short nails from feeling overworked. Paint two thin side panels and leave the center bare, then add 1mm dots across the negative area. A clear base coat protects the nail and evens the surface. The result looks editorial but is simple to do at home. Great for low-maintenance wearers who still want a graphic look.
Style/Vibe: Minimal, editorial
Best For: Short nails, modern wardrobes
Skill: Intermediate
Mistake to Avoid: Using opaque paint in the negative space, which defeats the point of the design.
7. Mixed-Size Polka Party
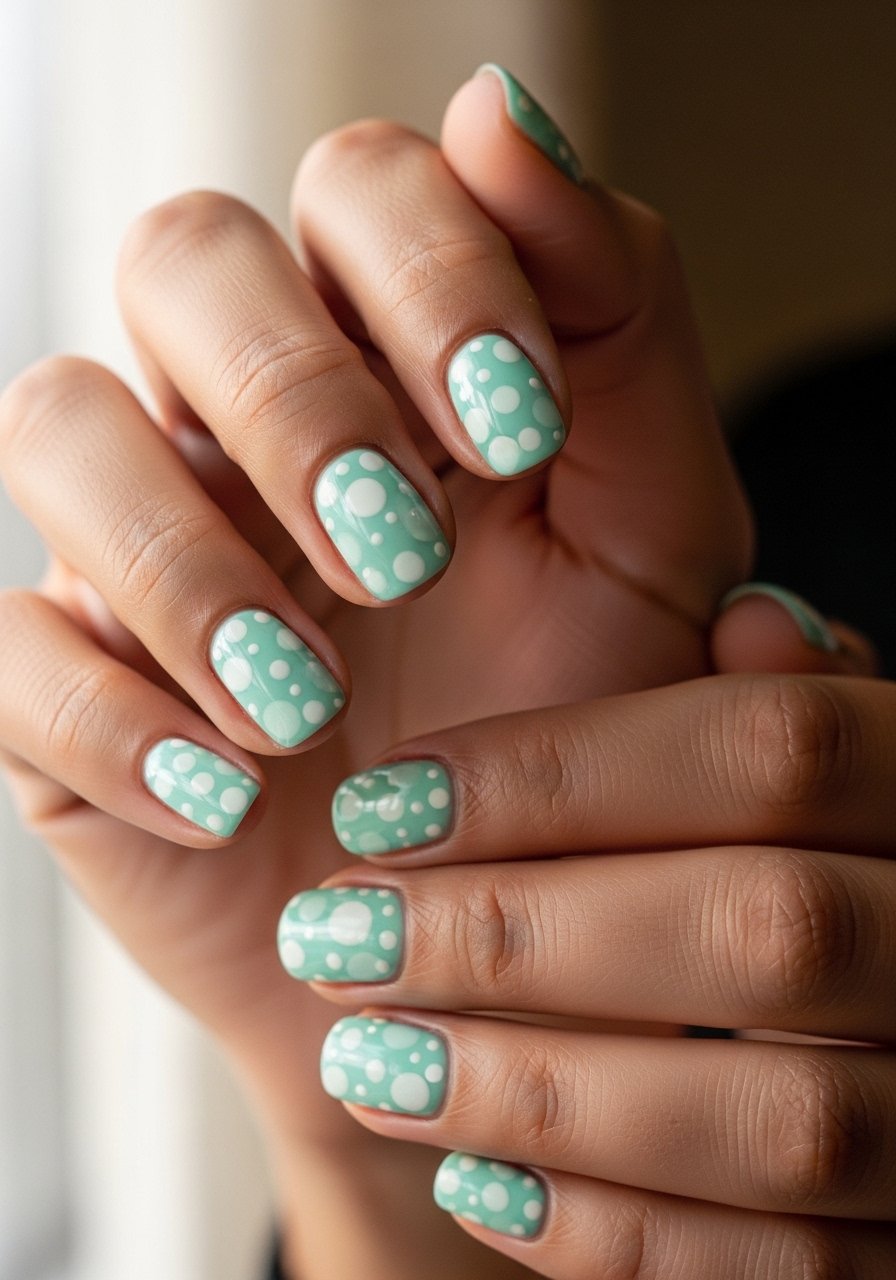
Mixing two dot sizes on the same nail creates depth. Stick to a 1:3 ratio of small to large dots so the pattern does not overwhelm the nail. Place the largest dot slightly off-center to keep the composition lively. A pastel nail polish and a dotting tool set are all you need. This style reads fun and youthful, perfect for casual weekends or festivals.
Style/Vibe: Fun, layered
Best For: Short nails, casual looks
Skill: Beginner
Mistake to Avoid: Placing large dots symmetrically, which can make the nail feel too busy.
If any of these ideas have you ready to actually try something, here are the products I reach for most.
Polka Dot Mani Essentials
Tools & Brushes:
- Dotting tool set (~$6-12), for consistent circles and two size options I use most.
- Striping brush (~$8-15), for tidy rows and tiny corrections.
- Nail art brush set (~$10-18), because varied tips save time.
Polishes & Bases:
- Clear base coat (~$6-12).
- Fast-dry top coat (~$8-14), I use this on all non-gel finishes.
- White nail polish (~$5-10), choose opaque coverage for clean dots.
- Black nail polish (~$5-10) for contrast looks.
Extras:
- Matte top coat (~$7-12), for subdued textures.
- LED lamp (~$20-40) if you prefer gel finishes and faster cures.
8. Tiny Heart-and-Dot Mix
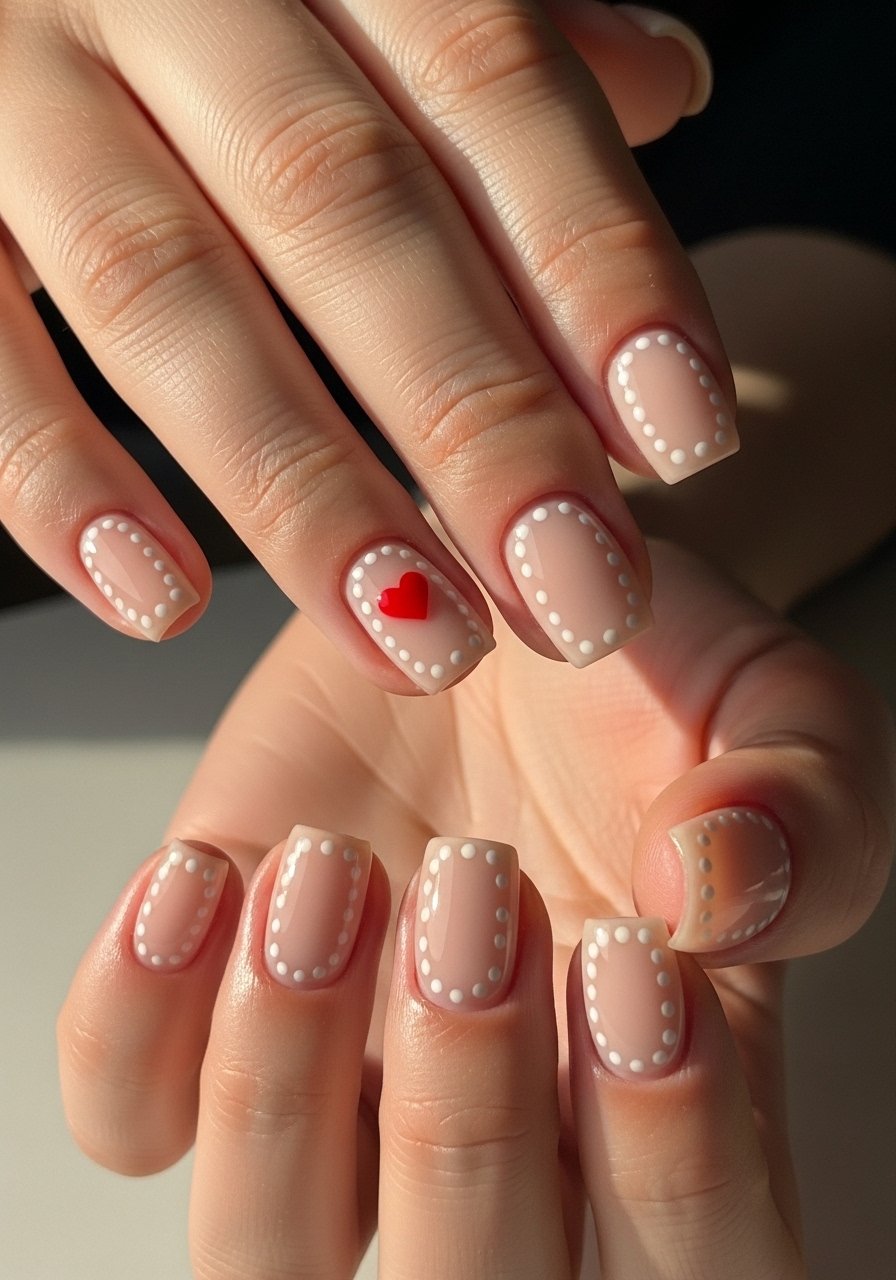
Mix small hearts and dots for a playful take that still reads neat on short nails. Use a 1mm dot and a 2mm heart stamp or freehand tiny heart with a toothpick. A heart nail stamp kit helps keep the scale consistent across nails. It looks whimsical but controlled, suitable for beginner to intermediate skill and quick date nights.
Style/Vibe: Cute, controlled
Best For: Short nails, casual dates
Skill: Beginner
Mistake to Avoid: Making hearts larger than the dot pattern, which upsets the balance.
9. Half-Moon Polka Combo
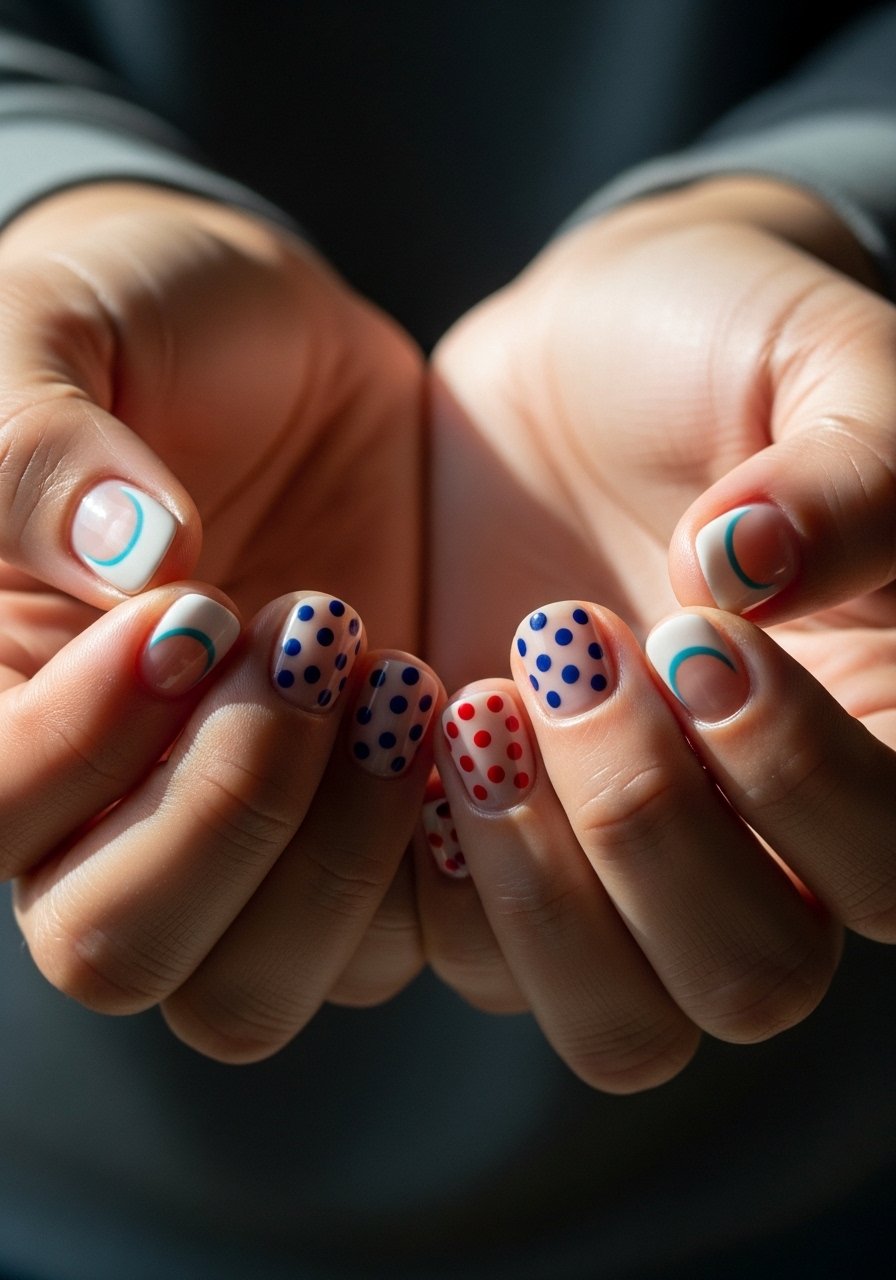
Placing dots around a crescent half-moon accent pulls focus toward the cuticle, which can visually lengthen short nails. Paint a half-moon using a guide sticker, cure or dry, then dot the rest with 1.5mm dots. A peel-off base coat helps with quick changes. This feelsRetro and modern at once, and it is low time investment.
Style/Vibe: Retro-modern
Best For: Short nails, quick updates
Skill: Intermediate
Mistake to Avoid: Leaving the half-moon too large, which shortens the nail visually.
10. Polka Dot Accent on Two Nails
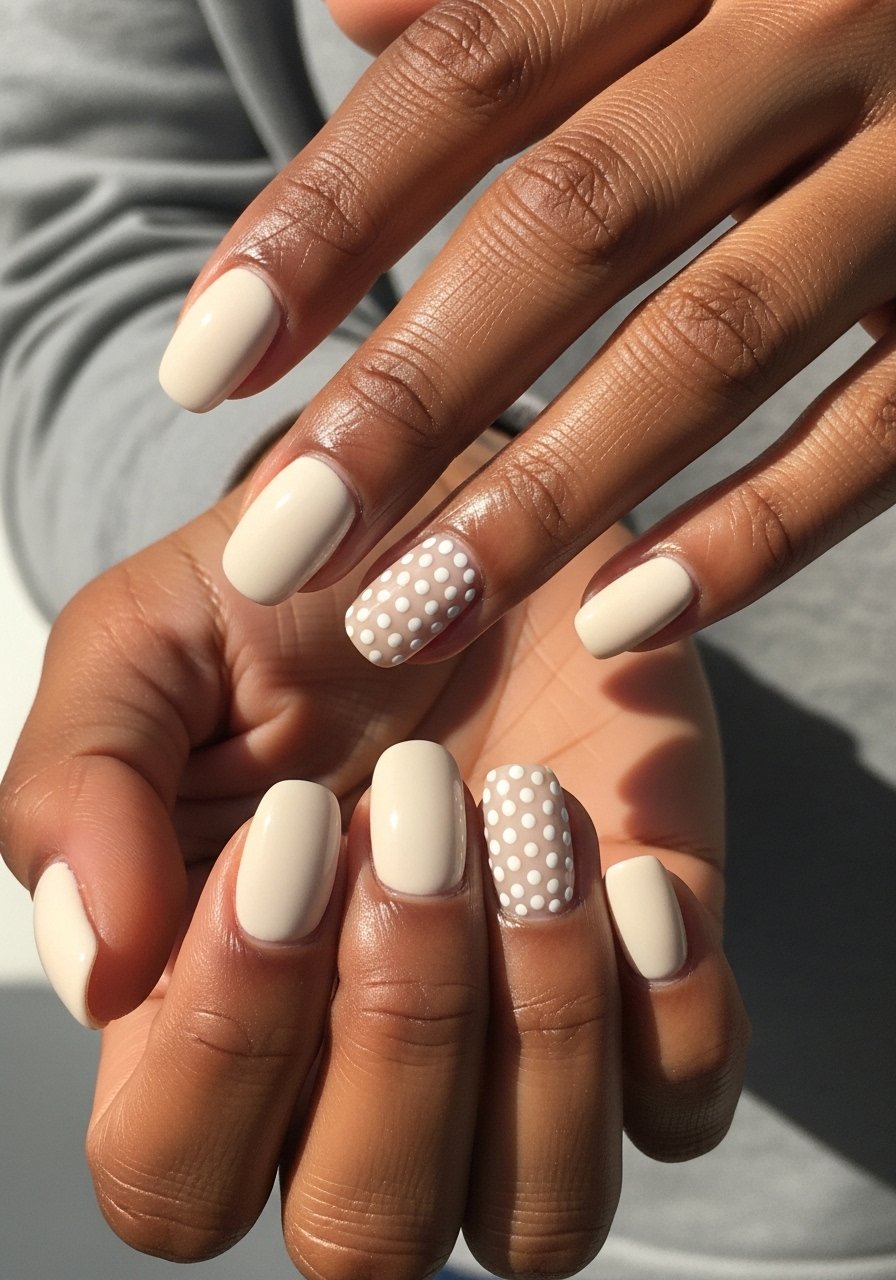
If you want minimal maintenance, put polka dots only on the ring and middle finger. Concentrating art reduces chance of chipping across the whole hand and makes removal faster. A neutral cream polish plus white dots looks intentional and chic. Ideal for people who type a lot and want very short dry time.
Style/Vibe: Low-key, intentional
Best For: Short nails, office-friendly looks
Skill: Beginner
Mistake to Avoid: Applying dots to nails with different shapes, which makes the accents look mismatched.
11. Tone-on-Tone Glossy Dots
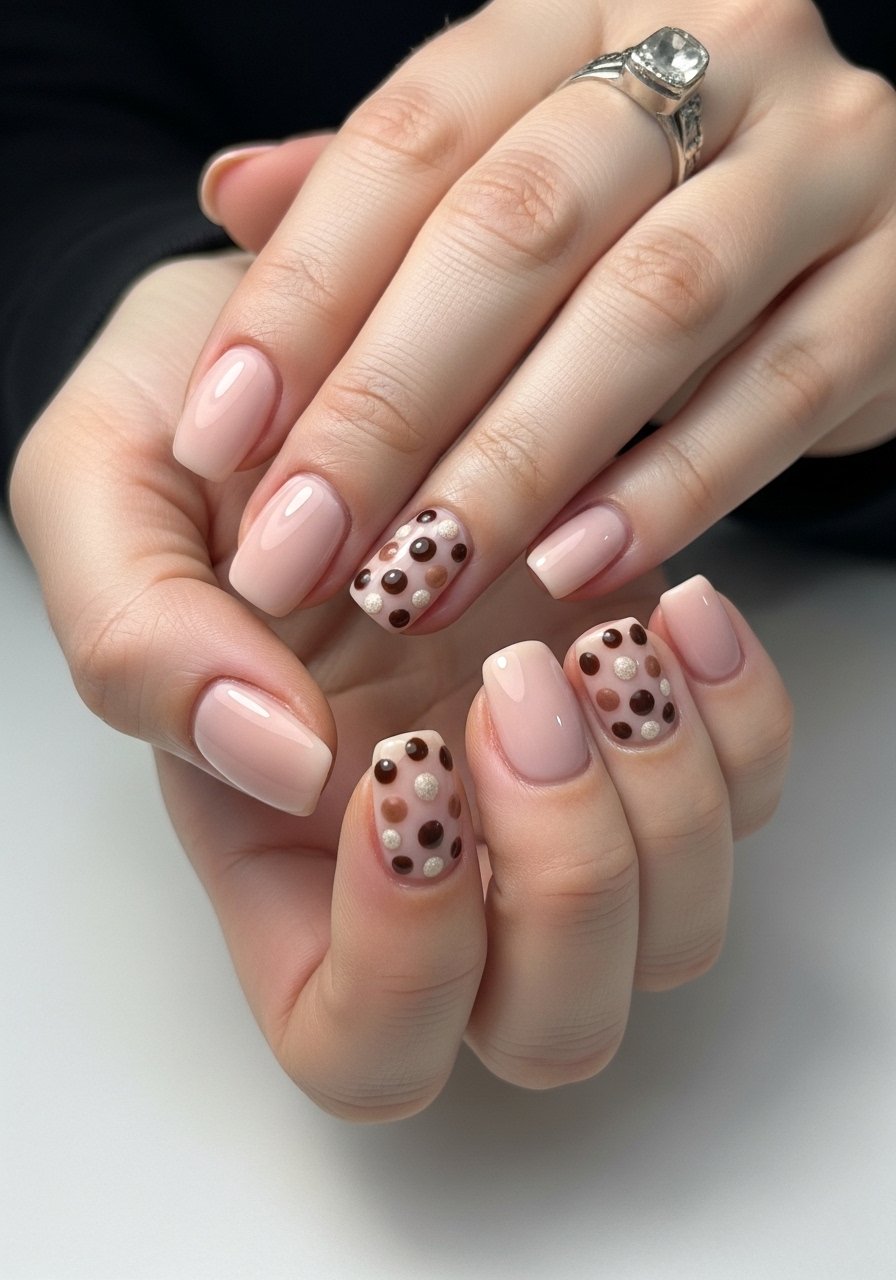
Apply a satin or semi-matte base and then place glossy dots of the same hue for a subtle texture play. The trick is to wait until the base is fully set, about 3 minutes for glossy lacquers, before adding raised glossy dots. A satin top coat creates the base texture. This is for people who want interest without stark color contrast.
Style/Vibe: Textured, quiet
Best For: Short nails, polished everyday style
Skill: Intermediate
Mistake to Avoid: Rushing and placing glossy dots into a still-tacky base, which causes smears.
12. Negative-Line Polka Stripe
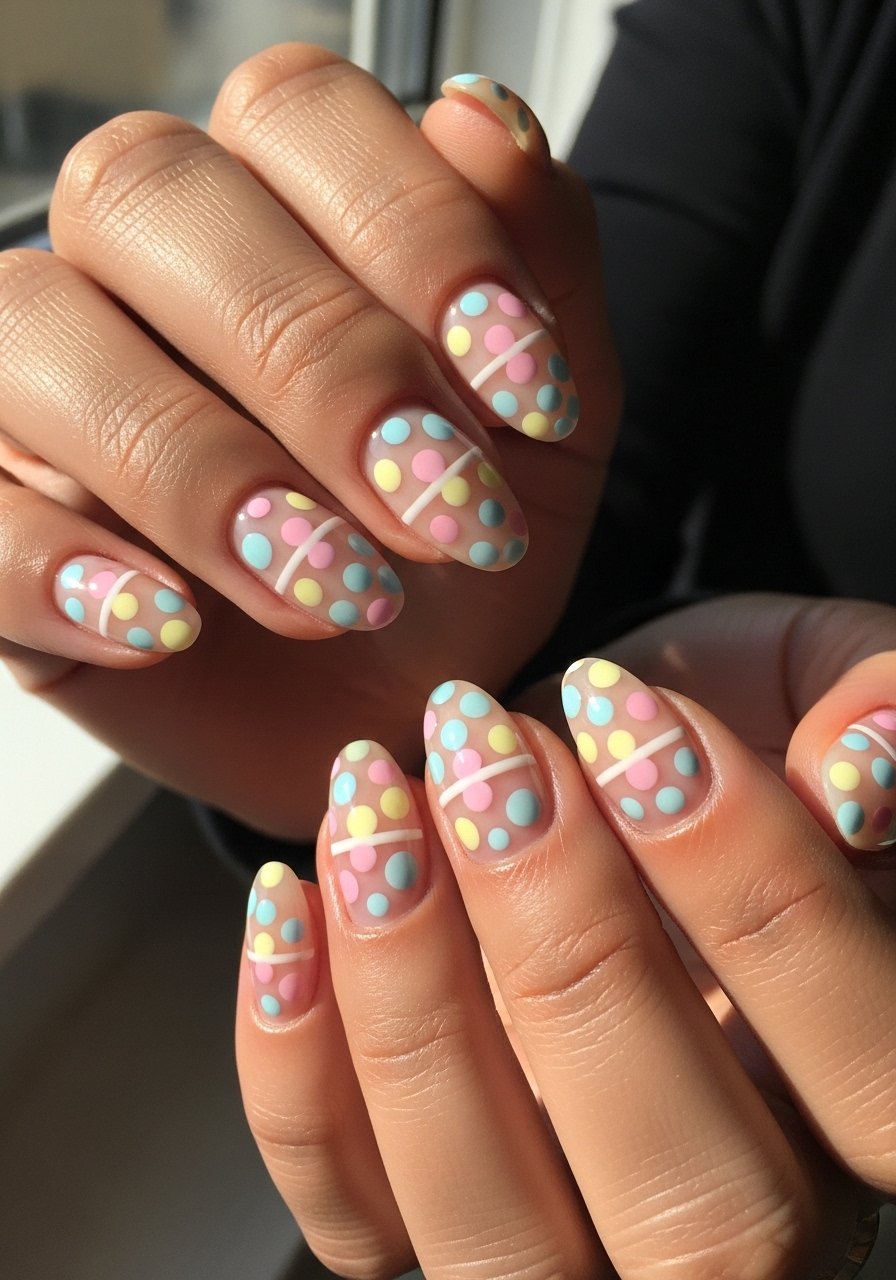
Run two narrow negative-space lines down the center or side of the nail and dot within that band. The lines act as visual rails, so even random dot placement feels organized. Use a tape guide and a thin brush or striping tape for crisp edges. Works for those who like a balance of structure and play.
Style/Vibe: Structured, playful
Best For: Short nails, creative commuters
Skill: Intermediate
Mistake to Avoid: Using wide tape, which eats too much negative space on short nails.
13. Micro Dots With Glitter Accent
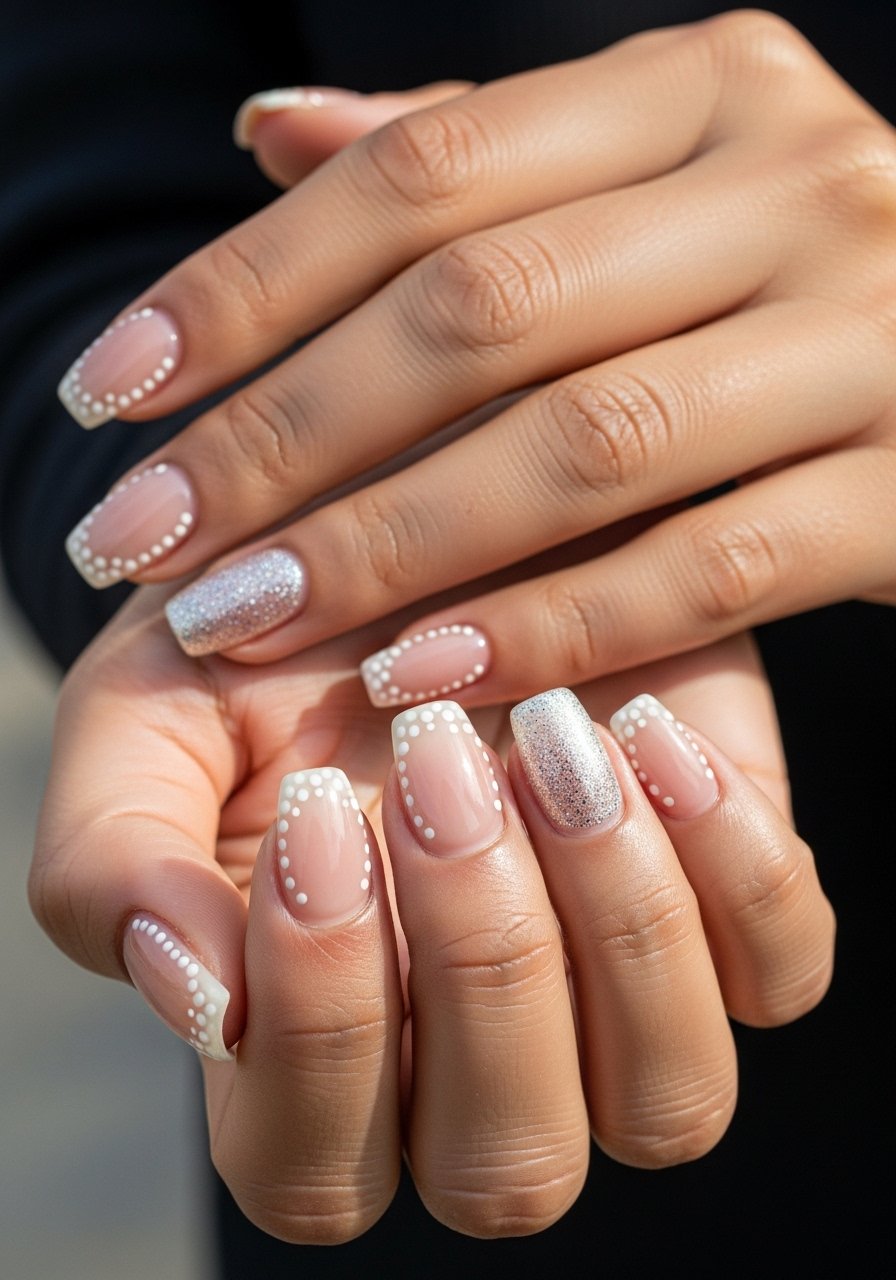
Keep micro dots tiny and uniform across nails and reserve glitter for one accent finger. Tiny dots read detailed rather than busy. Apply glitter with a light patting motion and seal with a thick top coat to avoid catching. A fine glitter polish works well. This mix is festive but subtle and great for holidays or nights out.
Style/Vibe: Festive, refined
Best For: Short nails, party-ready looks
Skill: Beginner
Mistake to Avoid: Glitter on every nail, which makes short nails look cramped.
14. Polka Dot Chevron Accent
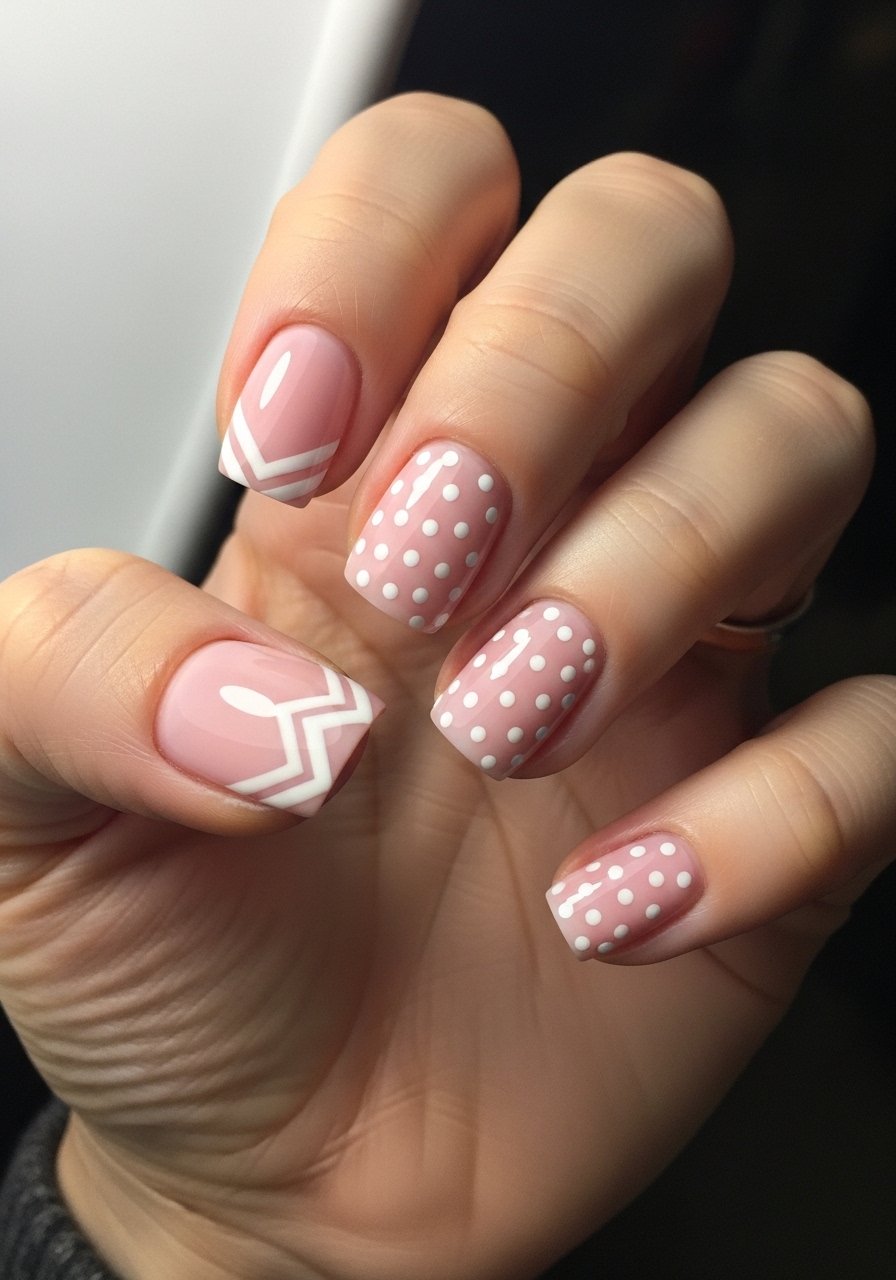
A tiny chevron anchors the tip so the polka dots have a directional focus. Paint a thin chevron with a contrasting polish, then dot around it using 1mm and 2mm sizes for balance. A thin nail artist brush helps with the chevron. This design feels intentional and geometric, good for people who like clean lines.
Style/Vibe: Geometric, neat
Best For: Short nails, style-conscious commuters
Skill: Intermediate
Mistake to Avoid: Making the chevron too thick, which competes with the dots.
15. Matte Black Base With Glossy Dot Grid
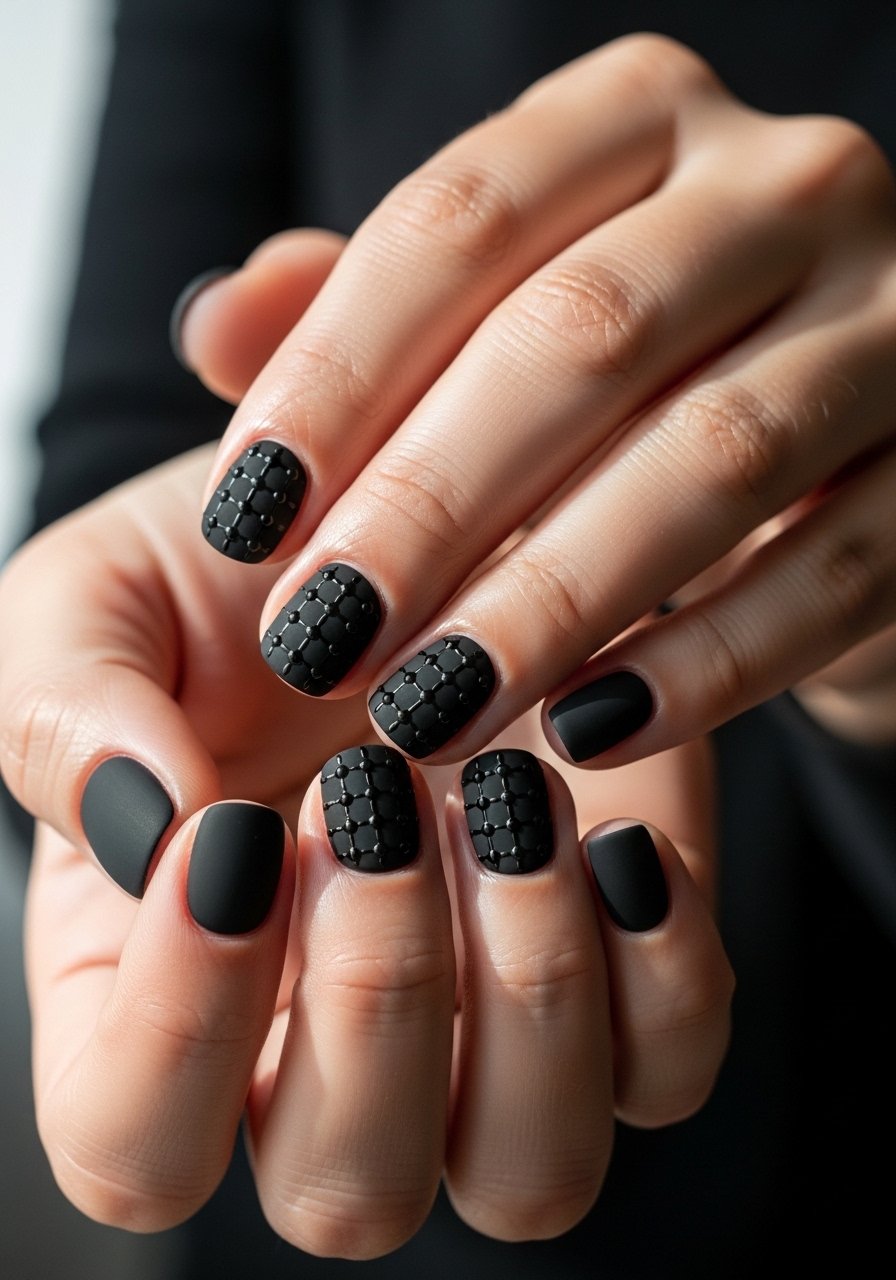
A matte black surface with an organized grid of glossy dots reads chic and architectural. Measure spacing by eye using a 2mm dot and keep columns even for that grid effect. Finish with a spot-gloss top coat dabbed only on the dots if you want contrast without sealing the whole nail. A spot gloss top coat pen makes this fast. It is a slightly advanced move but looks high-end on short nails.
Style/Vibe: Architectural, chic
Best For: Short nails, evening looks
Skill: Advanced
Mistake to Avoid: Applying glossy top coat over the entire nail, which removes the matte/shine contrast.
Tiny Dot Tricks I Use
Thin coats beat one thick coat every time. Three thin layers of clear base coat and color look smoother and last longer than one thick layer.
Place dots on one nail at a time. I learned that one wet nail causes less dragging than dotting across multiple tacky surfaces. Grab a dotting tool set for predictable sizes.
Let polish skin-set for 90 seconds before dotting when working with creams. If you use gel, cure each thin layer 30 to 60 seconds under your LED lamp, then dot and cure again.
A tiny amount of nail oil around the cuticle after an hour helps polish settle and reduces micro-chipping. Keep cuticle oil in your bag for touch-ups.
If you do not want to fuss with symmetry, intentionally offset your dots by one or two millimeters. That slight imbalance reads deliberate and modern.