
The pin made the corner look effortless, a single woven plant hanger and a thrifted lamp, sun pouring in. My real attempt had crooked frames, a sagging hanger, and a houseplant that looked embarrassed. After a few tries I learned small changes beat complicated projects, and most of these ideas fix the exact missteps I kept making when I wanted nicer rooms without a contractor or a weekend gone wrong.
After trying this in three rentals, I picked projects that are low-cost, renter-friendly, and doable in an afternoon. These ideas run from quick swaps that take 20 minutes to projects that need one evening and basic tools. Think soft, modern, lived-in finishes rather than precious items. I call out when something will mark a wall, what to avoid with pets, and which steps look tricky in photos but actually take two simple moves.
1. Peel-and-Stick Accent Wall
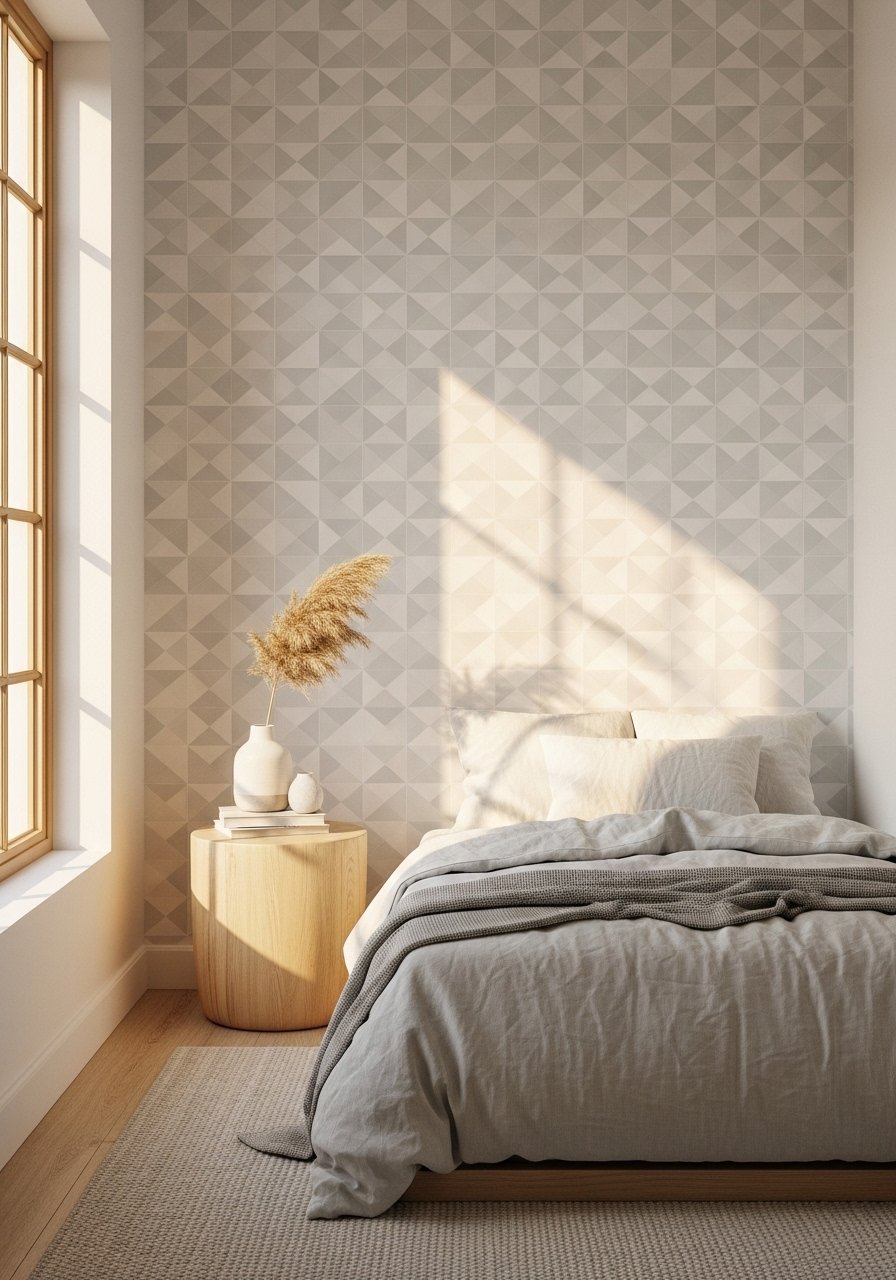
Peel-and-stick wallpaper gives the patterned look without paste or priming, and it is the renter-friendly way to make a wall read intentional. I cut panels so the repeat aligns and left a 1/8-inch gap at the ceiling to avoid buckling when the room expands in heat. For placement, measure twice and use a level; I find a second pair of hands for the first 3 feet saves time. Try peel-and-stick-wallpaper for faster installs, and a plastic smoothing tool to push out bubbles.
Mistake to Avoid: Rushing alignment on the first strip so every other seam ends up offset.
2. Floating Shelf Nook
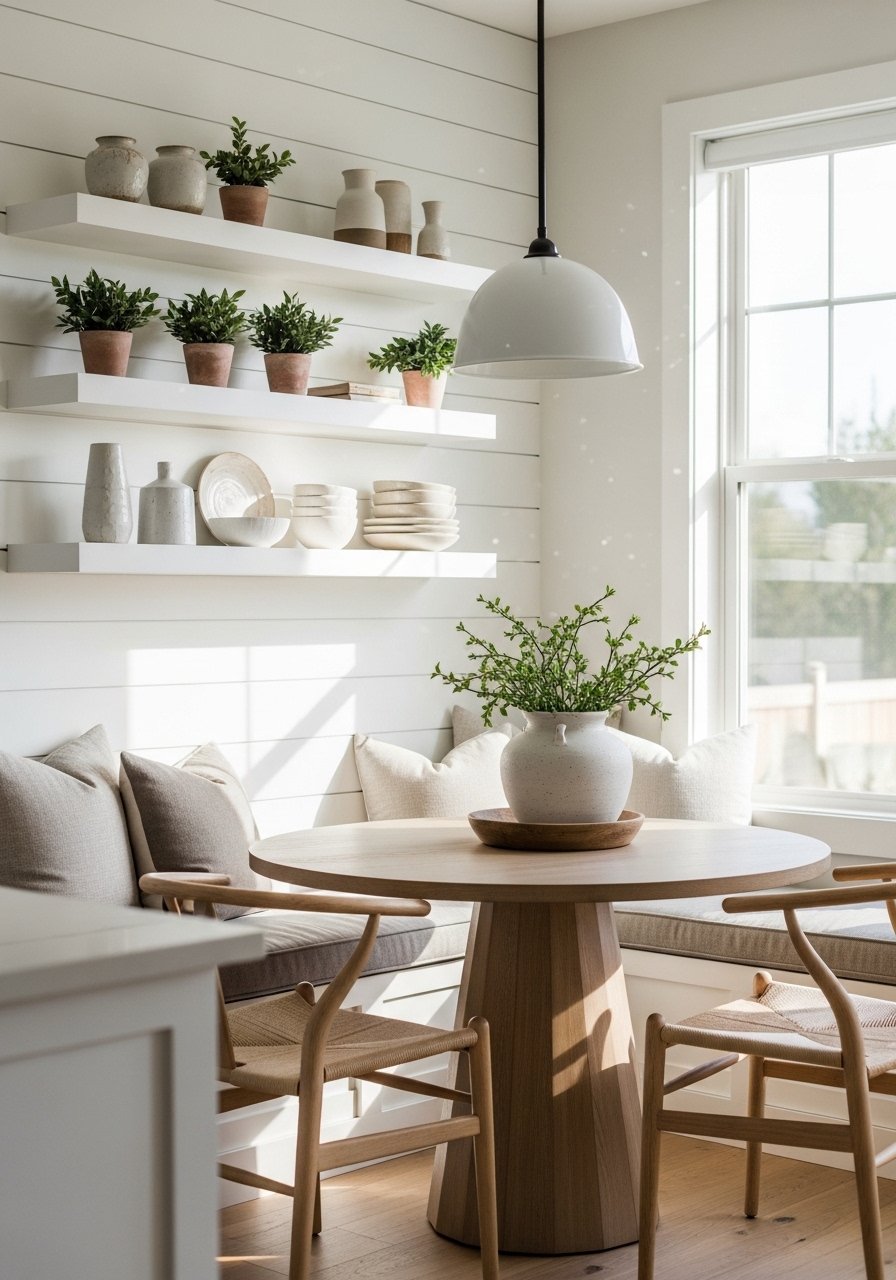
Floating shelves add display space without heavy furniture. The trick is anchoring into studs when you plan to hold ceramics or books, or use four heavy-duty wall anchors spaced no more than 16 inches apart if studs are not available. I mount the bracket, then set the shelf, leaving about 2 inches of overhang for a layered look. For tools grab a drill bit set and wall anchors. Budget shelves look high-end when you mix heights and odd objects.
Mistake to Avoid: Loading shelves evenly instead of varying heights so the arrangement feels flat.
3. Thrifted Frame Gallery

A gallery wall made from thrifted frames saves money and gives personality. I sanded and spray-painted mismatched frames the same color so they read cohesive, then planned spacing with paper templates taped to the wall, keeping 2 inches between frames for a balanced grid. Use a single eye-level anchor point as your center and build out. For prints try inexpensive matte photo paper and a cheap paper cutter to trim. This fits any budget and is easy to change.
Mistake to Avoid: Hanging frames by eyeballing placement instead of using a template and consistent spacing.
4. DIY Upholstered Bench
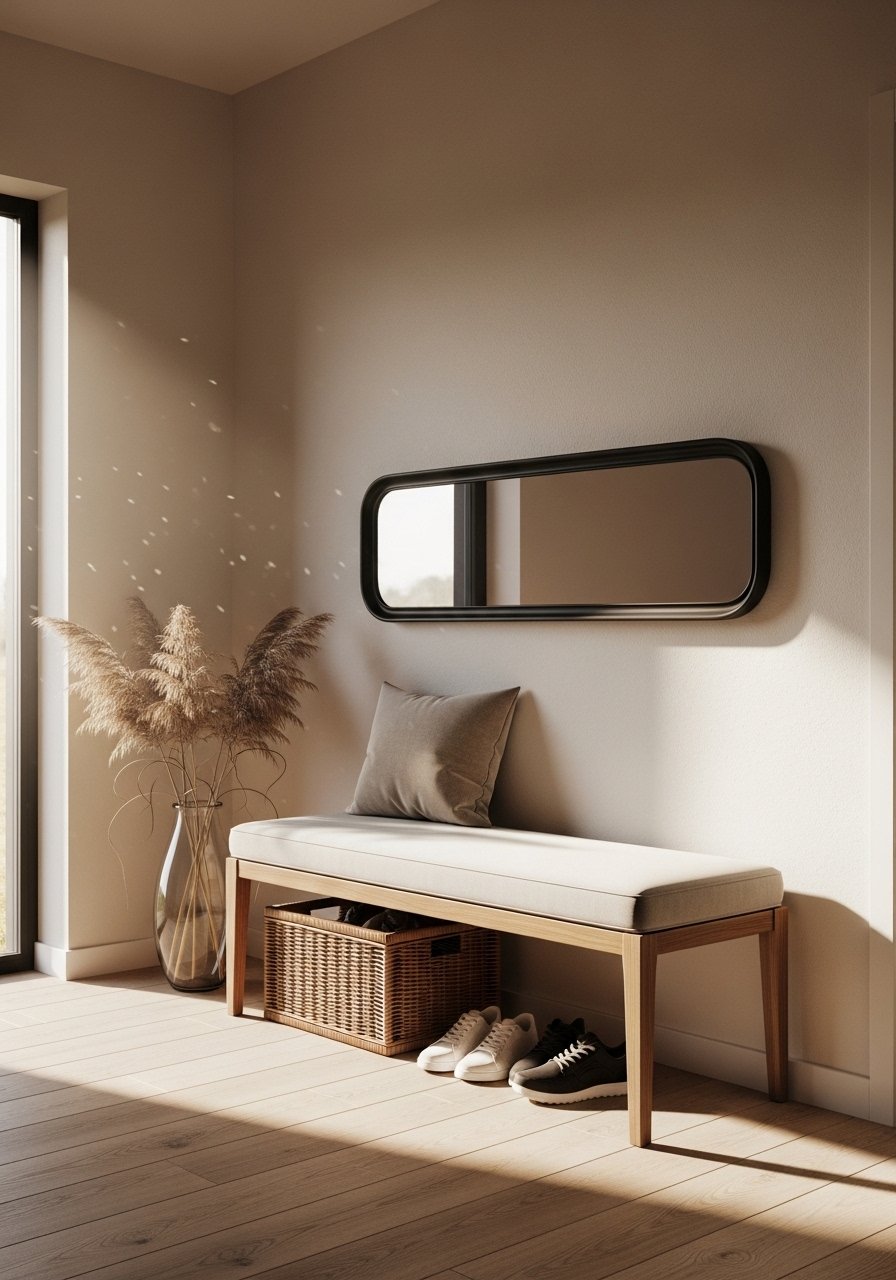
An upholstered bench is a weekend project that gives a hallway function and texture. I ripped an old cushion to use as a template, cut foam 2 inches thick for firm support, and wrapped it in a durable performance fabric. The key detail is to staple from the center out, pulling fabric 1 inch at a time to avoid puckers. A basic staple gun and a friend to hold the frame are all you need.
Mistake to Avoid: Using thin foam for a thick look, which flattens after a month.
5. Command Hook Curtain Upgrade
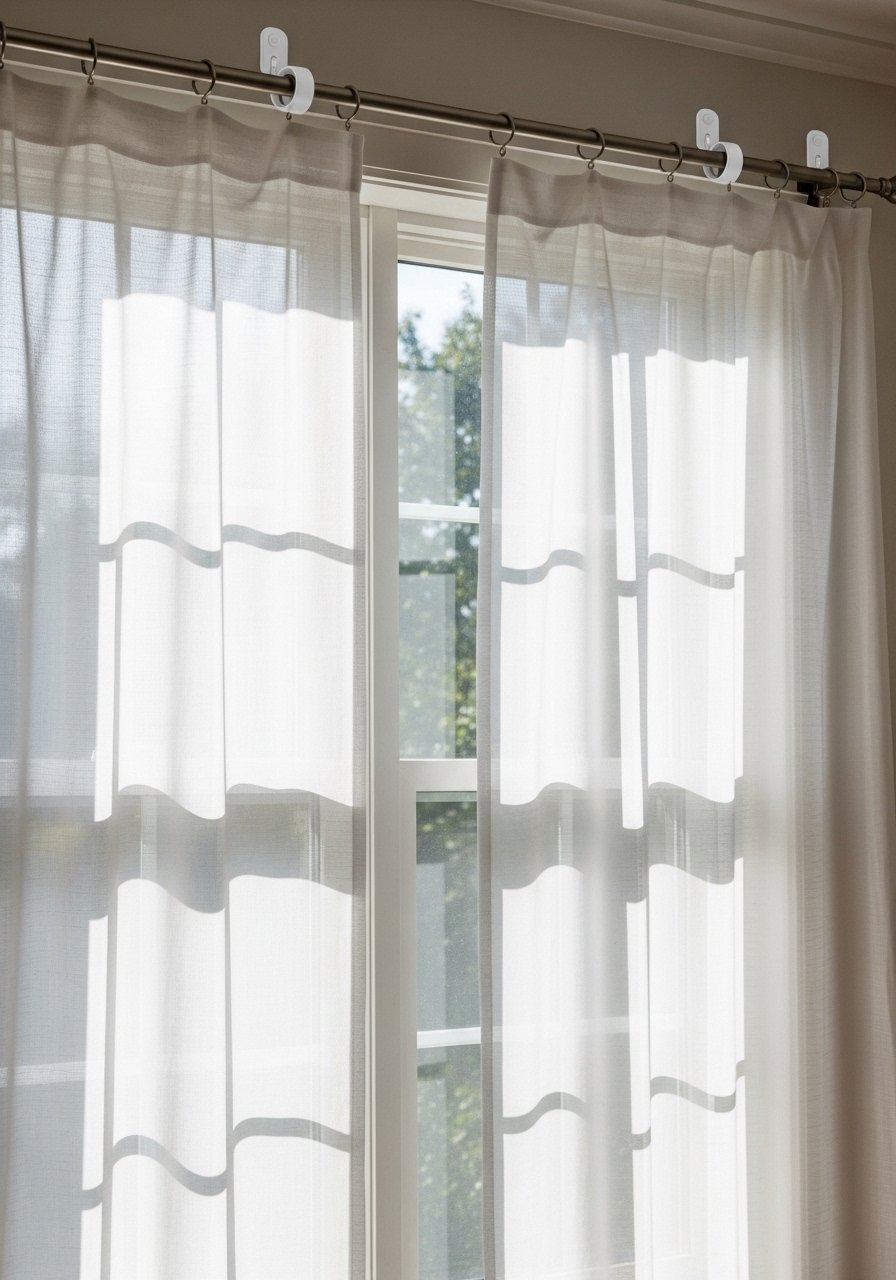
If drilling feels scary in a rental, use high-strength adhesive hooks combined with a slim tension rod to hang curtains. I place hooks 2 inches above the window trim and test the pull weight before adding fabric. Use lightweight linen or cotton panels so the adhesive holds. For heavier curtains, anchor into studs. Try high-strength-command-hooks and an adjustable-tension-rod.
Mistake to Avoid: Hanging heavy, lined drapes on adhesive hooks without testing the weight first.
6. Upcycled Ladder Blanket Display
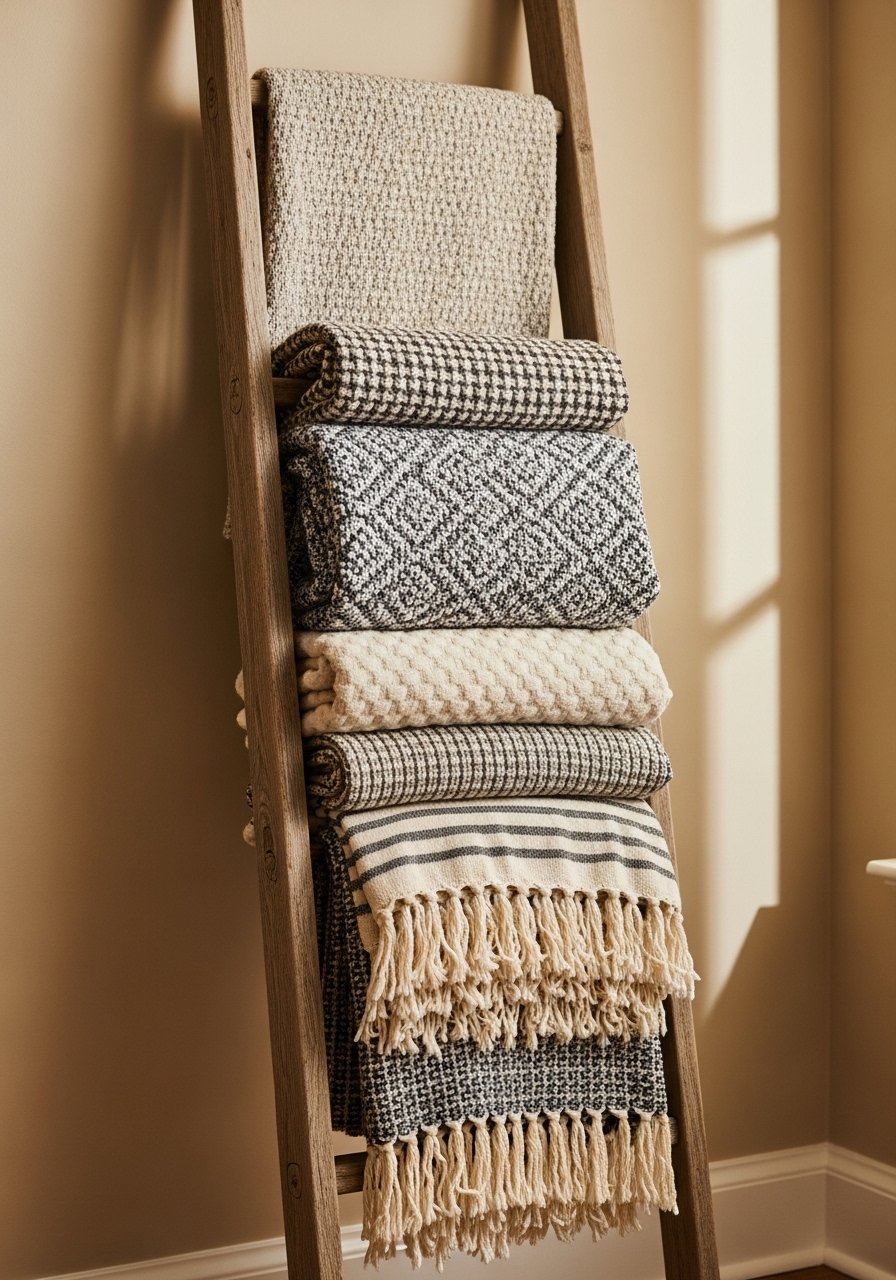
A simple leaning ladder stores blankets and adds vertical interest. Use an unfinished wood ladder or sand and stain a thrift find. Lean it against the wall at a 6-degree angle so it rests safely and place heavier throws lower for balance. I wrap felt pads under the feet to protect floors and use a clear furniture grip for stability. This idea is low cost and works in small spaces as a vertical storage hack.
Mistake to Avoid: Placing the ladder too upright so it tips when a throw is pulled.
7. Removable Floating Nightstand
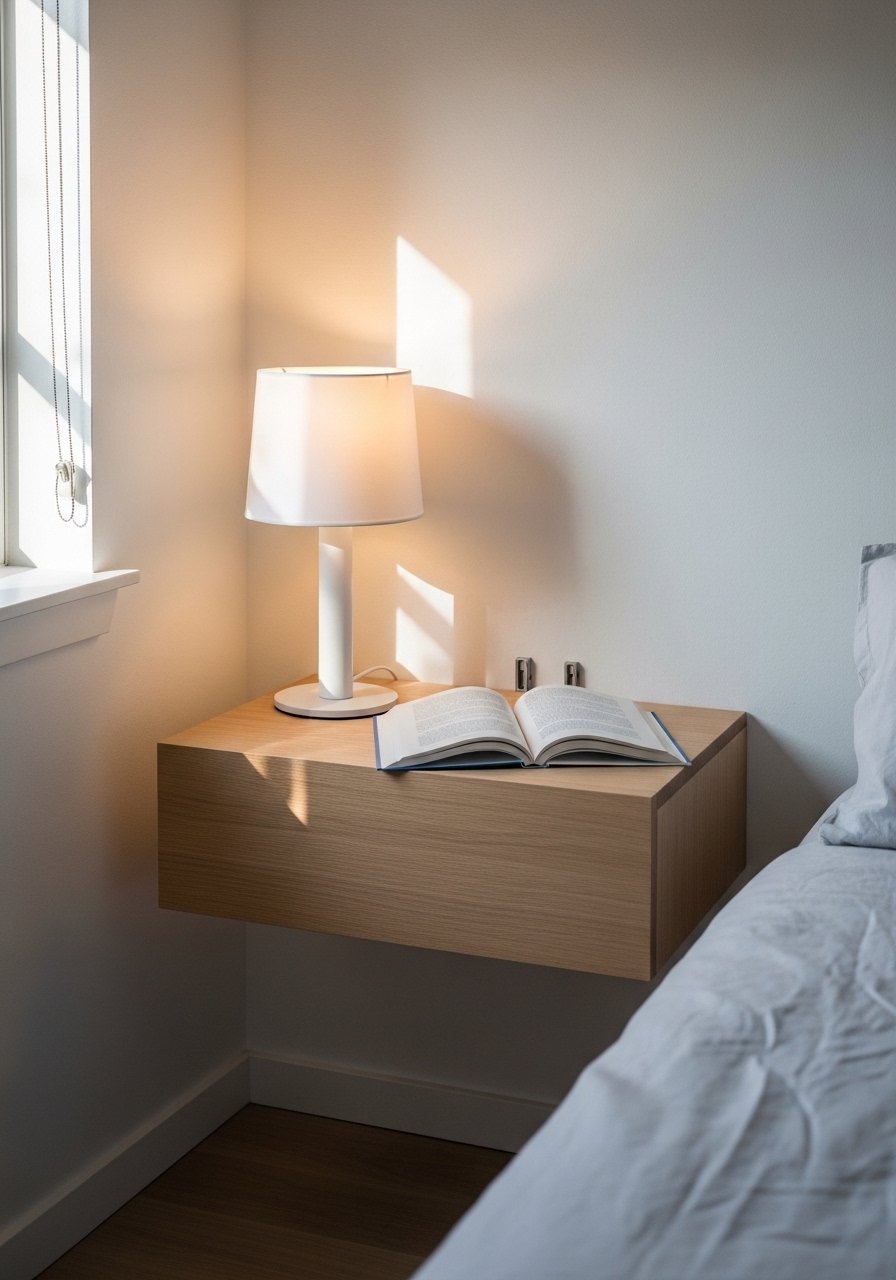
A wall-mounted nightstand using a removable french cleat gives bedside function without floor footprint. I cut a small wood top, sand to smooth, and attach a cleat that screws into studs. If you need temporary, use a heavy-duty bracket and damage-free anchors rated for at least 30 pounds. Finish with a matte sealant for a lived-in look. Grab a small wood plank and french-cleat-hardware to build this in under an hour.
Mistake to Avoid: Mounting to drywall alone for a tabletop that will hold a lamp and a glass.
If you want to shop for the exact pieces I used across these projects, here are the items I keep coming back to.
Renter-Friendly Decor Starter Kit
Textiles & Soft Goods:
- velvet-pillow-covers (~$12 each), swap seasonally for instant change
- linen-cotton-curtain-panels (~$25-40 per panel), light and machine washable
Hardware & Tools:
- high-strength-command-hooks (~$8-15), for renter walls
- drill-bit-set (~$15-30), basic bits that last
Styling & Storage:
- black-picture-frames (~$20-50), unified frame color makes thrifted prints look intentional
- woven-storage-baskets (~$20-40), hide clutter and add texture
Finishing Touches:
- peel-and-stick-wallpaper (~$25-60 per roll), renter-friendly pattern changes
- matte-stoneware-serving-platter (~$30-50), doubles as decor and function
8. Layered Lighting Plan
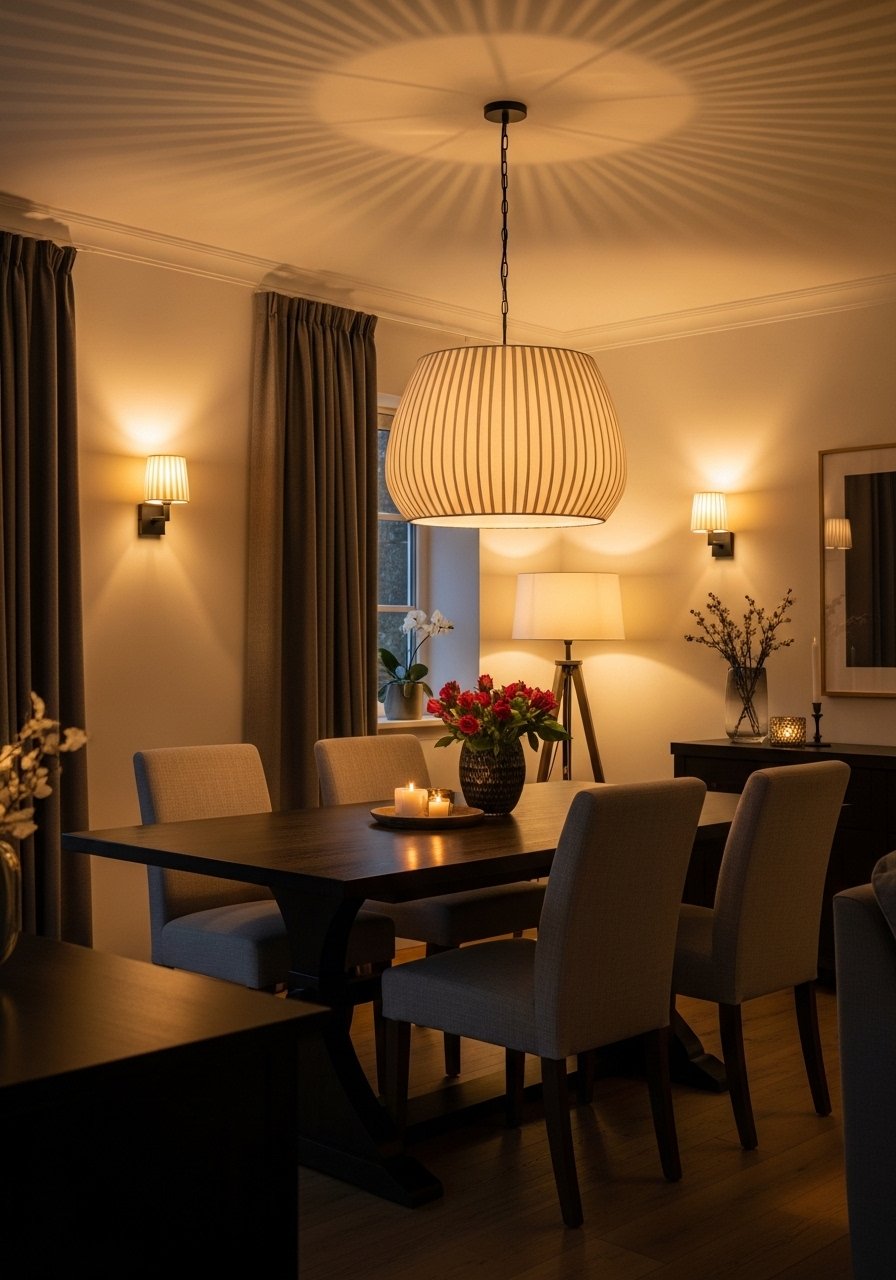
Rooms photographed well often use three lighting layers. I set a pendant as the anchor, add task lamps for reading, and include accent lights like strip lights under shelves. For dim options use plug-in dimmers instead of rewiring. I installed led-puck-lights under a shelf with 30-second adhesive and spaced them every 12 inches for even glow. Try plug-in-dimmer-switch and led-puck-lights.
Mistake to Avoid: Relying on one overhead light that casts harsh shadows and flattens the room.
9. Chic Entryway Drop Zone
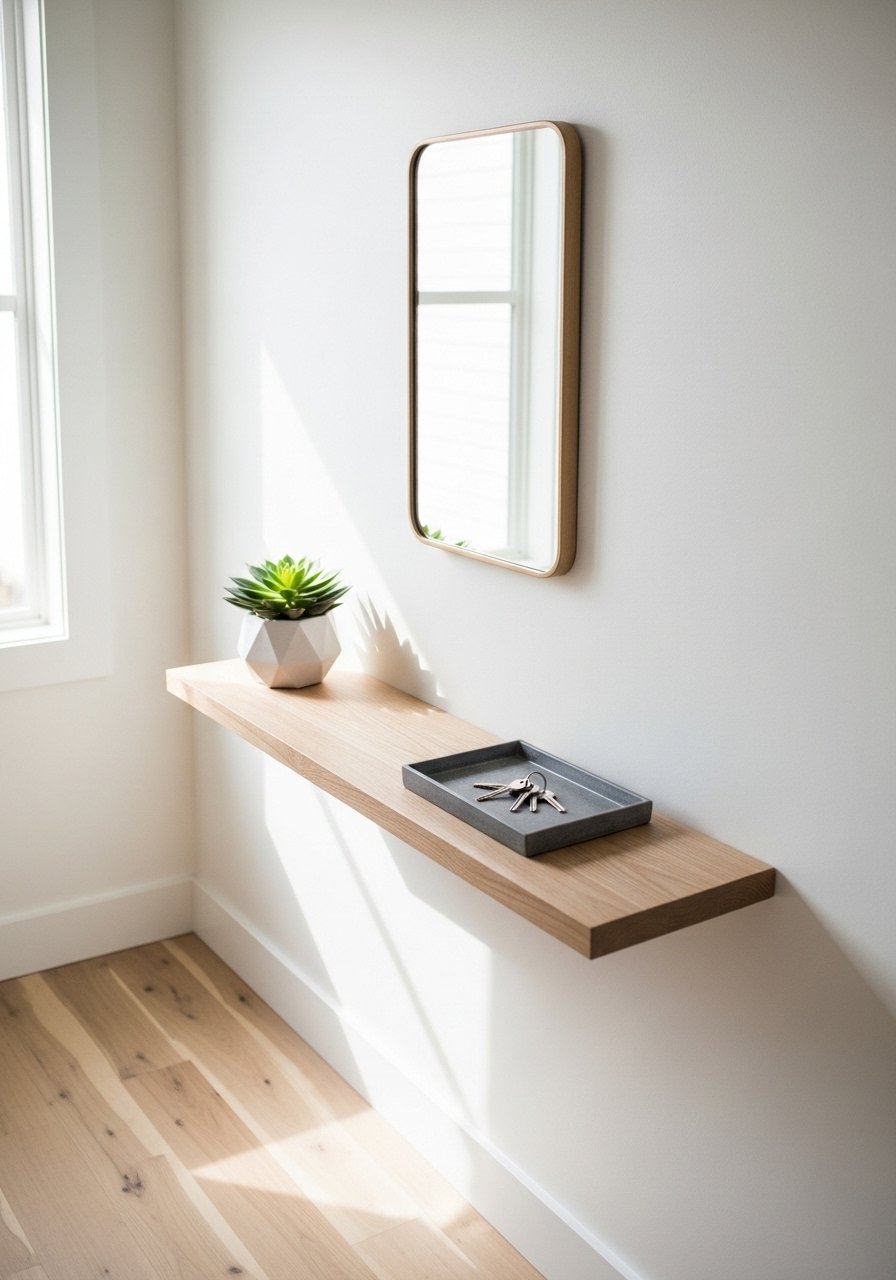
Create a drop zone with a narrow console, a mirror hung 4 to 6 inches above, and a tray for keys. I drilled a shallow hook for mugs and used a small wire basket underneath for shoes. Mirrors make a small area feel larger; pick an unframed or thin-framed mirror to avoid bulk. For a quick anchor use wall-mirror and a decorative-tray to corral items.
Mistake to Avoid: Choosing a mirror too small so it disappears against the wall.
10. Indoor Herb Rail
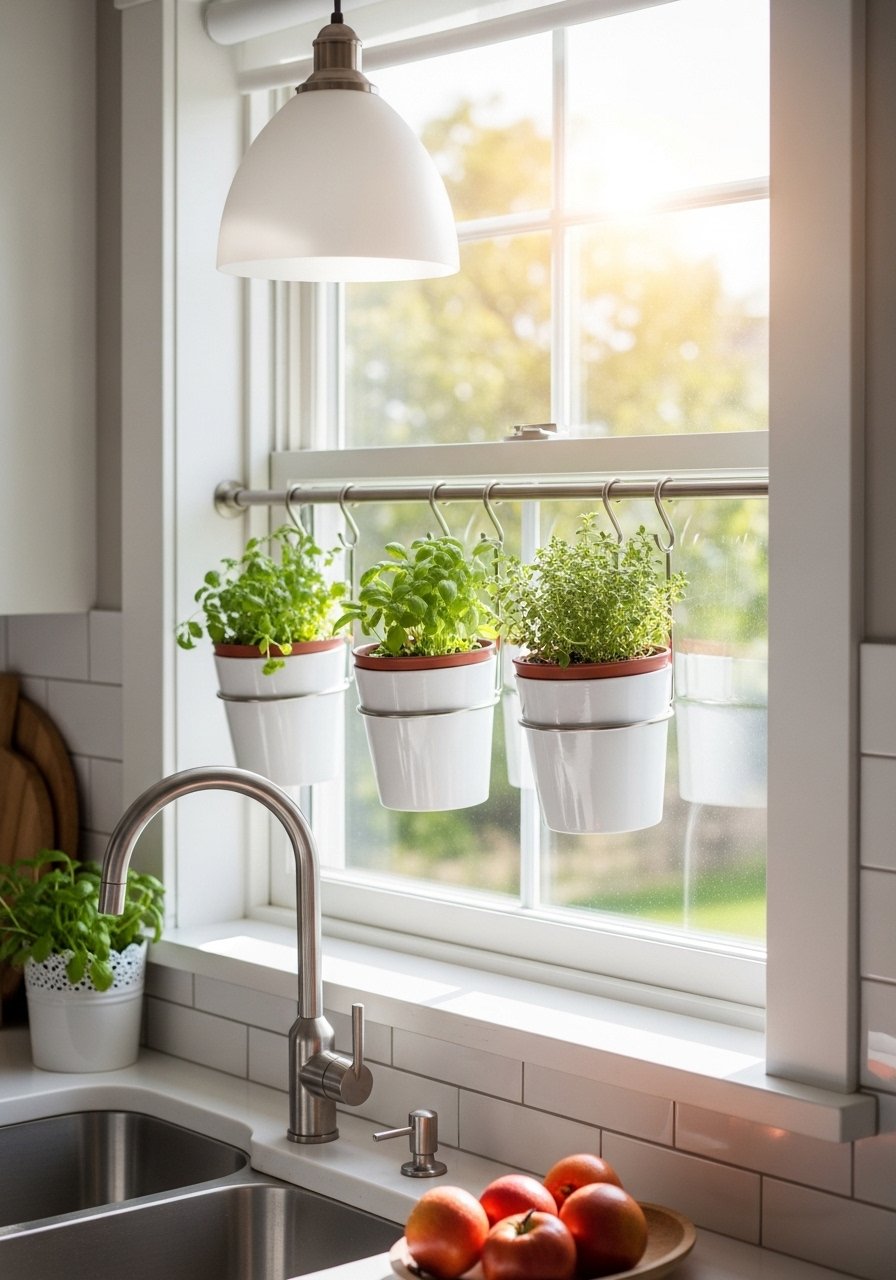
An herb rail on the window makes cooking feel fresh and uses vertical space. Use small pots with drainage trays and leave 3 to 4 inches between pots so light reaches every plant. I attached a slim metal rail with command-style hooks and rotate pots weekly for even sun. For easy care try self-watering-herb-pots and a kitchen-herb-tray.
Mistake to Avoid: Crowding pots so lower leaves never get sun and plants stretch.
11. Magnetic Spice Wall
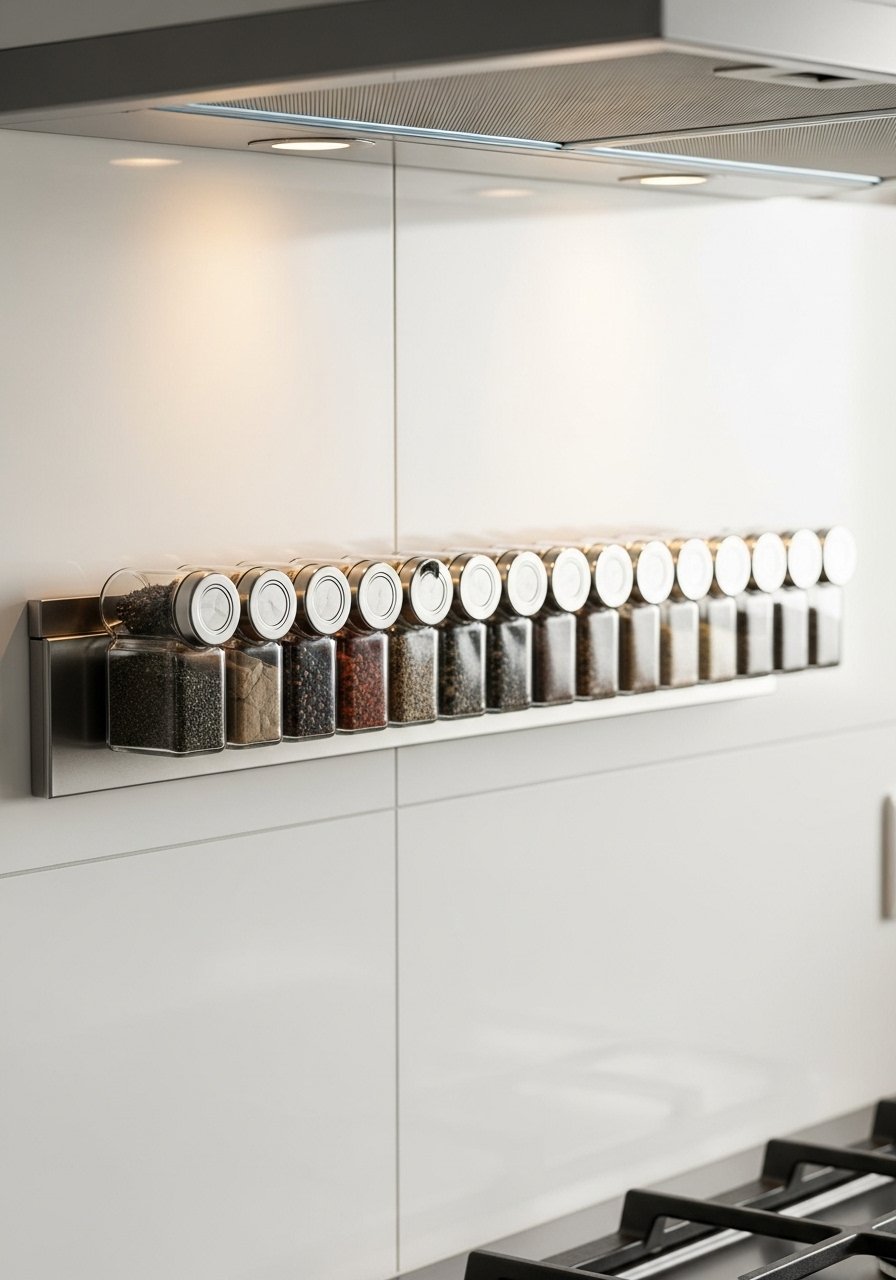
Magnetic spice jars on a strip clear counter clutter and look tidy. Label lids with a small 1-inch white sticker and place jars in a single line for readability. I measured 2 inches between jar centers so caps do not bump. Attach the strip to tile with construction adhesive if you cannot drill. Use magnetic-spice-jars and a metal-magnetic-strip.
Mistake to Avoid: Using mismatched jars that make the wall look cluttered instead of organized.
12. Statement Rug Layering
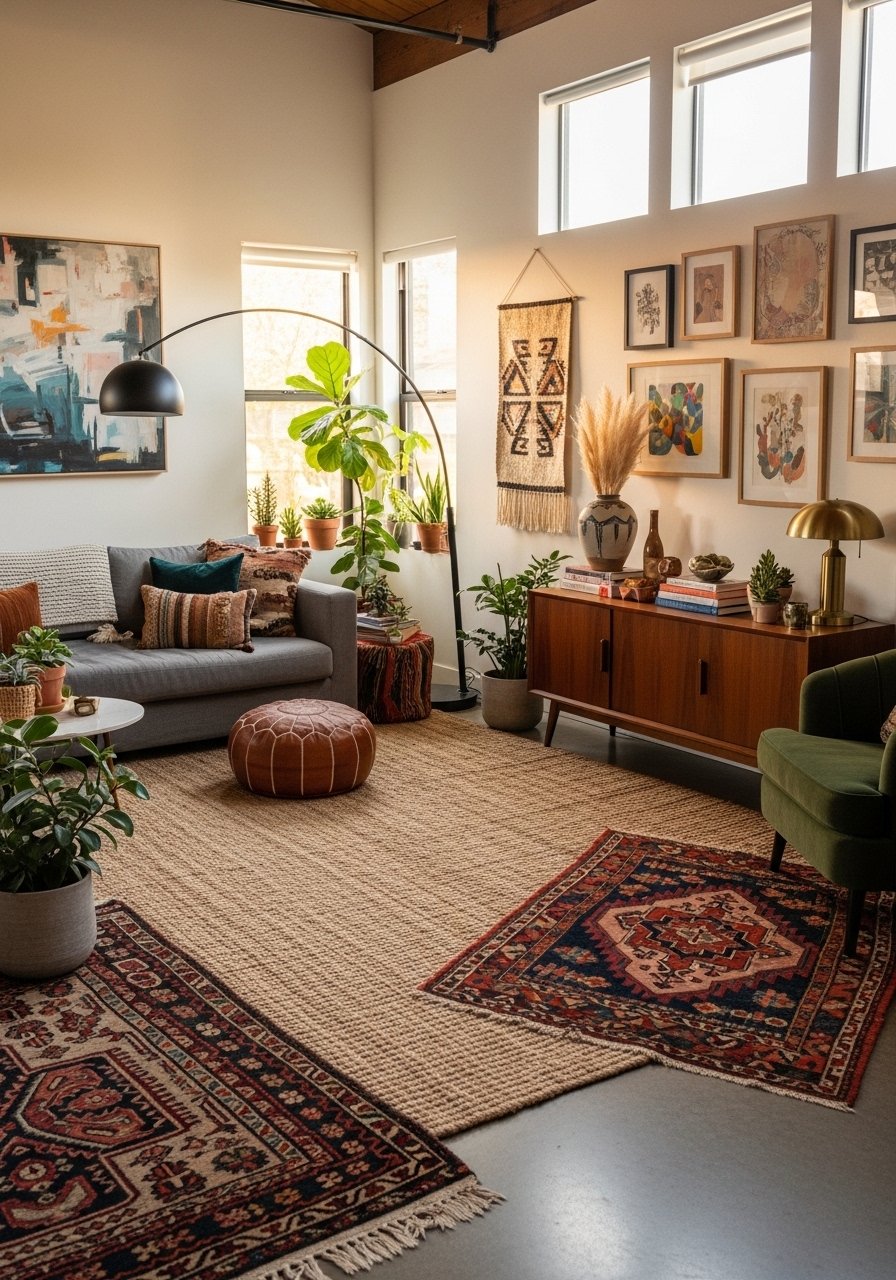
Layering rugs makes a room feel curated and hides traffic patterns. Start with a neutral base rug and place a smaller patterned rug centered under the coffee table at a slight diagonal for interest. Leave at least 6 inches of the base rug visible on each side for framing. Use a non-slip-rug-pad cut to size so the layers stay put. This trick works in rentals and pet homes when you choose washable textures.
Mistake to Avoid: Using no rug pad so layers shift and trip over time.
13. Glass Vase Cluster Centerpiece
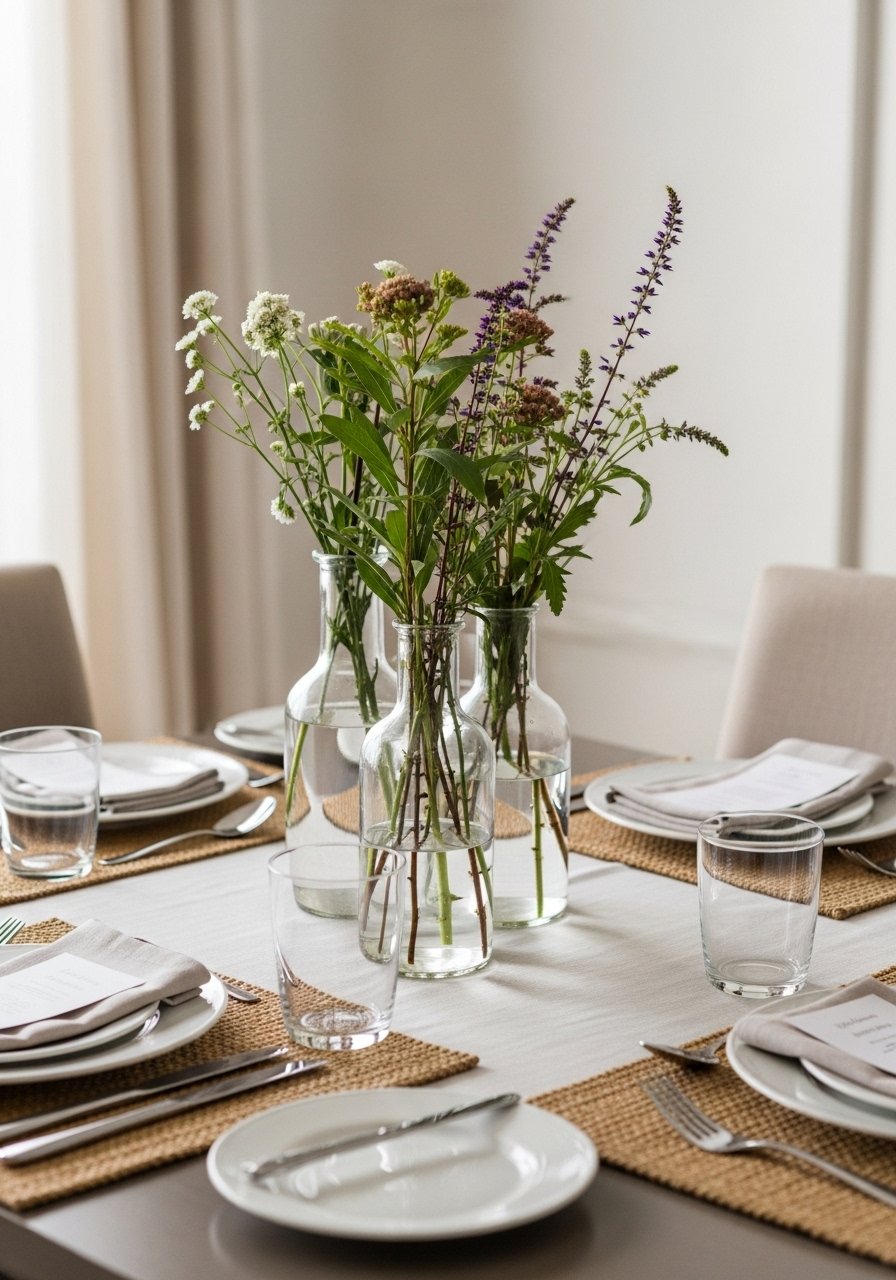
A clustered trio of glass vases reads intentional and is foolproof for a centerpiece. Mix heights and shapes, keep stems at roughly two-thirds the vase height, and use water-colors for depth. Replace one vase with a ceramic piece from thrift finds to add contrast. For quick styling grab clear-glass-vases and a metal-tray to corral the group.
Mistake to Avoid: Using three identical vases and the arrangement reads like a set instead of layered.
Small Moves That Make Rooms Feel Kept
Thin coats beat one thick coat every time. When touching up paint, apply two thin layers of paint-touch-up pens rather than one heavy swipe so edges blend cleanly.
Grab clear-furniture-grip for about $8. I use them on chair legs to stop scuffs and keep lightweight ladders steady.
Most people hang art too low, aim to keep the center of art at 57 inches from the floor. A simple picture-hanging-level saves a lot of re-taping and nail holes.
Everyone reaches for many small pillows. One oversized floor cushion anchors a reading corner better than five small pillows combined. Try an oversized-floor-cushion for a single focal piece.
