
I kept chopping my curls into the same blunt bob and wondering why my face read rounder in every photo. It took one stylist to clip a 1.5 inch face-framing section and angle the layers away from my cheeks for the shape to finally make sense. After that single change I stopped hiding behind long scarves and learned how small shifts make the face look longer, not fuller.
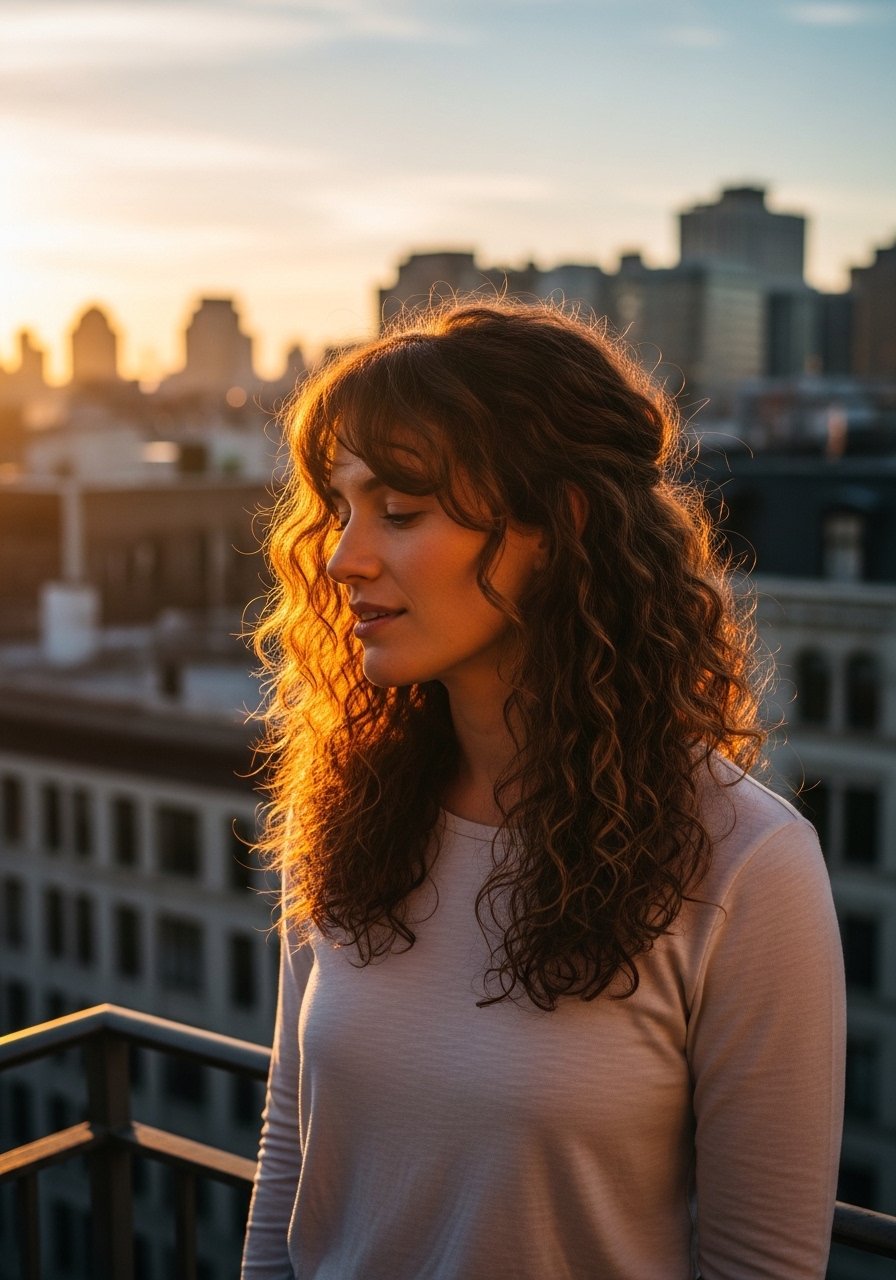
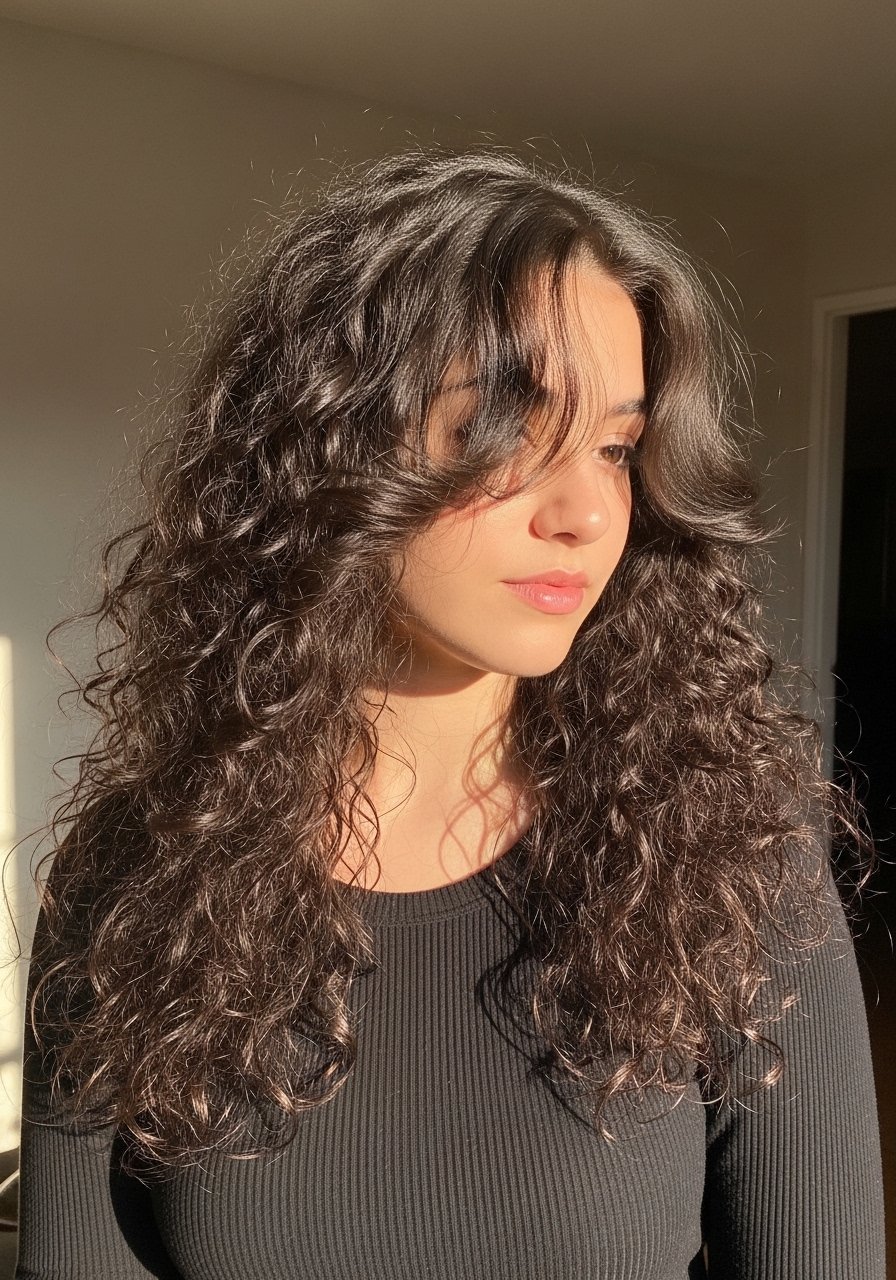
These 15 looks are for anyone with natural curls who wants the illusion of length without losing curl spring. They work across low-porosity and high-porosity hair, and I am writing from experience styling across four hair textures I have styled. Expect styles that range from five-minute, heat-free options to one-salon-visit cuts, and budget-friendly product swaps where I name affordable alternatives.
1. Deep Side Part with Lift
A deep side part creates an asymmetry that visually lengthens the face by moving volume off the centerline. I use a 2:1 ratio of longer hair on the heavy side to shorter pieces on the light side so curls fall across the cheek and elongate the jaw. For styling, rake a pea-sized amount of a curl defining cream through damp hair, then diffuse on low heat or air-dry. This works for shoulder-length to long curls and takes about 10 minutes with a diffuser.
Mistake to Avoid: Placing the part dead center, which makes the face look wider.
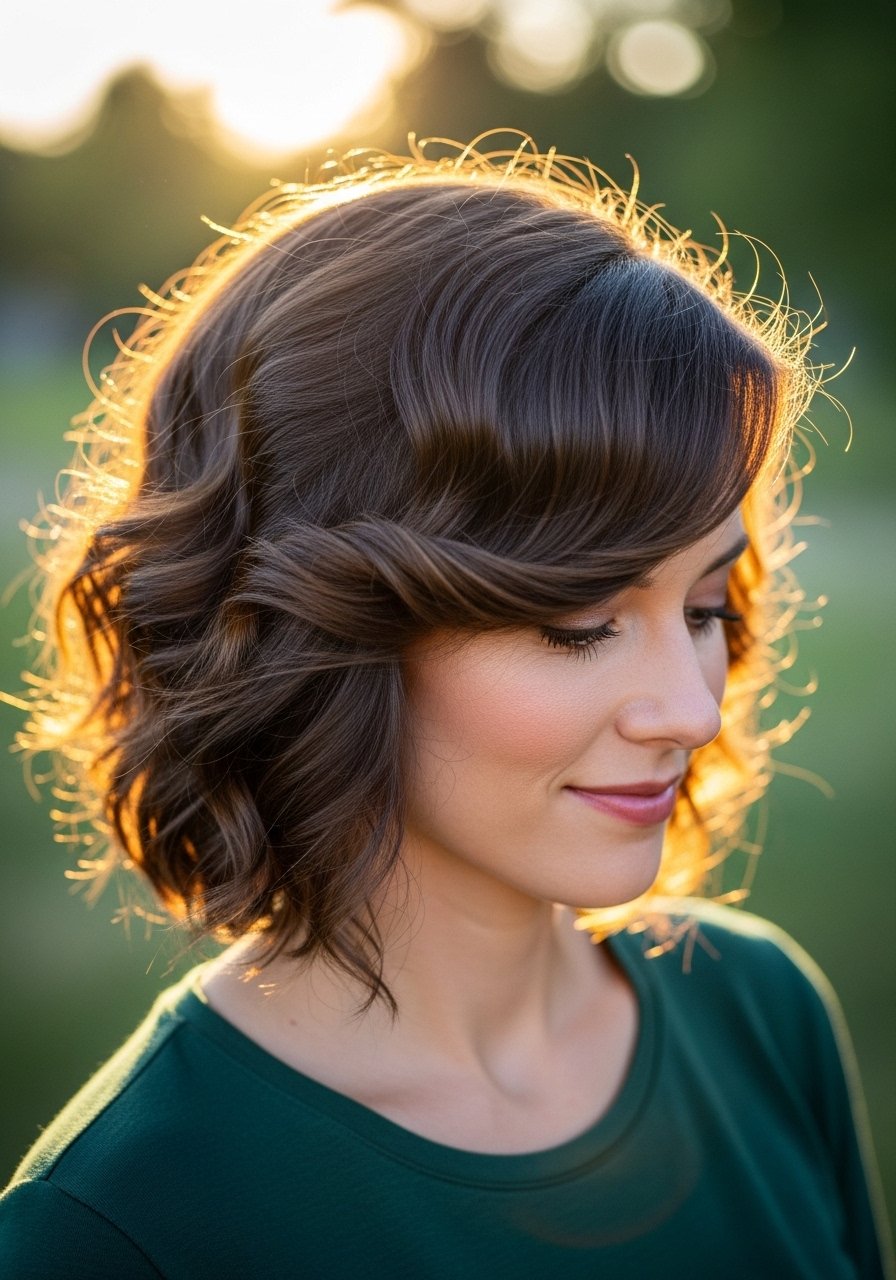
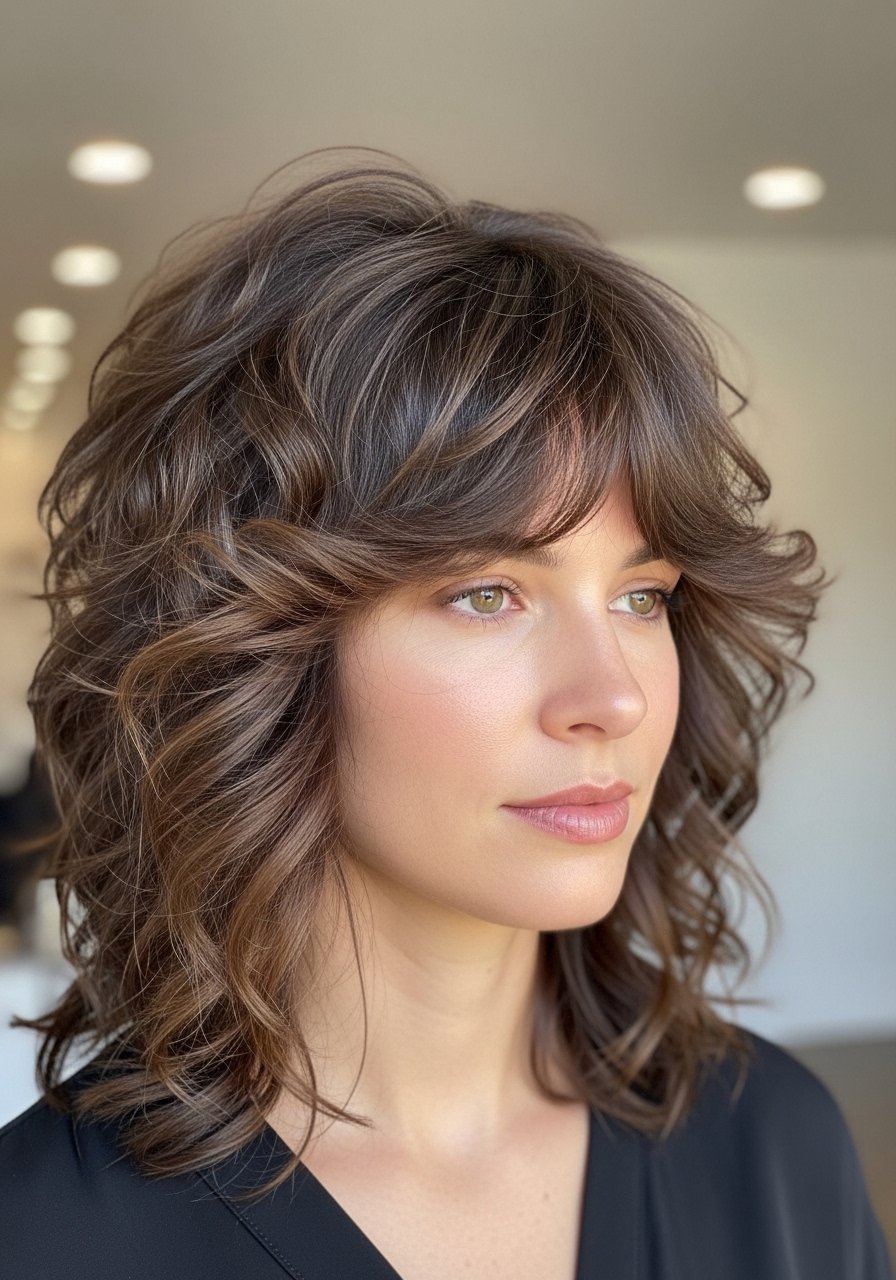
2. Long Layers with Angled Face Frames

Long layers that start at chin length and angle longer toward the collarbone create a vertical line down the face. Ask for 1.5 inch face-framing layers and a subtle graduation under the top layer so curls retain bounce without adding side bulk. I finish with a few drops of lightweight hair oil to reduce frizz and keep the curl pattern defined. This is a medium-skill styling approach that pays off for round faces because the long vertical silhouette slims.
Mistake to Avoid: Cutting blunt layers that sit at cheek level and push volume out to the sides.
3. High Volume Top with Tapered Nape
Adding volume at the crown while tapering the nape shifts eye focus upward, creating height that balances a round face. The effect needs measured shaping, about a 3:1 height-to-length ratio at the crown compared with the sides. For a quick at-home version, use a root lift mousse on damp hair and gently clip the roots while air-drying. For a salon fix, ask for a soft taper at the nape rather than a full undercut, which keeps curls intact but reduces side bulk.
Mistake to Avoid: Creating even volume all around, which emphasizes roundness.
4. Half-Up Pompadour for Face Elongation
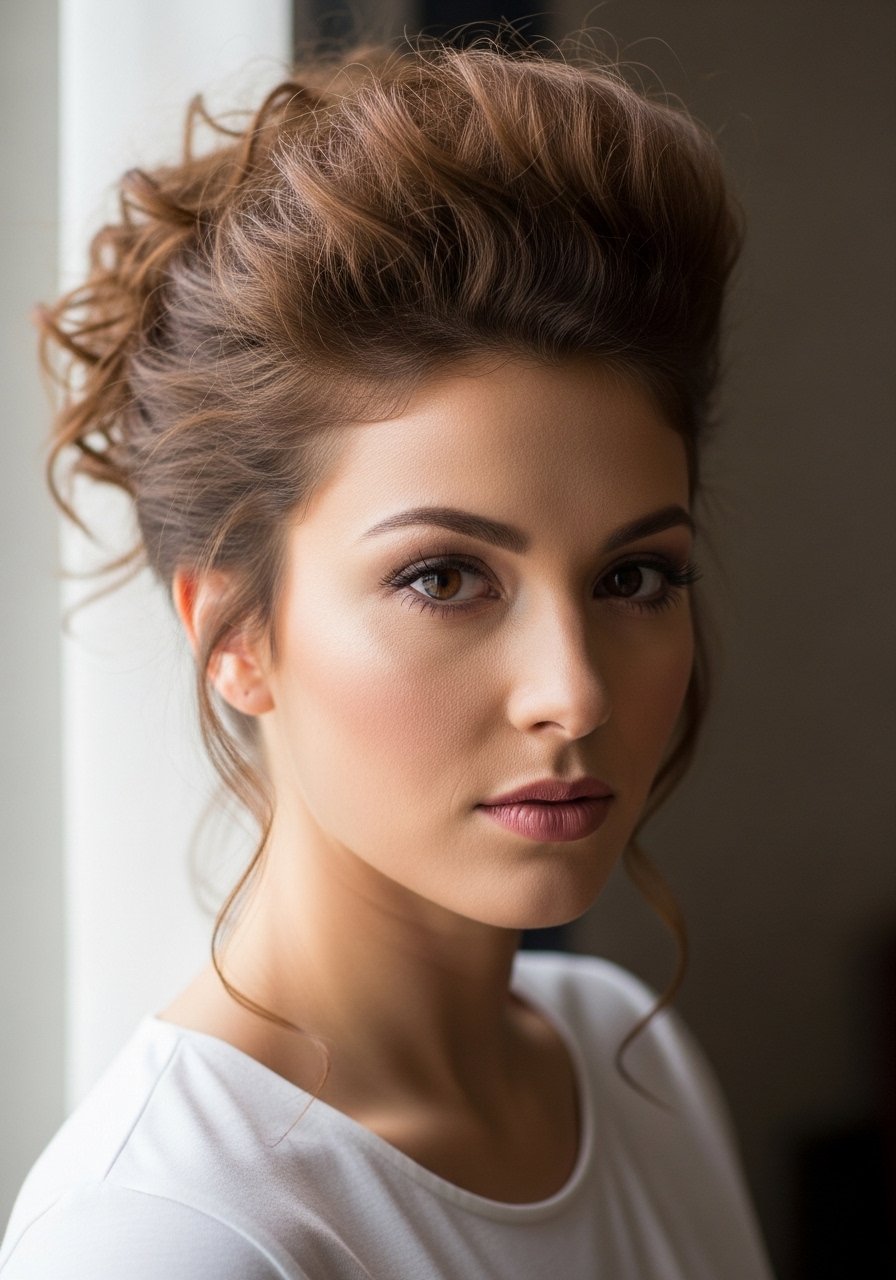
A half-up pompadour pulls hair off the face and builds a vertical column at the forehead, which visually lengthens the face. I section a 2-inch band at the crown, backcomb gently in small 1-inch sections for controlled lift, and secure with bobby pins. Finish with a light-hold texturizing spray to keep the shape without crunch. Works well for those who want a quick polished look without losing their natural curl texture.
Mistake to Avoid: Over-teasing into a round pouf, which just adds width.
5. Angled Bob That Brushes Past the Chin
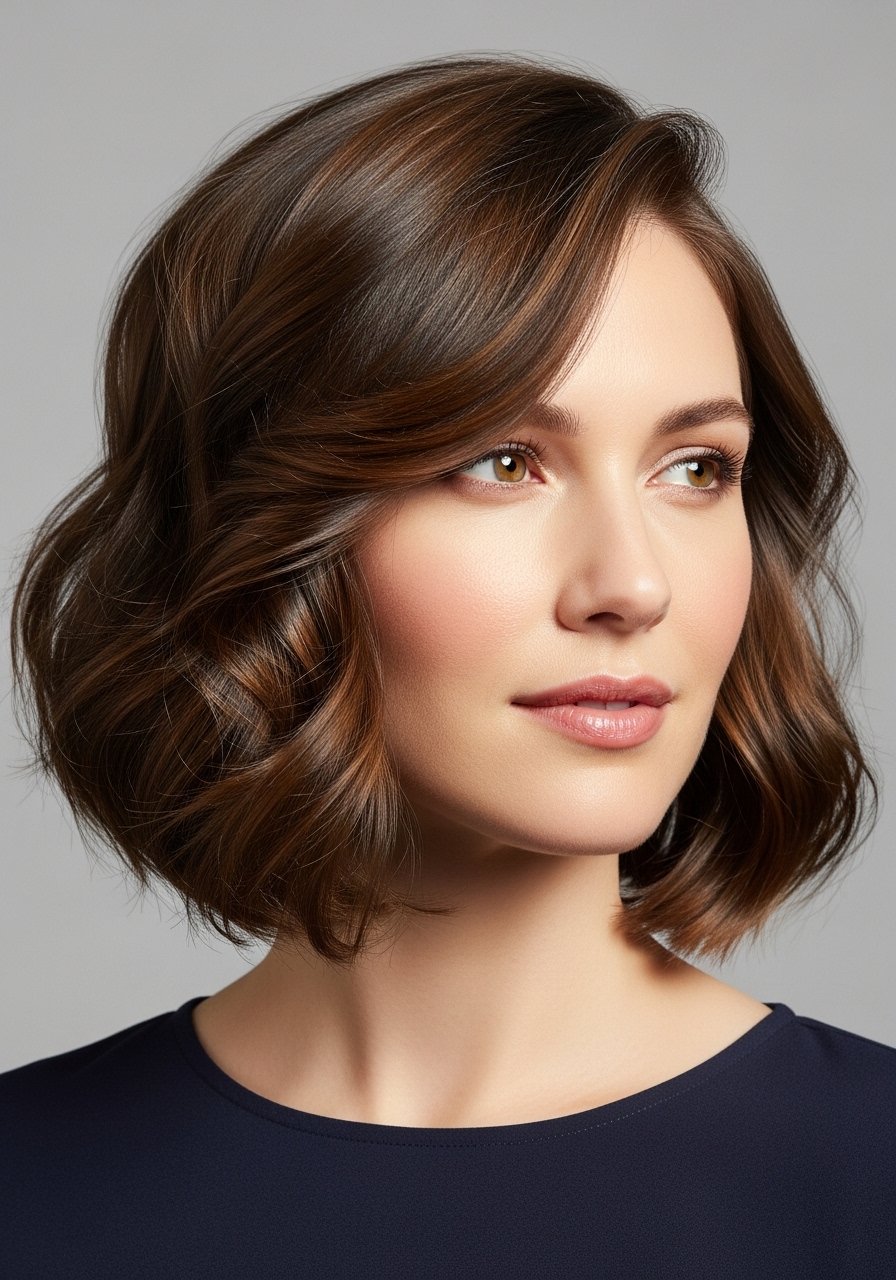
An angled bob that lands just past the chin on the long side avoids ending right at the widest point of a round face. Ask for the longest front piece to be about 1.5 to 2 inches below the chin so curls frame and pull the eye down. This cut is low-maintenance if you embrace air-drying and a curl cream like a hydrating curl styler. It suits short to medium lengths and gives a modern, lived-in vibe.
Mistake to Avoid: Cutting the bob to chin length evenly around, which bisects the face at its widest section.
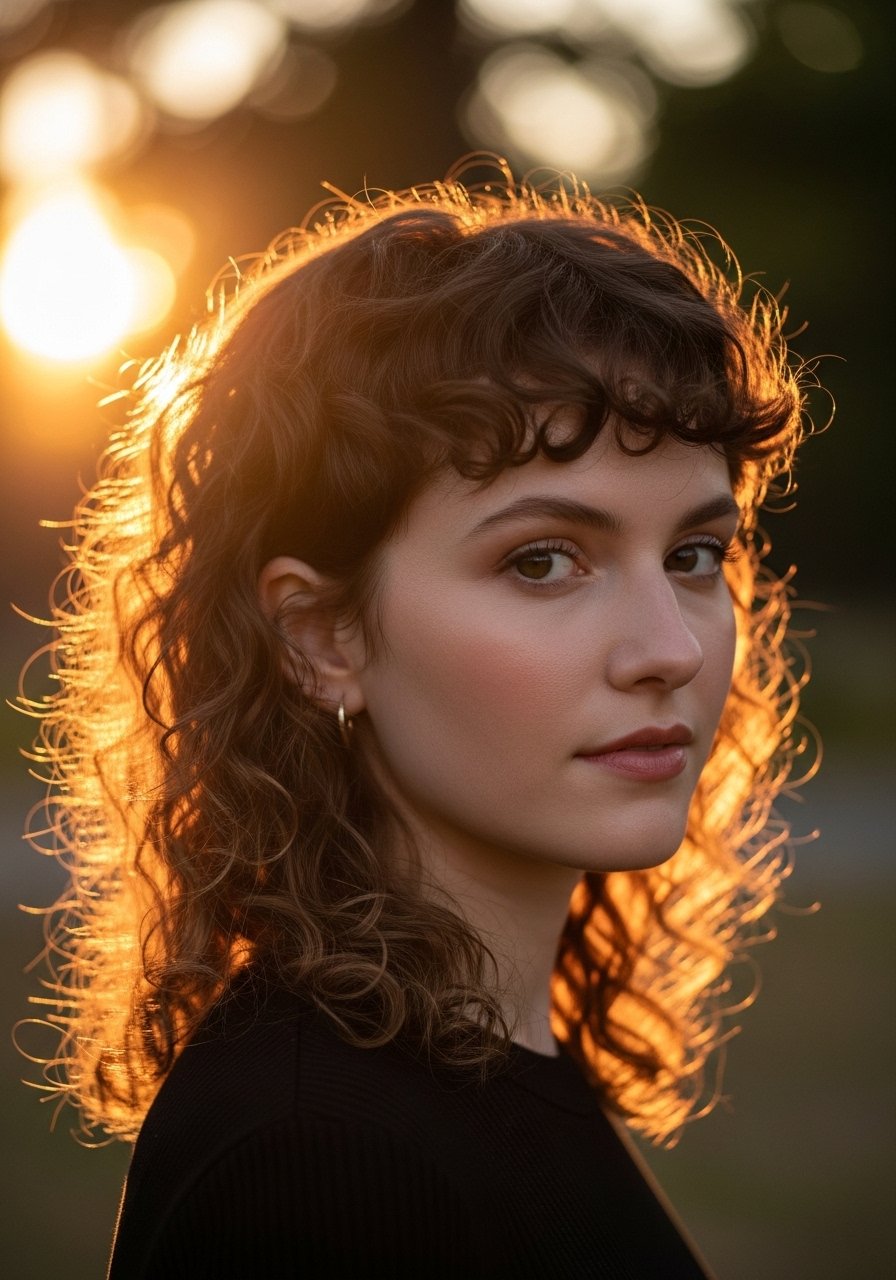
6. Layered Shag for Soft Vertical Texture
The shag with curtain fringe uses staggered layers to create vertical movement rather than horizontal width. Request feathered ends and curtain pieces that start around the cheekbone and taper longer, which helps the face read more oval. I use a curl cream and scrunch with a microfiber towel, air-dry, then separate clumps with fingers to avoid a halo. This style is forgiving and budget friendly, and it works across curl densities.
Mistake to Avoid: Asking for very short, choppy layers that puff out at cheek level.
7. Side-Swept Bangs That Tuck Behind
Side-swept bangs break up the horizontal line of a round forehead while the tuck behind the ear reveals the jawline. Aim for bangs that are long enough to reach the cheekbone at their shortest point, about a 3-inch sweep, so they can be pinned back or styled across the face. Use a light gel on damp bangs and diffuse briefly to set the curve without flattening. This is a quick style trick that can be undone if you want to grow them out.
Mistake to Avoid: Cutting blunt bangs that end at the widest part of the face.
If any of these ideas have you ready to actually try something, here is everything worth picking up.
Face-Slimming Curl Essentials
Styling Basics:
- Curl defining cream (~$12-24), for shaping and light hold
- Microfiber hair turban (~$10-16), reduces frizz while drying
- Wide-tooth comb (~$6-12), detangles without breaking curl pattern
Tools & Finish:
- Diffuser attachment for hair dryer (~$10-25), preserves curl shape when drying
- Lightweight hair oil (~$8-20), tames frizz and adds sheen
- Root lift mousse (~$8-18), for crown height without stiffness
Finishing Supports:
- Texturizing spray (~$9-20), for separation and hold
- Bobby pins assortment (~$5-10), for tucks and half-up styles
- Silk scrunchies (~$8-18), gentle for curls and reduces creases
8. Long Center-Part with Face-Lengthening Ends
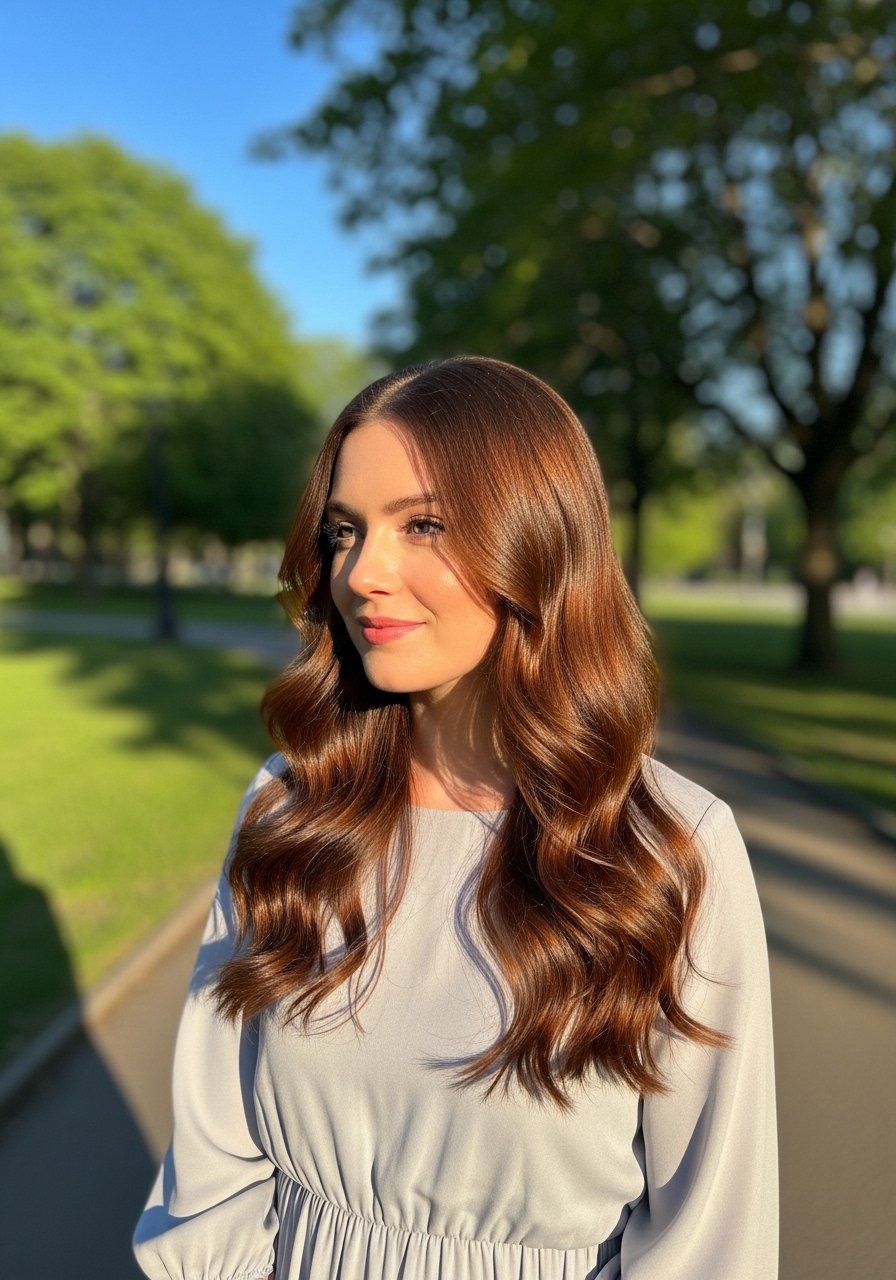
A center part can still work if the ends are kept long and slim past the collarbone so the eye travels downward. Ask for subtle thinning of ends with a slide-cut technique, about 2 inches of graduated weight removal, so curls do not create a horizontal line at the cheeks. For styling, apply a leave-in conditioner and comb through with a wide-tooth comb to keep the center part clean. This suits low-maintenance routines when you prefer minimal styling.
Mistake to Avoid: Cutting thick blunt ends that stop at the jaw, which lock the eye at the widest point.
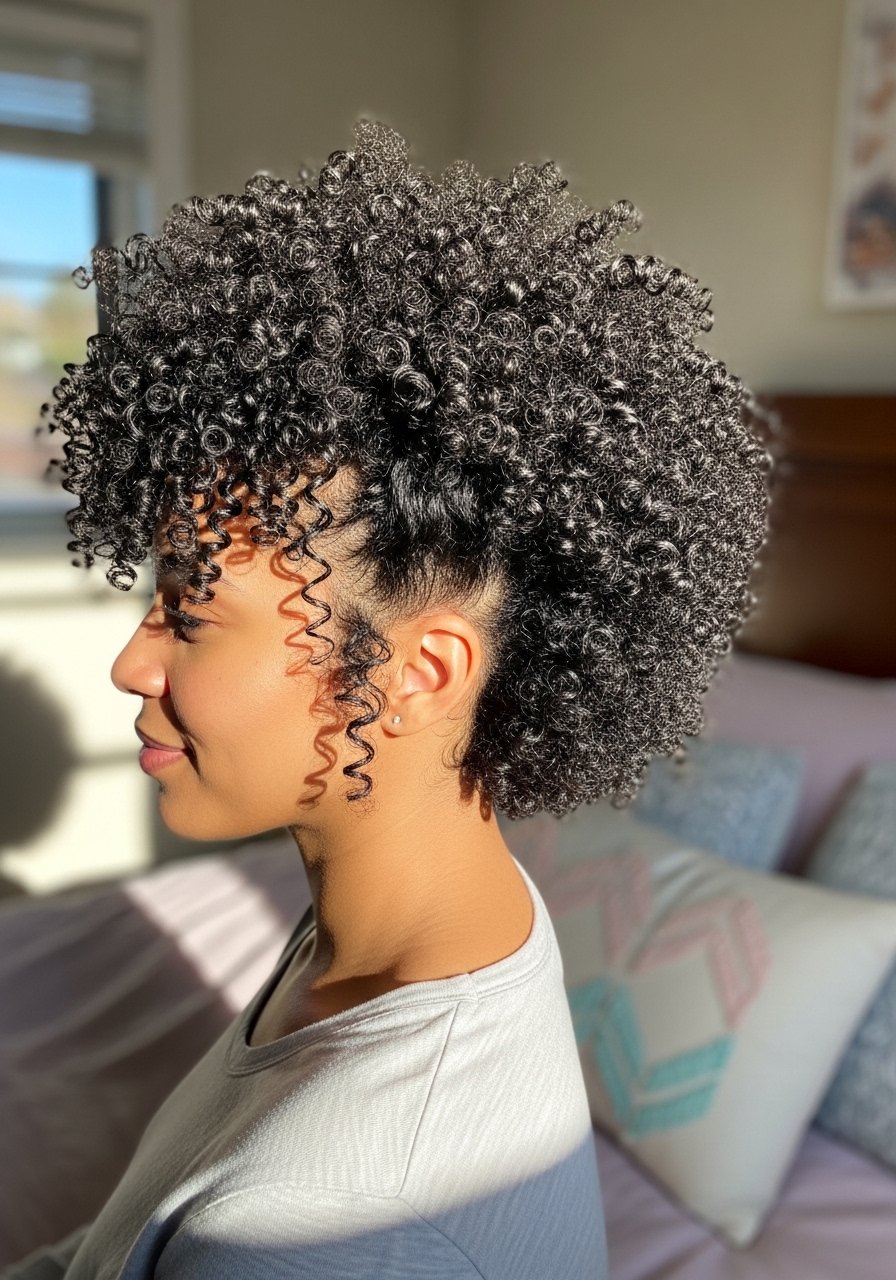
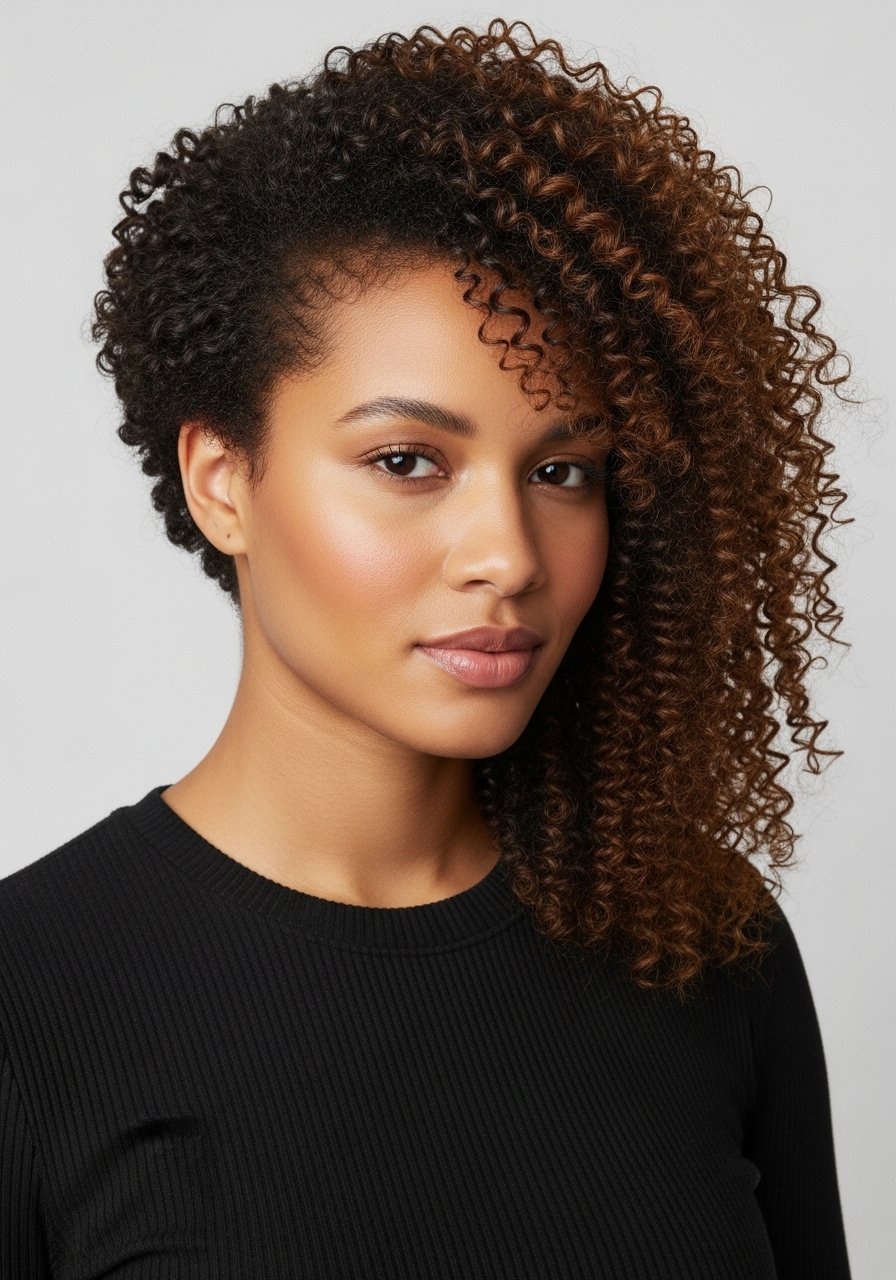
9. Curly Pixie with Long Fringe
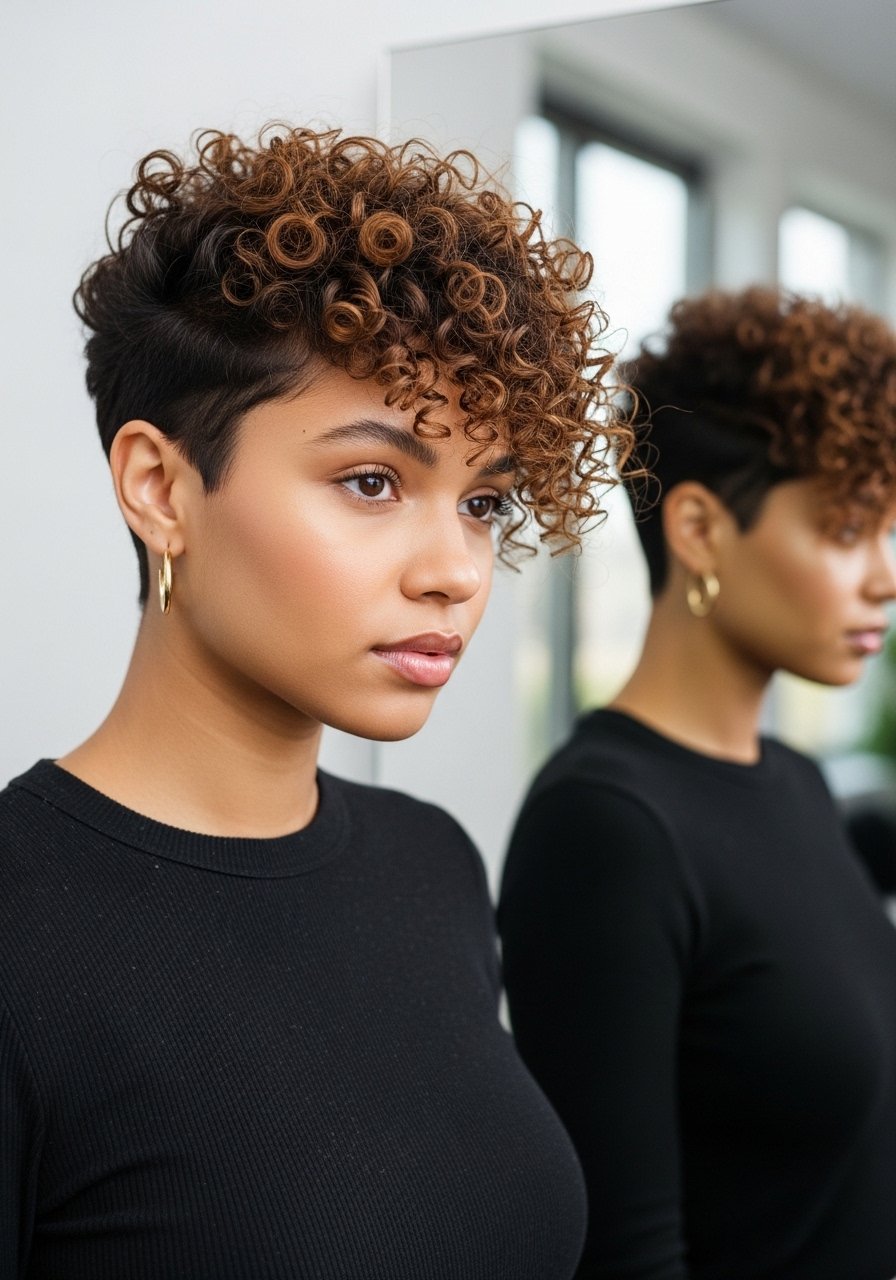
A curly pixie that keeps length at the front gives the face vertical interest while minimizing side bulk. The trick is keeping the fringe about temple-length and the sides tapered close to the scalp, a 2:1 taper ratio, so the face appears longer. This cut is higher maintenance at the barber but low daily styling. Use a small amount of curl cream to define the fringe and a matte paste for the roots if you want separation.
Mistake to Avoid: Trimming the front too short, which shortens the face.
10. Long Layers with Curtain Part
A curtain part that splits softly off center avoids harsh lines and frames the face with two long sections that draw the eye down. Request long layers that begin below the cheekbone so the hair falls in a soft V shape. For a second-day revive, refresh curls with a spray bottle of water and a pea-sized amount of leave-in conditioner. This is a low-effort style that helps round faces appear more oval.
Mistake to Avoid: Heavy bangs combined with short layers, which add width.
11. Asymmetrical Cut with One-Shoulder Sweep
An asymmetrical cut with one side longer than the other creates the illusion of an elongated face line. I recommend a one to two inch difference between sides so it reads intentional without being extreme. Use a light styling cream and finger-comb the long side over the collarbone to emphasize vertical flow. This approach is a gap many guides miss and it works especially well for necklines that show skin on one side.
Mistake to Avoid: Overdoing the length difference so it looks unbalanced rather than flattering.
12. Soft Mullet for Vertical Balance
The modern soft mullet actually adds vertical balance by keeping the sides controlled and the length tracing down the back. Ask for subtle layering at the crown and longer length starting around the collarbone, roughly a 3-inch difference between crown and nape. This haircut is rebellious but wearable, and it reduces side volume while keeping playful movement. I seal the ends with a tiny bit of hair oil for shine.
Mistake to Avoid: Requesting a choppy mullet without blending, which creates a boxy silhouette.
13. Clip-In Length Extender for Instant Elongation
If you need length without commitment, clip-in curly extensions add immediate vertical lines below the jaw. Match curl pattern closely and place extensions starting at least two inches below the cheekbone to avoid extra width. I recommend using soft-clip wefts and blending by flipping your natural hair over the weft for coverage. For product help, a curly clip-in set that matches your density works best.
Mistake to Avoid: Placing extensions too high, which adds bulk at the cheeks.
14. Low Pony with Face-Frame Tuck

A low ponytail paired with two longer face-framing tendrils hides roundness by creating vertical lines on either side of the face. Leave about 2 to 3 inch tendrils at the front that sit below the cheekbone and pin them to tuck behind the ear or let them hang. Use a soft gel to smooth the crown and a satin scrunchie to avoid creasing. This is a quick everyday style that reads polished and intentional.
Mistake to Avoid: Pulling all hair back tightly, which flattens the crown and emphasizes width.
15. Textured Updo with Elongating Babylocs
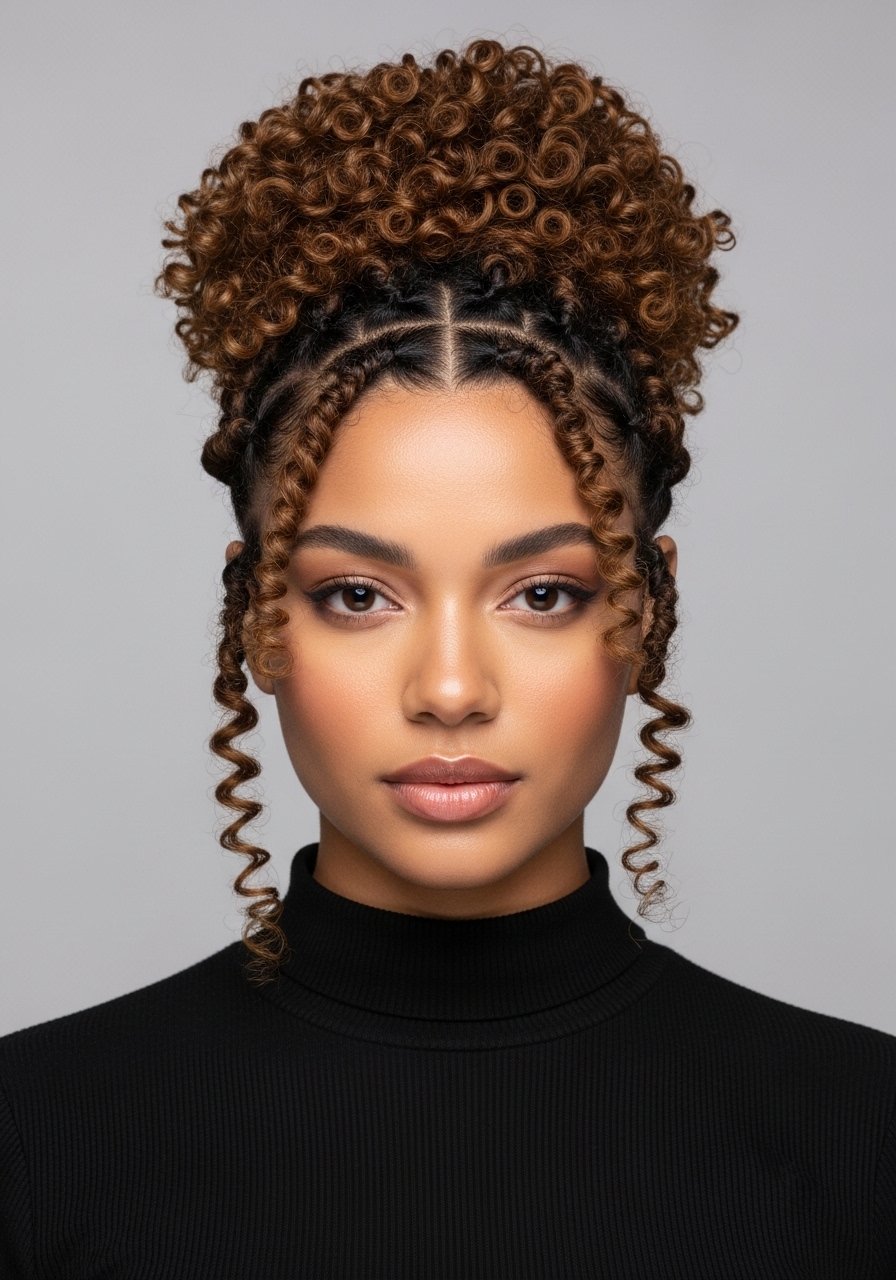
An updo that leaves small textured coils at the temples creates an elongating frame and avoids boxing the face. Pull hair into a loose bun at the crown and release two to three 1-inch coils at the front on either side to soften the silhouette. Secure with pins and mist with a flexible-hold spray so the coils move freely. For hold without stiffness, I like a light-hold flexible hairspray.
Mistake to Avoid: Leaving no face-framing pieces, which makes the head read shorter and wider.
Round-Face Curl Habits
Thin coats beat one thick coat every time. Applying styling products in thin layers, like a pea-sized amount of curl cream per 2-inch section, keeps curls defined without weighing them down.
Grab a microfiber hair turban. Plopping in a turban for 10 to 20 minutes helps set curl clumps and reduce frizz compared with wrapping in a cotton towel.
Curly hair air-dries best plopped or diffused at low heat, not blasted. A diffuser attachment preserves your pattern and speeds drying while maintaining the root lift that slims the face.
Most people apply too much product at the crown. A little root-lift mousse, like root lift mousse, applied only to the crown in a 1-inch by 1-inch grid gives lift without flattening the sides.
